
Alexander Grabovetskiy, woodcarver, School of Woodcarving · Published 2023
How do you use the golden ratio in wood carving?
Quick answer: The golden ratio is a proportion of roughly 62 against 38, and a carver uses it to place the middle line of a leaf and to size each division against its partner opposite. I skip the ruler. Break the span into ten by eye, then push the mark past center to the sixth part.
The golden ratio in wood carving is a proportion of roughly 62 to 38 that sets where the middle line of a leaf falls, and how big one division runs against its partner opposite. No ruler comes near it. I look at a span, split it into ten in my head, and set the mark about six tenths of the way over. Whole method, right there.
Have you ever finished an ornament where every element came out clean, and the board as a whole still looked dead? Did both halves come out the same size? That feels safe. Safe and right are two different things, and in workshops 62 through 73 proportion comes up again and again.
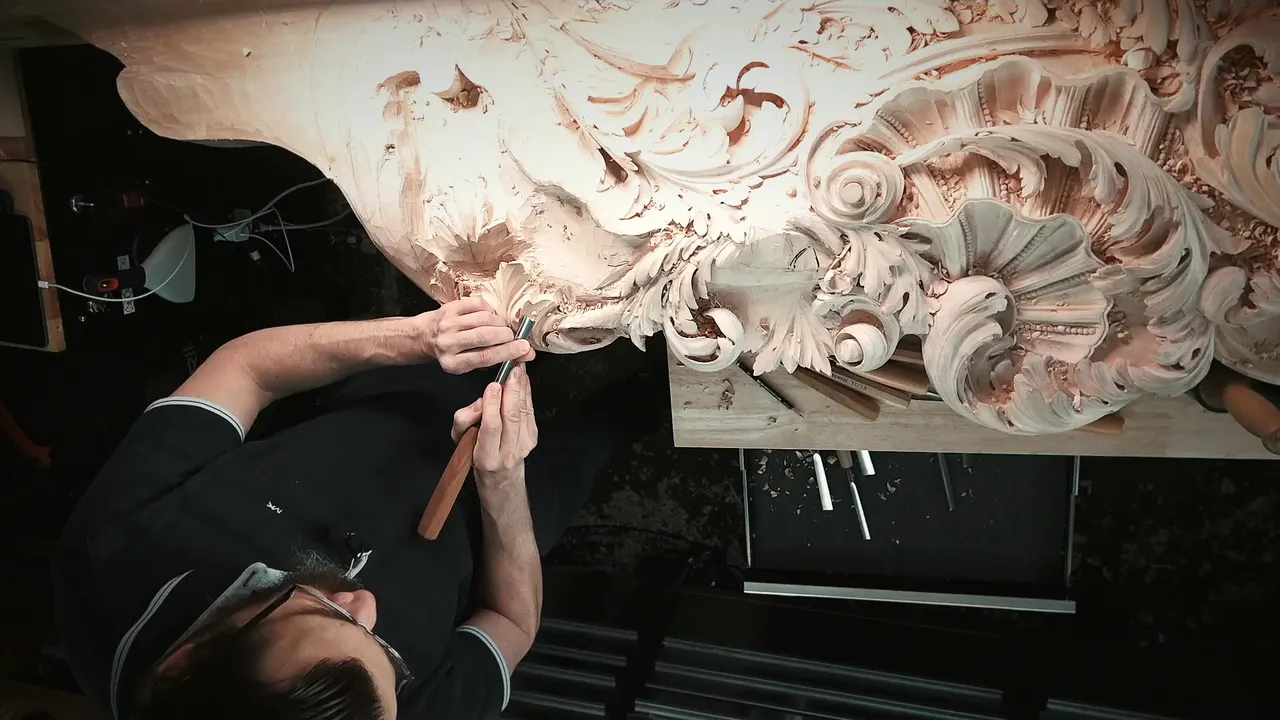
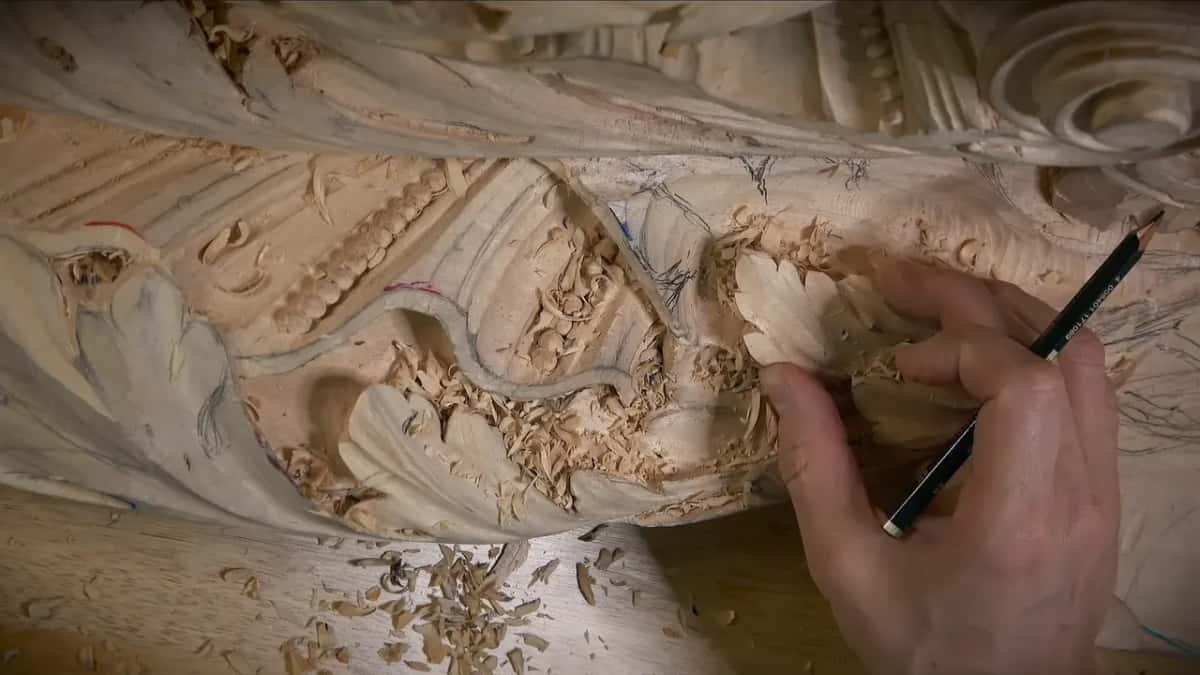
I repeat this three or four times across the twelve workshops. I will say it once more here, since it is what makes a carving pleasing to the eye. Matched does not mean equal. Acanthus on this Venetian work gets pairs that agree in idea and disagree in size, like a big eye across from a much smaller one.
What decides whether an ornament looks alive or only correct
- Split any span into ten by eye and set the line about six parts along.
- The true number is 0.618, so 62 out of 100. I said 0.68 on camera in workshop 72 and had to correct myself.
- Matching pairs get different sizes on purpose. Two centimeters on one side wants three on the other.
- A long leaf takes several divisions, and every one of those gets subdivided again.
- A gouge leaves one clean wall and one rough wall, so the same hollow is worked from both ends.
- Clean the surface flat before any detail, because you cannot draw on a mess.
Where does the golden ratio come into carving?
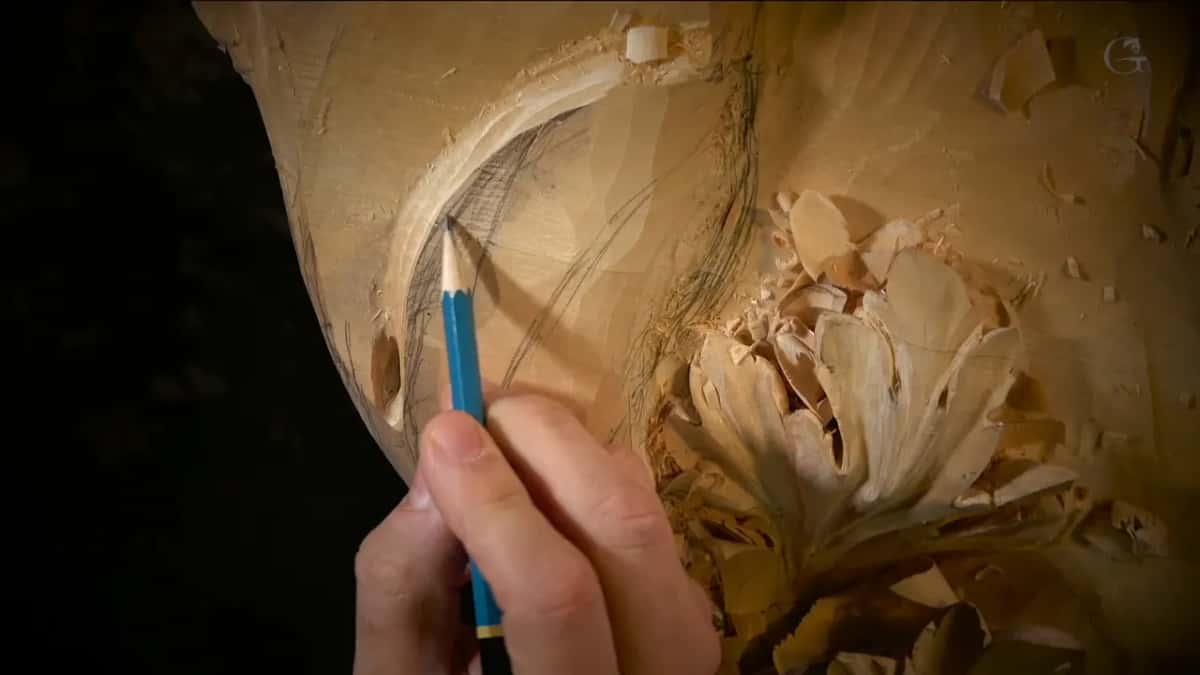
Take two points on the leaf, the start of a movement and the place it dies out. Run an invisible line between them. Now divide that line into ten, five and five, and shift your mark six parts toward whichever end the leaf already leans. Your middle line goes there.
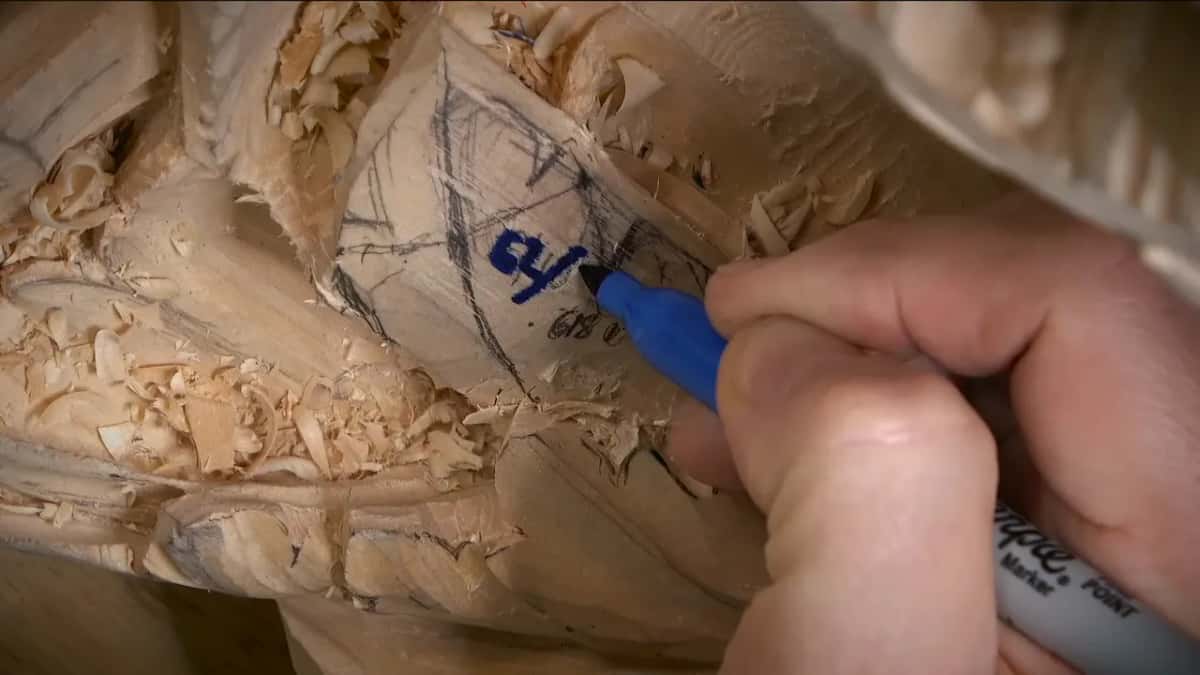
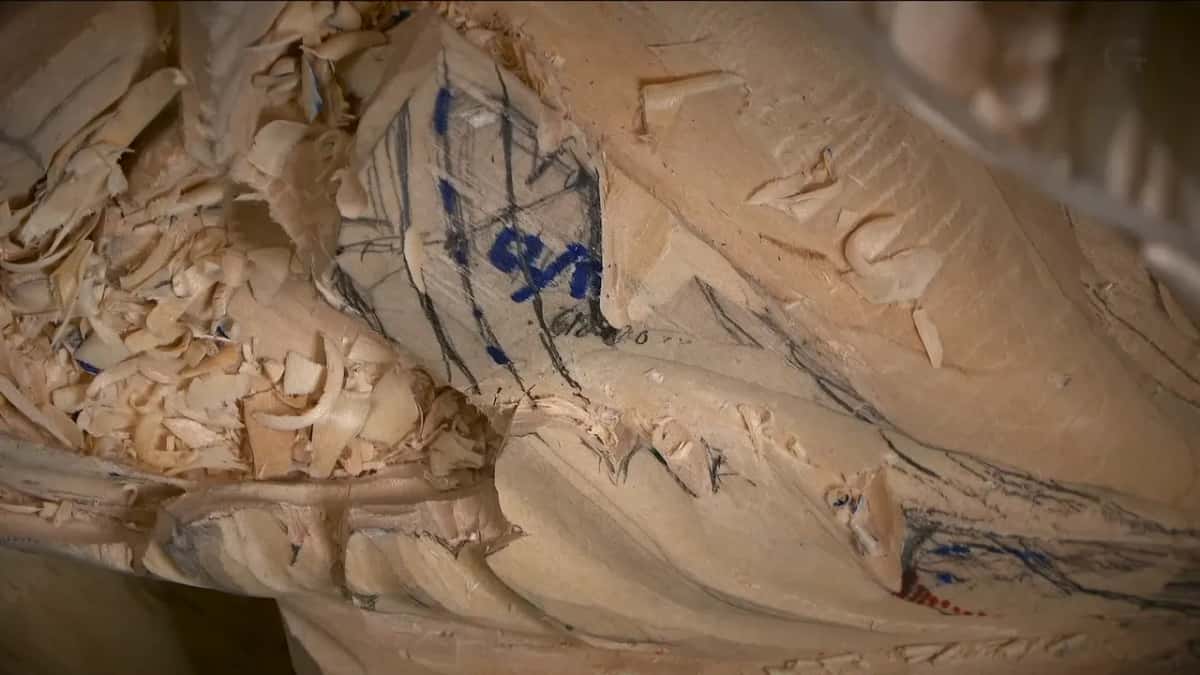
The true figure is 0.618 and change, and the golden ratio has been written about for more than two thousand years. In workshop 72 I said 0.68 out loud and caught it a few seconds later. Then I wrote 62 against 100 on the wood in blue marker, because then the math is easy. Close enough.
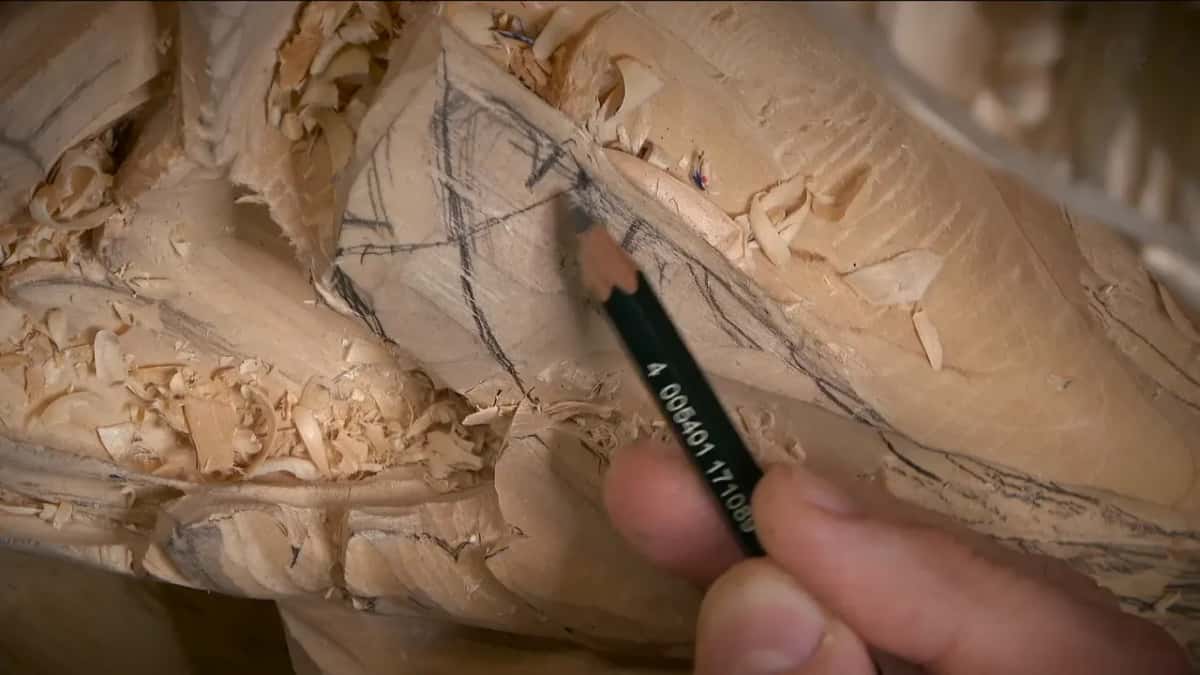
The middle line on one side also has to read with the one on the other side. Not equal, just readable. I checked mine with calipers in workshop 67, and my eye had it right on the money.
Why not just measure it?
I am not after perfection. Nobody is going to lay a ruler on the finished panel, and I am not going to check with a ruler whether I really landed on 0.618. That would be too much. I eyeball it. I count the ten parts in my head, and I do not count them carefully.
Nothing in this relief stays flat, either. Whole areas slope, and the work has to look good from every point of the room. Most people never think about those rules. The eye still reads them, and the brain likes it.
The same reasoning sits underneath the rule of thirds a photographer uses. If you want the drawing side of it properly, the design course covers it with a pencil and no wood at all.
Dynamic symmetry, and why one side runs bigger
Static symmetry is equal and equal. Same opening left, same opening right, same eye both sides. I call that simple symmetry.
The other kind keeps the idea and changes the size. If the separation on this side is two centimeters wide, the one facing it wants to be three. If a detail here is small, its partner over there gets made bigger. Five to eight. Two to three. It is still symmetrical, just a little different.
Look at yourself for a second. Your two eyes are a matched pair, so are your ears and your hands, and not one of those pairs is identical. One is always slightly bigger. Somehow that works with the brain. A leaf sized off the Fibonacci sequence looks pleasing even to people who have never heard of those rules.
The idea has a name and a history. Jay Hambidge put the phrase dynamic symmetry into circulation in the 1920s and argued the Greeks had been working that way all along, which not everybody accepted then and not everybody accepts now. I am not going to fight about the scholarship. I only know what happens on the board when I use it.
Where do the divisions fall on a long leaf?
On a long leaf I have to do several divisions, not one. That makes a lot more sense. I set the main divisions first, then the main subdivisions.
Subdivide everywhere. Workshop 69 opens with exactly that. Each division I put in gets smaller divisions inside it, and some of those get subdivided more.
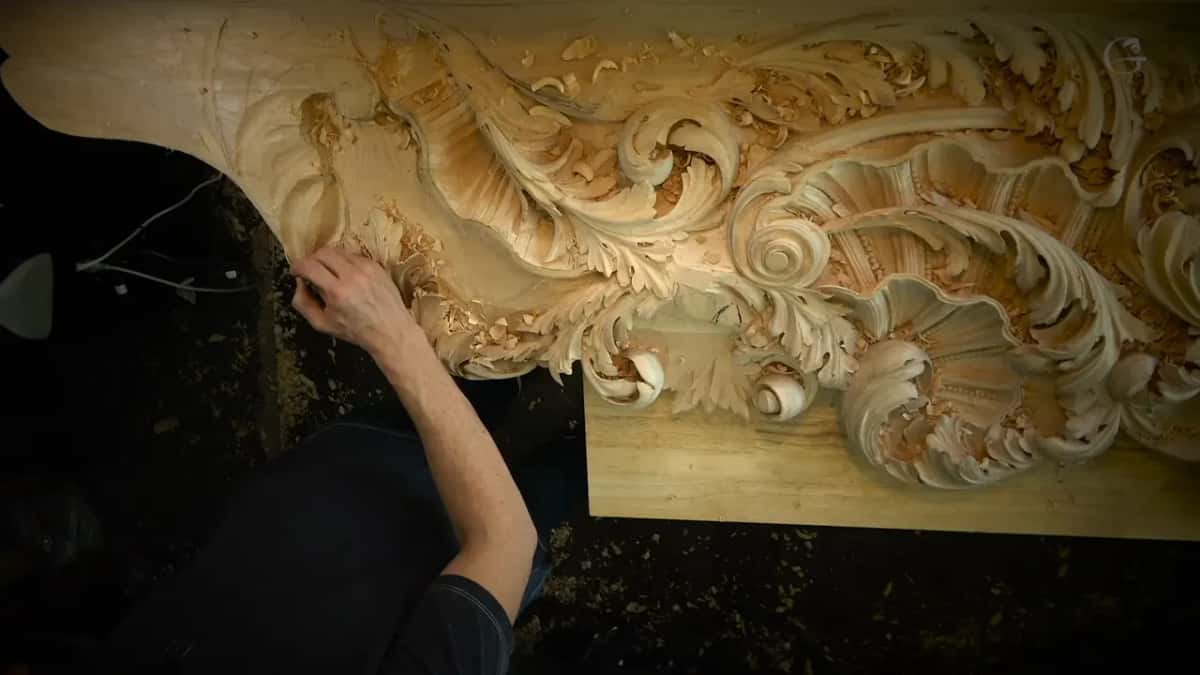
I use the same six out of ten for a middle line, for a concave and for the hollows beside a pipe. By now, as I say on camera, you should know my logic.
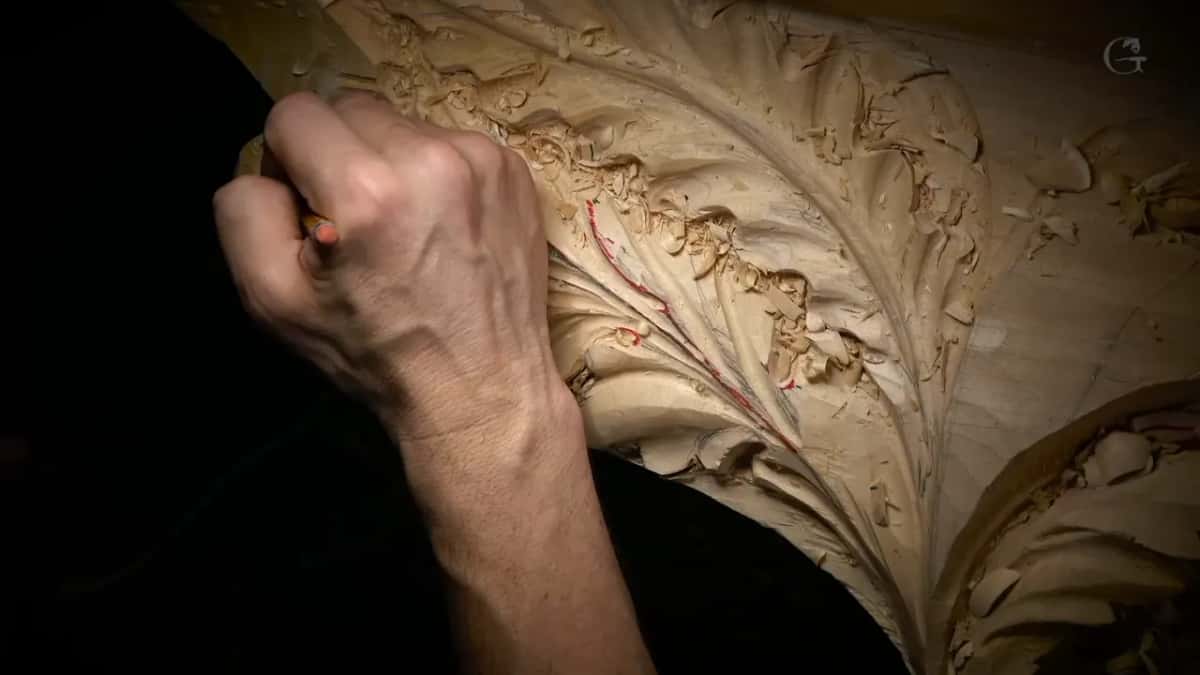
The Roman leaf and the Greek leaf have their own courses, and so does the Byzantine one. The Venetians took their big, exaggerated pipes from the Byzantine style.
What is the eye of an acanthus leaf?
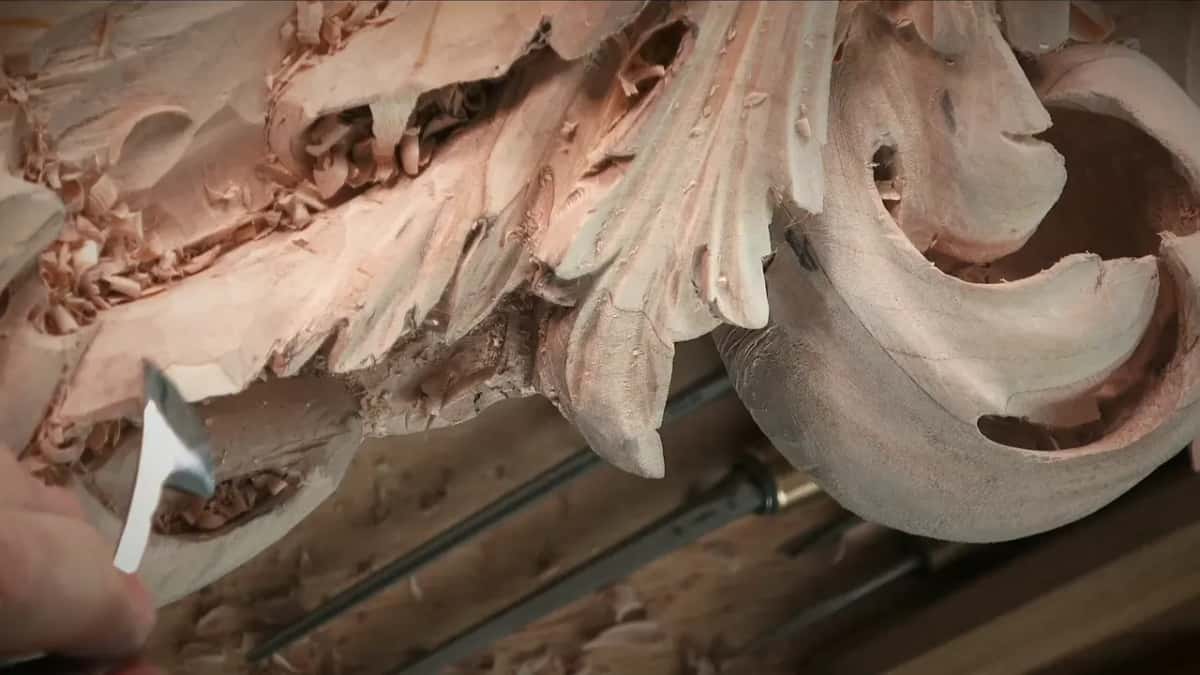
An eye is the deep hollow where two lobes turn apart. In this Venetian style the eyes are made big and deep, for the shadows.
I excavate it really deep. For the hole I take a small number 9, an eighth or a quarter of an inch, and make what I call a plug cut. It gives me the shadow I am after.
The pipe, and why the hollow comes first
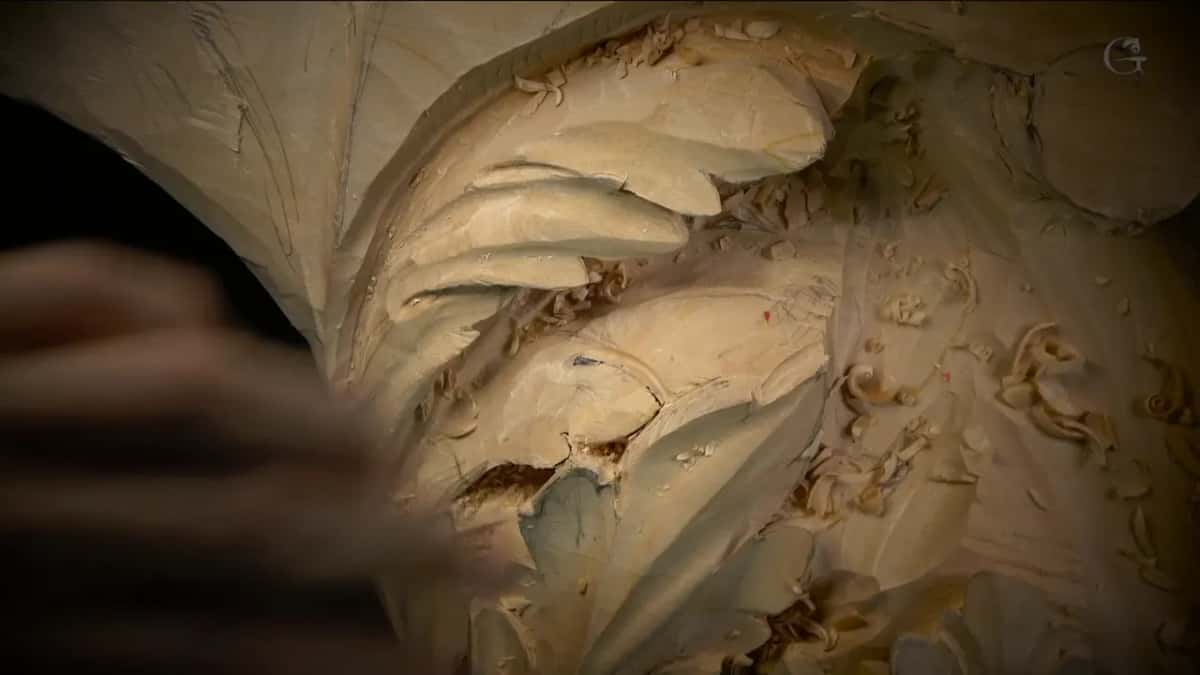
A pipe is my word for the raised tube of wood running along a lobe, convex all the way, catching light down its length. That ridge is what makes a leaf look inflated instead of flat.
On the sides of a pipe I need concaves, because without a concave I am not able to raise the pipe up. No concave first means no pipe later.
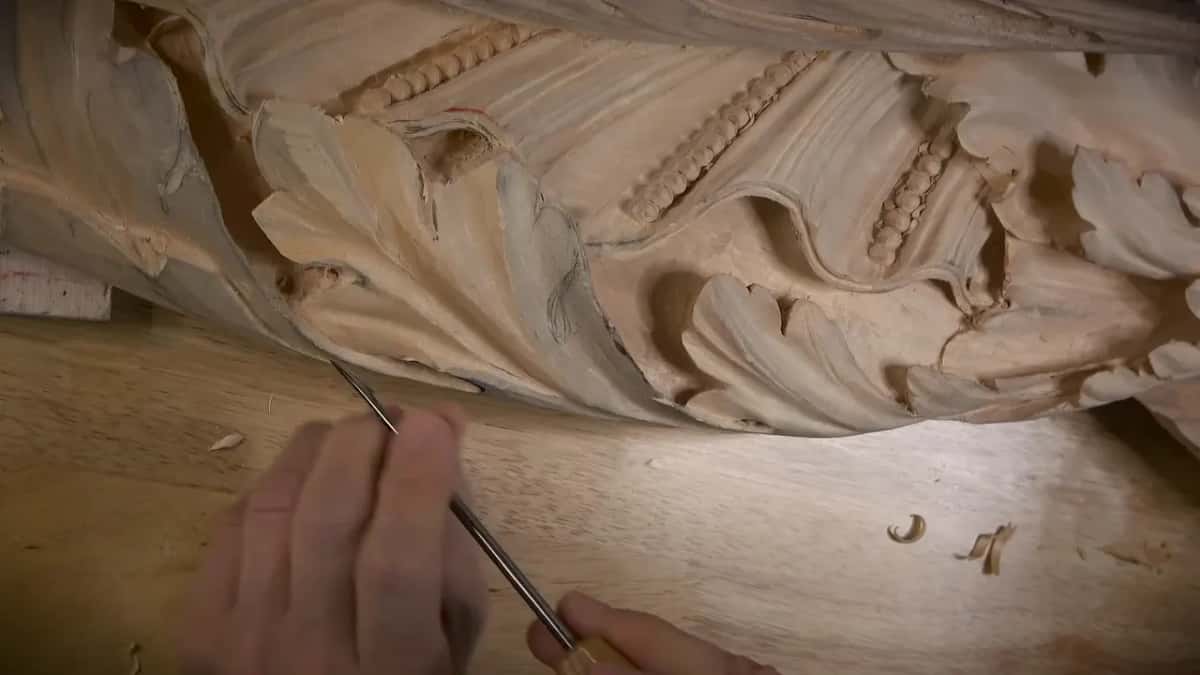
The shadow underneath is the other half of the job, and I talked about it a lot in workshops 50 through 61 as well. Where I do not have a lot of depth to give, I exaggerate the pipes, and they still cast shadows.
Why work one hollow from two directions?
Every time I run a gouge or a veiner through wood, one wall of the hollow comes out clean and the other comes out rough. It is always like that with veiners and gouges. Then there is the grain. Even the same lime wood, a close cousin of basswood, changes in softness from one spot to the next.
Because of that, I attack it from two sides. In from one end, then round to the other end. Wherever I catch the grain, I change position and come at it from the opposite side.
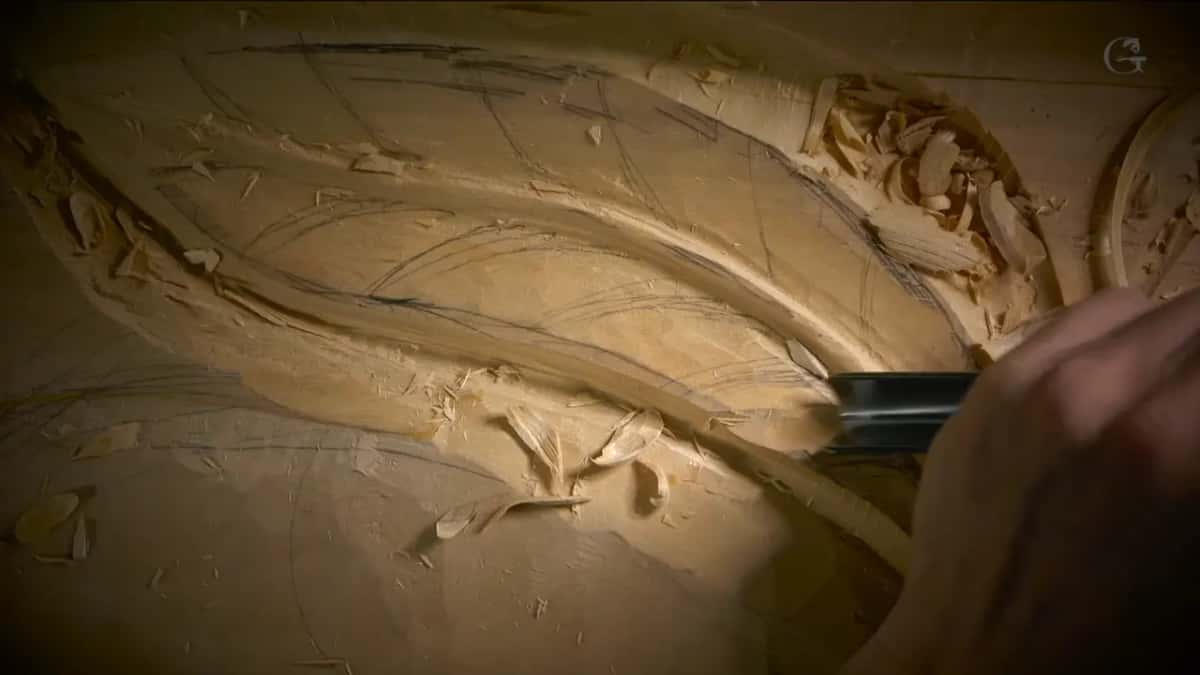
Why clean the surface before any detail goes in?
I call the cleaned surface a canvas. Number three across the high spots, barely any pressure, just knocking the ridges off so the shape underneath becomes visible. I need a canvas before I can draw on it.
Every canvas has a shape, and the shape is the front of a fishing boat. I explained that boat in an earlier workshop, and I come back to it here.
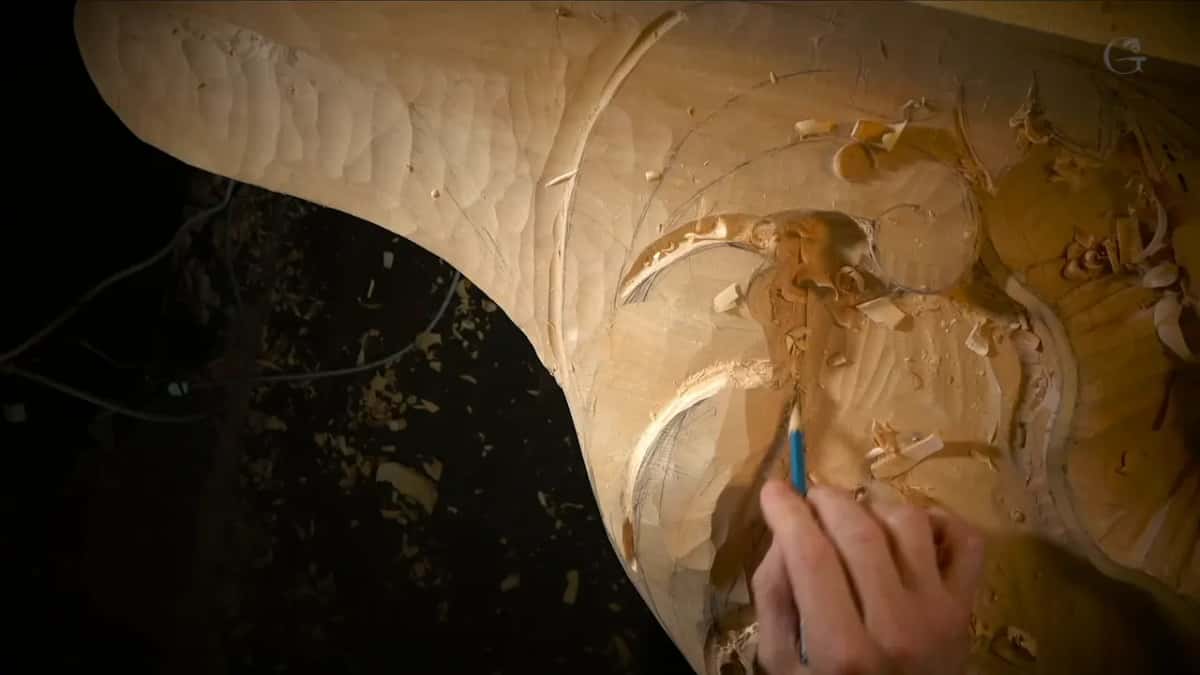
I could do more with these surfaces than I do. Lots of twists and moves. I hold back because the panel has to be true to the Venetian period, and a Baroque gesture in the middle of Venetian ornament is just a mistake wearing a nice coat.
Which tool does which part of this work?
Nothing here is exotic. Most of the work in these twelve workshops is done with a number 11, in a lot of sizes.
| Tool | Size | What it does for me | Where it goes on the leaf |
|---|---|---|---|
| Number 11 veiner | 1.5 mm to 7 mm | Opens a division and frees the waste beside it | Everywhere |
| Number 11, large | 20 mm | Removes bulk in a hurry | Around the head of the acanthus, sometimes with a mallet behind it |
| Number 9 spoon | 10 mm | Reaches down into a hollow that a straight shank cannot enter at any angle | Deep in a shadow section |
| Number 3 | Medium | Skims high spots | The whole surface, before a single detail goes in |
| Back bend | Number 5 | Takes facets off a convex and rounds a pipe over | Along the side of every pipe |
| Skew chisel | One inch | Slices a ridge away instead of pushing it | Transitions |
| Micro tool | Smallest on the rack | Thin steel passes through the fibers rather than shoving them aside | Last subdivisions |
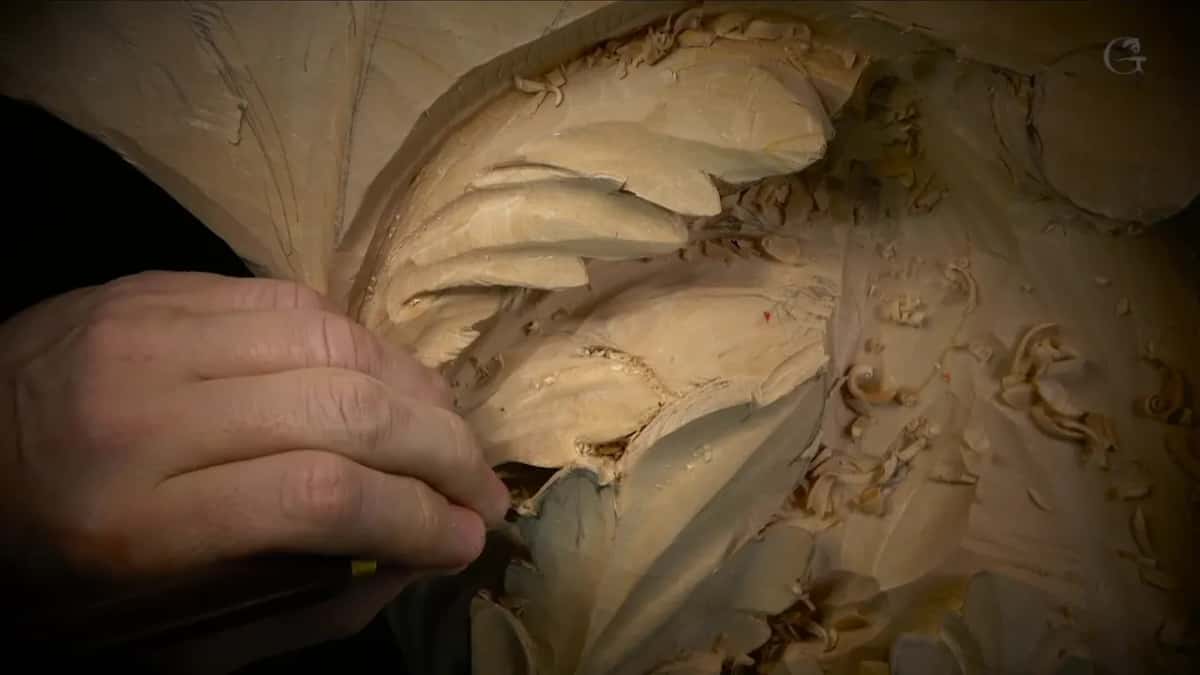
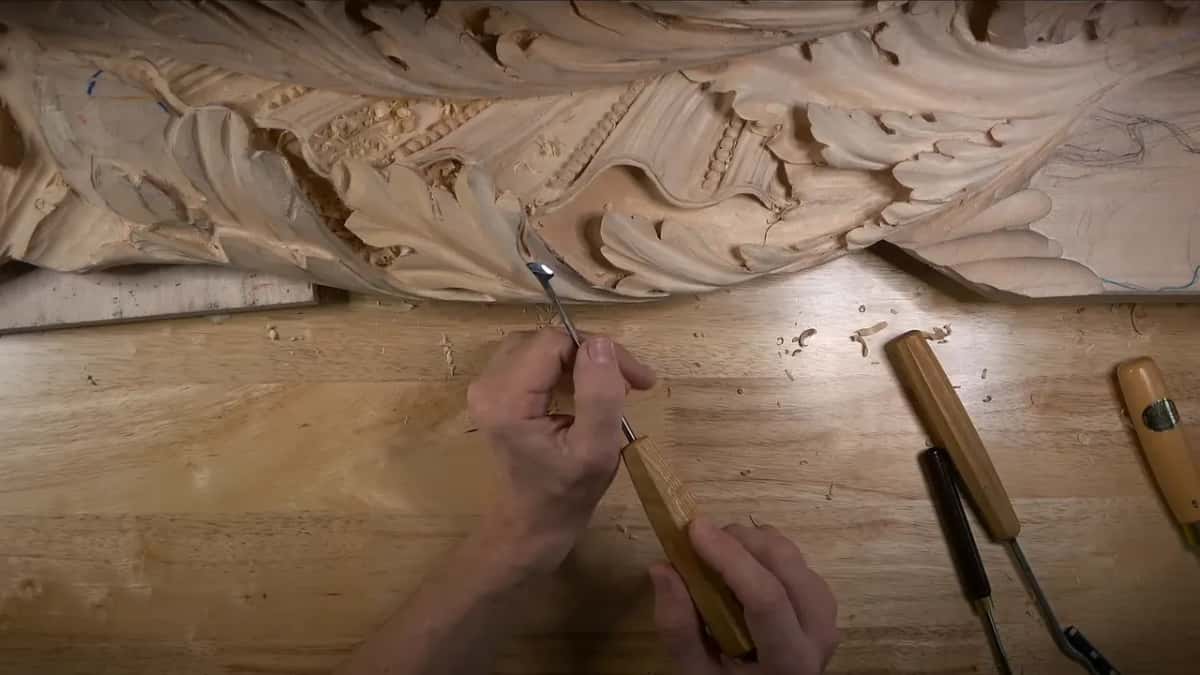
The micro tools I love are the Peter Benson collection from Ashley Iles, and I like them for one dull reason. The steel is thin. Thin steel goes through fibers instead of shoving them aside. You do not need a micro tool for this work, though, and a full size gouge will get you there.
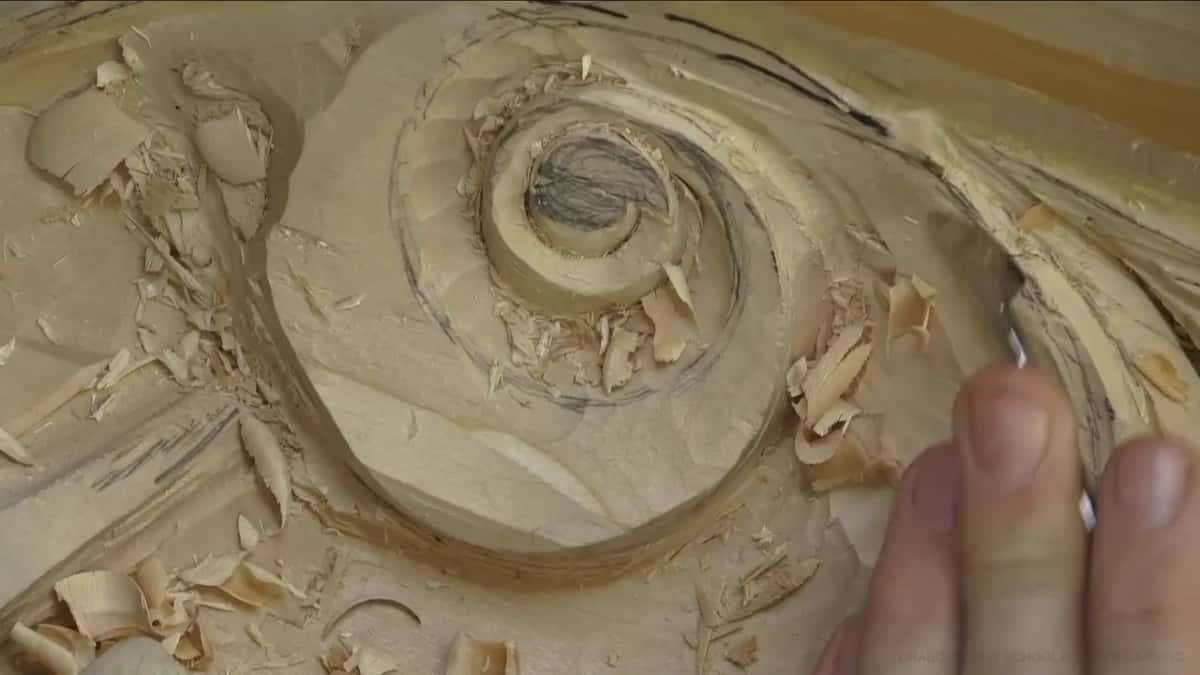
Worth naming as well is the Gonzalez chisel, which has every skew angle built into one handle, 45 degrees and 22 degrees and the rest. I love those things. When I have to carve against the grain, that is what comes off the rack.
Does a number 2 mean the same thing in England and in Europe?
It does not. A skew chisel is number two in England and number one in Europe. Same tool, same edge, different stamp.
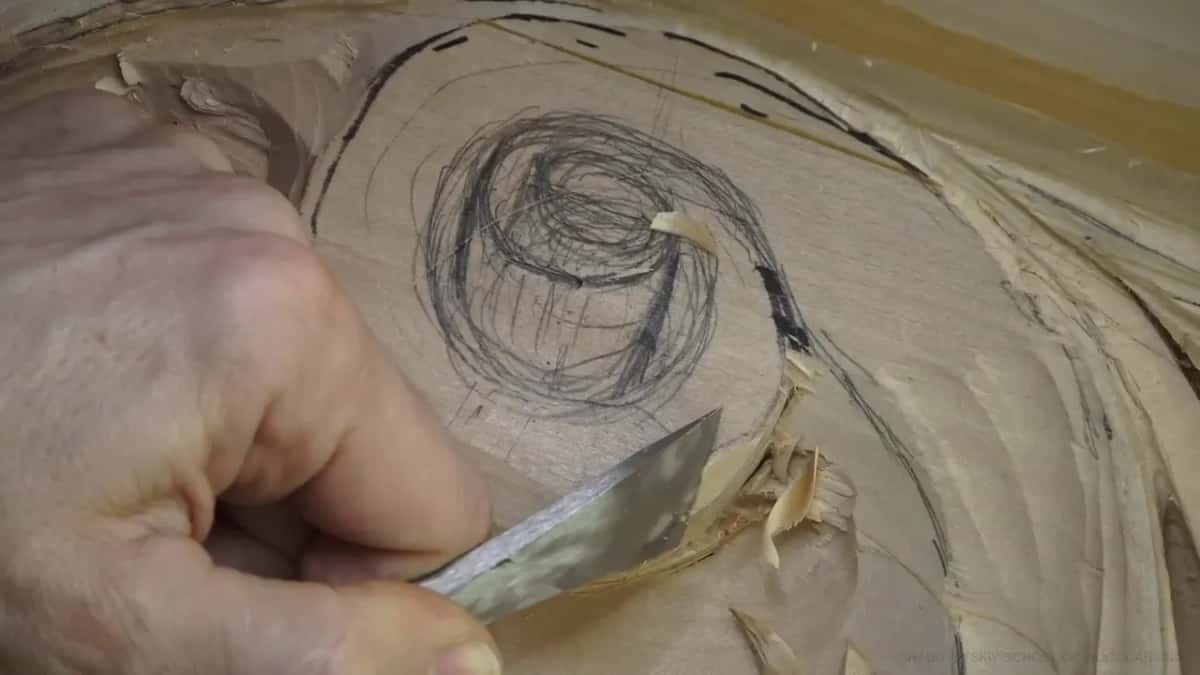
My big skew is marked number two because it is Ashley Iles, which is English marking, London pattern marking to be exact. Meanwhile a gouge on my bench, stamped number eight, feels like a seven every time I pick it up, and that brand happens to be my favorite at the moment. The stamp is a guide. Your hand is the authority.
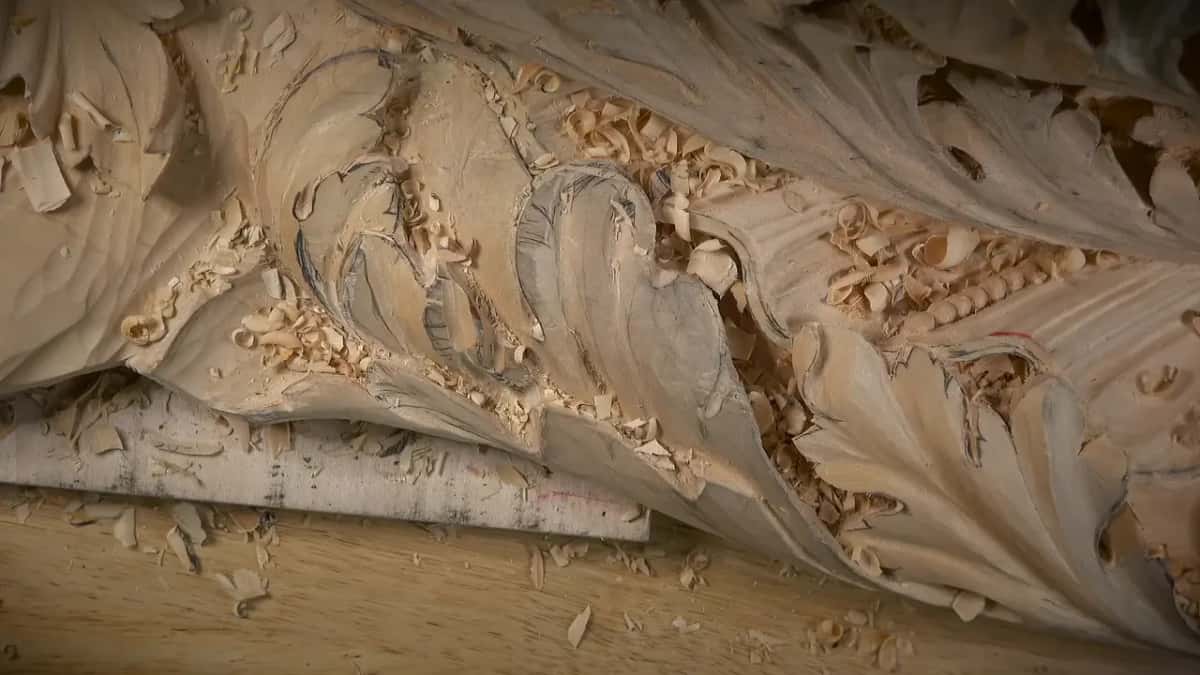
None of that matters if the edge is dull, which is a whole other subject and one I gave its own course. Sharpening is the hardest of the three skills and it takes years.
Why did Riemenschneider carve the side nobody would see?
You could ask me about him when I skip finishing an area that flowers will cover. Tilman Riemenschneider worked the backs of his figures to the same standard as the fronts, and what he would say about it was that people will not be able to see it, but God will.
That is true. I believe it. And we live in a different century, and I do not have the luxury those men had. In the 15th century a carver moved to the location of the project and could stay there for years, and he was paid well for it. Riemenschneider was paid well, as far as anybody knows, and nobody can ask him now. People now expect the work finished quickly.
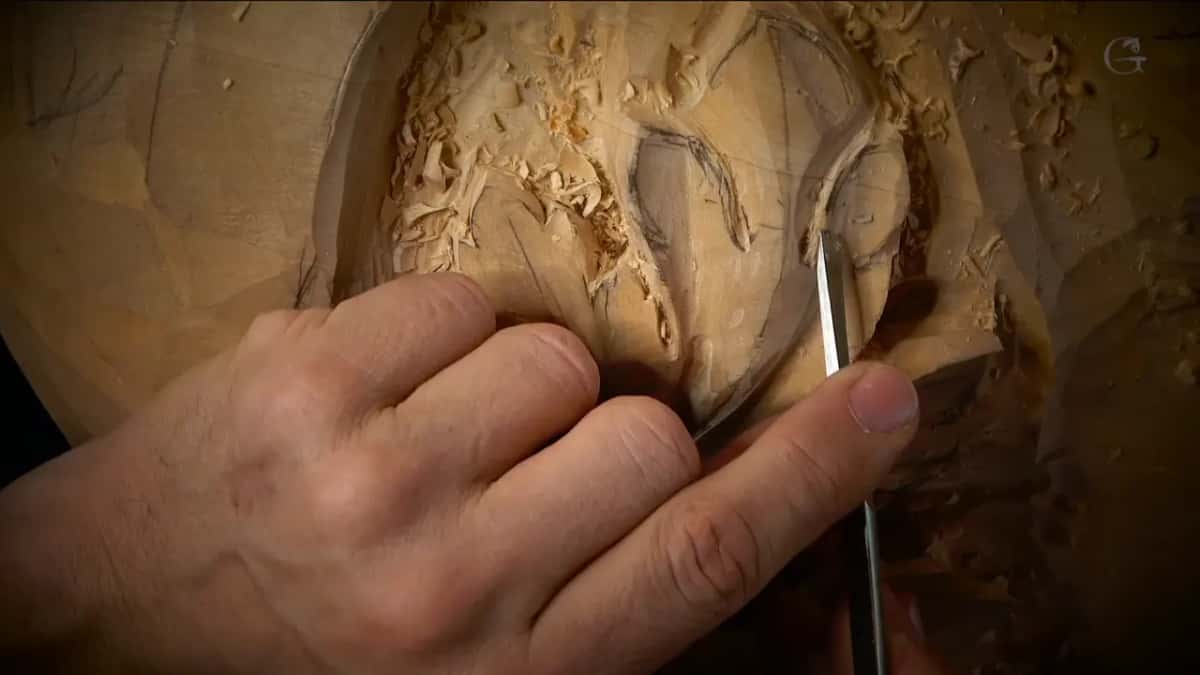
So I have to be wise about where the hours go. I can spend too much time in an area that will end up under a flower. Hopefully you like the result. More to the point, my client will like it, and the client is the one who ordered it and pays for it.
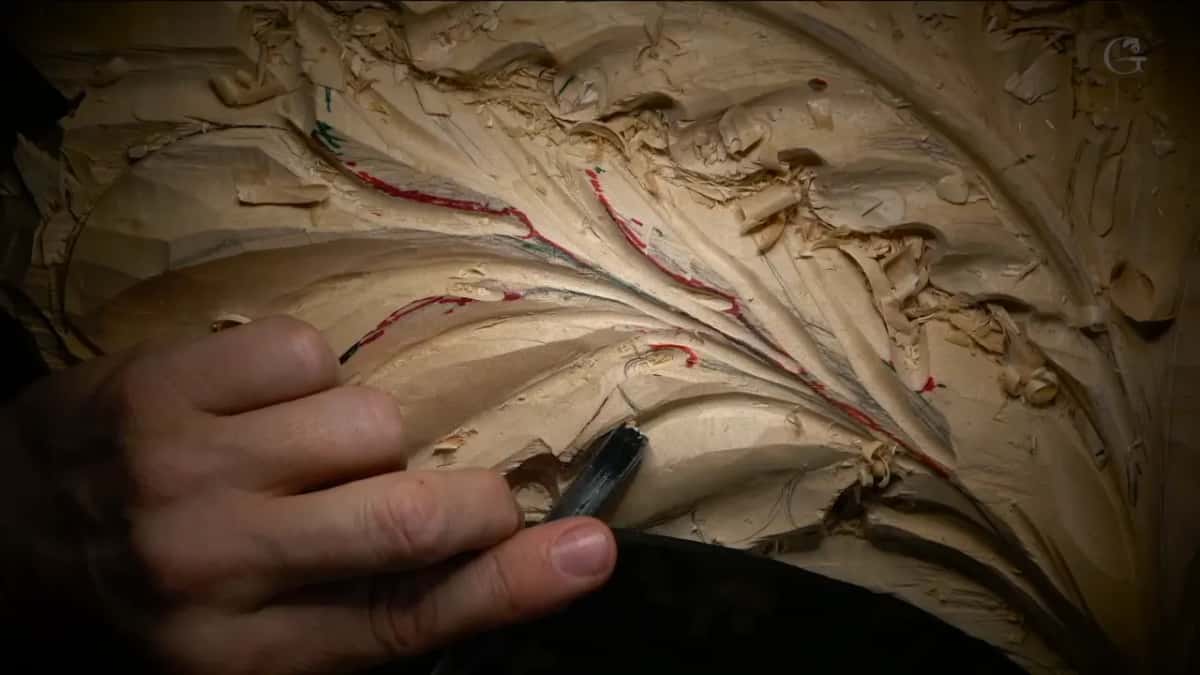
There is a version of this work where none of that applies. Big carving for churches, huge pieces, where some carvers relieve the shape and stop there without ever taking a final pass. That is legitimate. At that size it makes sense.
Who is this room actually for?
This is the sixth stretch of one project, and the project is a whole room. It began back in workshops 1 through 12, ran through 13 to 25 and 26 to 37, and by 38 to 49 the board already had shape. Nobody carves this in a weekend.
If you can already rough out a leaf and you want to know why yours looks stiff next to a 15th century one, the answer is on this page and the practice is in the twelve workshops.
Do you want to understand why the old work looks the way it does, instead of copying the shape and hoping? Would a leaf that grows off its board interest you more than one more finished ornament? Then the whole school is one door, and this room is one course behind it. Shall we carve?
Want to look around first, that is fine. The map of every lesson is open to anybody, the story of the school sits on one page, and the classes in Maine are there if you would rather stand at a bench next to mine. Start here if you have never held a gouge, and a shorter course on acanthus over moldings waits if a whole room is too much to take on.
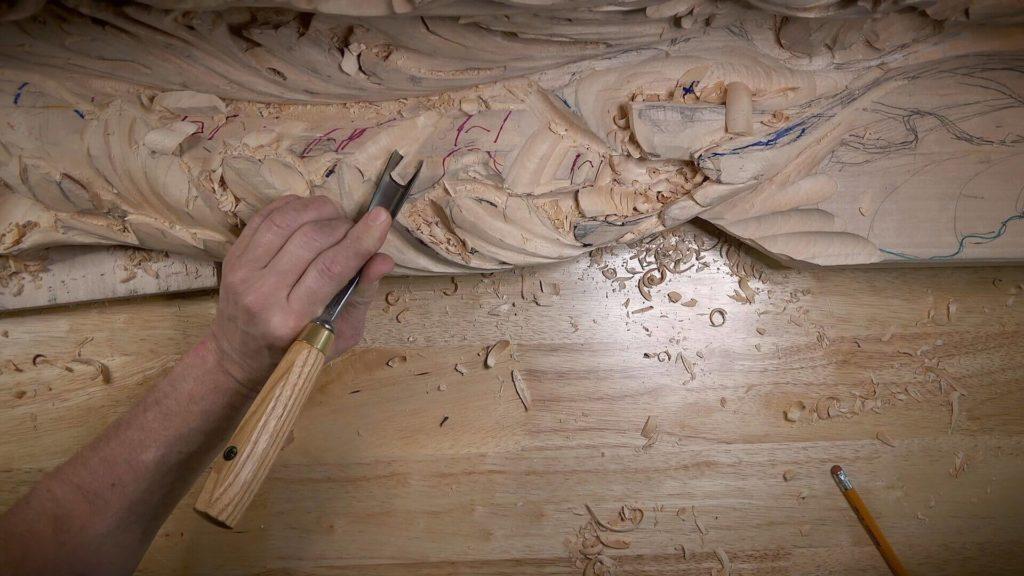
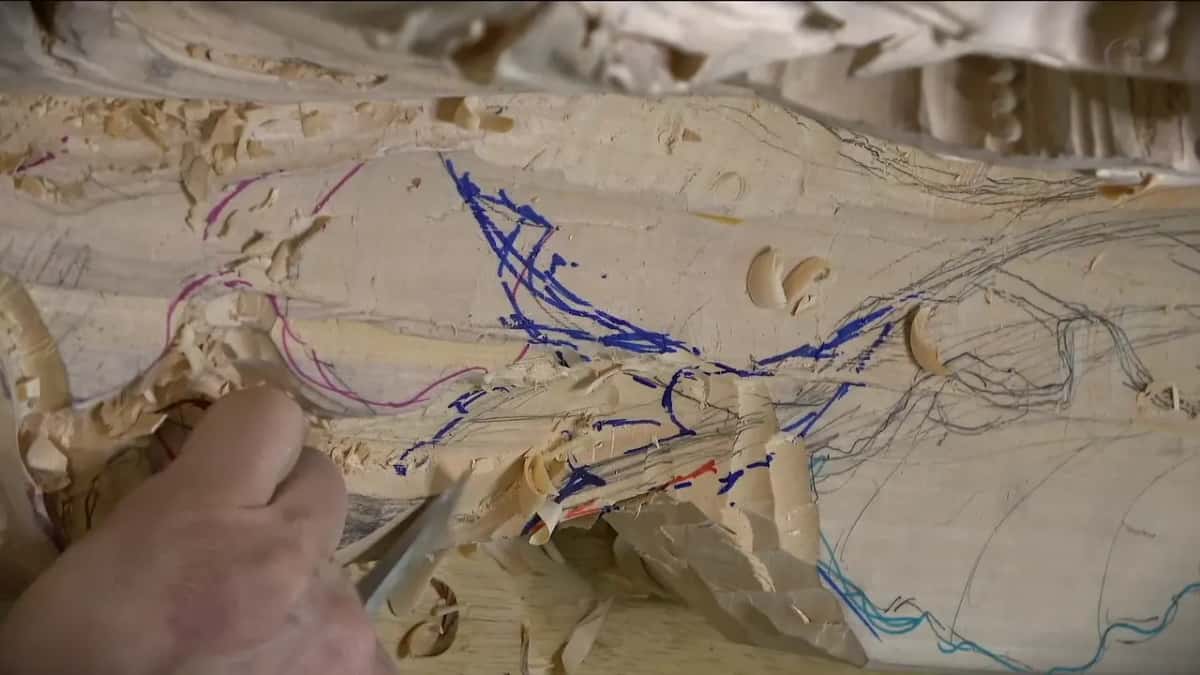
The board is covered in pencil by this stage, and not just gray pencil. Red lines, green lines, blue marker over the top of both. I know it looks like a children's book somebody colored in, colors all over. I live with that.
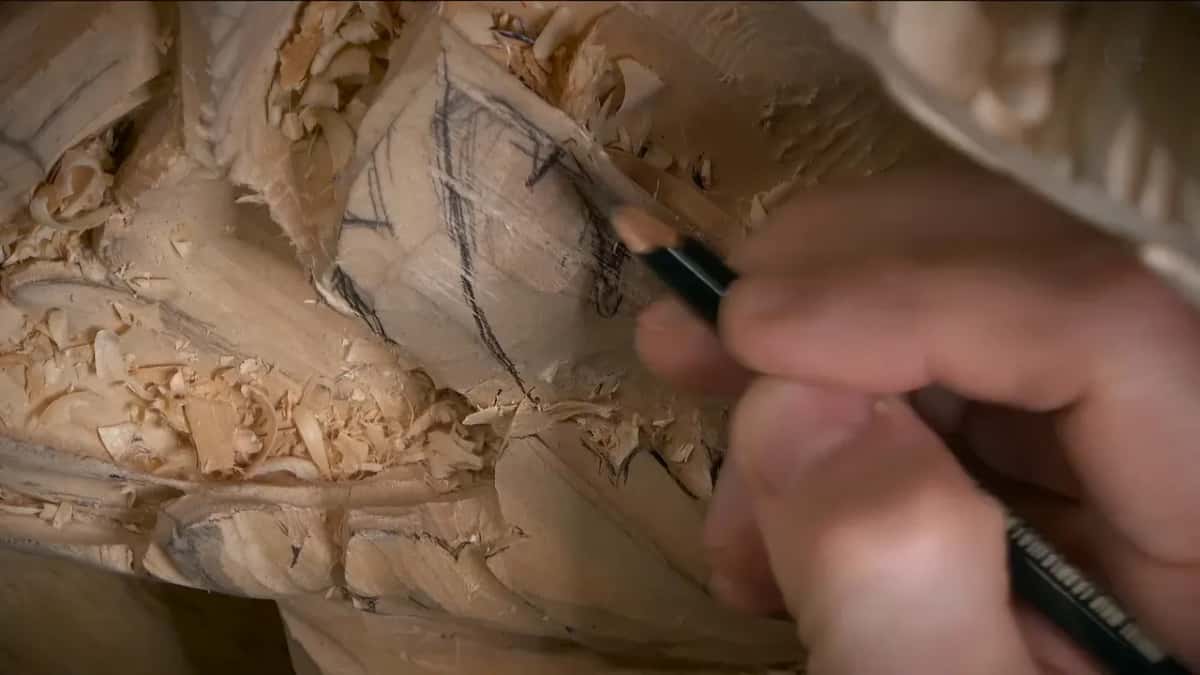
One last thing, and it is nothing to do with proportion. In workshop 64 I sharpened a pencil partway through and got graphite all over my hands, said out loud that this was no bueno, and kept carving anyway.
How it's done
- Skim the surface flat first. A number 3 across the high spots, almost no pressure. You cannot mark anything on a surface you cannot read.
- Find where the movement starts and dies. Pick those two points, then run a straight line between them in your head. I don't need to draw that line every time.
- Break that run into ten. Five one way, five the other, eyeballed rather than counted.
- Push the mark past center. Six tenths toward whichever end the leaf already leans. True figure runs 0.618, which is 62 out of 100, and that keeps the math easy.
- Make the facing division a different size. A 2 cm separation here wants roughly 3 cm opposite. Equal reads as manufactured.
- Hollow beside the pipe, never on it. Without a concave beside it, the pipe cannot be raised up. Sink the concave with a number 11, little by little.
- Come at each hollow from both ends. One wall comes out clean, the other rough. Attack from two sides, and wherever you catch the grain, change position.
- Then do it all again, smaller. Subdivide everywhere, and some of those get subdivided more. Long leaves get multiple divisions.
Frequently asked questions
How does the golden ratio work on a leaf?
It places the middle line and sizes each division against its neighbor, at roughly 62 against 38. At the bench that becomes ten imaginary parts with the mark pushed to the sixth, which is approximately 0.618, and approximately is all I am after.
Do you measure it while you carve?
Not the ratio itself. I eyeball that, and a ruler check on it would be too much. Once, in workshop 67, I put calipers on one middle line to compare it with its partner, and my eye had already put it in the right spot.
Why should one half of a matched pair be bigger?
Static symmetry makes both sides the same. The other kind keeps the pair and changes the size, so 2 cm here is answered by roughly 3 cm there. Your own eyes and hands are matched pairs where one runs slightly bigger, and somehow that works with the brain.
What to carve next