
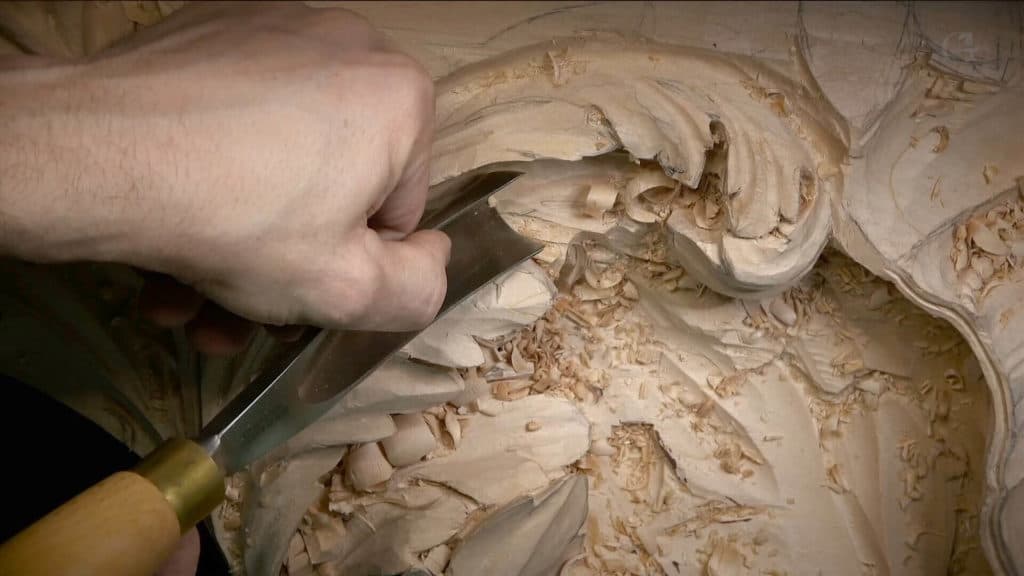
Alexander Grabovetskiy, woodcarver, School of Woodcarving · Published 2020
How do you avoid carving too deep?
Quick answer: Depth control is knowing how much wood remains under your tool in each spot, and letting that choose the gouge, the force and the stop. On a Venetian panel in workshop 70 I worked by hand where about 5/8 of an inch was left, stepped down to a 2 mm veiner, and checked twice before going on.
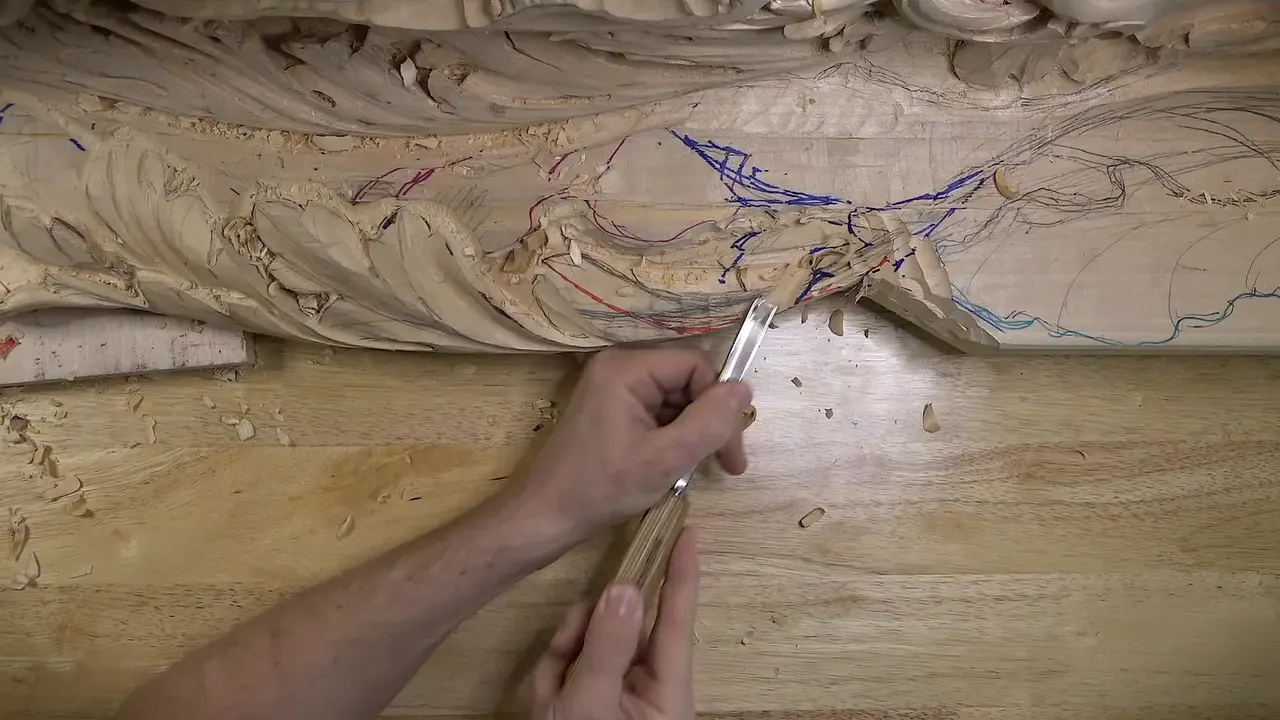
Avoiding carving too deep is a habit of knowing how much wood is left under the gouge in each spot, and letting that pick the tool, the force and the place you stop. Thin wood carving makes the habit easy to see. In workshop 70 of my Venetian panel I had about 5/8 of an inch left in one spot, 15 to 16 mm, and I decided I maybe didn't even need a mallet there. Just by hand.
I've gone too far before, more than once. I said as much on camera in that workshop, and I didn't say which time, so I won't guess at it for you.
Have you ever felt a gouge sink further than you meant? Did the wood under it turn out thinner than it looked from above? Then come through workshop 70 with me, spot by spot, and watch where I slow down and where I let the tool go.
What kept my thin spots whole in workshop 70
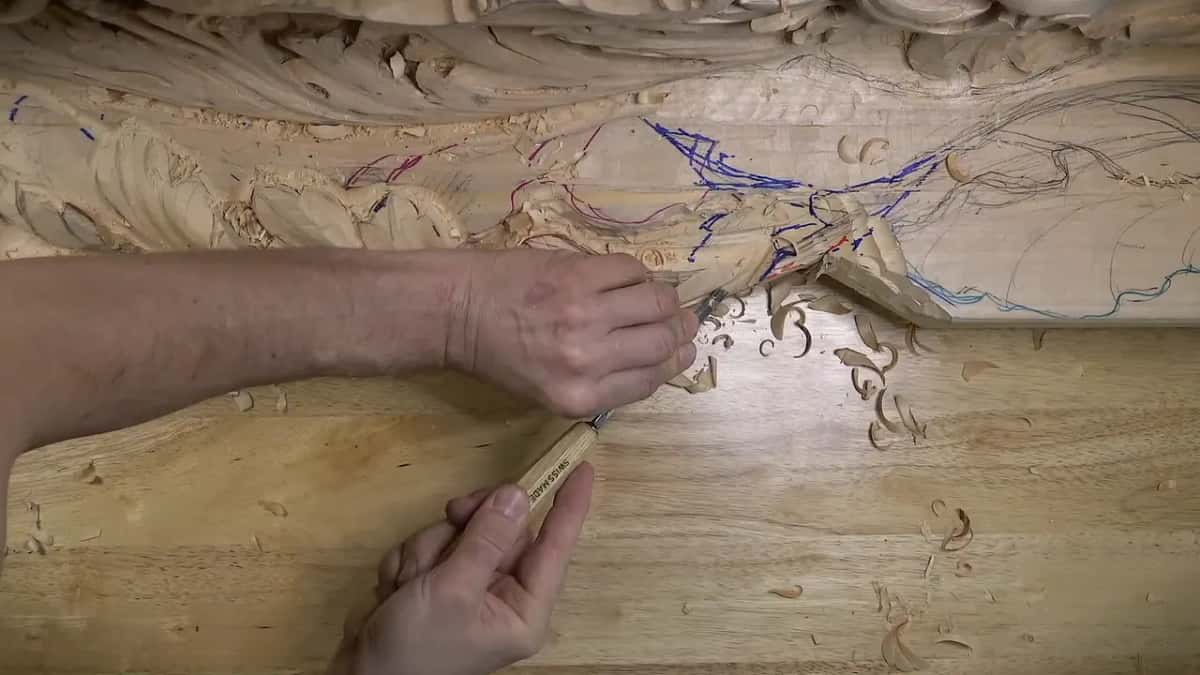
One spot had so little wood left that I carved it by hand.
A 7 mm veiner felt too big there, then a 5 mm one did, and I finished on 2 mm with a sixteenth of an inch below.
The deeper I go, the smaller the tool I pick up.
Twice I stopped in the middle of a part to double check before going on.
Beside one ridge I kept a thin margin of wood for shaping later.
Strong grain, or a shell still to come, told me where going much deeper was allowed.
What was left under my gouge in the thinnest spot?
Five eighths of an inch, in the thinnest place I worked that day, and I gave the number at the very start of that part. I got to be really careful, I said, because I don't have too much thickness left, so I have to be really mindful what I'm doing. I couldn't be too extreme, I should say.
A little further in I stopped and said that was probably the most I could go, since there wasn't much material left.
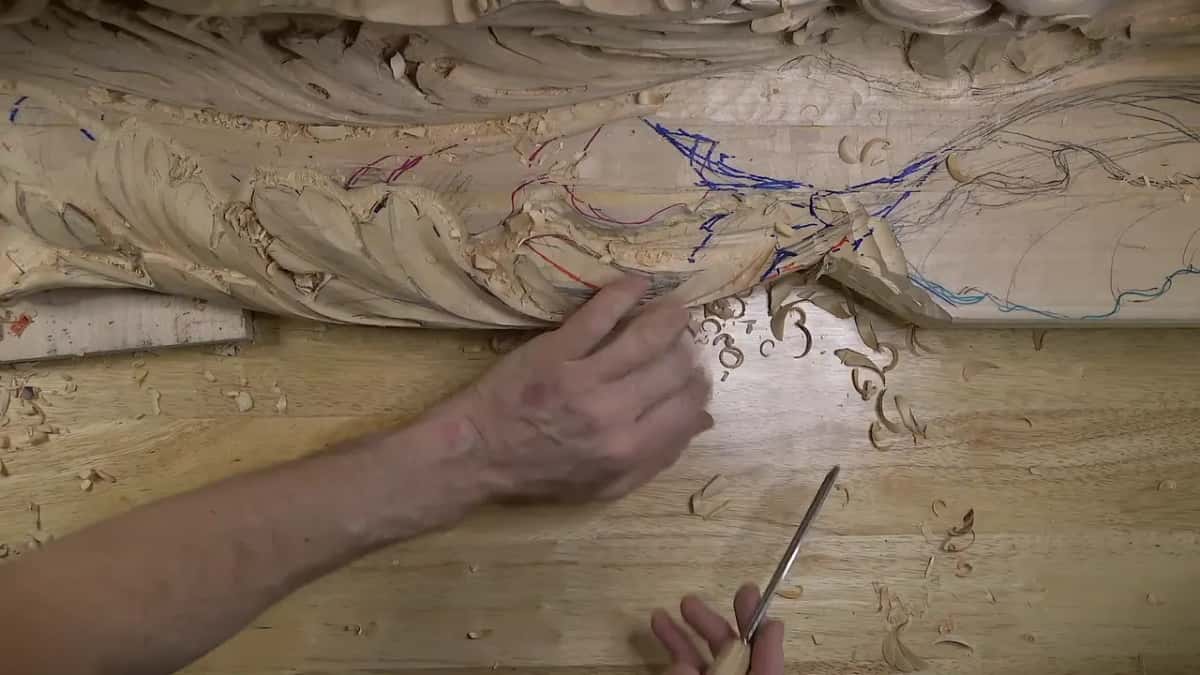
The plan didn't shrink with the wood, though. I still wanted the feel of that part wrapping around another element on this relief, and I said I would need to undercut later so it really feels like it wraps. I don't have much material, I said, but this should be okay. We should be okay.
A thin leaf that has to stay solid is a different problem, and workshop 66 is where I kept a hidden spot of wood for one.
Why does a smaller gouge help in thin wood carving?
A smaller tool is a lot easier to control, and that is what a thin spot asks of you. In that same place I started undercutting beneath the wrapping with a 7 mm #11, a veiner, and slowly, slowly rotated it toward the left. Maybe seven is too big, I said. We'll see.
It was a little too big. I went to five millimeters, and after about half a minute of quiet work that one felt too big as well, so I switched to two millimeters right there. Two was good. I had only about 1/16 of an inch in that area, roughly 1.6 mm, and I said the number twice.
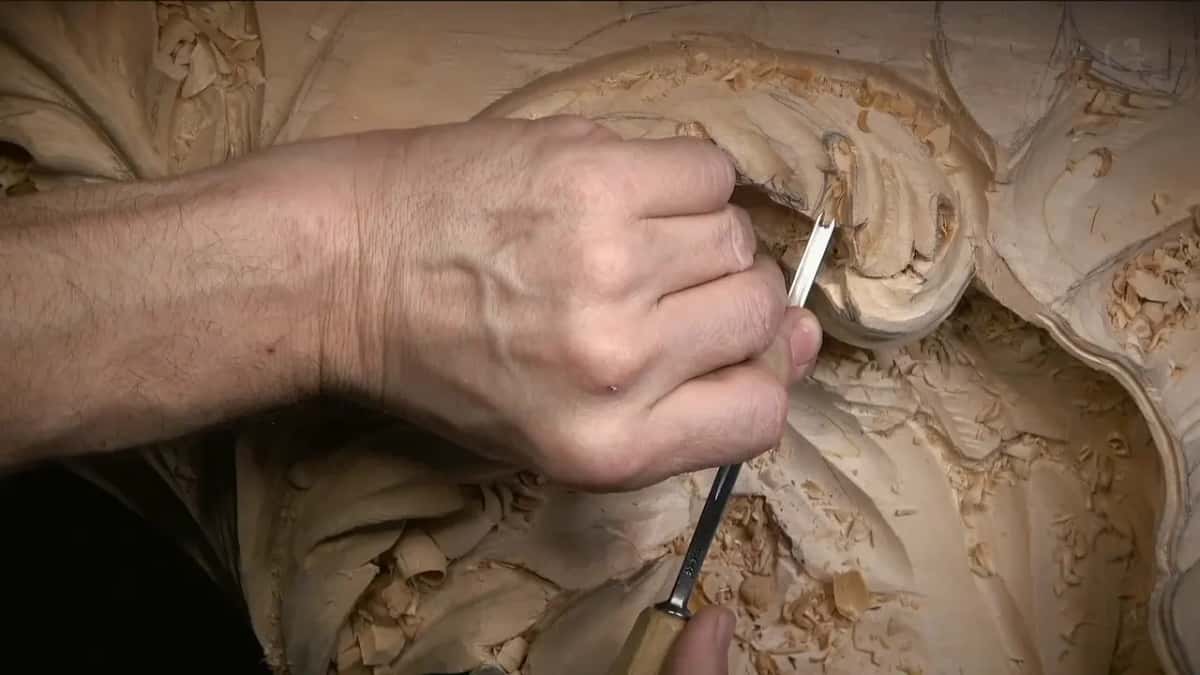
From above, in part 3, I went smaller still, a plug with a tool of maybe 3/32 of an inch from my Dockyard micro tools. It went really deep. Later on those two openings meet, there is a pass-through, and the light gets to hit that area too.
Two other parts of workshop 70 put the rule in plain words. Part 8 has it, while I was digging a deep hole. The deeper I go, I said, the smaller the tool I should use, and I took a quarter inch #9, six millimeters. Two parts later I said it's a good idea to use the smaller tools first and clean up afterward with the big ones.
A smaller tool is going to take much longer. I'm okay with that. If it gives me much better control, I'm okay with that.
One more small thing from part 2 belongs here. I wanted 2 millimeters of #11 in one spot, and said I can always make it better and make it wider later. Narrow first, then wider if I want.
When should you stop and check how deep you are?
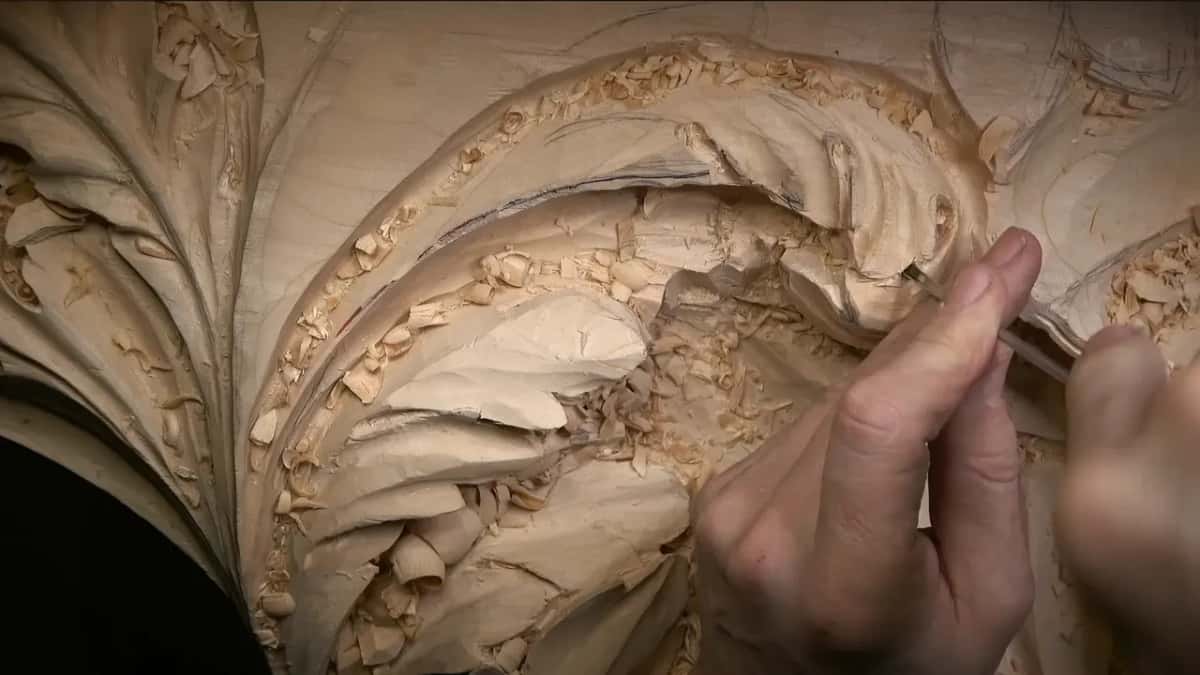
Before it gets too deep, because after that it is too late anyway. Opening up a section in part 3 with a 3 mm #11, to give it a lighter feel and a nice shadow, I worked in silence for about half a minute and then stopped. I was double checking that I wasn't making a mistake before it was too deep. It looked like I wasn't.
Then I said the hard part out loud. If I'm not okay with this moment, it's too late anyway, because it's already too deep.
Stopping also means seeing when you have enough. Back in part 2 I made a plug removal cut with a #9 of 1/8 inch and said I could go as deep as I wished. At about 10 millimeters (3/8 in) it was already giving me what I was after, and I said that shadow was a really nice shadow.
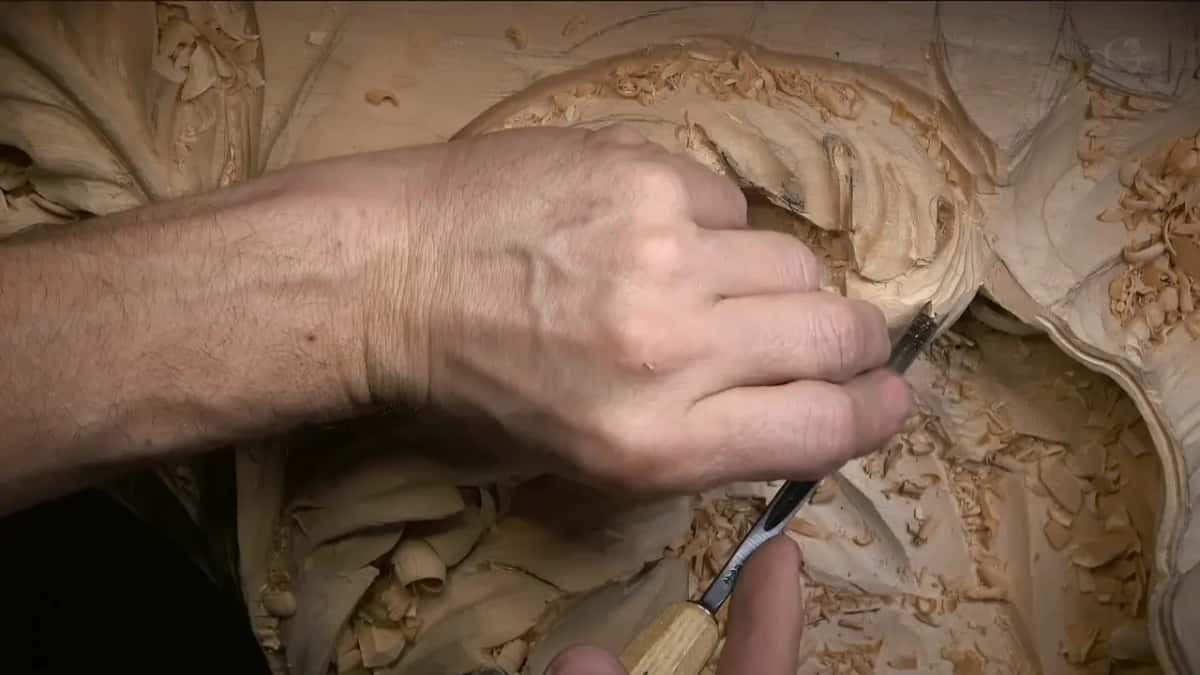
The same stop came back shorter in part 10. Am I doing the right thing? Double check. Double check before too far.
Undercutting toward a hole in part 9, I said I have to be really mindful how deep I'm going, because I've done that mistake too many times when I carved too deep. Less than two minutes later I said it again. Really mindful. Cannot forget.
Don't like that sound, I said once in part 3, and kept going.
Why leave wood you plan to take off later?
The next shape needs something to come out of, which is why I stopped short of a ridge in part 11. I was making a plug cut with a #9 of a quarter inch, 6 mm, going in little by little until the plug popped out, and I had one inch inside really quickly.
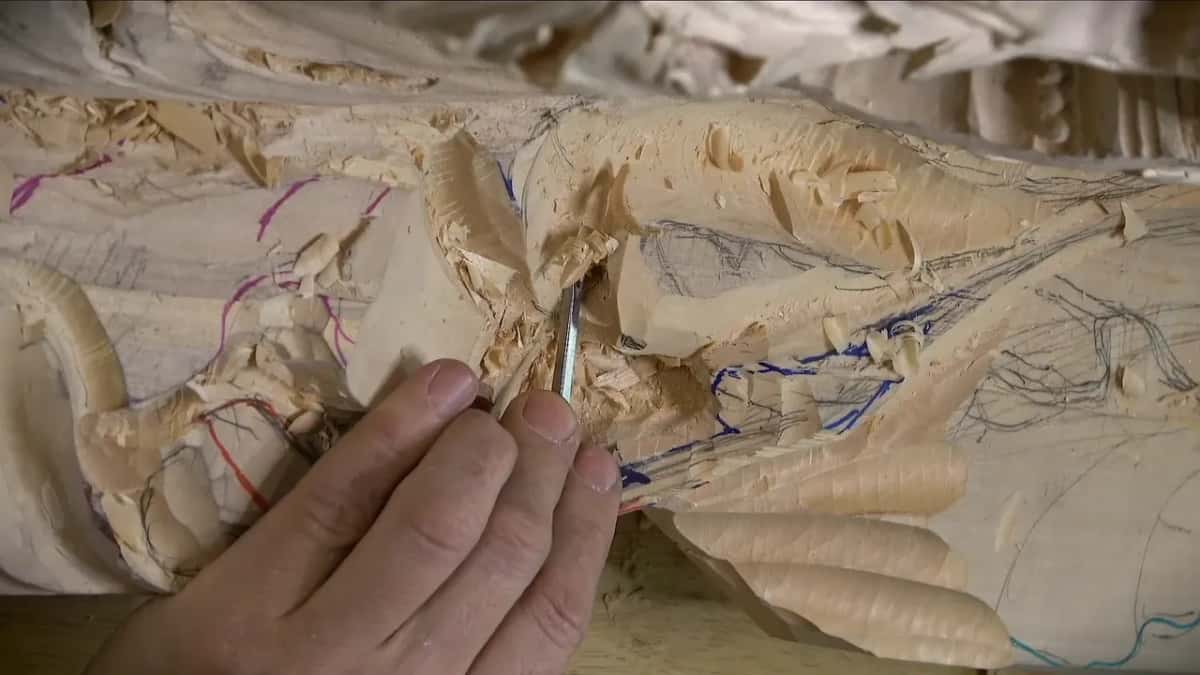
Everything went toward that hole. Right beside it, though, I left approximately one eighth of an inch, about 3 mm, because I still had to develop my concaves and convexes there, and I didn't want to go all the way to the ridge. So important for me not to rush it, I said.
The same care went into a plug cut in part 3. It gives quick material removal, and I said I had to be really careful how deep I went with it, since later on I have to clean the inside of it.
The shell wasn't carved at all yet in part 1. I kept saying I don't want to hit my future shell, then fixed my own words, not future shell but whatever the shell is supposed to be. Near the end of that part I said I didn't want to damage the end of the shell either.
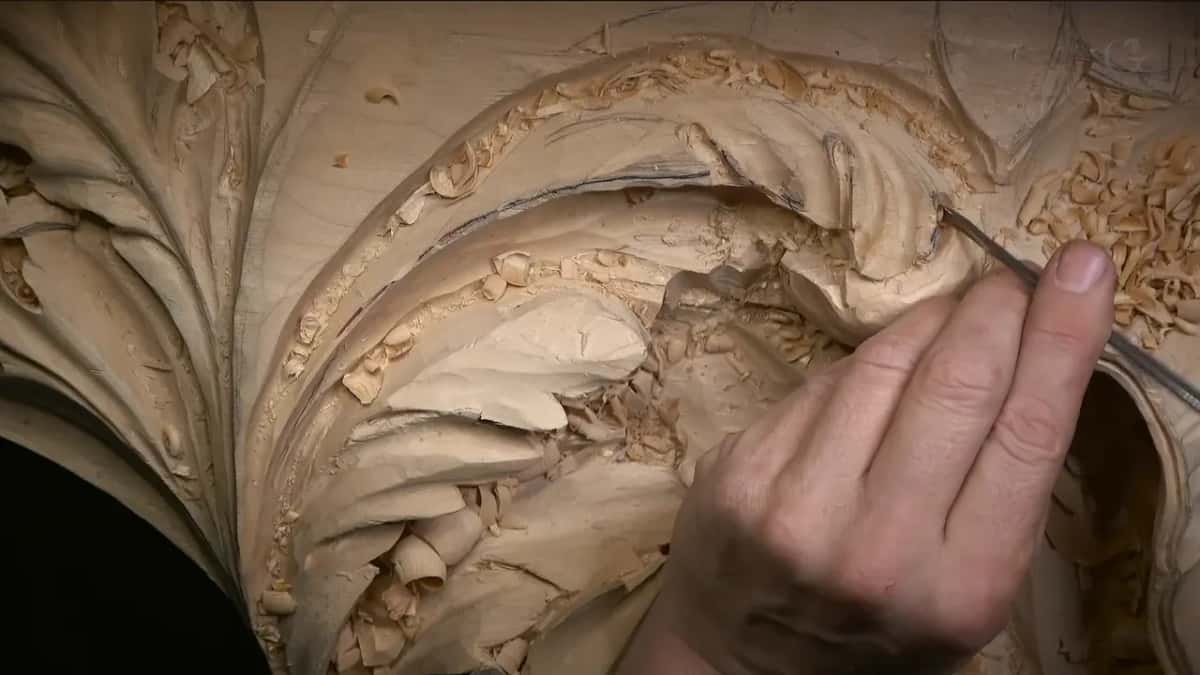
Which spots in workshop 70 held me back, and which let me dig?
Here they are in the order the table reads, thin places first, then the places the wood or the design let me go deeper.
| Where | What the wood or the design allowed | What I did |
|---|---|---|
| Wrapping part, part 6 | Five eighths inch or so left in this one spot | Worked there by hand |
| Undercut beneath it | Only one sixteenth of an inch left in that area | Ended on a 2 mm |
| Next to a ridge, part 11 | The shaping beside it was not carved there yet | Kept about 3 mm |
| Darkest spot, part 8 | A really dark shadow wanted, with not that much thickness | Plug first, then smaller |
| By the shell, part 7 | The shell would let me go much deeper there | Only if I wanted |
| Strong grain, part 11 | Grain running this direction is supposed to hold really nicely | Allowed to be extreme |
How deep a whole panel should go is its own question, and Part 9 of this room takes it on.
Where is it safe to dig deep?
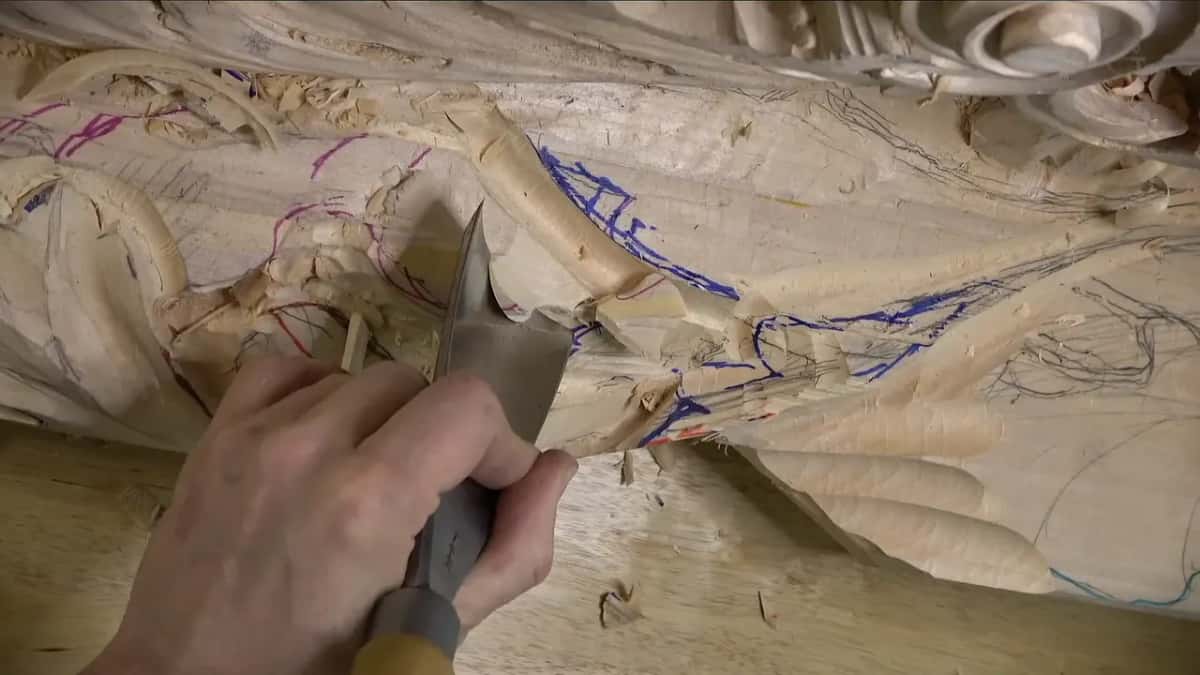
Where the grain is strong, or where the design itself asks for depth, like the place a shell was coming. One area in part 11 I pointed at and called a strong area, because the grain runs that direction and it's supposed to hold really nicely, so I can be really extreme there.
A shell was coming in part 7, and I said the shell gives me the ability to go much deeper if I wanted to. A few seconds before, about the spot right beside it, I said the opposite. Not too deep right here, because it's supposed to just wrap. The deep spot belonged to another section.
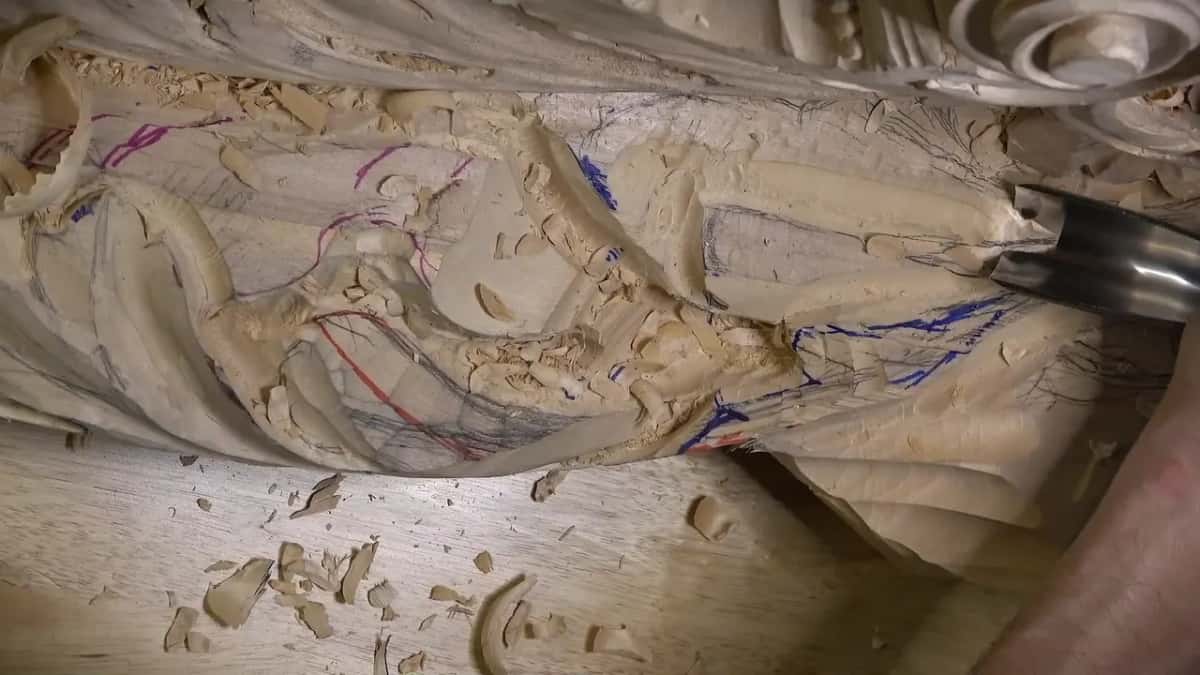
Beside the main head in part 1 I said here I'm safe, I can actually dig a little deeper. Deep, in these parts, meant about an inch. A hole in part 9 went about 25 millimeters or so, and part 10 took me almost one inch deep where the camera couldn't show it.
Even at the darkest spot of the day I watched it. That area in part 8 was meant to be the deepest spot, a really dark shadow, and I still said to be mindful how much thickness I had left, which was not that much. It didn't feel like carving, I said. To me it looked like I was just drilling holes.
Before that plug came out I said, twice, that I had to watch what the angle was going to be there. Then the rotation started. Here I remove that plug, I said. Beautiful. I doubt anybody will look inside that hole, but I still wanted it to look really clean.
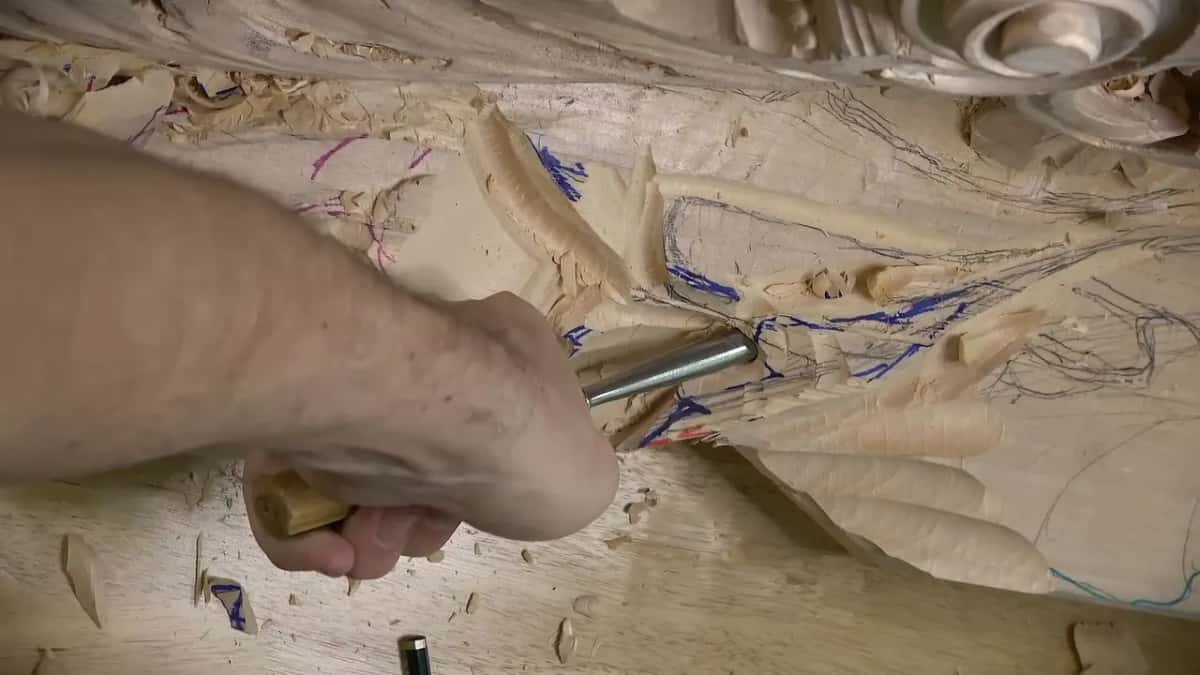
Hurry is a danger of its own, and workshop 60 deals with it. How thick the board should be for relief is in workshop 59.
What happens when you push too hard?
You can break the very point you were trying to keep. Working near one point in part 10, I said that if I pushed, I would break it, which I didn't want. Part 3 had me going little by little toward the edge, without pressing too hard, and I said pressing hard would be a mistake.
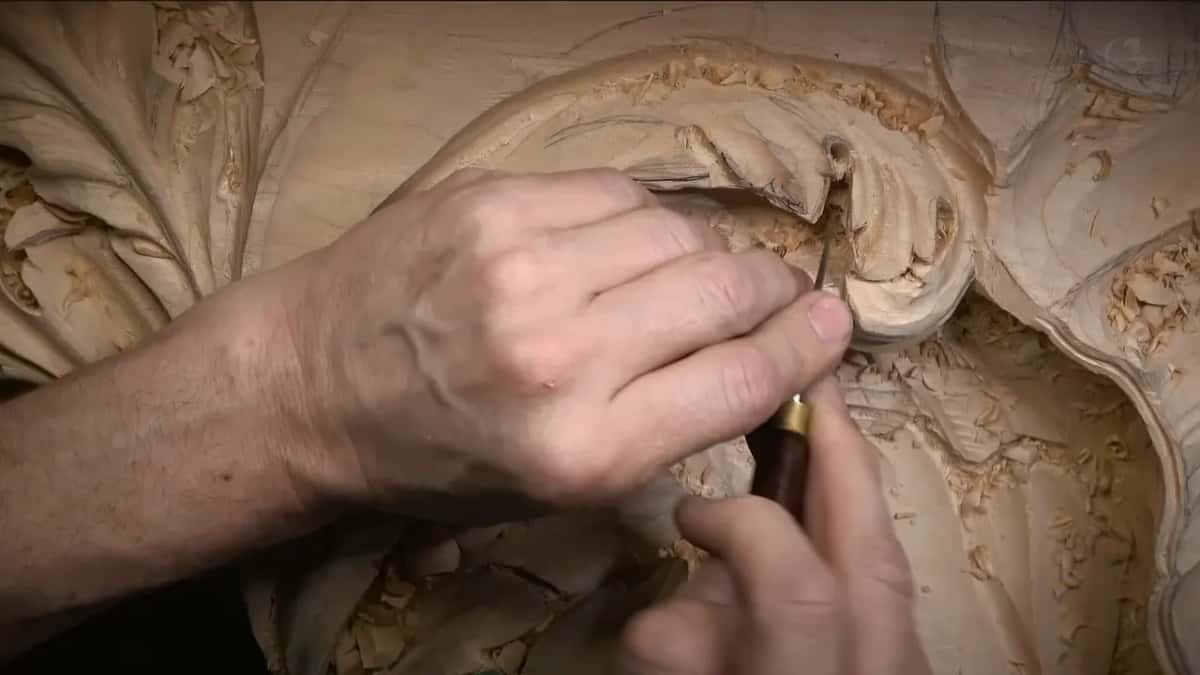
Digging out that deep hollow in part 8, I told myself to be careful not to bang too hard. Carving against the grain in part 7, I approached the area really carefully. The tool there was a #9 by Auriou, 20 mm, like three quarter of an inch, with a long bevel that gave me a much quicker, cleaner pass.
Three times during this workshop I said a tool needed sharpening or honing. Sharpening has a course of its own, and the tools course covers the sweeps and sizes I keep naming here.
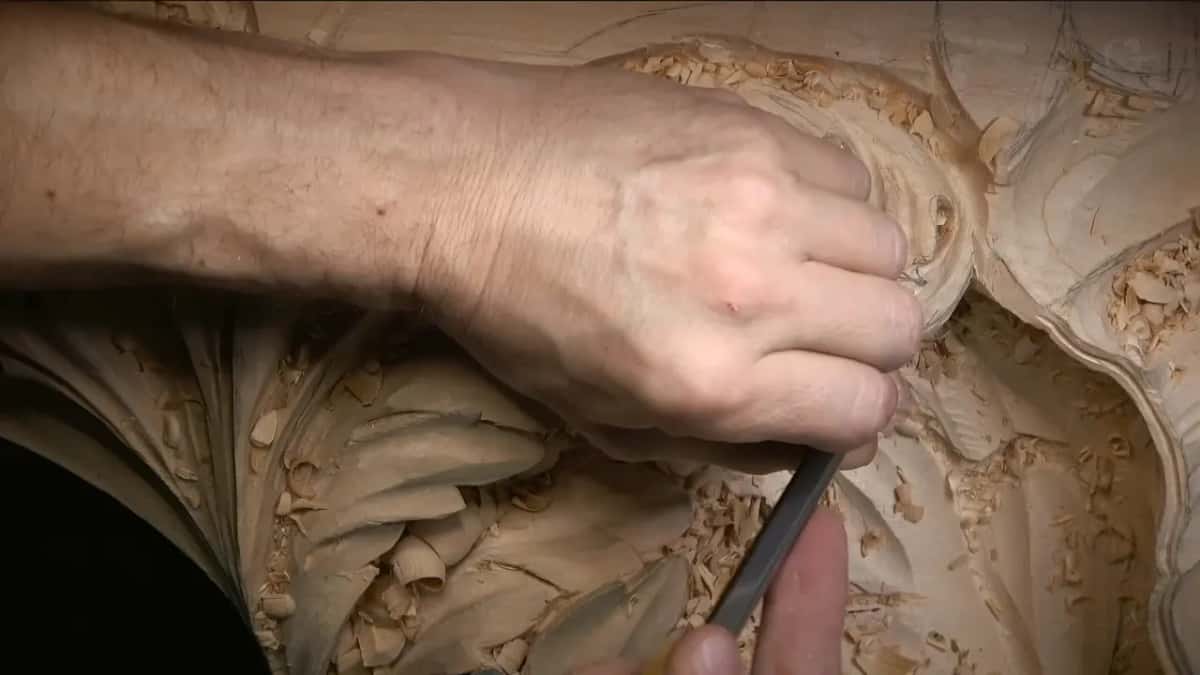
Can you change your mind about depth halfway through?
I did, on the simplest leaf of the whole composition, in part 4. I started a concave beside an eye and said I don't want too deep a concave. I don't know, I said. Maybe I do, maybe I don't. We'll see.
I went in slowly with a 5 mm #11. There was my limitation, the ceiling, so I had to attack from the opposite direction. After a while I said maybe it's okay to have a little deeper concave, and I took a bigger tool, because I really needed to see that pipe. Otherwise there is no reason for it.
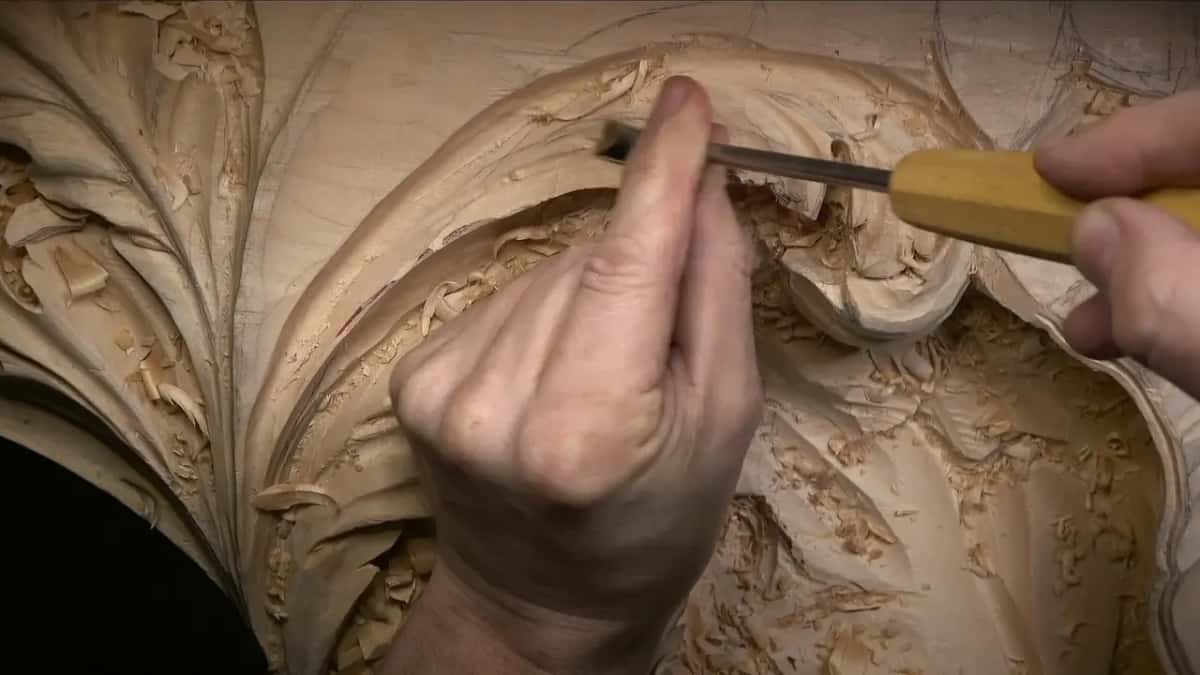
People are also going to look at it and see some shadow, I said. Earlier, in part 5, I said I didn't want just a simple acanthus in one area, and wanted to develop something more interesting, like I'd done in other areas.
By part 12 the whole area looked really messy and not appealing at all, and I told you that. But it was okay.
Where can you watch all twelve parts?
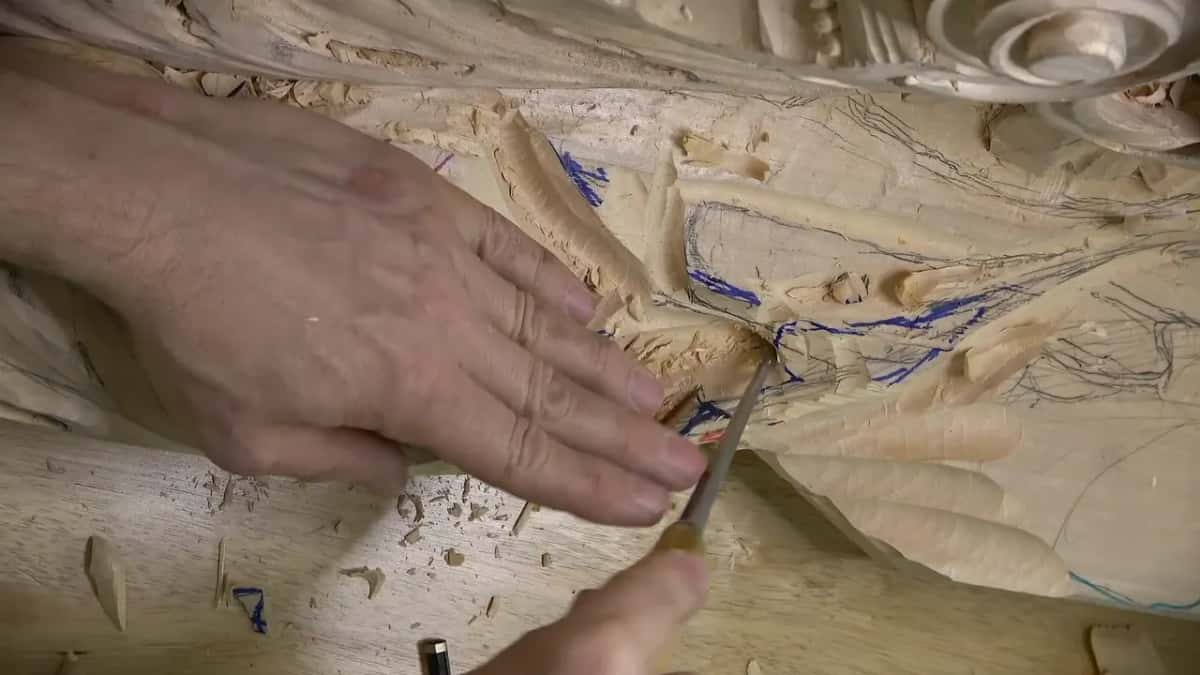
Workshop 70 lives in the Part 6 course, all twelve parts, including the 2 mm veiner in the thinnest spot. A lot of the footage from that stretch was lost. I recorded the whole process, and by the time I sat down to edit I found out it was really bad, so part 5 opens on a carving already flipped.
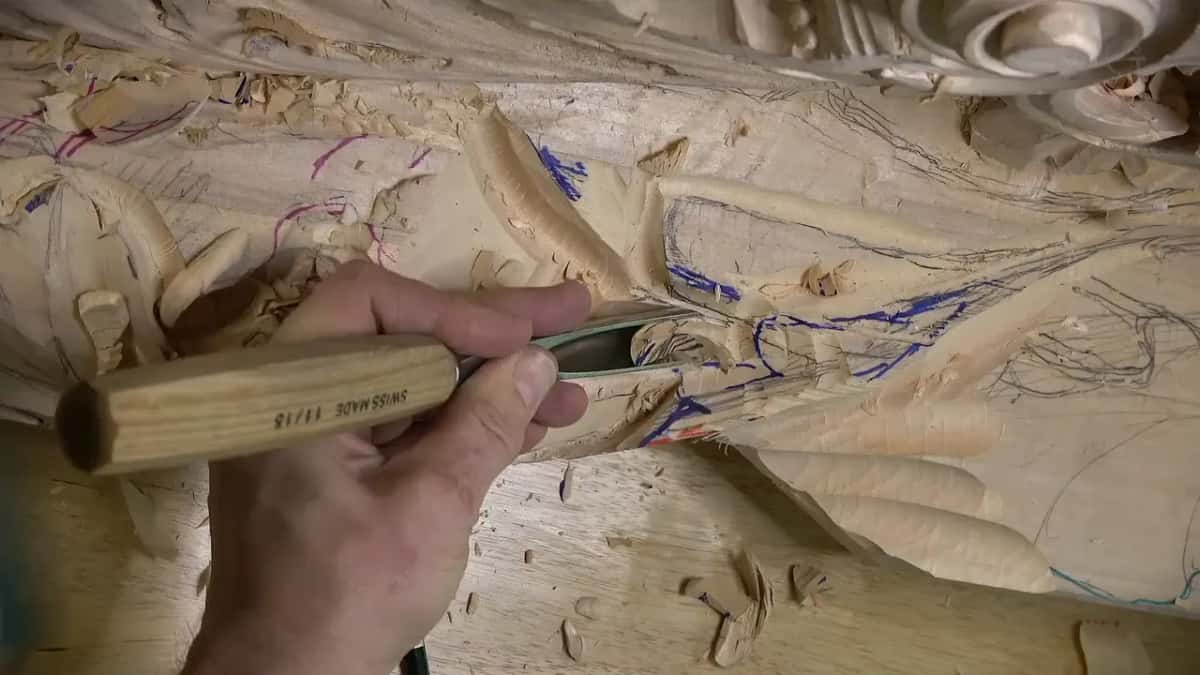
This section could go on the top of mirrors or frames, I said, a really beautiful ending for the upper part. At one point stuff kept falling, and I just kept going. For part 7 I had to keep the carving a little farther away from me, so my head stayed out of the picture. Plus it was a slope.
Do you want to see the moment I switch to the 2 mm? Would it help to hear me decide which spot can go deep? Then start at workshop 69, go on to workshop 71, or open the map of every lesson. If you have never held a gouge, start here.
How it's done
- Find what is left in that spot. Know the figure for the thinnest place. Mine was 15 to 16 mm, so I kept from getting extreme.
- Go in by hand. Where I was that thin, I put no mallet behind the gouge.
- Step the tool down. Start with a 7 mm #11 veiner. When it feels too big, drop to 5 mm, and then to 2 mm in the thinnest part.
- Stop and double check. Partway through, pause and check you are not making a mistake. Once it is too deep, it is too late.
- Leave wood for the next shape. Near the ridge, keep roughly 1/8 inch (3 mm) until the shaping beside it is done.
- Dig deep only where it holds. Save the deep holes for strong grain, or for the spot where the shell comes.
Frequently asked questions
What size gouge do you use where the wood is thin?
A small one, and smaller as I go. In the thinnest spot of workshop 70 a 7 mm veiner was too big, a 5 mm too, and I finished on 2 mm with only 1/16 inch (1.6 mm) of wood underneath. For me, better control is worth the extra time.
Should you use a mallet on thin wood?
Where very little wood was left, I decided I maybe didn't need any mallet and went by hand. At the deepest spot of another part I told myself to be careful not to bang too hard. Those were two spots with two different amounts of wood.
Can you carve against the grain in a thin area?
I did, twice in one workshop, once undercutting beneath a wrapping part and once clearing a chunk I didn't need. Both times I came in really carefully. For the second I picked a 20 mm Auriou #9 with a long bevel, which gave me a quicker, cleaner pass.
What to carve next