
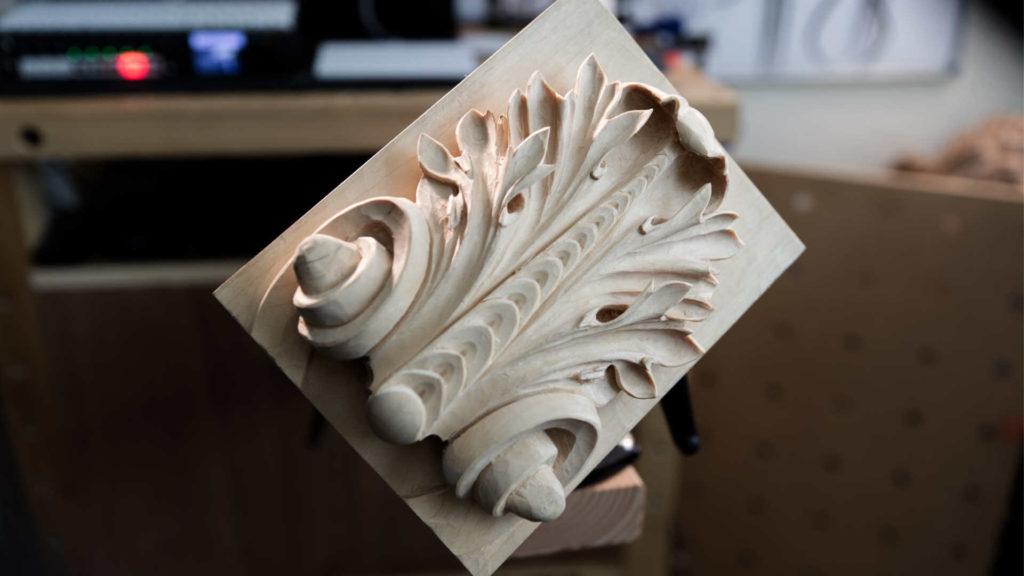
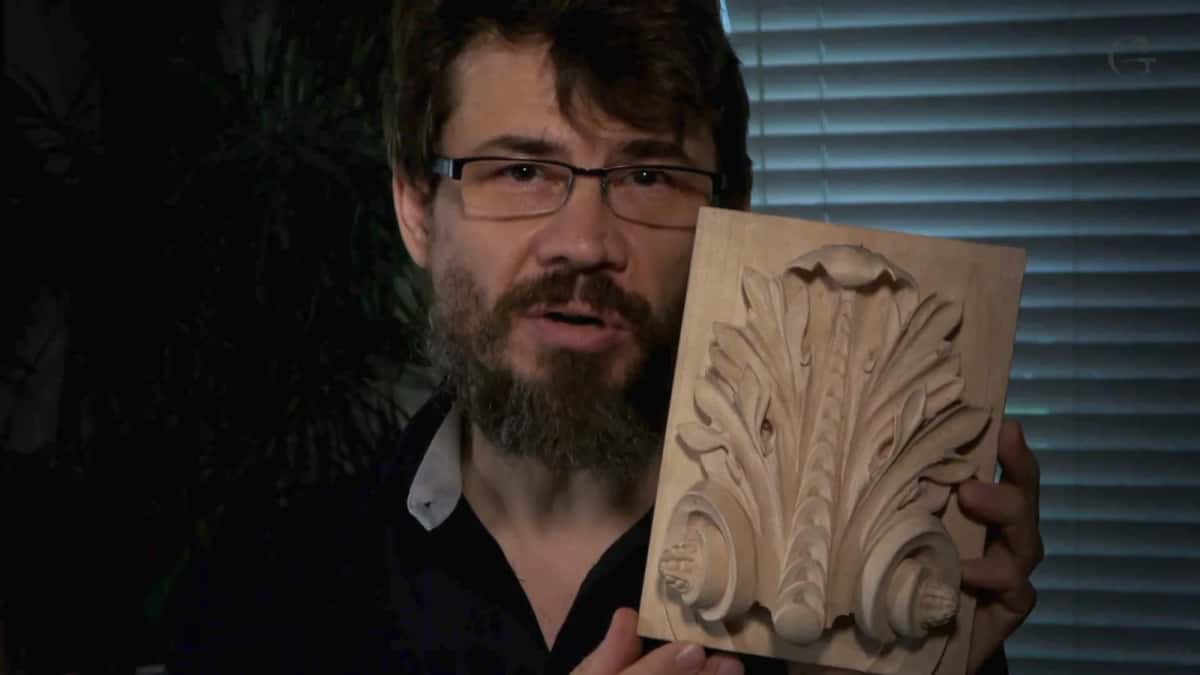
Alexander Grabovetskiy, woodcarver, School of Woodcarving · Published 2018
How do you carve a Roman acanthus leaf?
Quick answer: Grid the block ten parts each way, draw the leaf symmetrically onto the wood, then set the outline with a V tool and scribe the background at about a quarter inch. Lower each section straight down, cut the concaves, raise the pipes, and leave the major undercutting for later.
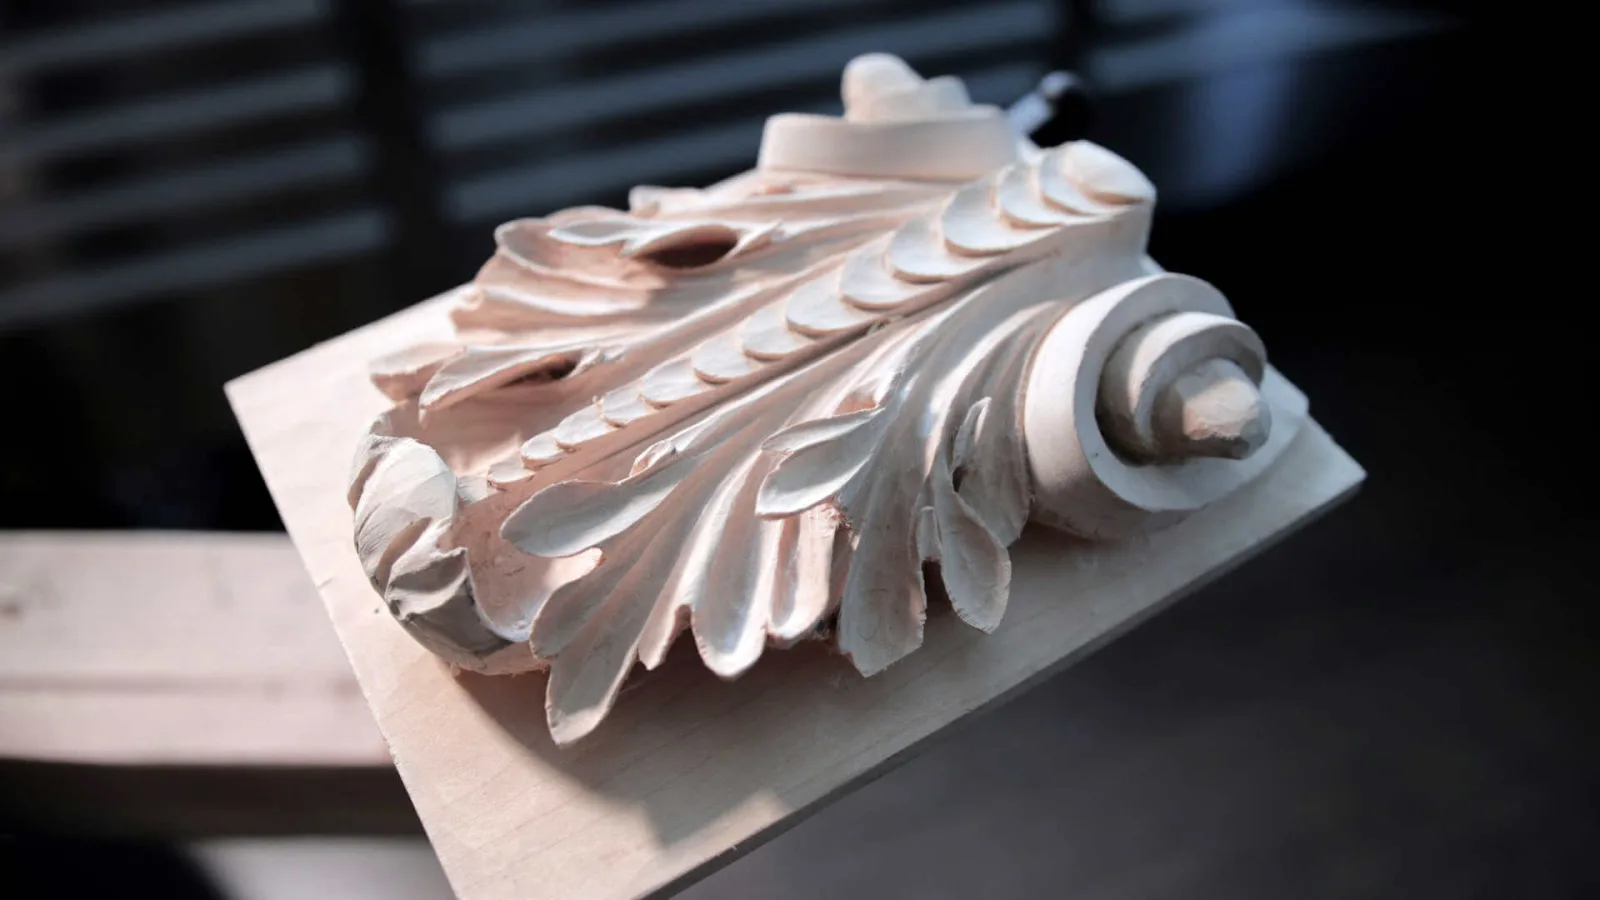
Have you carved the Greek leaf already and found yourself wanting more movement in it? Does the word Roman make you picture something grander than what you have cut so far? Then clear the bench, find a block six inches by eight, and we will do what Rome did with a Greek idea. I am talking to you, not to a room.
One warning before we start. I do not want to entertain you. This runs the way a shop ran three hundred years ago, where the master worked and the apprentice repeated what he saw, and that is the arrangement I am offering.
What makes an acanthus leaf Roman rather than Greek?
Elaboration, not a different plant. Rome ran half a thousand years and it never settled on one style. Most of its architectural detail came out of Greece, from Greek architects, and in the earliest work the two leaves look the same. They copied it.
What came afterwards is what we carve here. Romans beautified the Greek leaf. They added movements, they added subdivisions, and above all they added pipes, and the leaf structure got a lot more complicated. Same plant, still the bear claw. Just developed further.
A habit of that empire explains it. Whenever Rome took new ground it tried to learn something there and adapt it, and the acanthus is that habit in wood.
Our short side by side with photographs lives in Greek vs Roman acanthus. Here we carve one.
Why are the tips of a Roman leaf round?
Sharp points belong to the Greek leaf and to the later ones, not to this one. On a Roman acanthus the end of each leaf comes round. A little point stays in it, only not much.
On this panel I rounded one of them because, the way it was, it just did not look appealing to me.
Why is the Roman volute angled instead of straight?
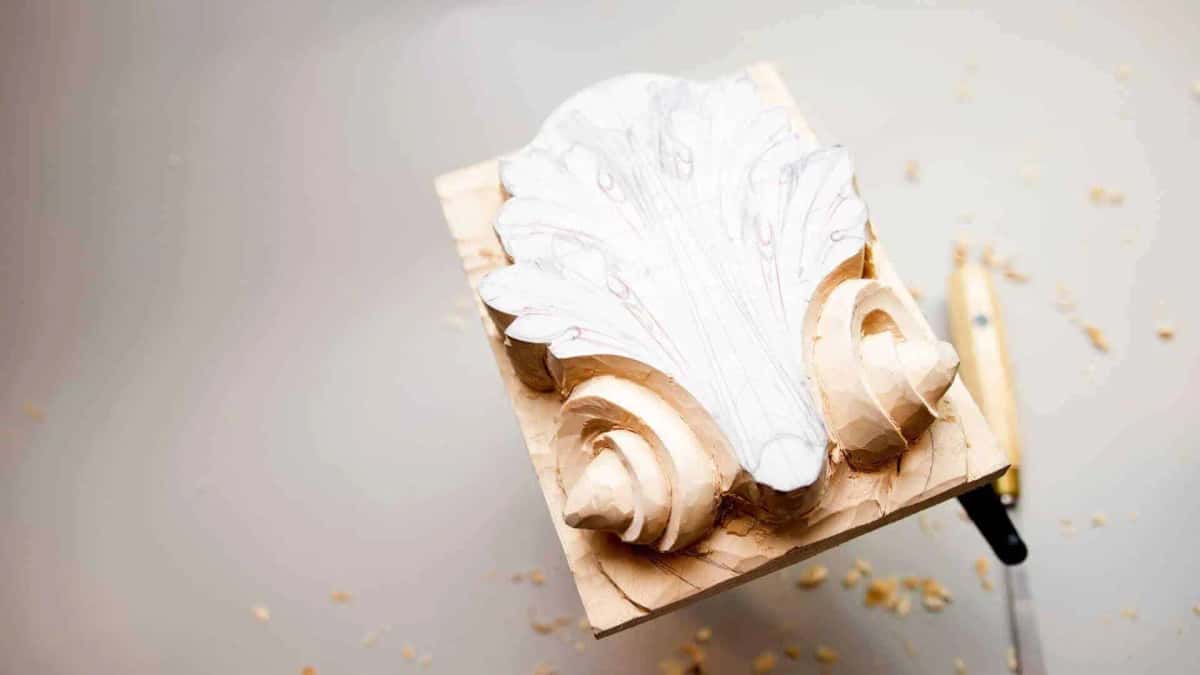
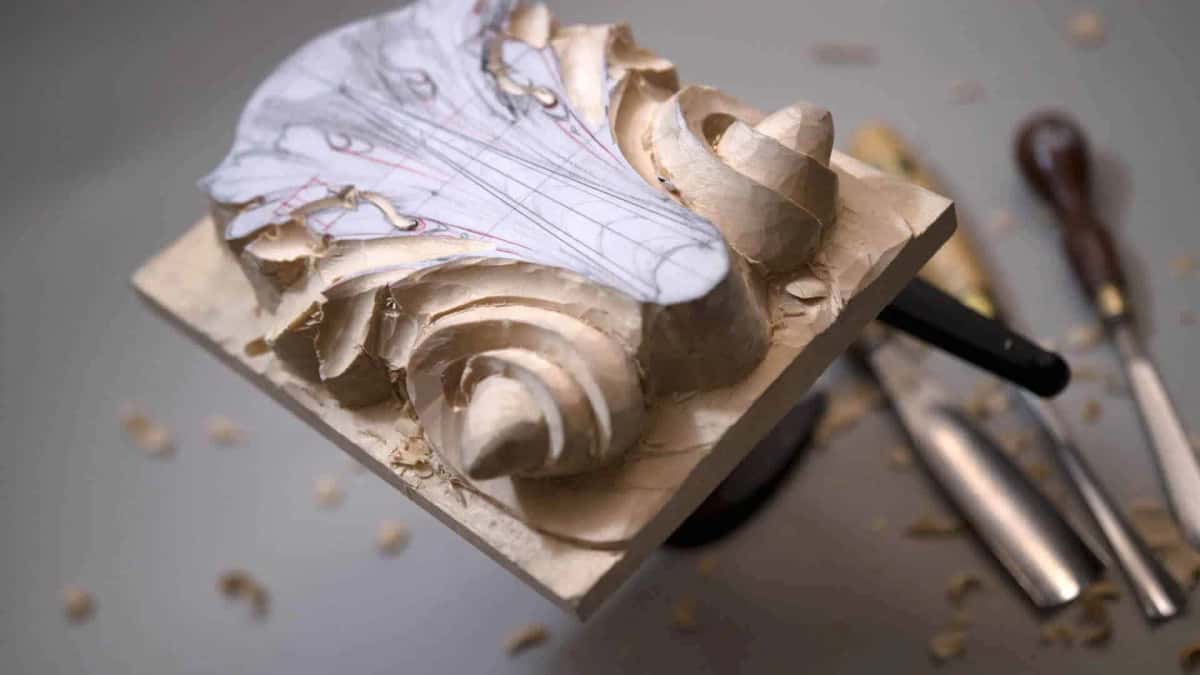
An older Greek volute runs straight up and down, and this one leans. Look at a Greek volute square on and it reads vertical. Mine is angled, with the center sticking out, and honestly it is more work than it looks from the drawing.
I keep coming back to this one. Try not to drive a chisel straight down into fresh wood as your first move. Pressing it in crushes the fibers on both sides, and yes, the cut works, and then you look tomorrow and those crushed fibers have come back up at you. Run a V tool or a small gouge along the line first, then take the wood out.
Know what you are cutting before you cut it. The shape is not a volute in the round. This is a relief volute, which means it only resolves when you stand square to it and never from the side, and it still has to read three dimensional from there. So I take a little time on those lines while the wood is untouched.
I do not know the best name for the raised centers. They look like the end of an egg, so let's just call them eggs.

What is the concave inside a Roman leaf?
A hollow scooped down the inside of each leaf, the way Greek carvers did it before Rome. Sometimes it is cut as a V, sometimes as a true concave, and on Roman work the concave is what you keep finding.
Let me be careful about how I say this. Whatever I could find in the history books and in old pictures, they all carry that concave inside the leaves. I have not seen every Roman leaf ever cut, so take it as what one carver has looked at rather than a law. Greek work uses it too, and Byzantine carvers kept it after Rome. Later European leaves drift away from it.
You do not have to include it. I want to stay honest to the history, so I do.

What is the difference between a chisel, a gouge and a veiner?
Sweep decides the name. None at all makes a chisel, any sweep up to number 9 makes a gouge, and past the half round the tool becomes a veiner. Nine is the true half round. Anything more curved than that, a U rather than an arc, has changed its name.
V tools sit around 12 to 16, ground at 60, 45 or 35 degrees. Then comes number 17, also counted as a V tool. But no V tool has a really sharp bottom, there is always a tiny gouge down there, and the 17 just carries a bigger one. It carves a V with a rounded root, and in the last lesson I undercut and clean with it at 6 mm and again at 3 mm.
Learn what the number means, because some people call every tool a gouge or a chisel, and that is not quite true.

How do you lay out a Roman acanthus on a ten by ten grid?
Split the block into ten equal parts across and ten equal parts down, then build the whole design on that grid. My name for it is the ten parts division. Almost mathematical. That is exactly what makes it easy.
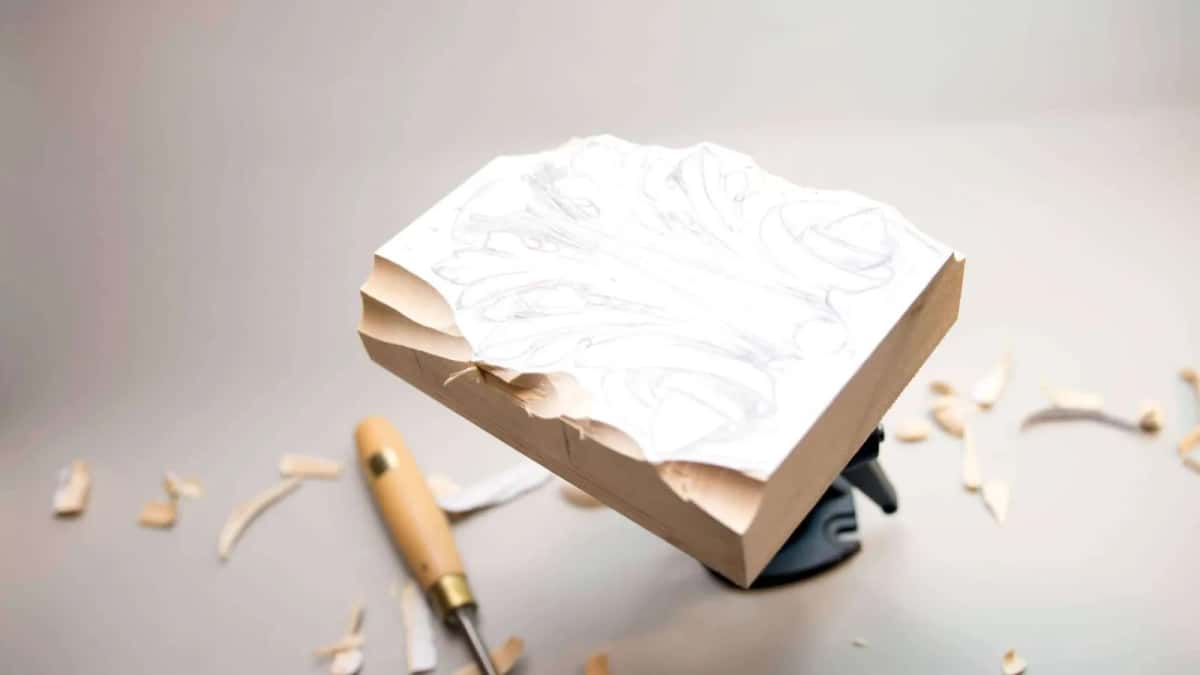
Midlines on a six by eight land at four inches and four inches. Rule ten parts along each edge, number your lines so you can find the right space again when you draw the design, and set a border you will not cross. Roughly 10 mm along the top edge, call it three eighths of an inch, and about an eighth of an inch at the sides.
Subdivide each of those spaces by ten again and count six of them. Six out of ten is where I build from, and it is a really good representation of the golden rule, easy to calculate. Some days I start with the eyes, other days with the flow line. On this panel the eyes came first, and I worked out how many I need from the original Roman design.
Now something I repeat in these lessons. Be accurate, but not to the extreme, not the way a machine would be. It is not a machine doing this carving, it is a human being, and you have to leave some imperfection in it or the thing comes out looking plasticky. Please make sure it still looks human-like.

Before any tool touches it I shade the paper with charcoal, black for the low ground and white for the high, which shows me at a glance which leaf runs under which. Nobody is going to ask you to do it. This one is for me.
Why does the Roman leaf carry so many more pipes?
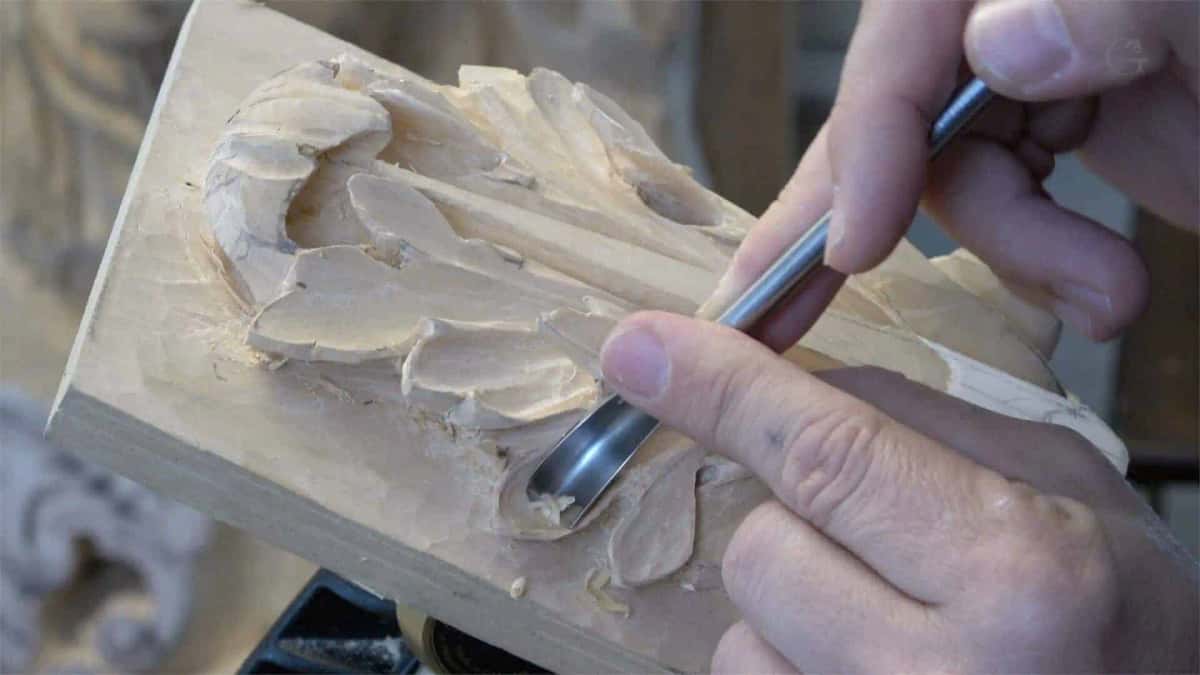
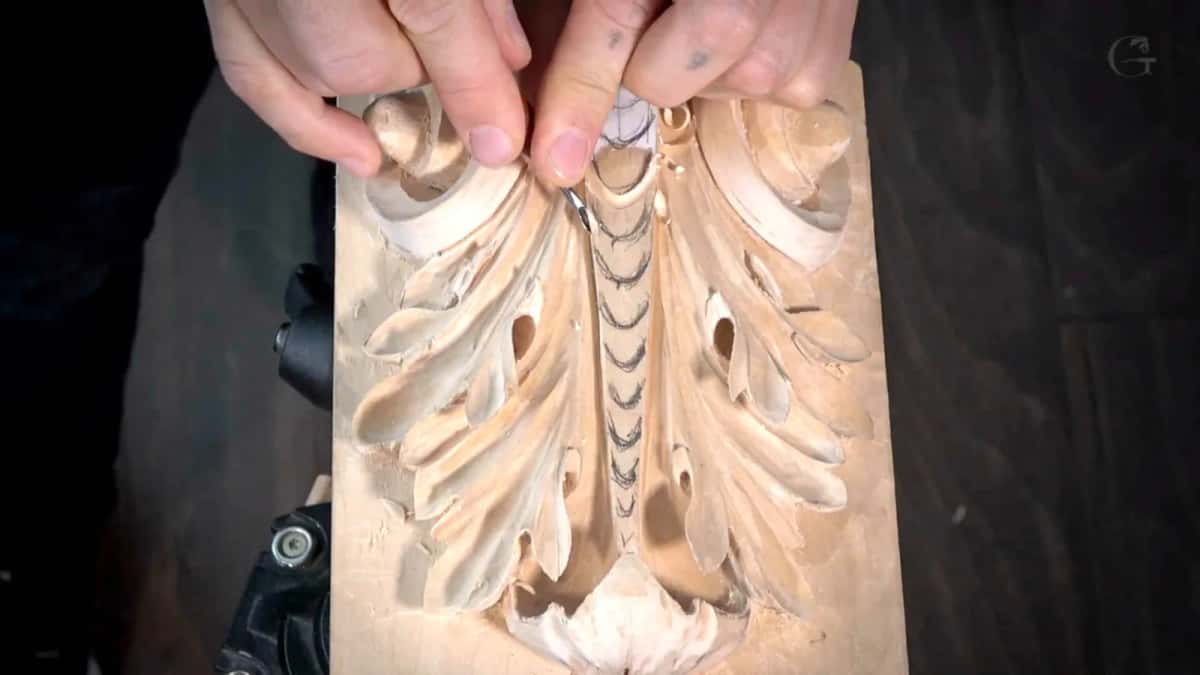
Romans added a lot more pipes to the Greek leaf. Red pen marks mine so you and I can both see how many there are, and on this panel there are lots. You just cannot go wrong with pipes on an acanthus.
Underneath, the arithmetic stays simple. Main divisions in three, then every small section subdivided in threes again. More pipes, more eyes.
Rome also put returns on the eyes, so a shape appears to come from inside out. Later the Renaissance dug them back up, and in the Rococo style you see lots of them.
Two habits make a pipe read. Round it, because a pipe is supposed to look round, and then run a small gouge along its sides for a shadow line. I also like them a touch proud of the middle. Not really higher. They only need to appear that way.
Does a Roman acanthus have to be symmetrical?
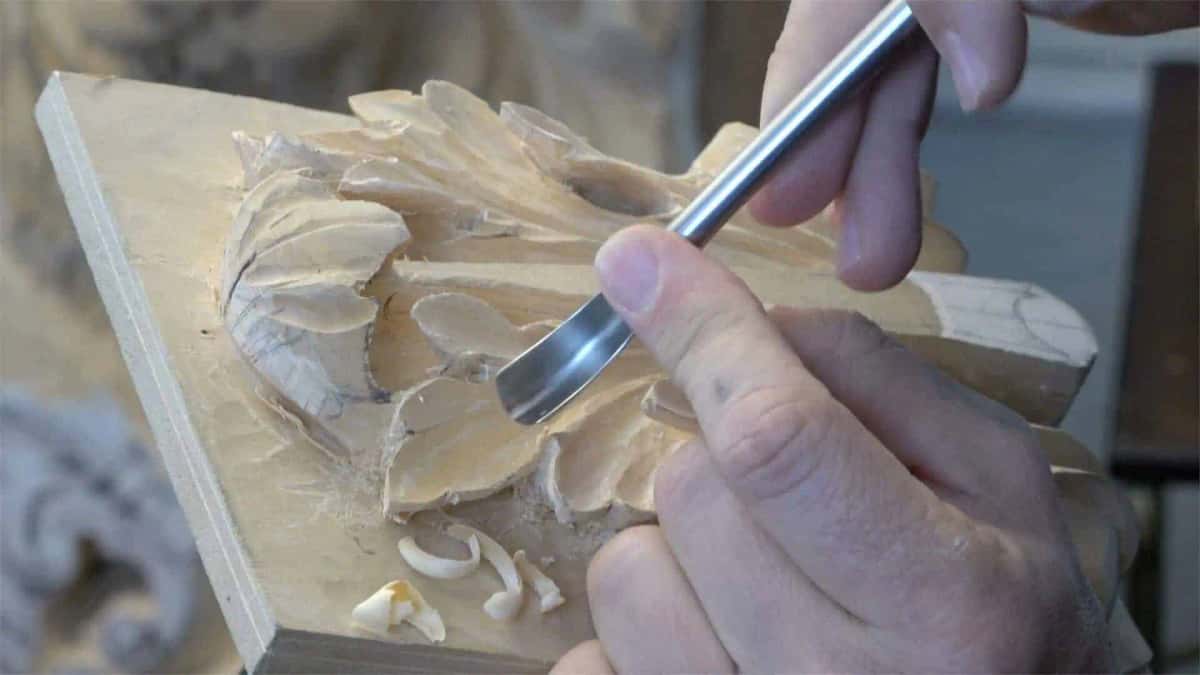
This one does. The reason is where it lives. Symmetrical leaves are what you meet on capitals, and they are what works on furniture. Greek, Roman, Byzantine and the European carvers after them all used the symmetrical design in one shape or another.
Watch both sides at once while you work. When I finish one side, I work the other side right away, because watching both sides all the time makes it easier not to make mistakes. Check and recheck. On furniture it is really useful.
How big is the block and how deep does the carving go?
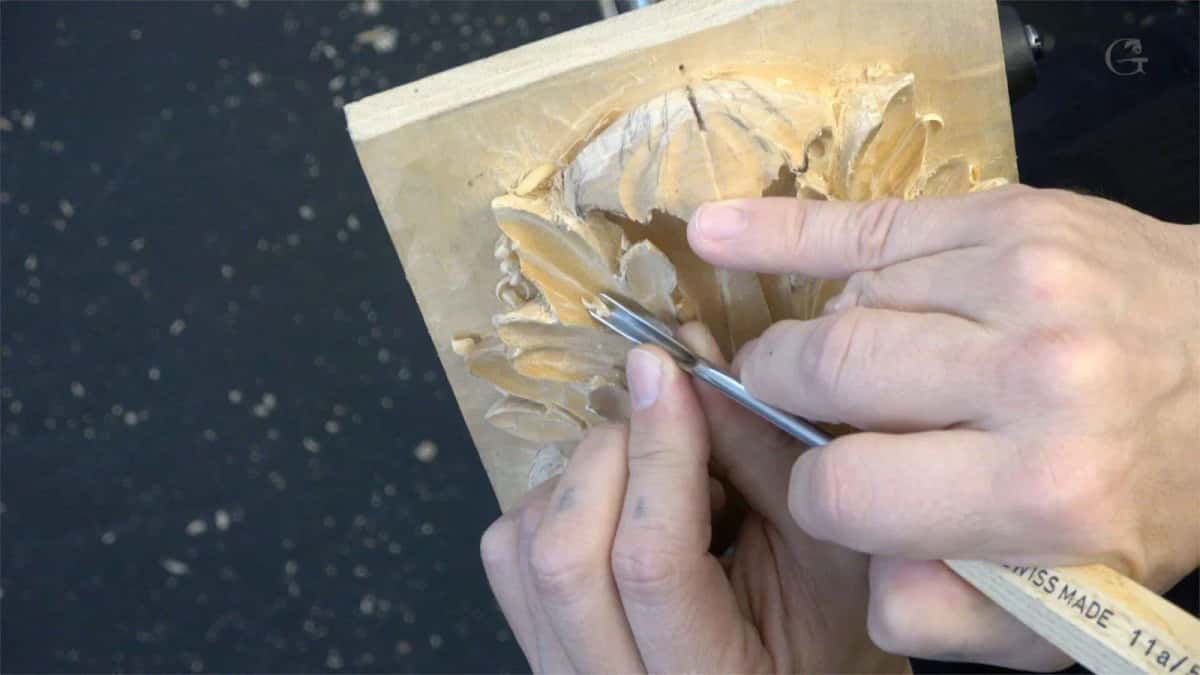
Six inches by eight, one inch and seven eighths thick, which is 47.5 mm. Mark the background line at about a quarter inch with a marking gauge so all four sides agree, then a rough line 1/8 inch above it.
Depth arrives in stages after that. Sections come down roughly 10 mm, three eighths of an inch, or deeper if you wish, and on this one I went about 13 mm, half an inch.
None of that gets measured while I carve. Eyeballed, and eyeballing is close enough, because most of the material you are staring at early on is going to be gone anyway.
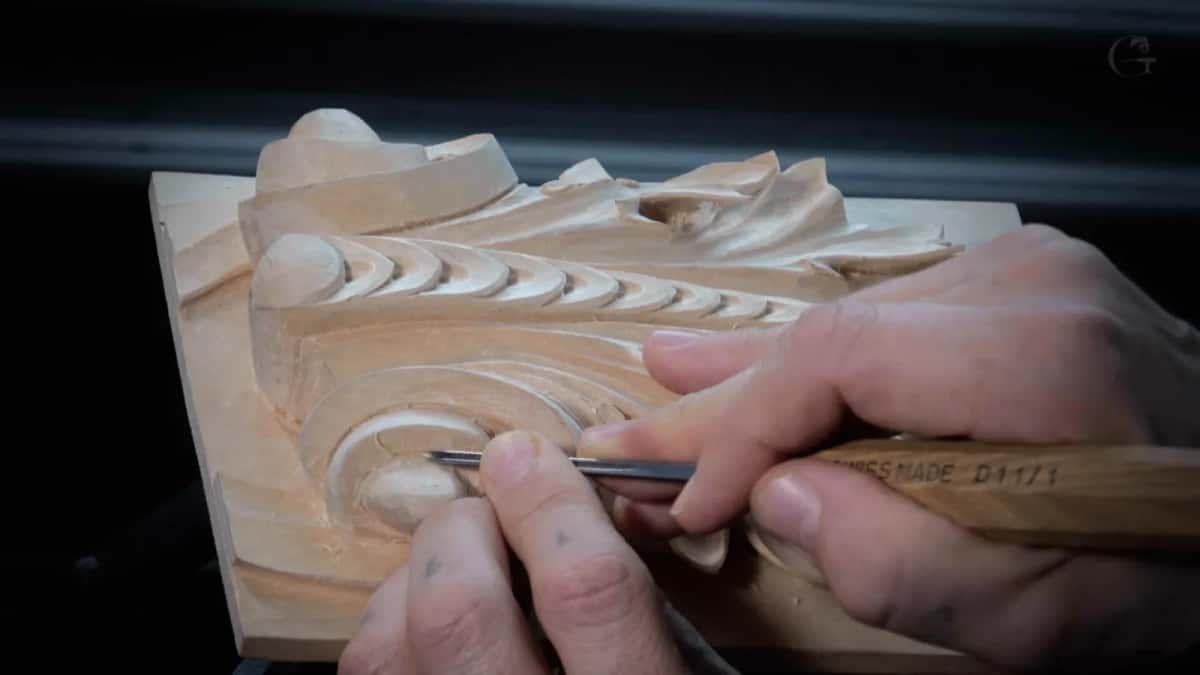
Which gouges does this panel actually need?
More than a purist would tell you, and any of them can be swapped for what you own. Those two statements sit together and both are true, so let me untangle them.
There is an idea that a carver gets by on a minimum kit. That idea gets no support from me. A true master can work with one gouge, and I have done it, and it still limits you. Grinling Gibbons collected tools constantly and you can watch his designs grow as the collection grew. Some carvers say they use ten or twelve tools regularly. Not my case.
Now the other half. Your tools do not need to match mine. Any V tool will work, 60 degrees or 45, whatever is in your rack. A back bend is lovely and a straight number 5 reaches most of the same places. Small tools do not have to be my small tools. Ashley Iles is what I love and it is a preference, nothing more, and one of my favorite gouges has no brand at all, and my teacher handed it to me.
The one thing that is not negotiable is sharpness. Really, really sharp. That is the whole secret behind deep excavation, and my teacher put it better than I can. There is no such thing as bad wood, only dull tools.
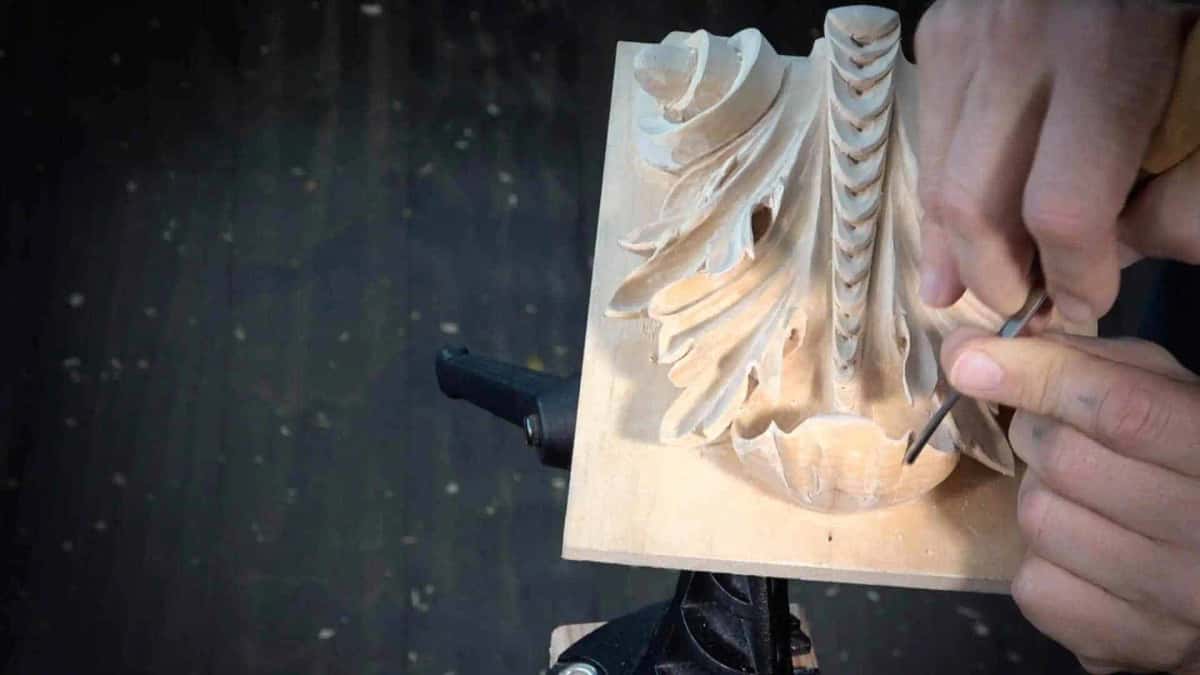
Species matters less than people believe. Walnut and cherry hold a detail beautifully, basswood holds it fine too, and on basswood the micro work needs care, so do not press too hard or make passes you do not need. The problem is almost never the wood.
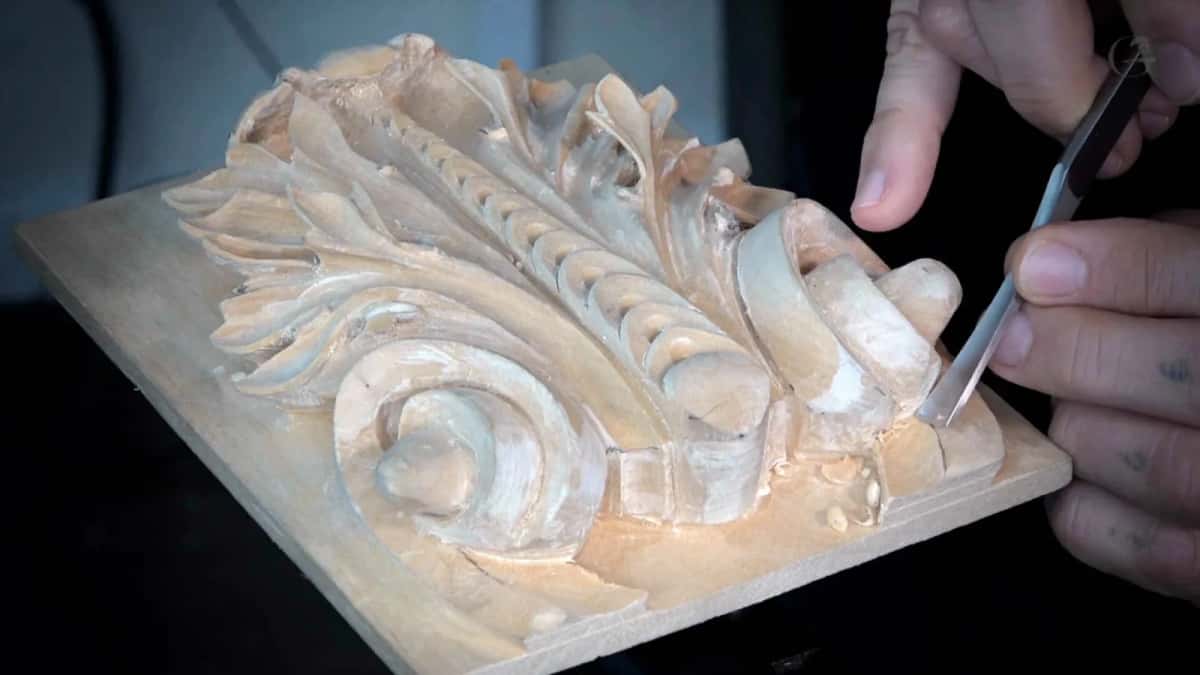
How much do you undercut a Roman acanthus leaf?
To the point where the leaves are almost paper thin, and usually not right away. I am extreme about this. Extreme undercutting creates the beauty, and I understand perfectly why some carvers refuse it, because the piece becomes fragile and easy to break. You can break anything.
Timing has a physical reason, not a stylistic one. Knock the point of a leaf that has not been undercut and nothing happens. Do the same after an extreme undercut and it snaps, every time. Undercutting comes later in the process for that reason, though it is not a hard rule everywhere.
Two places stay solid. The central part is not undercut, ever, and I keep some meat in other spots too, or the piece gets too fragile. Everywhere else a back bent or a number 17 goes underneath and the leaf begins to hang in air, one leaf passing under another, because the whole idea of the acanthus is an interweaving.
All of it is light and shadow in the end. Carving is about the smallest details, because every stroke and every move makes some kind of shadow. I keep rotating the vice to see the panel under different light, and that tells me whether to carve deeper or not.
Two safety habits go with deep work, and I have earned both. Never put a hand in the path of a tool. Never hold a tool in the air either, because a hand with no support is a hand that slips.
Here is something I believe. Look at historical work and the undercutting is often shallow, and people read that as a stylistic choice. I think it was money. Not undercutting is a great deal quicker, and everybody wants to get paid.
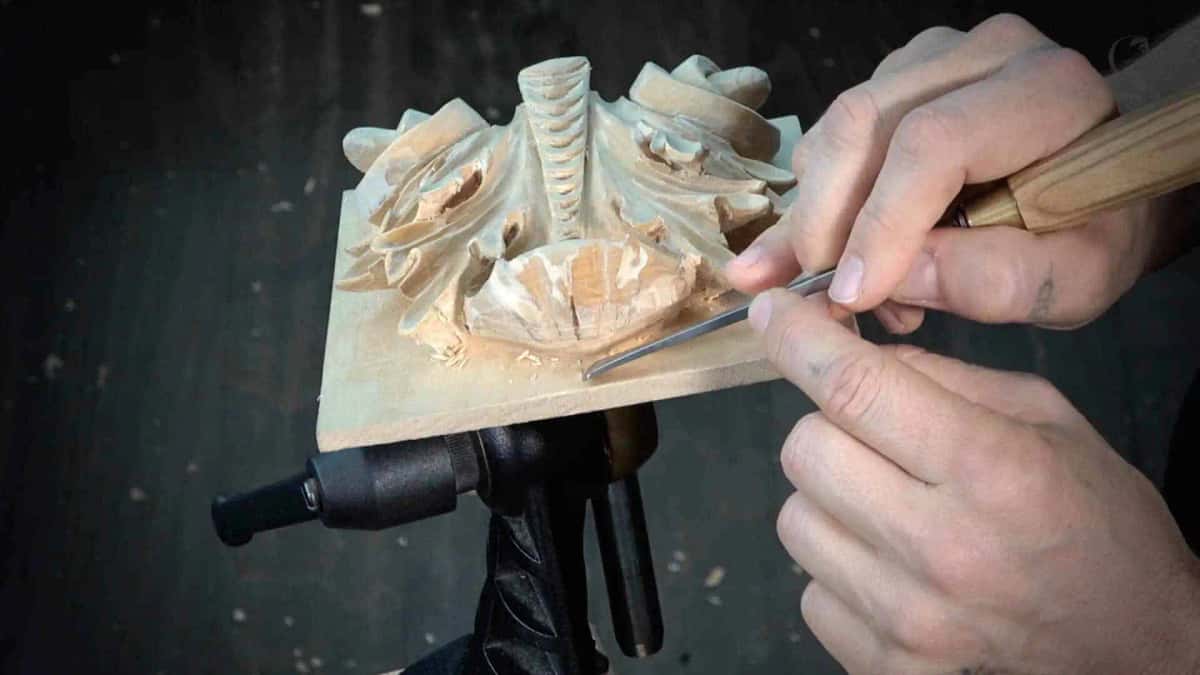
Ancient carvers did this without a V tool at all. That tool came much later, so a Roman leaf was cut with gouges and straight chisels, which tells you something about how much a sharp gouge can do.
Why is there no sandpaper?
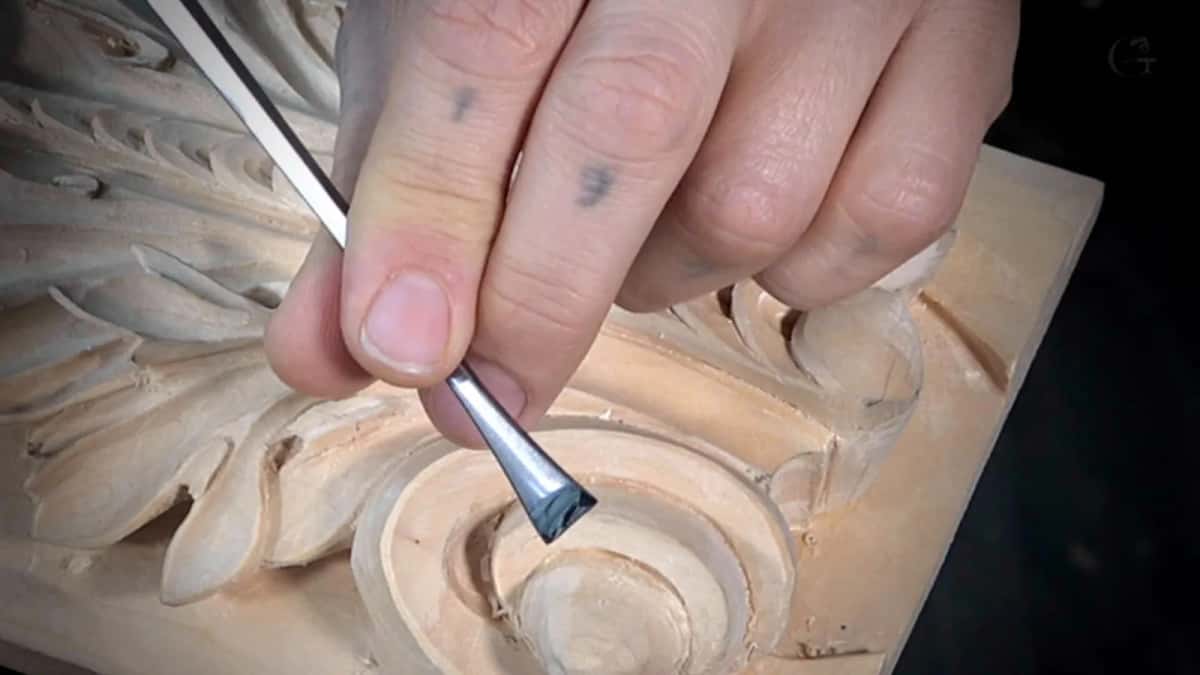
You leave the chisel marks, because those marks are what makes a carving beautiful. Most old carving in England and Germany is not smooth. When a carving does come out perfectly smooth, somebody sanded it completely, and what got sanded away was the point of the exercise, the feel of a hand having been there.
I will be honest, since you are going to watch it happen. Near the end of this panel one rough patch annoyed me and I cheated with 80 grit, just a little, and then I went back with a gouge and cleaned it, because it did not look right.
If an edge gets too fragile, thin glue can make it more stable. I usually do not use it, but you could. Dilute yellow carpenter's glue with plenty of water, more water than glue, and let it soak into the weak part before you carve any further.
Your hands darken the wood as you work, even clean hands, because their oils cause oxidation, like a natural patina. So once a panel is close to done, I put on painter's gloves.
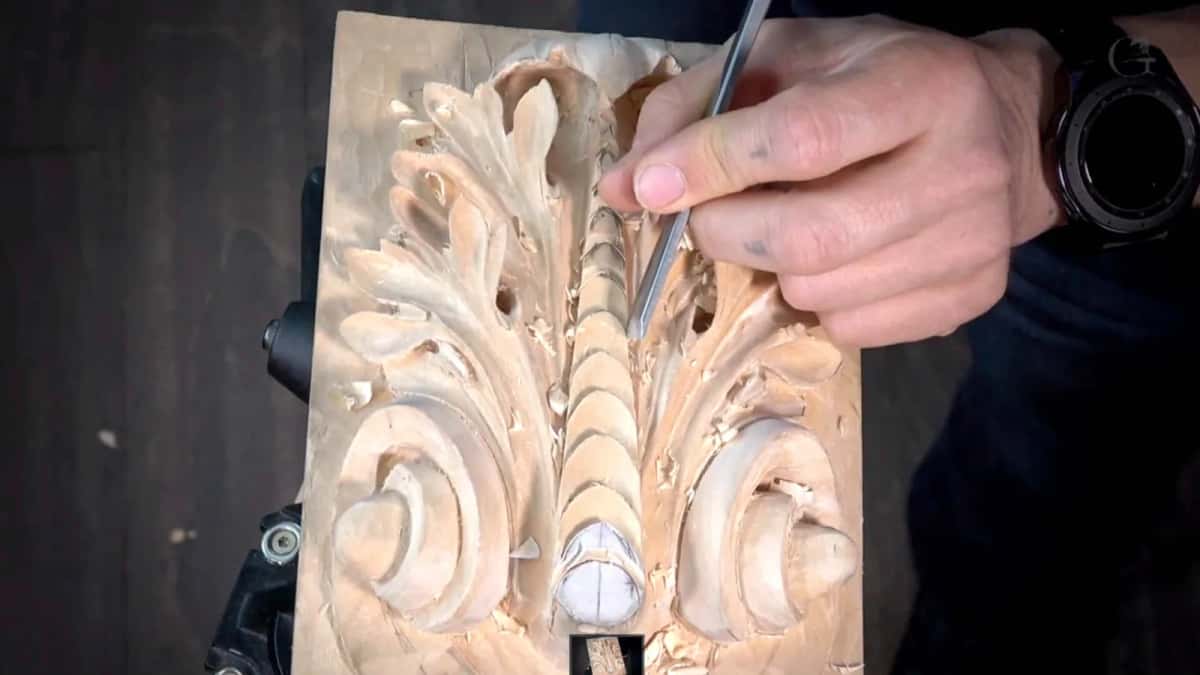
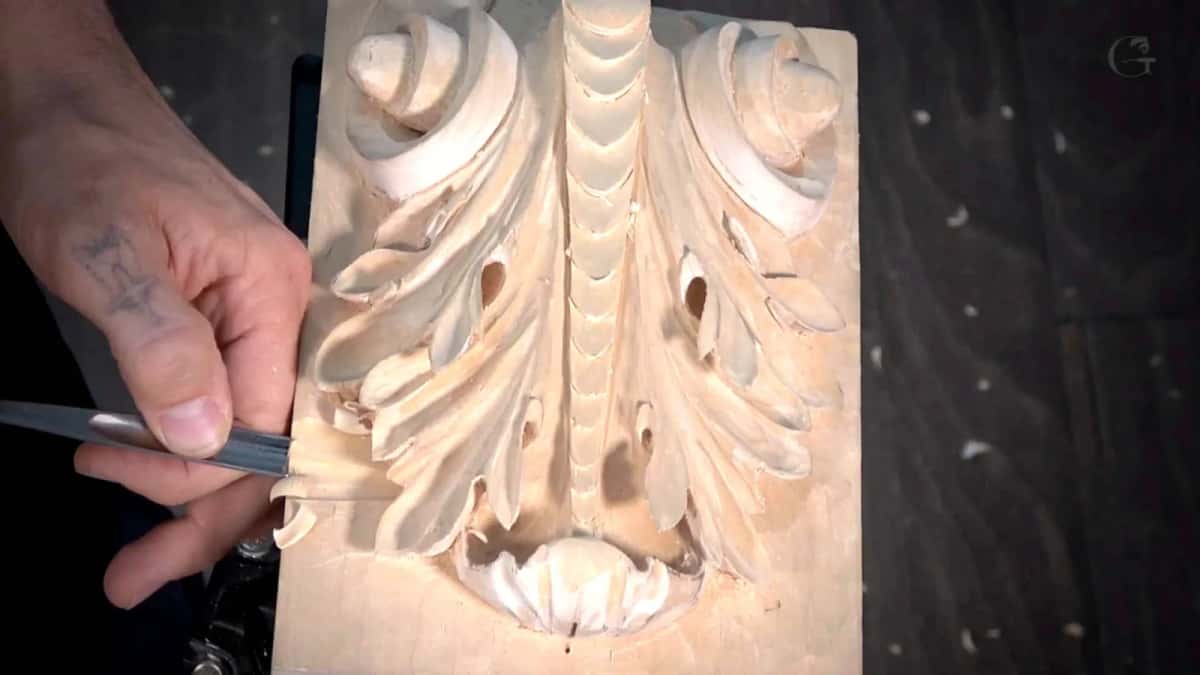
The last stage is all small details. Every sharp edge takes a tiny knife bevel, a sixteenth of an inch or less, even a thirty second, one millimeter. A small step sits by one end of the leaf, like the step in a Roman ogee, about a sixteenth deep, and that one detail makes the whole world of difference. Three round beads finish the volutes. Beads are probably one of the oldest forms of architectural detail.
Which acanthus should you carve first?
Corinthian, then Greek, then this one. Rome keeps everything Greek and piles on pipes, subdivisions, returns and an angled volute.
Afterwards the leaves get more elaborate again, with even more movements and even more curls.
How is this Roman acanthus course put together?
Seventeen lessons broken into 75 videos, filmed over the shoulder, from a bare grid to a finished panel. Drawings come with it to download, and printing two is the smart move, one to lay beside the bench and one to glue on the block and carve straight through.
You will hear me admit I have cut myself many times, watch me break a piece and glue it, get too close to an edge because I got excited, and stop halfway through the course because life happened, I moved house and became a grandfather. Then the work picks up again.

When I started this school I promised to teach the way I really do it, and I teach the same way in person at the Marc Adams School of Woodworking. Ask me anything as you go. I read the comments and I answer them.

It follows the Greek acanthus, and the Byzantine leaf waits on the other side. If your edges are letting you down before any of this, spend some time on Carving Tool Sharpening and come back.

My father used to say that repetition is the mother of knowledge, knowledge is the mother of wisdom, and wisdom is the mother of understanding. Rome spent five centuries repeating a leaf it borrowed. You get a winter.
So. Is there a piece of six by eight in your shop tonight? Would you rather rule a grid on it than watch something you will not remember tomorrow? Then let us carve one together. Shall we carve?
| The job | The tool | Size |
|---|---|---|
| Roughing the background | Gouge, number 8, Ashley Iles | 25 mm, one inch |
| Setting the outline | V tool, number 12 | 8 mm, marked Z12/8 |
| Lowering whole sections | Gouge, number 6 | 20 mm, 3/4 inch |
| Flattening the ground | Gouge, number 3 | 25 mm, one inch |
| Cutting the concave | Gouge, number 9 | 10 mm, 3/8 inch |
| Setting an eye | Small gouge, number 8, Dockyard | 3 mm, an eighth of an inch |
| Separating tight details | V tool, number 15 at 45 degrees | 3 mm |
| Undercutting | Number 17, a V with a rounded root | 6 mm and 3 mm |
| Bevelling every edge | Small knife by Ashley Iles | one blade |
| Keeping the edge alive | Leather strop | inside bevel more than outside |
What this panel actually asked for, in both measuring systems.
How it's done
- Grid the block, ten parts each way. Split the block both ways into ten and number every line. Leave a margin you will not cross, 10 mm along the top edge and about 1/8 inch down the sides.
- Draw the leaf onto the wood. Work both halves symmetrically off the grid, placing the eyes first and then the flow lines and pipes, all running to the center. Be accurate without being mechanical, so it still looks human-like.
- Set the outline with the V tool. A number 12 at 8 mm follows the whole design. Keep the tool straight to the edge and take no undercut at this stage.
- Drop the ground. A marking gauge scribes the background line at roughly a quarter inch, so all four sides agree. The number 8 at one inch takes the bulk out fast.
- Lower the sections perpendicular. Drive every defining cut straight down, never angled. Those vertical walls are what let you find the original drawing again after the waste is gone.
- Cut the concaves and raise the pipes. A number 9 at 10 mm carves the deep concave between the pipes. Pipes come up next, each one running cleanly to the center of the leaf.
- Undercut with the number 17. I use it at 6 mm and 3 mm, and a back bent does this work too. Leave the central part solid, and save the big undercutting for later.
- Bevel the edges, then add the beads. A knife bevel of 1/16 inch or less on every sharp edge makes the carving look more classical. Add the three round beads at the end of the leaf.
Frequently asked questions
Is the Roman acanthus harder than the Greek one?
It looks more complicated at the beginning than it is. Rome kept the Greek leaf, then added pipes, subdivisions and an angled volute, so there is simply more of it, and mostly it comes down to symmetry, right side to left side.
Do I have to draw it myself, or can I print the design?
Print two copies. Keep one beside the bench to look at and glue the other face up on the block, then carve straight through it. Drawing your own version off the grid is really good practice, and yours need not look exactly like mine.
Why does a finished leaf look stiff even when the drawing was right?
Check the flow. Everything has to flow along the panel and also when you look from the side, so a high ridge that runs too long, where the leaf should go downhill, looks wrong.
What to carve next
More on this: Acanthus in ornament, The Composite order