Alexander Grabovetskiy, woodcarver, School of Woodcarving · Published 2018
How do you carve a Corinthian acanthus?
Quick answer: A Corinthian acanthus leaf is the oldest form of the leaf, and you carve it in deep relief from one solid block. You draw a center line, break it into three movements, sink the two eyes, raise the two pipes, then undercut every edge until the leaf floats above its background.
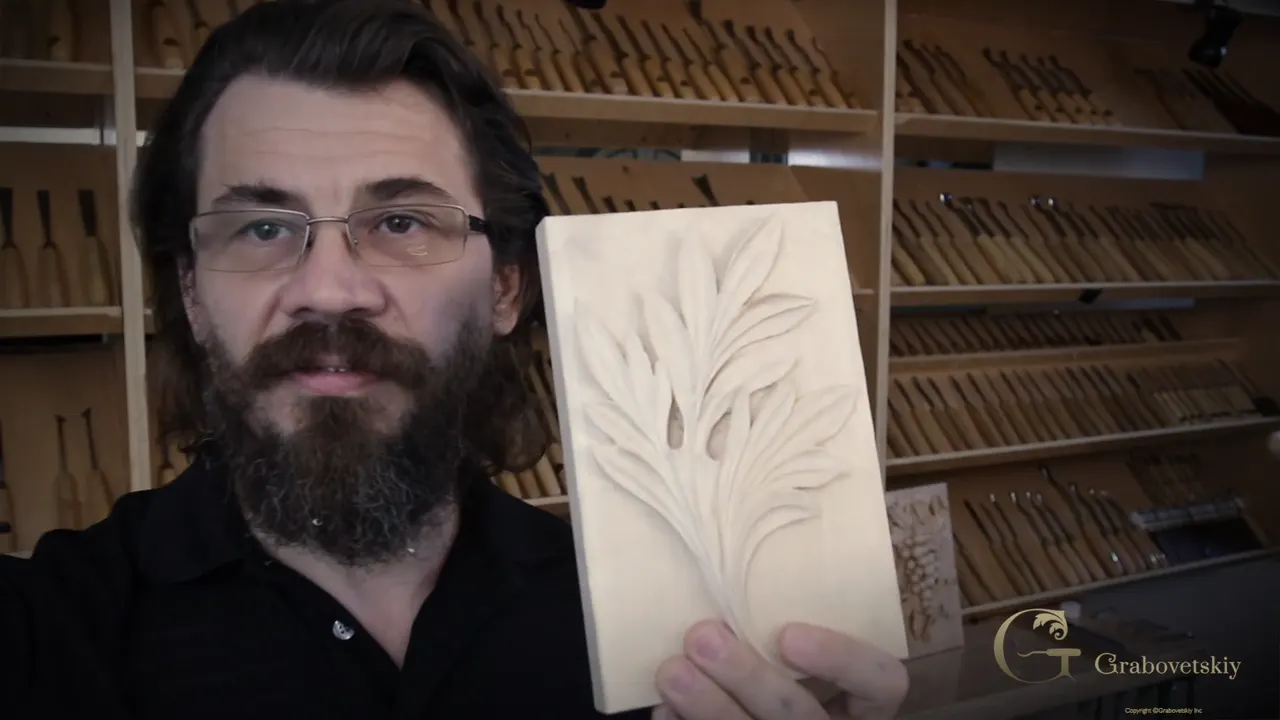
Ever look at an old column top and wonder how somebody got that leaf out of one board? Want to draw your own leaf rather than trace another man's forever? Then start with the oldest acanthus there is. I draw this one for pleasure, not for a job. For years now it has gone into almost every piece I carve, and the plain ancient version teaches you the law that every later acanthus obeys.
What is an acanthus leaf in wood carving?
The acanthus is a thorny plant, and carvers have been copying its leaf for about 2,450 years. Gardeners in England call the plant bear's breeches. Where I trained it was always the bear's claw, and one look at those pointed lobes tells you why. Almost any old building has the leaf on it somewhere. Ancient sculpture too, and good furniture. I put it in nearly everything I carve, including a deep relief panel I brought back from the Marc Adams School of Woodworking with an acanthus running down one side of it.
The story starts in Corinth. An architect named Callimachus was walking through the cemetery in the fifth century BC, hunting for ideas. He passed the grave of a young girl. The woman who had nursed her left a basket of the child's things on it and laid a roof tile over the top to keep them. An acanthus came up underneath. Its leaves climbed the sides of the basket and then bent back on themselves where they met the corners of that tile, and those bends are the scrolls you see on a Corinthian capital to this day. Callimachus stopped and stared. Maybe. I do not know whether the story is history or a good tale, but the Romans who copied the leaf afterward read it as a sign of endurance.
What I said on camera, word for word. "I love to draw Acanthus, I really love to draw Acanthus."
What makes a Corinthian acanthus different from a Roman or Renaissance one?
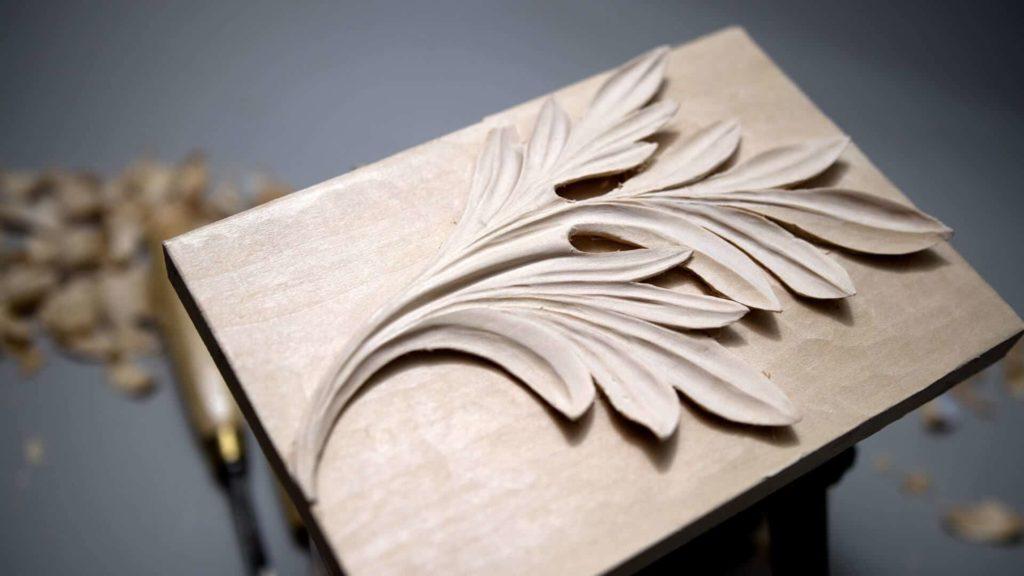
Two marks give it away. Sharp points, and a hollow inside. Every edge of every lobe finishes in a real point, and there are no curls on it anywhere. The later leaves get curls. Roman, Byzantine, Gothic, Renaissance, French, they keep piling on scrolls and flowers.
The second mark is harder to see in a photograph. Each part of the leaf is hollowed on the inside, like the inside of a spoon, and that hollow is where the shadow falls. The furniture acanthus most people know has lost it.
So begin here and work forward through the centuries in order. Not for tidiness. The oldest leaf has the fewest parts, which leaves the law underneath naked and easy to read, and once you can read the law a French acanthus stops frightening you.
One honest note. Egyptian drawings of acanthus decoration turn up earlier than Corinth, so I will not swear this is the first one.

What are the eye and the pipe on an acanthus leaf?
The eye is a hole straight through the leaf, and the pipe is a raised roll of wood that runs to the center.
An eye sits between the main movements. This leaf carries two, and each one goes all the way down to the background. The eyes go first. Put them off until the main form is set and I lose track of where they belonged, and with them the overall picture.

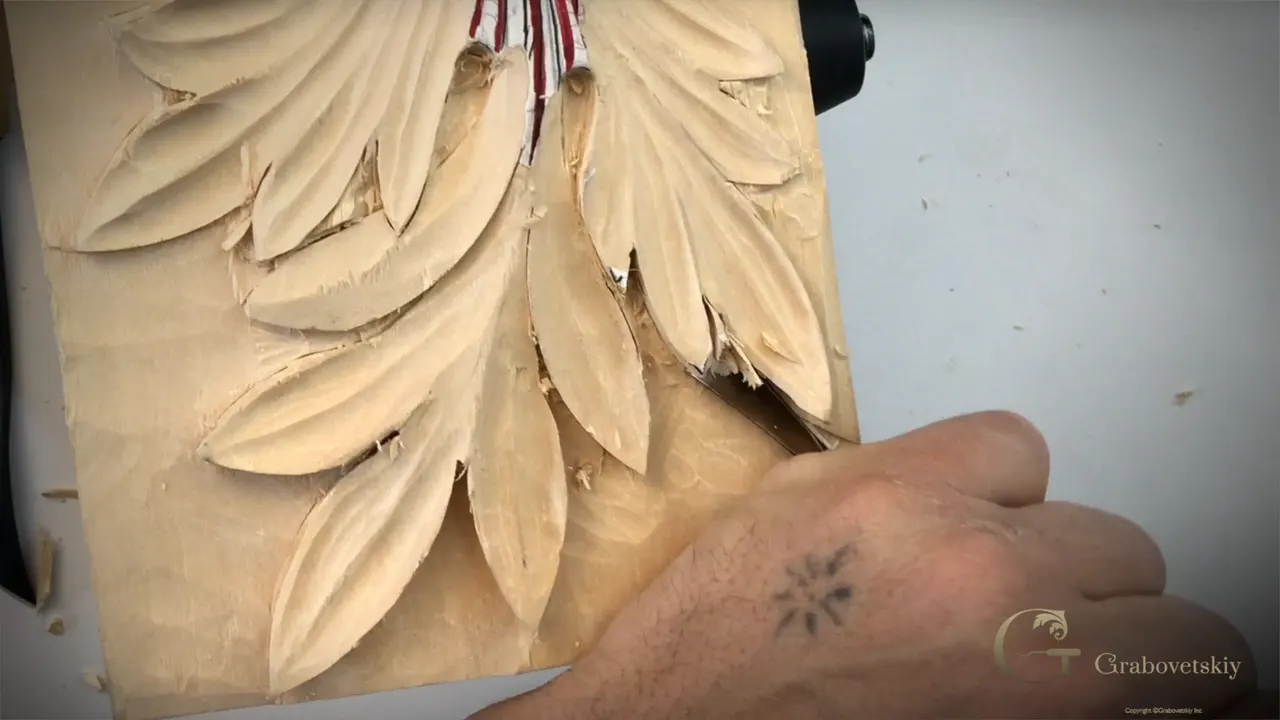
A pipe is convex along its length and hollow down both sides, so it stands up on the leaf like a length of pipe laid there. One of ours starts at an eye and runs out to the center. A pipe heads for the center, always.
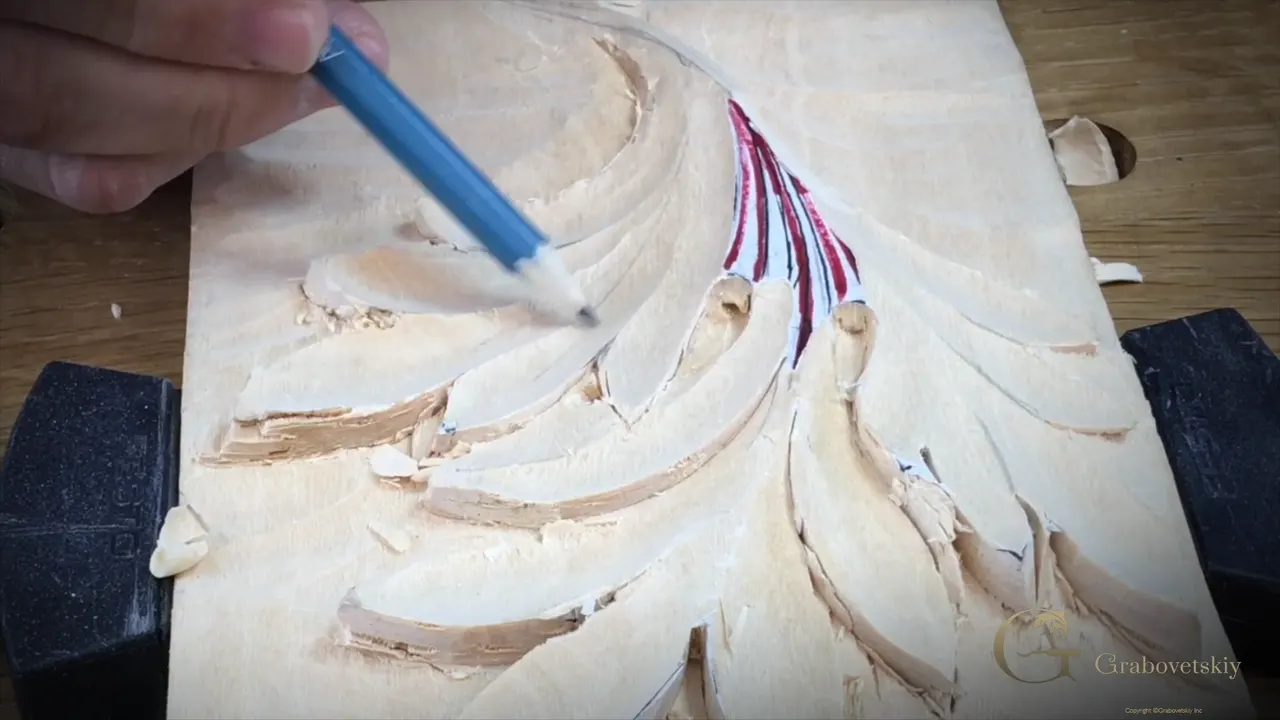
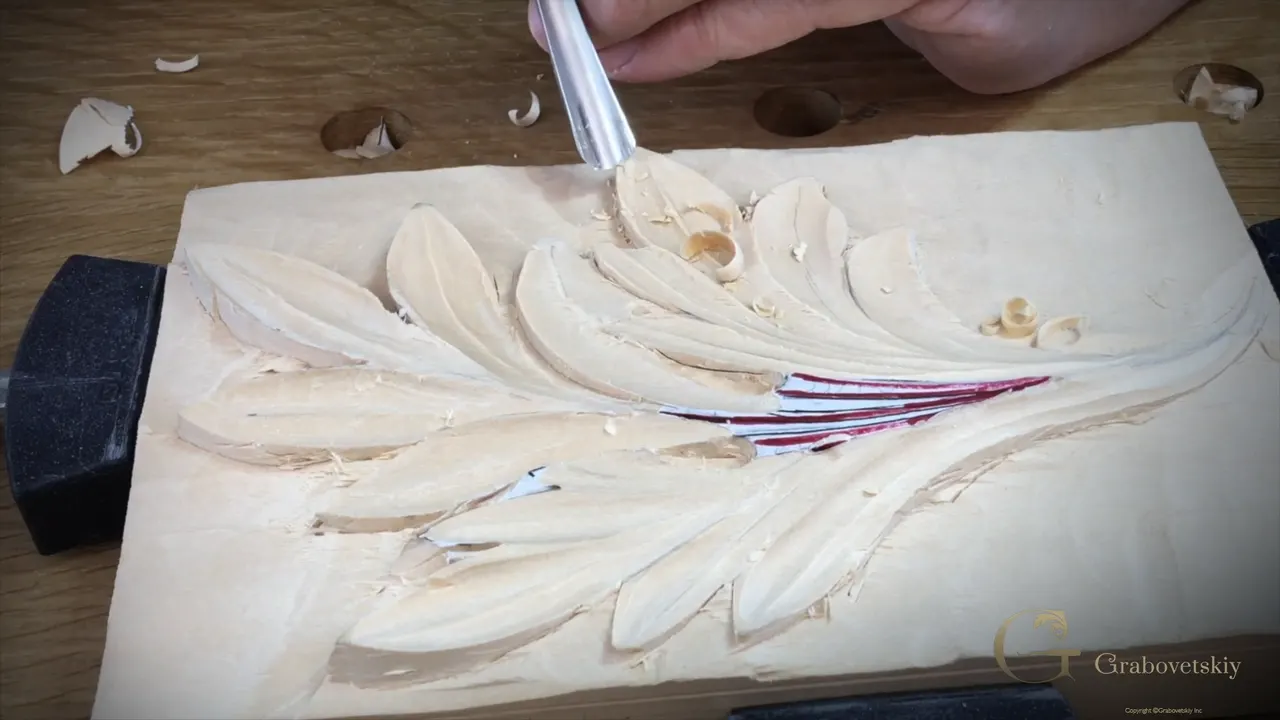
Get those two pipes nicely done, because they are one of the details that make a carving beautiful. Same story on a Renaissance leaf. On this one I mark both pipes in red marker before the big gouge goes in, so they stay high.
I put it plainly enough at the time. "Pipes are really, like I said, that's the main idea of the acanthus leaf on every design."

Where do you start when drawing an acanthus leaf?
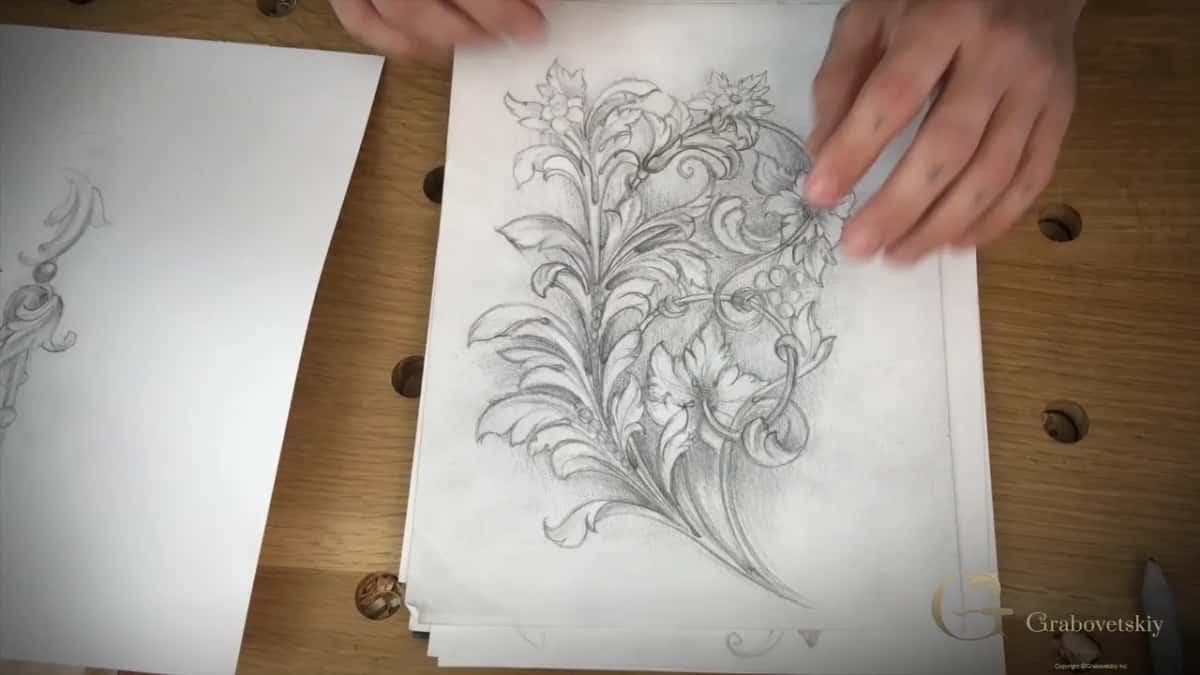
Draw the center line first, then split the leaf into three main movements. Every acanthus has to move.
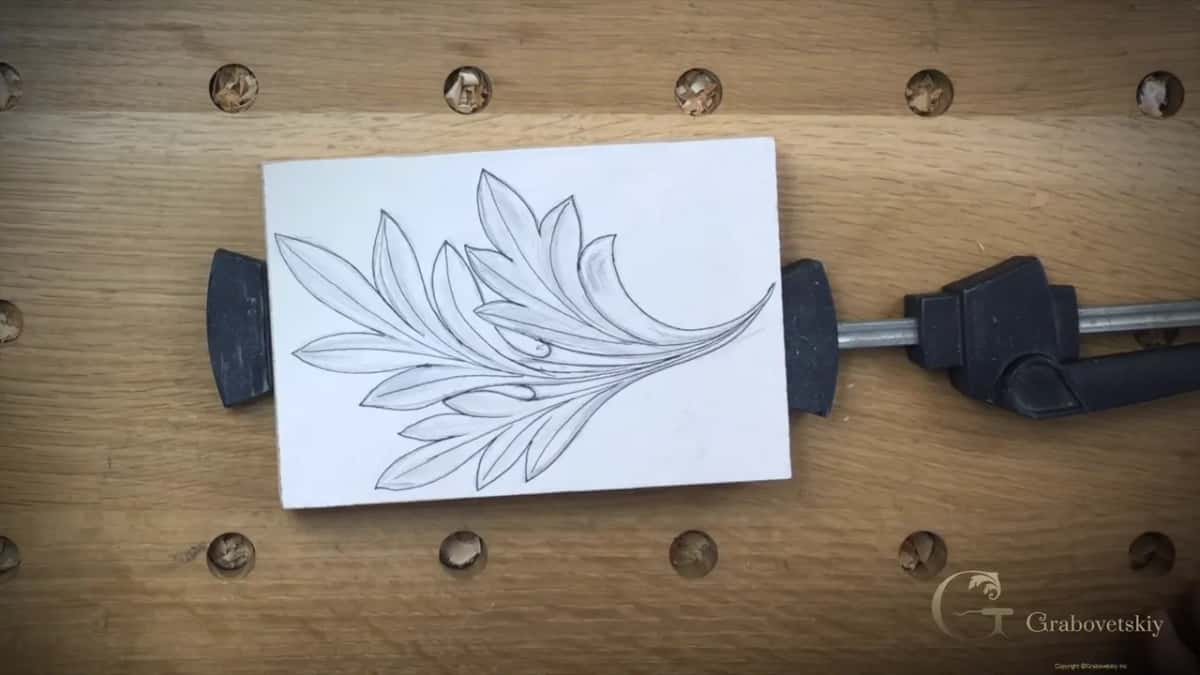
With the three movements down, place the eyes where they play between them, then lay in the two pipes so each one heads for the center line. Now take each of those three sections and divide it into five separate lobes. Five, on this design. Each lobe ends in a sharp point, and each point aims back at the center line or at the main movement it belongs to.
I trace around the block on paper before drawing a single leaf. Then I shade the hollows in pencil, so you can see where the shadow will fall and understand the leaf better.

How big a block of basswood does a deep relief acanthus need?
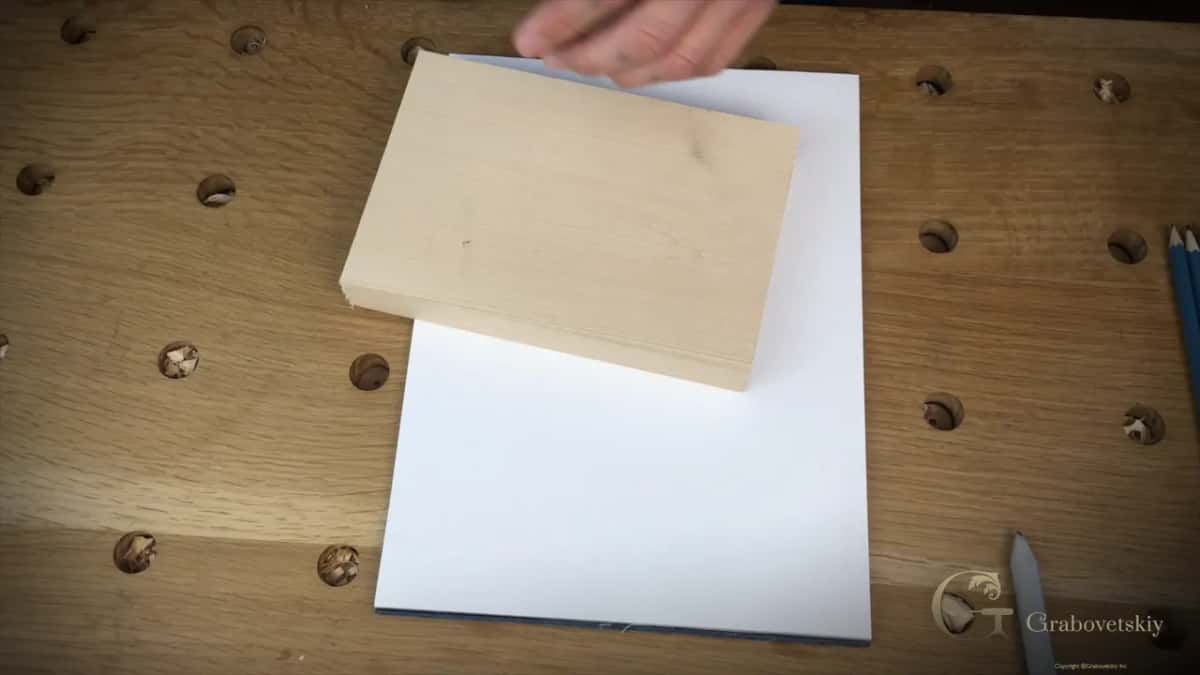
About 5 1/2 by 8 inches, roughly 140 by 203 mm, and thick enough to give up 13 mm of depth, call it half of an inch. Mine measures 5 7/16 inches across, near enough 138 mm, and 5 1/2 will do you fine.
My block runs about 1 1/8 inches, near 29 mm, so I take the background down half an inch, 13 mm, and that is plenty of depth. If all you have is three quarter inch stock, 19 or 20 mm, leave about a quarter inch, 6 mm, at the back and go no deeper.
One solid piece, please, with nothing glued on.
Mark the depth around the edge before you clamp anything. A marking gauge does it, or a finger laid against the side of the block and a pencil. Mine is out of true at the moment for some reason.

How do you transfer a carving pattern onto wood?
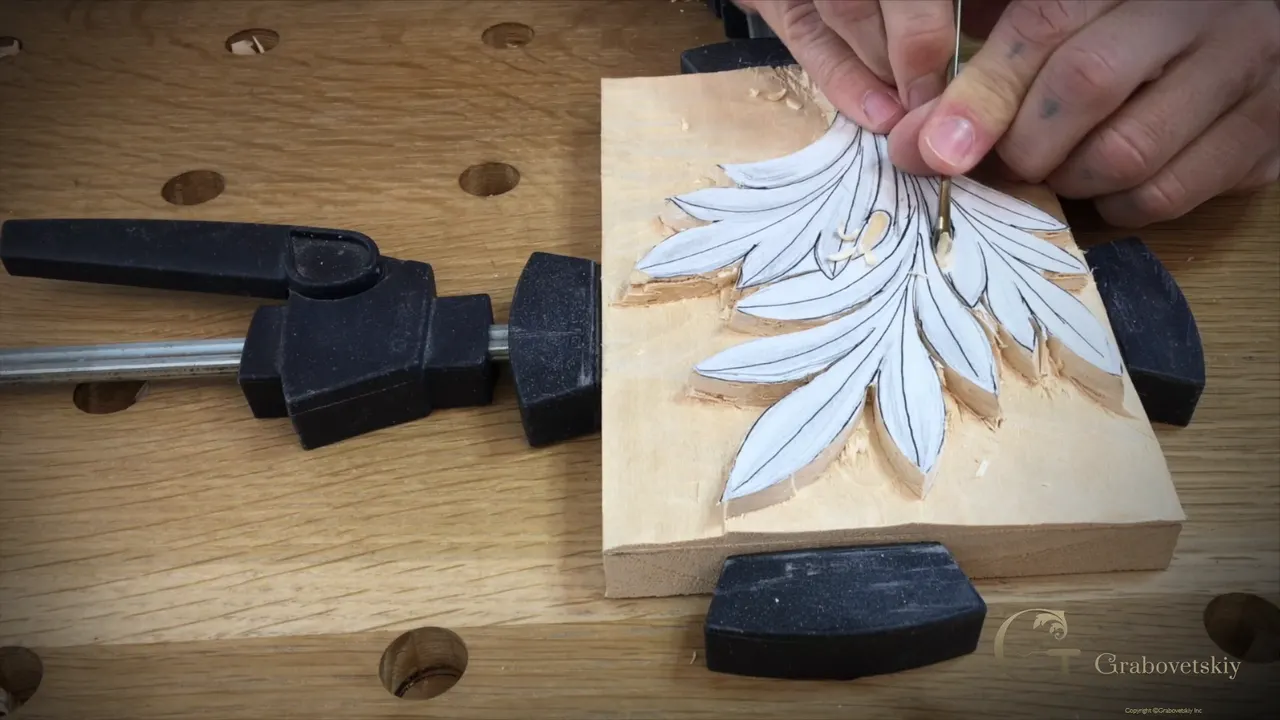
Spray glue on both faces, wait until neither one grabs your finger, then lay the paper down. Coat the back of the drawing and coat the block. Any spray glue works. I had 3M 90 on the bench that day, and I believe photo mount glue can work too.
Give it a couple of minutes, then touch it. Once it is dry, lay the sheet on and press it home. The paper stays put through all the roughing and peels off later under a number 5 gouge.
Ordinary clamps to the bench are fine. I like Festool clamps because I can clamp from any direction and it still holds tight. Halfway through this leaf I turn the whole thing on an angle to attack one spot.

Which gouges do you need for carving an acanthus leaf?
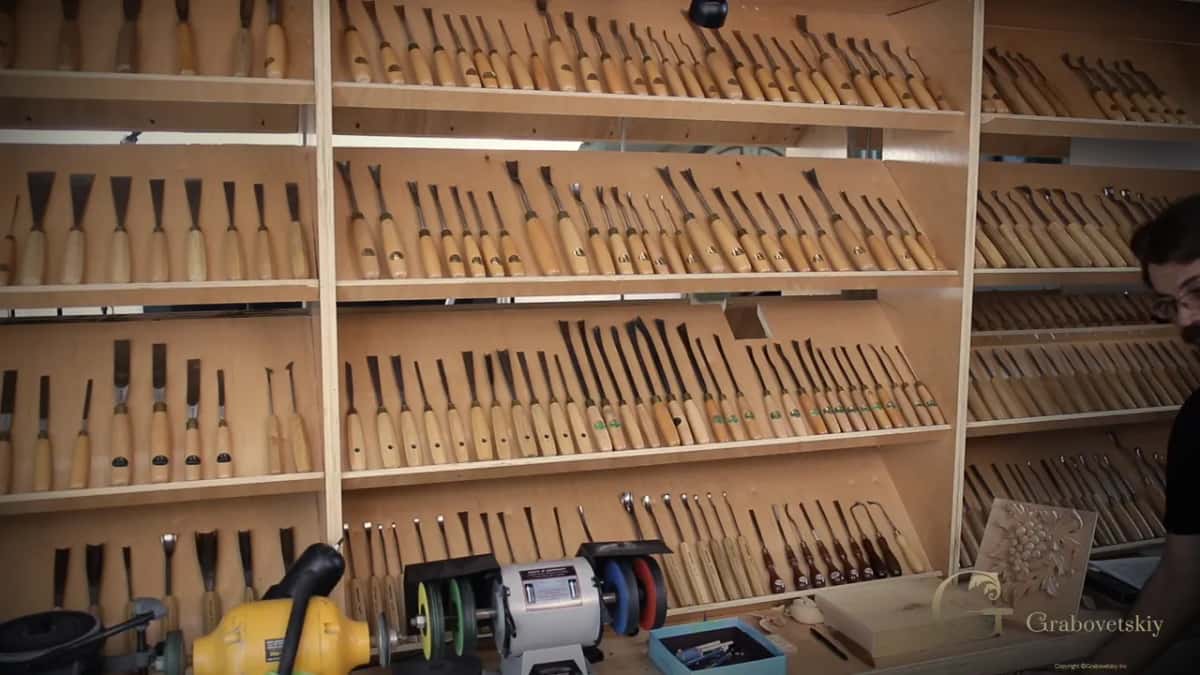
Carving gouges and a chisel, nothing else.
Through this leaf I move between quite a few tools. Start with a number 9 at 20 mm, three quarters of an inch. Then a number 5 at 35 mm for setting the outline in, a number 3 at 16 mm, and small number 9 gouges at around half an inch and 10 mm for the lobes. In limewood or basswood a number 12 knife can follow the line too, and it is much quicker.
Small Dockyard gouges carry no sweep number at all. One of mine has a slight fingernail, and it helped me fix the middle lines.
The skewed gouges are the hard ones to buy. Almost nobody stocks them. Buy a plain number 3 or number 5 and reshape it yourself.
Do you need a big gouge for relief carving?
One big gouge changes the whole job, and my workhorse is a number 7 at about 60 mm, near 2 3/8 inches wide. A tool that size takes a whole section of the leaf down really quickly, and on a deep relief you need to remove a lot of material.
Get at least one. The small ones will also work, but with the big one I can take a lot more material at once.

A big tool also gives you small work, which sounds backward. Put just the corner of a 60 mm gouge into a tight overlap and you can work even the smallest details, so one tool covers both ends of the job. Mine needed touching up from the day before. You can hear how sharp they are when they go in.
What does setting in mean in relief carving?
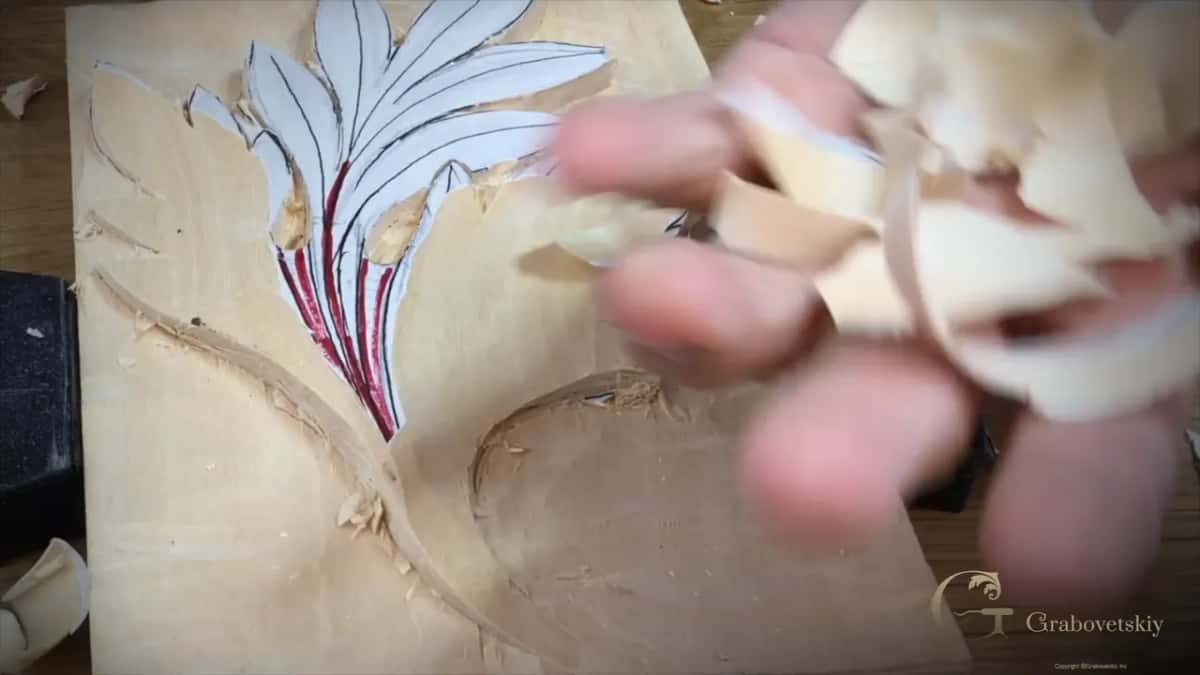
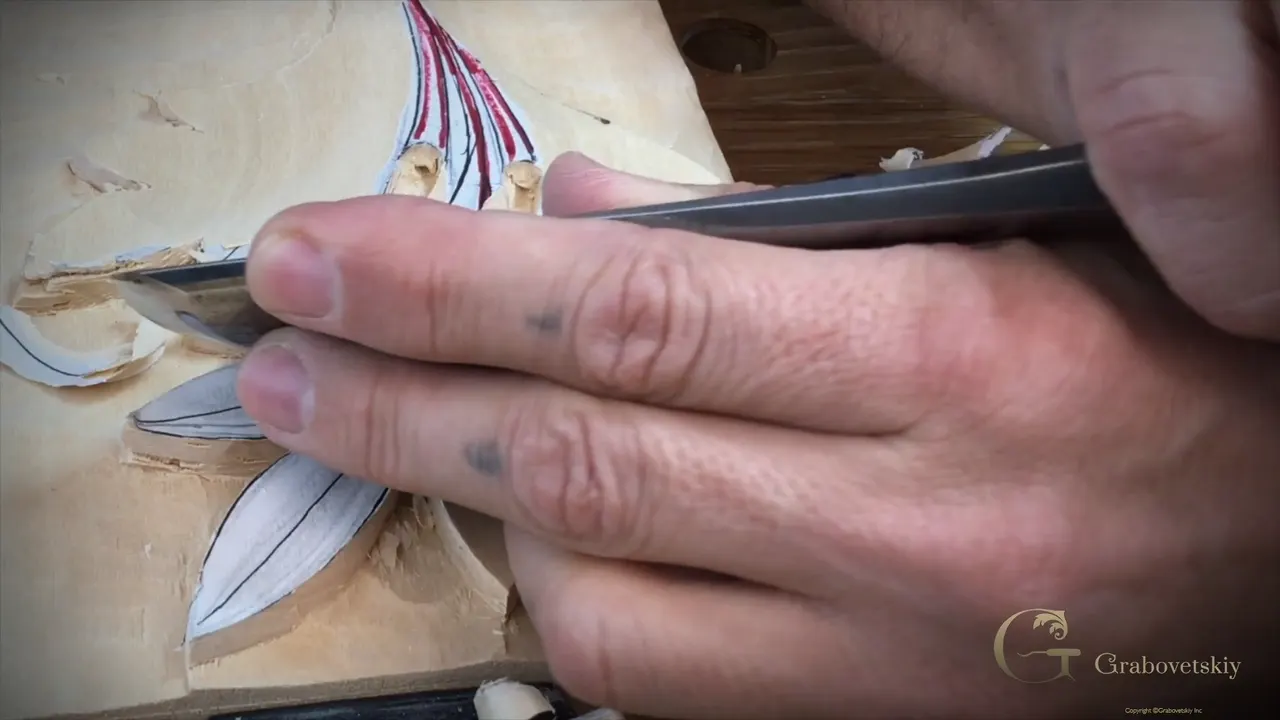
Setting in means going around the drawing with a gouge to fix the outline, while staying off the line on purpose. Stay back an eighth of an inch, about 3 mm, or three sixteenths if you want more room. Some days I creep in to a sixteenth, 1.6 mm, and I am comfortable there because I have done it a few thousand times.
Three ways all work here, so pick whichever your hands like best. Run a V tool around at that distance. Or a deep gouge, same job. Third way, take the big gouge first and clear the background almost to depth before outlining anything, which is how I usually go.
Some carvers call that first pass a relief cut, and the name is honest. You are relieving the stress in the wood. Once the waste side is open the fibers over there are weaker than the fibers on the good side, so when you finally drive the gouge down on your true line, the leaf edge comes out crisp instead of crushed.
Go below your line by accident and nothing is ruined. Your carving just ends up slightly deeper.
Should you ever carve toward yourself?
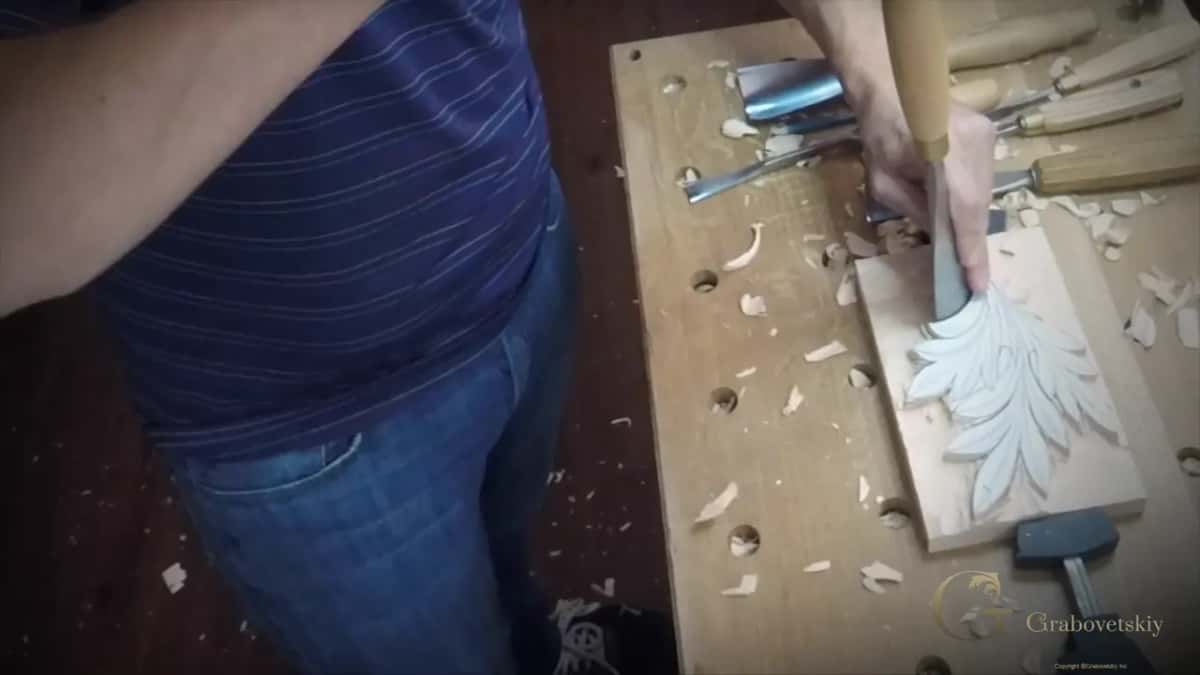
The rule says never carve toward yourself, and there are days the wood leaves you no choice. On a small panel you rotate the piece and the problem disappears. On something big and fixed you cannot rotate anything.
A dentist who studies with me showed me how he handles it. Both elbows go down flat on the bench and stay there, so his hands are locked to the table instead of floating over it. The tool can only travel as far as his arms allow, and it stops when he stops. Small moves only. It works.

Why does every line on an acanthus leaf run to the center?
Every point and every ridge runs back to the center flow line, and on this leaf you never see a T junction. Start anywhere on the edge and the line can travel all the way down to the middle without ever stopping dead against another line at a right angle.
I call it a law and I mean it, and the law reaches past acanthus to most foliage carving, so learning it on this plain leaf pays you back on the foliage you carve later.
Halfway through roughing, once the big gouge has taken the form down, the pencil lines are gone with the shavings. I stop and redraw them. The middle line first, then a line from each point running down to meet it. You cannot judge a ridge you cannot see.
The ridges have to stay high and clean and run the whole way to the center. Fifteen lobes, one single leaf.
On the recording it comes out like this. "You would never see a T-stop like this. Okay. That is a T-stop."

Does every piece of basswood carve the same way?
No two boards behave alike, even out of the same species. Basswood and limewood are what I use and what I tell everybody to use, and I still get surprised. Pick up new lumber, start carving, and it feels like a different material.
Those trees lived different lives. One grew close to water and one did not, and you have to feel how each new board behaves.
Why does an undercut leaf look like it floats above the background?
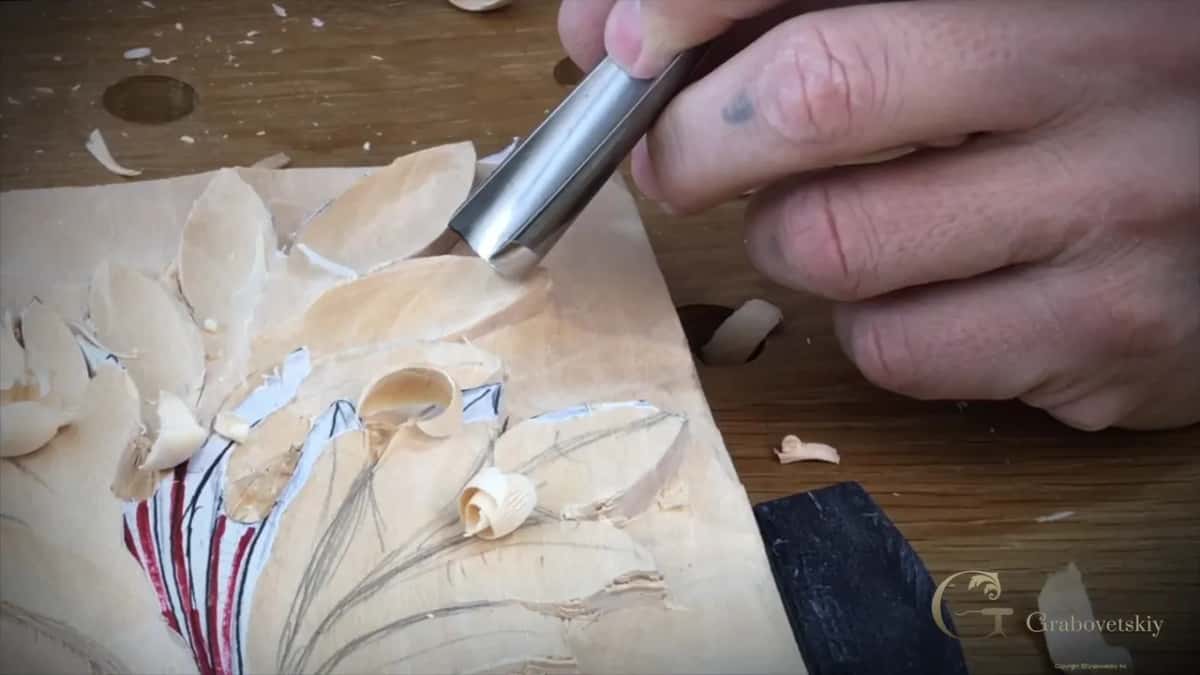
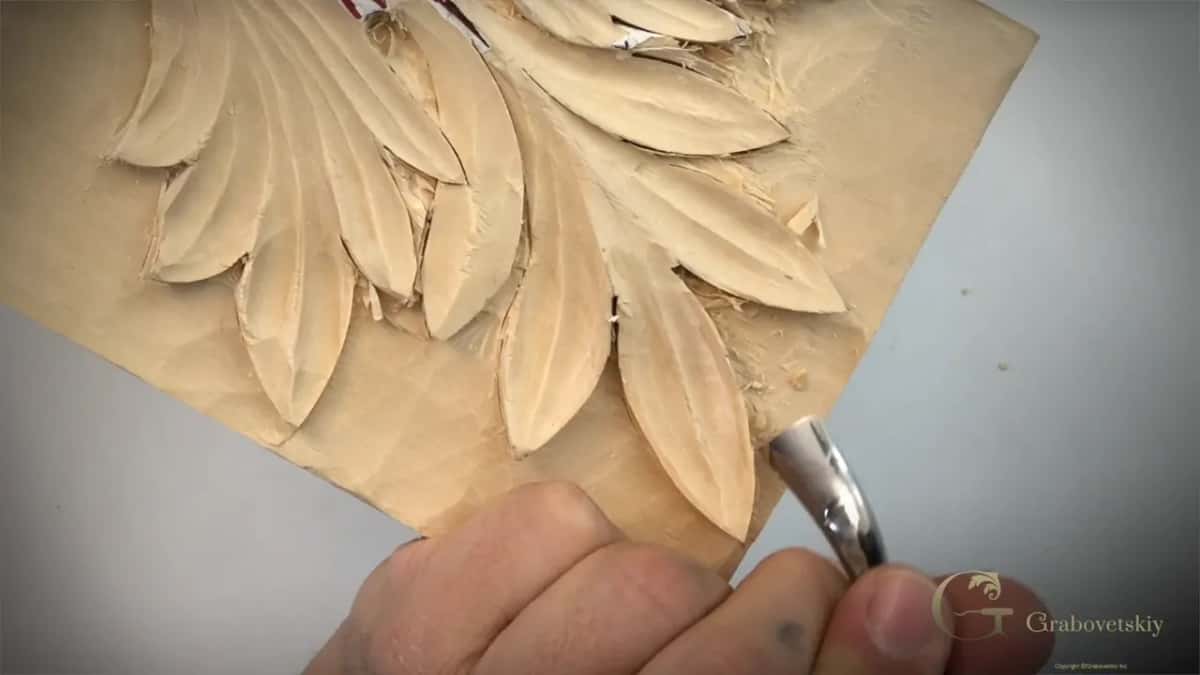
Undercutting means removing wood underneath the edges of the leaf so light cannot reach in there. What comes back is a black shadow line under every lobe, and the leaf lifts off the background and appears to hang in the air. Carving is all about light and shadow, especially with no stain and no finish on it.
I go to extremes with this. Some of my work is undercut so far that it would snap if you handled it wrong, and on a piece of art I am happy with that. On furniture, or on anything hands touch every day, do not go near that far.
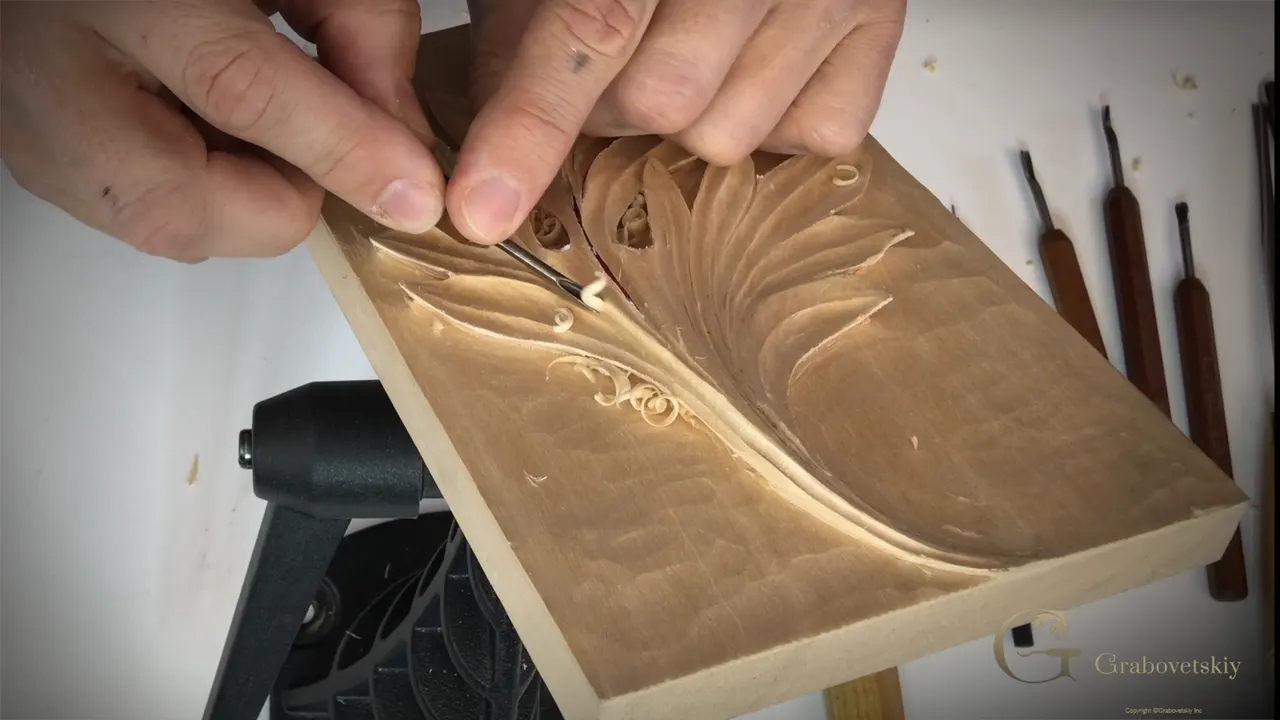
Even a slight undercut earns its keep. Give the shallowest furniture carving a hair of it and the shadow shows up anyway, and the whole carving seems almost to float.
Clean undercutting also lets you work deeper later without wrecking whatever stands in the way, which is why I call it one of the most useful skills in this trade. Somebody may disagree. I am all right with that.

What tools do you use for undercutting a relief carving?
A 45 degree V tool starts it, and a back bent gouge makes the rest a lot easier. Lay the V tool flat on one of its sides, tap it with a mallet, and take the wall back a little at a time. A 60 degree V tool does the same work, though the 45 reaches further into the low places.
Then a number 5 gouge turned upside down, slicing, never pushing. After that the back bent, a Pfeil 25 at 13 mm, which undercuts one lobe without touching the lobe opposite. Where two lobes meet, pretty much only a carving knife or a chip carving knife gets in, and I clean out behind it with a 1 mm V tool.

Stop about a thirty second of an inch short of the edge, near 0.8 mm. The spare sixteenth still sitting above your final line lets you tilt the tool about fifteen degrees and stay safe.
Be careful with all of it. Undercutting is the skill that breaks tools, and I have broken mine doing it. I know carvers who never snap a gouge anywhere else and snap them here.
Why leave extra background until the end of a relief carving?
Leave a sixteenth of an inch of background high all through the job, then slice it away at the end. That 1.6 mm is your insurance. While you work the lobes your tool digs into the background now and then and leaves a mark you do not want, and the last pass carries it off.
Set a number 5 down on the line and work inward toward the center, against the grain. Ridges appear behind the tool. Do not worry about them. Then take a number 3, or a proper background tool, lay it on those ridges and slice, and the whole floor comes level and smooth. Mine is marked two and a half, between a 3 and a 2. English makers number that end of the range differently. A European number 2 is still a gouge, just close to flat, but on a London pattern a number 2 is already a skew chisel.
Cleaning the background is my favorite part of the whole leaf.
How deep do you want that shadow? Are you willing to come back to the same edge again and again to get it? Then take your time, finish it clean, and put the sandpaper back in the drawer where it belongs.

Which stage comes first on a deep relief carving?
Drawing comes first, then the setting in, and only after that the main form. The eight stages below are the whole arc of this course.
So there is a block of basswood in your shop and a pencil somewhere on the bench. Where does the center line go on it? Come and find out at the bench, and by the seventh workshop you will place it without me. Shall we carve?
That is the whole of Carving Corinthian Acanthus Leaf. Seven workshops, nineteen videos, filmed at the bench. After this leaf we work forward through the centuries, Greek, then Roman, then Byzantine, and the curls arrive when you are ready for them.
| The job | Reach for | Size |
|---|---|---|
| Roughing the form down | Gouge no. 7 | 60 mm, 2 3/8 in |
| Clearing the background | Gouge no. 9 | 20 mm, 3/4 in |
| Hollowing a lobe | Gouge no. 9 | 13 mm, 1/2 in |
| Shaping the two pipes | Gouge no. 9 | 10 mm, 3/8 in |
| Driving the true line down | Gouge no. 5 | 35 mm, 1 3/8 in |
| Taking the middle from an eye | Gouge no. 3 | 16 mm, 5/8 in |
| Starting the undercut | V tool at 45 degrees | any width |
| Cleaning a tight corner | The small V tool | 1 mm, 1/32 in |
| Working in under a lobe | Back bent, by Pfeil | 13 mm, 1/2 in |
| Following a drawn line | Carving knife no. 12 | one blade |
The main tools named across the seven workshops, and the one job each one does here.
How it's done
- Draw the leaf at full size. Trace around the block on paper, mark the center line, set out the three main movements, then divide each one into five pointed lobes. Shade the hollows in pencil.
- Glue the paper to the wood. Spray both faces, wait until neither surface grabs your finger, then lay the sheet down and press it flat.
- Mark the depth and clamp up. Scribe the depth line, half of an inch or 13 mm, around all four edges. Clamp the block so you can turn it and still come at the wood with the grain.
- Set the outline in. Clear the background almost to depth with the big gouge, then go around the drawing an eighth of an inch off the line before driving the true line down.
- Sink the two eyes. Take the eyes out early using a number 9 and a mallet so the layout cannot drift once the form starts moving.
- Take the main form down. Set the high point, run the rest downhill with the wide number 7, and keep both pipes standing at full height.
- Hollow each lobe to its ridge. Work a concave from the edge of each lobe to the center line with a small number 9, leaving the ridge inside it standing proud.
- Undercut, then level the background. Open the shadow under every edge with the V tool and the back bent gouge, then slice off the last sixteenth of background.
Key takeaways
- The Corinthian leaf is the oldest and the plainest acanthus, so it is the right one to carve first.
- Sharp points and a hollowed inside are what make it Corinthian. No curls anywhere.
- Every point and ridge runs to the center flow line. There is no T junction on this leaf, or in most foliage carving.
- Sink the eyes before the form moves, or you lose track of where they belonged.
- Keep that last sixteenth of an inch of background high until the final pass, so the tool marks you leave along the way come off with it.
- Undercutting makes the shadow that lifts the leaf, and it is the skill that breaks tools.
- Long slices leave the movement in the wood. Really short ones do not.
Frequently asked questions
Can a beginner carve an acanthus leaf?
A beginner belongs on this leaf, not on a Renaissance one. Fewest parts, no curls, one law. Patience is a really important skill in wood carving. You can make mistakes, but going below your line is not a big deal, since all it means is a carving slightly deeper than you planned.
How long does an acanthus leaf take to carve by hand?
Longer than you want, and rushing it is how the mistakes arrive. One piece of mine took a few years. It is in a customer's house now, and I don't think I have any photos of it. For scale, a really complicated piece takes at least a month by hand, where a CNC machine can run twenty hours or longer.
Can a CNC machine carve acanthus?
What to carve next