
Alexander Grabovetskiy, woodcarver, School of Woodcarving · Published 2017
What is a pipe on an acanthus leaf?
Quick answer: A pipe on an acanthus leaf is the rolled tube of material travelling from one eye down to the center line. Every acanthus design carries them, Corinthian through Renaissance, and cutting the hollows that leave them standing is the detail deciding whether a finished leaf looks beautiful.
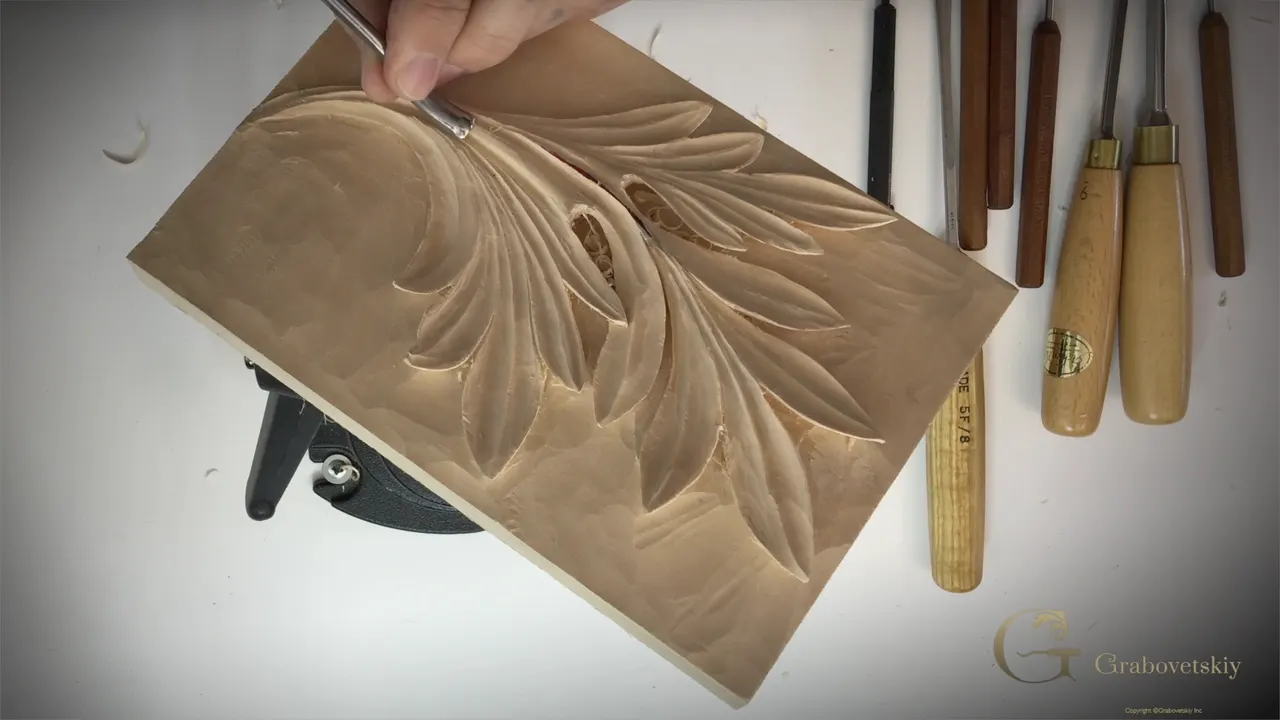
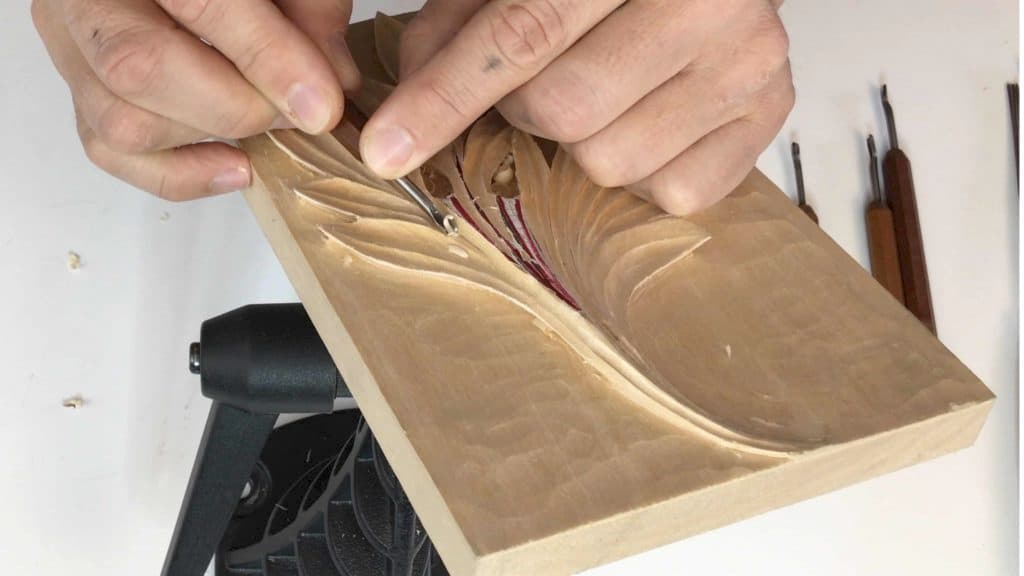
A pipe is the rolled tube of wood that leaves an eye and travels down to the center line. Two of them sit on this leaf. Cutting the hollows that leave them standing proud is the detail that decides whether your finished carving looks beautiful or merely correct.
Finished the undercutting and found the leaf still looks unfinished? Cut everything the drawing showed and it reads flat anyway? Peeled the paper off and watched a wobbly line appear where a clean one should be? All three land in this last workshop.
Here we cut the pipes, rebuild the line the paper was hiding, and finally take the ground down to where it always meant to go. After this the Corinthian acanthus is carved.
What the last workshop settles
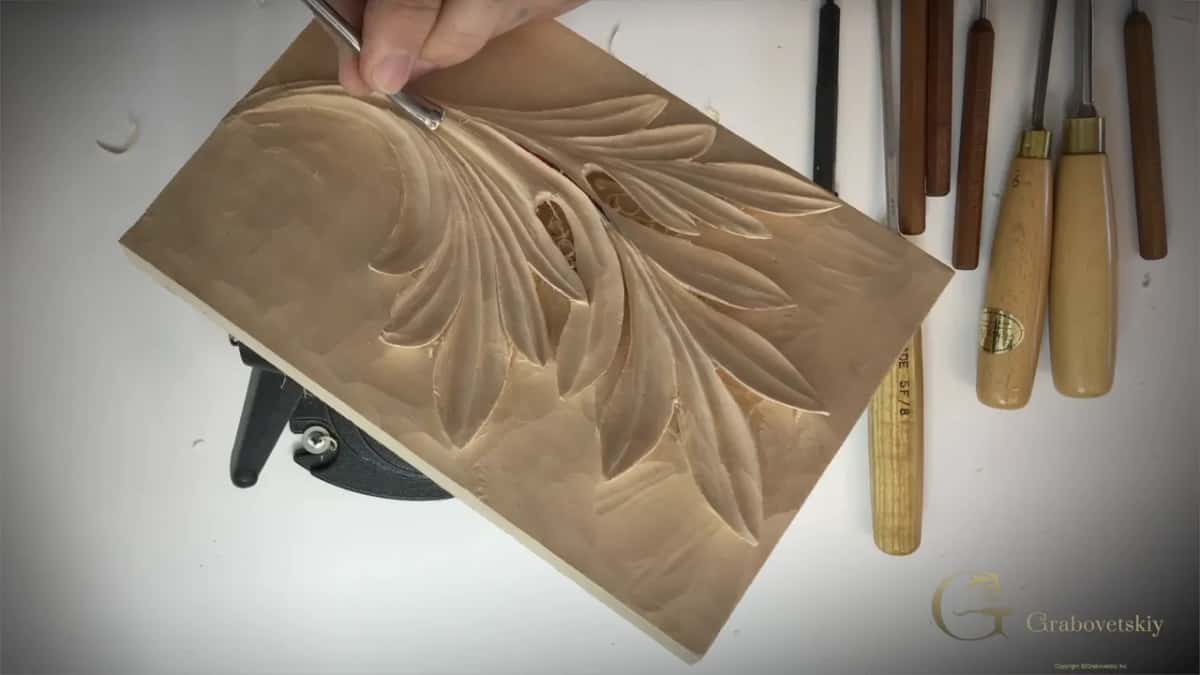
- Two pipes. Every acanthus ever carved has them, and yours must too.
- The ridge between the pipes stays high. Everything beside it drops away.
- Gouges get very small here, down past an eighth of an inch.
- Off comes the paper, and the outline underneath is never as true as it looked.
- The spare sixteenth comes off the ground last.
- Vein the ridge in a few places only, never along its whole length.
Where does a pipe start and where does it end?
At an eye, and at the center line. Each one leaves the hollow where two lobes part company and down toward the spine of the leaf, and this pattern carries two, one on each side.
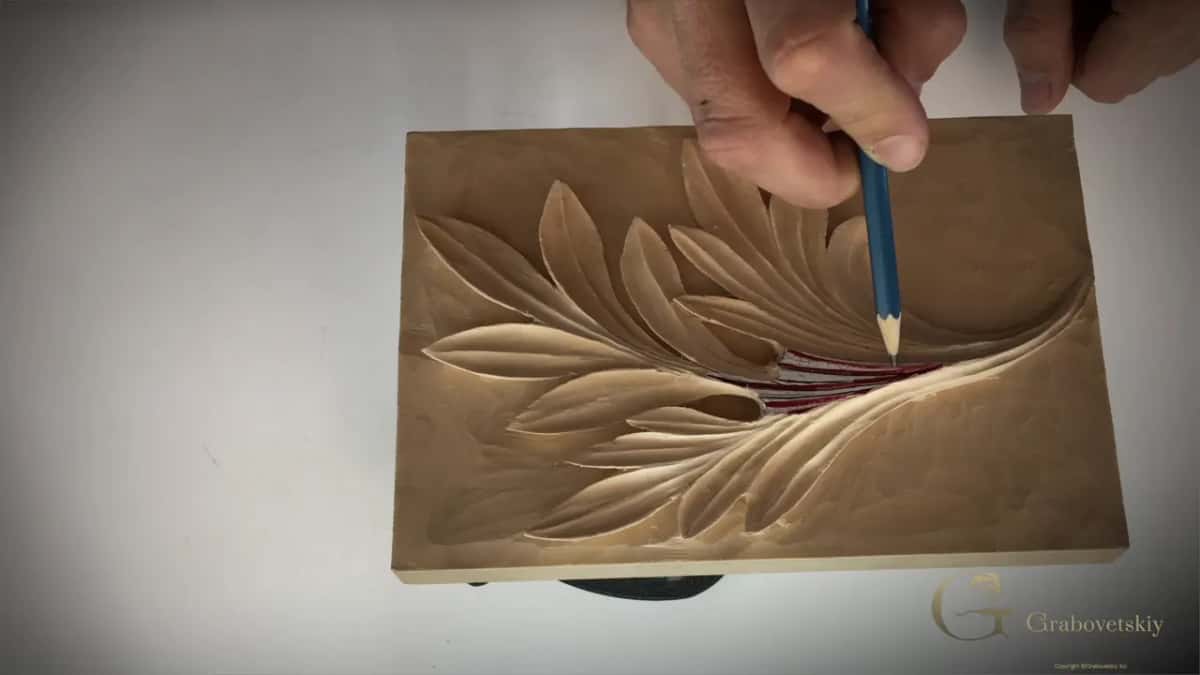
Look at any acanthus you can find. The oldest Corinthian capital has pipes. So does the busiest Renaissance panel, the Greek leaf, and later relief work. Designs change enormously across those centuries. Pipes do not.
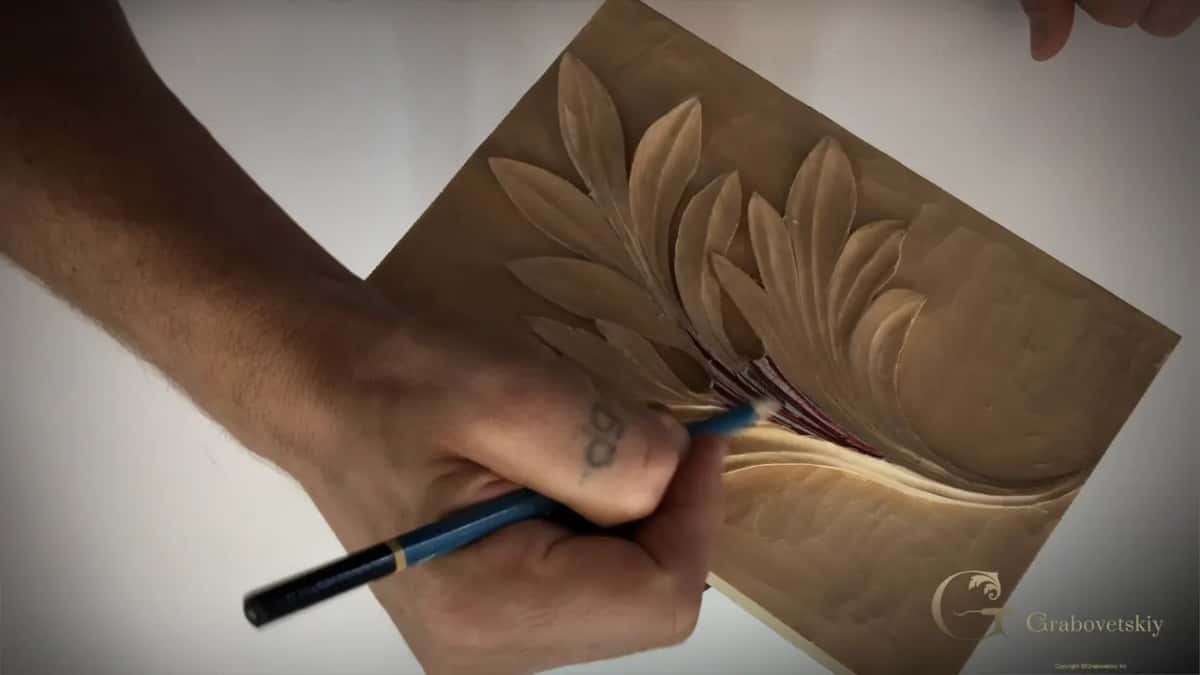
So they are not decoration you may skip when time is short. Leave them out and the carving falls flat, whatever else you got right.
Which gouge cuts the hollow beside a pipe?
A number 9, and then a smaller number 9. Mine is an Ashley Iles at 10 mm, three eighths of an inch, which takes out the waste between the two pipes before I drop to about an eighth for the tighter passages.
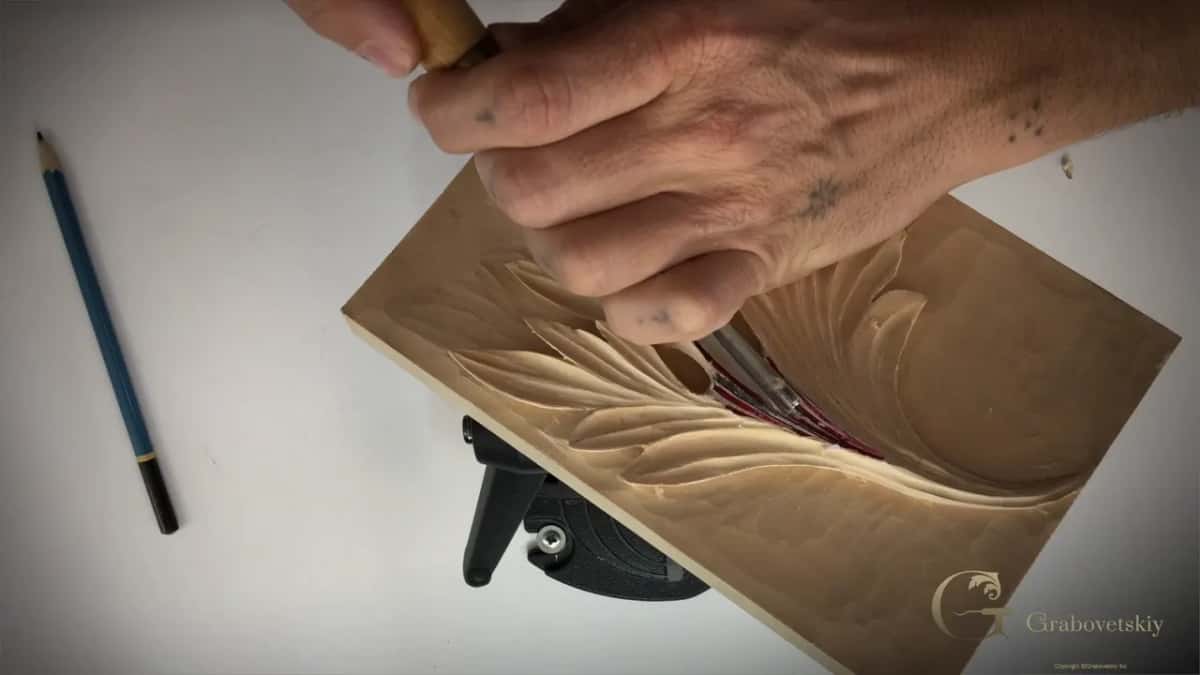
A number 8 does the same work if that is what your rack holds. Brand matters far less than sweep at this size, whether it is an Ashley Iles or anything else on the shelf. Width is not sacred here. What the width actually controls is how deep you can reach, so a narrower tool simply lets you go further into a small hollow.
| Tool | About how wide it is | What it is doing | Where on the leaf it goes to work |
|---|---|---|---|
| Number 9 | 10 mm, three eighths of an inch | opens the waste | the broad hollow lying between the two pipes |
| A smaller number 9 | an eighth | deepens and exaggerates that same hollow, close to the ridge | tight passages |
| Something under an eighth | tiny, and carrying no number at all | cuts the middle lines | right between the pipes, where nothing larger will physically fit |
| A 3 or a 5 | whatever you own | rounds the top of each pipe so it reads as a tube | both sides |
| Back bent, 25 or 28 | 6 mm | reaches under | deep spots a straight tool cannot enter at any angle |
By the end I am on something under an eighth of an inch, a genuinely tiny gouge, going in little by little. Rushing a cut that small breaks either the wood or the tool, and neither repair is quick.
How do you keep the middle ridge high?
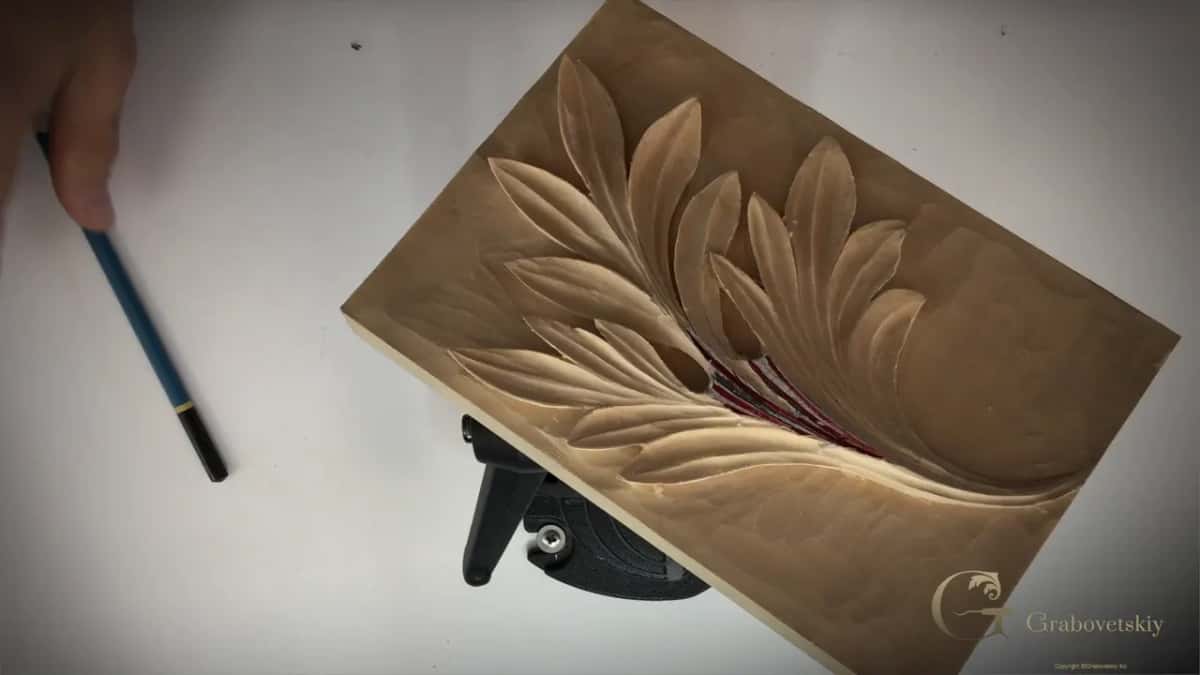
By cutting everything around it and nothing on it. That central ridge has to stand above its neighbours, so the hollows on either side get exaggerated instead of evened out.
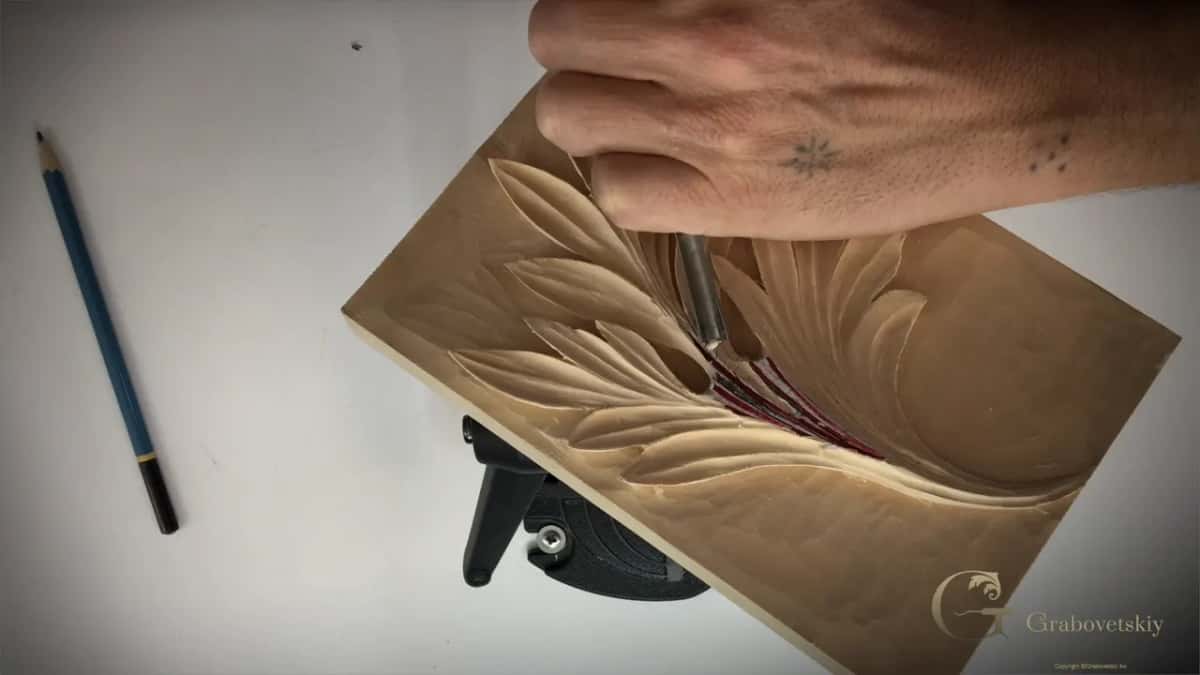
My cut starts at almost nothing and digs in as it travels. Shallow where the spine begins, deeper as it runs, so the whole thing appears to lift clear of the surface instead of sitting on top of it.
Slice, do not push. I say this in every workshop and it matters most here, because the sections are small enough that a shove goes straight through the line you were protecting.
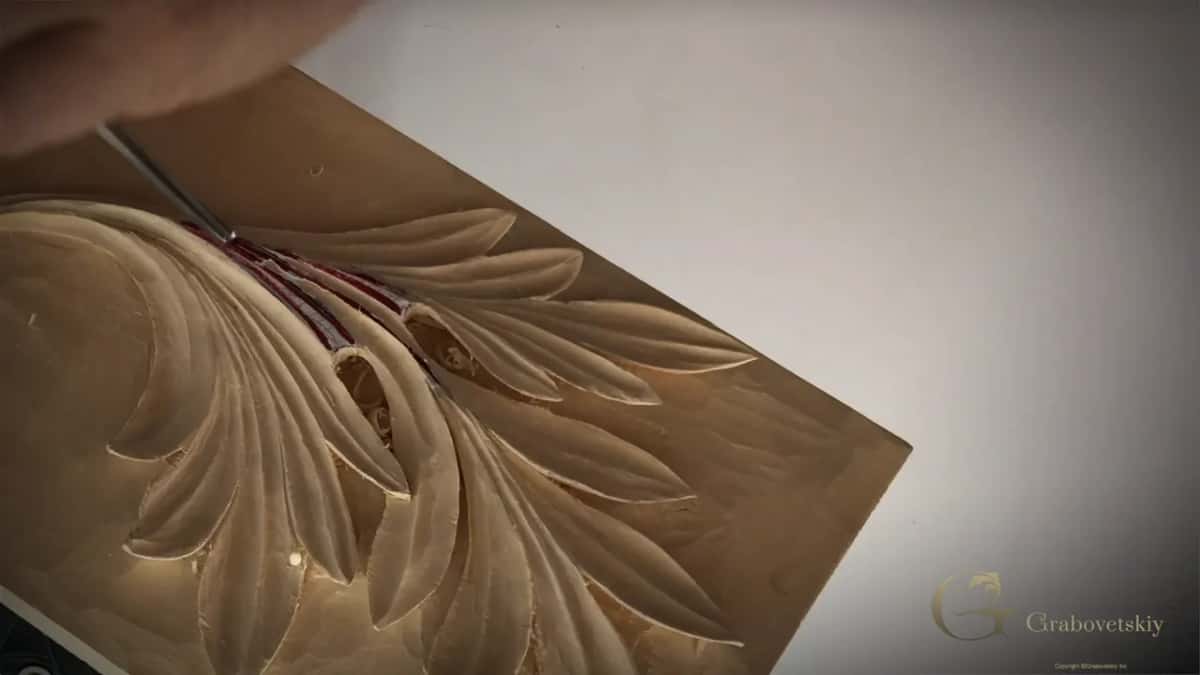
What are dockyard gouges?
Small tools that carry no sweep number at all. Mine arrived unmarked, so I judge them by eye: some look like a 9, some like an 8, and they do the job whatever a catalog would have called them.
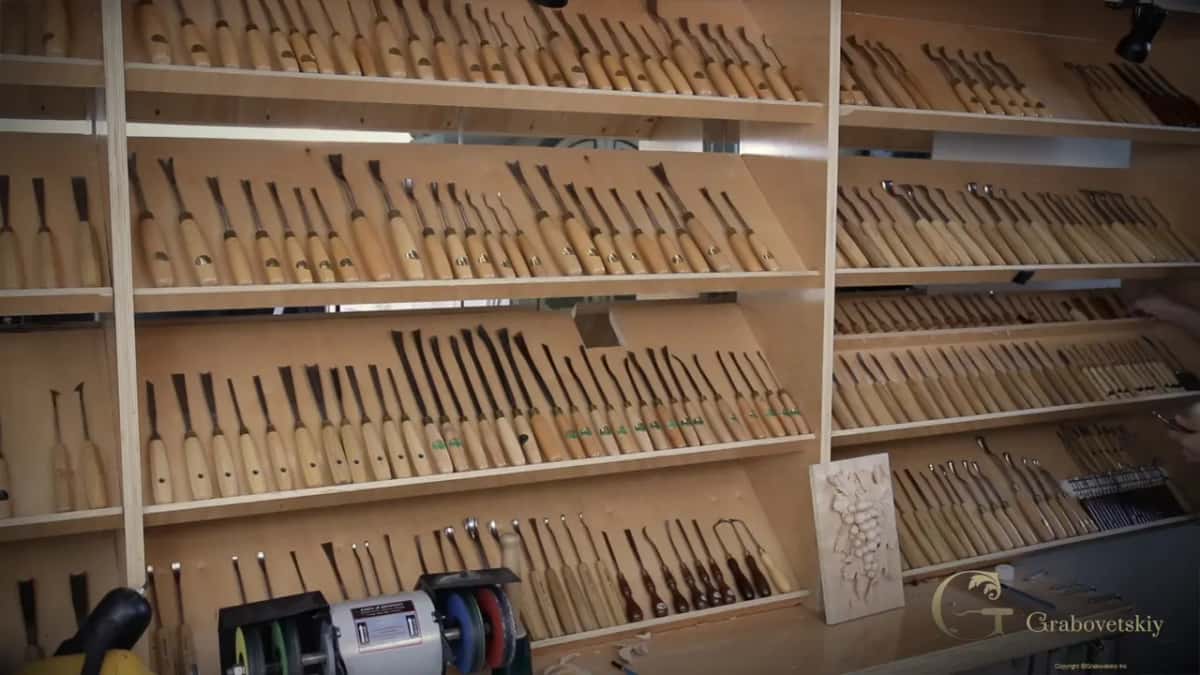
My favorite has a slight fingernail, meaning the edge curves back at its corners instead of running straight across. That shape lets the tool enter a hollow without its corners digging in, which is exactly what the middle lines need.
Buying the brand matters less than owning something small enough. Any set of miniature carving tools will reach these passages, and my tools course goes through the shapes that earn their space.
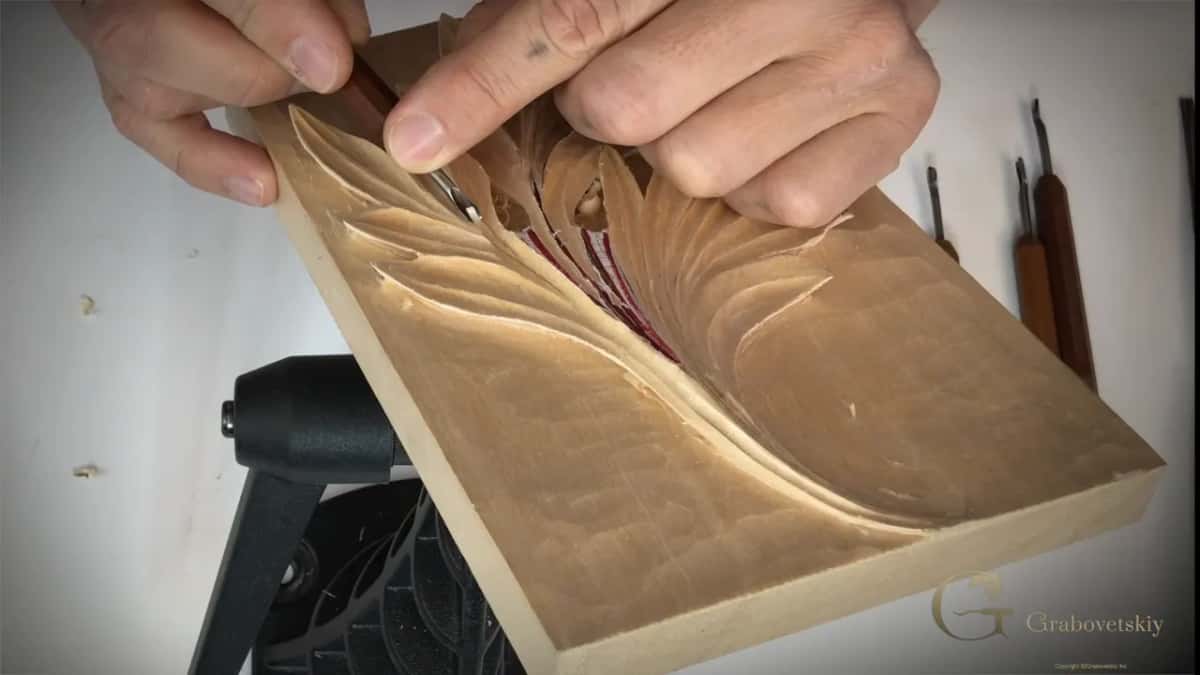
How do you round the top of a pipe?
With a flat sweep, a 3 or a 5. Leave a sharp arris along the top and you have a ridge instead of a tube, so both sides come down until the section is genuinely round.
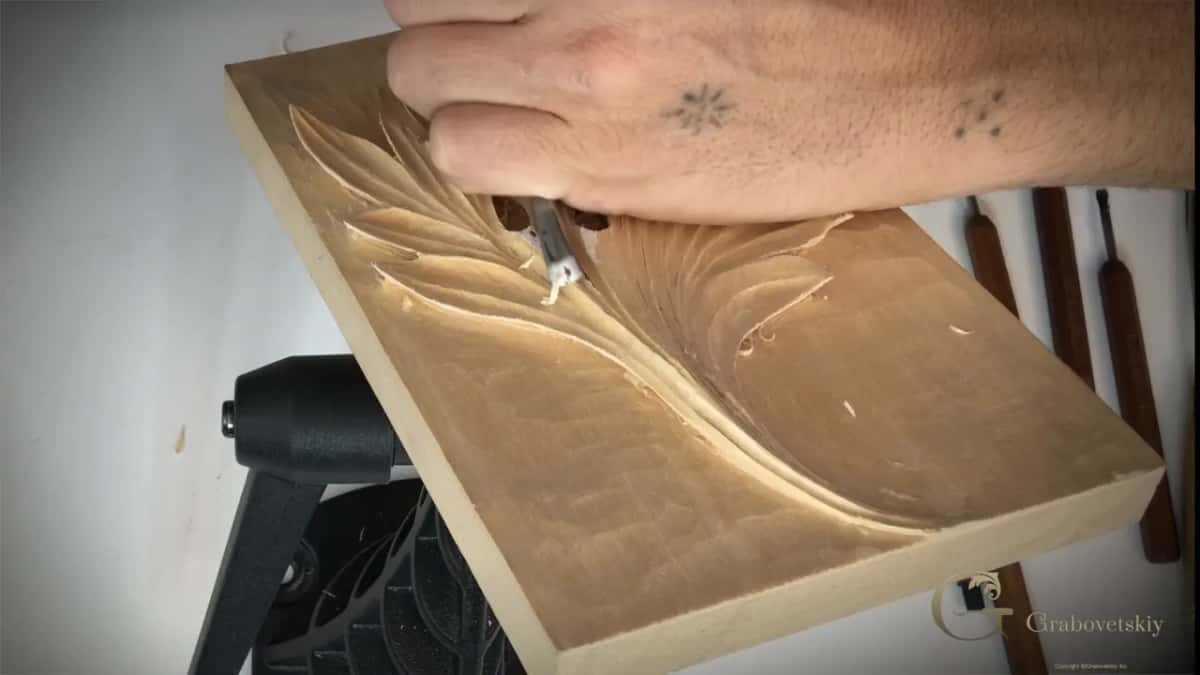
A fishtail 5 does this well because its narrow neck lets you see the cut. A back bent does it better still in the deep spots, and mine is marked 25 at 6 mm. There is also a 28 at the same width, and that one can cut true around a curve.
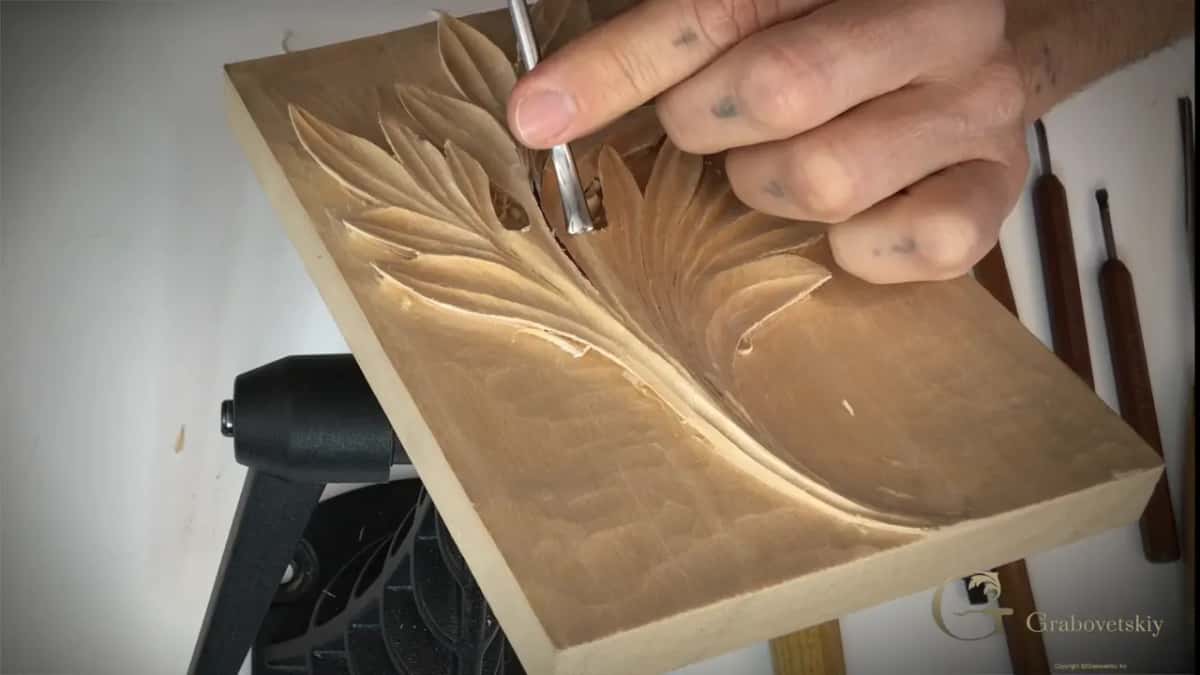
Neither back bent reaches everywhere. They have their own limits, and knowing where a tool stops is as useful as knowing what it does. I go back to the plain small gouge whenever the bent ones run out of room.
What happens when the paper comes off?
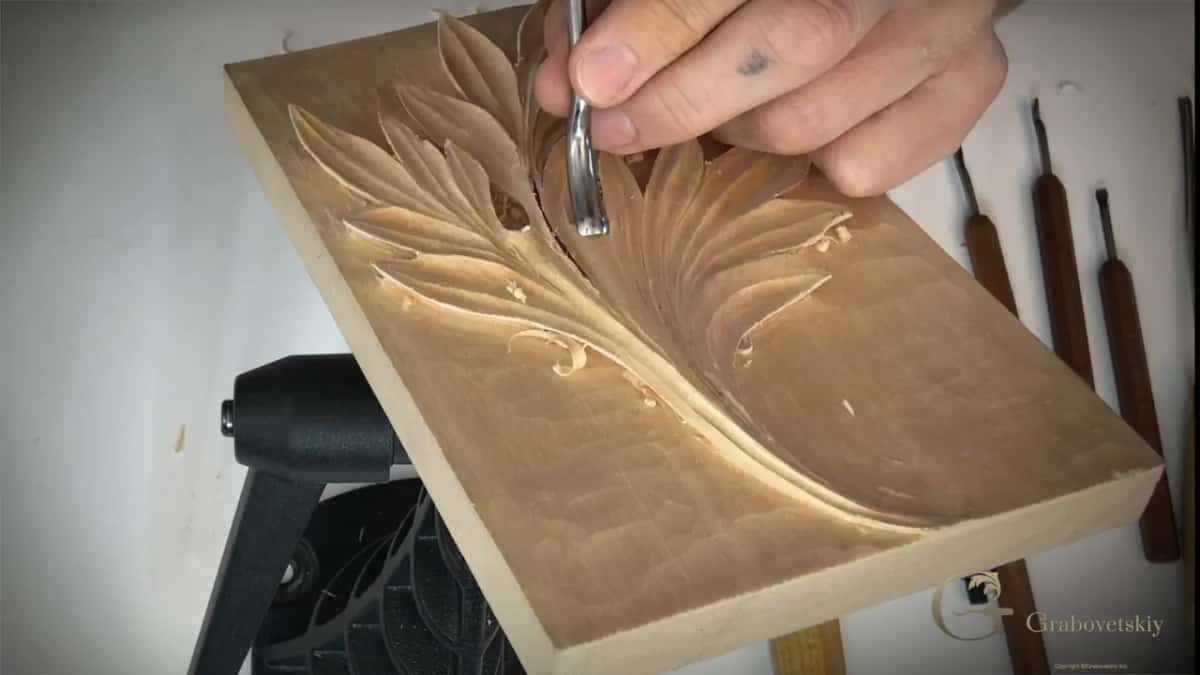
The truth appears. I take the paper and its glue off with a number 5, and the outline that looked perfect on paper turns out to wander, because paper hid every small deviation your tools made underneath it.
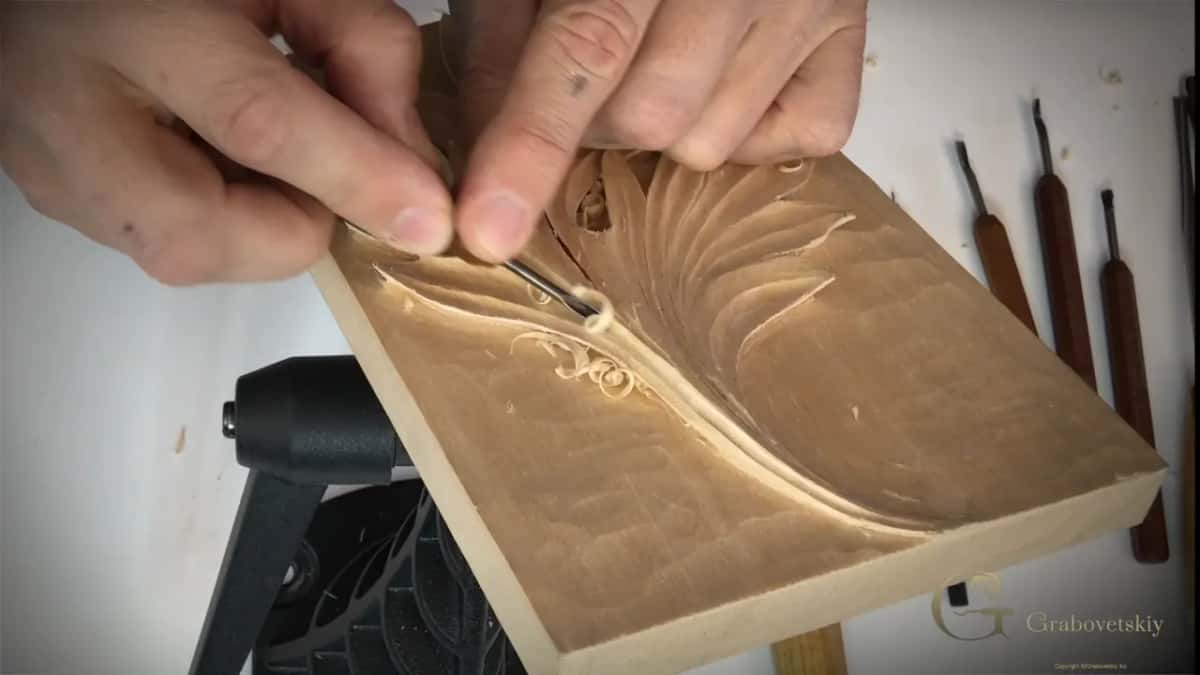
Now you rebuild what I call the true flow, the real movement of the line rather than the one the pattern promised. Small gouge, little by little, working the ridge back into a single motion along its whole length.
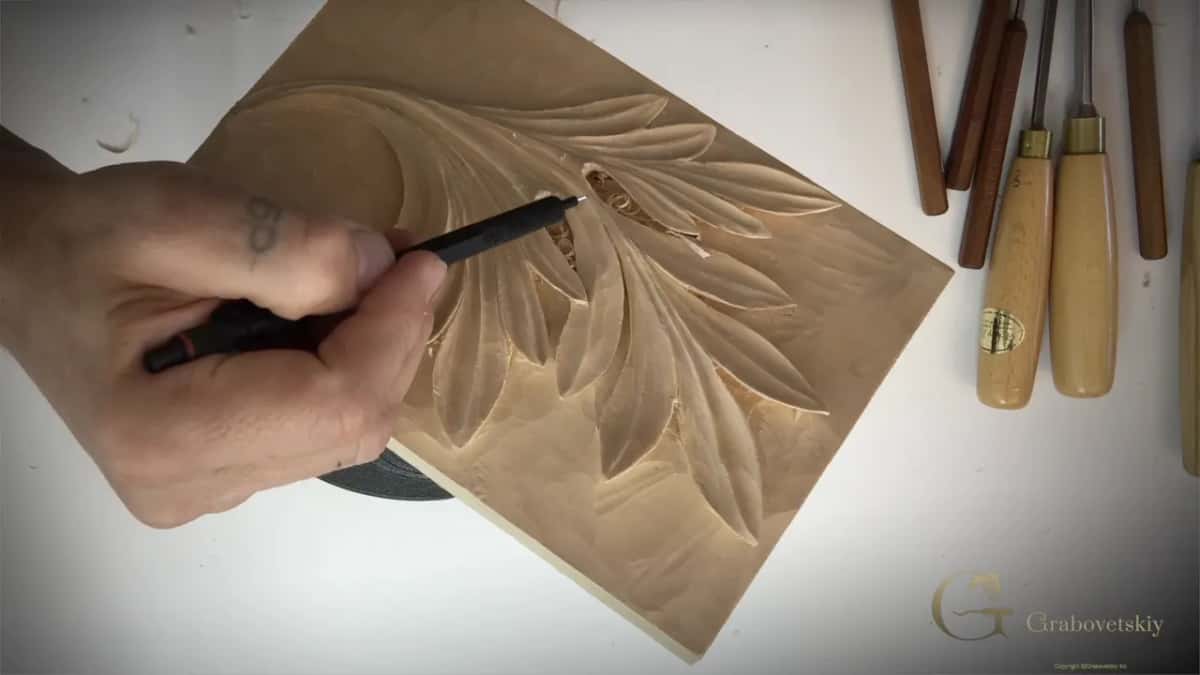
Keep watching the grain while you do it. One wall of every cut goes with the fibers and one goes against them, the same rule that governed the hollowing stage, and it has not stopped being true just because the tools got smaller.
Should you vein the ridge?
In a few places, never along the whole thing. A tiny gouge laid against the side of the high ridge leaves a short accent cut, and two or three of those give the leaf interest.
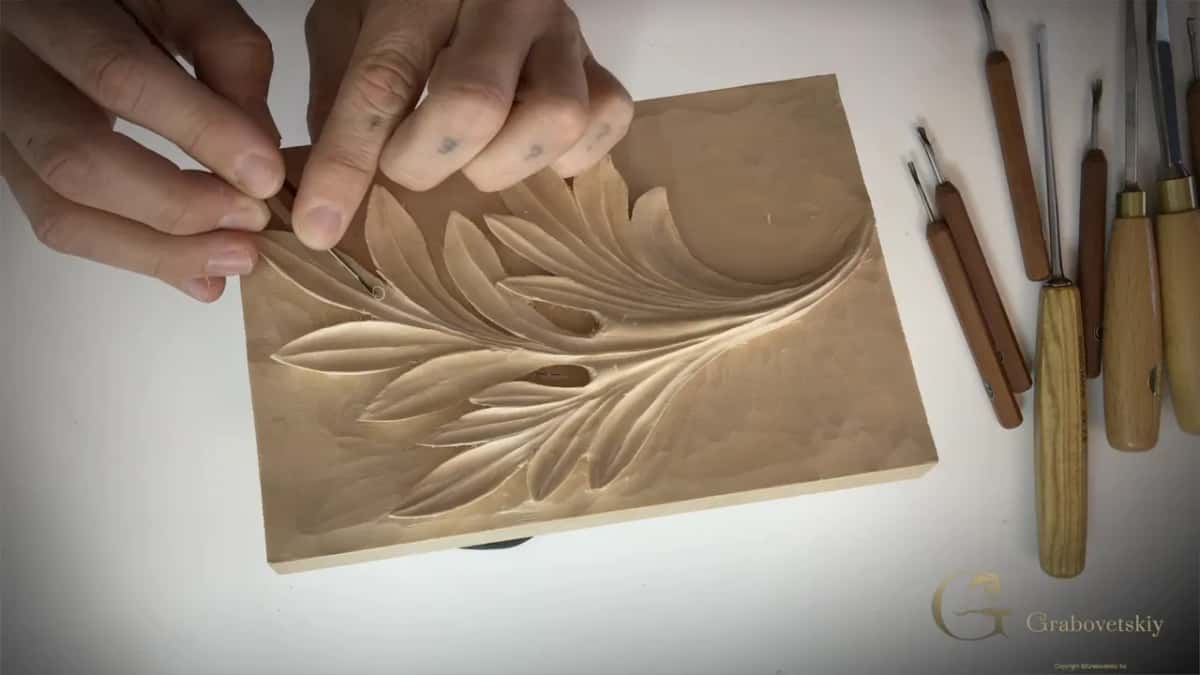
Run them the entire length and the effect dies. The eye reads a repeated line as texture, not as a detail somebody chose, and the leaf ends up looking machined.
People reach for a veiner here, and it is worth knowing why I do not. A veiner has tall wings and a U shaped section, so it cannot be rolled down and cannot cut a true circle. I use a plain gouge a little over a millimeter wide.
What takes the last sixteenth off?
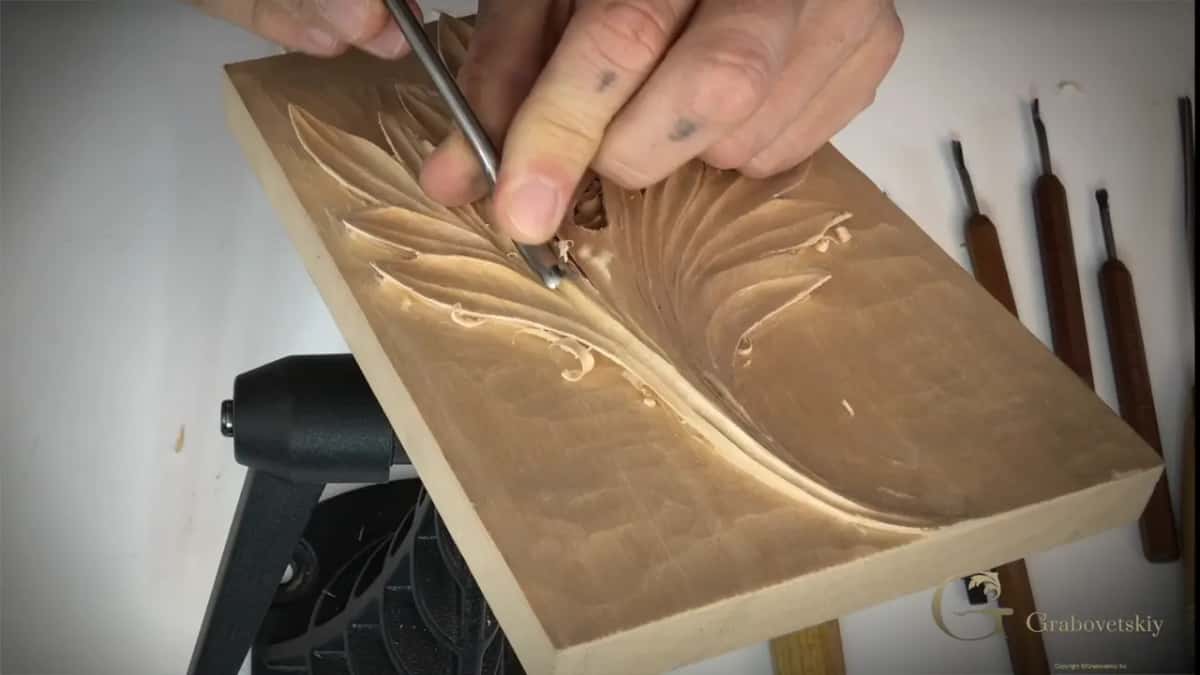
Tool right on the line, then cut inward. Lay a 5 or a 7 flat against the outline of the leaf and travel toward the middle of the ground, against the grain, holding one steady position.
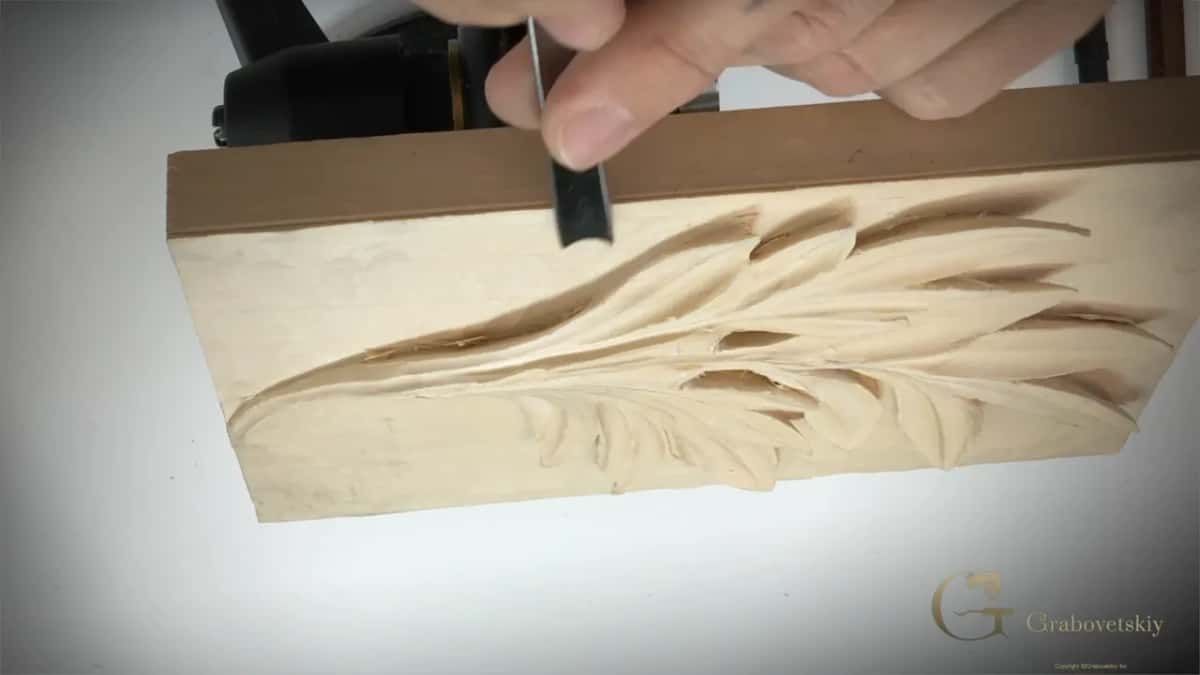
Waviness turns up. Expect it and keep going, because the ridges left between passes come off afterwards with the same tool or with something flatter, worked in slicing movements rather than pushes.
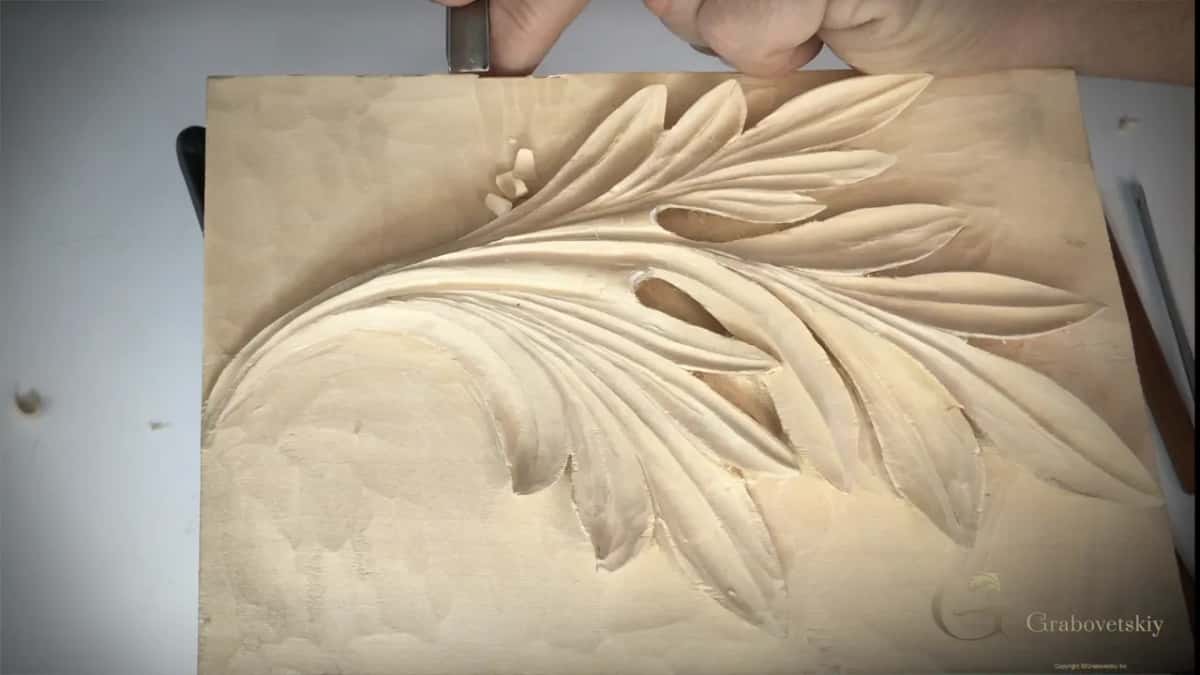
Finish with a V tool right up against the carving itself. That last pass cleans the inside corner where ground meets leaf, which is the one place a wider tool physically cannot reach.
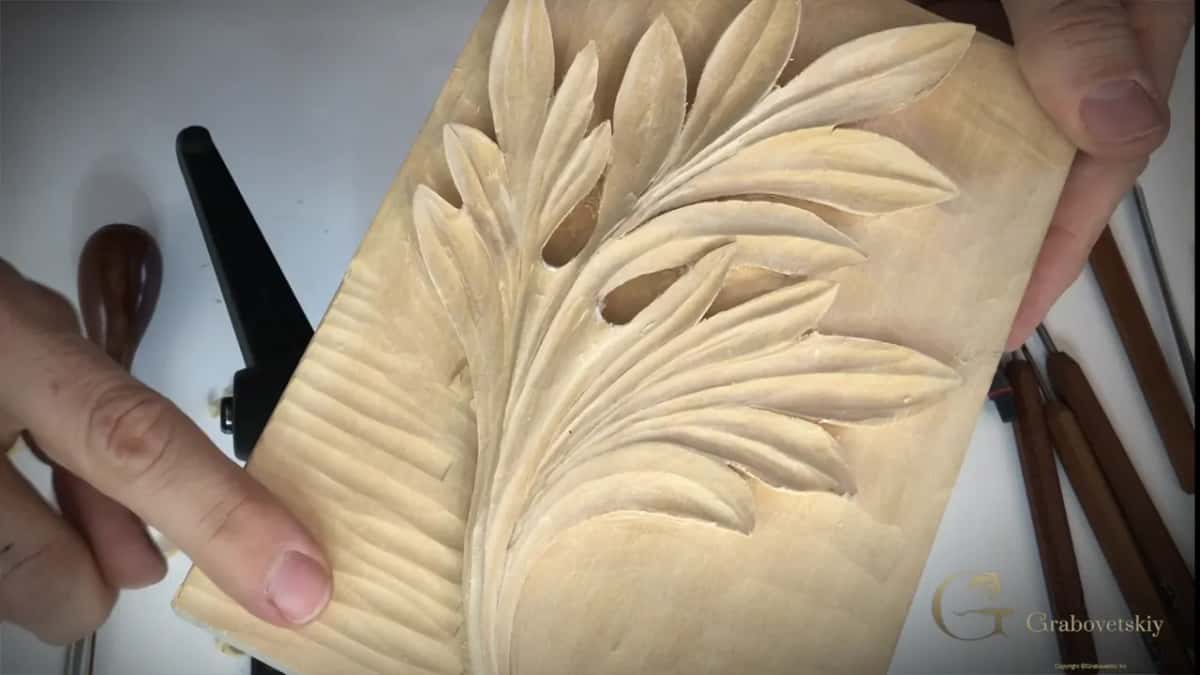
Why was that sixteenth left at all?
Insurance against your own tools. All through the detailing a blade occasionally slips and digs into the background, and a dug background looks bad in a way no amount of later polishing hides.
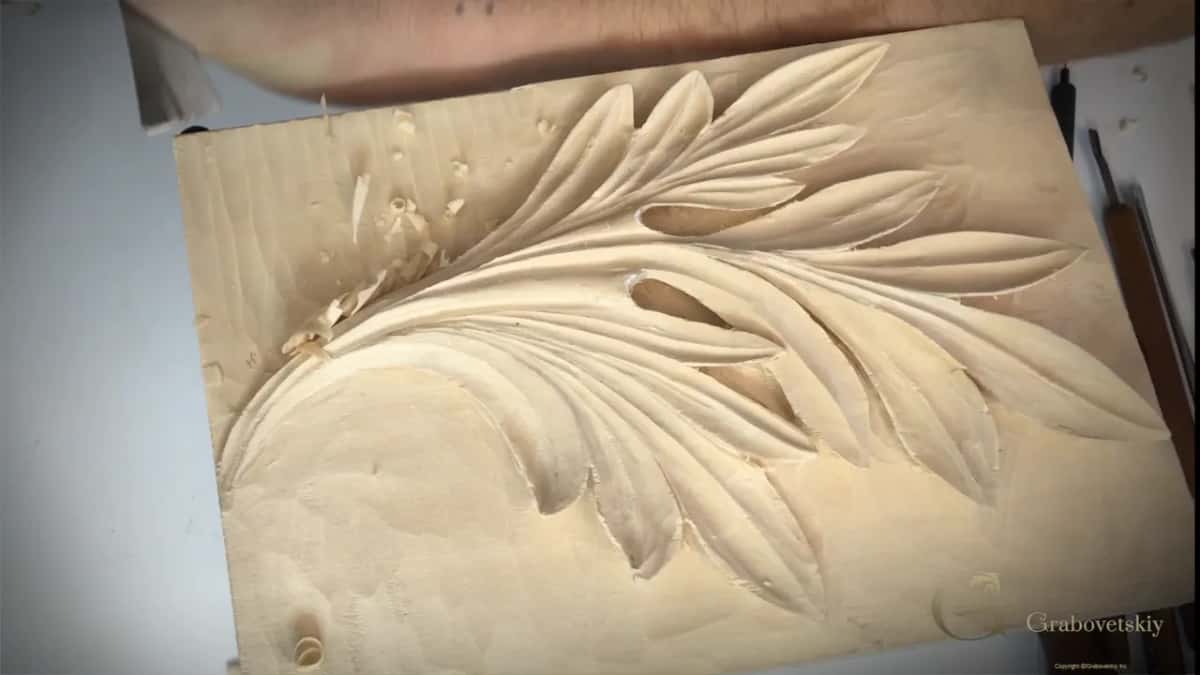
Leaving 1.6 mm of spare depth puts all those accidents above the final surface. Cut that sixteenth away at the end and the marks go with it. Nothing gets repaired, because nothing was ever damaged.
Same logic as the thin wall left at the edge during the undercutting. Keep your mistakes in material you are going to remove anyway.
What is a background tool?
A very flat gouge, flatter than a 3. Mine is a two and a half, which sits between a 3 and a 1, and it exists to make a ground smooth rather than to cut shape into anything.
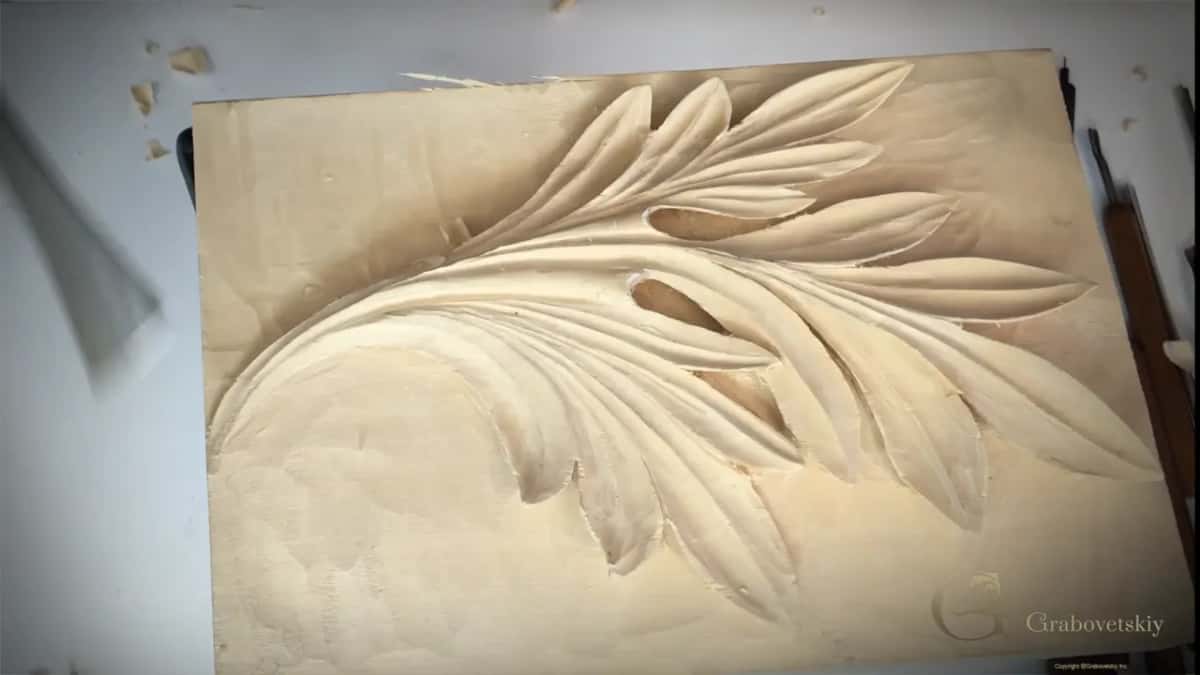
Cleaning the background is my favorite part of any carving. Your hand learns to hold one plane across a whole surface, and that skill shows up later in every flat you ever cut.
Spend the time on it. A ground with no ridges left is the difference between a carving that looks finished and one that looks abandoned near the end.
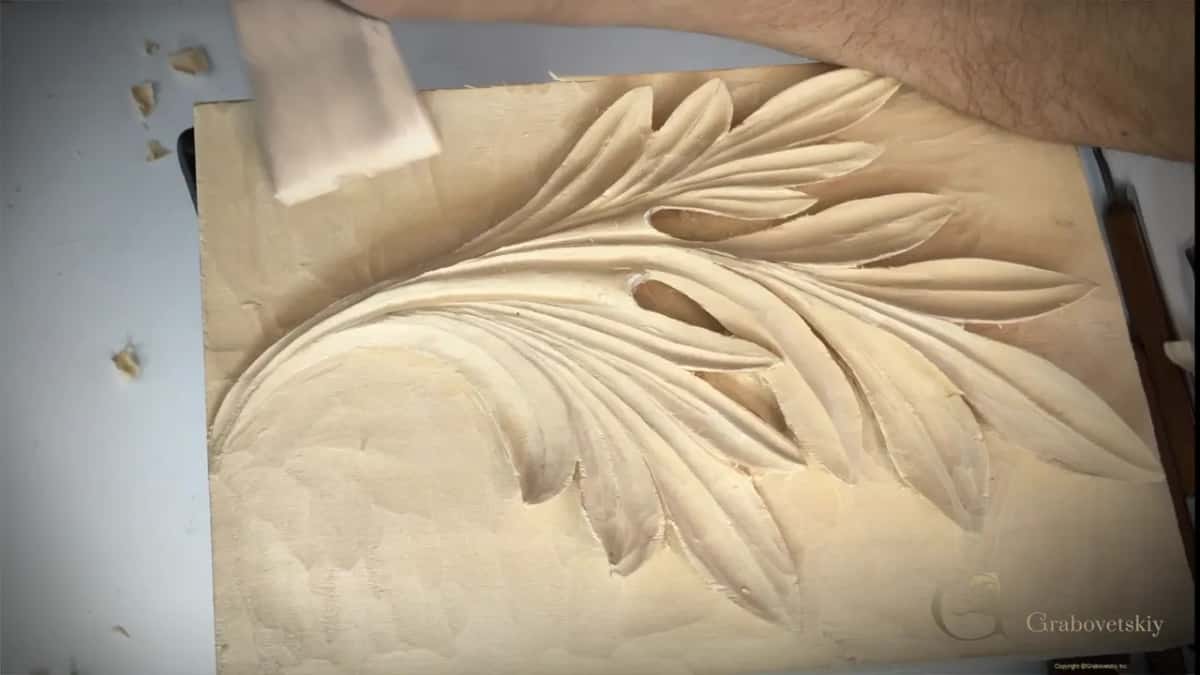
Do both sides have to be cut the same?
Same shape, opposite direction. Whatever I cut on one side of the spine gets repeated on the other, and the tool has to approach it from the far side, because the grain now runs the other way under the blade.
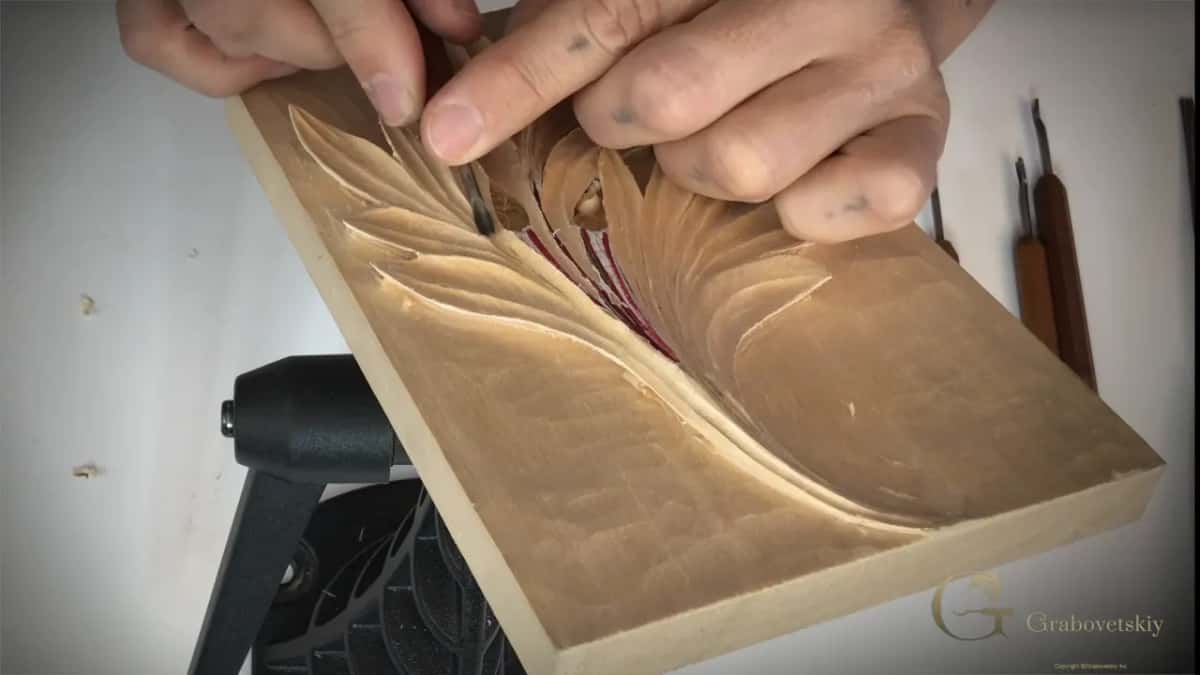
Turning the work is the whole trick, exactly as it was in the main form stage. Trying to reach across and cut backhanded produces a torn wall every time, and on a pipe there is no spare material to tidy it with.
Watch the two sides against each other as you go. One fatter on the left than the right shows up instantly once the piece stands upright, and the eye finds that long before it finds a tool mark.
How steady does your hand need to be?
Steadier than it is today, and it improves by doing this. Long clean cuts along a pipe are a hand skill, and the only way to get them is to make a lot of them on work that matters.
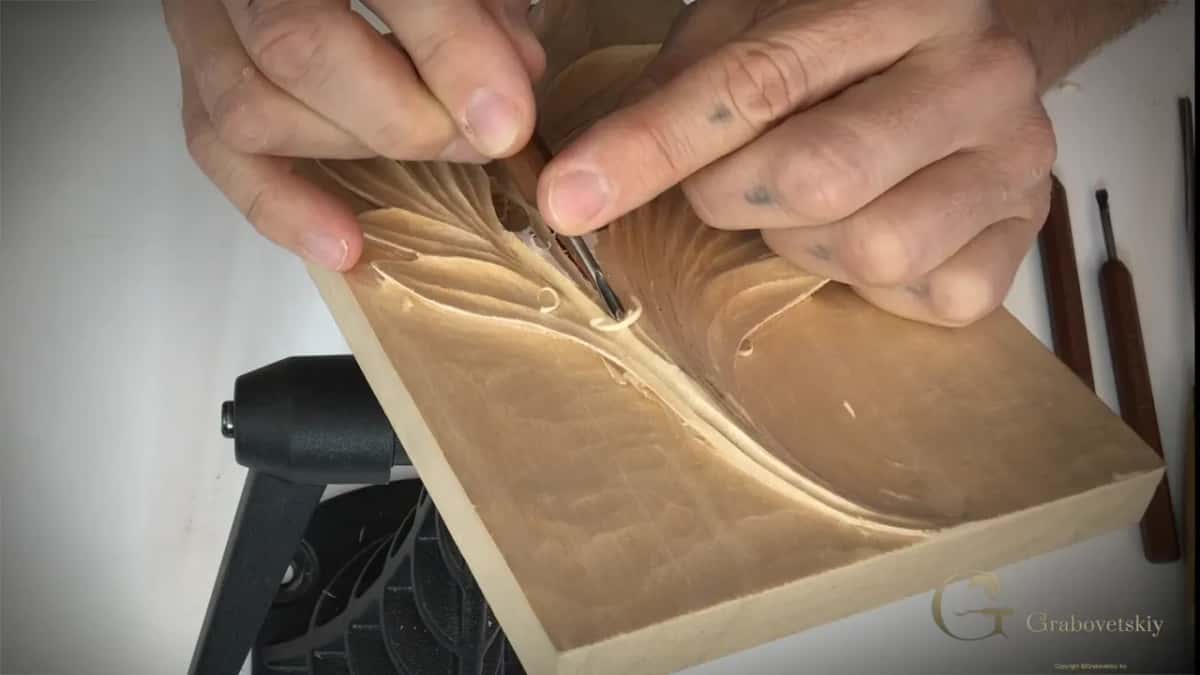
Worth saying plainly, because students often assume a wobbly cut means a blunt tool. Sometimes it does. Often it means the hand has not yet learned to hold one angle over three inches of travel.
Both halves of it are trainable. Keep the edge properly sharp, keep the cuts long, and the steadiness arrives on its own. The Greek acanthus and the Byzantine both build on the same hand.
What if a line still looks wrong?
Leave it and come back. Partway through the pipes several of my middle lines look ragged, and I say so out loud rather than stopping to repair them, because they get fixed properly a few minutes later with a smaller tool.
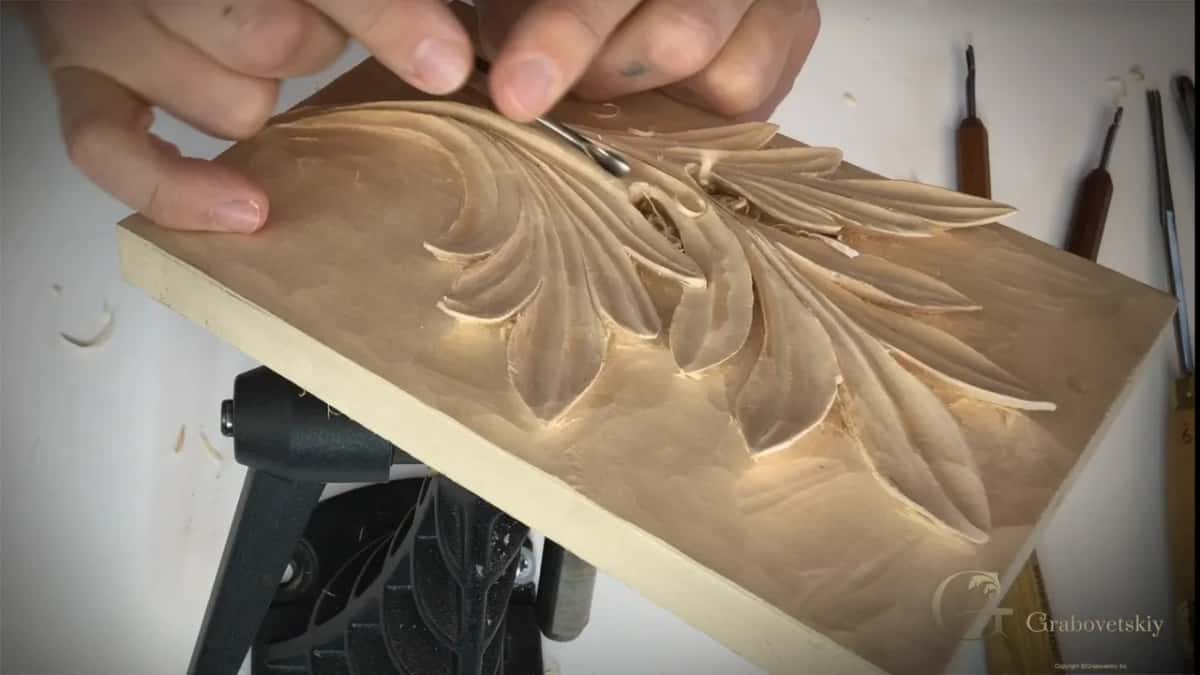
Repairing a line while the shape around it is still moving wastes the effort twice. First you true the line, then the next cut beside it moves the surface and the line needs truing again.
Order beats urgency. Shape first, lines second, ground last, each cut once. That sequence runs through the Roman leaf and the modern pattern in exactly the same way.
How much detail is enough?
As much as you are comfortable cutting, and no more. There is no fixed number of accents on an acanthus leaf, and a carver who adds detail because the surface looks empty usually ends up with something busy.
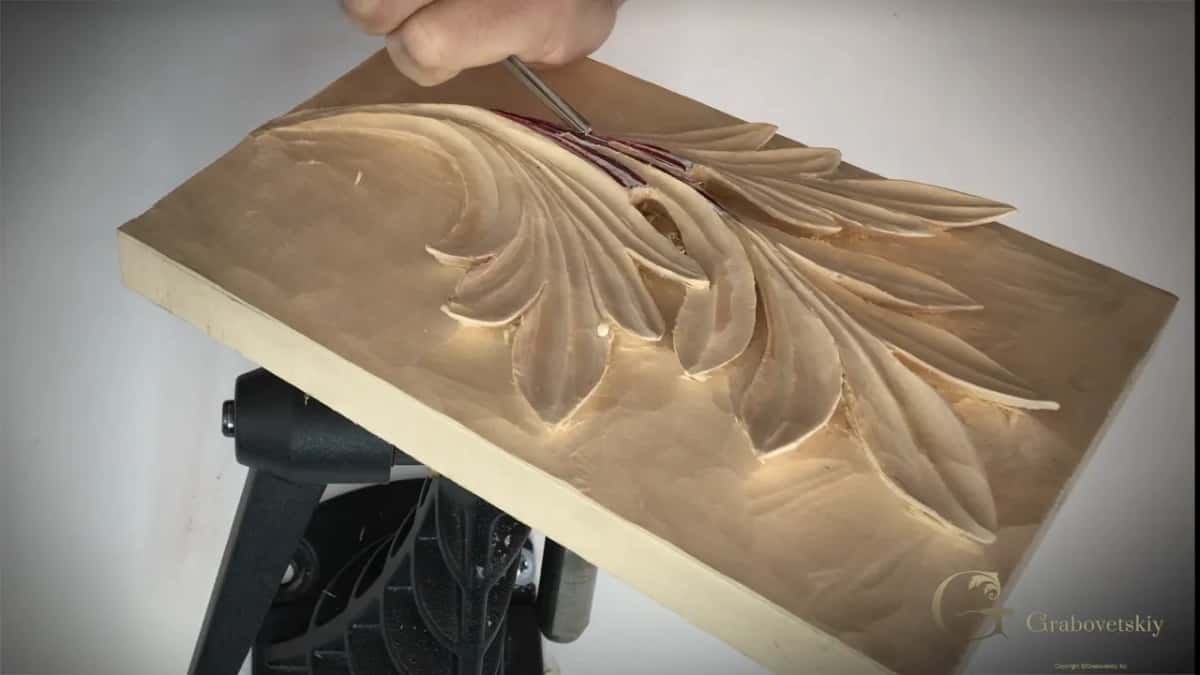
A useful test is whether the leaf reads correctly from across the room. Pipes visible. Divisions running to one line, and a shadow beneath every edge. Details that only show at arm's length are a bonus, never a requirement.
Stop while you still like it. An honest answer rather than a rule, and the one I actually give when students ask.
Why is there no number 2 in England?
Different naming, not a missing tool. European brands number a 2 as a gouge that is almost flat, while the English London pattern skips that number and calls the equivalent a skew chisel instead.
Knowing this saves confusion when you buy secondhand. A rack assembled from two countries will have gaps and overlaps in its numbering that have nothing to do with the shapes you actually own.
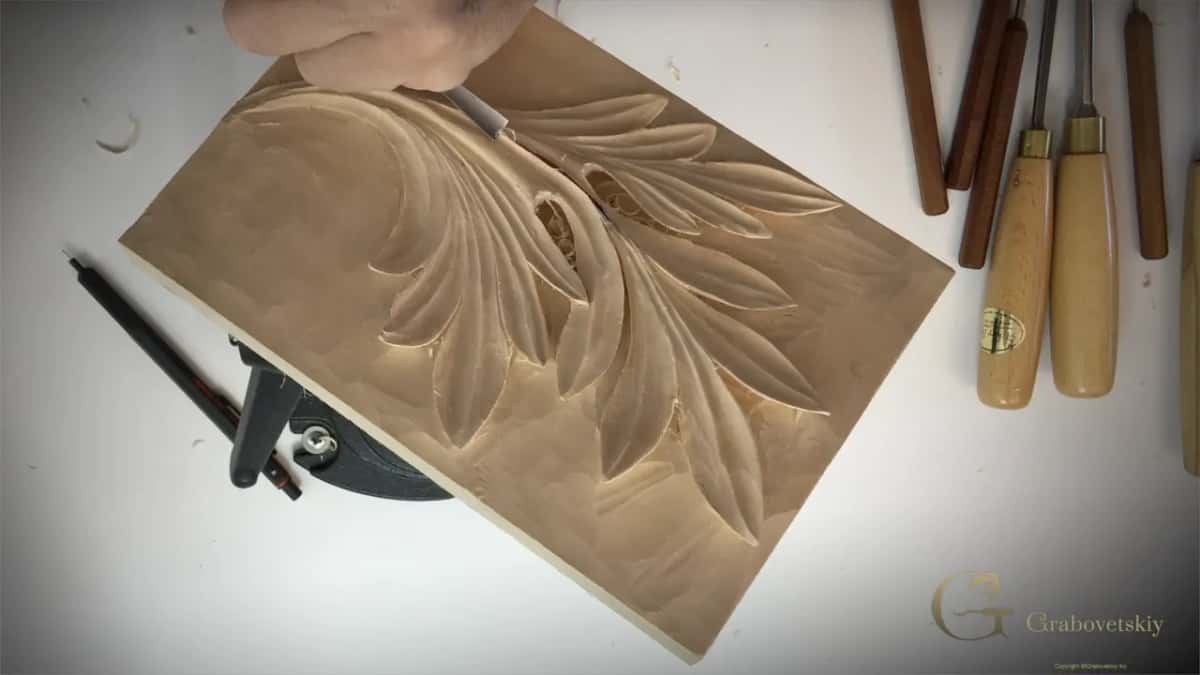
And with the ground clean, the leaf is carved. Two pipes standing, every division running to one line, a shadow under every edge, and a background you can lay a straightedge across. That is finished ornament.
The last thing this course asks is a photograph, which the last page explains. If you want the rest of the workshops, the school opens them all.
How it's done
- Cut the hollows beside the pipes. Take a number 9 near ten millimeters and clear the waste lying between both pipes, slicing rather than pushing, running each cut to the central ridge.
- Exaggerate the hollow. Start the cut at almost nothing and deepen it as it travels, so the spine appears to rise out of the surface rather than sit on it.
- Drop to a smaller gouge. Change to a number 9 near an eighth, then to something smaller still, for the middle lines and the tightest passages.
- Round the pipes. Work both sides of each pipe down with a flat 3 or 5 until the section is round, not ridged.
- Lift the paper and rebuild the line. Take the paper and glue off with a number 5, then work the ridge back into one continuous movement using a small gouge.
- Take the ground down. Place a 5 on the outline and cut inward, flatten the ridges with a very flat gouge, then finish the corners with a V tool.
Frequently asked questions
Do all acanthus designs have pipes?
All of them, an ancient capital through to the busiest Renaissance panel. Patterns change completely across those centuries while the pipes stay put. A leaf carved without them looks like a flat arrangement of lobes, however cleanly the rest was cut.
How small do the gouges get at this stage?
Down past an eighth. Ten millimeters clears the ground between both pipes, an eighth handles tighter passages, and the middle lines end up cut with something smaller still that carries no number stamped on it at all.
Why does the outline change when the paper comes off?
Paper hides every small deviation the tools made underneath it. Peel it off with the glue and the line wanders, so the spine has to be rebuilt by eye into one continuous movement along its length.
What to carve next