
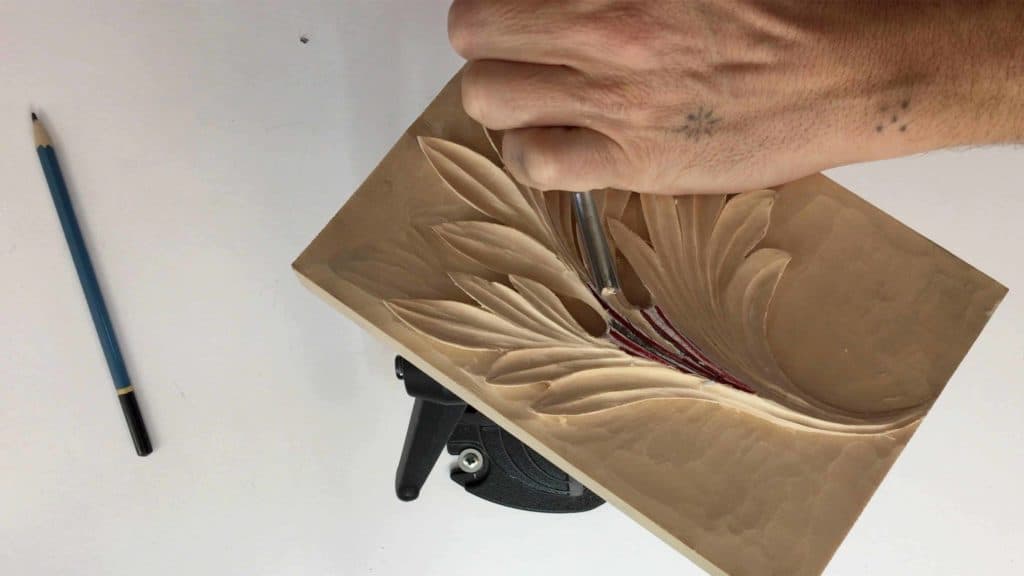
Alexander Grabovetskiy, woodcarver, School of Woodcarving · Published 2017
How is a carved acanthus leaf assessed?
Quick answer: Assessment of a carved acanthus leaf is done from a single photograph, so the image has to carry the evidence itself. Both pipes visible and round, each division arriving at the spine, a dark shadow beneath the outline, and a background sitting at one depth throughout.
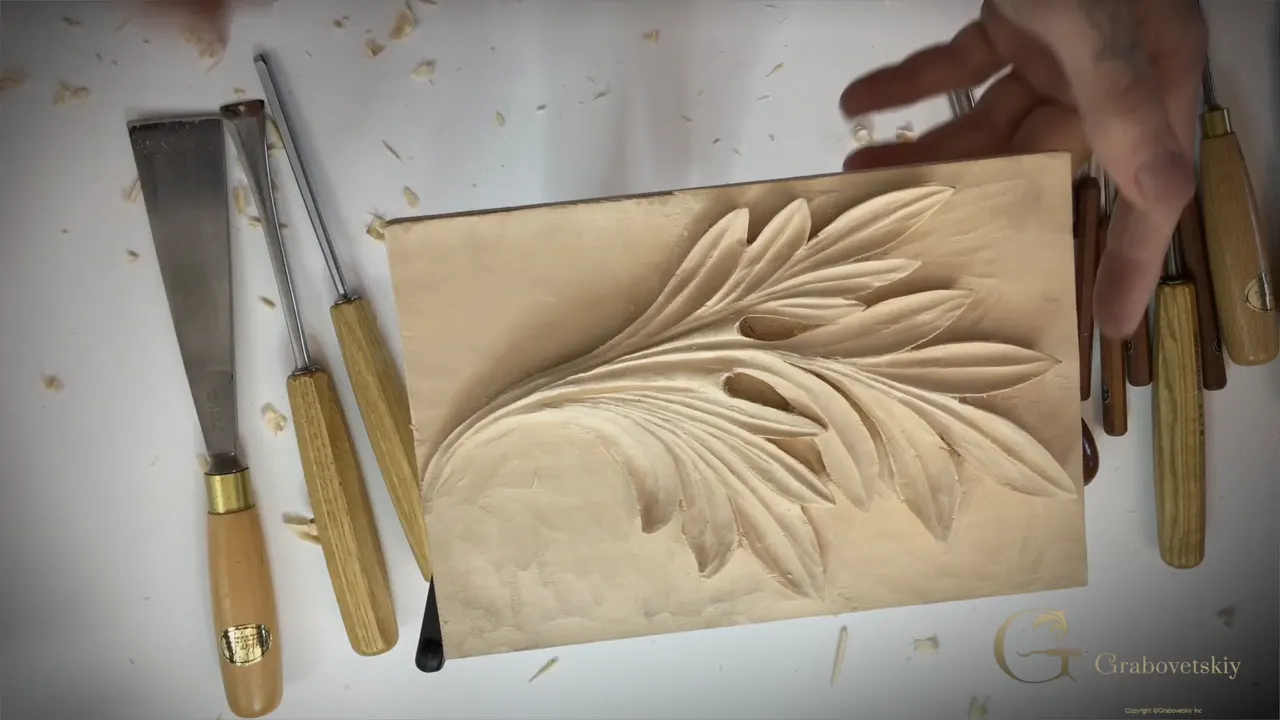
Assessment here happens from one photograph, so the picture has to show what your carving actually did. I look for two pipes, every division running to a single line, a shadow beneath each edge, and a ground with no ridges left across it.
Carved the whole leaf and now unsure whether it is good enough to send? Worried a photograph will flatter it, or worse, hide the parts you worked hardest on? Not certain what somebody experienced even looks at first?
Below is the list I go through, in the order I go through it. Every item on it was taught somewhere in this course, so nothing here should be a surprise. The first workshop drew the leaf, the second named the parts, and everything after that was cutting.
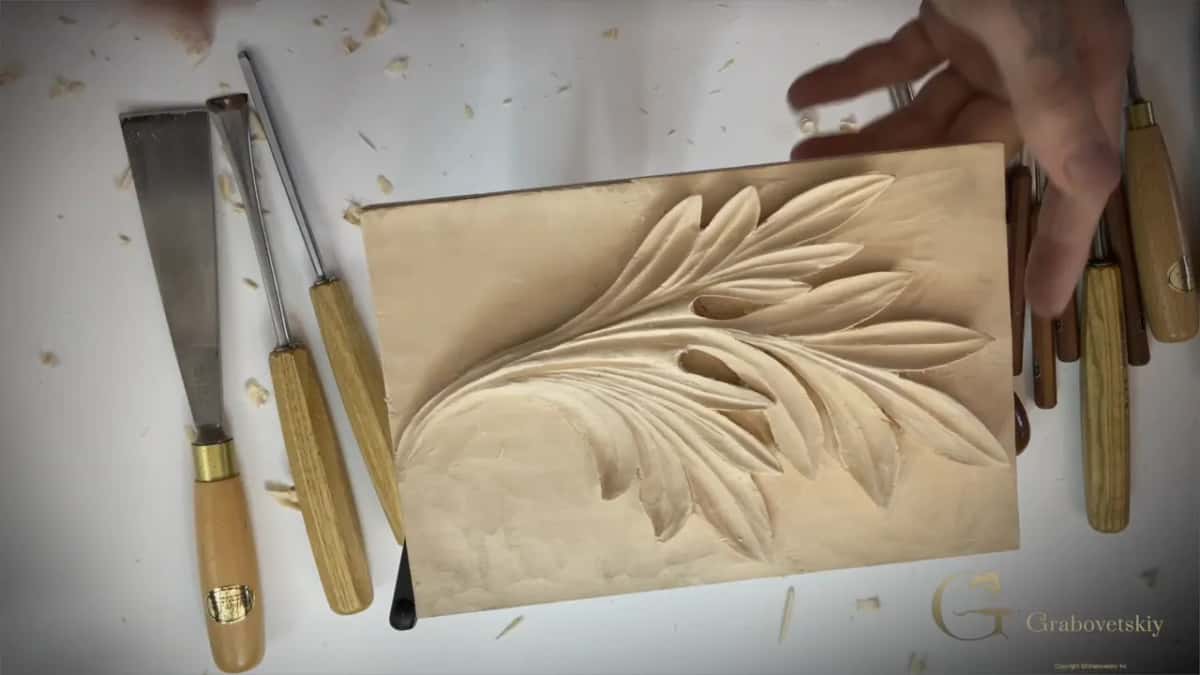
What the picture has to prove
- Both pipes cut and standing clear.
- Every division on the leaf arriving at one center line, with no line stopping square against another.
- Five sharp tips on every section.
- A dark line under the outline, the only evidence an undercut exists at all.
- One ground level throughout.
- Side light, because a flat lit photograph hides all of the above.
What does this page actually ask for?
One picture of your own work. Upload it as a JPEG or a PNG, never inside a zip, and run it through a size reduction at TinyPNG first so the file arrives small enough to open.
You get one attempt on this page. The upload button disappears once you have used it and left, which catches people out, so choose the file before you arrive rather than hunting for it afterwards.
Then I look at it myself and certify your progress from what I see. No form scores it, no checklist is ticked by a machine. A carver looks at your carving.
Why does the photograph matter this much?
Wood has one color. Everything a carving does, it does through light and shadow, and a picture that kills the shadows has thrown away the entire result you spent six workshops producing.
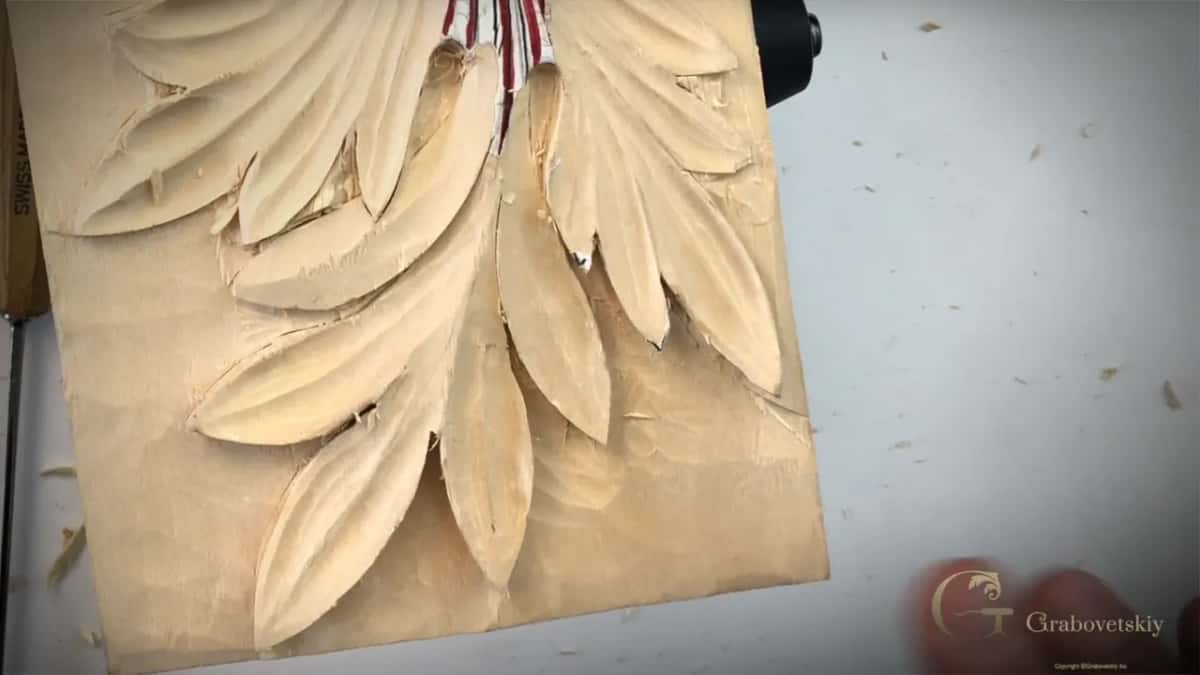
A phone held straight over the piece under a ceiling lamp produces exactly that. The surface goes flat, the undercuts vanish, the pipes turn into pencil lines, and a good carving arrives looking like a sticker.
So the photograph is not separate from the work. Shooting it badly is the same mistake as finishing a relief without undercutting, and it costs you the same thing, which is depth.
How should the piece be lit?
From one side, low. Put a single lamp roughly level with the bench and off to the left or right, and every hollow you cut will throw its shadow across the wood the way it does when you hold the piece up yourself.
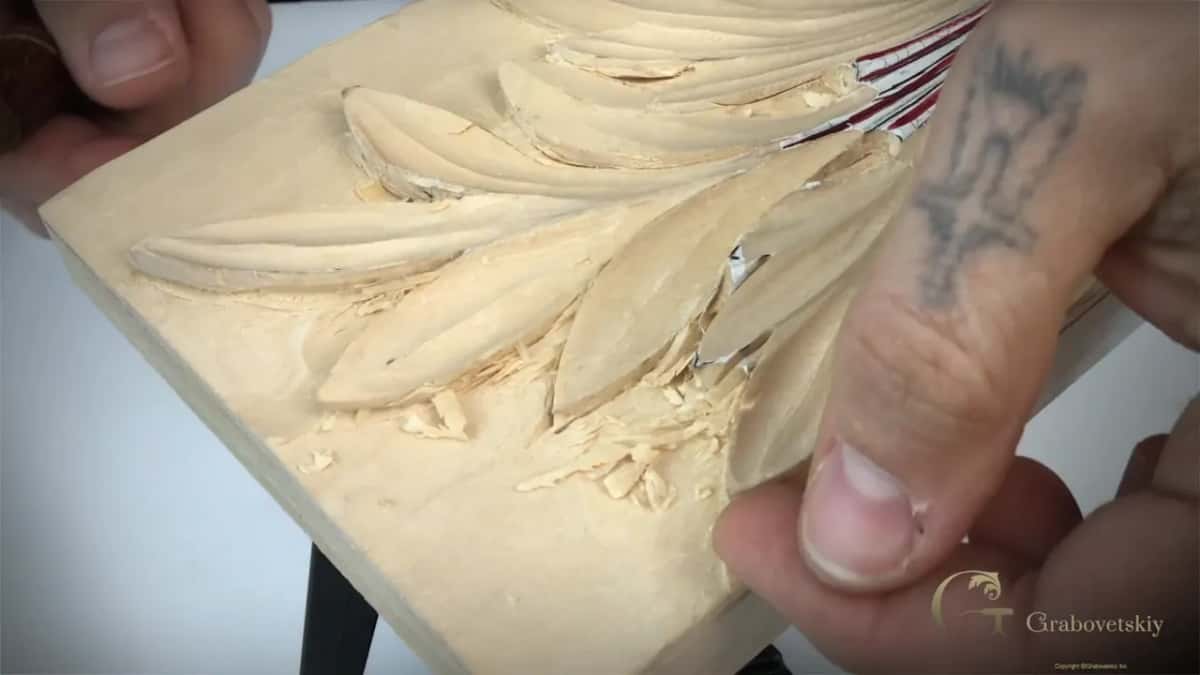
Turn the overhead off while you do it. Two light sources from different directions fill each other's shadows, and filled shadows are precisely the information I need to judge whether your undercutting went anywhere.
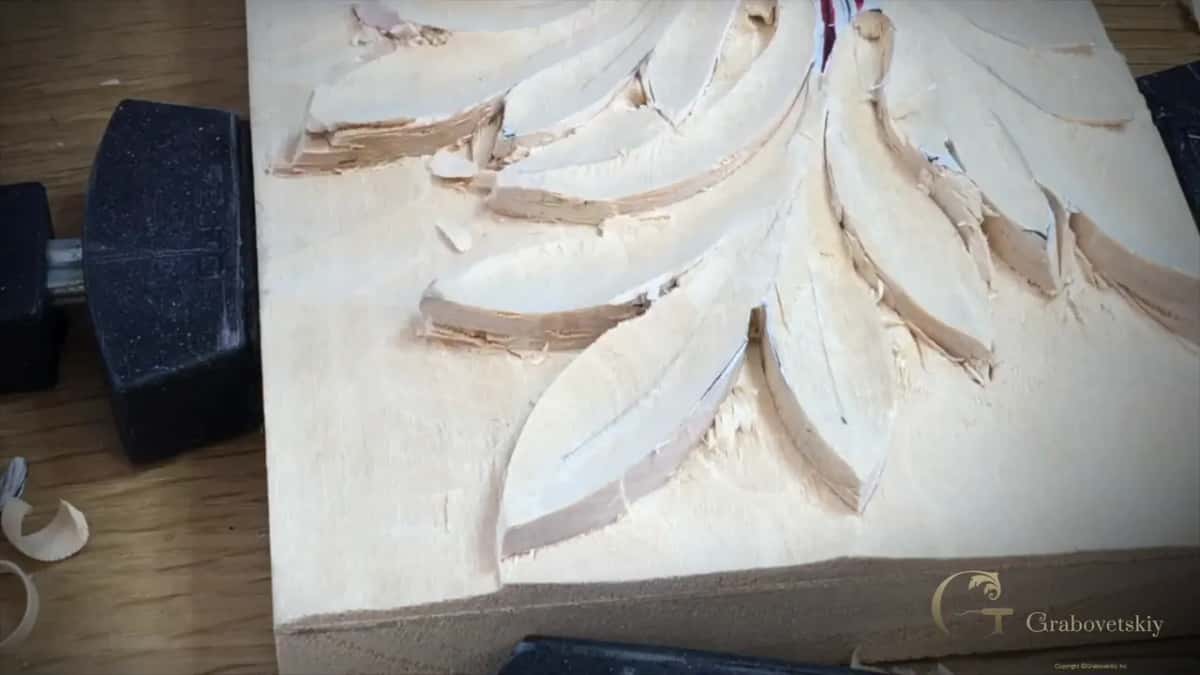
Shoot slightly from above rather than straight down. That is how somebody standing in front of a panel actually sees it, and it is the angle this leaf was designed to be read from in the first place.
Are both pipes there?
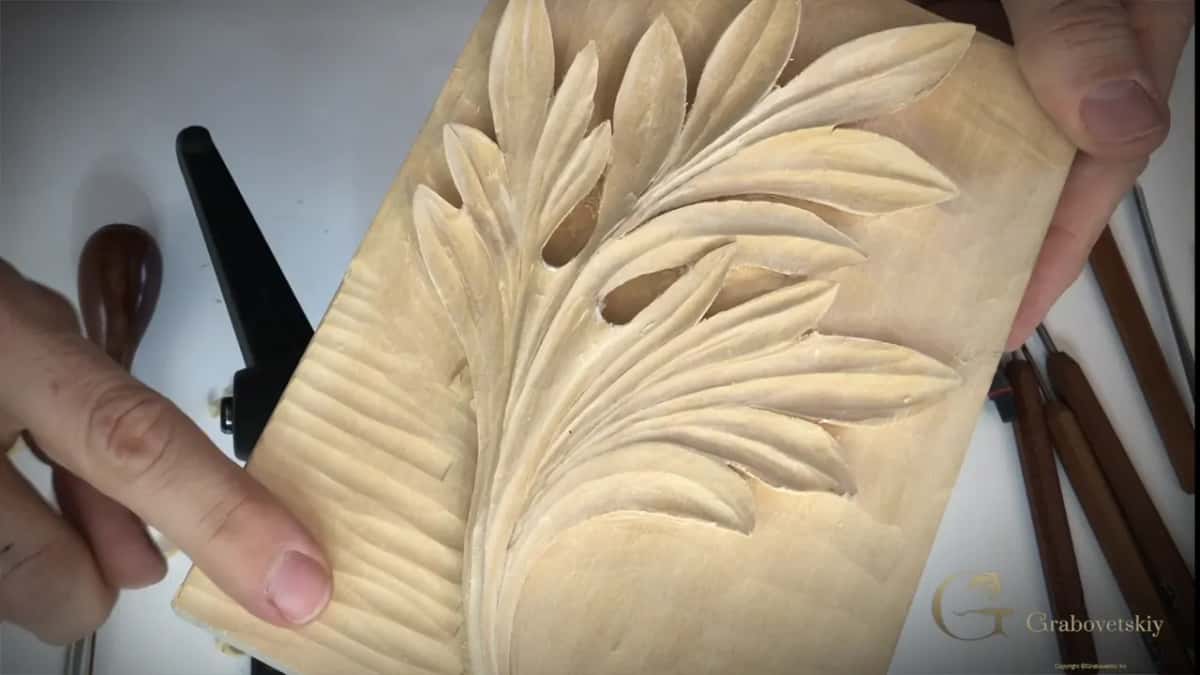
First thing I look at. Two pipes start at the eyes and run to the center line, and a leaf without them is not a finished acanthus, however cleanly everything else is cut.
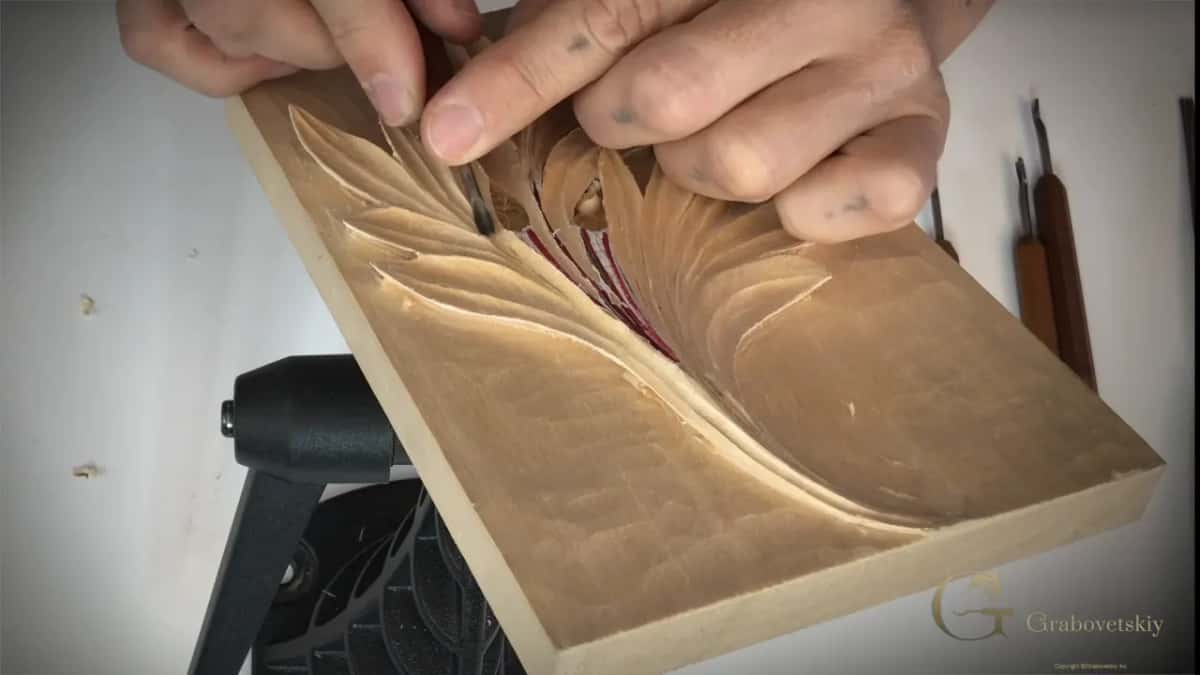
They need to be round on top, not ridged, with a real hollow beside each one lifting it off the surface. A pipe drawn on and then left flat reads as a line rather than a tube.
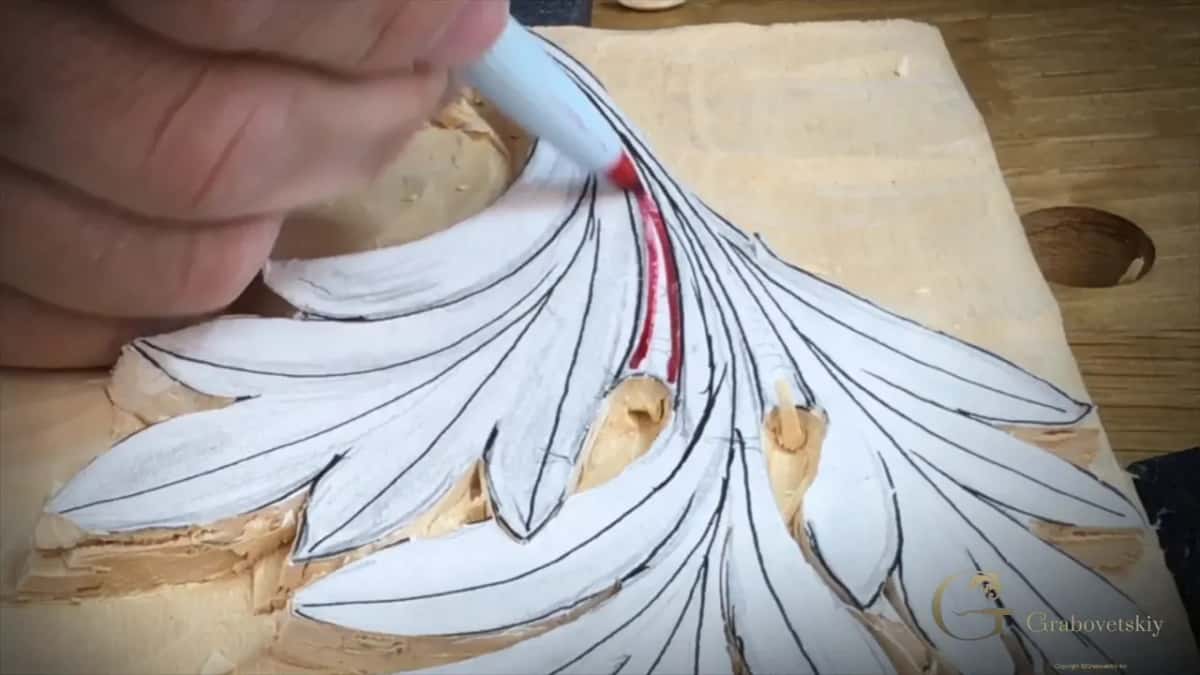
The last workshop covers the cutting itself. Here I am only asking whether the result is visible in your photograph.
Does every division reach the center line?
Follow any edge inward and it should arrive at the spine. Start from a different point on the outline and the same thing happens. Every route on the leaf ends in one place.
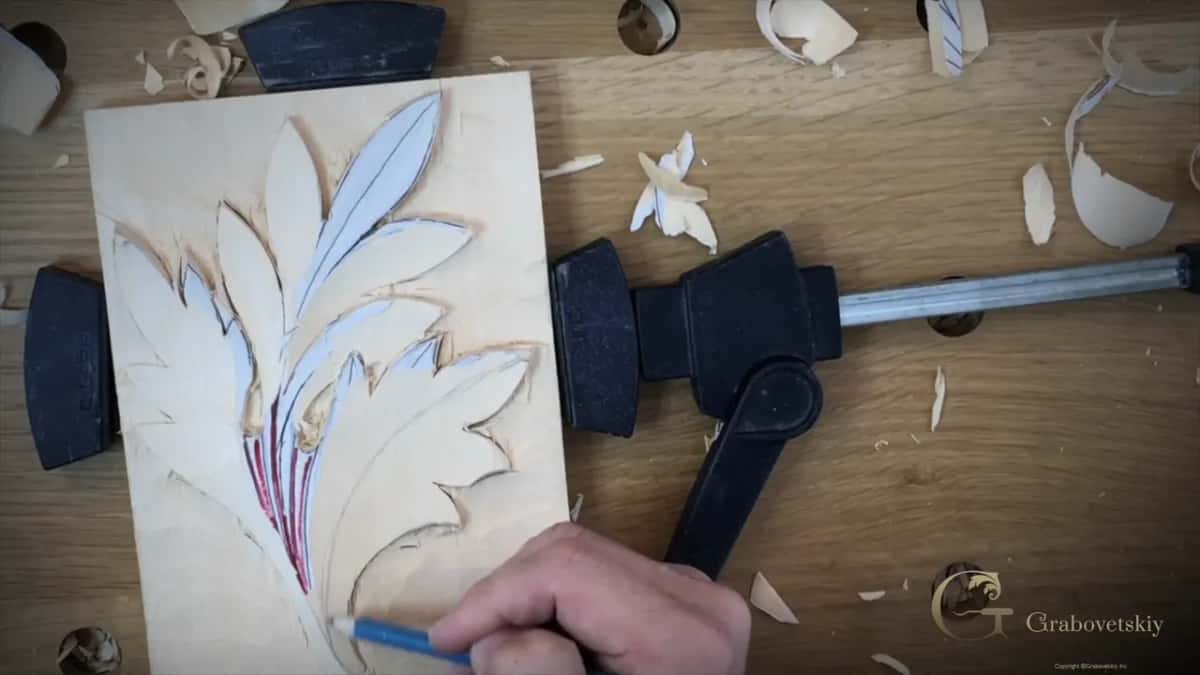
Hold your own picture at arm's length and trace two or three of them with a finger. Lines that wander off and stop somewhere in the middle of a lobe are the commonest reason a carving reads as a pattern rather than as a plant.
Is there a T stop anywhere?
One line running square into another and simply ending. Nothing in nature does that, and it is the single fault I spot fastest, because the eye catches a right angle in foliage instantly.
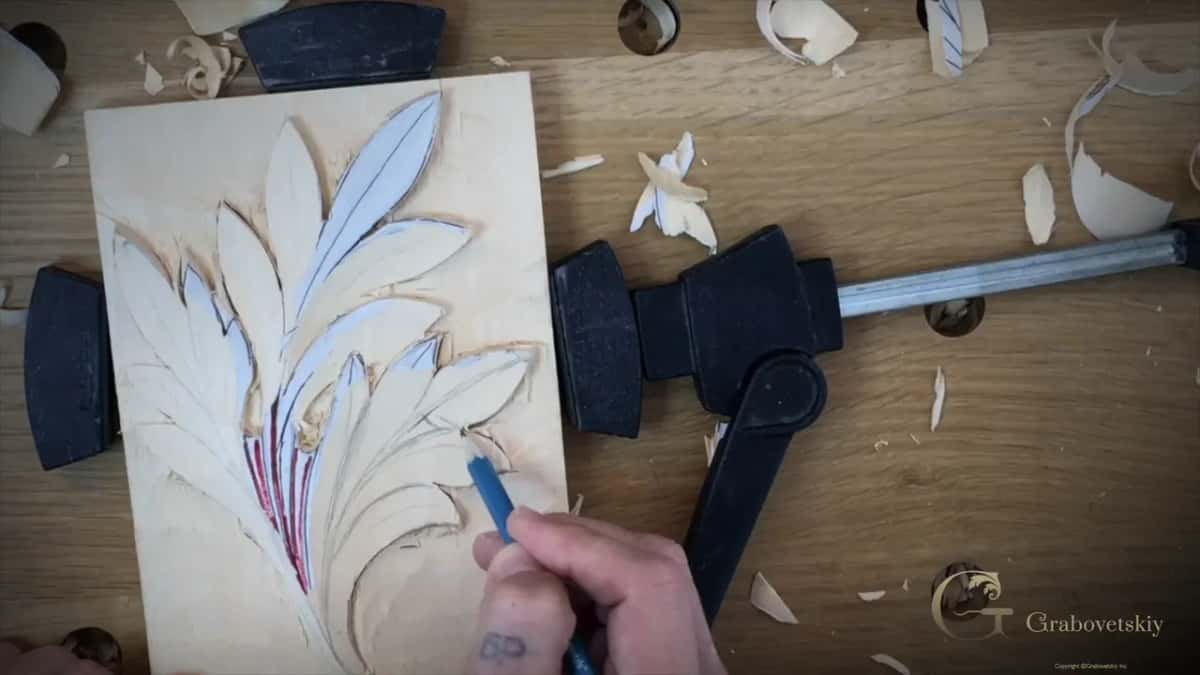
Most T stops arrive during detailing rather than at the drawing stage. A line gets tidied, then its neighbour gets tidied, and the two meet somewhere they were never meant to. Check the junctions before you photograph.
Does each section carry its five points?
Count them. Every part of this leaf divides into five, and each of those ends in a genuine sharp point rather than a rounded tip, which is what makes the leaf Corinthian rather than something later.
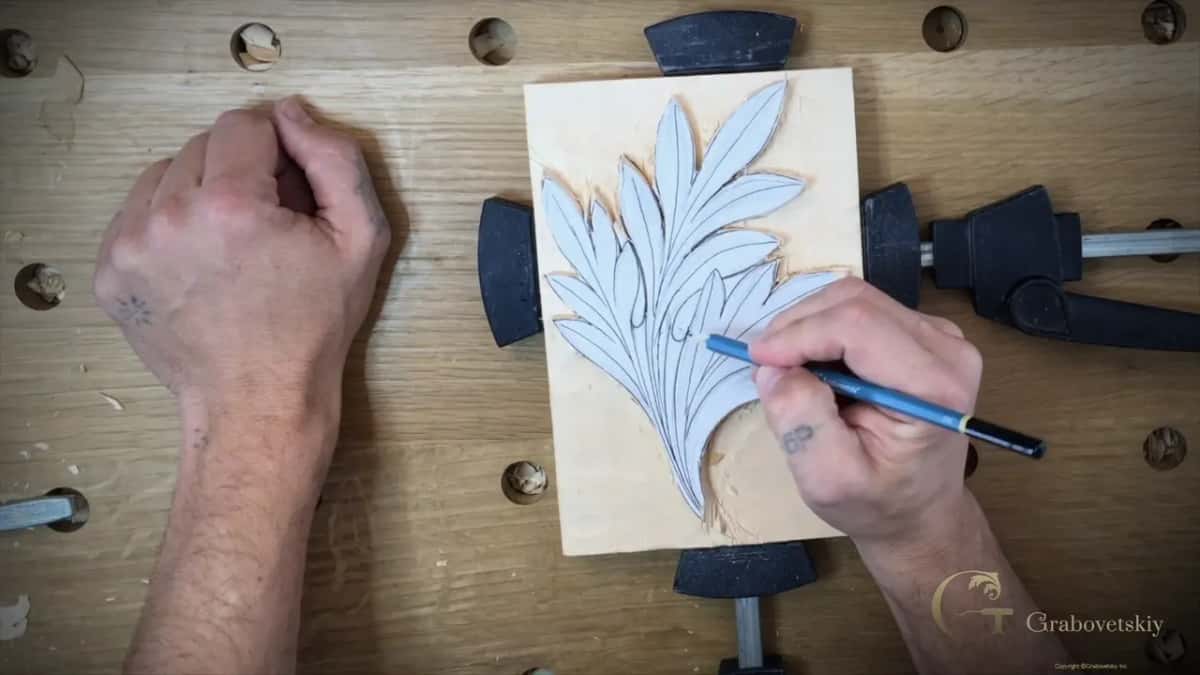
Rounded tips usually mean the edges got cleaned up after the shape was right. Sharpness at the tip is structural here, not decorative, and it is the quickest way to tell this pattern from a Greek or a Roman one.
Does the leaf float?
Look for the black line. A properly undercut edge throws a dark shadow onto the ground beneath it, and in a photograph that line is the whole proof, since nobody can see underneath from a picture.
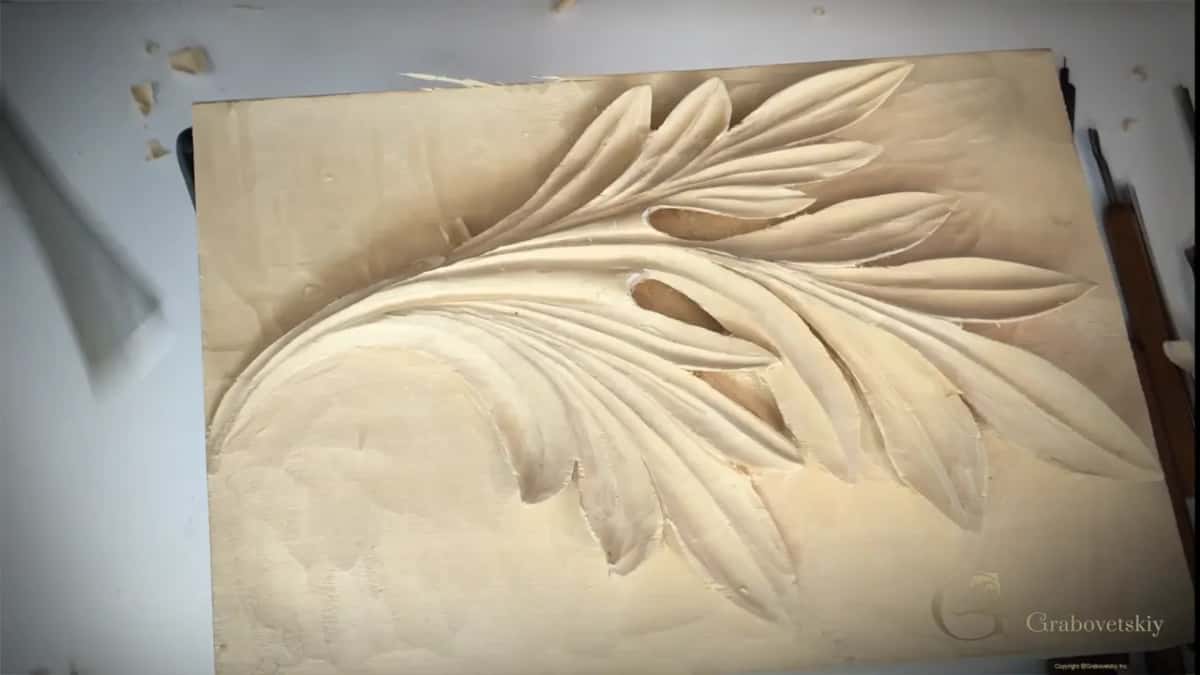
No shadow means one of two things. Either the undercut never happened, or your lighting killed it, and from where I sit those look identical. That is why the lamp position matters as much as the gouge did.
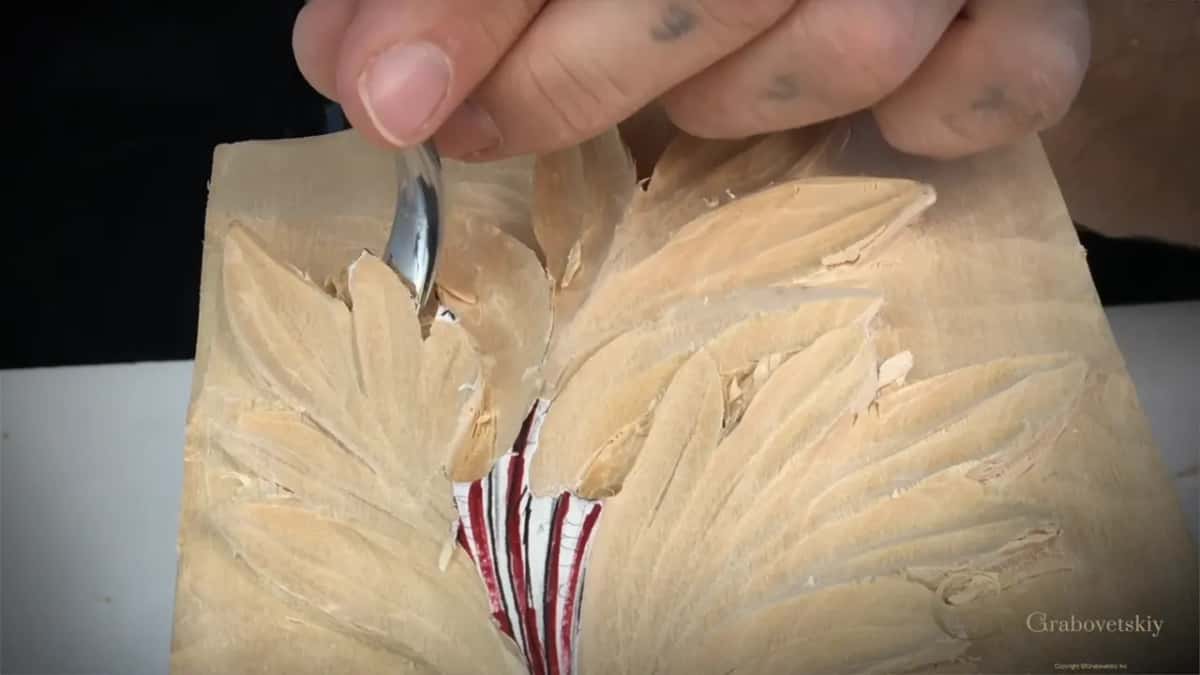
The undercutting workshop goes through how far under to cut and where to stop. What arrives on this page is simply whether any of it shows in the picture you took.
Is the ground one level everywhere?
Lay a straightedge across it in your mind. The background wants a single depth everywhere, the slicing marks all running one way, and no ridge left standing between passes.
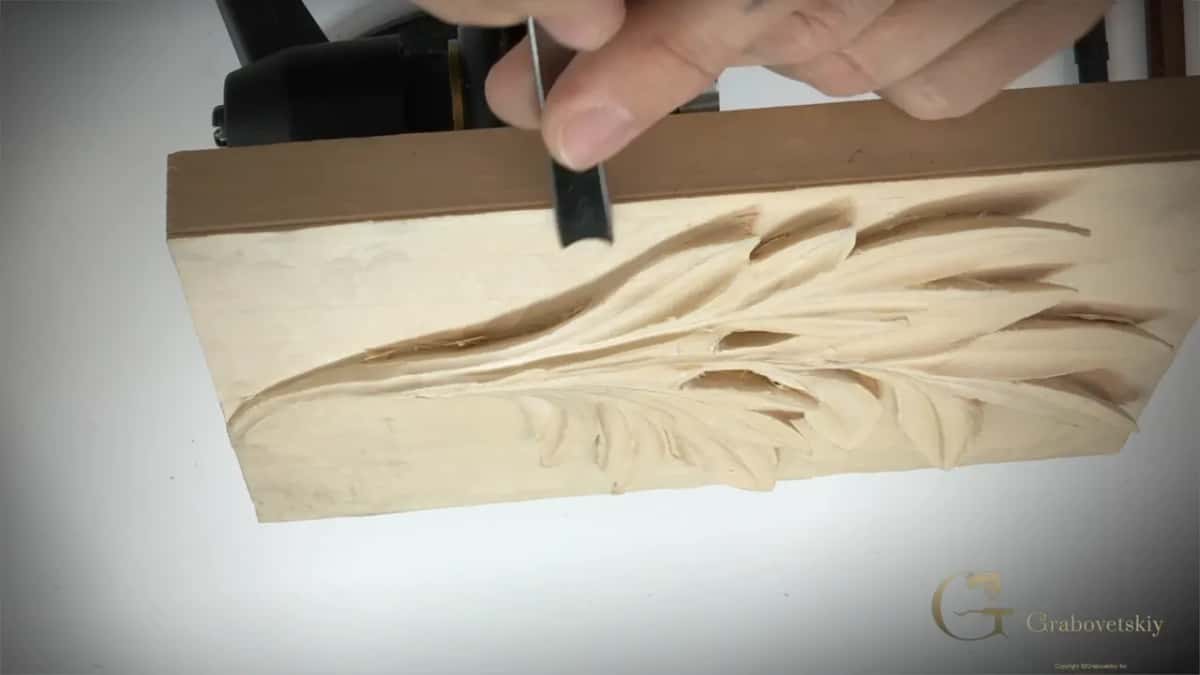
Corners are where this fails. The inside angle where ground meets leaf needs a V tool, and a background that is beautifully flat in the open and ragged in every corner tells me the last pass got skipped.
Depth matters less than consistency. A shallower ground cut evenly looks far better in a photograph than a deep one that wanders, and it photographs better too.
Did you sand it?
I will know. Sandpaper rounds every crisp edge the tools left and packs pale dust into the pores, and both of those show up under a raking light as clearly as they do in the hand.
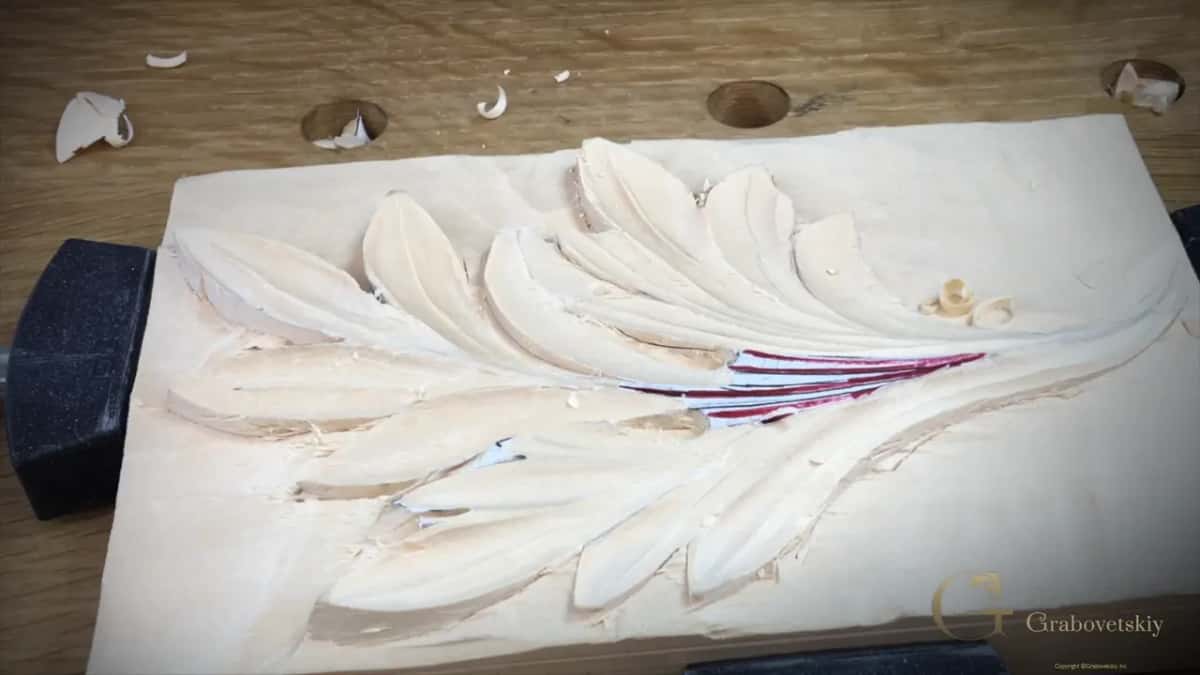
A surface cut properly off the gouge carries small facets that catch light in a way an abraded one never does. Those facets are evidence of a decision. Sanding erases the evidence along with the fault it was hiding.
If a passage genuinely will not come clean, cut it again rather than smoothing it. The hollowing workshop covers why one wall of every cut tears and how to take it from the other direction.
| What I check | What it looks like when it is right | The tell | Where in the course it was cut |
|---|---|---|---|
| The pipes | two rounded tubes, each leaving an eye and travelling to the spine | Flat lines | cut in the last workshop of all |
| Flow | every single division bending inward | A line that stops square against its neighbour, which reads as broken | workshop three |
| The undercut | a dark line beneath the outline | No shadow | workshop five, where the wall gets cut back under itself |
| Ground | a single depth everywhere you look, slicing marks all running together | Ridges | the very end |
| The tips | five sharp points to a section | Rounded ends, usually from tidying an edge after the shape was already right | workshop one |
Should the leaf be finished or stained first?
Bare wood photographs better here. Stain and glaze both flatten the surface optically, and since the whole point of this course was light falling across cut shapes, a clear film over it works against you.
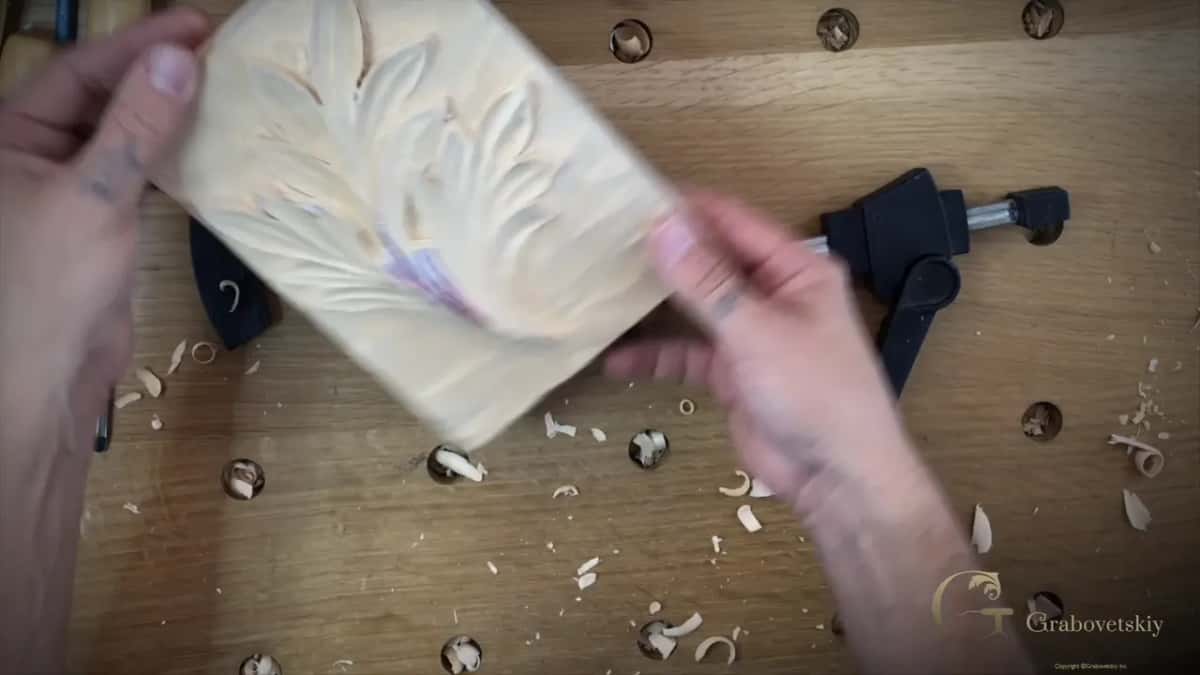
There is no rule against sending a finished piece. Plenty of people oil their work as soon as it comes off the bench, and I would rather see that than no photograph at all.
Just be aware of what it costs. On raw basswood every facet reads. Under a glossy coat the bright spots start competing with the shadows, and the two together make a picture harder to judge, not easier.
Will daylight work instead of a lamp?
Better than a ceiling light, usually. A window on one side of the piece behaves exactly like the lamp I described, and north facing light is steady enough that you are not fighting a moving shadow.
Direct sun is the one to avoid. It throws shadows so hard that the dark areas go solid black and everything inside them disappears, which hides detail just as thoroughly as flat light does.
Cloud outside is ideal, oddly. Soft directional light from one window shows a carving the way a room will, and a room is where the piece is going to live.
Try two or three positions before you settle. Move the lamp, or turn the panel, and watch how much the shadows change. Ten seconds of that teaches more about your own undercutting than any amount of reading, and the effect is the same on a Grinling Gibbons panel as it is on a first leaf.
How small does the file need to be?
Small enough to open quickly, which is what the compression step is for. Run the picture through the reducer linked on the page and it will lose most of its weight without losing anything you photographed.
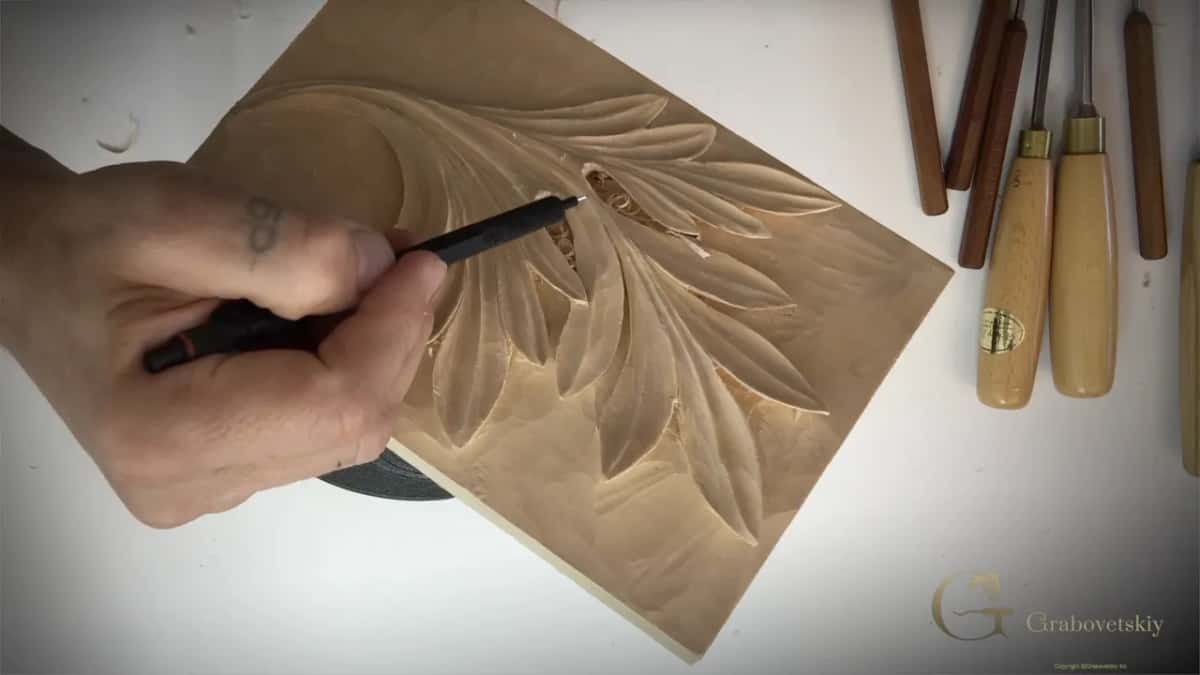
Resolution is rarely the problem. Modern phones produce far more pixels than anybody needs for judging a carving, and an enormous file just makes the upload fail partway and waste your single attempt.
What does certification actually mean here?
That a working carver has looked at your piece and judged you have understood this leaf. It is not a qualification anybody else administers, and I say so plainly rather than dressing it up.
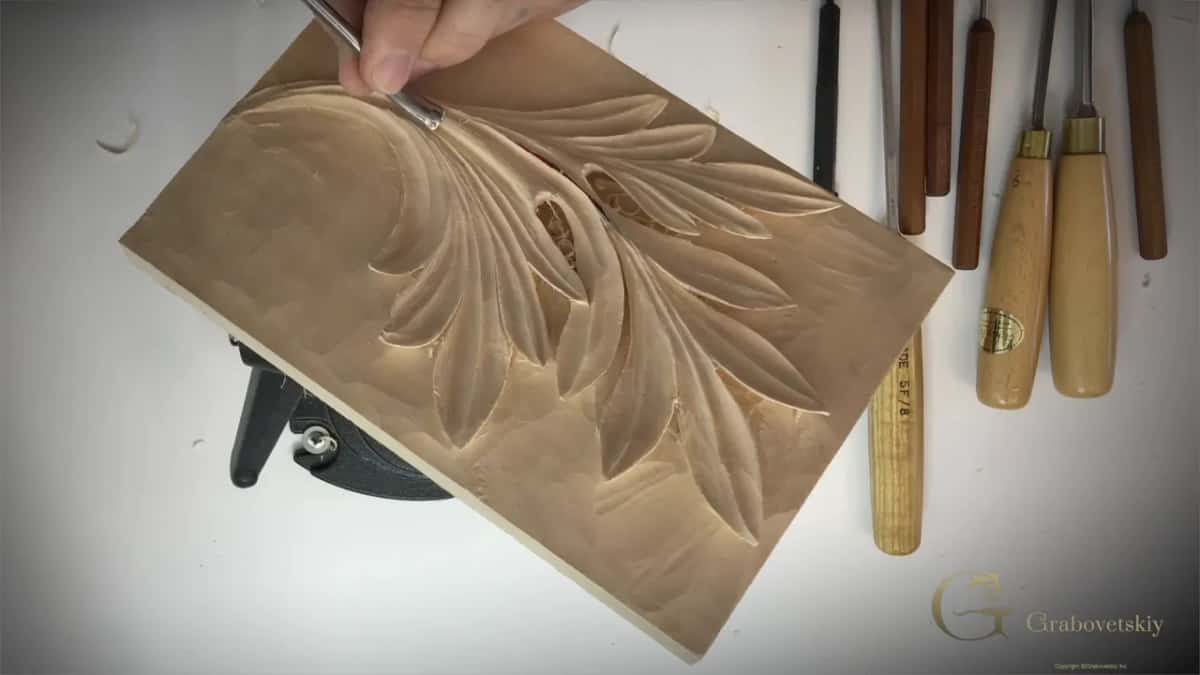
What it is worth is the review itself. Getting a carving looked at by somebody who does it is the part hardest to arrange at home, and the gap between doing the exercises and knowing whether they worked is where progress usually stalls.
What if this is your first carving ever?
Send it. A first acanthus is supposed to look like a first acanthus, and the state of an early piece is not the thing being judged.
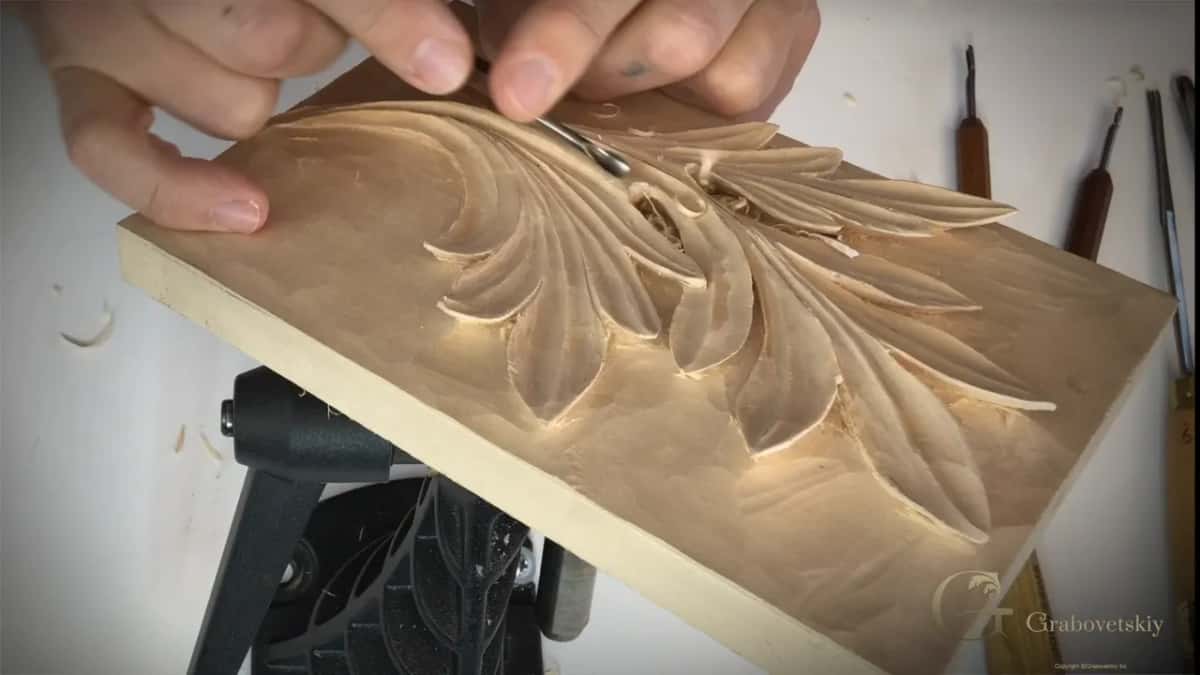
The thing I actually read from a photograph is whether you understood the ideas. Pipes present, lines converging, shadow underneath. Those show up in rough work just as clearly as in polished work, and that is the whole reason they are the list.
An early piece is often the more useful picture, because its mistakes stay legible. Work where I can see exactly which stage went wrong beats a cautious piece revealing nothing at all.
And if you are not there yet, the setting in workshop is where the whole thing starts. Nobody carved this leaf well on a first attempt, myself included.
What if it broke?
Upload it anyway, and say what happened. Deep undercutting makes a leaf fragile on purpose, and very skilled carvers break their own tools doing precisely this work.
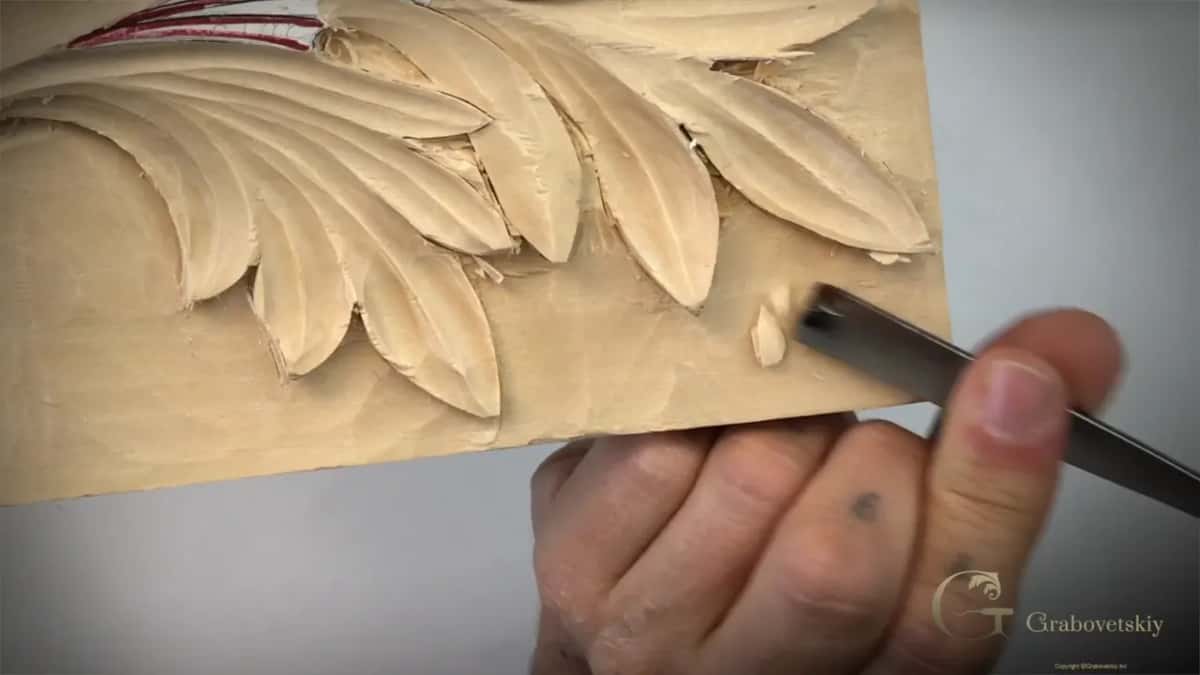
A break tells me you went far enough, which is more useful than a safe carving with no shadows in it. What I want to see is the work, not a flawless object.
What happens after you upload?
Then I certify from what your progress shows. That word matters, because progress is not the same thing as perfection. A first acanthus leaf that shows real understanding of the pipes and the flow line is worth more than a timid one with nothing wrong.
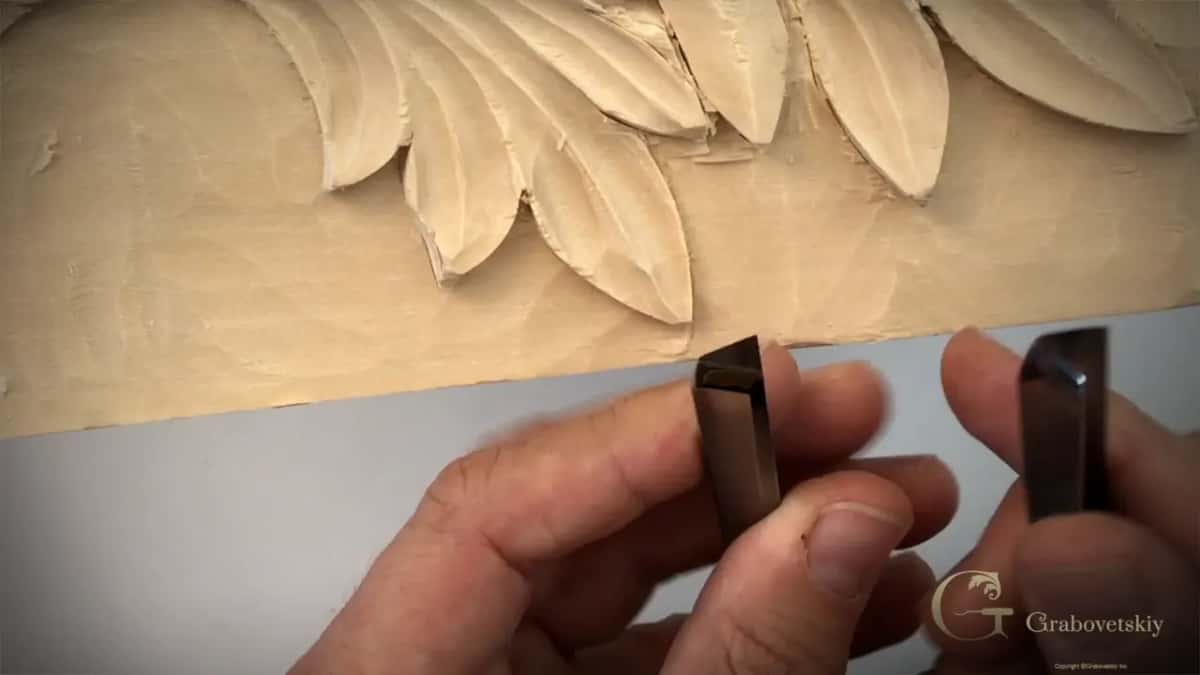
Then keep carving. The Byzantine form and the modern acanthus pattern both build straight on this one, the Roman leaf adds its returns, and the tools course fills in whatever the rack is still missing.
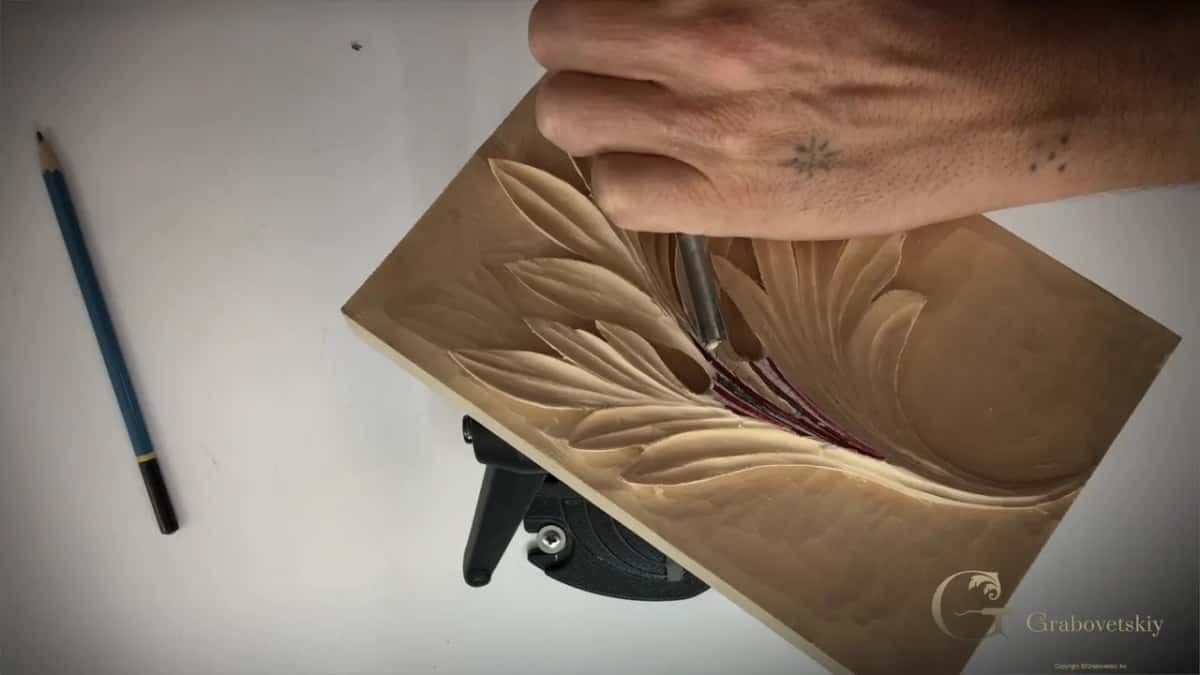
One more thing before you photograph anything. Set the piece up, turn the lamp low, and look at it yourself for a full minute first. Nearly everything on this page is something you can find in your own work before anybody else gets the chance to.
Everything in this course is open inside the school, and there are forty more waiting behind it, each one built on something you have already cut here.
How it's done
- Finish the ground. Take the last sixteenth of an inch off the background and clean the inside corners with a V tool before photographing anything.
- Set one light. Place a single lamp roughly level with the bench and off to one side, then switch the overhead off so nothing fills the shadows.
- Check the leaf yourself. Find both pipes, confirm each division reaches the spine, count five sharp tips on a section, and look for the dark line under the outline.
- Shoot slightly from above. Photograph from the angle a person standing in front of a panel would use, rather than pointing straight down at it.
- Compress the file. Shrink the picture first so the upload cannot fail partway through and waste your one attempt.
- Upload once. Choose the file before you open the page, because the control disappears after a single use.
Frequently asked questions
What file format should the photograph be?
A JPEG or a PNG, never a zip archive. Compress it before uploading so the file opens quickly, because an oversized image can fail partway and use up the single attempt this page allows.
How many pictures can you send?
One. The upload control disappears after you have used it and left the page, which surprises people, so choose the picture and have it ready beforehand rather than hunting for it afterwards.
Does the lighting really change the judgement?
Enormously. Carving works through shadow, so a flat overhead photograph hides undercutting, pipes and ground level all at once. A single lamp low and off to one side shows the same piece as its carver sees it in the hand.
What to carve next