
Alexander Grabovetskiy, woodcarver, School of Woodcarving · Published 2017
How do you carve the hollows inside an acanthus lobe?
Quick answer: Hollowing an acanthus lobe is a job for a narrow number 9, half an inch and then ten millimeters. Each lobe gets a scoop between its edge and the center line, and a second ridge is left standing inside it, which is where the movement in this leaf comes from.
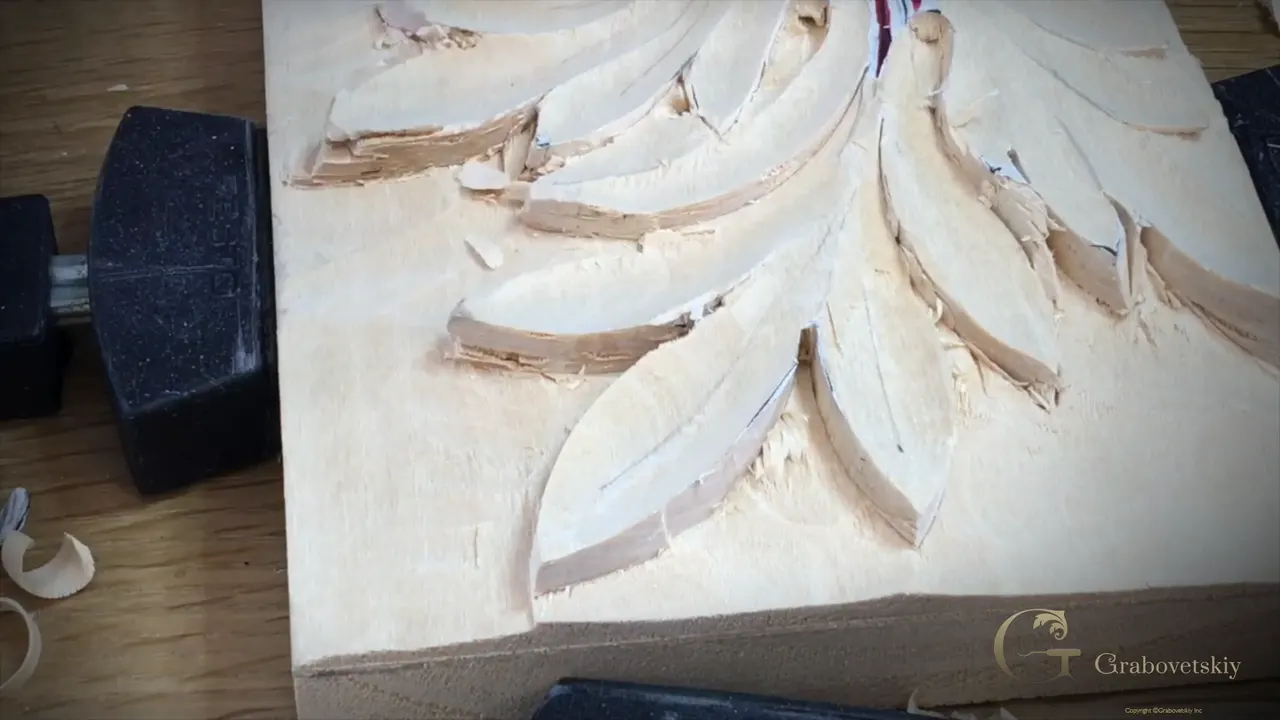
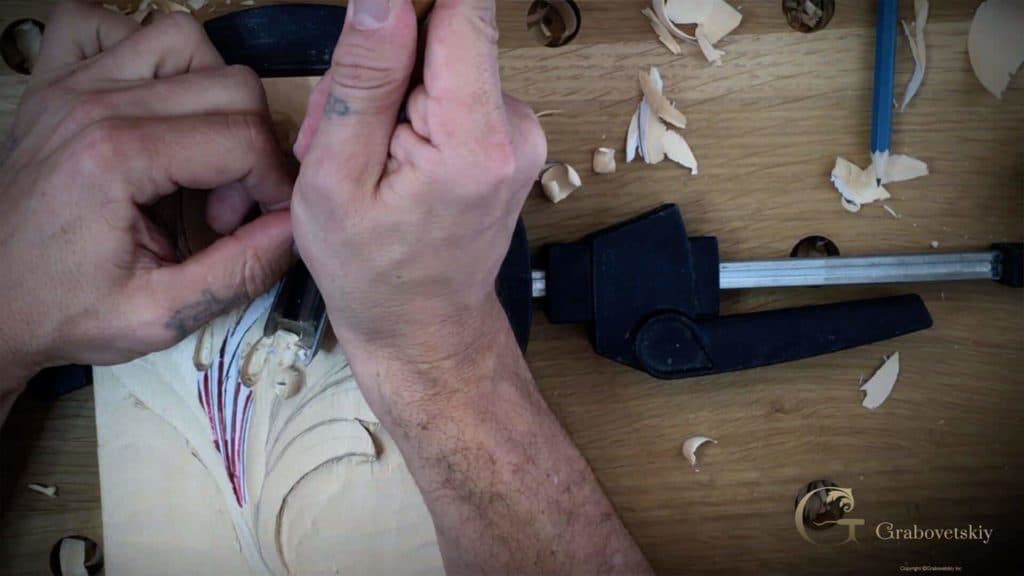
Hollowing a lobe is narrow gouge work. Take a number 9 at thirteen millimeters, then a smaller one near 10 mm, and scoop between the rim of each lobe and the spine. Leave a second ridge standing inside the hollow. That inner ridge is the whole point.
Ever look at your roughed leaf and feel it has gone flat? Run a gouge down a lobe and find the wall torn on one side? Reached for sandpaper because the surface would not come clean? All three problems have the same root, and it is not your sharpening.
Here we go one step finer than the main form stage. I will show you the ridge hiding inside every lobe of this Corinthian leaf, where the grain changes its mind, and why a single long cut beats six careful short ones every time.
What actually changes at this stage
- Gouges get narrower. Start at thirteen millimeters, then drop to about 10 mm.
- Each lobe holds a hollow, and inside that hollow another ridge stands up.
- Every gouge cut has one clean wall and one ragged one.
- Long cuts leave long grain, and long grain is what your eye reads as movement.
- Buffing and stropping are two jobs. Felt wheel for one, leather for the other.
- Edges stay ragged for now, and cleaning them up belongs to a later workshop entirely.
Where does the second ridge come from?
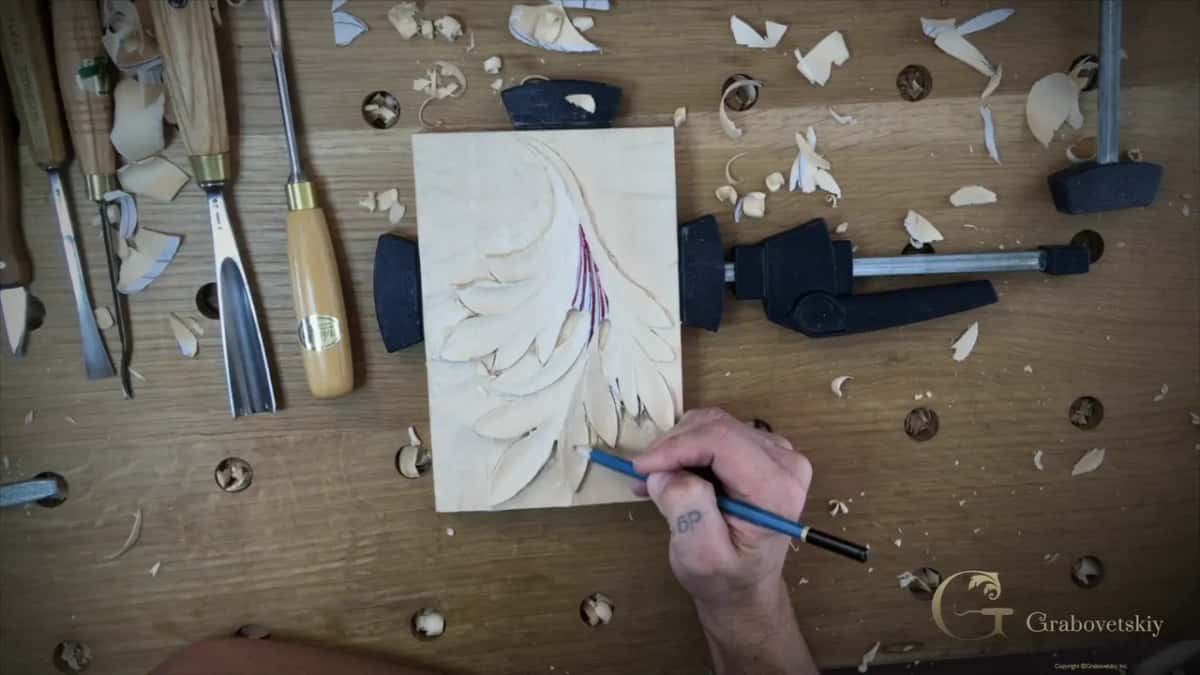
You leave it there on purpose. Inside every section of this leaf, somewhere between the outer rim and the middle, sits a raised spine that you simply do not cut away, and the hollow forms on either side of it.
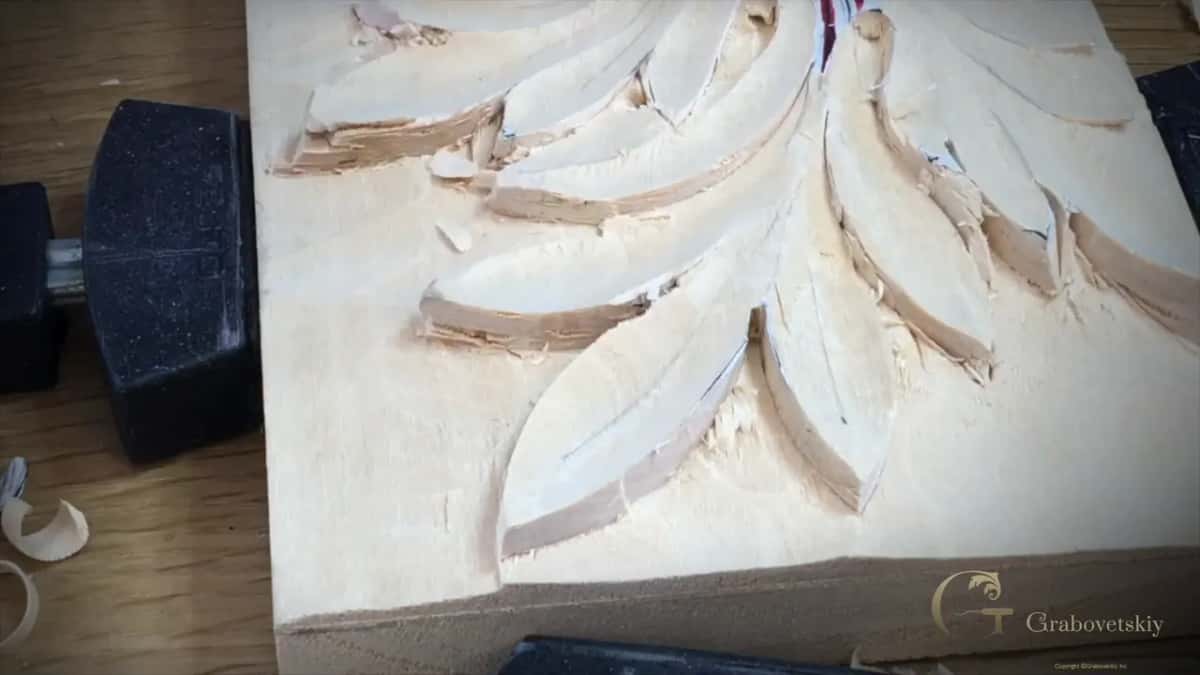
Most carvers hollow the lobe evenly and wonder why the leaf looks like a spoon. A real acanthus is not a spoon, as the Greek leaf shows just as plainly. Each part of it folds, and a fold needs a high line with lower ground on both sides.
Hold the piece up to a lamp once the scoop is in. A shadow appears along the inner ridge and follows it the whole way down. That shadow is the beauty people notice and cannot name.
How narrow should the gouge get?
Down to roughly thirteen millimeters, and then smaller still. My first swap is to a number 9 at that width, and later to an Ashley Iles number 9 near 10 mm when a passage gets tight or a fold turns sharply.
| The gouge | Roughly how wide the tool actually is | Where it goes | What it leaves behind on the wood once it has passed |
|---|---|---|---|
| The wide number nine | twenty millimeters, or three quarters of an inch | broad lobes | the first rough hollow, and it is nowhere near finished at this point |
| The middle nine | half an inch of steel, which is the width I reach for most often | most lobes on this particular leaf | the hollow |
| A small Ashley Iles nine, ten millimeters across | near three eighths | tight folds, narrow passages, and anywhere a fold turns sharply on itself | a clean finished surface |
| Number three | sixteen millimeters, which is five eighths | the floor of an eye | a level base, flat enough that the next tool has somewhere honest to start from |
Width is not the only reason to change tools. A bigger lobe wants a bigger sweep so the hollow stays smooth from end to end, and I will go back up to the wider 9 for a broad section without thinking twice about it.
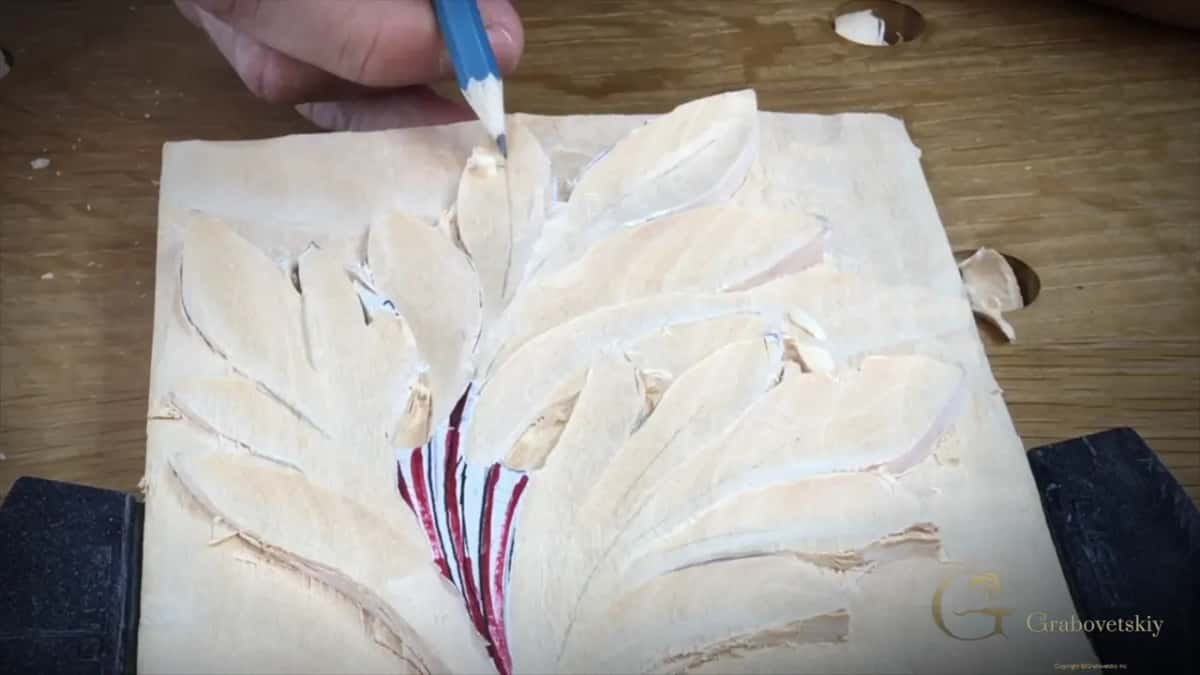
Whatever the width, the cut travels inward toward the middle and lands concave. Same shape every time, at every scale. The same folds on a larger panel take the same treatment with larger tools.
Where does the grain change its mind?
At the marriage line, which is my name for the place where two directions of grain meet inside one cut. Coming from one end the fibers lie down for you; past that point they stand up and tear, and no pressure in the world fixes it.
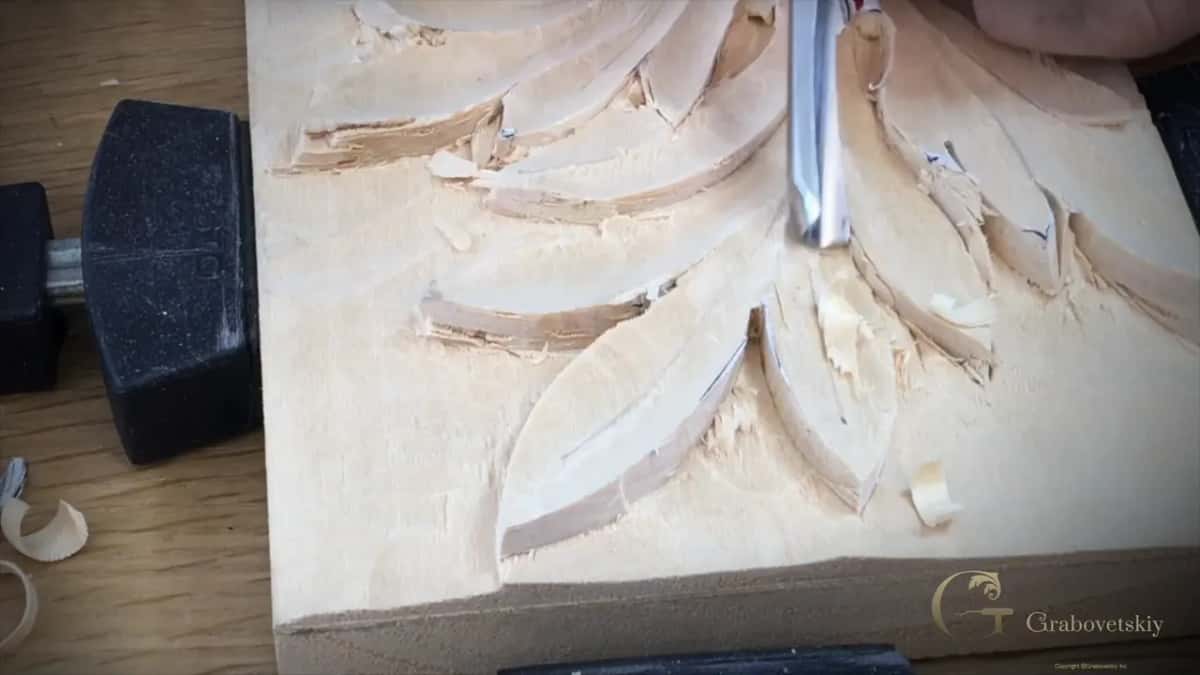
My name for it is not a textbook term, it is just what I call the place where the wood changes its mind. You can see it happening under the edge if you watch the shaving rather than the tool.
Stop there. Rotate the panel, come in from the other side, and cut back to the same point. The two cuts meet and the surface is clean across the whole hollow, with no torn patch in the middle.
Why is one wall of every cut rough?
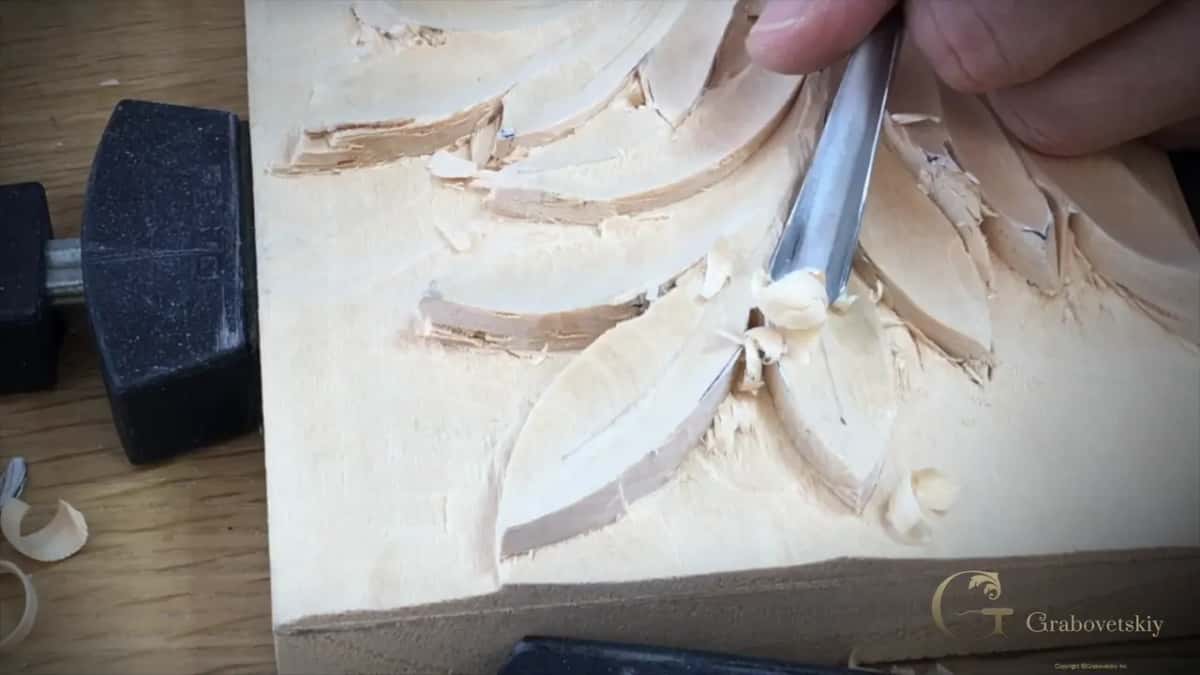
Geometry, not technique. A gouge slices cleanly on the side where its edge is closing into the fiber, and tears on the side where it is opening away. You get one good wall per pass, always.
Knowing that saves a lot of frustration. I stop expecting both walls to come out right, take the clean side deliberately, and then turn the piece and take the other side as its own separate cut.
The temptation is to fix the rough wall by pushing harder. Resist it. Extra pressure crushes fiber and leaves a shiny bruised streak that shows up under finish months later.
Should a lobe be taken in one stroke?
Rarely, and never on a first pass. Doing the whole hollow in a single heroic stroke sounds efficient, and it leaves you with one clean wall and one ruined one, because you never gave yourself a chance to turn the work.
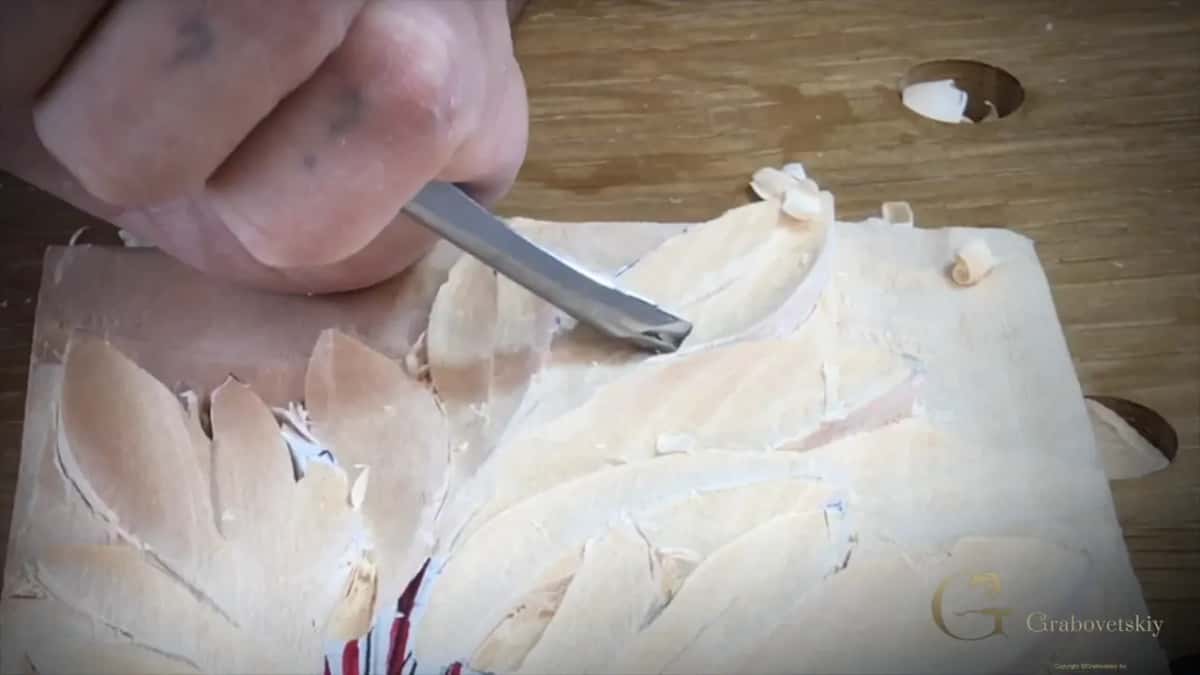
Build it in a few cuts instead. Rough the shape, turn, clean the other side, then take the last pass long and confident once the direction of every fiber is known to you.
That final pass is where the length matters. By then nothing surprises you, so the tool can run the entire length of the lobe without stopping, and the surface it leaves is the one that stays on the finished piece.
Why do long cuts look better than short ones?
Long cuts leave long lines. The faint tool marks a gouge leaves behind are not a flaw to be removed, they are the grain of the carving itself, and a line running the full sweep of a lobe reads as one continuous movement.
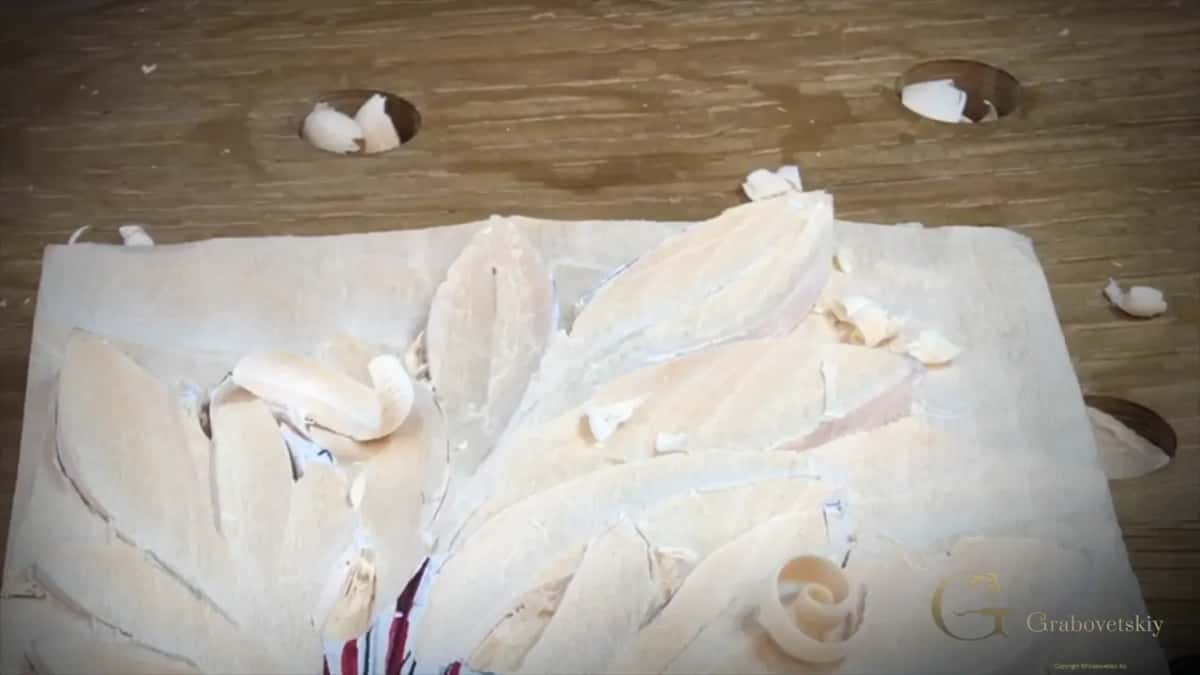
Chop the same lobe into six short cuts and you get six short lines, six tiny changes of angle, and a surface that stutters. Nothing is technically wrong with it. It simply does not sing.
This matters most on a leaf shaped like the Corinthian one, where the lobes are long and the whole design is about flow. On a tight modern acanthus pattern with short members the difference is smaller.
Control the center line and let the cut run. If you can hold that spine while the tool travels, take the longest cut the lobe will give you.
Buffing or stropping, which wheel does what?
Felt buffs and leather strops. Mixing the two words up stays harmless right until the day you buy the wrong wheel for the edge you are trying to bring back.
Mid workshop I stop and touch up the 9 on the felt. The cut had begun to feel slightly heavy, which is the only warning a gouge gives you before the walls start tearing.
Waiting until a tool is visibly dull costs far more time than stopping early. A proper sharpening session takes a while. Thirty seconds on a wheel takes thirty seconds, and the full method lives in my sharpening workshops.
Can a carving be finished without sandpaper?
You cut until there is nothing left to sand. My aim on every one of these hollows is a surface so clean off the tool that reaching for abrasive never occurs to you.
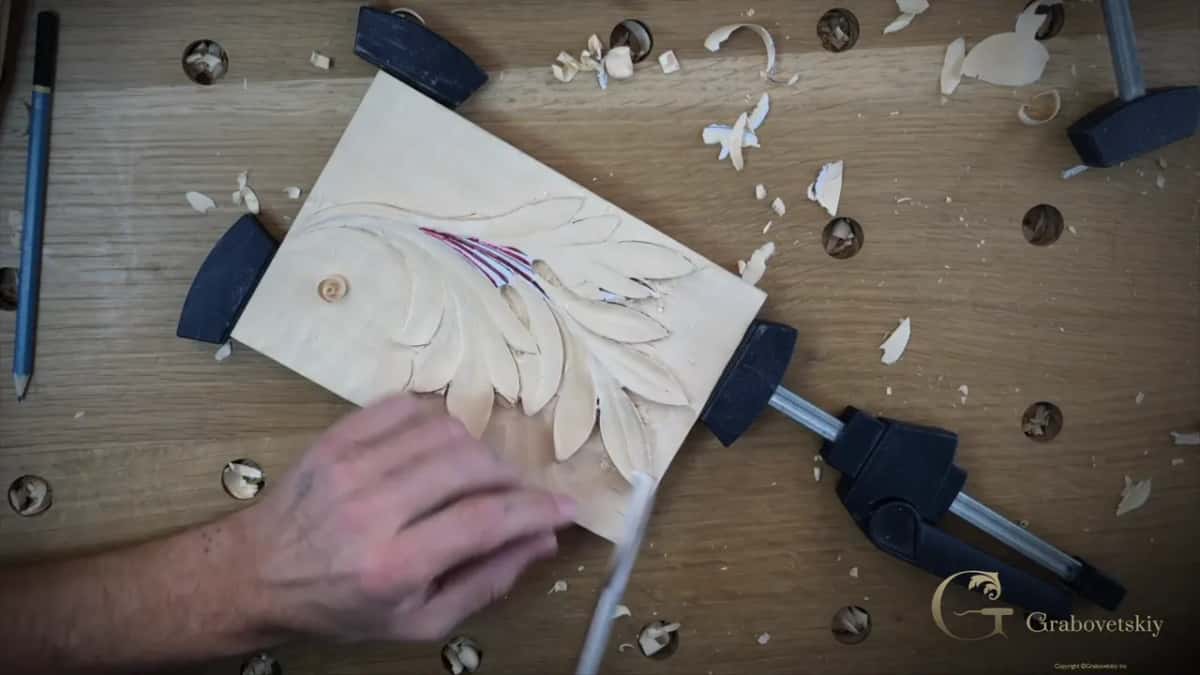
Sandpaper does two bad things to carved work. It rounds the crisp arrises that catch light, and it fills the pores with dust that shows up pale under stain. A tooled surface holds its edges.
Getting there is mostly about the last pass being a real cut rather than a scrape. Sharp edge, correct direction, one movement, no hesitation in the middle.
Do the clamps really matter that much?
Turning the work is half of this technique, so yes. If changing the angle of the piece is a chore, you will avoid doing it, and avoiding it is exactly what produces torn walls and short cuts.
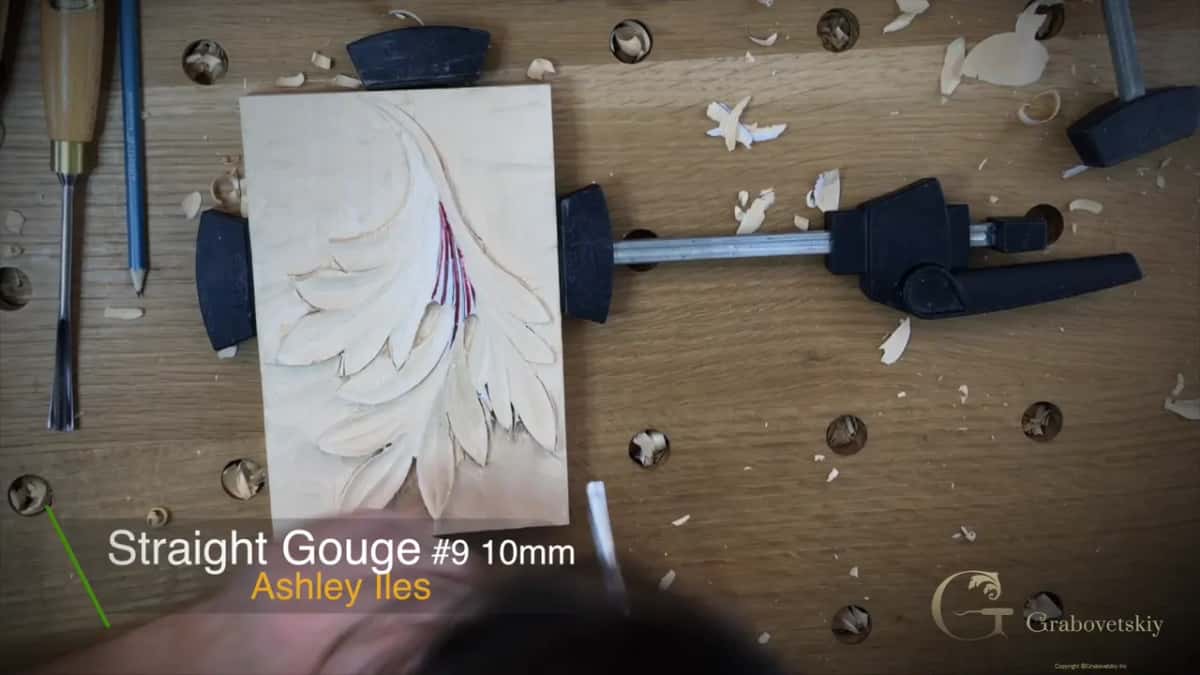
My bench runs Festool clamps that grip from almost any direction. I swing the panel to an angle, drop a clamp in, and it holds. A few seconds later I swing it somewhere else.
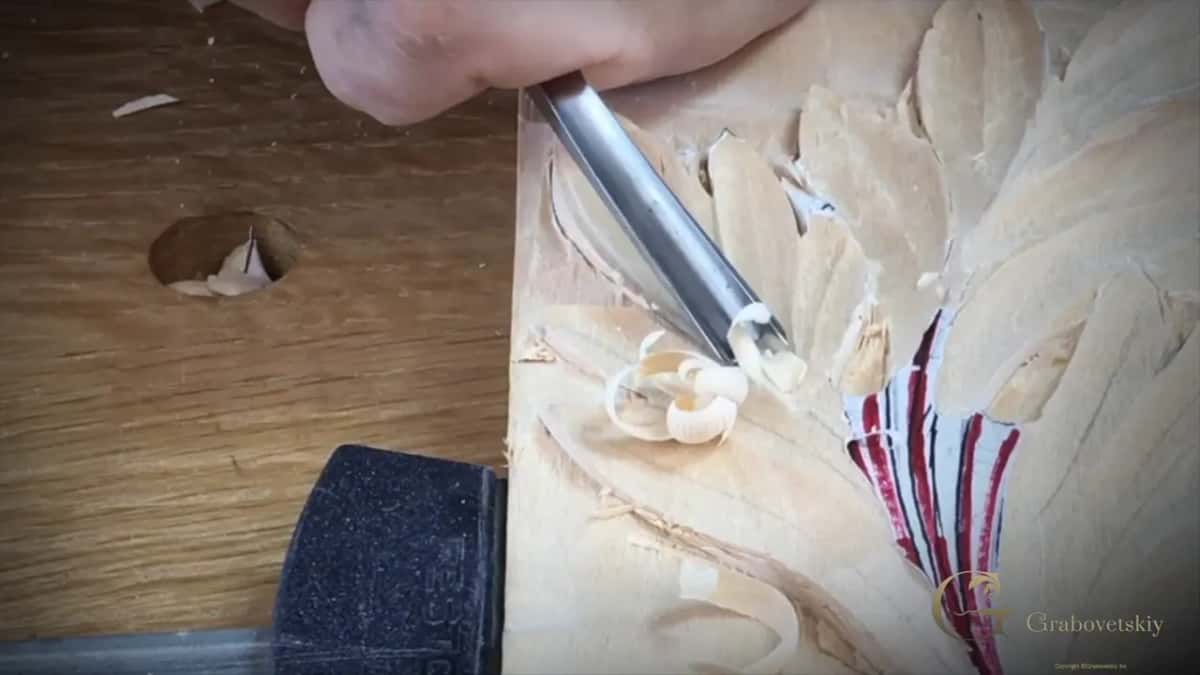
Any clamping system that lets you reposition quickly will do the same job here. What matters is speed, never the name on the casting. Slow clamps make you a worse carver, quietly, over years.
Which part do you hollow first?
Start wherever the grain is friendliest and work outward from there. No fixed order exists on this pattern, and pretending otherwise would give you a rule that breaks on the first board with a knot in it.
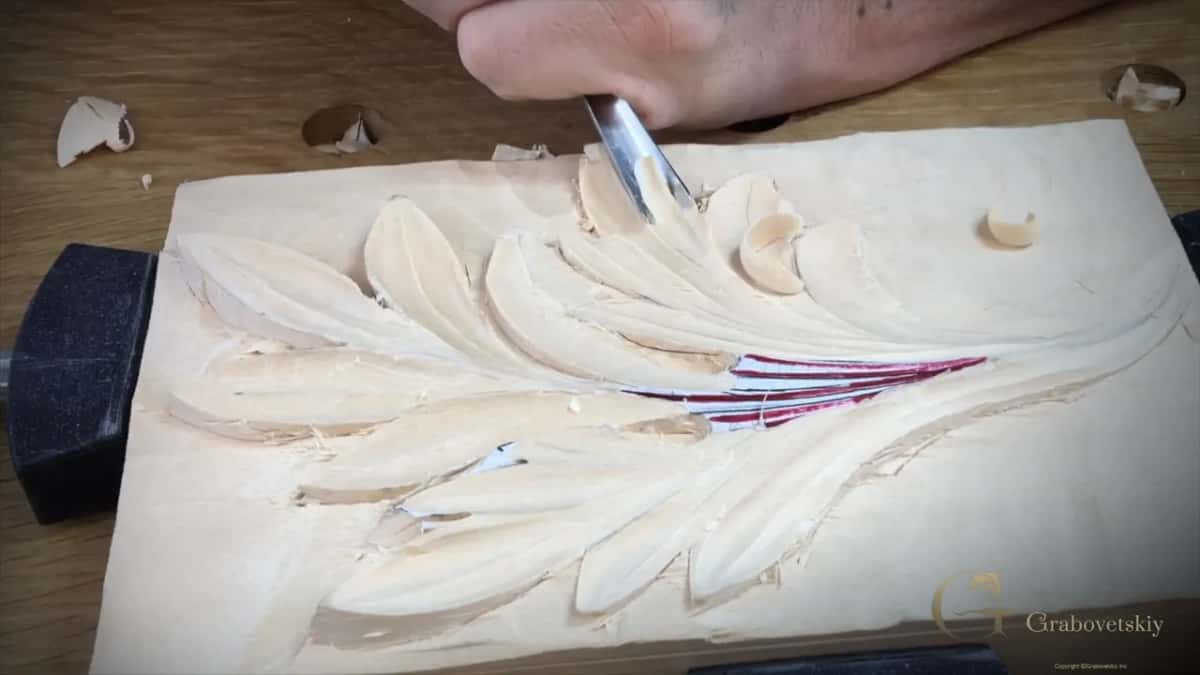
What I do care about is finishing a part before moving on. Half hollowed sections scattered across the leaf give you nothing to judge height against, and height is the only thing holding the design together at this point.
Swing the piece round rather than reaching over it. Every part of this leaf is best cut from one particular angle, and the whole panel swinging round to meet the tool is normal practice, not a sign that something has gone wrong.
What keeps the center line from disappearing?
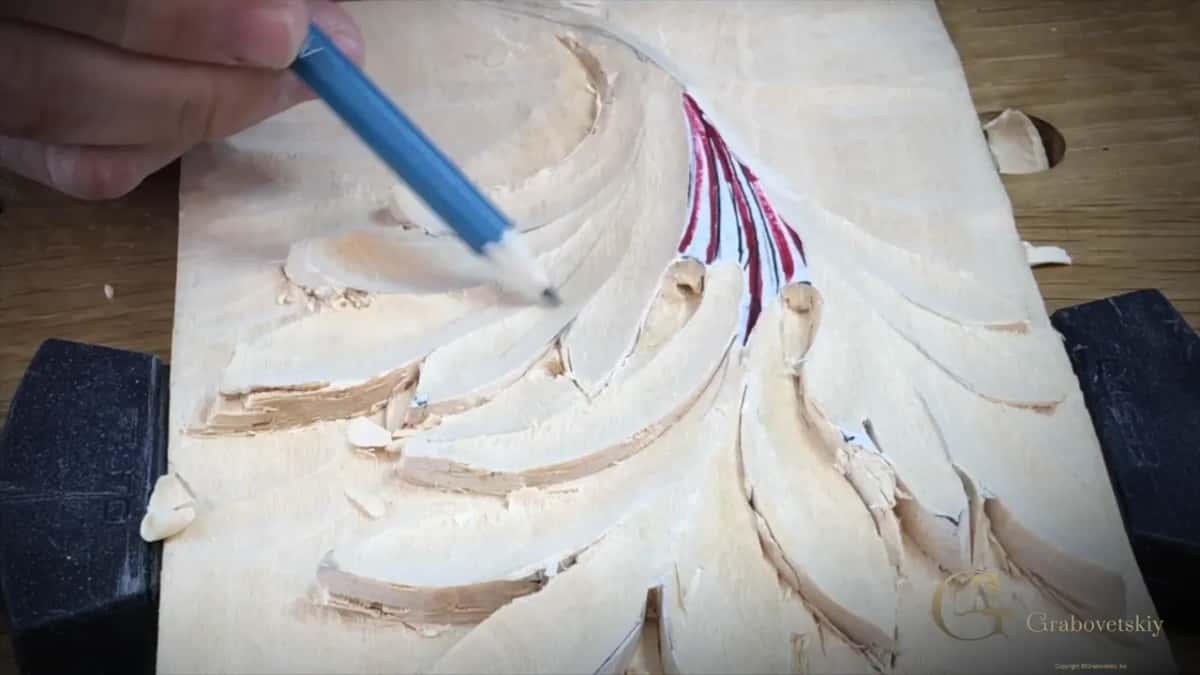
Redraw it the moment it starts to fade. A pencil line lives on the surface, and the surface is exactly what you are removing, so the spine of the leaf vanishes a little with every pass you take.
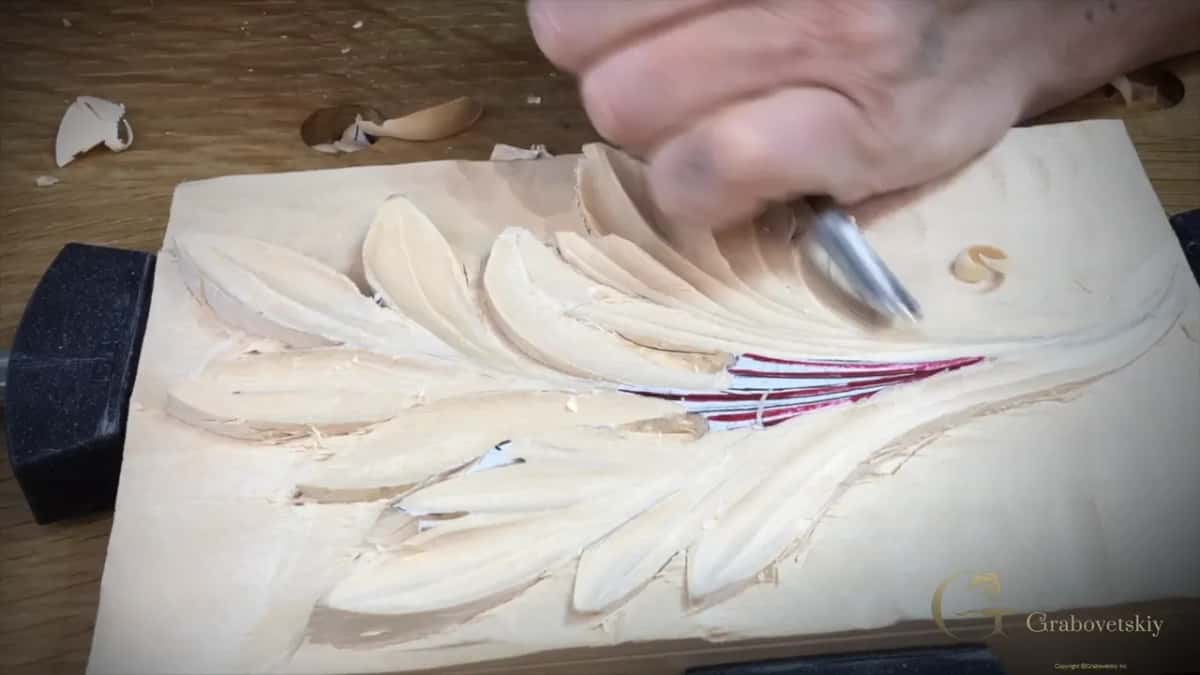
Late in the workshop I stop and put the line back on with a pencil before taking the narrow 9 through again. Cheap insurance. A hollow cut across a spine that has drifted takes an hour to repair and sometimes cannot be repaired at all.
The same rule saved me on the Roman acanthus and on every Byzantine panel I have taught. Draw, cut, draw again.
What if the edges still look ragged?
Leave them. Every outer edge on this leaf is meant to look chewed at the end of today, and trying to make them crisp now wastes the wood you will need when the real edge gets cut.
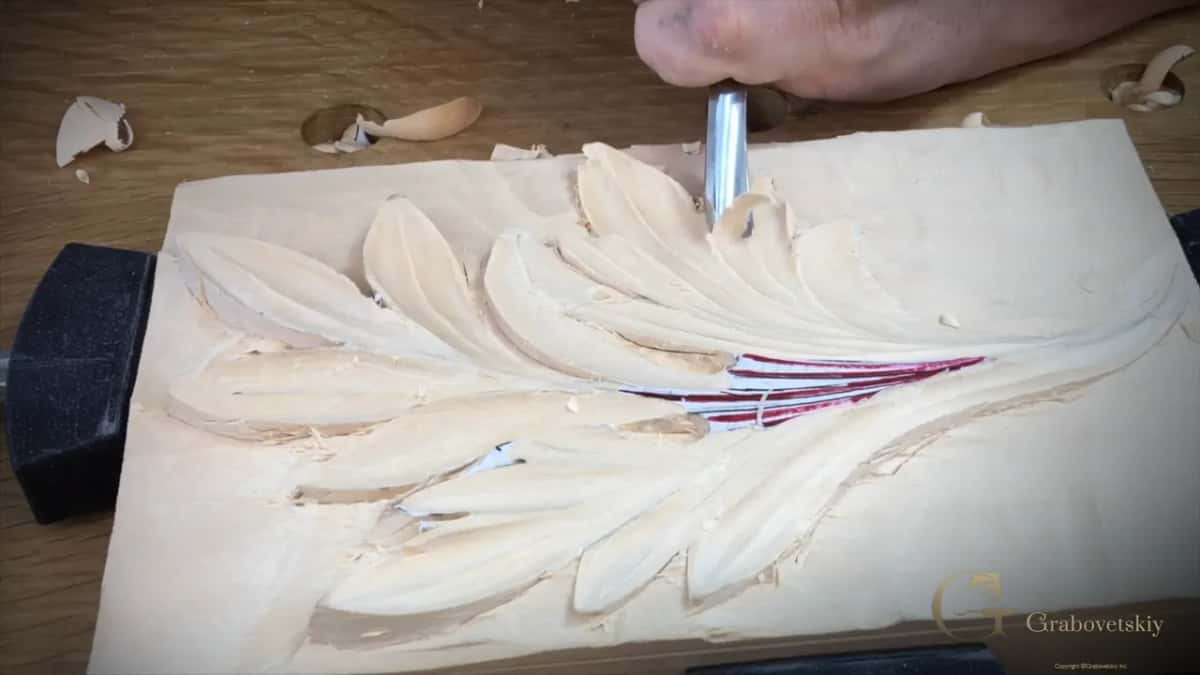
Crisp edges arrive with the undercutting, once the ground has gone down to its final depth. Cut them early and the later work simply removes your careful surface and leaves a thinner, weaker lobe behind.
Patience again. I say it in nearly every workshop because it is the thing students most often skip, and it costs them more material than any other single habit.
Does the whole leaf cut the same?
Never. One part runs smooth and the next fights you, on the same board, an inch away, with the same tool and the same edge. The wood underneath is not uniform and it never pretended to be.
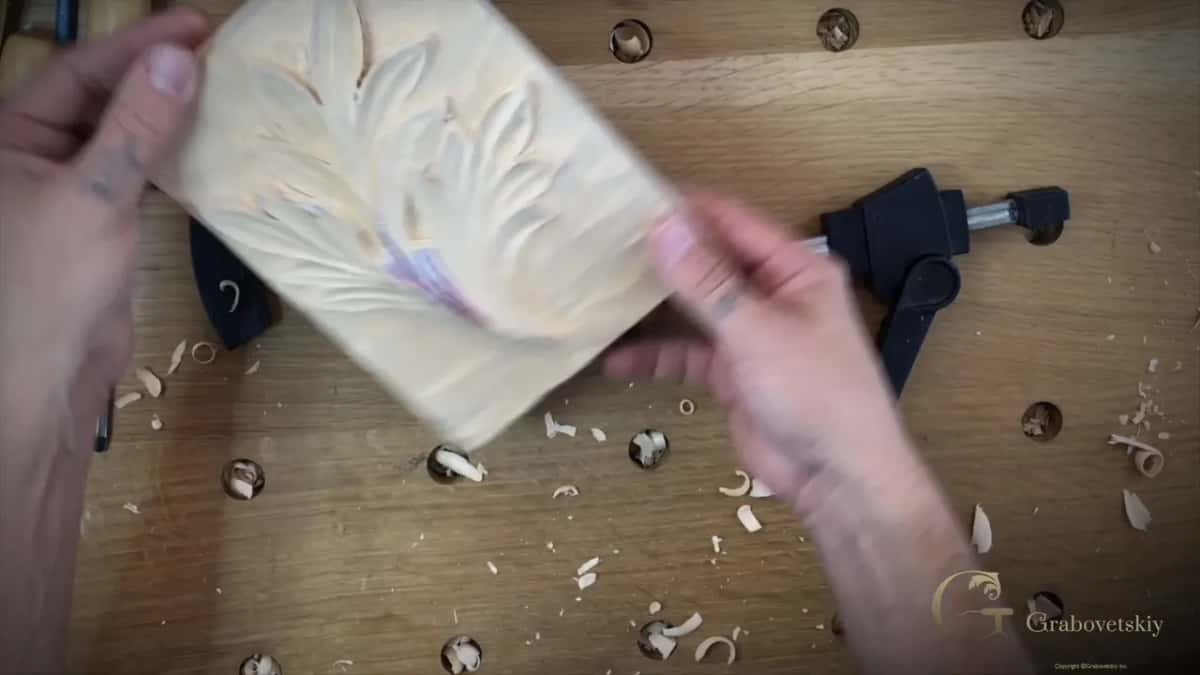
Growth rings, small knots, a season of drought fifty years ago. All of it sits in the fiber, and a hollow that crosses a change in density will want a different angle halfway through.
Feel for it. When the tool starts pushing instead of slicing, stop and change something, rather than adding force. My tools course spends real time on reading a board before you touch it.
Species matters less than people expect at this scale. Basswood and European lime are close cousins and both cut kindly, yet two boards of either one can still argue with you on the same afternoon.
Is this one leaf or many?
One leaf. I catch myself saying leaves, and the word is wrong, because what you see here is a single leaf divided into parts, each part with its own eye, ridge and hollow.
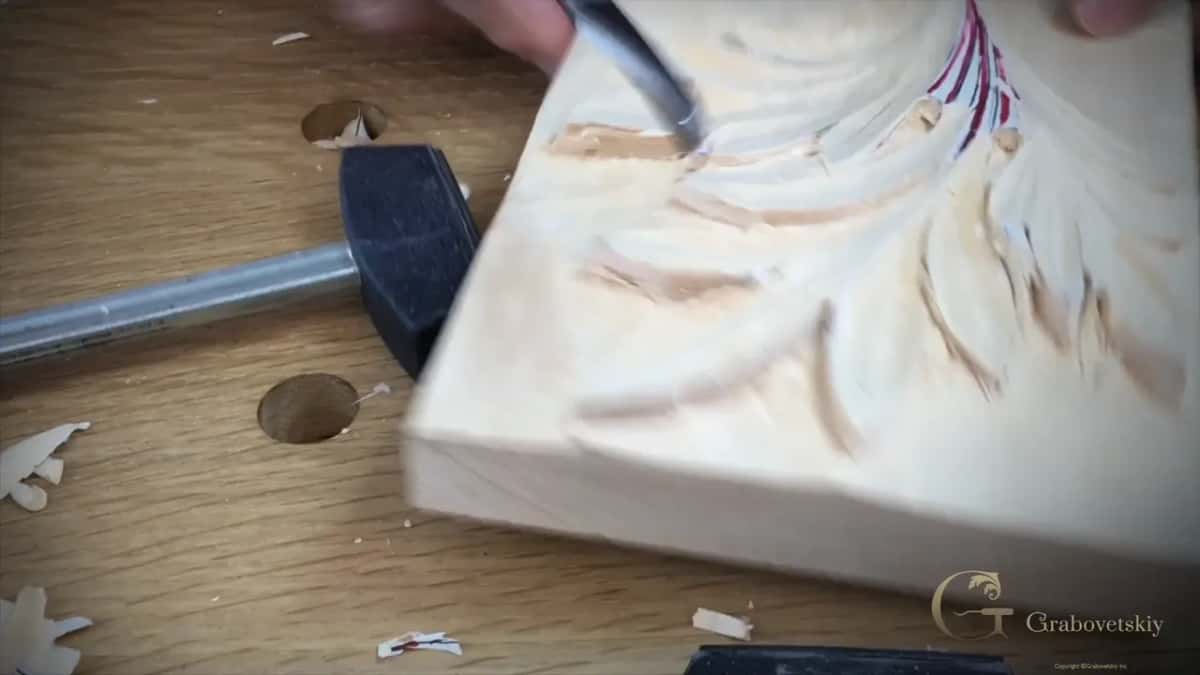
Thinking of them as separate leaves is what leads to a design where nothing connects. Parts of one leaf have to agree with each other, share a spine, and fall away from the same high points.
Practice on this pattern before the complicated work. A Grinling Gibbons panel carries several kinds of foliage at once, and the carver who has already hollowed forty lobes on a simple leaf has a very easy time of it. My Maine class works at exactly that level.
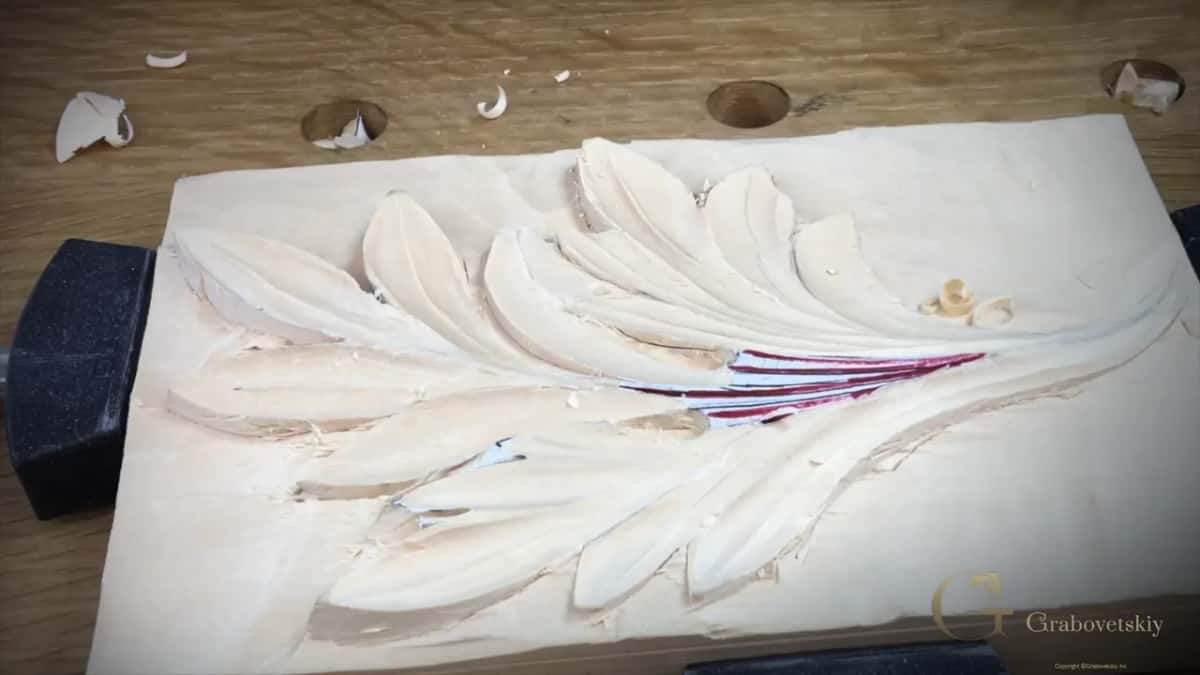
At the close of this workshop your piece should look like a leaf with real folds in it, ragged around the edges and still sitting on a background that is too high. Both of those get fixed next, when the undercutting starts and the leaf begins to float.
Everything in this workshop is one skill practised at three widths, and it carries straight into the rest of the workshops.
One more thing before you start. Set a lamp low on your bench and glance at the leaf every twenty minutes or so, because a raking light shows a flat hollow long before your fingers notice it, and fixing a shallow scoop now costs one pass instead of five.
How it's done
- Pick the width. Fit the gouge to the part. The middle nine covers most lobes on this leaf, ten millimeters for tight folds, wider again across a broad section.
- Find the clean side. Take one pass and look at both walls. One comes off clean and the other lifts, which tells you which way the fiber runs underneath.
- Stop at the marriage line. Cut only as far as the point where the grain changes direction, then lift the tool rather than pushing through it.
- Come back the other way. Swing the board, enter from the opposite end, and cut back to the same point so the two surfaces meet without a torn patch.
- Leave the inner ridge. Scoop on both sides of a raised spine inside each lobe instead of hollowing the whole part evenly.
- Take the last pass long. Run one final cut the whole length of the lobe, holding the spine, and leave the surface it makes.
Frequently asked questions
How wide should a gouge be for hollowing a lobe?
Start near thirteen millimeters and drop to ten where the fold turns tight. Width follows the size of the part you are cutting, never a rule, and going back up to a wider sweep for a broad lobe keeps the whole hollow smooth.
Why does a gouge tear on one side of the cut?
Fiber direction under the blade decides it. Whichever wall closes into the grain slices cleanly, and the one that opens against it lifts instead. Swinging the board round and taking that wall from the opposite direction removes the tearing with no change of tool.
Which wheel do you use, felt or leather?
Different wheels for different jobs. Felt is where buffing happens, leather is where stropping does, and either one rescues a blade that has started to feel heavy. Half a minute at the wheel costs far less time than grinding a neglected gouge back to sharp.
What to carve next