
Alexander Grabovetskiy, woodcarver, School of Woodcarving · Published 2017
How do you shape the main form of an acanthus leaf?
Quick answer: Main form on an acanthus leaf is the stage that fixes height and direction before any detail exists. Eyes get sunk first so they hold their place, pipes and dividing ridges keep the original surface, and each lobe slopes down toward a single line drawn through the middle.
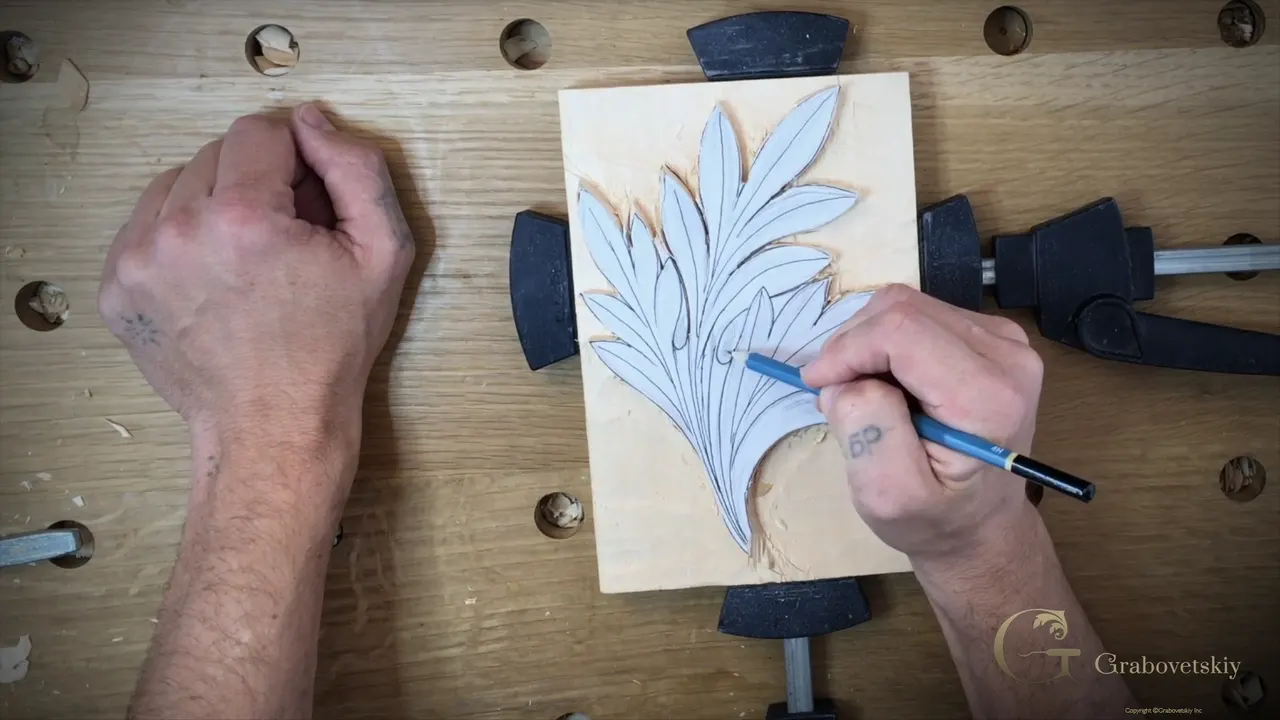
The main form of an acanthus leaf is the big movement that sits under every detail. Sink the eyes first so they cannot drift, leave the pipes and the ridges standing at full height, and run every division downhill into one center line. One broad Ashley Iles 7 does most of that work.
Cut your outline and then stopped? Looked at a flat gray board and wondered which lump is meant to stand up? Shaped one lobe beautifully and then found it pointing at nothing? Most carvers lose this leaf right here, long before any fine detail begins.
I want to fix the order for you. You will see why the eyes come out before my big gouge touches the surface, what a relief cut buys, and the one law that every line on an acanthus obeys. Nothing below asks for a tool you do not already own.
What this stage really decides
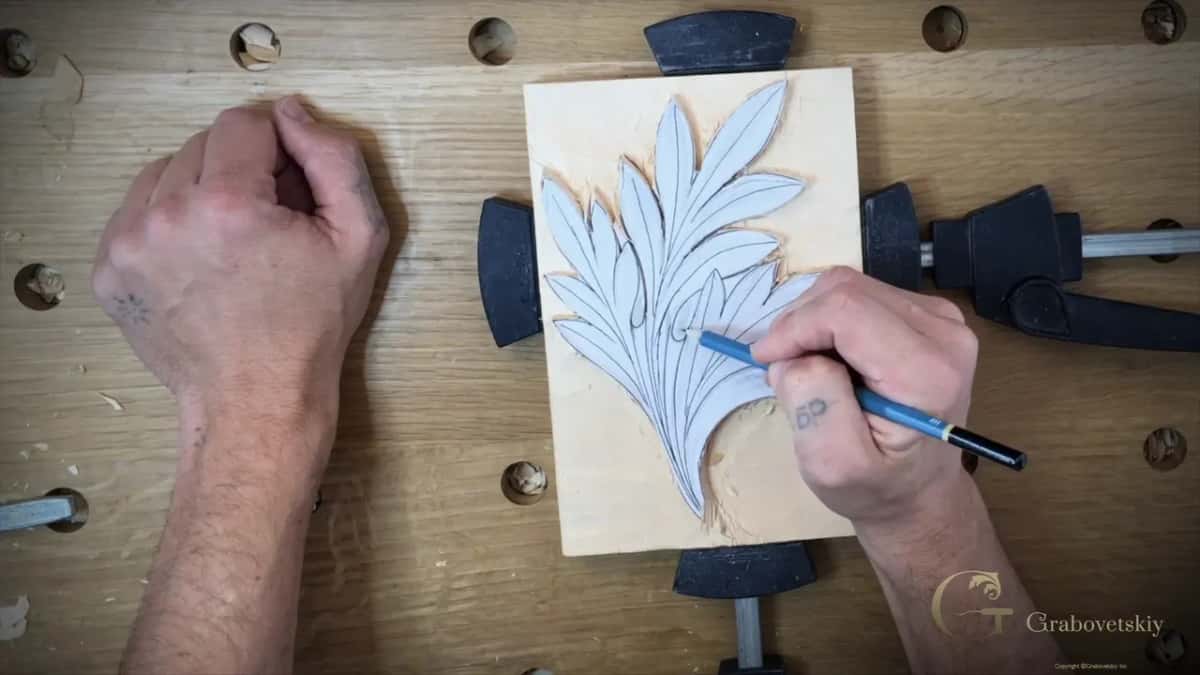
- Eyes first. Lose them and your drawing walks away from you.
- Pipes and the ridges between lobes hold the original top surface of the board, untouched by anything.
- Every division runs downhill to one line.
- Relief cuts weaken the waste side, so the wall you are keeping comes out crisp rather than bruised.
- My workhorse here is an Ashley Iles 7 at 60 mm.
- Thirteen millimeters, a good half inch, is where the ground is heading.
Where does shaping the main form begin?
You begin at the eyes. Sink them before the big gouge touches anything else, because the second your surface starts dropping the drawing drops with it, and an eye that has wandered drags the whole leaf out of shape.
An eye is the small hollow where two lobes turn away from each other, named and mapped in the first workshop. On the Corinthian pattern there are several, and they are the landmarks I steer by. Remove them early and the rest of the roughing has something fixed to measure against.
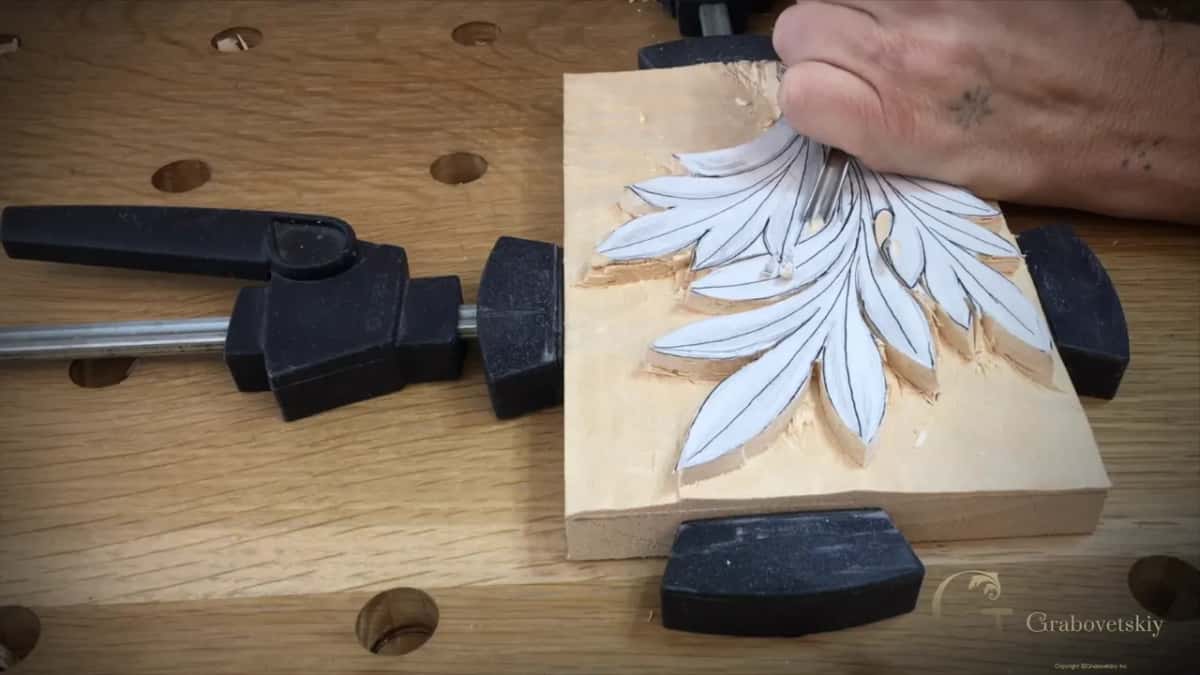
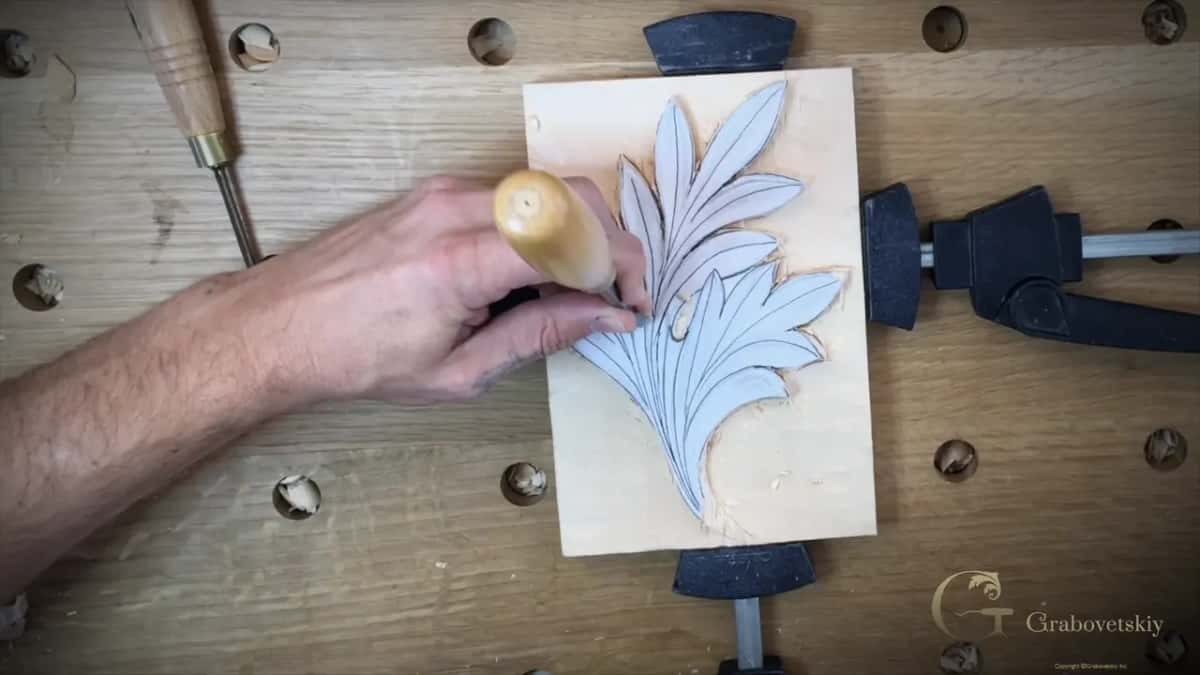
I reach for a number 9 to start. My first one turns out too wide, so I swap to a smaller 9 and dig in little by little, working at the hollow from the sides rather than straight down the middle. Patience pays here.
Once the hollow is roughed, I check whether the sweep of the 9 matches the curve I want. It does. Then comes the mallet, one firm cut, straight down to depth. That single blow sets the floor of the eye for the whole carving.
What does a relief cut actually do?
A relief cut takes waste out of the way before you cut the line you care about. You hollow the inside first, once the wall from setting in is standing, then place your gouge on the real line, and the fiber on the waste side now has somewhere to go.
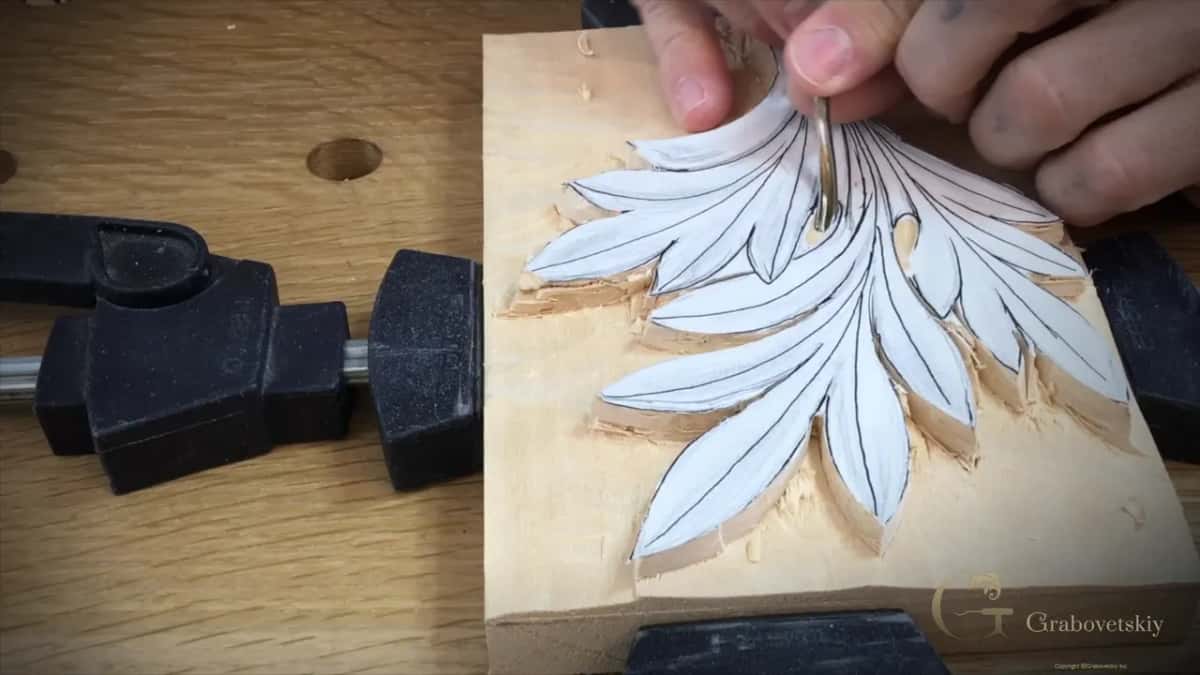
Watch the wood while it happens. Whatever sits on the waste side of the blade is weak now, and it moves. The fibers on the side you are keeping stay put, so nothing gets crushed together and your edge comes out clean and sharp.
Without that hollow, the same cut squashes fiber on both sides at once. You get a bruised line that no amount of later tidying really recovers. On lime and basswood the difference shows up immediately.
Always make a relief cut where you can, especially when you have the time. Under real deadline pressure I sometimes work straight in without one. Given the choice, though, I make as many relief cuts as the job allows.
Knife or gouge for the outline?
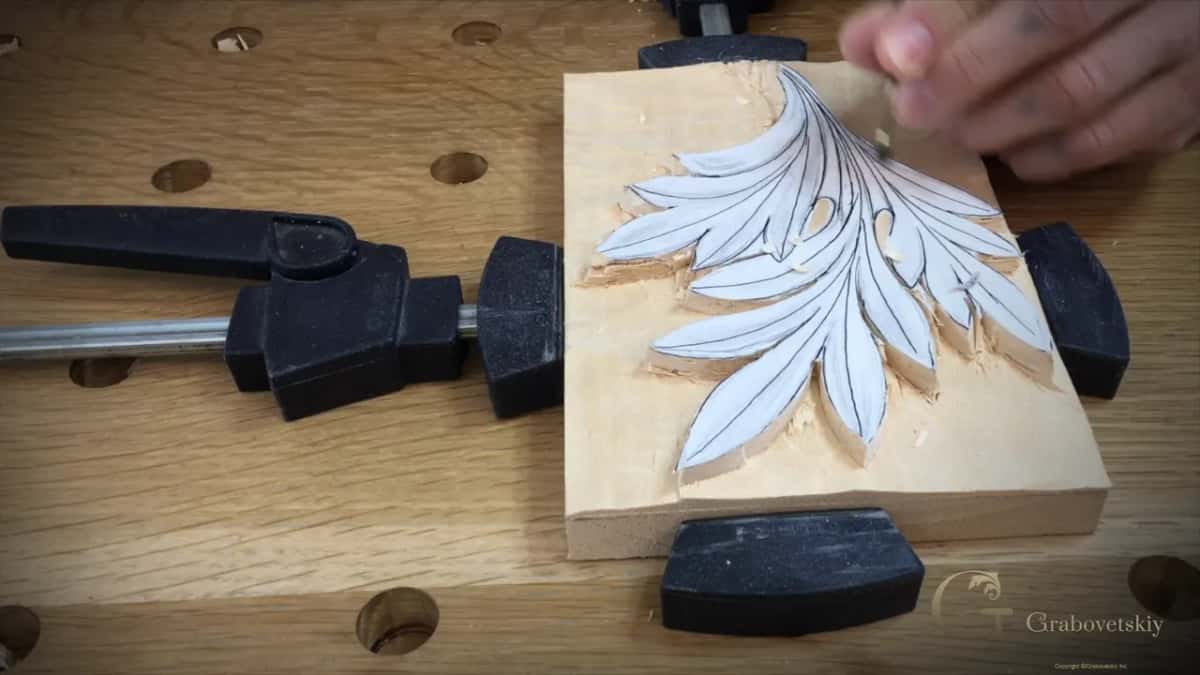
Either one works, and I use both in the same hour. My Pfeil knife, a number 12, simply follows the drawn line, which is quick, and it suits soft timber. Where a gouge sweep happens to fit, I stamp it in instead, one press per curve.
The knife wins on speed. I already have a deep cut standing after a few passes, and the waste lifts out from both sides with the same number 9 I had on the bench, down to thirteen millimeters, matching the ground behind it.
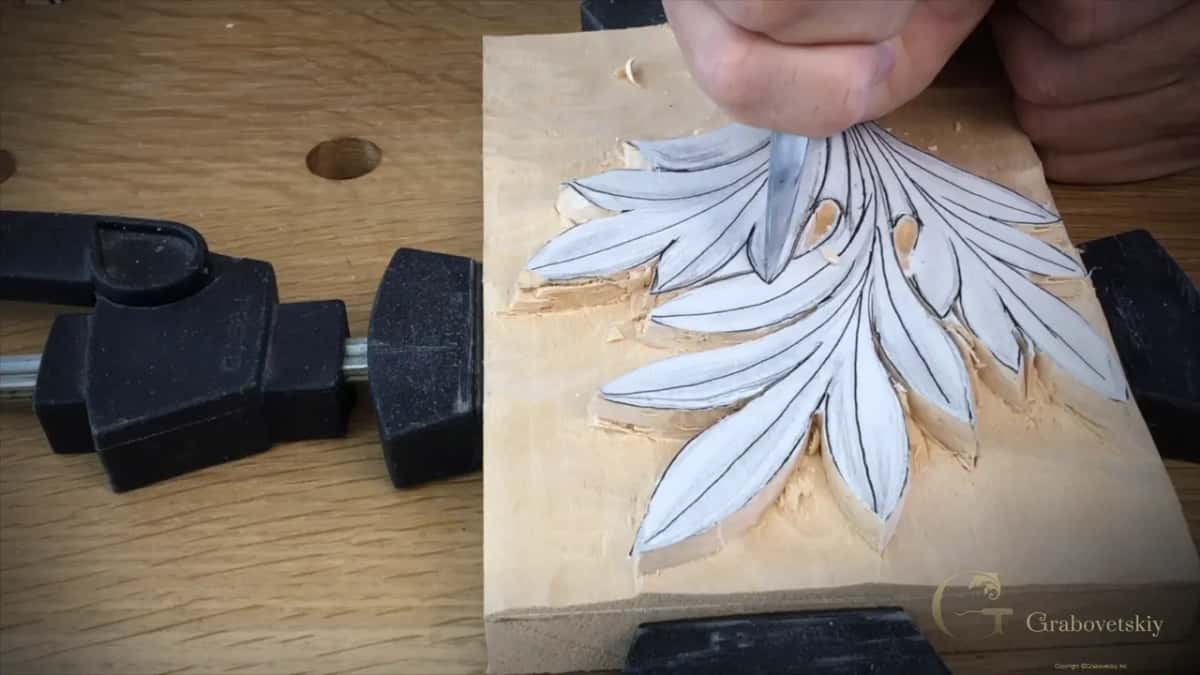
A stamped sweep wins on truth. Where the steel fits exactly, the line it leaves is the line you drew, with no wobble in it at all. Finding a fit is the whole trick, and a wide rack makes that easier.
| The method | What the method asks of you | Speed in use | Where this particular one wins over the other three |
|---|---|---|---|
| The Pfeil knife 12 | a steady hand, plus a drawn line you can actually trust | Very quick | soft lime and basswood, on any curve |
| The stamped sweep | a rack wide enough that something in it genuinely fits the curve you drew | Quick once the fit is found | repeating curves |
| A roughing nine of almost any width at all | waste on both sides | Steady rather than fast, and it never really surprises you at any point | lifting waste toward the background |
| Ashley Iles | strength, plus an edge you have stropped this very morning | Fastest of all | long slopes here, and whole sections of the leaf dropped in one single downhill pass |
Neither method is the beginner one. I switch between them constantly, and the choice is usually settled by what my hand reaches first and whether any gouge in the rack actually matches the curve in front of me.
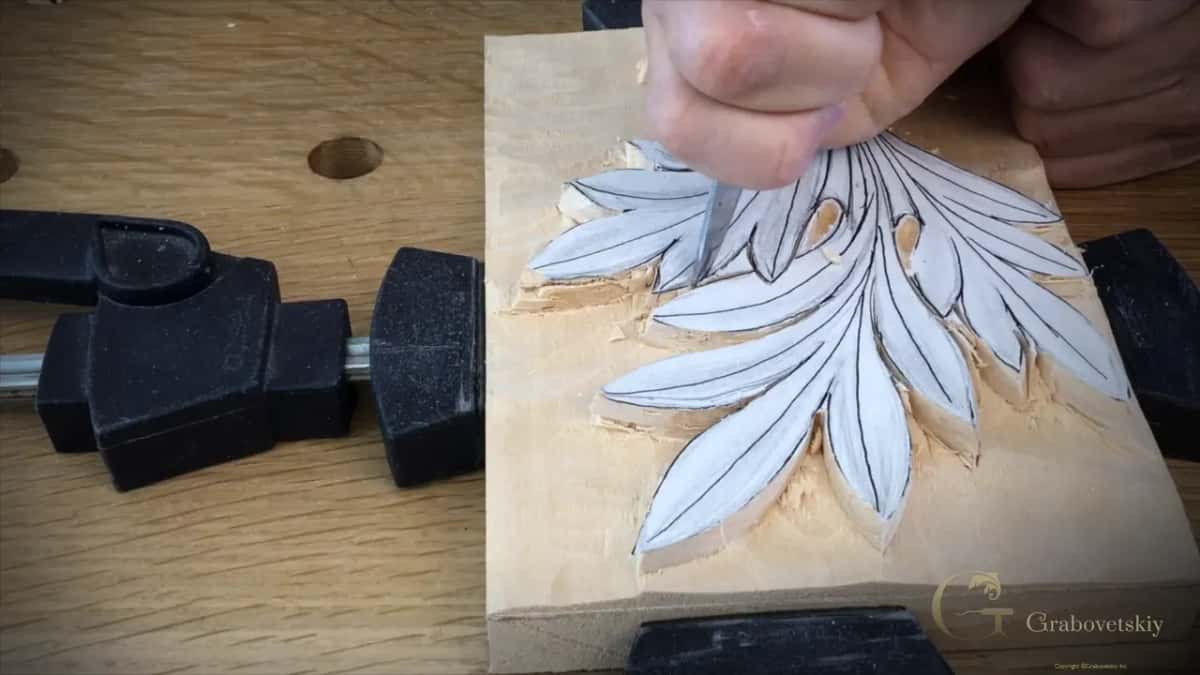
How big should the roughing gouge be?
Bigger than feels sensible. My main tool at this stage is an Ashley Iles number 7 at 60 mm, roughly 2 3/8 in across, and getting hold of a gouge that size will speed up your work more than any other single change.
I own a number 8 and a number 5 in similar widths, and the 7 is still the one I reach for. It is my workhorse. The shallow sweep suits the long, rolling slopes that give this leaf its movement.
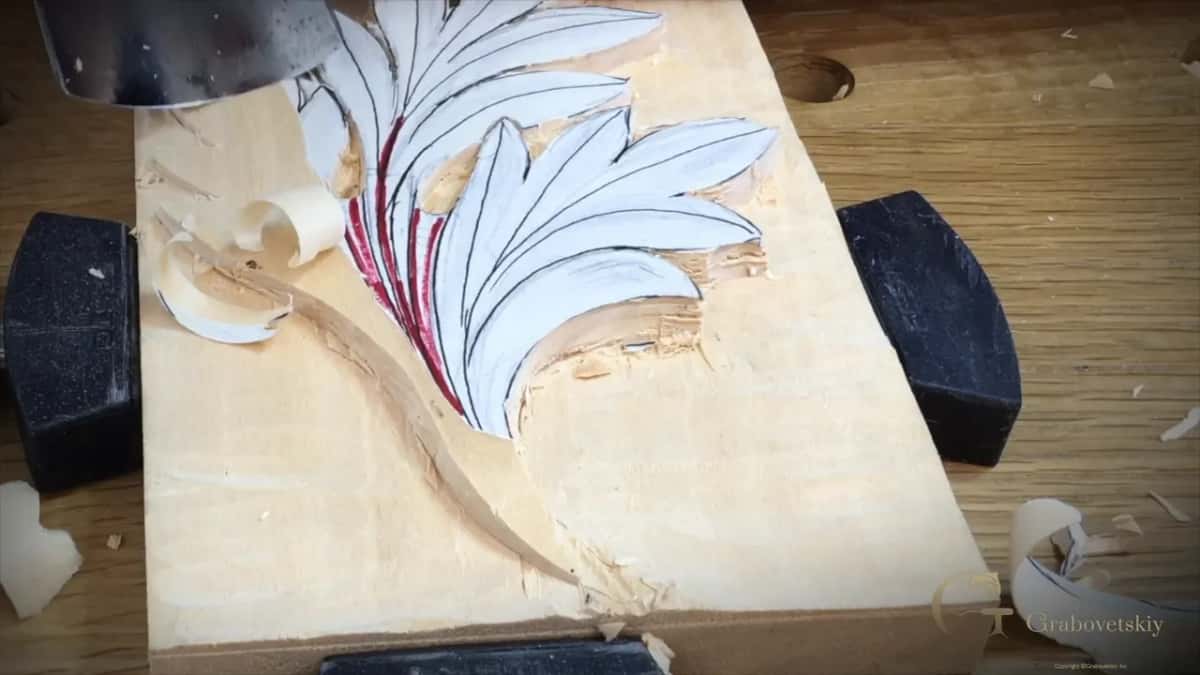
People assume a wide gouge is only good for wide work, and they have it backwards. Because the tool is so big, its corner reaches into places a small gouge cannot enter cleanly, and I shape surprisingly fine passages with nothing but the last few millimeters of the edge.
It also moves material fast. A whole slope comes down in one pass instead of twenty, and fewer passes means fewer chances to lose the line. If your tools need work before any of this, my tool sharpening course covers the edge itself.
What is the center flow line?
Think of it as the spine, the single line running through the middle of the leaf from base to tip. I redraw it on the roughed wood before detailing, along with the divisions between lobes, and every one of those divisions bends into it.
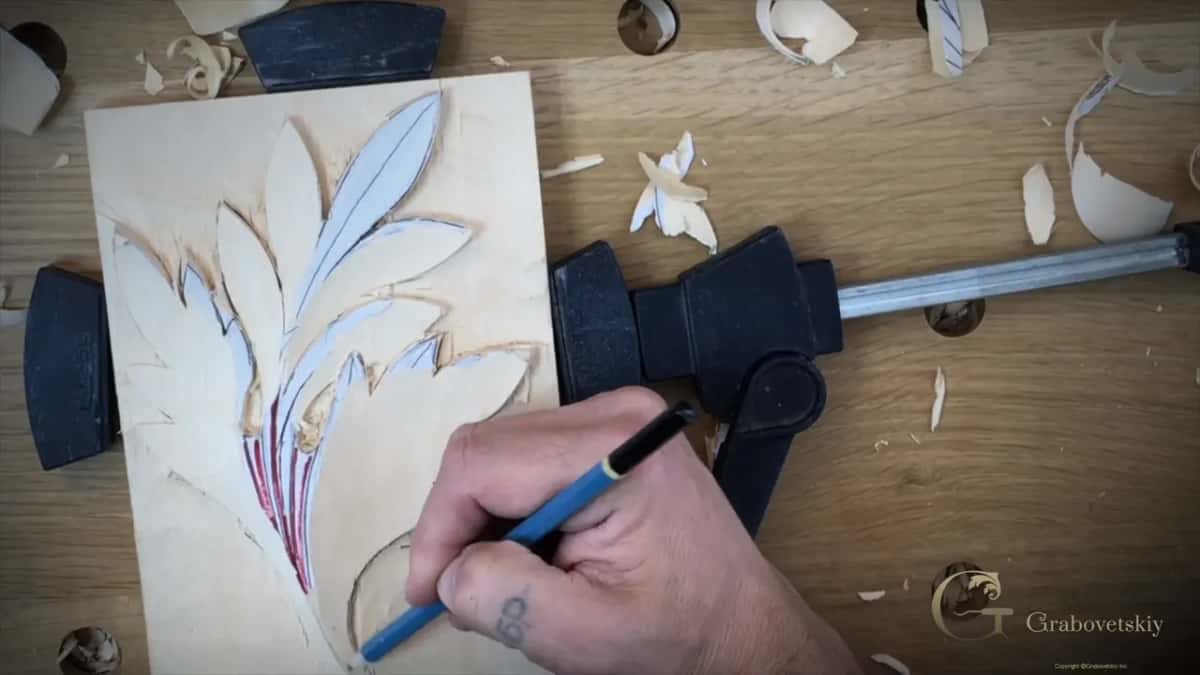
Start at any point on the edge of this leaf and follow the line inward, and you arrive at the center. Begin somewhere else along the outside and the same thing happens again, without exception. Every route on the surface ends at that one spine, which is why the eye reads the whole leaf as one living thing.
Call it a law, because that is how I treat it. The rule reaches well beyond acanthus, into most foliage carving there is, and you can test it against any good Greek or Roman ornament you can find. The same spine governs the Greek leaf and the Roman leaf in their own workshops.
What happens when a line stops dead?
You get a T stop, and it kills the piece. A line that runs into another line at a right angle and simply ends there reads as broken. Nature does not do that, and neither should your leaf.
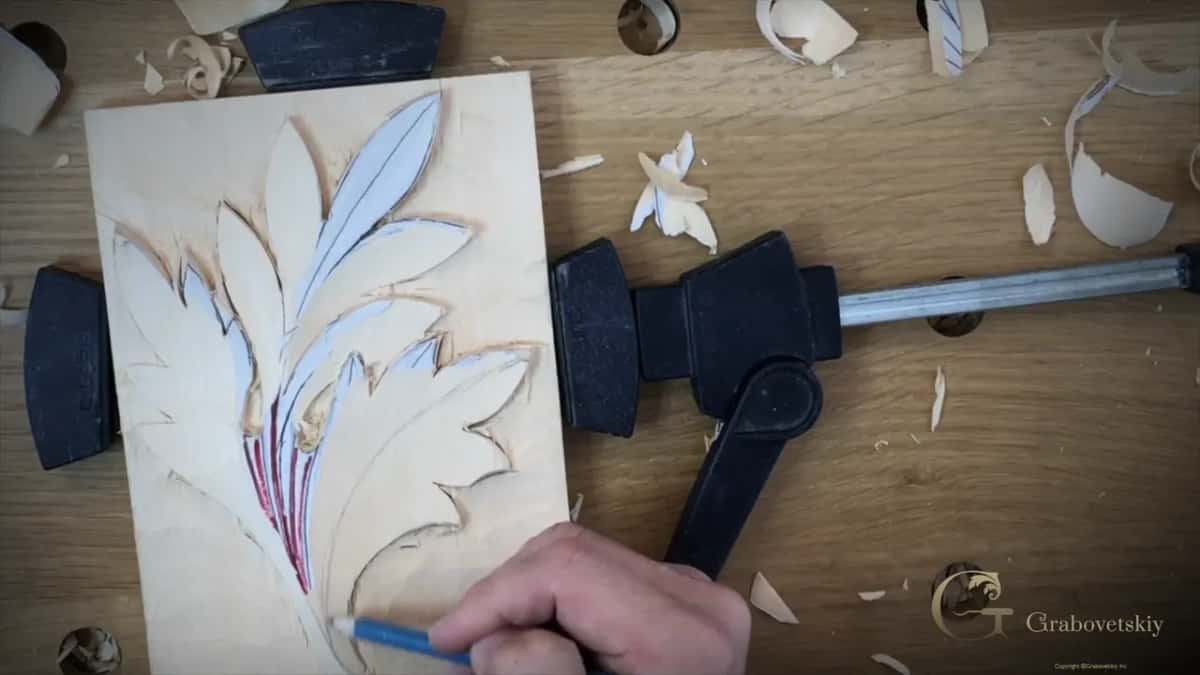
Drawing the divisions back onto the roughed surface is the thing that keeps you honest here. A pencil costs nothing. Replacing a board you have spoiled costs a whole working day. Seeing the lines lets you catch a T stop while it is still graphite, rather than after a gouge has made it permanent.
Print a second copy of the drawing if it helps you. I work from memory now, but there is no prize for that, and the rule matters far more than the habit. This same discipline carries into the Byzantine acanthus and acanthus over moldings work later on.
Why do the pipes stay high?
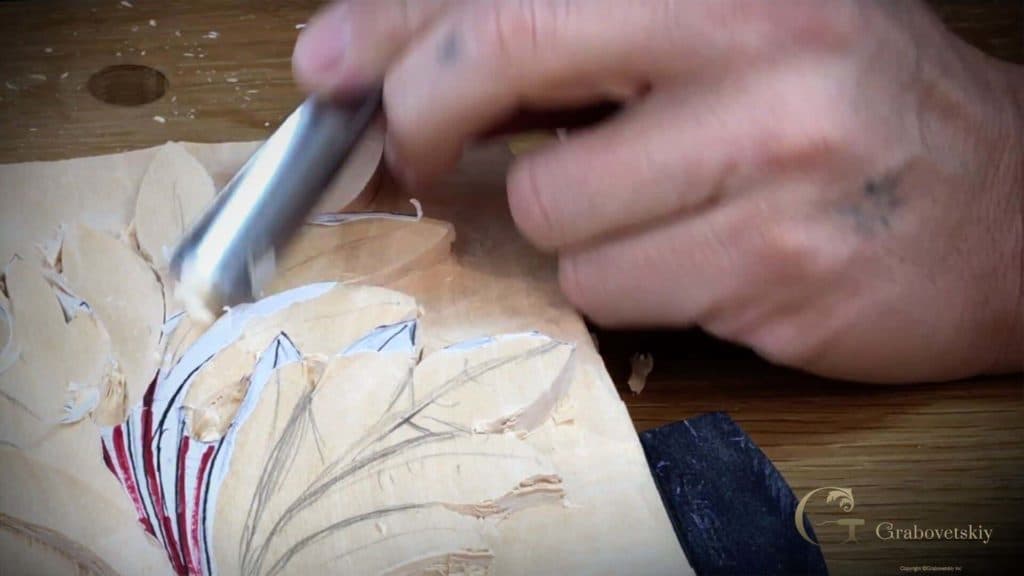
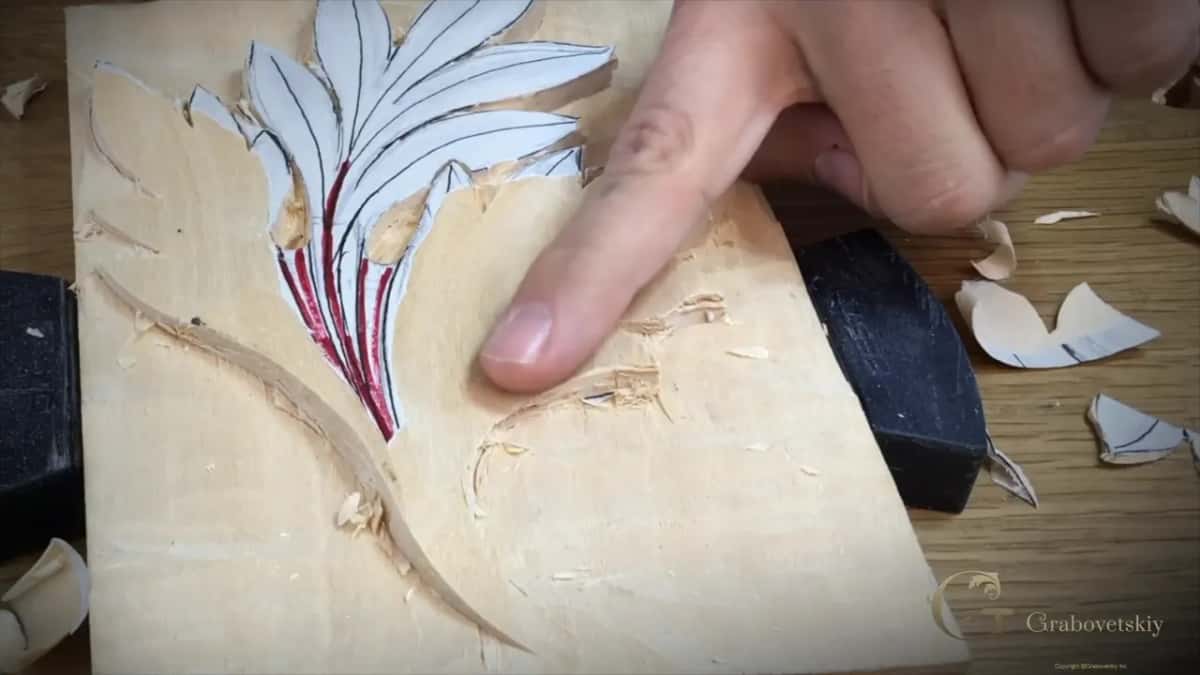
Pipes carry the light. A pipe is the rolled, tube shaped passage beside an eye, and I mark mine in red so I cannot cut them away by accident while the big gouge is moving.
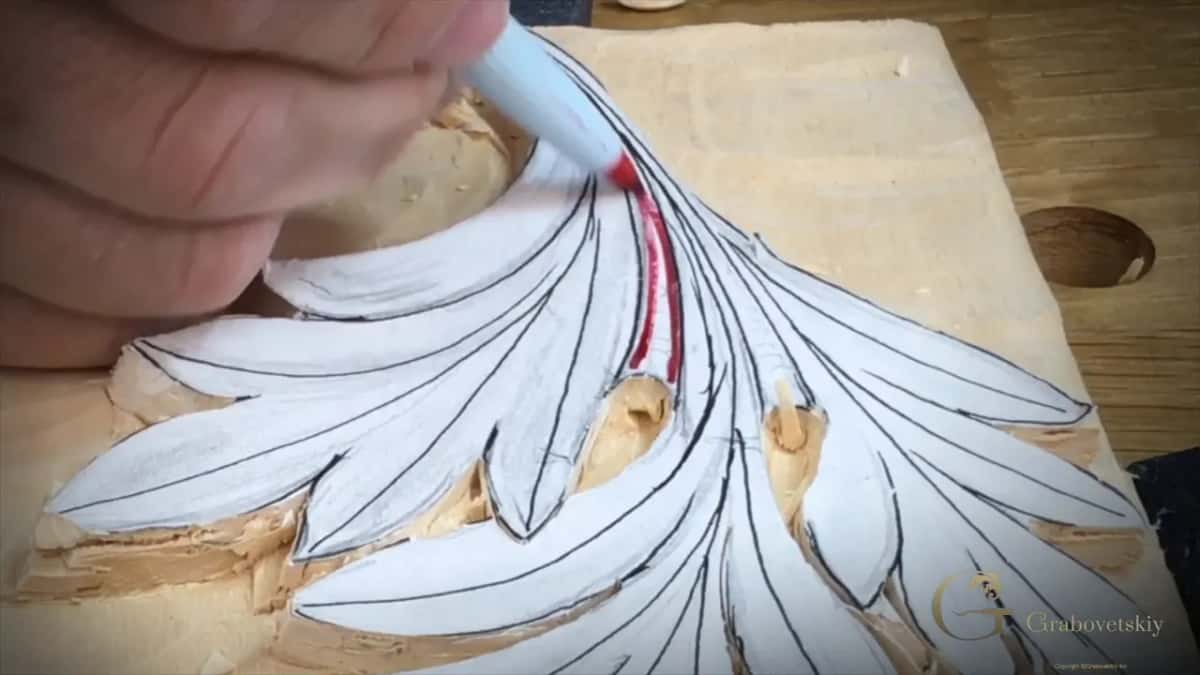
Those pipes sit at almost the same height as the original board surface. So do the ridges that divide one lobe from the next. Everything else falls away below them, and the gap between high and low is what makes shadow later.
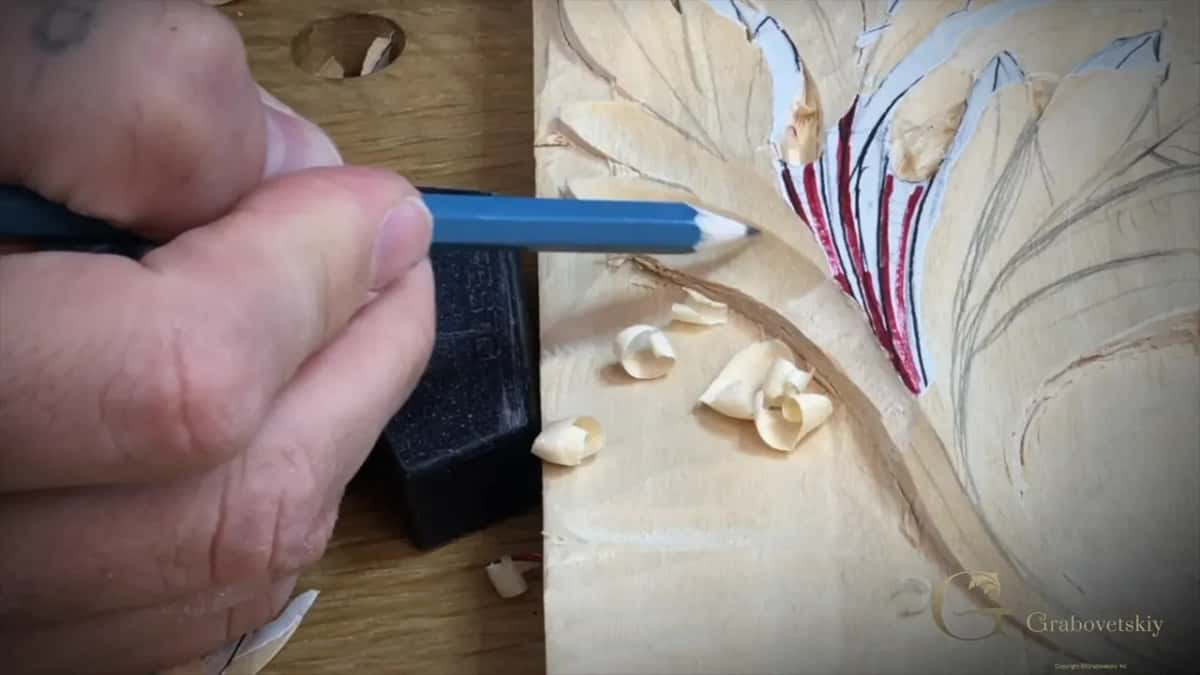
Inside each lobe I take a concave scoop, hollow in the middle, with the edges left proud. Held to the light the leaf then reads as a series of raised spines with valleys between, which is exactly what a real leaf does.
Which gouges are on the bench for this stage?
Five tools cover it, and three of them do almost everything. A small number 9 opens the eyes. A wider number 9, around 20 mm or three quarters of an inch, takes the first concave scoop out of each lobe.
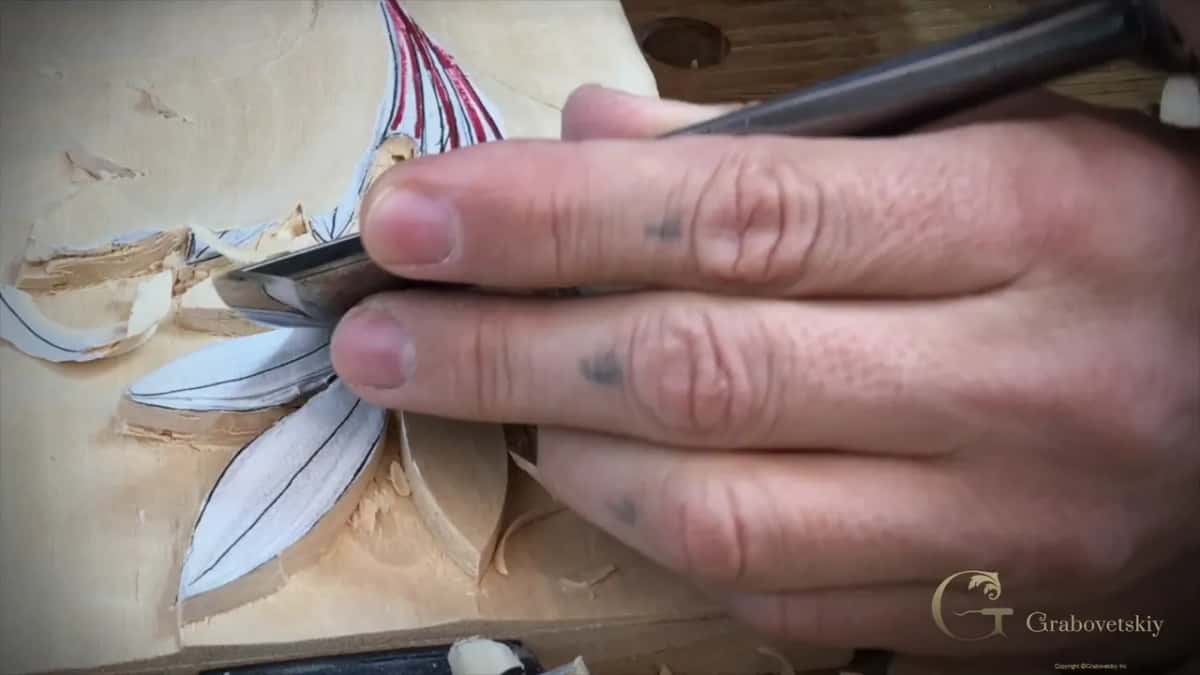
My number 3 at 16 mm cleans the flat middle of an eye once the 9 has been through. The 12 handles outlines. And the big 7 moves the bulk.
Look at that list again and notice what is missing. Chisels and riffler files stay in the rack for now, and so does every veiner. This stage is about mass and direction, and mass comes off fastest under a few well chosen sweeps. My tools course goes through the whole rack if you want the wider picture.
Why does one side of a gouge cut come out rough?
Grain direction decides it. Any gouge cut has a clean wall and a ragged one, and which is which depends on the way the fibers happen to run underneath, not on your skill or your sharpening.
Turn the work around and cut the ragged wall from the other direction. The roughness disappears. I rotate the piece constantly for this reason, and clamps that hold from any angle make the difference between a two second turn and a chore.
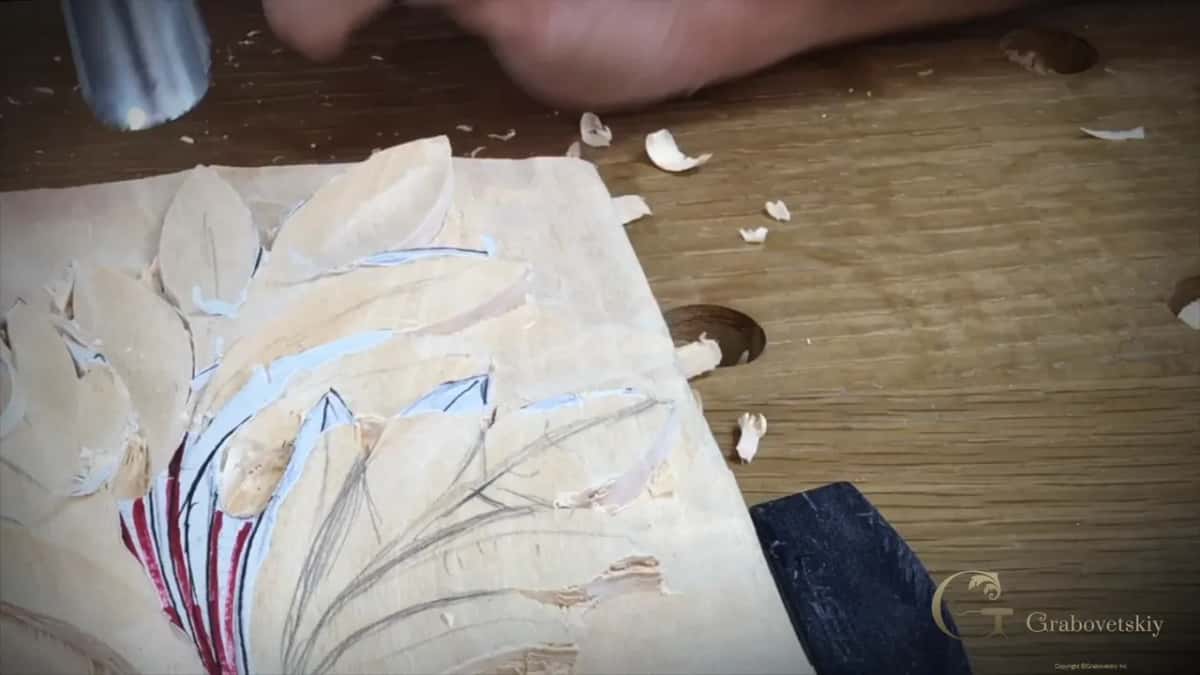
One more thing about the grain. Never just push the tool forward. Rotate the handle as it travels, slicing rather than shoving, and the fibers get severed instead of torn. Listen. Your ear tells you when this is going right long before your eye does.
Is it ever safe to carve toward yourself?
Normally no, and the rule exists for a good reason, which is that a blade coming at your body with nothing to stop it will find your hand eventually. Rotating the work is nearly always the better answer.
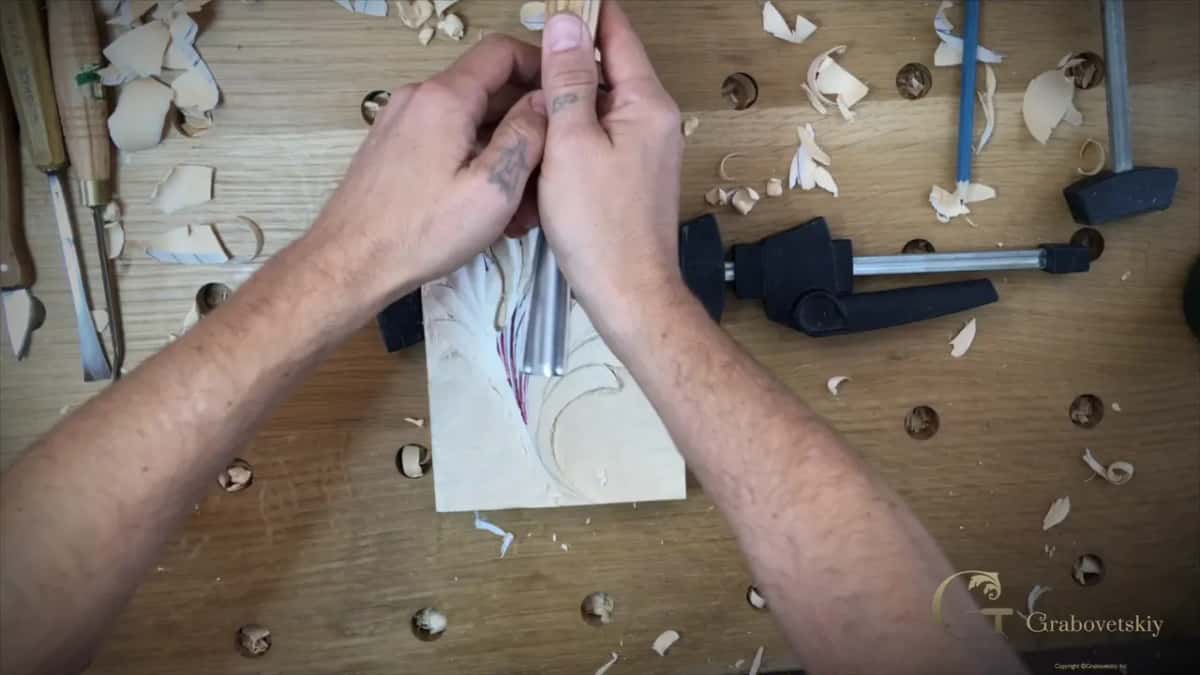
On a large panel you cannot always rotate. I learned the way around this from a student at the Marc Adams School of Woodworking, who is also a student of mine, and who works as a dentist. Dentists spend their lives cutting toward things that matter.
He locks his elbows down onto the bench. His hands are no longer floating, so the travel of the tool is limited by his own arms, and it stops exactly where he decides. Small cuts only.
Try it on a short pass before trusting it with anything larger. The movement is cramped on purpose. Long sweeping cuts toward your body remain a bad idea whatever your elbows happen to be doing.
Does the same basswood always behave the same way?
Not even close. Two boards from the same species, the same yard and the same week can cut completely differently, and that surprise catches experienced carvers as readily as new ones.
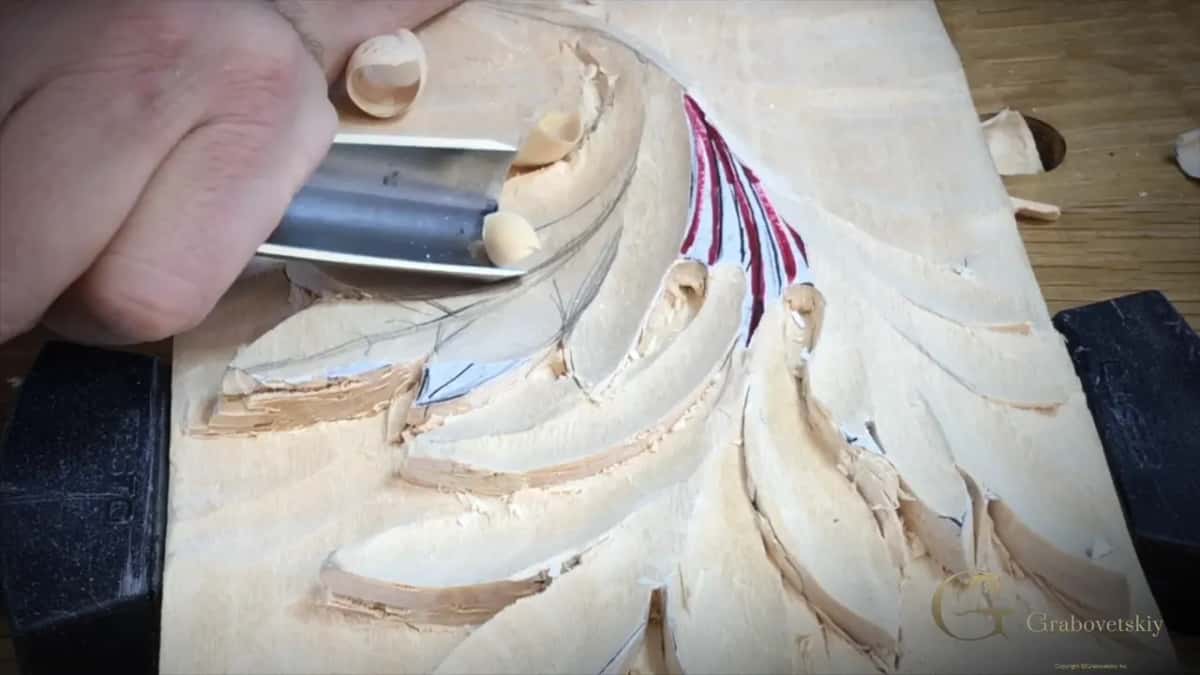
Every tree has its own history. Where it grew, how fast, how near the water, what weather it lived through. All of it ends up in the fiber, and you meet it the first time your edge goes in.
So I do not arrive at a new board with expectations. I take a test cut, listen, feel the resistance, and let the wood tell me how hard to push. That habit has saved me more material than any technique.
Patience is the actual skill being trained at this stage, more than any grip or angle. There is always a pull to get it finished today, and that pull is where the mistakes live.
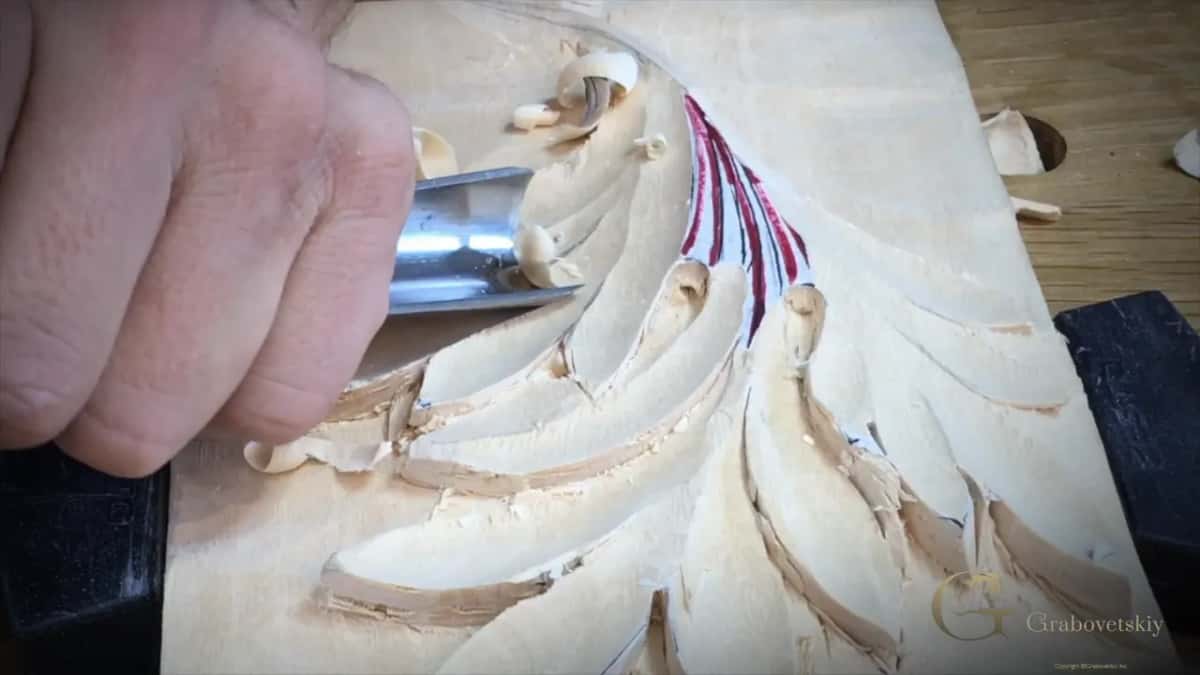
By the end of this stage your leaf still looks rough, and it should. The edges are ragged, the ground is not down to its final depth, and none of that matters yet. The movement is in, and movement is what you came for.
The next stage takes a smaller number 9 through the same hollows to put a second ridge inside every lobe, and after that comes the undercutting that makes the whole thing float above its ground. If you want the full set of workshops, the school opens all of them.
How it's done
- Open the eyes first. Start each eye with a small number 9, working in from the sides rather than straight down, then drive one mallet cut to full depth.
- Relieve before you outline. Hollow waste out of the inside first. Whatever is left on the waste side then gives way, and the wall you are keeping stays crisp.
- Cut the outline. Follow the drawn line with a Pfeil 12, or stamp in a sweep that happens to fit. Stay off the line itself on a first pass.
- Take the slopes down. Run the broad 7 downhill from the high points, working with the grain, until the main movement of the leaf is visible.
- Redraw the divisions. Put the spine and every lobe division back on the roughed wood in pencil before any further shaping.
- Hollow each lobe. Scoop concave between the divisions with a number 9, leaving the ridges and pipes standing at the original surface height.
Frequently asked questions
Must the eyes go in before roughing starts?
Doing them early keeps your landmarks where you drew them. Once a big gouge starts lowering the surface, the paper pattern and its pencil marks go with the chips, and an eye that has shifted even slightly pulls every lobe out of line with it.
What size gouge roughs a deep relief fastest?
Wider than most carvers expect. Sixty millimeters of number 7 takes a whole slope down in a single pass, and its corner still reaches small passages, so one tool covers both scales. Fewer passes also mean fewer chances to stray off a drawn line.
Can a carving knife replace setting in with gouges?
On soft timber, yes for much of the outline. A knife blade follows any curve you have drawn, which saves hunting through a rack for a sweep that fits. Harder wood fights the knife, and there a gouge stamped into the line is more reliable.
What to carve next