
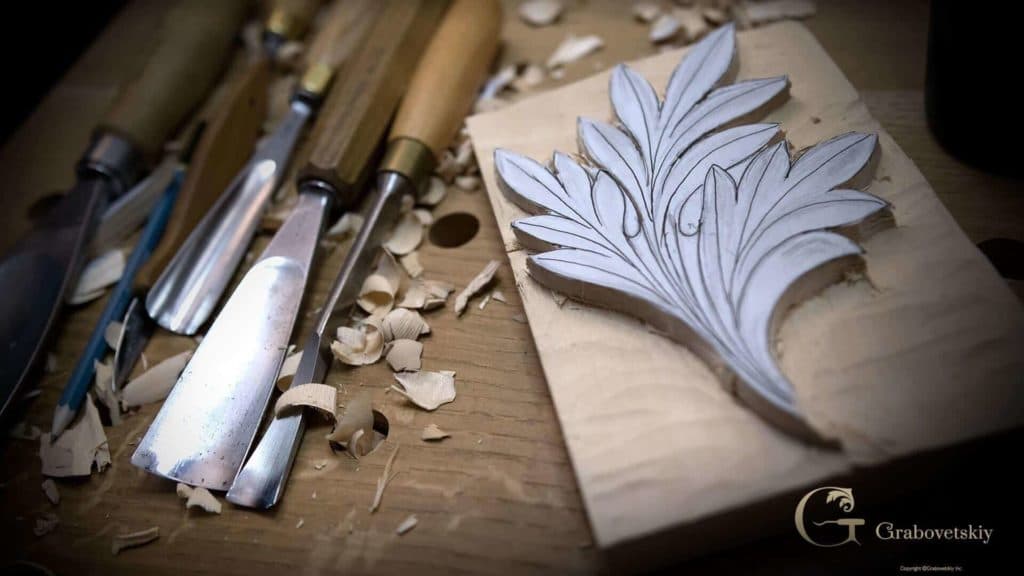
Alexander Grabovetskiy, woodcarver, School of Woodcarving · Published 2017
How do you set in a relief carving?
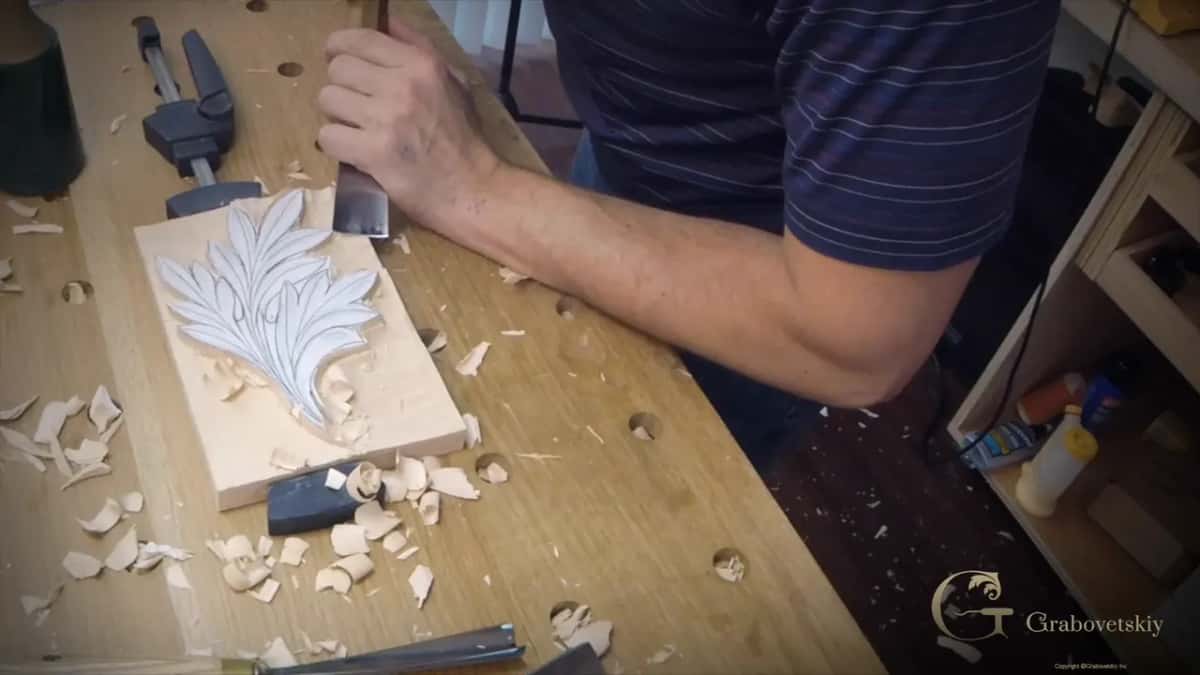
Quick answer: Setting in fixes the outline into the wood before anything gets shaped. Three openings all work: a V tool round the shape, a deeper gouge doing the same trip, or the background cleared first and the shape cut afterwards. Each roughing cut stops a sixteenth short of the drawn line.
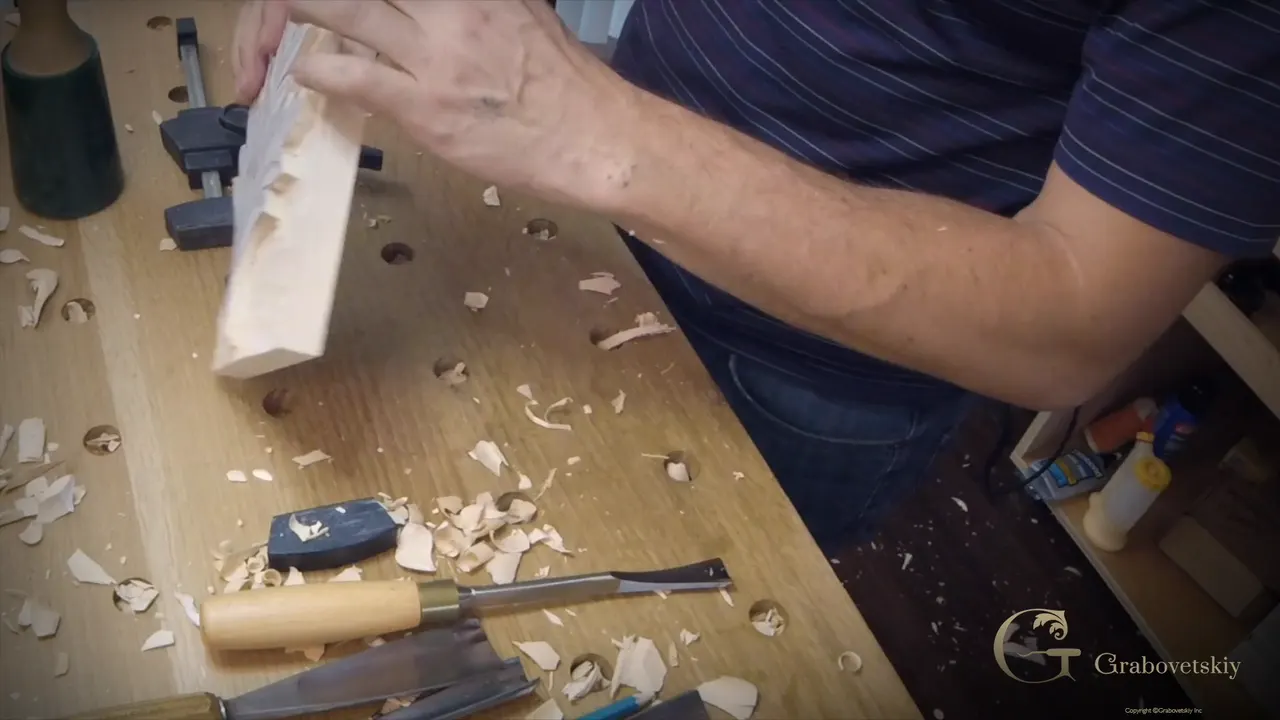
Three starts are available here and all of them are correct. A V tool round the shape, a deeper gouge doing the same trip, or the background taken down first with something big. Whichever you choose, stay a sixteenth above the drawn line until the very last cut.
Glued a drawing down and then frozen, because every book shows a different first cut? Outlined straight onto the line and watched the edge crumble? There is no single right opening here, and knowing that is worth more than memorising one.
Key takeaways
- Spray glue on both faces, left until it stops feeling tacky.
- Depth of roughly twelve millimetres in thick stock, a quarter inch in thin.
- Three correct openings. Pick one and commit to it.
- Stay a sixteenth clear of the line while roughing out.
- Rotate or slice the gouge. Never push it straight through.
- One tool, a 5 at 35 millimetres, cut nearly every curve here.
How do you set in a relief carving?
You establish the outline before anything else is shaped. Setting in is the stage where the main picture gets fixed into the wood, and everything afterwards is refinement of what you decide here.

First way: a V tool. Run it round the whole design staying somewhere between an eighth and three sixteenths of an inch outside the drawn line, and you have the shape marked without touching it.
Second way: the same trip with a deeper gouge. Number nine does it perfectly well, and since a deep relief means excavating a great deal of timber anyway, the extra depth is no loss.
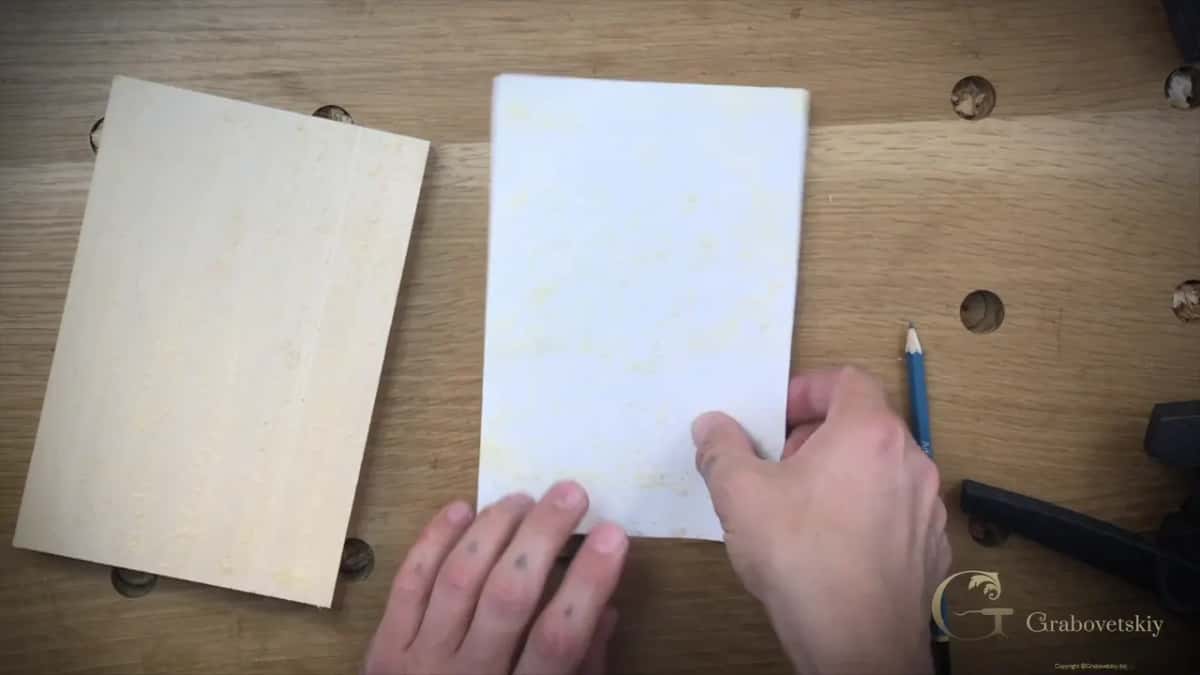
Third way: take the ground down first. A big gouge clears the background almost to the line before any outlining happens, and the outline then gets cut into a surface that is already close to its final level.
None of these is more correct than the others. I use all three depending on the piece, and the only rule they share is the one that matters, which is that none of them goes anywhere near the drawn line on a first pass.
Order of the three is worth thinking about rather than picking at random. Outlining first protects the drawing while the rough work happens, which suits a design with fine points on it. Clearing the ground first gets the heavy labour behind you while your arm is fresh, which suits a deep panel like this one.
What you must not do is alternate. Half outlined and half excavated leaves you with no consistent reference anywhere on the piece, and the depth starts drifting between one area and the next without anything obvious to measure against.
What glue holds the drawing to the block?
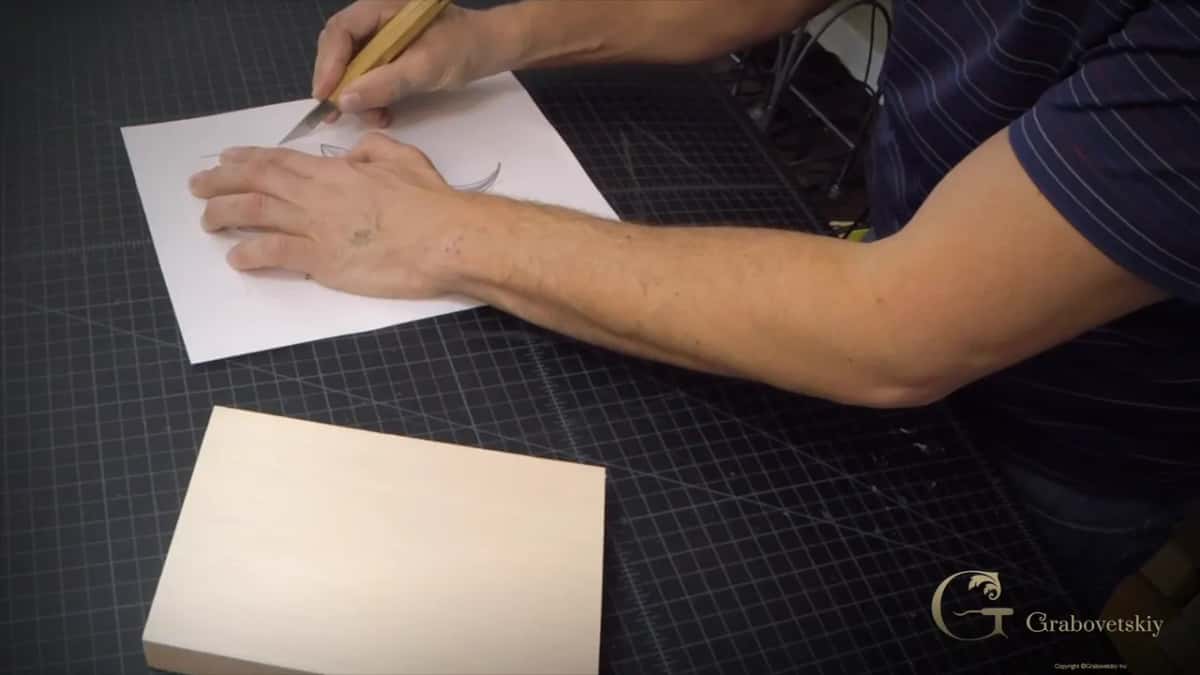
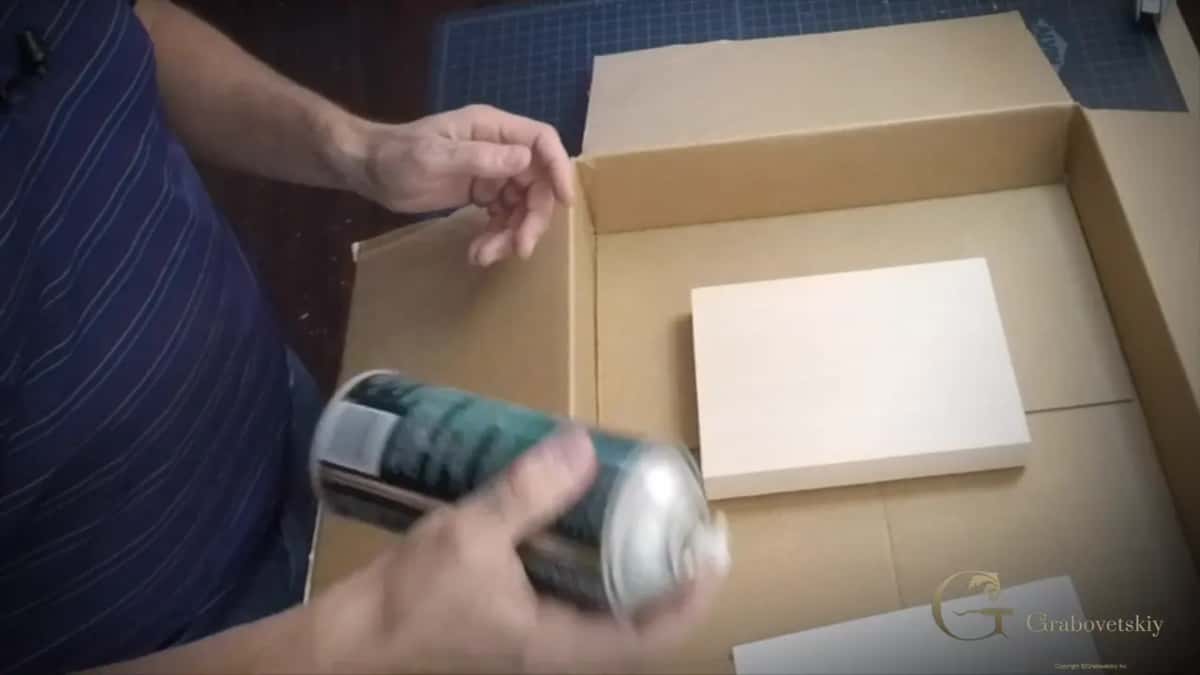
Spray glue, and almost any of it works. Photo mount does the job, and what I had on the bench that day was a can of 3M 90, which is nothing special and entirely adequate.
Both surfaces get sprayed. The face of the block and the back of the paper, which is how a spray adhesive is meant to be used and which most people skip because one side feels like enough.
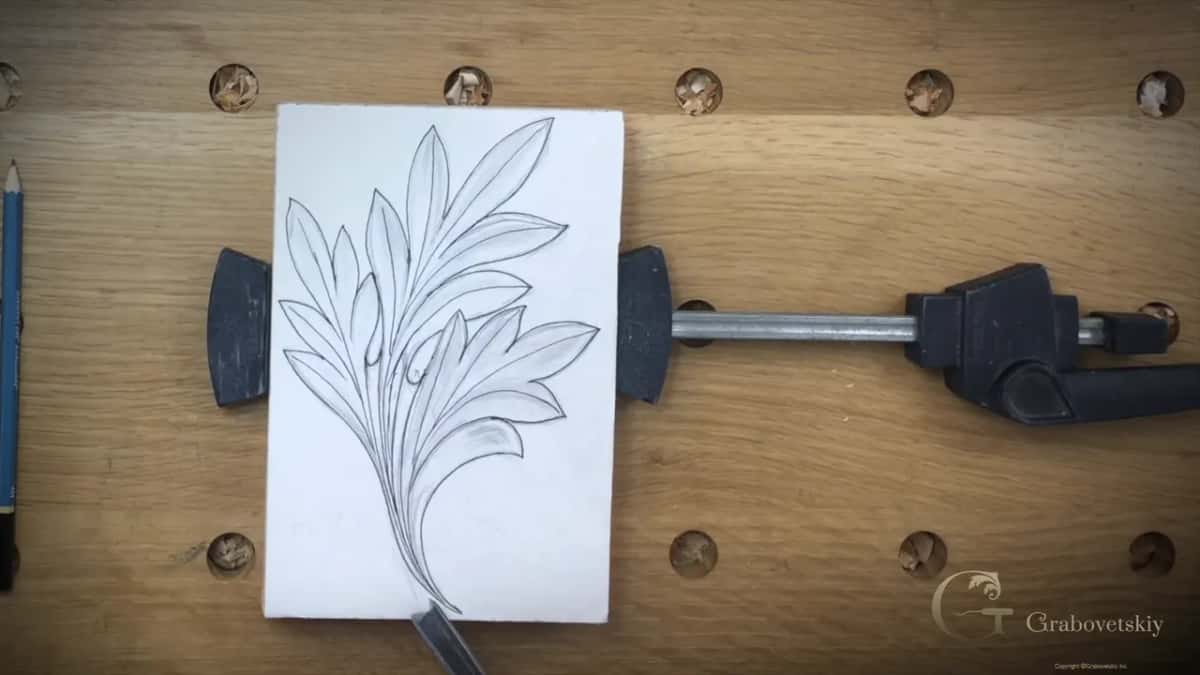
Then you wait. A couple of minutes, until pressing a finger to the glue no longer leaves it tacky, and only then does the paper go down.
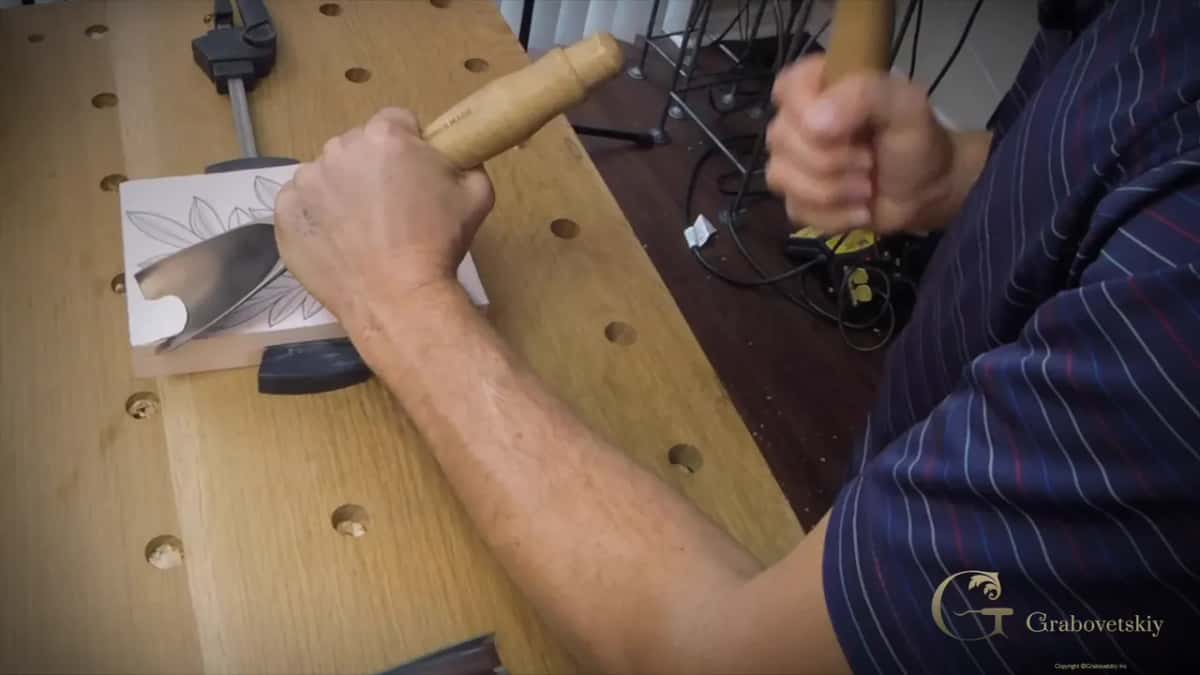
Laying it is the careful part. Once that paper touches it has effectively chosen its position, so line it up before it makes contact rather than trying to slide it afterwards.
| The step | What the tool is doing | How far from the line | What happens if you take this cut right up to the drawing instead |
|---|---|---|---|
| Rough ground | Big gouge clearing the background fast | A sixteenth short | You cut into the outline before the outline has been established anywhere |
| Outlining | V tool or a number nine going round the whole design, which is the cut most people call setting in | Three sixteenths out | The edge crumbles away under the tool |
| Relief cutting, exactly the same idea as the pass before it | Same tool, same trip | An eighth of an inch out from it | Nothing has been relieved, so the true line cut has to fight solid timber on both of its sides |
| The true line, cut straight down with a gouge that matches the curve | The 35 millimetre five | Right on it | Nothing, provided everything above was kept back |
| Cleaning up afterwards | Smaller tools once the rough work is behind you | Right up to the line itself | Tool marks left in a background that will be looked at in raking light |
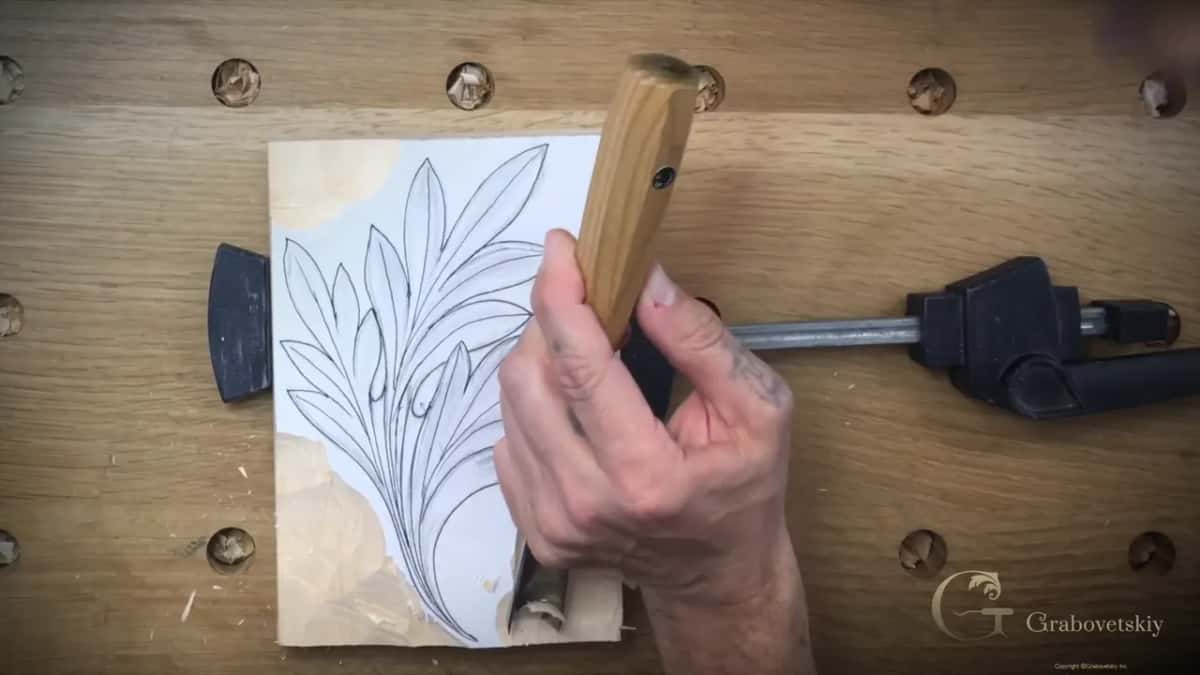
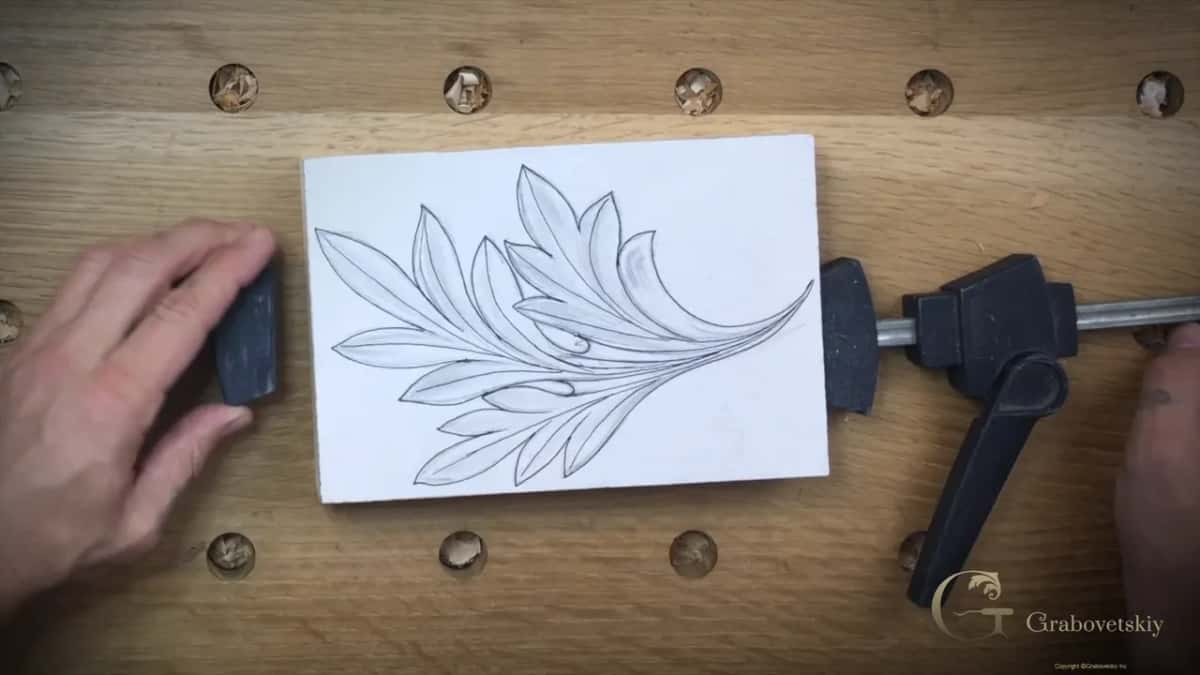
Paper does more than carry the drawing, incidentally. It is a depth gauge for the whole first stage: while white still shows along an edge, you have not cut into that line, and the moment it disappears you have. Nothing else on the bench tells you that as plainly.
Most of it carves away within the hour anyway. That is why the glue choice hardly matters, and why nobody should spend money on anything special for a layer of paper destined to become shavings.
How deep should a deep relief go?
Roughly twelve millimetres down on a thick block. My stock here runs about an inch and an eighth, so taking that much out leaves plenty underneath and gives the leaf real room to sit above its ground.
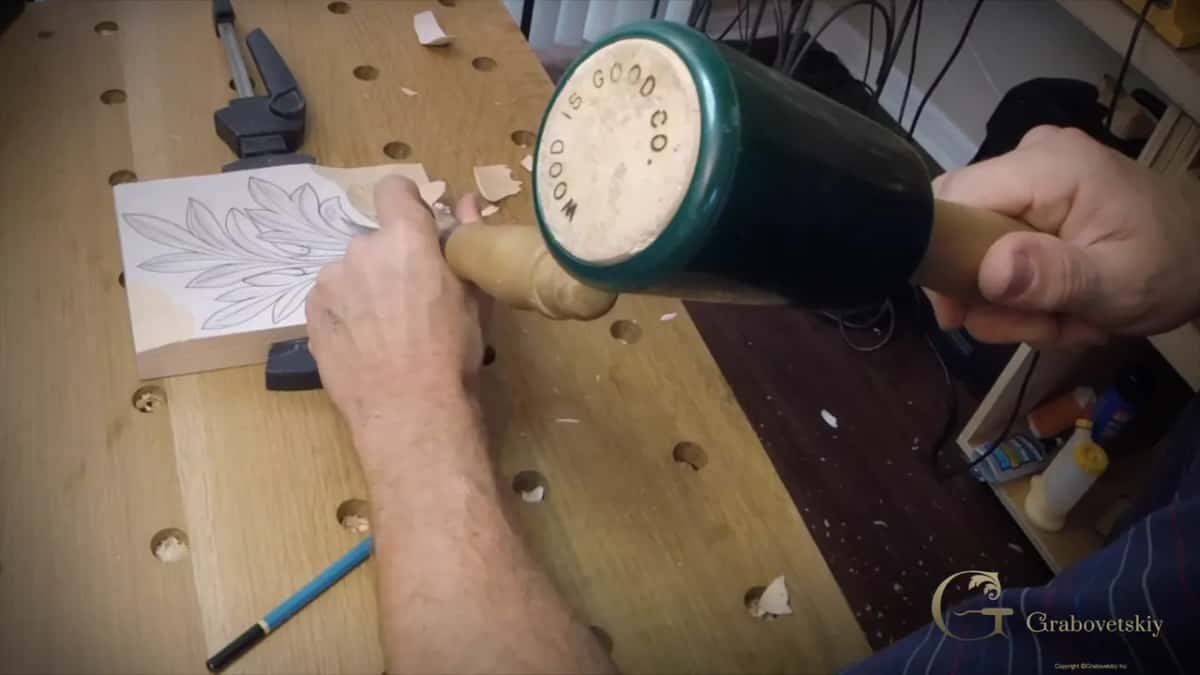
Thinner stock scales down. Working on three quarter inch material, or twenty millimetres, or nineteen, leave about a quarter inch at the back and take the rest.
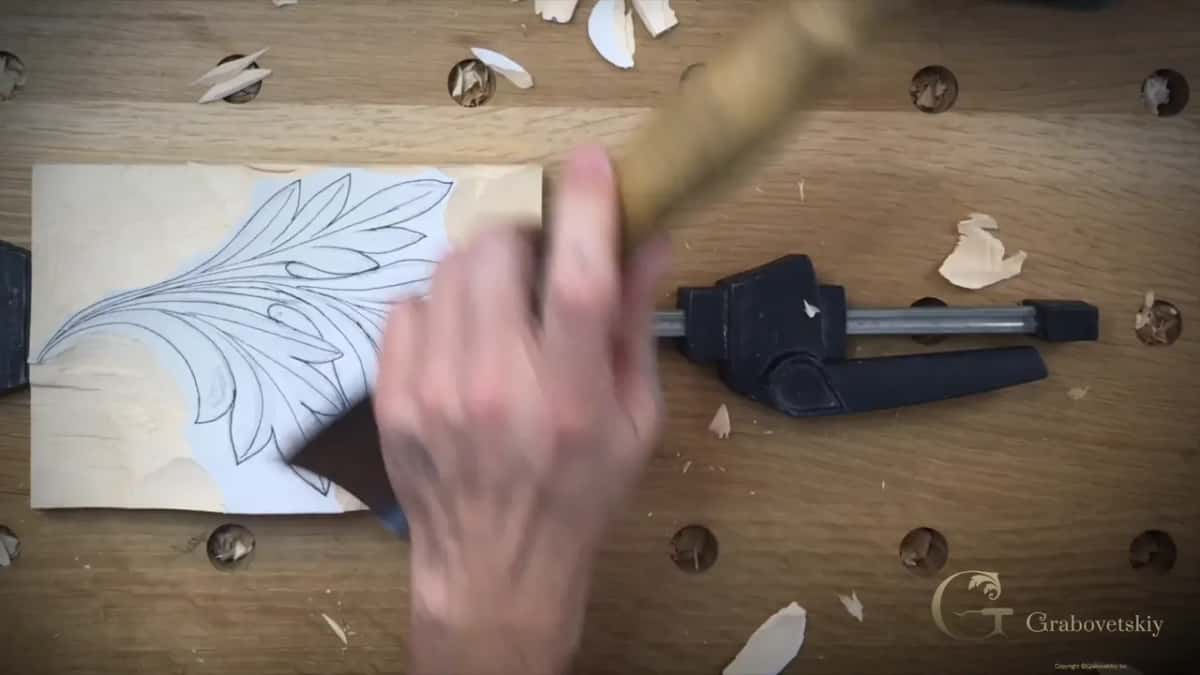
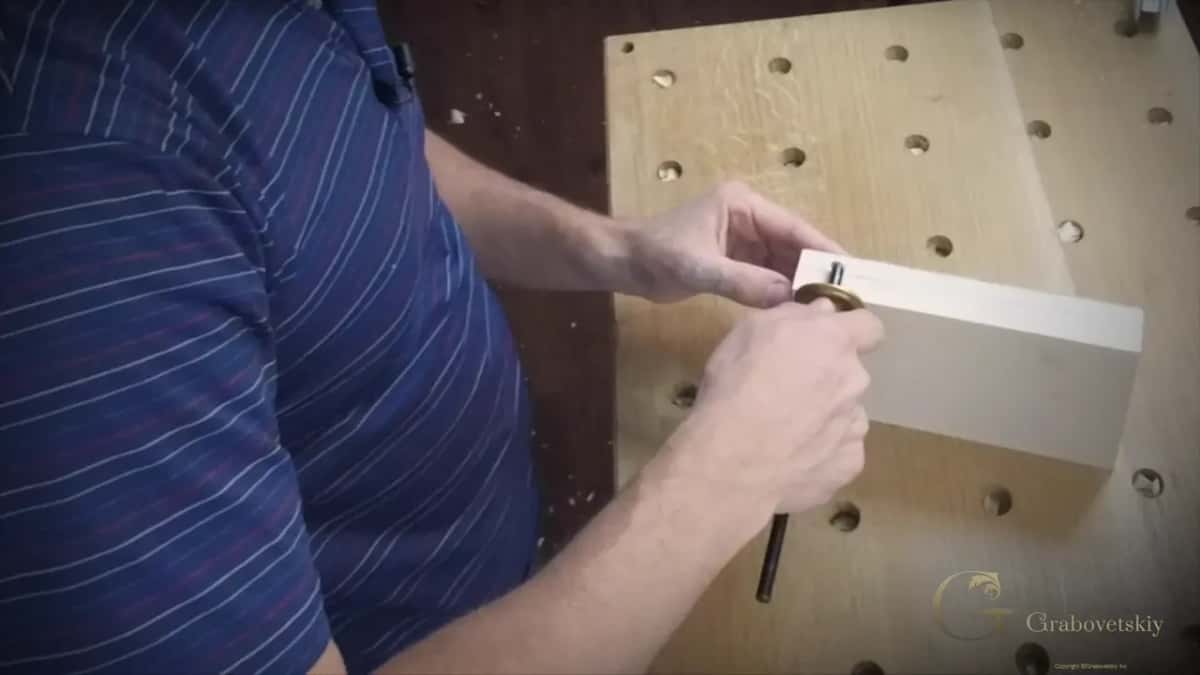
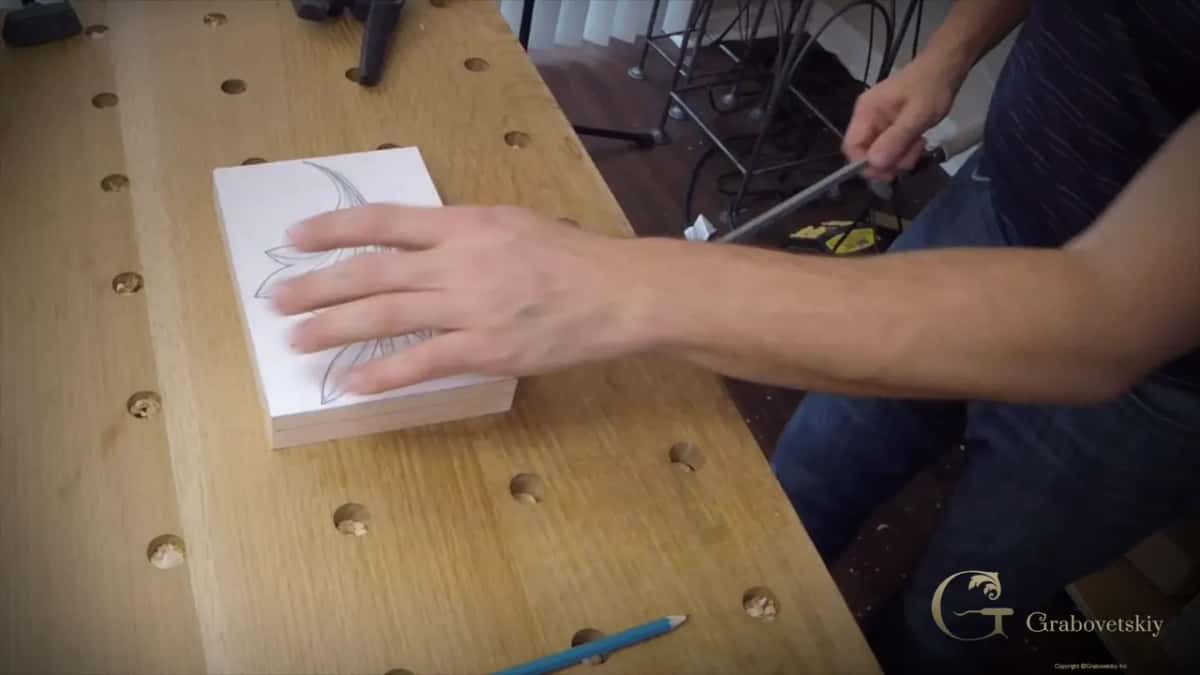
Marking that depth takes one of two methods. A finger run along the face as a guide with a pencil held at the mark, or a marking gauge set once and carried round all four sides of the block.
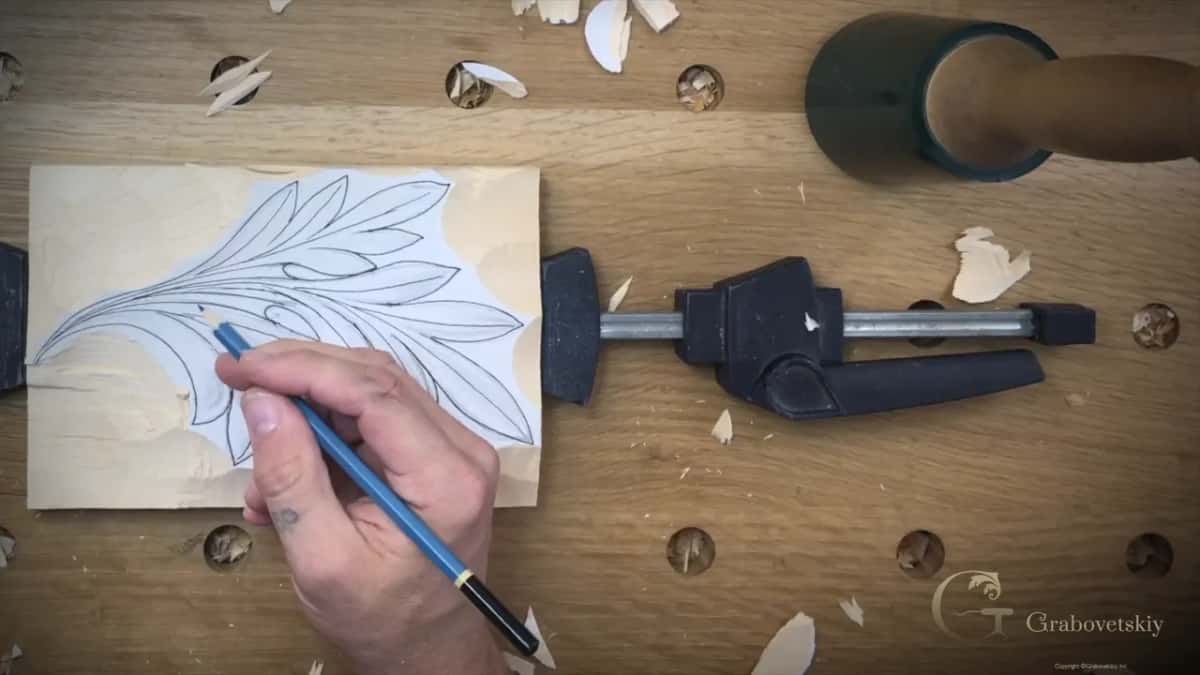
Holding comes next. Ordinary clamps will hold a block to a bench perfectly well, and I use Festool clamps because the holes in my bench take them anywhere the work happens to sit.
Depth also decides how the leaf can overlap itself. That much depth gives room for one section to pass genuinely behind another, with real shadow in the gap, and that overlap is most of what separates a carving from a drawing in wood.
Shallow work has to fake the same effect. You can suggest depth with line and shading on a quarter inch board, and it reads well enough from directly in front, but move to one side and the illusion goes.
Why stay back from the line?
Look at what wood does under a blade. Push a tool into solid timber and the fibres have nowhere to go, so they compress and split rather than cut, and the split runs wherever the grain sends it.
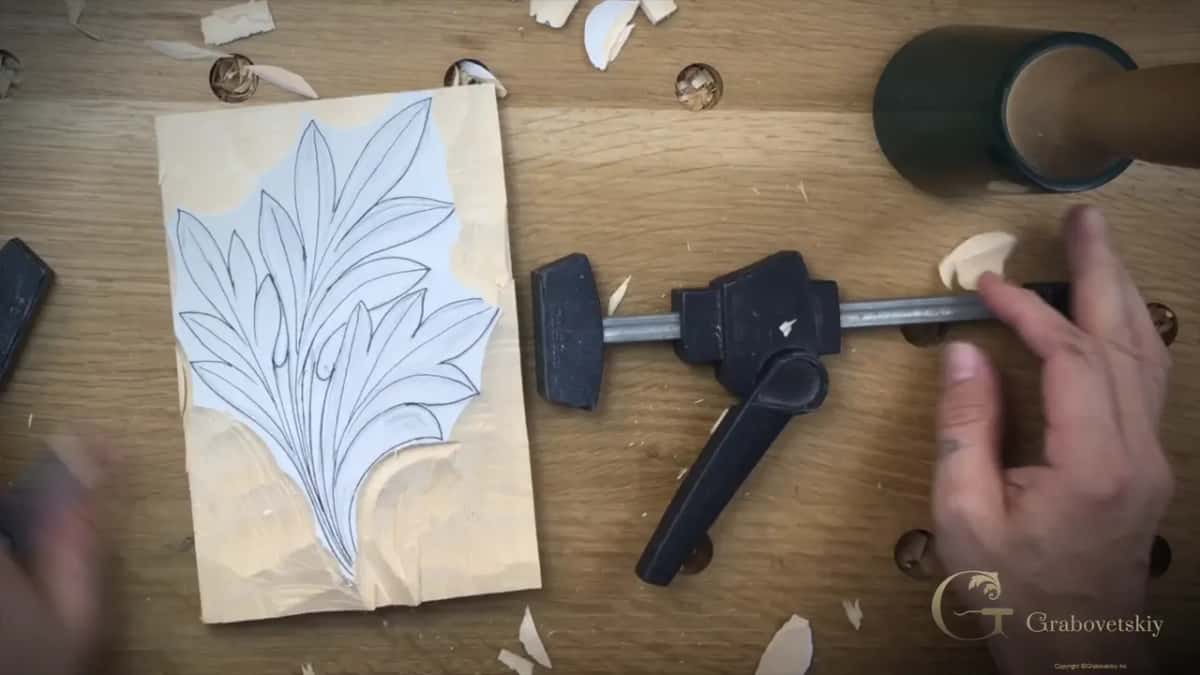
An outlining cut relieves that. It is a relief cut in the literal sense, taking the stress out of the wood beside the line, so that when the real cut goes down it meets timber with somewhere to move.
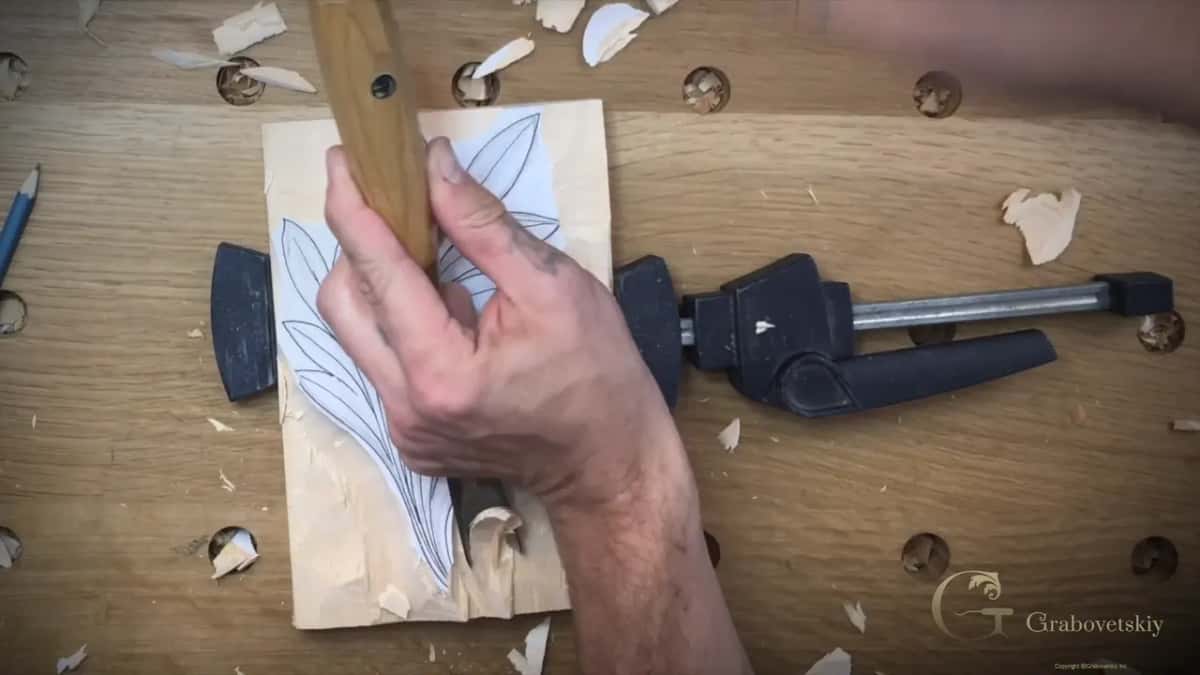
A sixteenth is the margin I work to on the rough stages. Close enough that little is wasted, far enough that a slip costs nothing, and if you do drop below the line the piece is simply carved a shade deeper than planned.
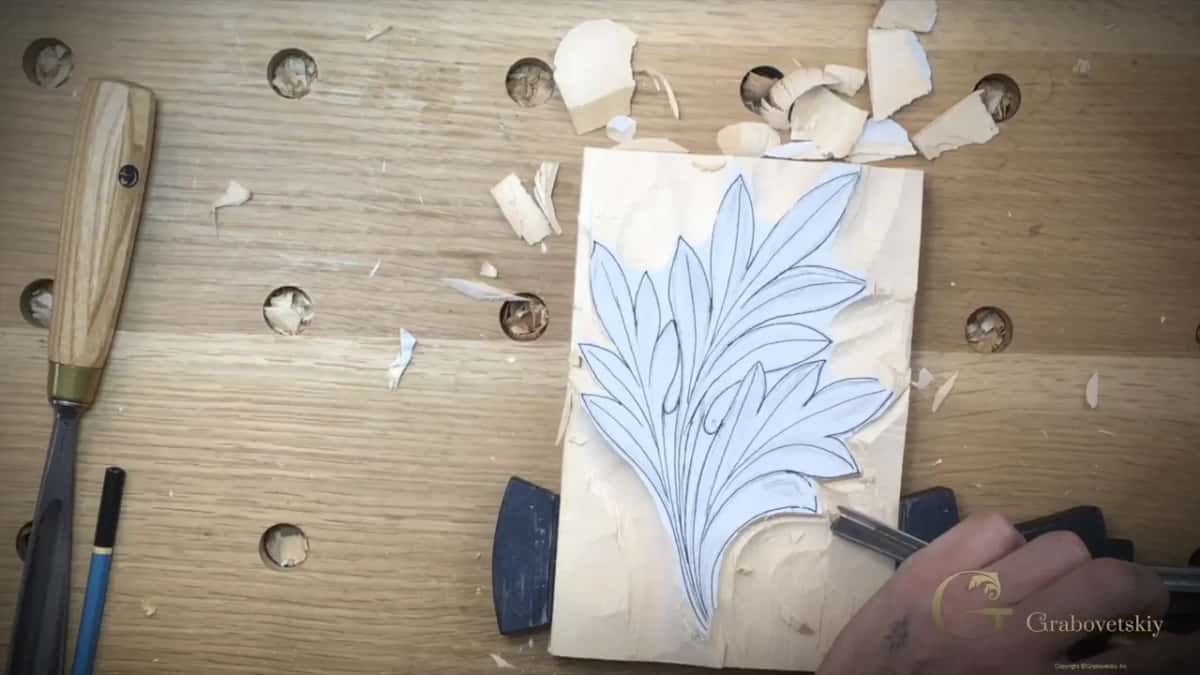
Breaks at this stage are not disasters either. A small piece came away while I was outlining and it made no difference, because that whole area was about to go downhill anyway.
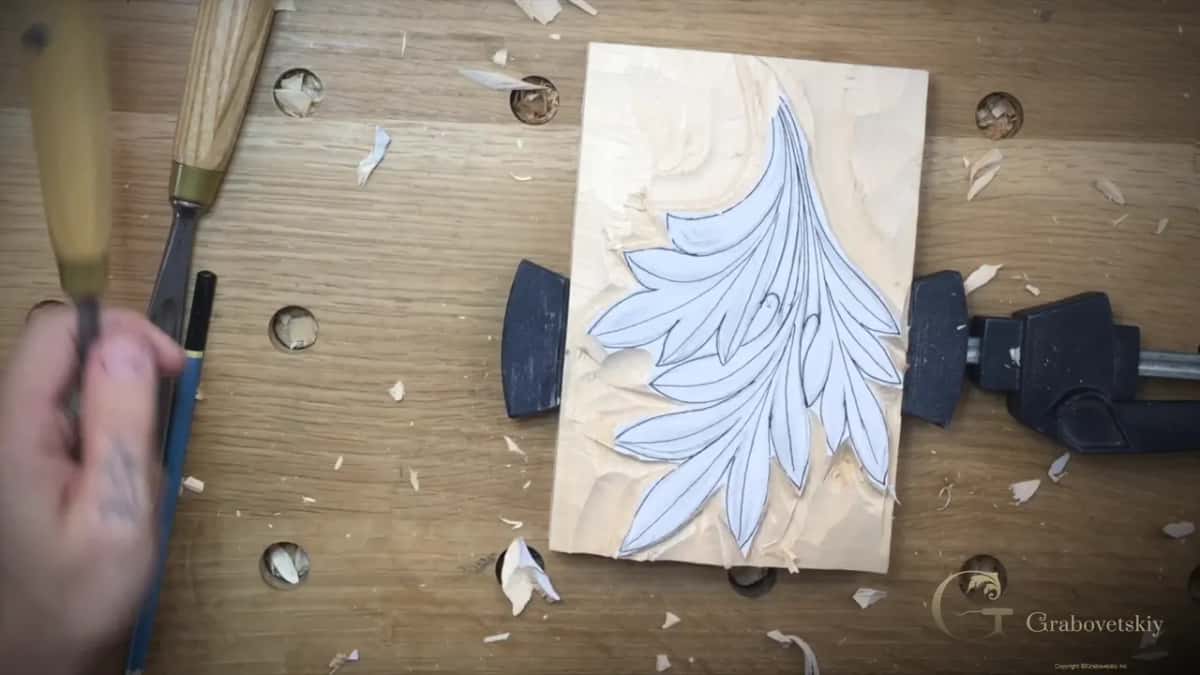
Grain direction decides how each pass goes. I cut across it where that feels safe, and work from outside inward where the shape allows, which keeps fibres supported behind the edge.
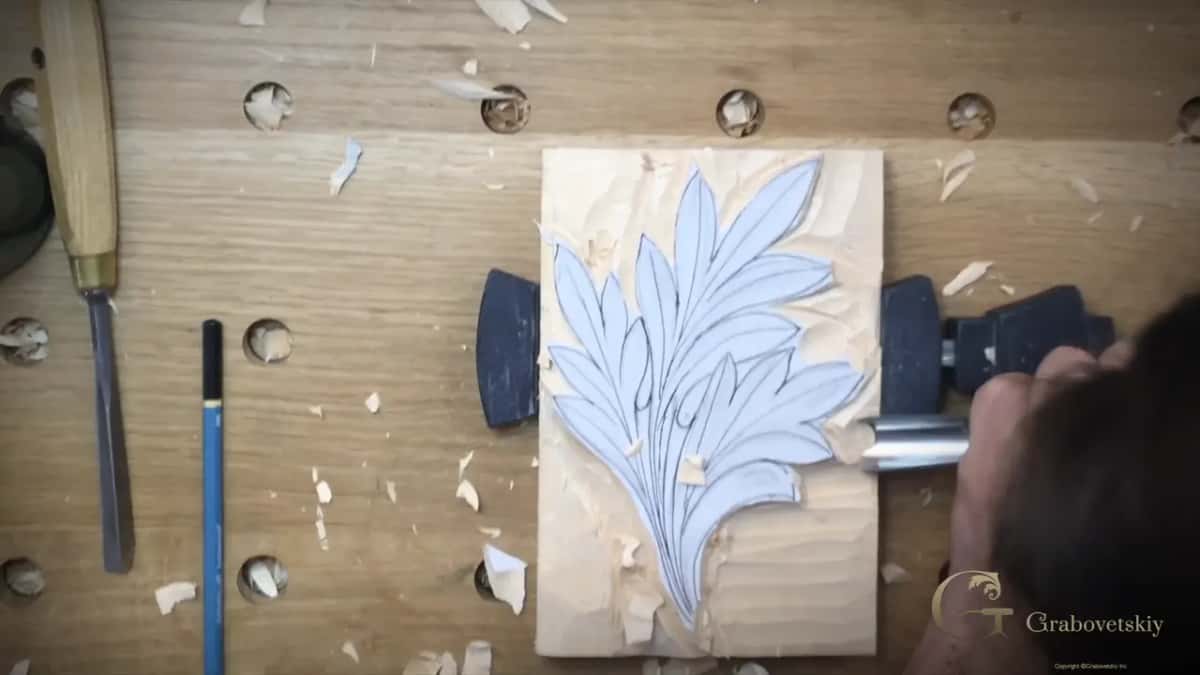
One habit governs all of it. Rotate the gouge or slice it sideways as it travels. Pushing a tool straight through wood is how beginners work and the surface reports on them immediately.
Why does this leaf get carved so deep?
Consider one properly. A capital is not a flat thing. The leaves on a real one wrap round the bell of the capital and stand well clear of it, so a carved version cut shallow reads as a picture of a capital rather than as the thing itself.
Greek builders understood this and so did everybody who copied them. Look at any surviving Corinthian column and the undercutting is aggressive, with whole sections standing free of the background, which is what makes the shadows read from ground level thirty feet below.
My block is solid basswood rather than a glued up panel, which matters more as the cuts go deeper. A glue line appearing halfway down a hollow is a permanent stripe through the middle of a shadow, and no finish hides it.
Deep relief also changes which tools earn their keep. Long bent and spoon tools come into their own once you are working below the surface, and a straight gouge that was perfect at the outline simply cannot reach.
Long and spoon bent tools are the ones that come out once the hollows get deep, and they behave rather differently enough from straight gouges that the first half hour with them feels like learning to carve again. Worth buying two and finding out early rather than meeting them halfway through a commission.
Which gouge cuts the true line?
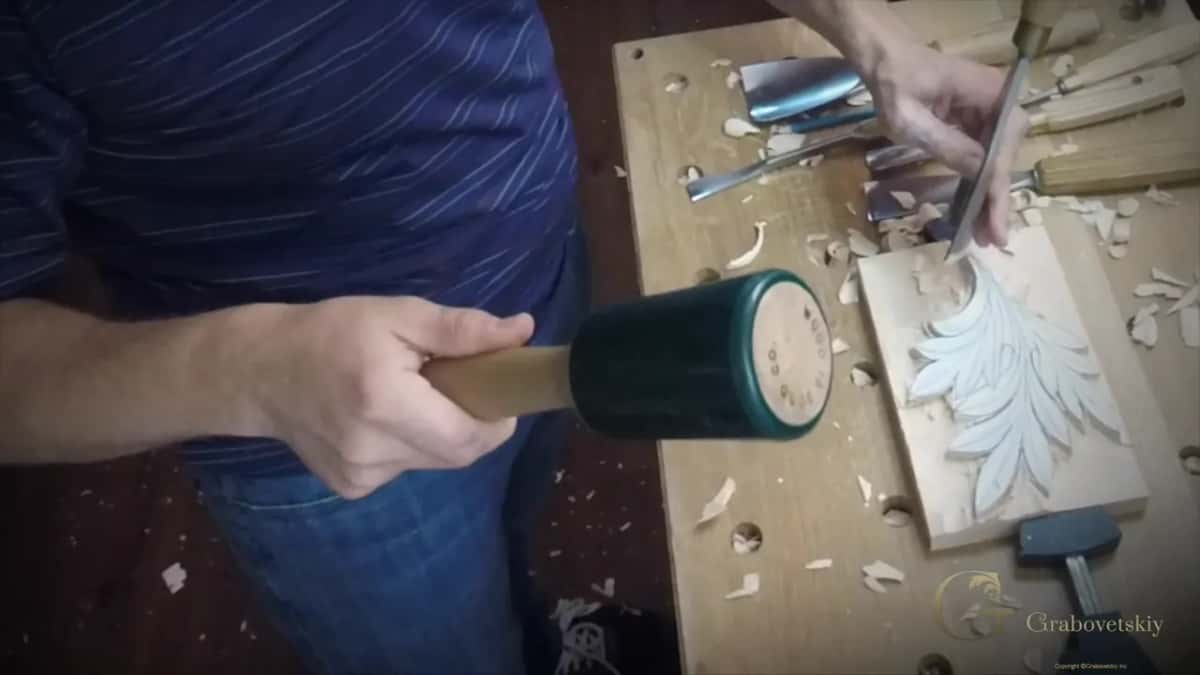
Whichever one matches the curve. Mine for most of this leaf measured 35 millimetres, a number five, stood straight down on the drawing and driven to the background in one movement.
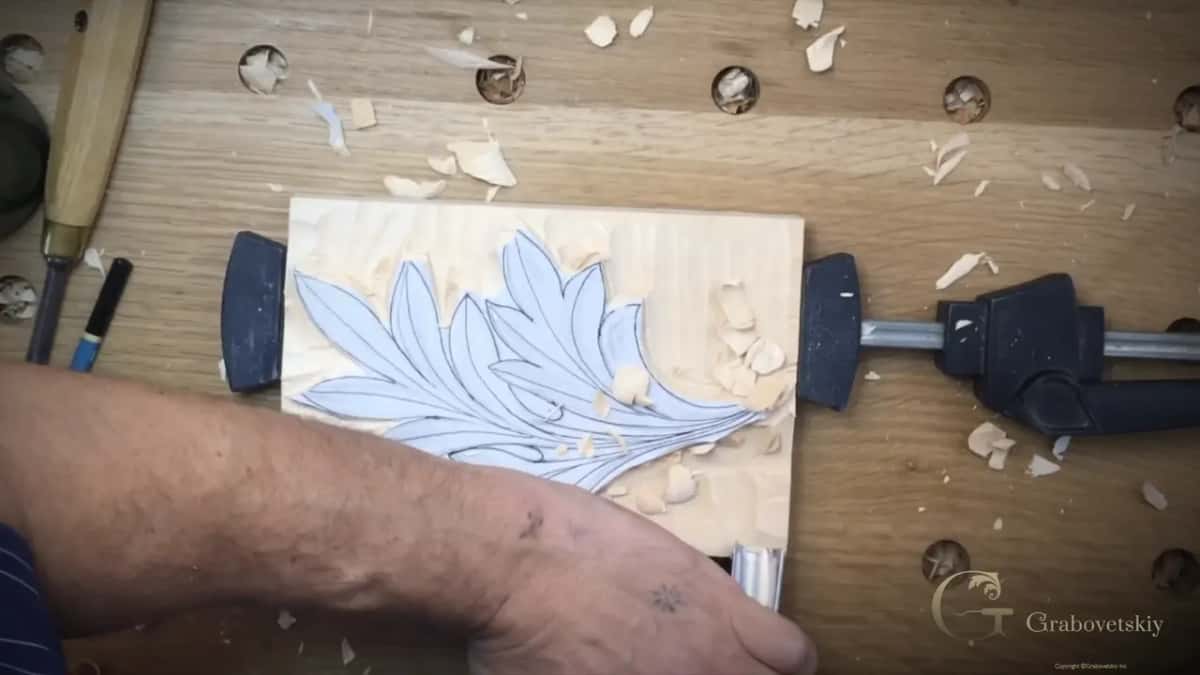
That single tool fitted nearly everywhere. Almost every curve on a Corinthian leaf turns out to suit a five, which is a quiet argument for the shape of the design as much as for the tool.
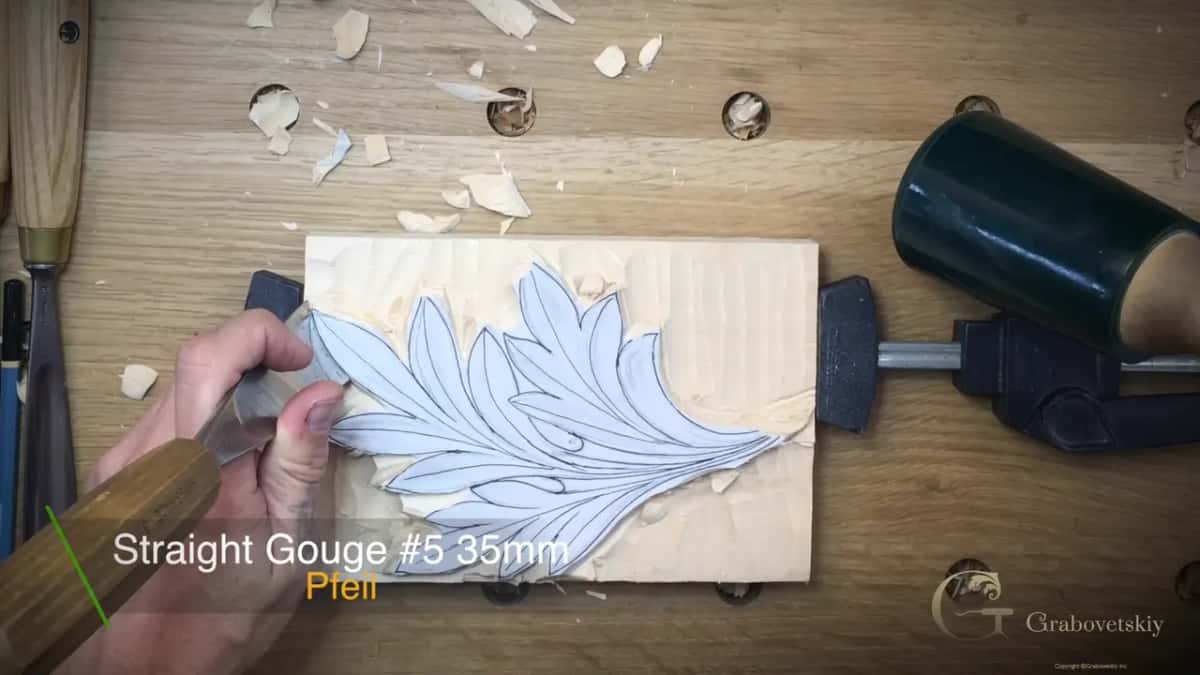
Smaller versions handle the rest. A smaller five for tighter spots, a smaller seven where the curve turns harder, and each one tried against the pencil before it goes anywhere near the wood.
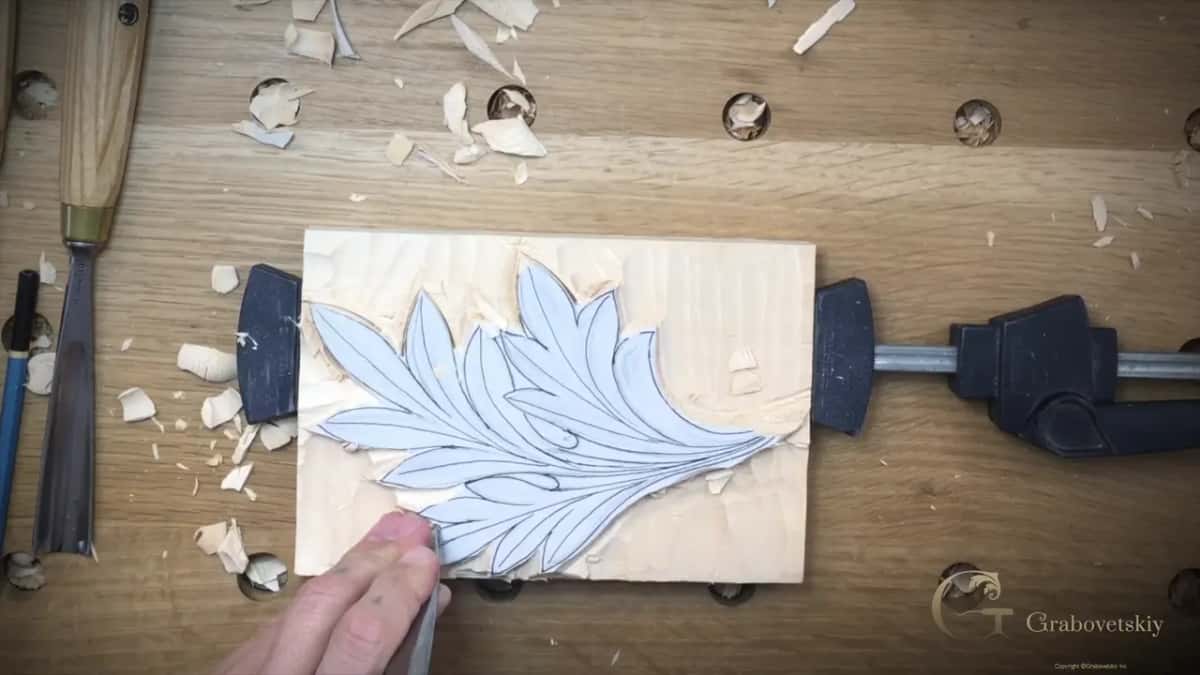
Cut straight down, then clean back to it. Once the wall exists, the same gouge takes the background closer to the line it just established, which is faster than approaching the line from the ground side.
Do you need a big gouge?
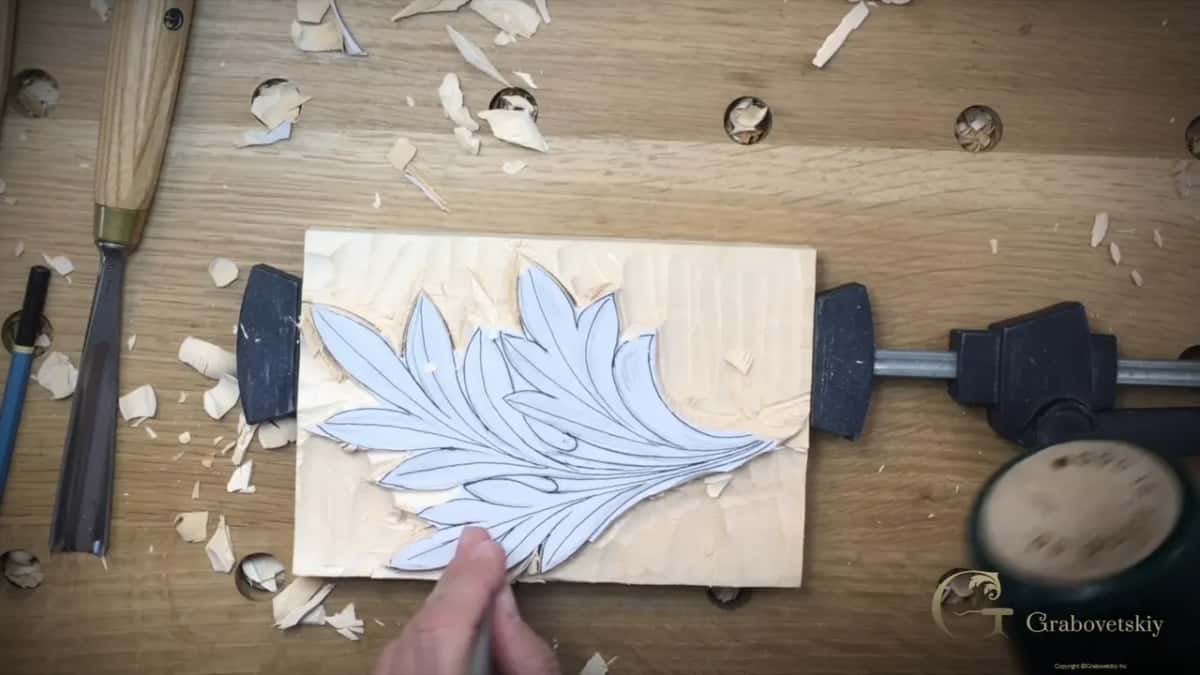
Not strictly, and I would still buy one. A large tool removes material at a rate a small one cannot approach, and on a leaf where that much ground has to disappear the difference is measured in whole afternoons.
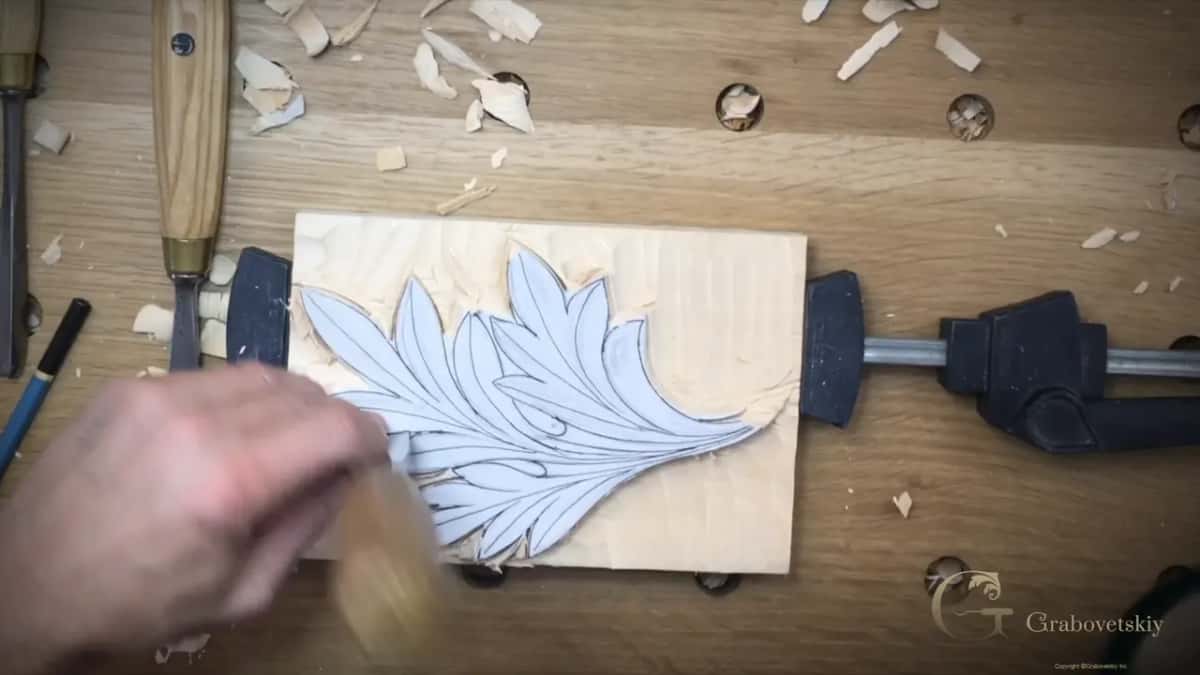
There is a second advantage people miss. One corner of a big gouge cuts small details perfectly well, so a large tool covers more range than its width suggests, and that is the privilege of owning one.
Own at least one, then. Whatever else is in your rack, a single genuinely big gouge changes how a deep relief feels, and it is the tool most carvers put off buying for far too long.
What if no gouge fits the curve?
A knife does the same work. Follow the line with a carving knife and you arrive at exactly the same outline, quickly, which is worth knowing on a curve nothing in the rack matches.
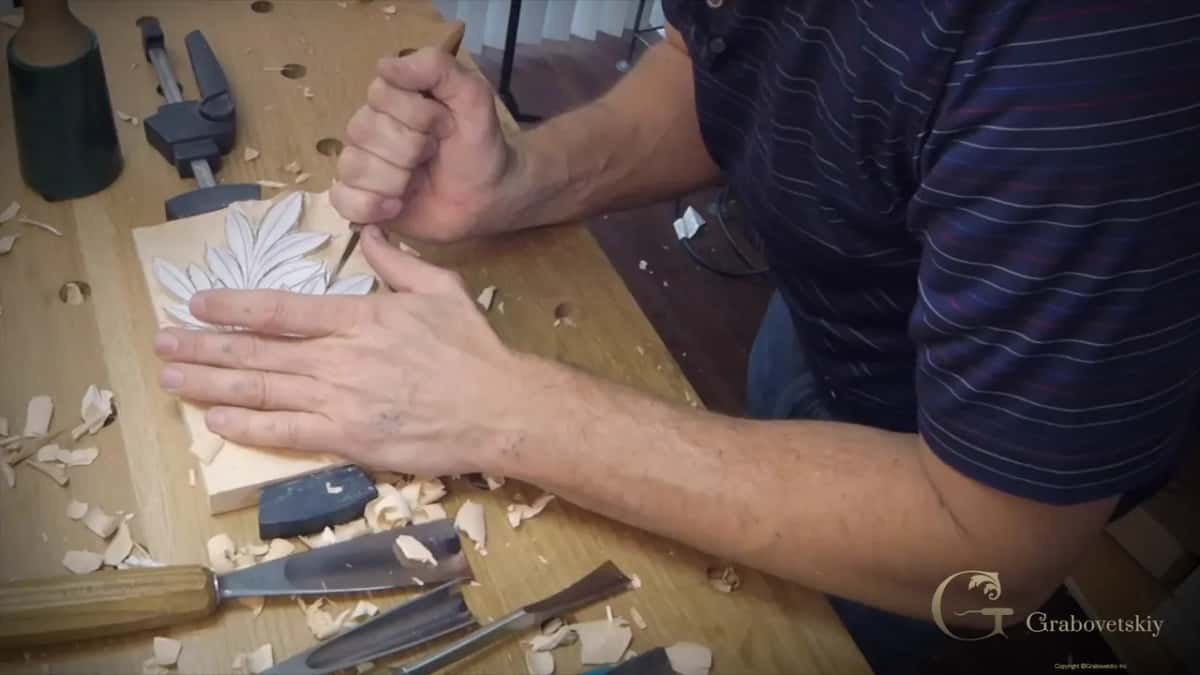
Cheap is the wrong word for it, though I use it. The knives that do this cost very little and behave beautifully, so calling one cheap undersells a tool that has never once let me down.
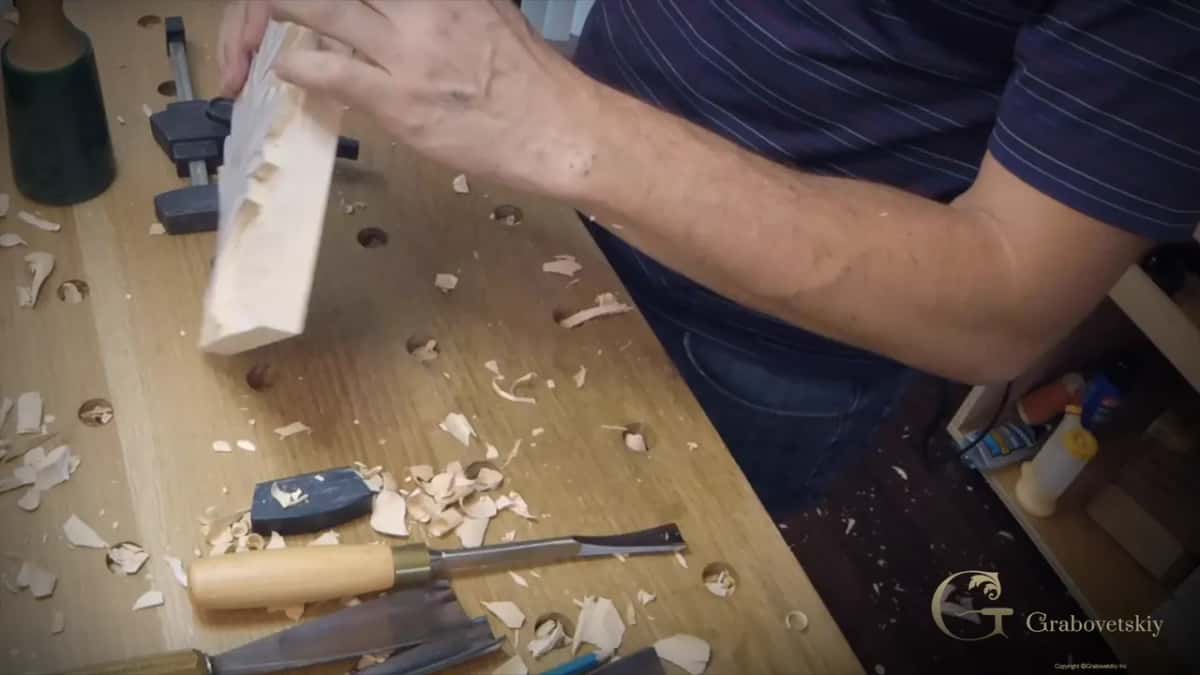
Gouges remain my preference where they fit. A stamped curve takes one movement where a knifed one takes several, and fewer movements means fewer chances for the line to wander off the drawing.
By the end of this stage you should have the whole picture set in and the ground roughly down. Smaller tools clean it later, and every cut so far has stayed slightly above the line, which is what keeps you safe.
Two points about this stage that nobody warns beginners about. The first is that setting in takes longer than it looks on a recording, because every curve gets a tool chosen for it instead of a tool forced into it, and choosing takes time.
The second is that the piece looks worse before it looks better. A leaf with its outline set in and its ground half cleared is an ugly object, and plenty of people lose confidence exactly there, one stage before it starts to come together.
Would you rather watch all three openings tried on the same leaf, and see which one gets there first, at full speed with the camera over my shoulder? Shall we carve?
This is the second lesson in the Corinthian acanthus series, and tuition opens the rest. Lesson one draws the leaf from a centre line and explains why every tip is sharp, the Greek leaf is the next form along, and the Roman one adds returns and volutes on top. The tools course covers sweeps and sizes properly, sharpening decides whether a set in wall comes out crisp, and design principles sit under all of it. Want me beside you? We teach in person, and a beginner starts here.
How it's done
- Spray both faces and wait. Adhesive on the block and on the paper's reverse. Leave it until the tack has gone, then lay the drawing down.
- Mark your depth all round. Half an inch into thick stock, a quarter into thin. A gauge beats a finger and a pencil once accuracy starts to matter.
- Clamp it where you can reach it. Ordinary clamps hold a block fine. Bench dog holes and quick clamps let you turn the work rather than your wrist.
- Pick one of the three openings. V tool, deep gouge, or ground first. All three arrive at the same place, so commit rather than switching halfway.
- Keep a sixteenth above the line. Roughing cuts all stop short. Drop below and the carving simply ends up deeper than planned, which is survivable.
- Rotate the tool, never push it. Slice sideways as the gouge travels. A pushed edge splits fibres where a rotated one severs them cleanly.
- Cut the true line with a matching sweep. A 35 millimetre five suited nearly every curve here. Stand it straight down and take it to the background in one move.
Frequently asked questions
What is setting in when carving relief?
Establishing the outline of the design in the wood before any shaping happens. It fixes the main picture, and everything afterwards refines what that stage decided.
What glue sticks a paper pattern to a carving block?
Spray adhesive, and most brands behave the same. Coat the wood and the paper's reverse, wait until the tack has gone, then lay the sheet down in one go.
How deep should a deep relief carving be?
About half an inch into stock of an inch and an eighth. On three quarter inch material, leave roughly a quarter at the back and take everything above it.