

Alexander Grabovetskiy, woodcarver, School of Woodcarving · Published 2020
How do you mark a side view drawing onto every face of a thick block of wood?
Quick answer: Marking a side view drawing onto a thick block is done from one line kept square to the base. On my heavy corbel blank I ran a square from ruled lines, matched inch steps on paper and wood, split the side view print between two faces, and marked every face in red before roughing.
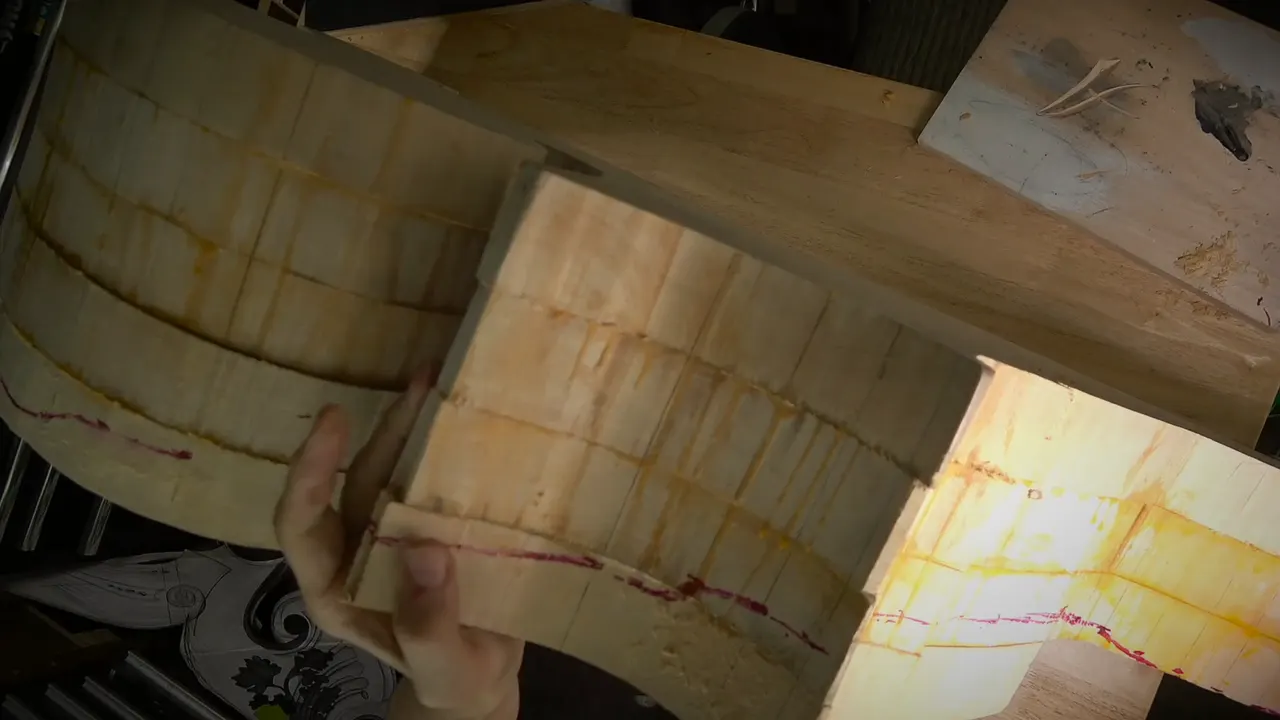
Marking a side view onto every face of a thick block is a job for one line held at 90 degrees, a square and a grid of one inch steps, all done before a gouge touches the wood. That is how I transfer a design to wood for carving when the piece is far too thick to trace flat.
In workshop 79 that piece was a huge corbel, about 42 inches (107 cm) long and about nine inches (23 cm) thick. I have to make two of them. Super heavy.
Is a thick block harder to draw on than a flat board? Does a line on the front have to meet its partner on the side? Then the whole job starts from one line, and after that it is patience and a square.
You will see the order I marked it in, which parts I kept off camera, and the small slips, which are right there in the video.
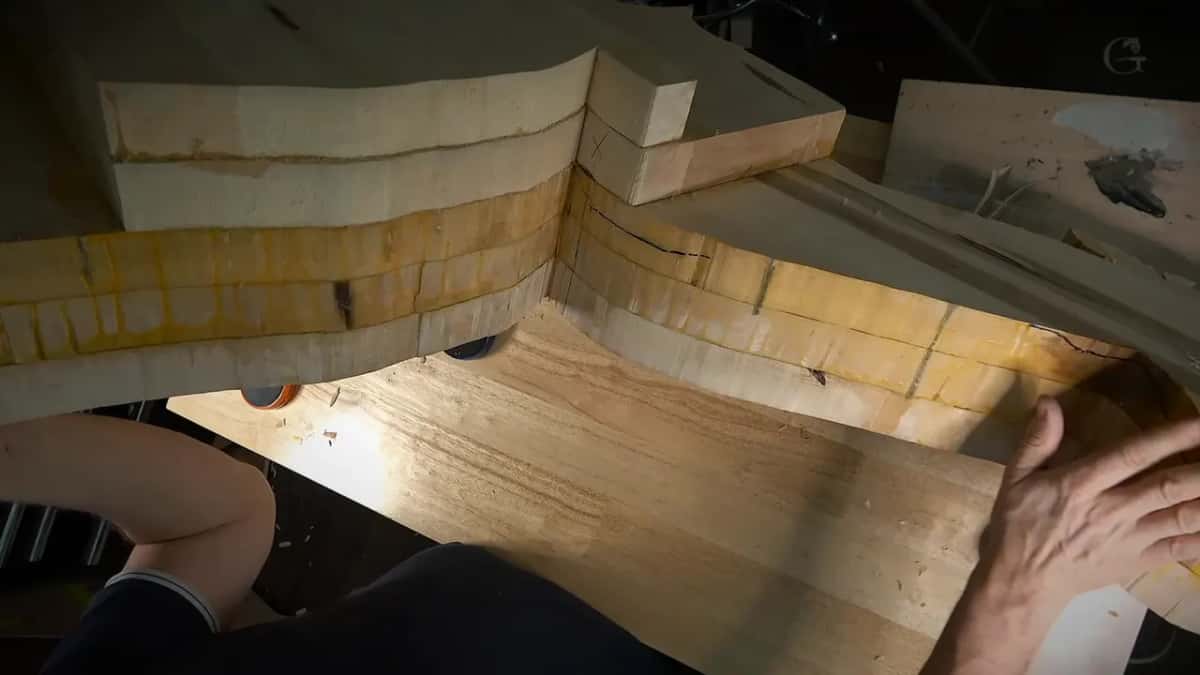
Six marks that took the drawing onto the block
One reference line where the volutes finish, moved onto its own block and lined up.
That line kept at a true right angle.
Ruled lines on one side, and the square run straight across each one to reach the board.
Matching inch steps on paper and wood.
The side drawing split in two, one half for each face and pressed flat.
Every side marked in red, then the block turned over.
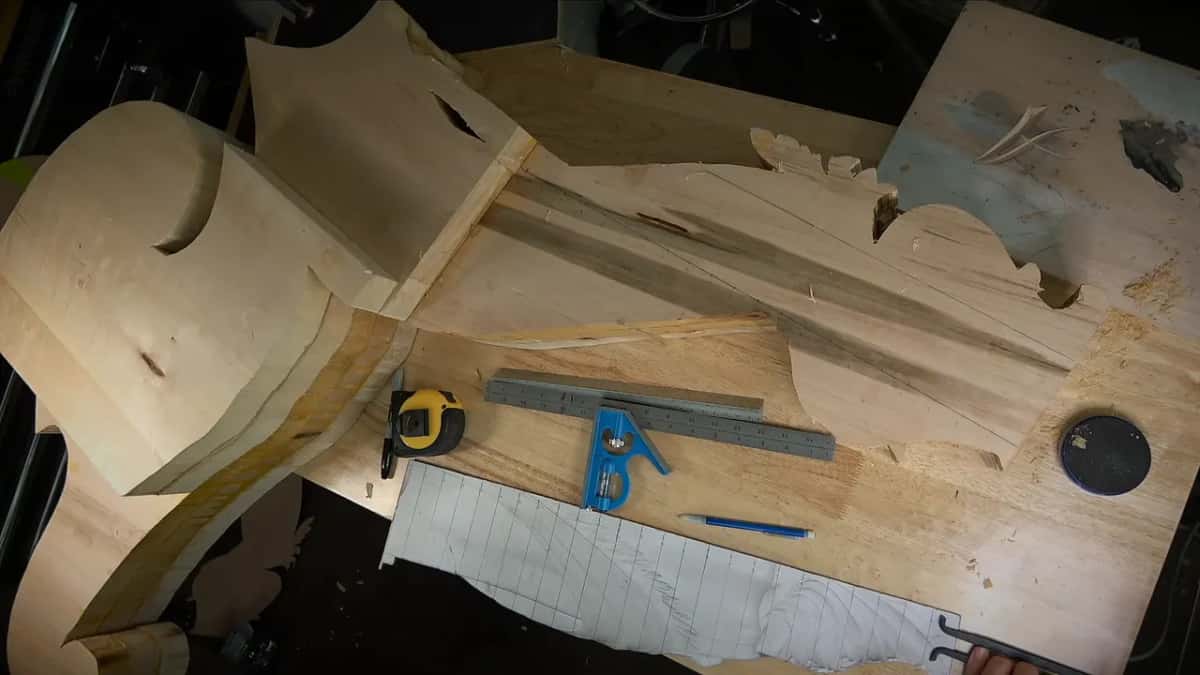
How do you transfer a design to wood on a block this thick?
You pick one line, you square everything to it, and you carry points across in steps. On a flat board you lay the paper down and trace. A block like this one will not let you do that, because the drawing is flat and the wood wraps around, and I said it plainly on camera, I have to create a three-dimensional form, and that is one of the challenges.
My first wish was the bandsaw. The corbel was too huge. I would not have been able to hold it, so all I needed to do was measure, find the points I had to measure, and mark them. The way I do it is not that complicated, as I said, except that I need to find the right position.
Most of that marking I kept off camera. It was step number one, and filming all of it would mean my head in the camera the whole time, which is not an interesting thing to watch.
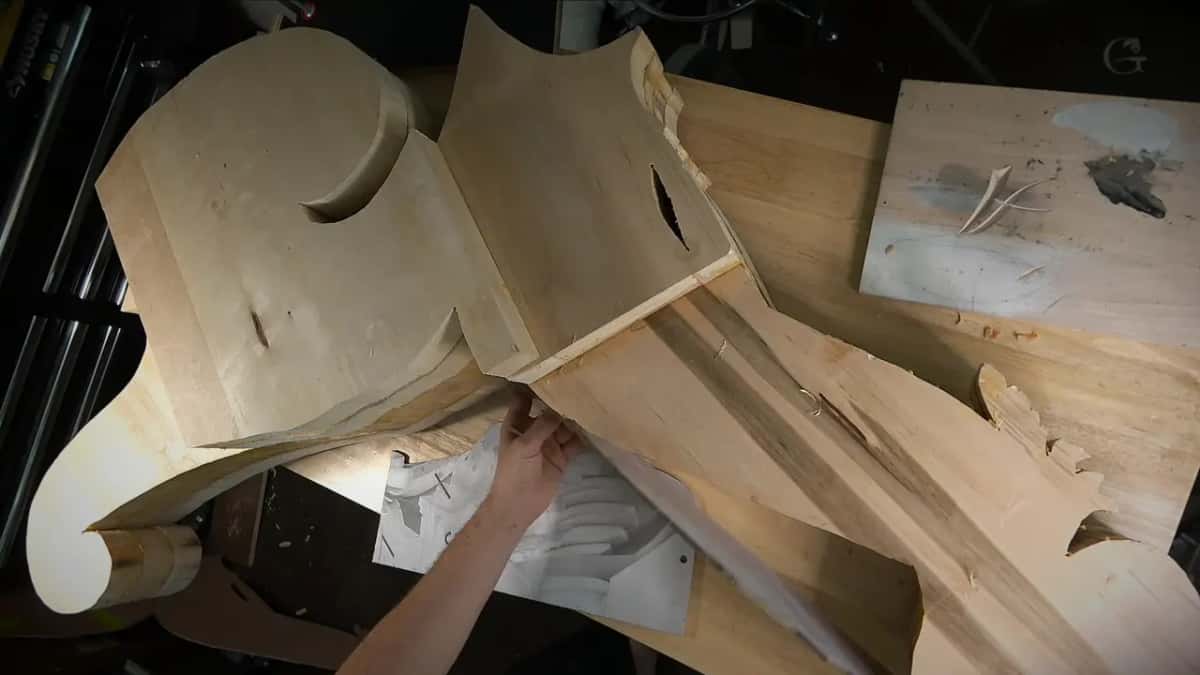
The full size templates on plywood and the calipers are covered on the course page for this part of the room, so this page stays with the reference line and the square. A long flat panel starts another way, and the first course of the Venice Room begins there.
Which line does everything hang from?
The end of the volutes. For a second on camera I lost the word and asked what's the name, I'm forgetting what I'm working on. Then it came back to me. That line is a volute.
You could not see it in the video, and it is almost impossible for me to show. I carried that line onto a separate block and aligned it perfectly. I know I can do that.

It is only one method. There are multiple methods, and this is a good one.
Whatever the shape is on one side, I have to translate it to the other side, and if I can place the drawing there, I can trace it. Before any clamp went on, I looked for a parallel line. I knew where the vertical line was supposed to be on this corbel, and the block had to sit by it.
Why does that line have to stand at 90 degrees?
A leaning line throws every mark after it off. I told the camera it's supposed to be like a 90 degrees movement, and it cannot be just laying like that, or I'm going to be off. So it really has to be referencing to the line.
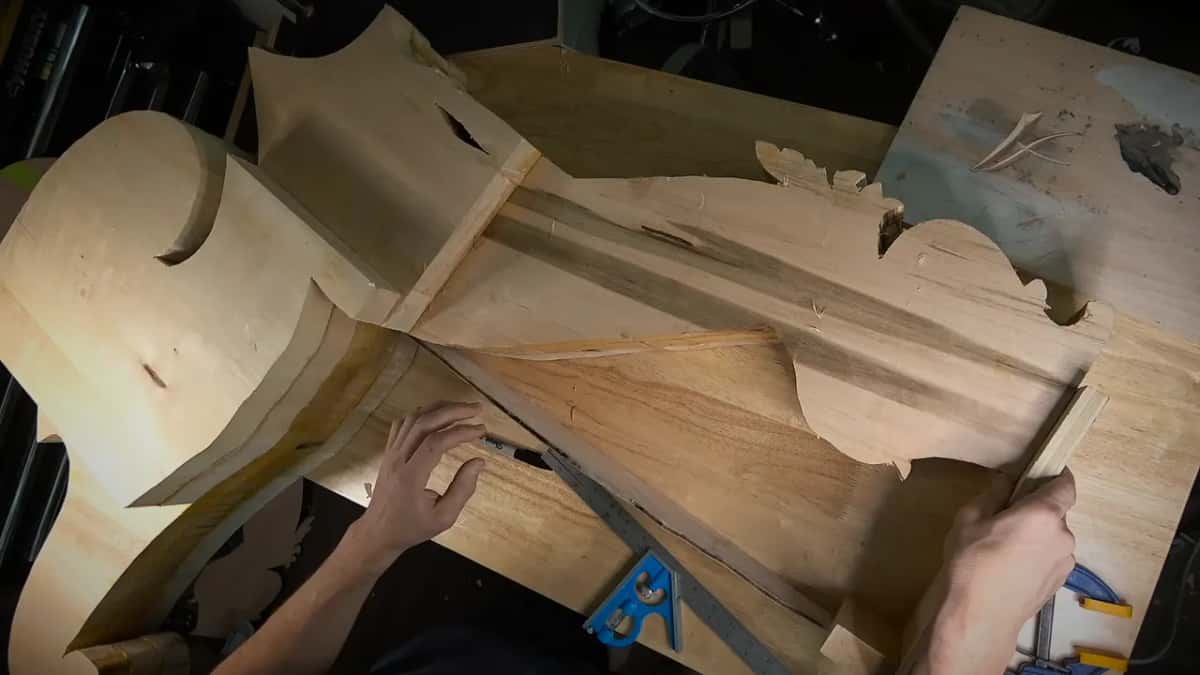
So the right angle was to a line nobody watching could see. Once the block was fixed, I told you now I know it's going to be 90 degrees to the line, which we don't see, but it's there.
Why is a square the first tool on this block?
A square carries a point straight across the block and onto the board. On camera I called mine a speed square. The one in the pictures is a square with a blue head and a steel rule, and I picked it up because it is a really, really easy process.
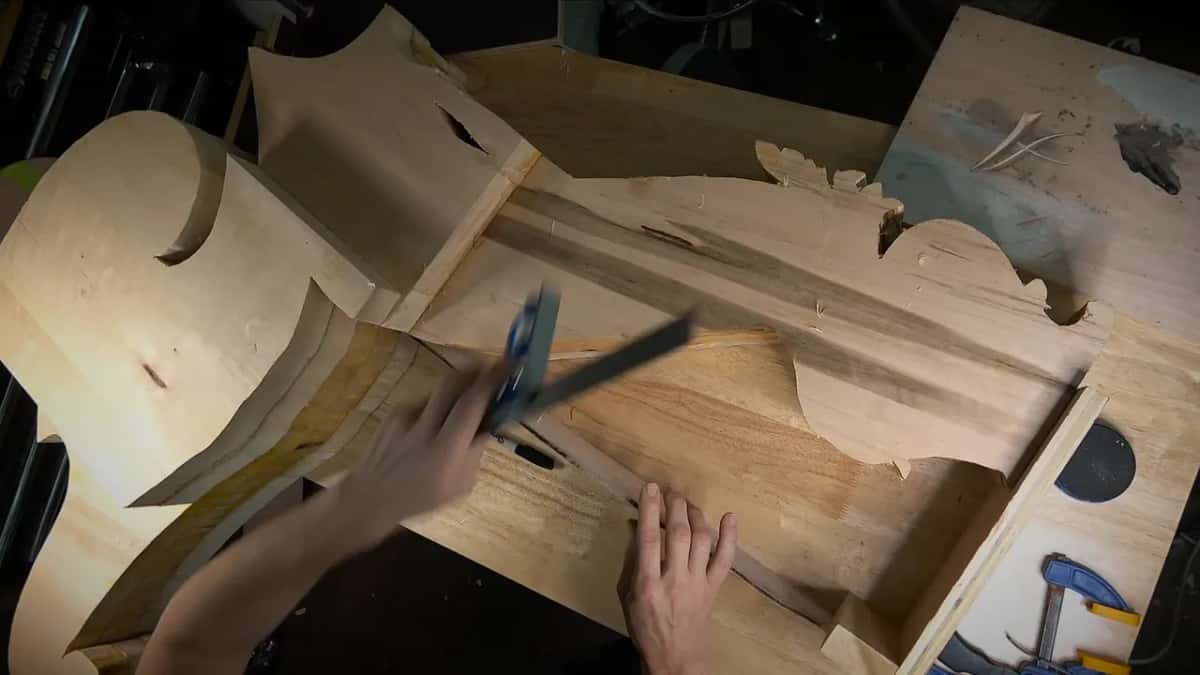
On one side of the block I had a bunch of lines. I checked the position once more, and yes, it was right. I lined the square up with those lines and ran it all the way to the board, and that told me exactly where the point goes, with no problem. Then I placed it again, went back to the board, and found whatever height I needed. I told you I was not going to film everything, but you should get an idea.
At first I had nothing to clamp to. This is not going to work, I said, but it's okay, and a cookie held it in place.
One of my clamps was already rusty. I said I could use a smaller clamp and didn't need those big ones at all, and in the end a couple of screws did the job instead.
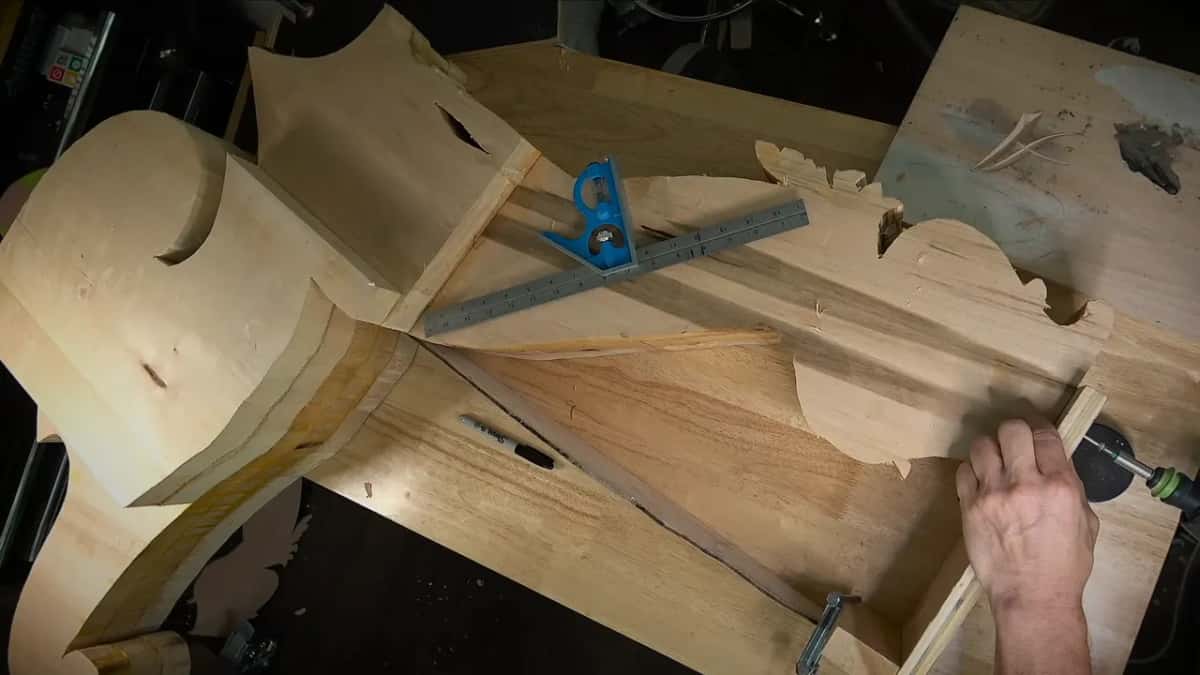
They were a couple of inches long, about 5 cm, and they went in at the bottom, where they won't be seen. Most of that wood is waste anyway, so I was safe, and they come out with no problem. I started the first one, said no, I don't want to do it that way, and did it the other way.
How does a grid of one inch steps carry a point around a block?
One numbered line at a time. Off camera I drew a line 90 degrees to my base and divided it in inches, one, two, three and so on, and I did exactly the same on the drawing.

Now every inch on the paper has a partner on the wood. You measure the same line on both, point to point, and there is your mark. Then the next one, all the way along.
I called it one of the easy ways to transfer in 3D. Calipers are the other way, and I said I would probably use both, since this piece is so heavy I cannot move it around.
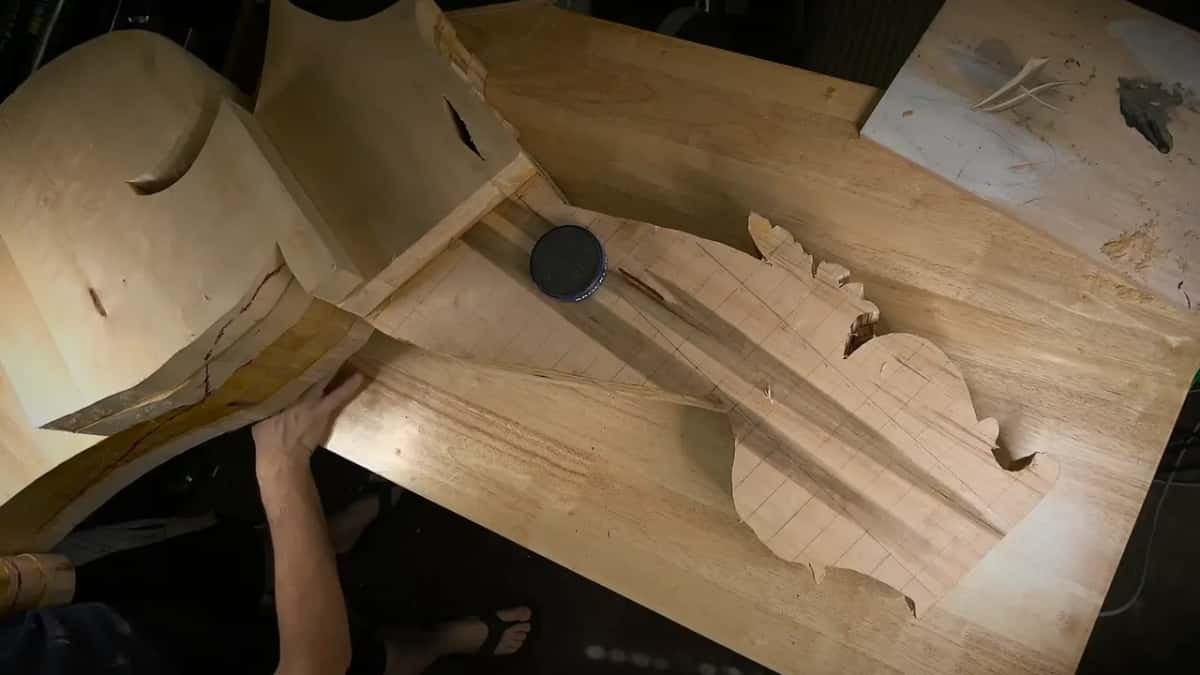
When the marking was done I admitted it. Yes, I had to actually do some grid work, inch by inch. My drawing was already one to one on paper, so I could measure straight off it. Getting a drawing up to full size is its own job, and the SketchUp course handles that part.
Why split the print of the side view in half?
Each half stands in for one face. I took the print of the side view and cut it in half. One part went right there, and the other stood for a second side.

I set the halves flush and flush, back to back. Next came a couple of quick release clamps. Those are my friends. Really handy.
A side view is a single flat view in a multiview drawing, and on a block it covers only one face.

What keeps a heavy block still while you mark it?
Low, flush and supported at the far end. I placed the piece right on the bench on those cookies, and it was super heavy. I wanted it flush with my workbench, and I needed the right support on that end.
I also did not want to knock my lights. I've done it before, so it's not a good idea.
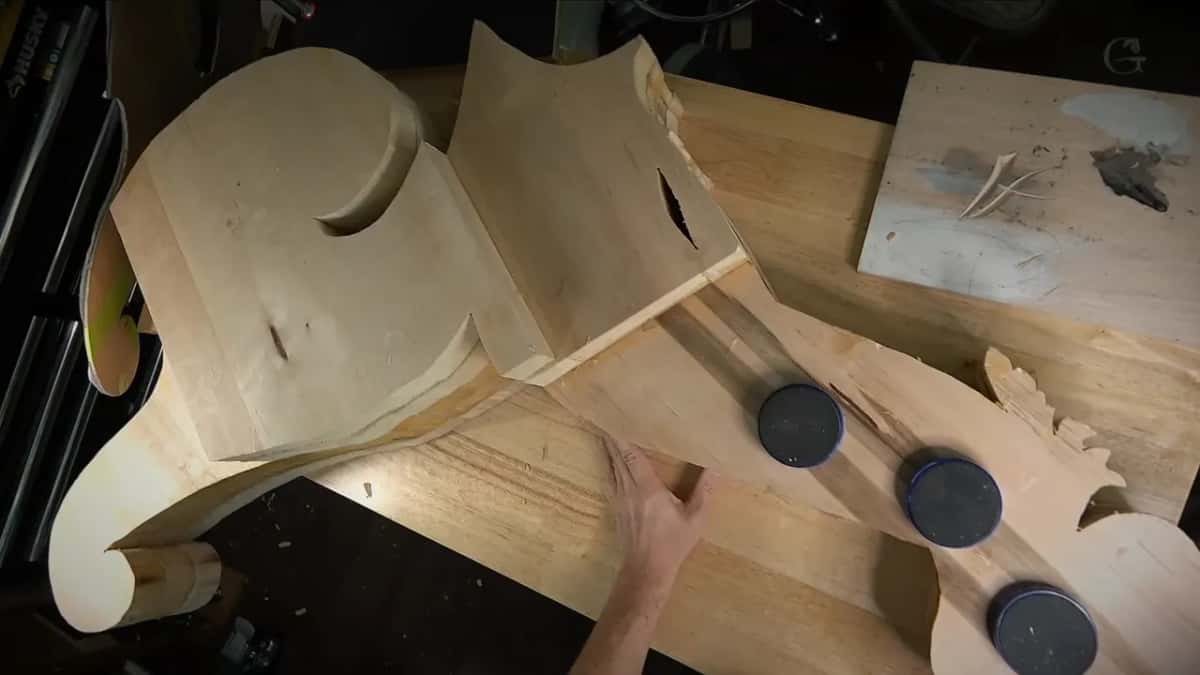
A piece of plywood with a supporting shelf went up too, fixed with small pins, so it is really easy to remove and use again. For the roughing it went back on the cookies, by Rockler, and I said that's what I like. That's stable? That's stable.
Smaller carvings get a different setup, and workshop 76 shows a vise sitting inside another vise.
What goes on every face before the first gouge?
Red marker, around the whole block. I marked from all of the sides, and you can see the red lines in the video before I was ready to carve.
Then I had to flip it upside down without breaking anything. It's super heavy, and I said so twice in a few seconds.
I had marked both sides too, with the marker almost at the edge, and the plan was to carve across. With lines on both sides I could have sawed down to the line first and knocked the waste out. I wasn't sure that would be any faster. It's not a big deal for me at all, so I just took a gouge.

On this corbel, at this stage, I left about 3 mm, some spots 5 mm (1/8 to 3/16 in), above the line, then came back down to it with a #7 of 14 mm, about 9/16 in. Drawing on wood with a marker has its own lesson in workshop 33, and which way to carve when you rough out is the subject of workshop 75.
Once wood starts coming off, what checks the marks?
With the templates, and with one measurement taken from the bottom. I held the glued template in, and the sides are supposed to match like that.
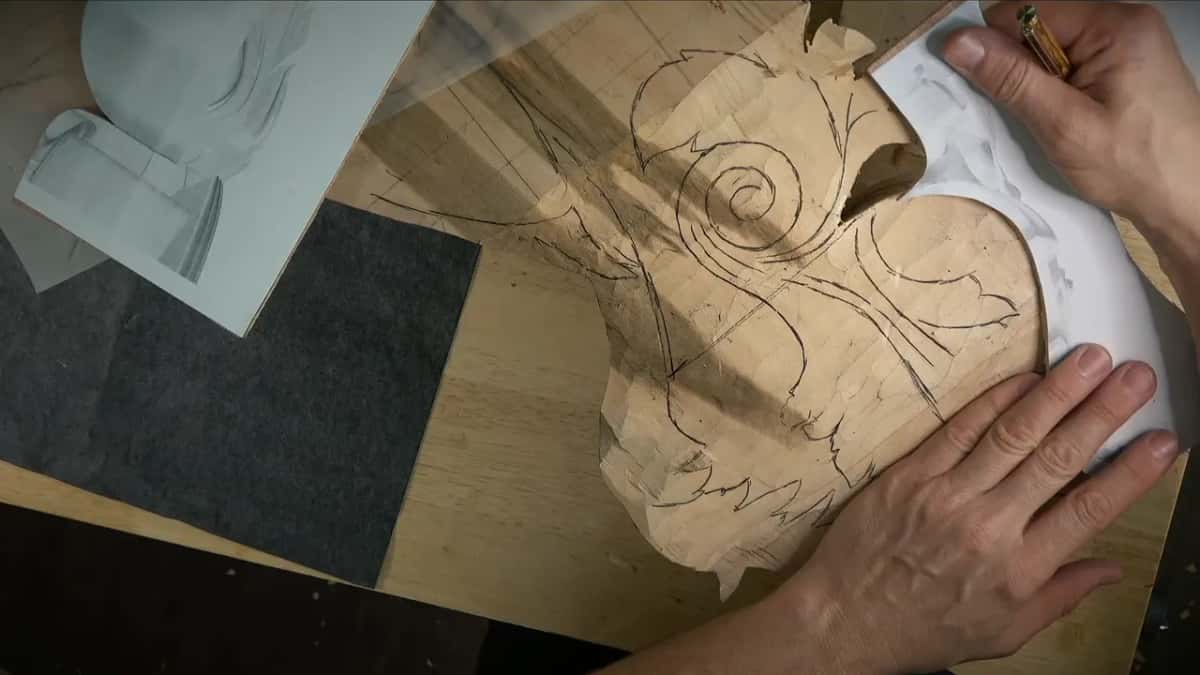
I already see the problem, I said. A second later I took it back, no, there's no problem, I'm sorry. It's 3D, so it runs a little longer, and I cannot lean the template. It has to be really 90 degrees toward that surface.
Step number one there was one distance, between the bottom of the piece and the line I had just marked, and it had to be flush with those lines on both sides. When a line got carved away, I put it back. Let me transfer this line again, I said. Don't want to lose it.
The care matters on this piece. It is architectural carving, even if it's decorative, and it goes inside a house where everything is measured. So the fit gets measured, with absolutely no room for error. The ornament traced on top is judged by eye, and while tracing it I said it doesn't have to be exact, just somewhat close.
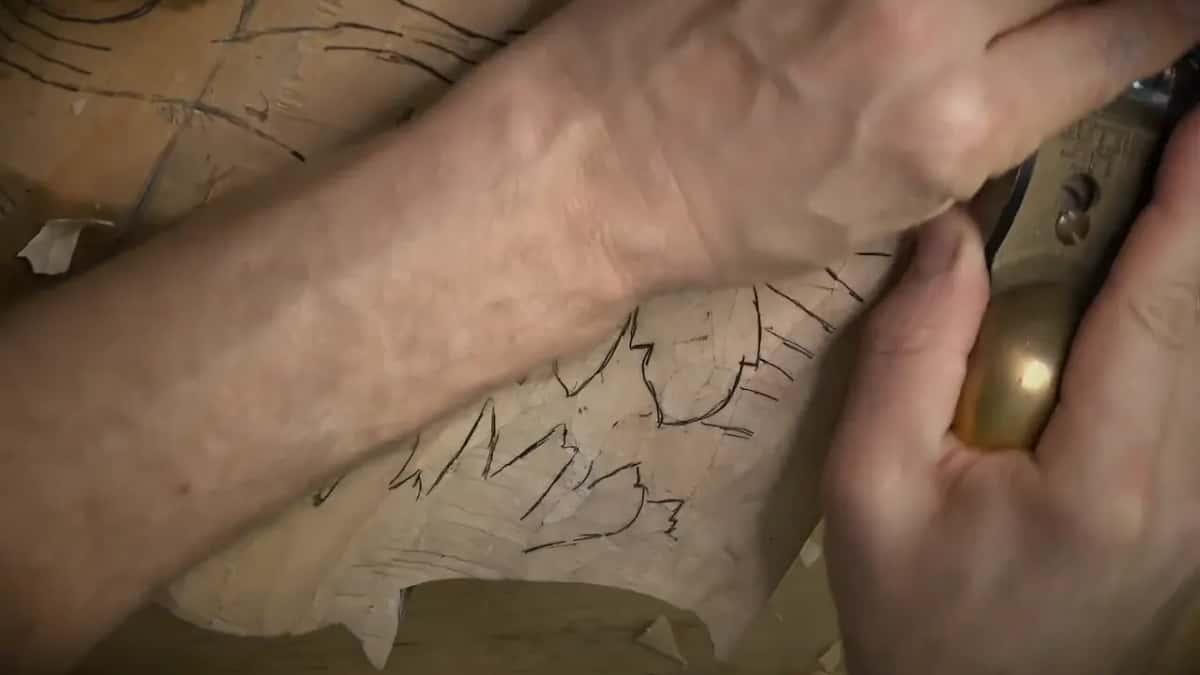
Later in the workshop that face got trued flat to the line with a #7 and a #3, and a block plane went along the edge. That flat became my measuring point for both corbels. Where calipers could not reach, a pointing machine read depth off the bench, and the tools course explains that tool.
Where does the ornament drawing come in?
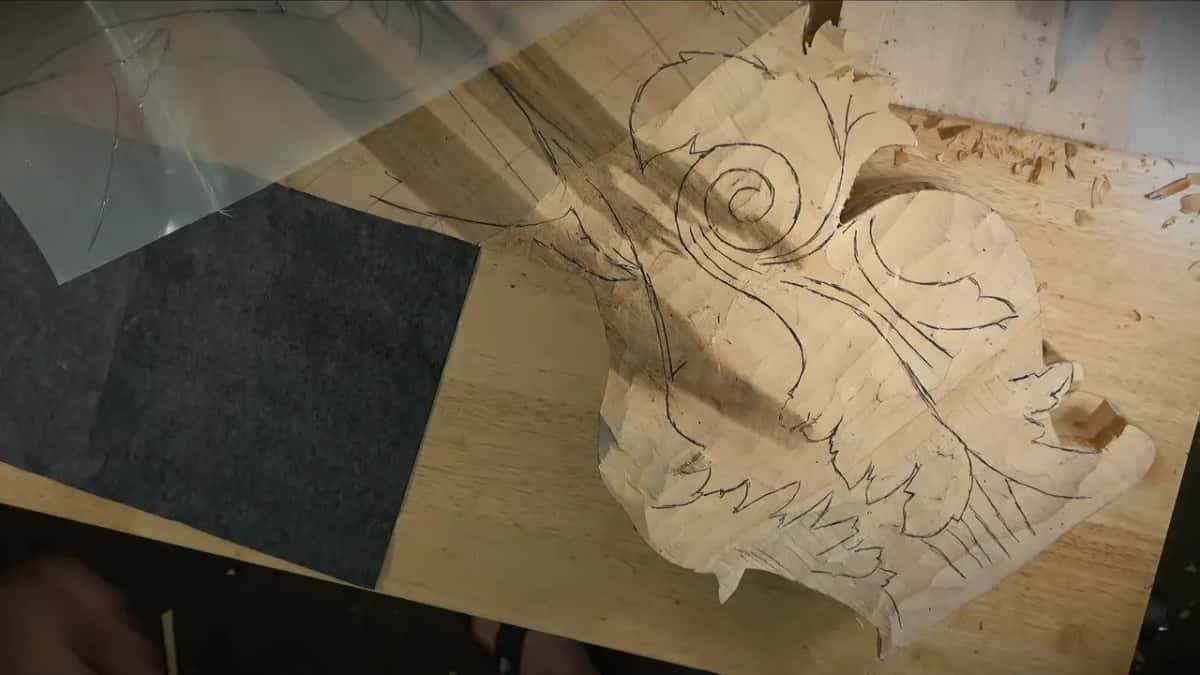
After the rough shape is out. For the acanthus and the drop I went back to the old method, plastic and carbon paper, the same one I used on a half carved board in workshop 39. There are two corbels like this one, so I saved that plastic for the other corbel.
What each tool did on this block
This is the kit for the marking stage on this block, listed row by row with the job each piece did and where on the block it did that job.
| Tool | Job | Where |
|---|---|---|
| Separate block of wood | Held the line where the volutes end, aligned. | Reference line |
| Square with blue head | Carried each ruled point over onto the board. | Every height |
| Two screws below it | About 2 in (5 cm), into the waste. | Block bottom |
| Ruled inch steps, numbered | Matched on the drawing and on the wood. | Both surfaces |
| Calipers, the other way | The second way I named for this job. | Any point |
| Side view, in halves | One half on each face, set flush together. | Two faces |
| Red marker, every side | Showed waste on every side before any gouge. | All faces |
| Glued template on plywood | Checked the form, held square to the surface. | The sides |
Every row in that table is a marking, holding or checking job. The gouges only came out after all of it, and the first roughing, as I put it on camera, was nothing exciting, no design, no nothing, just the removal of material.
Who is this workshop for?
Anyone holding a drawing that shows one side of a thing, and a block that has four.
If you came from workshop 78 and its tiny tools, this is a big change of scale, and workshop 80 is next.
Do you have a drawing and a piece of wood? Can you hold a square against a line? Then you can start the way I started this one, and the rest of the room is inside the school's plan, with every lesson listed on the lessons map.
How it's done
- Find the one line. Pick the line every other mark will hang from. Mine was the volute line, drawn on a second block and aligned.
- Keep it square. Set the work so that line is square to your base. If it leans, the marks after it will be off.
- Rule both surfaces. Draw a line upright from the base, divide it in inches, and do exactly the same on the drawing.
- Carry points across. Line a square up with the ruled lines and run it to the board for each height, or go point to point with calipers.
- Split the side view. Cut the print in half and set the halves flush, back to back, one for each face.
- Mark every face. Go around all the sides in red before a gouge comes out, then turn the block over carefully. The block is heavy.
- Check with the template. Hold the template to the form at a right angle, and measure the distance between the bottom of the piece and your line on both sides.
Frequently asked questions
Can you transfer a drawing onto thick wood without carbon paper?
On my heavy corbel blank I did. Inch steps ruled on the paper and on the wood, plus a square, put the side view onto all the sides, with calipers as my second way. Carbon paper waited for the ornament, once the rough shape had been carved out.
Why use a square on a carving block?
Mine carries a point straight across the side. I lined it up with a bunch of ruled lines on one side, ran it over to the board, and found whatever height I needed there, time after time. On camera I called it a really, really easy process.
Which line did you use as the reference?
Where my volutes end. I transferred it to a block of its own, aligned it perfectly, and fixed that block with a couple of screws low down, in wood that is waste anyway. Every height after that was found from it with the square.
What to carve next