
Alexander Grabovetskiy, woodcarver, School of Woodcarving · Published 2020
What are micro carving tools used for?
Quick answer: Tiny gouges and veiners are for the spots a normal gouge is too wide to reach. On one small basswood leaf in the Venice Room, a Dockyard gouge about 1/16 in wide darkened a curl, 1 mm and half millimeter veiners opened the stem, and 2 and 3 mm back bents followed the grain.
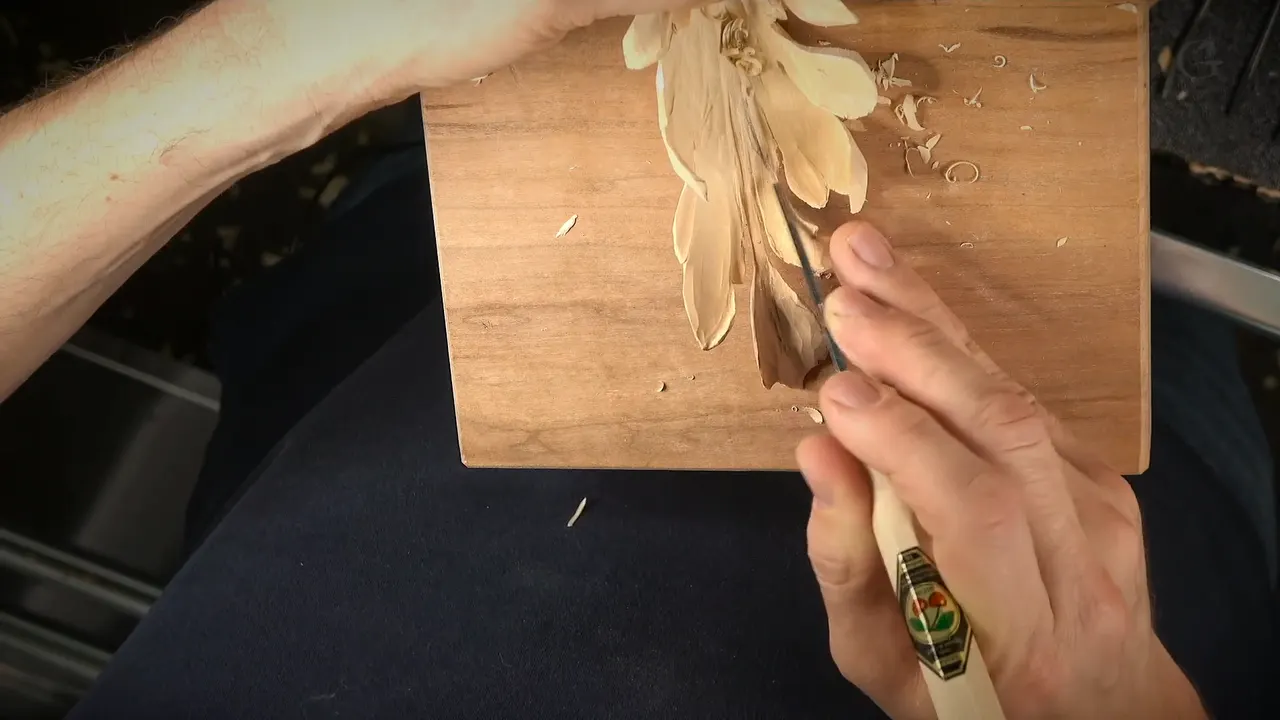
Micro carving tools are the tiny gouges and veiners, about 0.5 to 3 mm wide, that go where a normal gouge is too wide to fit. Think of a shadow deep in a curl, a groove down a thin stem, or the floor of a hole. Workshop 78 put a whole row of them to work on one small leaf, and each one had its own job.
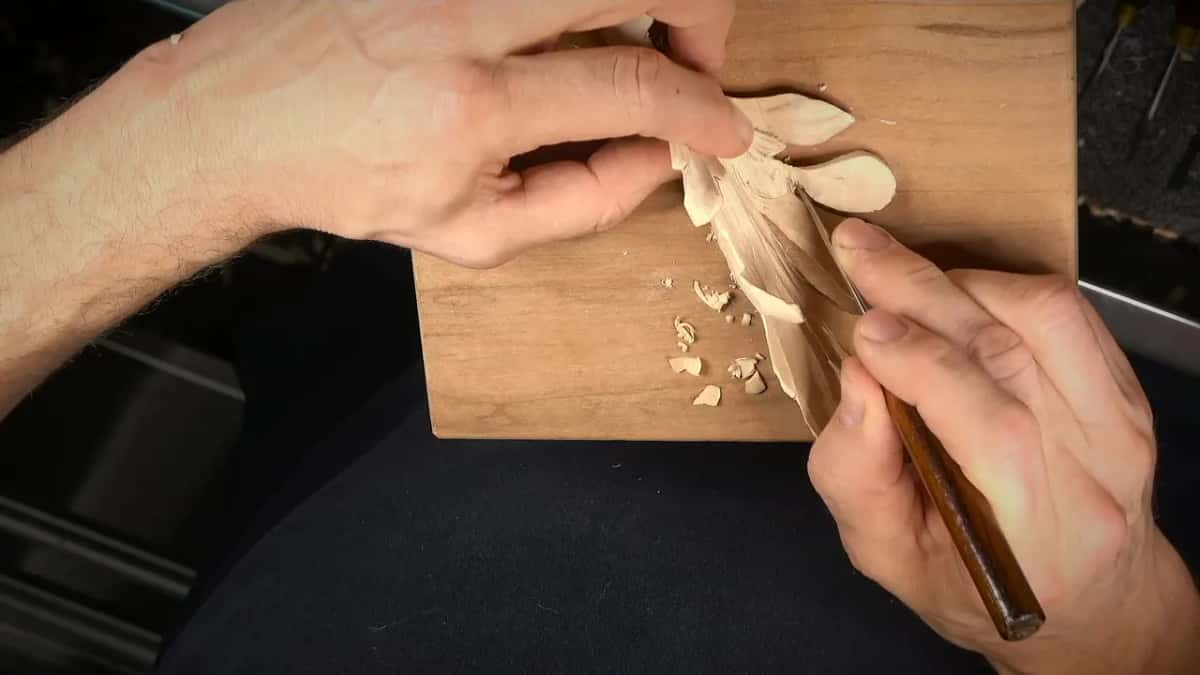
That leaf is a separate little piece of basswood, left on a handle so I could hold it. Later it gets glued in so it sticks out from underneath a flower. It is small and thin, and in places it was paper-thin.
Is there a gouge in your drawer that feels too fat for the spot you want to reach? Have you tried to clean the bottom of a hole and only made it worse? Then follow the order I used them in, first shadow and last bit of fuzz included, because the order is most of the lesson.

The small tools on one leaf, in the order they came out
A Dockyard gouge of 1.5 mm, about 1/16 in, dug a darker pocket at the tip.
A small micro tool refined the movements after the wider tools had done the roughing.
A 1 mm #11 put a concave along the middle stem, and a half millimeter #11 went deeper.
Two tiny #5 back bents, 2 mm and 3 mm, changed with the grain.
A 3 mm tool went right through the leaf, and I dropped to 2 mm.
Fuzz came off last, with the finest veiner.
What does the big gouge do before any micro carving tool comes out?
It takes the mass off first. On this leaf that was a #8 gouge, which I called a little bigger than a quarter inch, seven millimeters to be exact. It made a bigger, deeper excavation, and I told the camera I was safe doing it because there was a lot of material on the back side right in the middle.
After that came a #7, sometimes upside down. A knife came next. Any knife will work, I said, for the refinement, and I brought the edge right to where I wanted it with the knife.
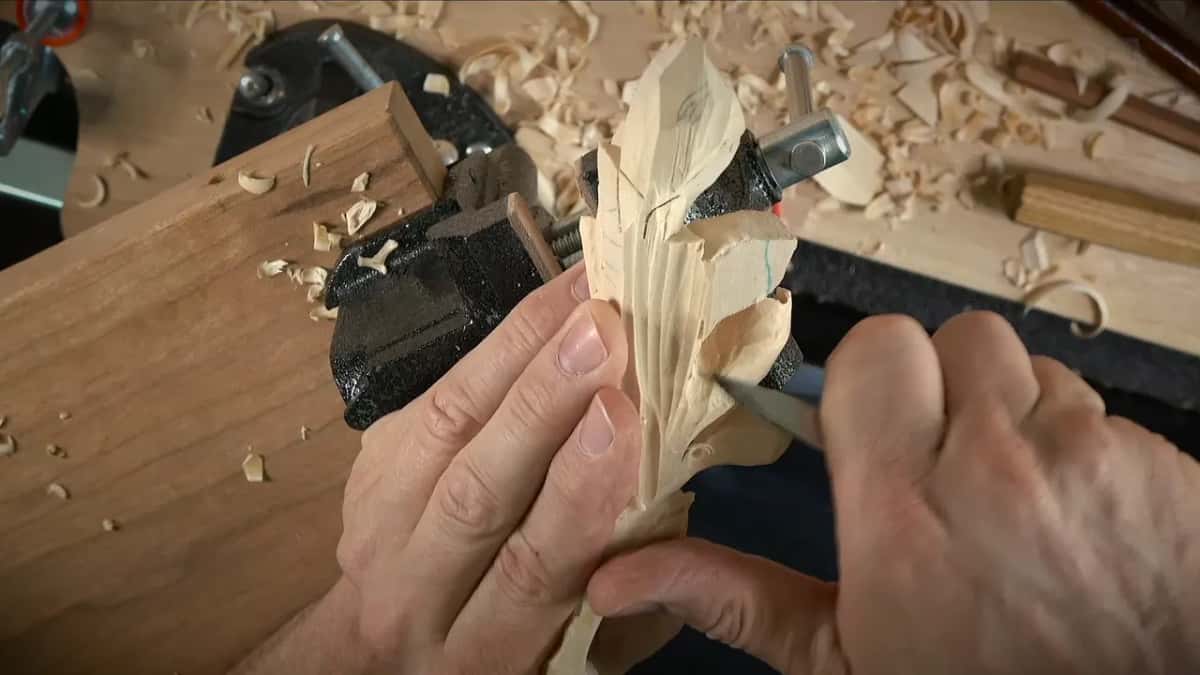
So the small tools never did the heavy work. Each one came in after something wider had already found the shape, whether that was the #8, the #7 or the knife.
The piece sat in my vise for most of this. See what this holding system does, I said, because I could work pretty much from any angle. For the finishing touches I took the vise out and just held the leaf in my hand to finish it.
How does a tiny Dockyard gouge put a shadow into a curl?
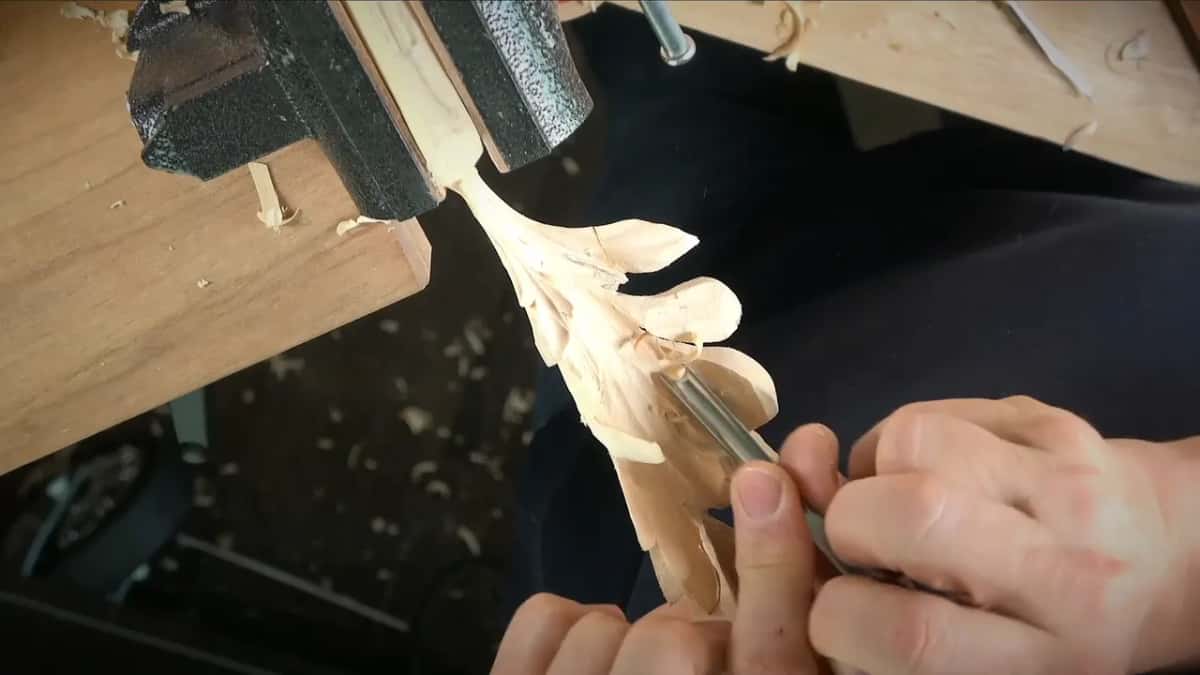
It fits into the bottom of a hollow that is already very thin. Early on I had shaped a small curl at the end of the leaf, and then I checked the thickness. Less than a thirty second of an inch was left right there.
That is when I took a smaller Dockyard gouge, about a sixteenth of an inch, a millimeter and a half. With it I could excavate a little deeper shadow inside the curl and carry it all the way to the edge.
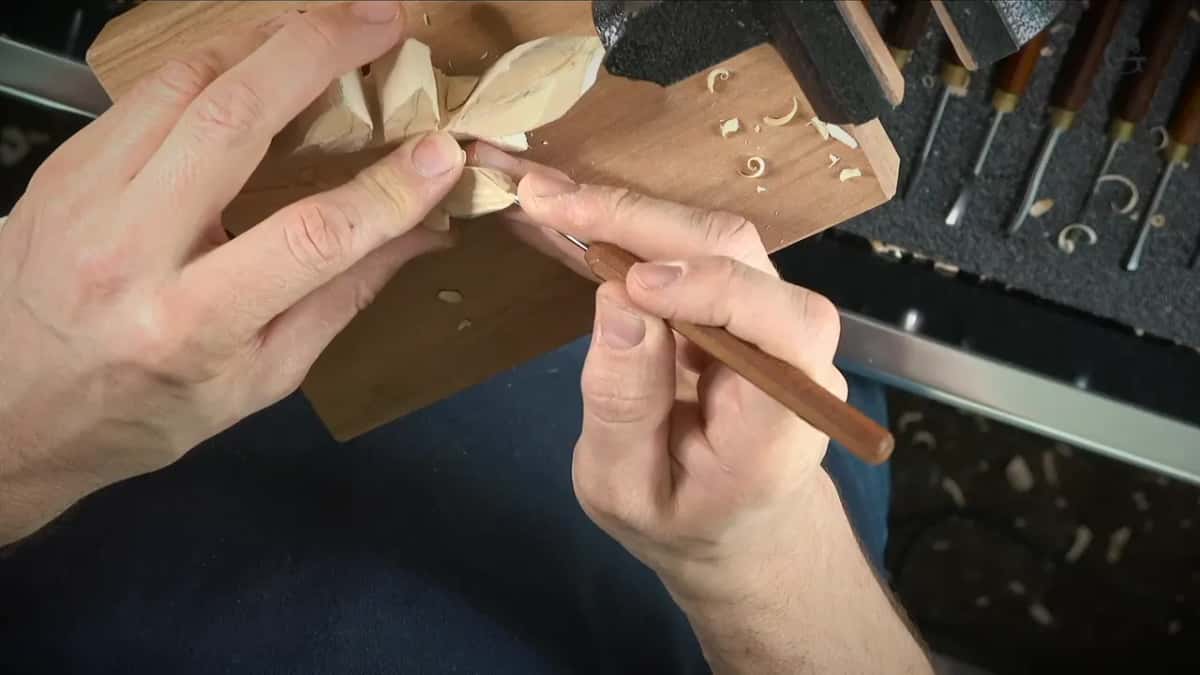
That deeper shadow is what creates the curling effect. You should be able to catch how it curls, I told the camera, and I hoped the lens could see it.
Dockyard makes very small tools, and on this leaf I reached for them again and again. I named them three times in this workshop, in the first, fourth and sixth videos.

Where does a micro tool clean up after a bigger gouge?
Right after the bigger gouge, in the spots it left rough. After I laid out a division on the leaf, I got a little micro tool and refined all the movements. For a concave inside that division, running to the centerline for more depth, I reached for the same #8.
On the back of the leaf the pattern was the same. Small gouge again, by Dockyard, and remove that waste. I also said that side will be invisible, all hidden, so there was no reason to take every bit of it.
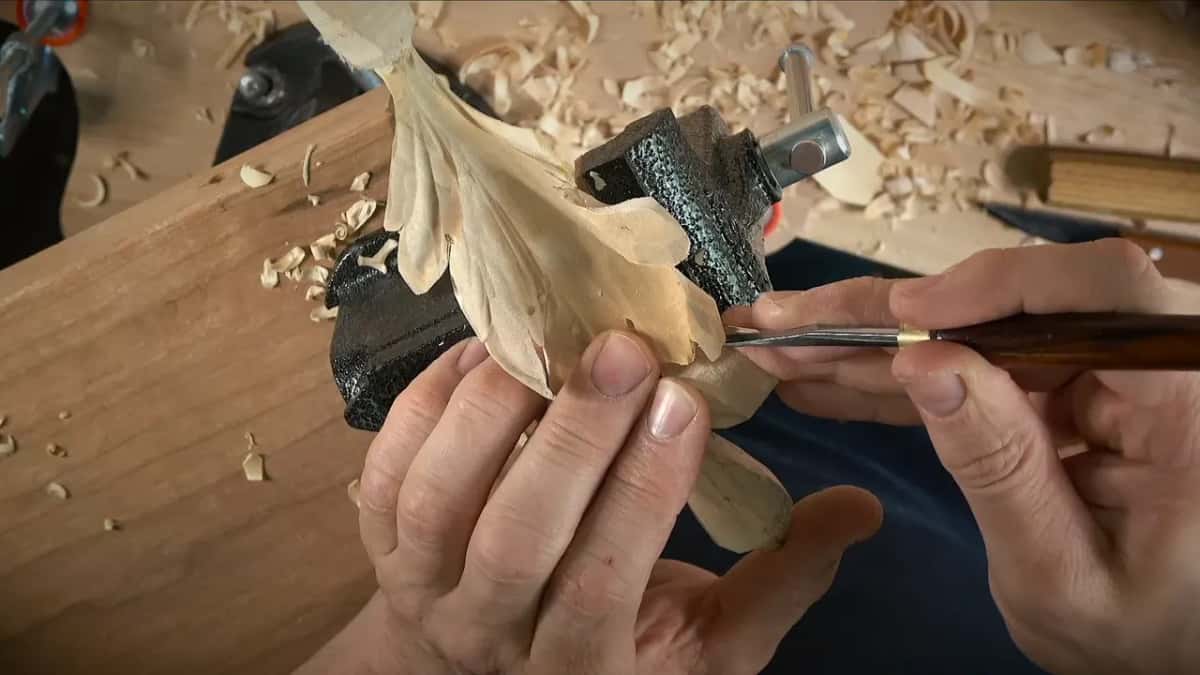
The next part shows how slowly this goes. Holding a small Dockyard gouge, I worked my way in little by little, turning the piece, then took one more chunk off with a small tool. I was really close, but I still wanted to go right to the edge.
Later a micro tool went in again to get to the point, and I found a big hump I had no use for. Before any of that, on the notches along the edge, I relieved small triangles with a #8 or a #9 and then put little concaves wherever I saw a separation. They don't have to be really deep, I said. It's just for the shadow.
I kept checking the opposite side all the time, and I kept checking how thick the wood was. At the edge I wanted a sixteenth of an inch at most, and in the middle about an eighth.
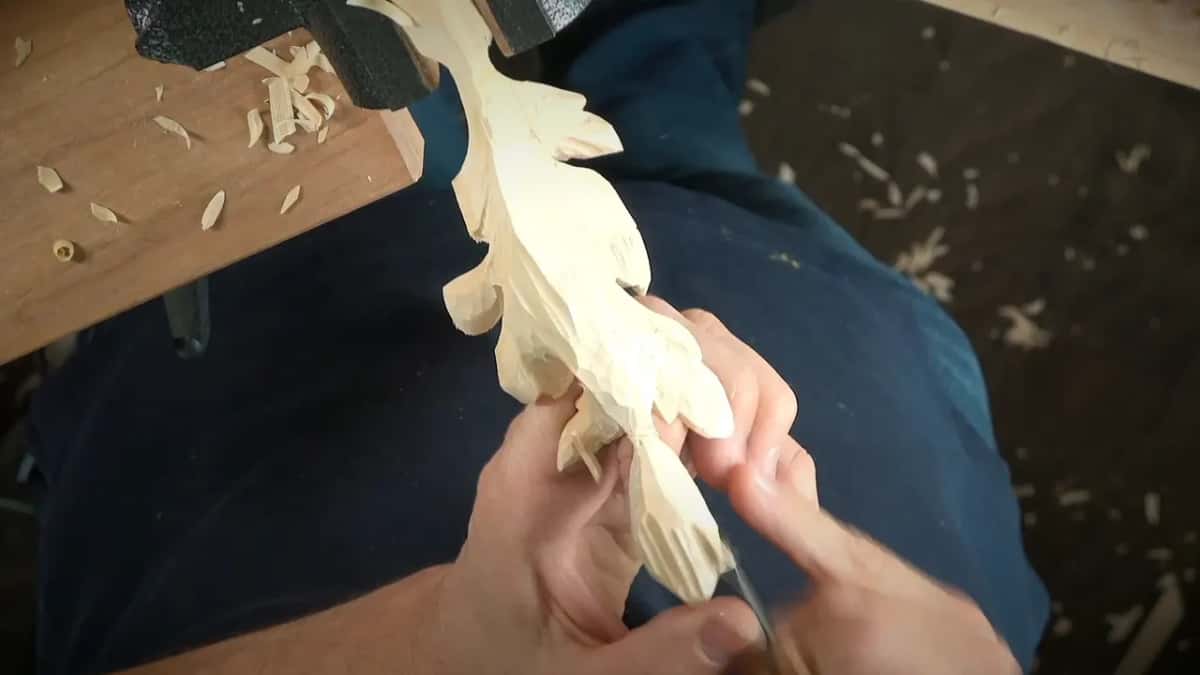
I'm going to be honest with you about how I checked it. I was guessing. You could measure it with calipers, I said on camera, but I did not need to.
Why go from a 1 mm #11 down to a half millimeter?
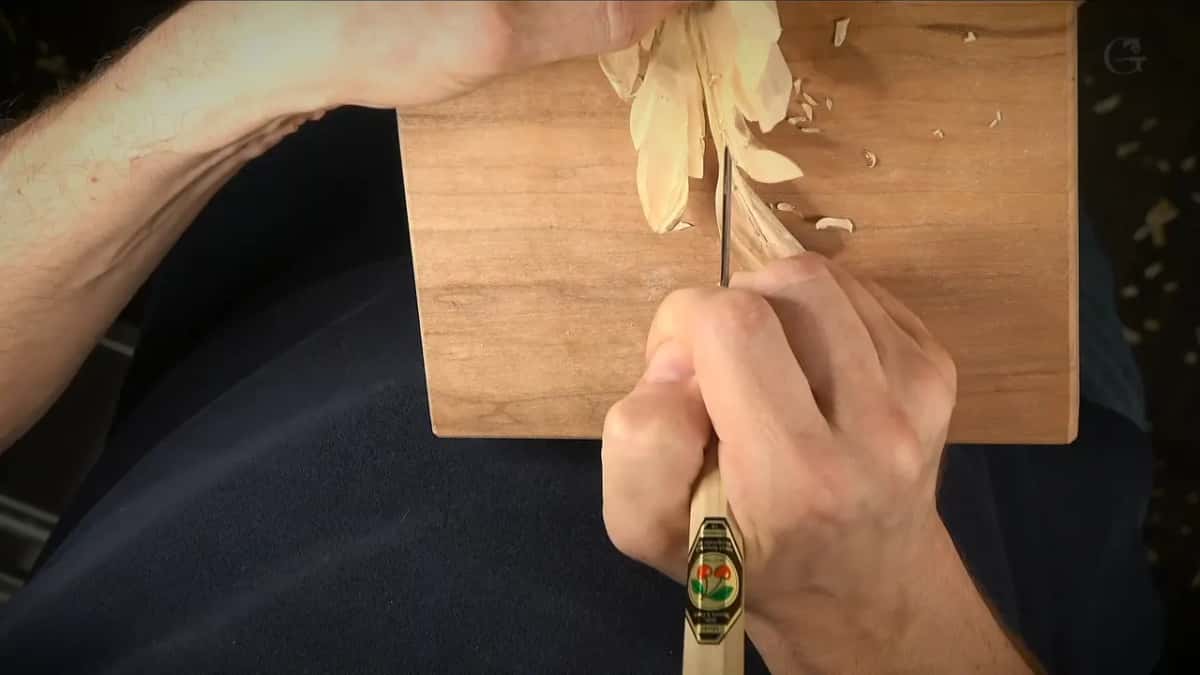
I wanted more depth in one section, and a narrower veiner is how I got it. For the middle stem of the leaf I needed a concave right down the center, and I started with a small gouge, excavating little by little.
Then I looked for my micro tools and one of them was missing. Something happened to it. That was okay. I picked up a one millimeter #11, about 1/25 in, and made a concave right inside the middle part.
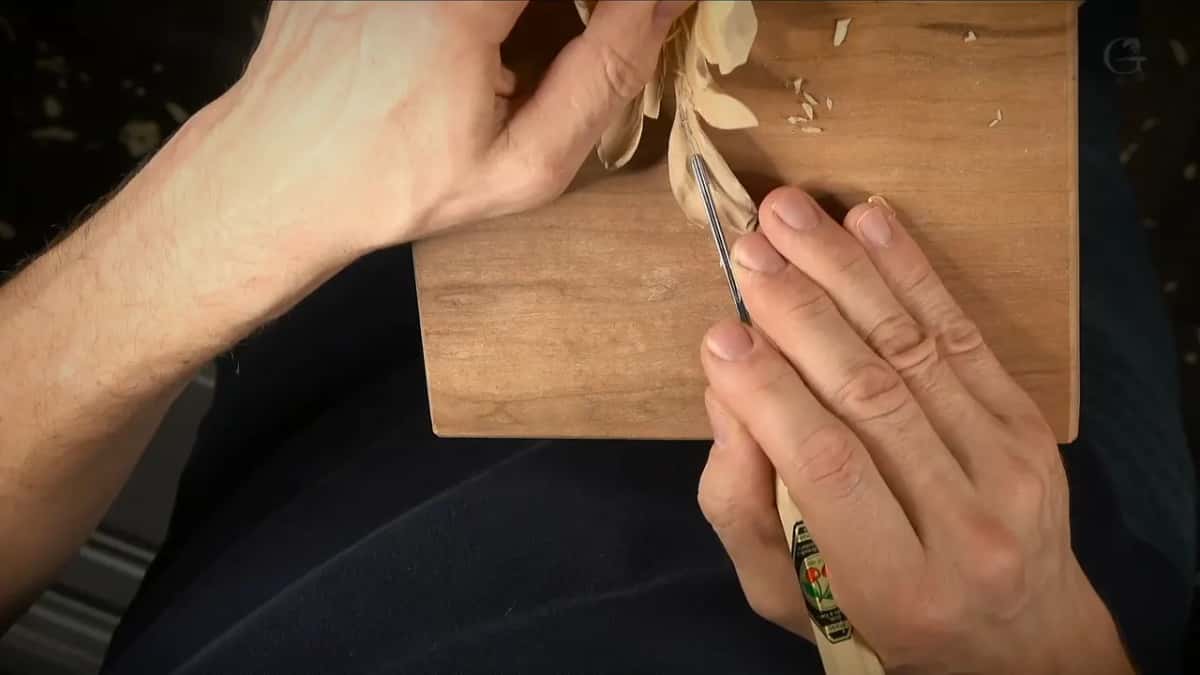
It was hard to see, even for me. To take that section deeper I went down to a veiner half that size, about 0.02 in, and made a small U groove. A few passes later it broke through, and I had my separation.
I said something out loud then. The more I take out, the more fragile it becomes. I could have separated the whole stem, taken it to the extreme, but this piece gets shipped, and too fragile would mean broken later.
So on this leaf the tiniest veiner did more than small work. It was also where I chose to stop, and I kept the stem somewhat strong.
Time came into it too. I could take this to the extreme, I said, and it is all about the time I want to invest. A lot of work was still ahead on this project, so at some point I just have to stop.
If you want the smallest tool from another course, a Roman acanthus lesson runs mostly on a veiner of about half a millimeter. And for how thin a leaf may get before it gives up, workshop 66 of this room keeps one hidden connection point.
When did the tiny back bents come in?
Partway along the stem, right after the concaves. I stopped and said I probably should use a back bent, a really tiny one, which in this case would be equal to a #5 at two millimeters, about 5/64 in.
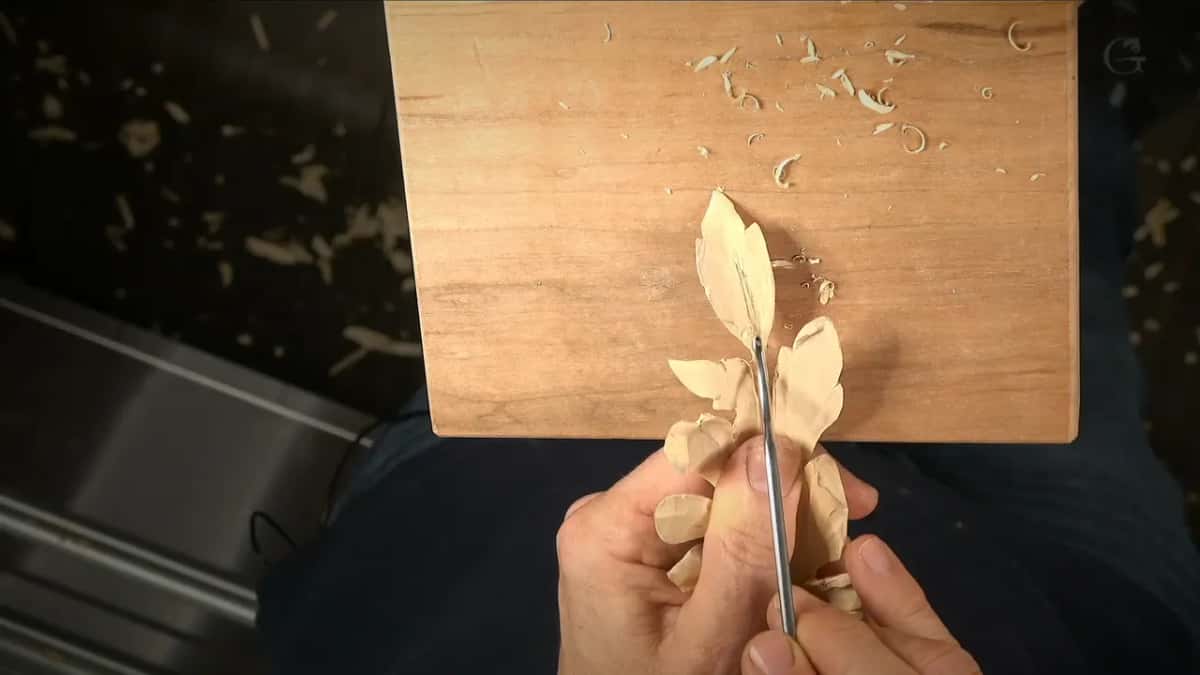
Then the grain turned on me. I changed position because of it, went the opposite direction, and swapped to a different back bent, a little bigger. Three millimeters, about 1/8 in, the same #5.
There was also one extra concave on this stretch, about five millimeters, like 3/16 of an inch. I watched the piece move under the tool, and I said it is strong, but you have to understand it's long grain. Pretty strong. I had to be really mindful how I went at it, strong or not.
What happens when a 3 mm tool breaks through?
I dropped a size and kept going. I attacked one opening from the other side with three millimeters, fingers placed right underneath, and carefully started. Soon it was through, so I switched to two millimeters.
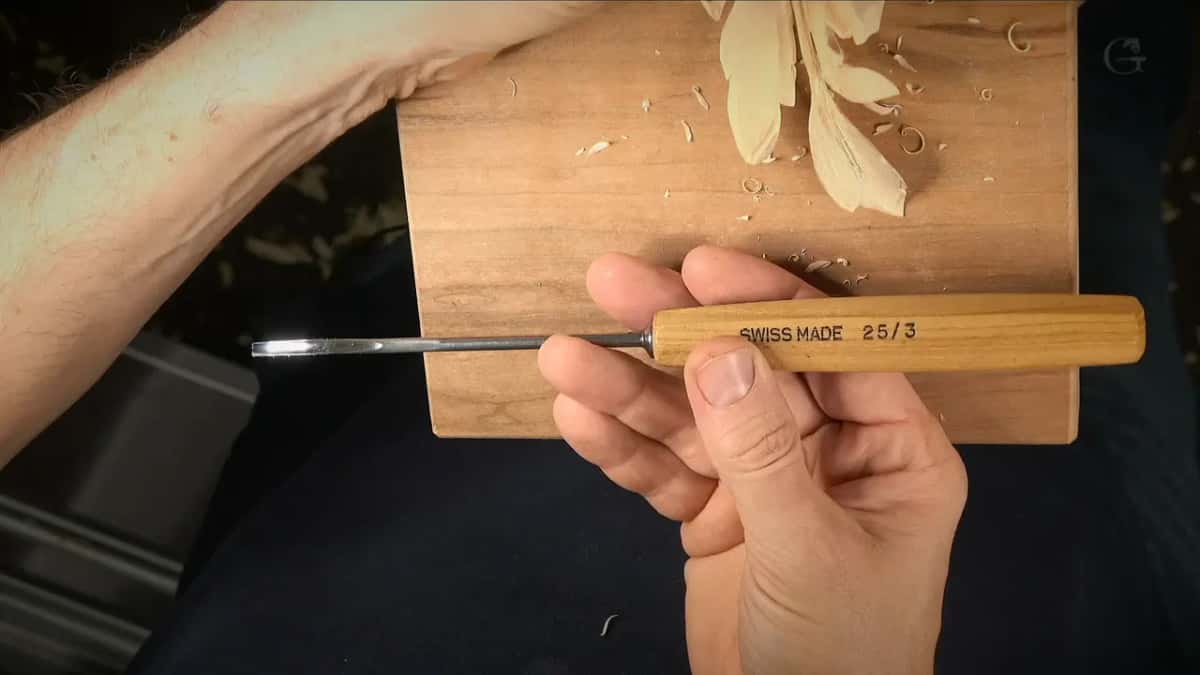
After that I took a #5, a quarter inch, about 6 mm, and continued. My tools, I said, absolutely must be super sharp for this.
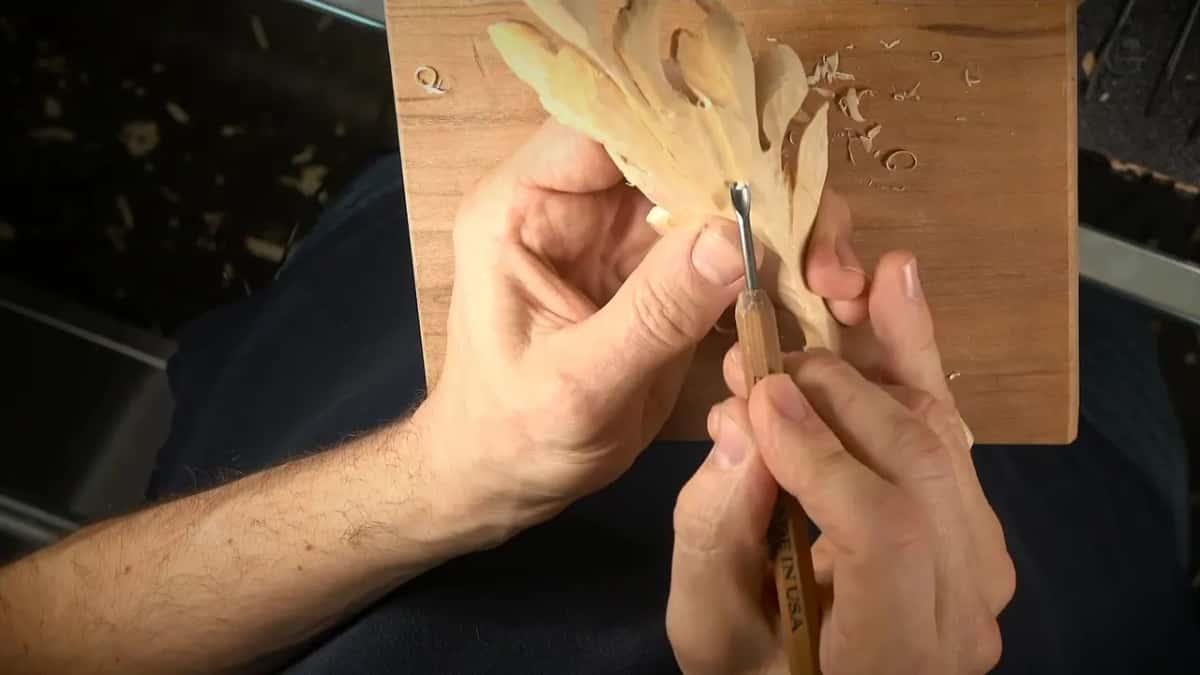
Even so, this piece of basswood gave me trouble. Sometimes you get difficult pieces, even in basswood, and this one gave me a little resistance even with super sharp tools. Some pieces are a piece of cake. This one was not.
Nobody needed that opening to be even. It is not a canvas, I told my students. All I need is a really nice organic movement, and I think I got it. My smallest #11 went in once more for an even deeper pass.
Can a small gouge hide a spot you do not want to dig out?
It can, if you let it carve something new there. Near the end I decided to add a small extra leaf growing from the same middle, one of those leaves coming from underneath.

That leaf was optional. It gave me a way to hide that area, and it meant I could skip excavating deep there. It's a little trick to hide those passes and still keep the piece really strong. The first line of that small leaf went in with a 2 mm #11.
It does not have to go deep, I said, because all I have to do is create an illusion, well, a little more than an illusion. Fine. A #5 at a quarter inch outlined it better and took away a section where too much was going on.
One honest line from that stretch. I'm not sure if I'm doing the right thing, maybe I shouldn't even bother with it. I kept going anyway.

What can the finest veiner do about fuzz?
It cleans fuzz away around a small section. Very little material was left there, and I had to be really careful. So I cleaned around the new section with the 0.5 mm #11 to remove all that fuzz.
I keep two go-to lights, one on each side, and earlier I had pulled them closer for the finishing touches. Even so I needed more light to do it. I don't really see what is going on, I said, and a little more light will help me a lot. I also had to get very close, because otherwise I cannot see a thing at that size.
The last small tool was a #3 at three millimeters, used from the opposite side to take one more section away. One end of that leaf was so fragile I chopped it off by accident, and I said nobody is going to know there was a piece. Then the handle went off on the scroll saw.

Which small tool did which job on this leaf?
| Tool | Job | Where |
|---|---|---|
| Dockyard gouge, 1.5 mm | Dug a deeper shadow inside the small curl. | Curl hollow |
| An unnamed micro tool | Refined movements after the wider tools had roughed. | Leaf division |
| A one millimeter #11 | Ran a small concave down the middle stem. | Middle stem |
| Half millimeter #11 veiner | Made a U groove, then went all through. | Stem bottom |
| Tiny #5 back bent | Went 2 mm one way, then 3 mm. | Grain change |
| Three, then two millimeters | Opened a hole with fingers placed right underneath. | Leaf opening |
| Another 2 mm #11 | Set the first line of a hidden leaf. | Inside leaf |
| Veiner at half millimeter | Cleared the fuzz around the new small section. | Around it |
| Last, #3 at 3 mm | Took off a section from the opposite side. | Far side |
Should micro gouges come before a normal set?
In my wood carving on this leaf, the normal ones came first every time. Every tiny tool followed a wider one. The question of when a beginner should reach for tiny detailing tools gets its own page from a Grinling Gibbons class in Maine, and I will leave that question to it.
The small ones need sharpening like any other edge, and the lesson on sharpening micro tools is where that gets handled. The sharpening course covers the normal gouges.
If depth is your worry rather than width, workshop 70 is about knowing how much wood is left under the tool. And if you are still choosing what to buy, the tools course starts there.
This leaf sits in the middle of a long run. Workshop 74 is about carving for paint, workshop 77 comes right before this one, and workshop 79 starts the big corbel. The whole Part 7 of the Venice Room is workshops 74 to 85.
Do you like watching a tool go into a spot the size of a grain of rice? Would you rather see where a piece breaks than a clip where nothing goes wrong? Then this room is for you, and it all sits behind one tuition plan, with the map of every lesson open to anybody first. If you have never held a gouge, start here.
How it's done
- Rough with a wider gouge. Take the mass off first. A #8 of 7 mm and a #7 went in before any small tool touched the leaf.
- Check what is left. Before going deeper, look at the thickness. I found less than 1/32 in at one curl and switched to a smaller tool.
- Dig the shadow narrow. Switch to a much smaller gouge in the hollow of the curl, and run that dark to the edge.
- Step down to go deeper. Start a stem concave with a #11 of 1 mm, then drop to a half millimeter veiner for the bottom.
- Follow the grain. When the grain turns, change the piece's position, go the other way, and pick the back bent size that fits.
- Support it from below. Place your fingers right underneath when a small tool is about to go through, and drop a size once it does.
Frequently asked questions
How small do these tools get?
The smallest on my Venice Room leaf was half a millimeter and the biggest three millimeters. A Dockyard gouge of a millimeter and a half, #11 veiners of 1 and 0.5 mm, and #5 back bents of 2 and 3 mm did the fine work after a 7 mm #8 roughed the shape.
Why use a half millimeter veiner instead of a 1 mm one?
I wanted to excavate a little deeper in one section of the middle stem. A #11 one millimeter wide had made the first concave, and the half millimeter made a small U groove below it until it was through. Separating the whole stem was possible, and I chose against it because the piece gets shipped.
When do you use a small back bent gouge on a leaf?
Partway along my stem, I stopped and said I probably should use one. Mine was a really small #5 at 2 mm, and when the grain changed I turned the piece, went the other way and moved up to 3 mm in the same sweep.
What to carve next