

Alexander Grabovetskiy, woodcarver, School of Woodcarving · Published 2020
Is it safe to rough out wood along the grain?
Quick answer: Roughing out lengthwise is fast work, yet I warned students in workshop 75 that it carries a risk, since a split can travel into the area your design needs. Feel the wood, do not push hard, and turn the gouge crosswise whenever you can, which I called always safer.
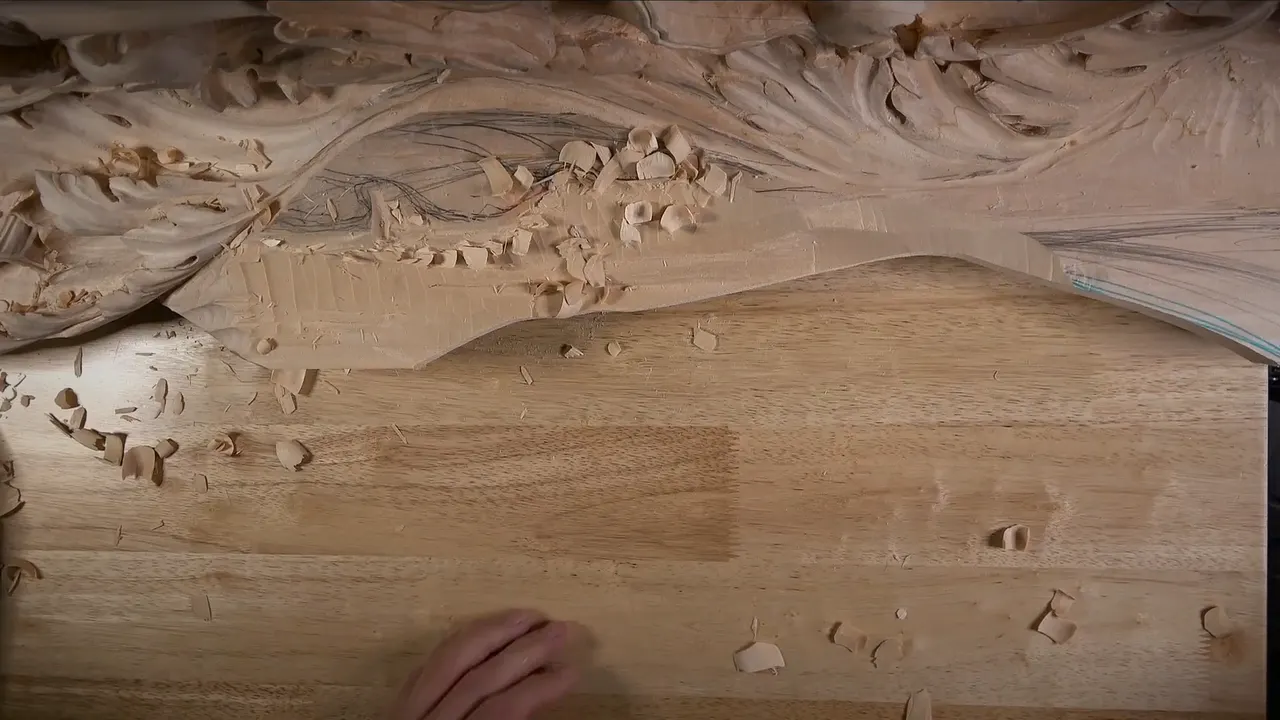
Roughing out along the grain is quick, but it is not the safest way, because a split can run under your gouge and into the part of the board your design still needs. Carving across the grain is safer, and I said so on camera in workshop 75. Some of each happened on one Venetian acanthus that day, and I told my students plainly which one was the gamble.
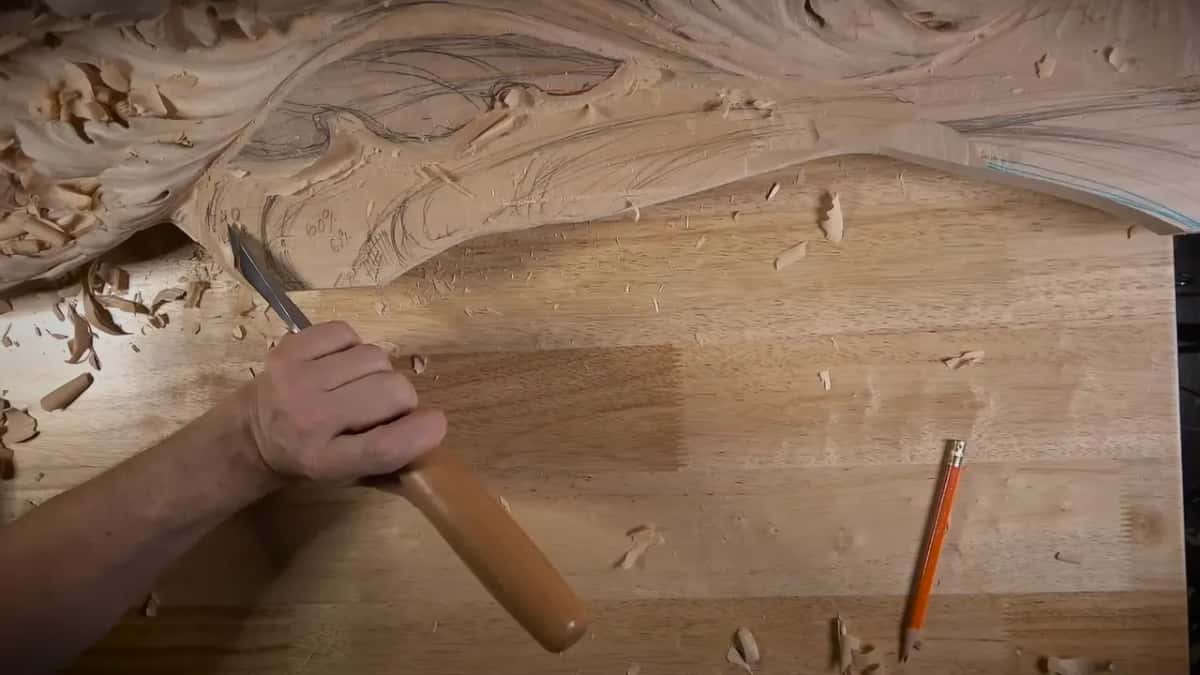
This corner of the Venice Room still had a lot of extra wood on it. A shell and a long acanthus movement were planned there, and before either one could go in, that mess had to come down into a gradual slope.
Have you ever seen a crack run ahead of your tool? Did it stop where you hoped? Was it heading straight for the spot you needed most? Then watch how the roughing went for me here, split and all, because every carving starts with this part.
Six things workshop 75 shows about roughing out
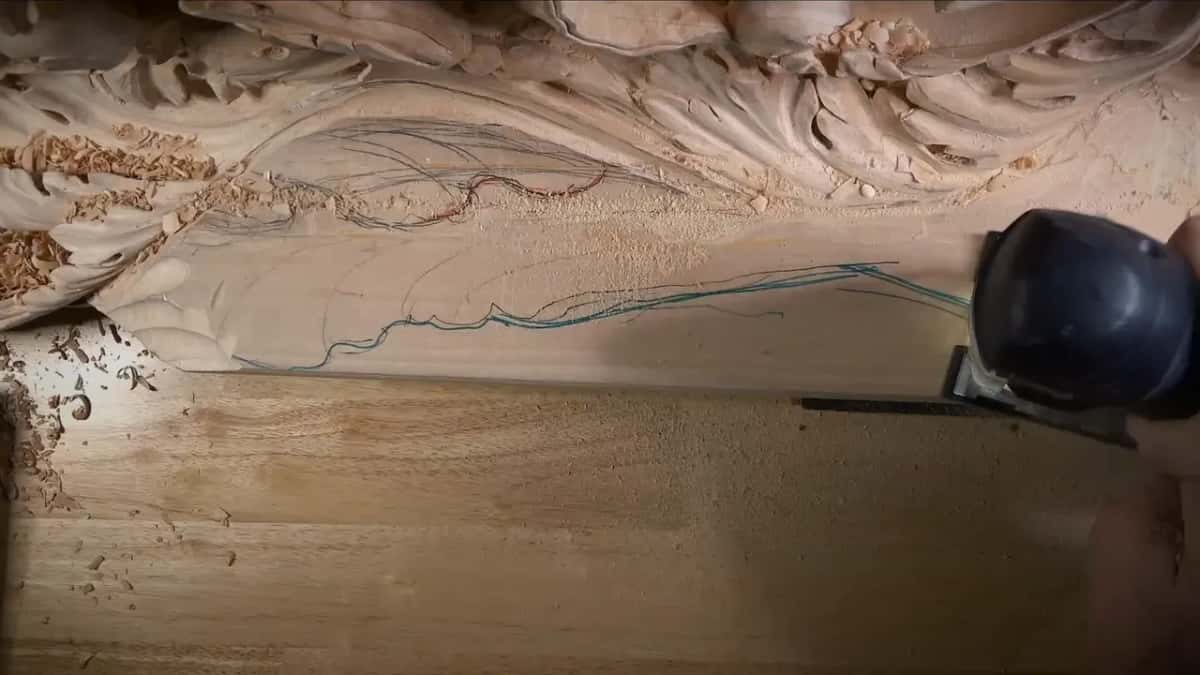
A normal jigsaw took the biggest chunk of waste off in half a minute.
Going lengthwise is fast, and a split can run inside the design.
Working crosswise is the direction I called always safer.
About 20 mm (3/4 in) of wood stayed where my slope began, closer to 25 mm (1 in) where it climbed.
Driving a gouge straight down, I left roughly 10 mm (3/8 in) before hitting hard.
A wide number 2 rode over the ridges last, so I had a clean surface to draw on.
Why is roughing out lengthwise risky?
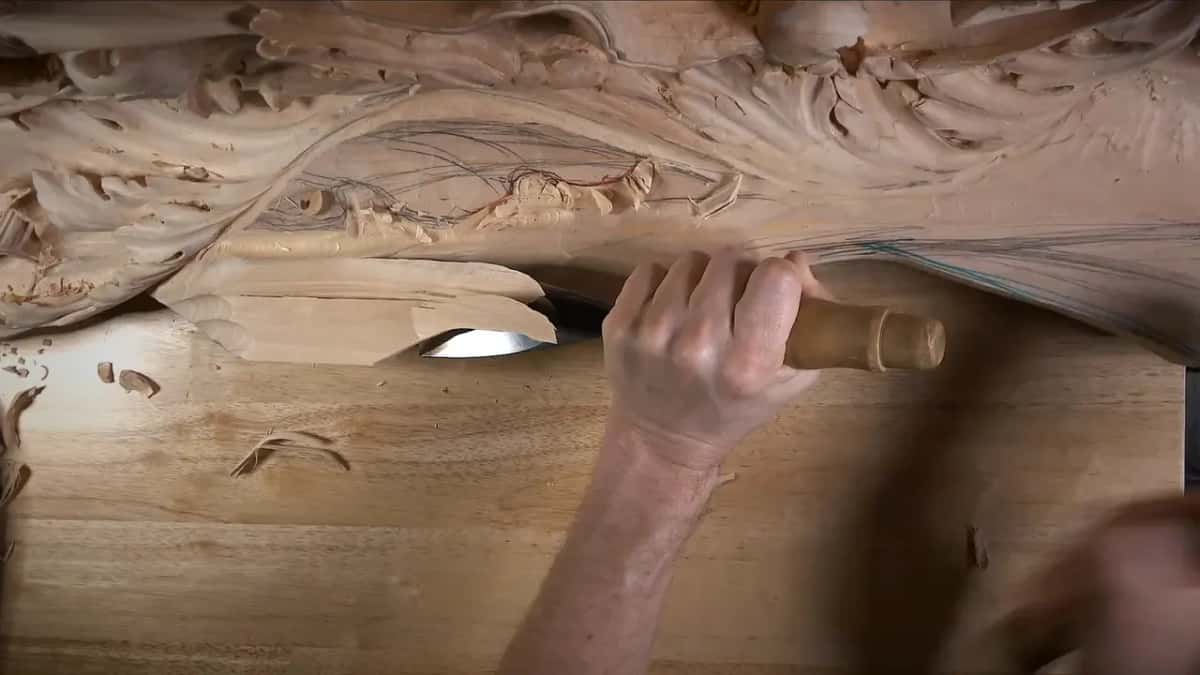
The wood can split, and if it splits on the inside of your design, the damage sits right where the carving has to be. That is the reason I gave while I was doing it. I had a big number 7 running lengthwise, and I stopped to warn my students about it.
If the grain splits on the inside of the design, that is really bad, and it won't give you the result you are after. So you really have to keep an eye on where it splits, and you have to feel it. Don't push too hard.
I said it again a couple of minutes later. If you want to do it that way, fine, but make sure you really feel what the wood is doing under the edge.
If the words with and against the grain are still new to you, there is a whole page on what carving with the grain means.
Why is carving across the grain safer?
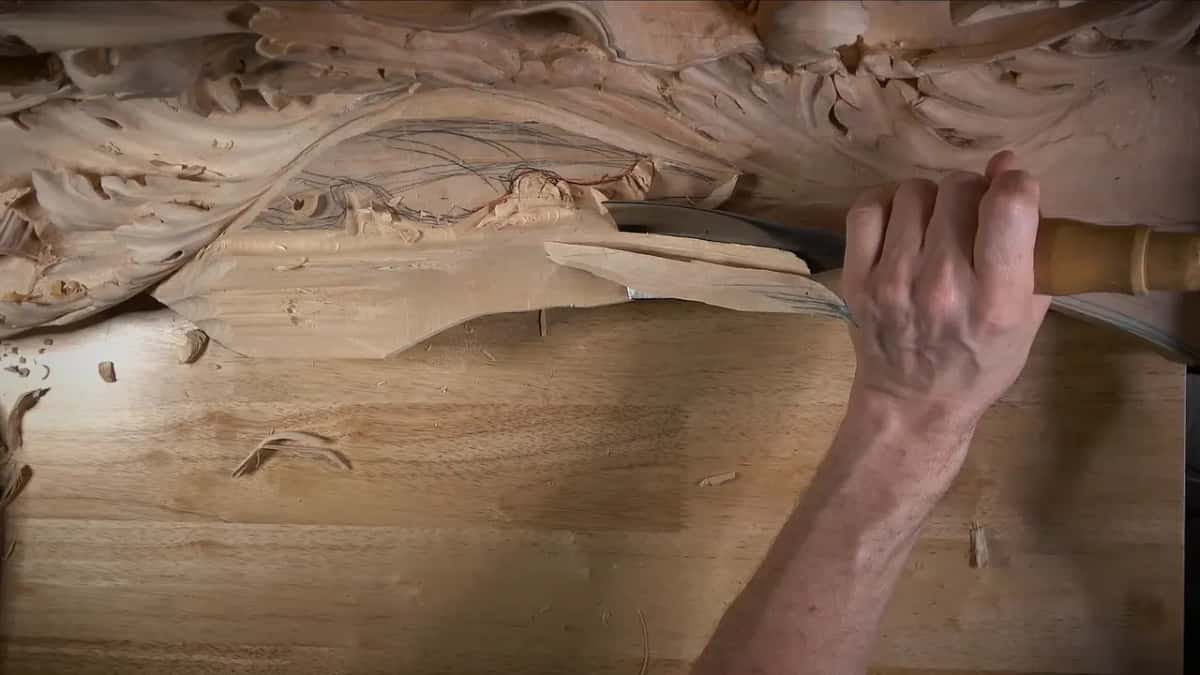
Always best like that, I said on camera, and always safer. Then I turned the gouge.
No long lecture about fibers came with it, just the gouge doing it. And later, near my drawn line, when I did go lengthwise again, I took little passes, small ones.
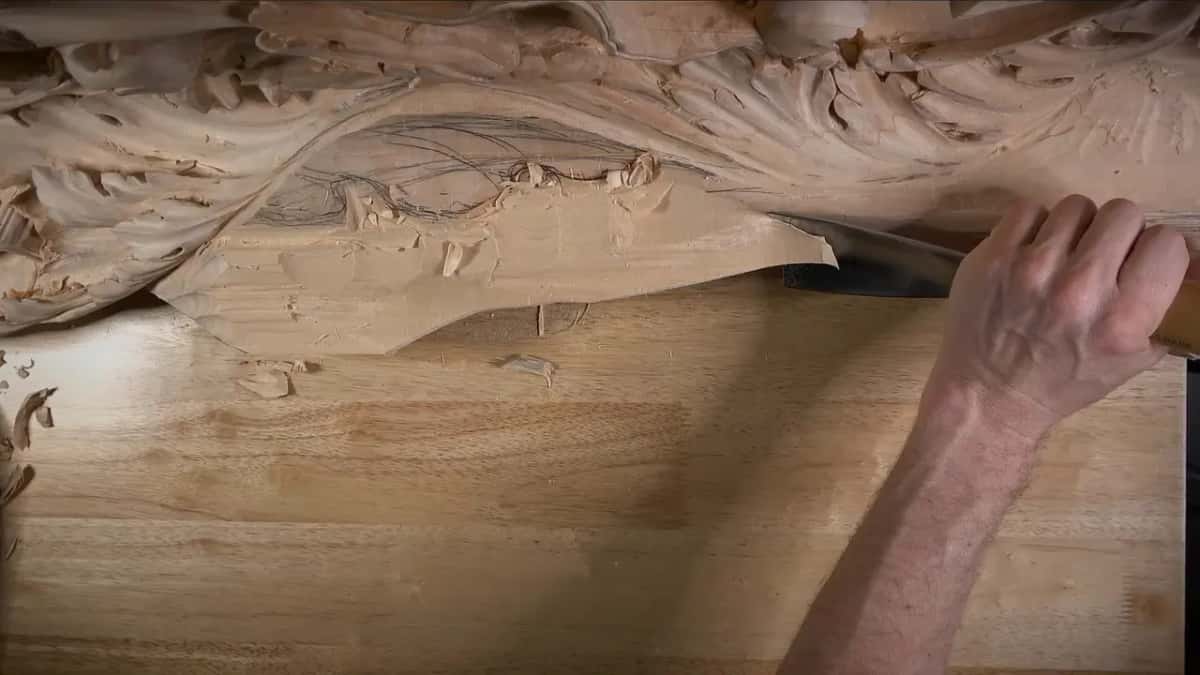
Both directions had their moment that day. My number 7 went lengthwise at first, with the wood still thick, and after my warning I turned it crosswise. The long way came back only as small strokes near the line. Carving against the grain without tearing is its own subject, and the eleventh part of this room has a page on it.
What came off before any gouge touched it?
The biggest piece came off with a saw. On the other side of this same design I had removed that section with gouges, the slow way. This time I joked that I was going to cheat, then took it back. Not to cheat, just a normal jigsaw.
I didn't follow the outline exactly. It was approximate, only the boundary I had to get rid of.
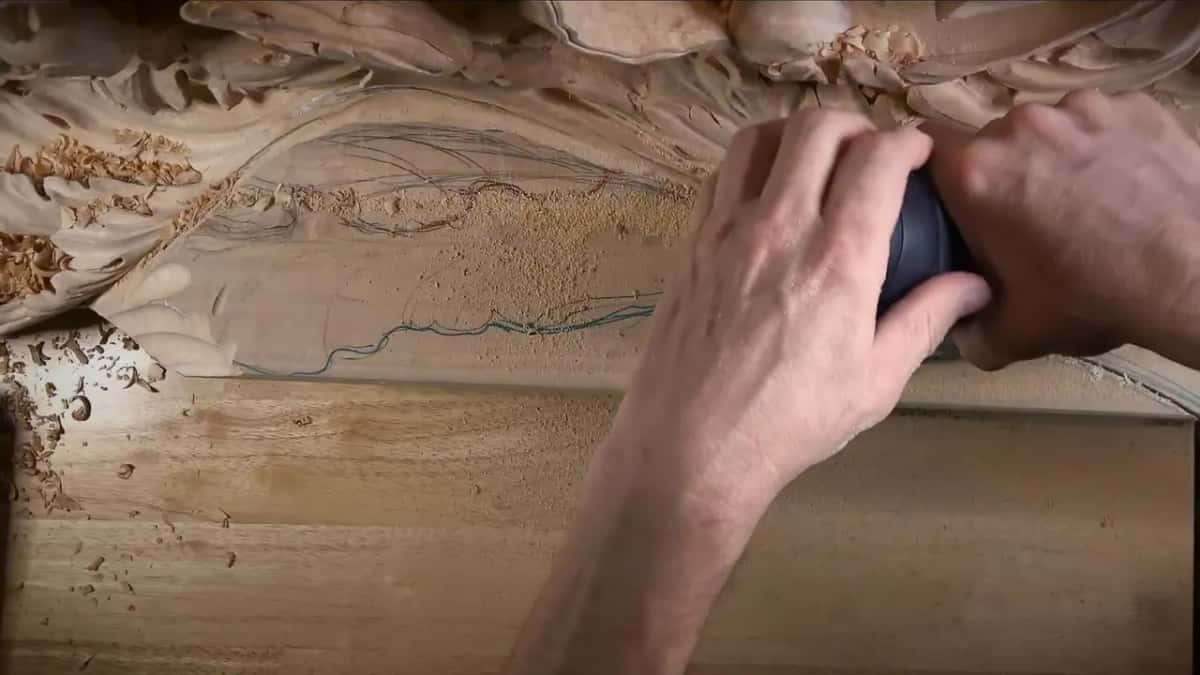
First I raised the work, because otherwise my blade would hit the workbench, and that is no bueno. Not too much, just a little. Three bench cookies went underneath, and that was high enough. And this piece is heavy. I set something beside it as well, in case it wanted to fall.
It took me about 30 seconds. I kept the offcut for repairs later on, and the only thing I did not like was the dust. I hate dust in my shop. The fix was simple enough: I got the vacuum and cleaned it up, then pulled two of the cookies back out and set the piece down carefully.
How much wood did I leave under the slope?
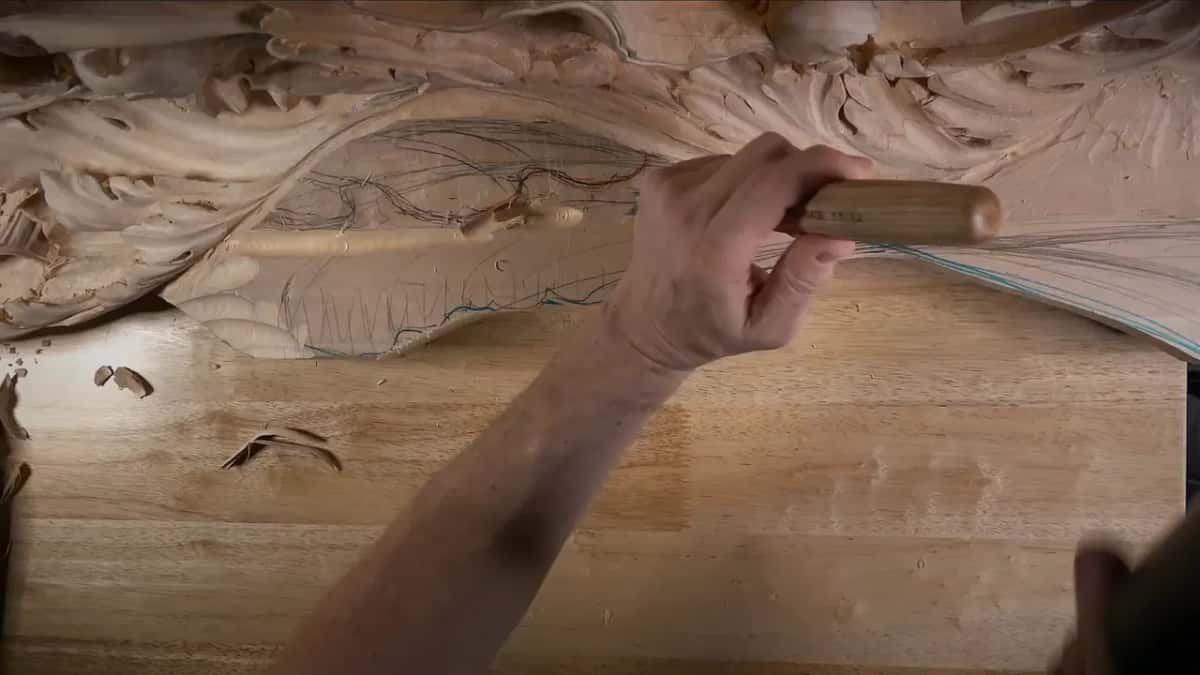
About three quarters of an inch, around 20 millimeters, where the slope started. I checked two spots and both came out the same, with maybe a little shaving in one area, and that was that.
Farther along, the shape goes a little more uphill, so the wood stays a little thicker there. I would say maybe about an inch, 25 millimeters, at the far end. It has to be a really nice movement.
One section went lower than I wanted, maybe three millimeters down from the rest. I still had plenty of thickness right there, so I was going to be okay. But I wish it had not happened, and I said that too.
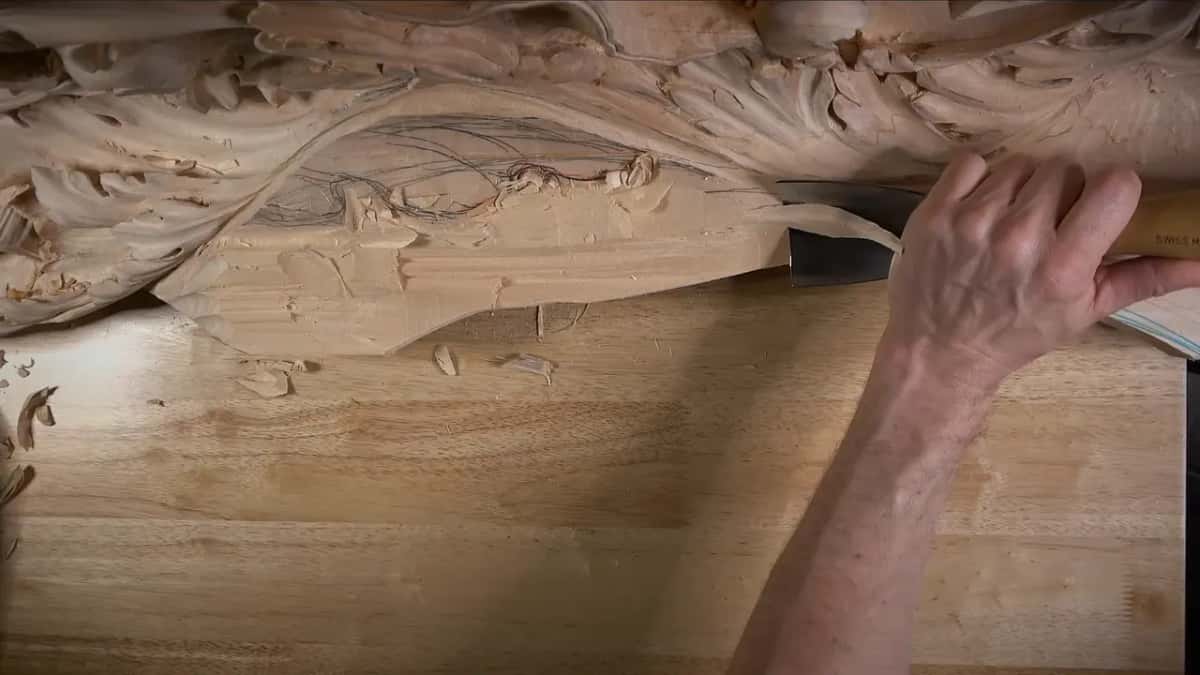
These numbers belong to this one corner of the room, so do not read 20 mm as a rule for a whole board. How deep to go at the roughing stage on a flat leaf is a different job, and the Byzantine acanthus lesson gives it its own number.
Which gouges did the roughing?
Mostly big ones, then smaller as the slope got close. I outlined first with a number 11, even though I said I didn't really need to. After that a super huge number 7 went in, the quickest way to knock that mess down.
| Gouge | Size, in the words I used | Job |
|---|---|---|
| Number 11 gouge | 12 mm (1/2 in), struck with a mallet | Outlined first |
| Huge number 7 | Super huge, in my own words | Mass down |
| Ashley Iles 7 | One inch, about 25 mm, long bevel | Slope lowered |
| Sweep 9 gouge | Three quarters of an inch, 20 mm | Cavity hollowed |
| Wide flat 2 | Two inches, 50 mm, riding the ridges | Clean canvas |
| Skew chisel, mallet | No size named for it on camera | Slope set |

The number 7 with the long bevel is an Ashley Iles, and you can see I keep a couple of them, one with a short bevel and one with a long one. A 6 would have worked too. I thought about it and took the 7. By then I did not need a big tool any more, and a smaller one was more convenient for the shape that was left.
At 20 mm, that number 9 could have been an 11 or an 8. Any of them gives about the same result in a cavity like that one. I used the mallet at first, then went by hand, because I did not need the mallet anymore.
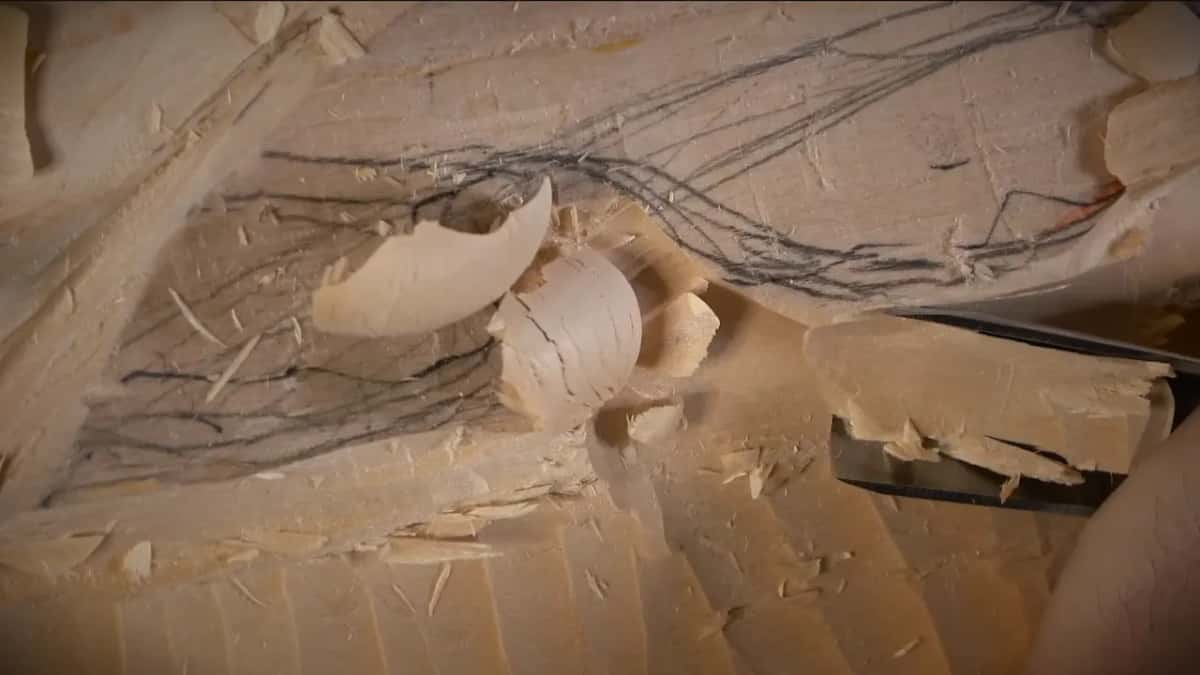
Then there is the number 11 at 15 mm, which I picked up to make a more perfect outline before the sloping, and used a new way. Look what this tool can do. You can use just its side as a flat tool and get really close to whatever you need to. And for the slope itself I picked up a skew, and yes, even a skew can take a mallet. At the other end of the size range, the last tool of the workshop was a tiny one for a plug cut, stamped 3 mm, and I told everyone it is no way 3 mm. It is less.
What do you do when there is already a split?
It gets fixed on the spot. Partway down I found a deeper spot, right where there was a split, and I said I have to take care of it, then kept working it a little more before moving on.

There was a second small problem that day, and it had nothing to do with grain. My work kept moving on the bench. My wheels needed locking so it would be more stable, and I still could not figure out why it moved so much. I'm used to it. I hoped it would not bug the people watching too much.
A slope like this one also has a line it must stay under. The movement I was about to carve had to sit below that line, so near it I went lengthwise again, in little passes, and ended with a nice slope I could work with, no problem.
Why get the slope done before the middle line?
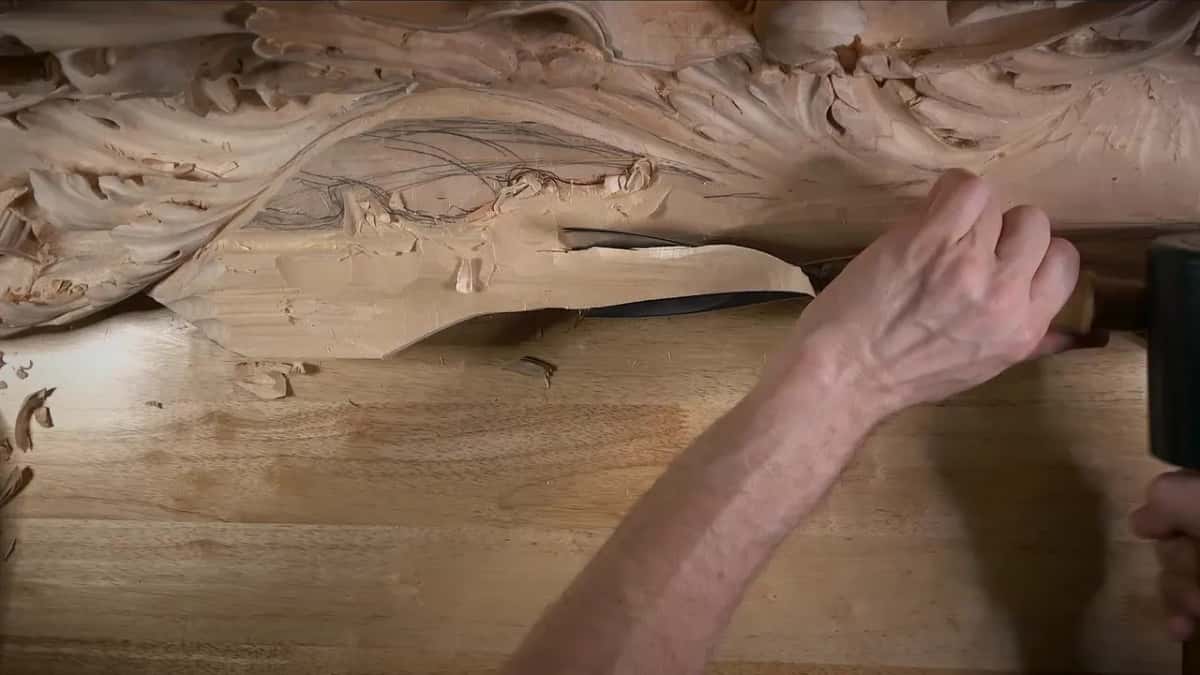
Sloping can move the line. There was already a preliminary design for this corner, a long acanthus movement that returns on itself, with the shell overlapping it. I knew roughly what I wanted. Still, before I set the middle line of the leaf for good, I said I needed to slope that area first, since once it is sloped, that line may well shift.
So I approached it carefully. I did not want to lose the overall feel of the piece while the mass was still coming off. When the slope was where I liked it, I stopped. I could have gone downhill completely, or raised the point a little, and I chose to stop at my slope, somewhere right there.
One small habit from when I was cleaning under the future shell: I put away the tools I was not using. Otherwise it gets messy, and I really don't want to be messy.
Why stop 10 mm short before driving through?
Going all the way through in one blow can split the wood and damage the back side. I warned about it while chopping along an outline. I left about 10 millimeters before I hit too hard, then went through that stroke carefully. Much safer.
Later in the same workshop, on a small triangle, I made a relief cut using a number 11 at 10 mm. I warned about the same thing there: never push that one through, because that would be a big mistake, and it is better to attack from the sides.
Why clean a rough slope before carving the design?
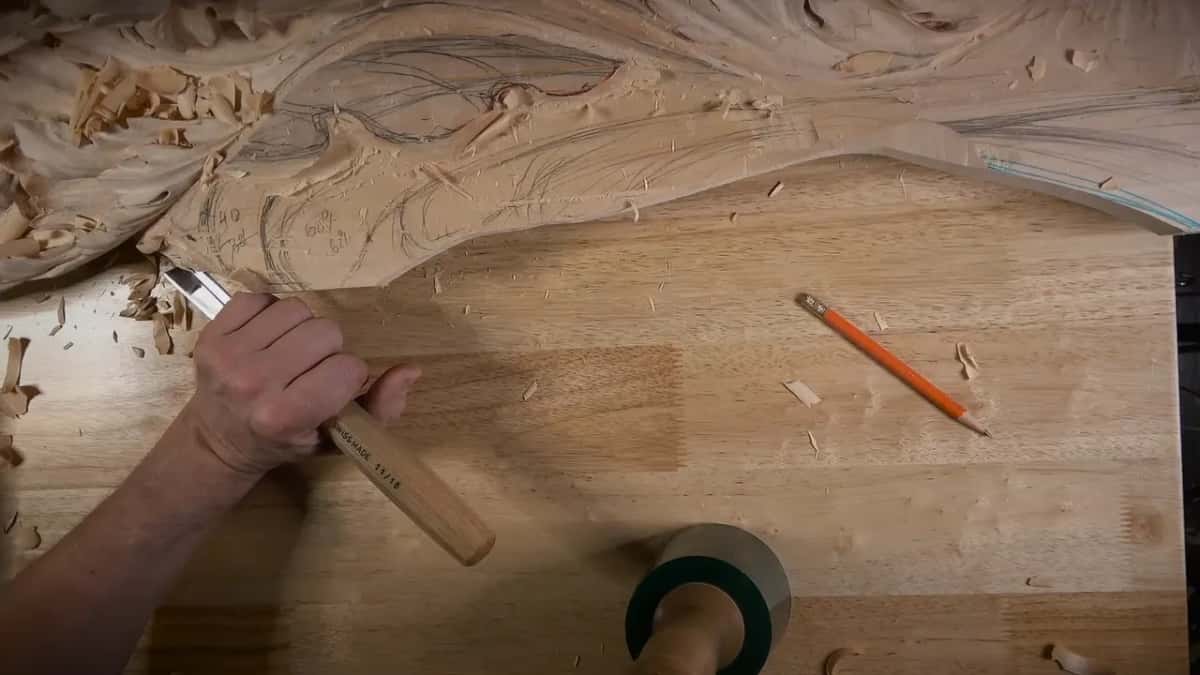
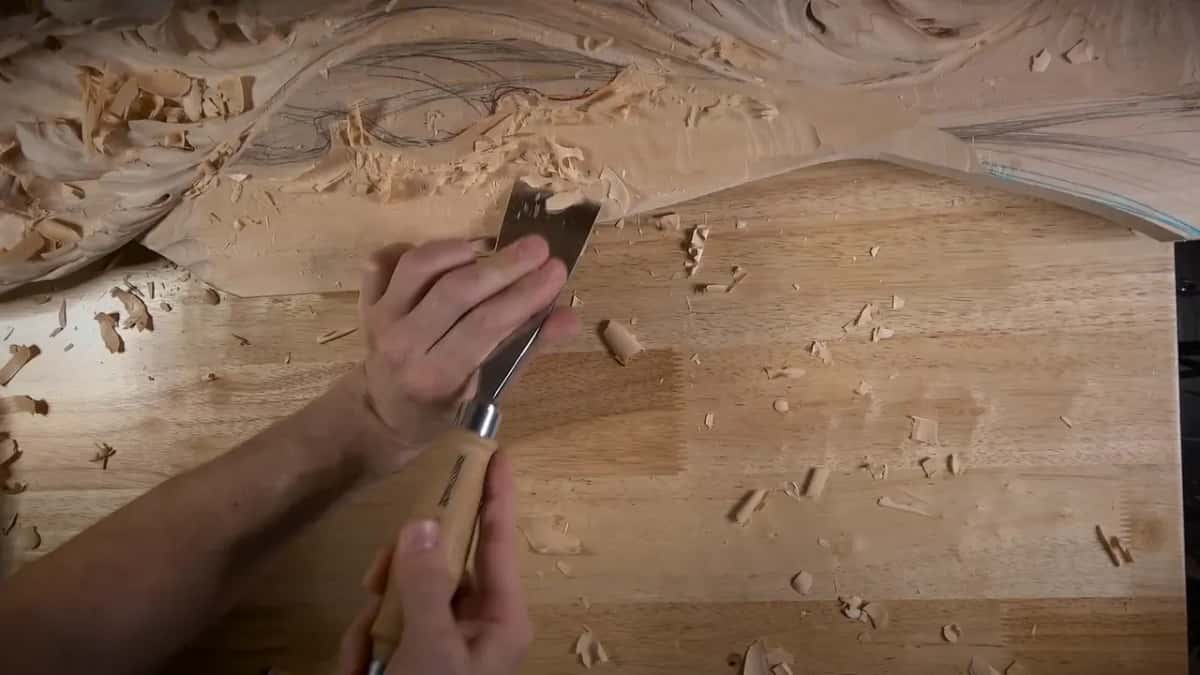
A clean canvas is what the drawing needs. With a bigger number 2, like 50 millimeters, I just rode on top of the ridges the rougher tools had left. This step is not really necessary, I told them, but I like to do it.

A clean surface gives a nicer line, more consistent. It also helps me keep consistency in the whole three dimensional shape, with more gradual movements, and I can always take care of the high spots afterward. One little spot I left alone, since it would be gone once the details went in.
Should you dig deep while you are still roughing?
Not too deep, not right away. Later in workshop 75 I had to knock a whole area back down, because I had excavated some eyes super deep before the design was settled. One side was much, much deeper than the other. Almost 10 millimeters, about 3/8 of an inch, from the ridge down. I said it was not a mistake, but it is wiser not to do it that way. To bring it down I reached for a flatter spoon, a number 4 at about half an inch, around 14 mm, and took an even deeper pass until the hole was gone. Workshop 70 goes much further into keeping depth under control.
Some of the cleaning under the future shell happened with the camera off. I could not get close enough there without sticking my head in front of the lens, and I said so. The shell itself I did not film either, because I had shown it several times before: big concave, convex, concave, with some beads inside. One more thing I left standing on purpose. Beside this acanthus sits a block I kept for a corbel that gets carved later, and I told everyone I would work on it a little later.
Who is workshop 75 for?
Anyone who has a design drawn and a lot of wood still sitting on top of it. The roughing here is ordinary wood carving work, a saw and big gouges, done on one corner of a big Venetian relief. It comes right after workshop 74 and before workshop 76 and workshop 77, all inside the seventh part of the Venice Room, which follows part six.
If grain still feels like a mystery, you are in good company, and there is no shame in it. Sharpening is the hardest of the three skills, and the sharpening course covers it. The tools course answers which gouges to own first.
Do you want to watch a real board, split included, instead of a perfect clip? Would you like to hear why a tool went in before you see it go in? Then the whole room sits behind one tuition plan, the map of every lesson is open to anybody first, and if you have never held a gouge, start here.
How it's done
- Saw off the big waste. Raise the work on bench cookies so the blade clears the bench, then take the chunk off roughly with a jigsaw. An approximate line is fine.
- Outline the area. Set the boundary using a number 11 and a mallet.
- Rough the mass crosswise. Knock the extra wood down with the largest number 7, turning the gouge across the fibers where you can.
- Feel it when going lengthwise. Where you do go with the fibers, don't push too hard, and keep an eye on any split heading into the design.
- Keep thickness under the slope. Leave around 20 mm (3/4 in) for now, a little more where the shape climbs.
- Stop short on deep chops. Keep about 10 mm in reserve before you hit hard, then go through with care.
- Ride the ridges clean. Pass a wide number 2 over the ridges so the surface is ready to draw on.
Frequently asked questions
Can you rough out wood with the grain?
You can, and I did on part of this acanthus with a big number 7. I also told my students it is not the safest way. Go gently, feel what the wood does, and stop pushing the moment it wants to split inside your design.
Which direction is safest for removing waste?
Crosswise to the fibers. I called that always best and always safer, right after warning about splits, and turned my gouge that way for the next strokes. Lengthwise work came back only near my drawn line, in little passes, once most of the mass was gone.
Why use a jigsaw before carving?
Speed. A normal jigsaw took a big chunk of waste off my Venice piece in about 30 seconds, where on the other side of the design I had chopped the same area with gouges. I kept the offcut for repairs and vacuumed up the dust afterward.
What to carve next