
Alexander Grabovetskiy, woodcarver, School of Woodcarving · Published 2020
How do you carve a leaf that looks like it lies on top of the wood?
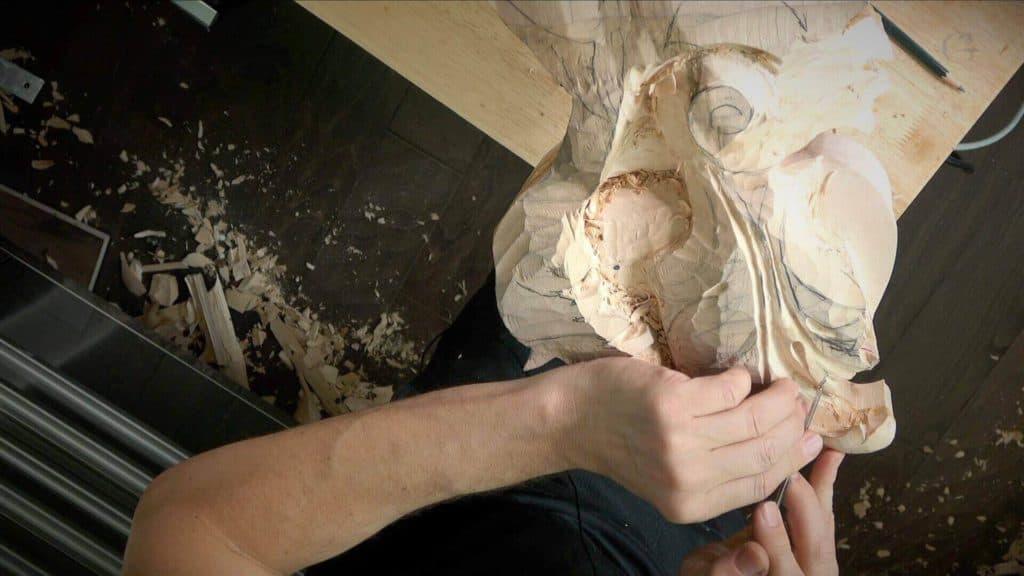
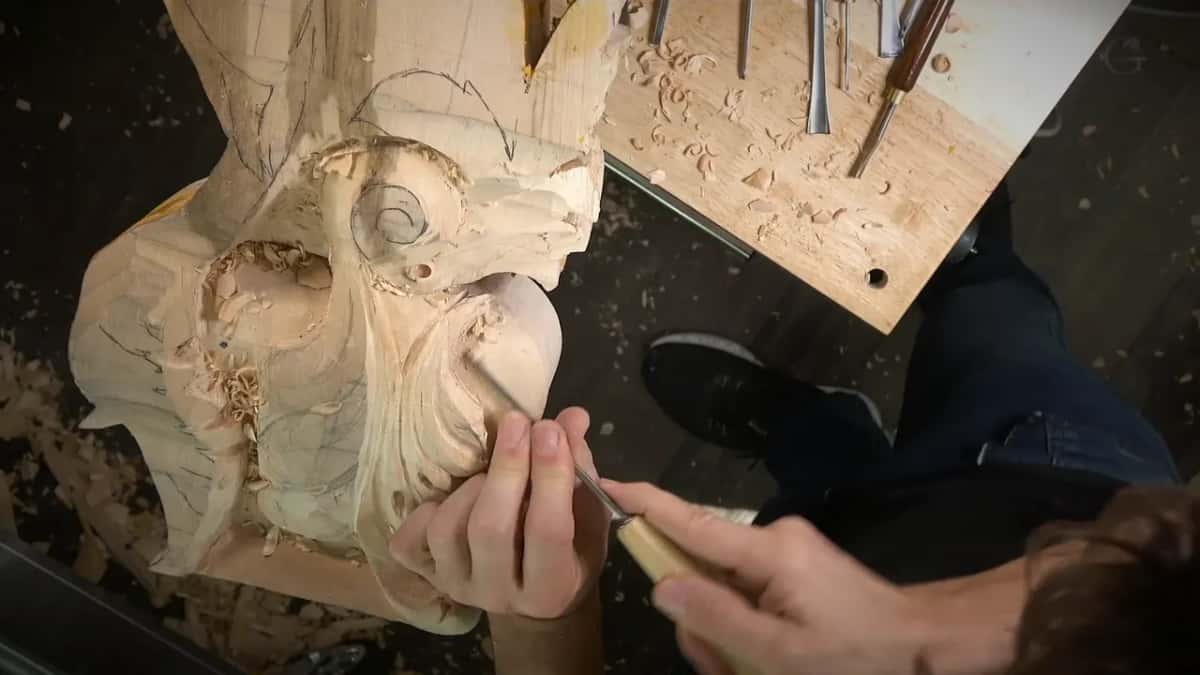
Quick answer: A leaf that seems to rest on the wood is carved with about a quarter inch, or 6 mm, left between it and the surface below. I smoothed that surface, laid a flat #1 on it as a guide, opened a hole through with a small #9 and undercut the edge with a 1 mm #11 for shadow.
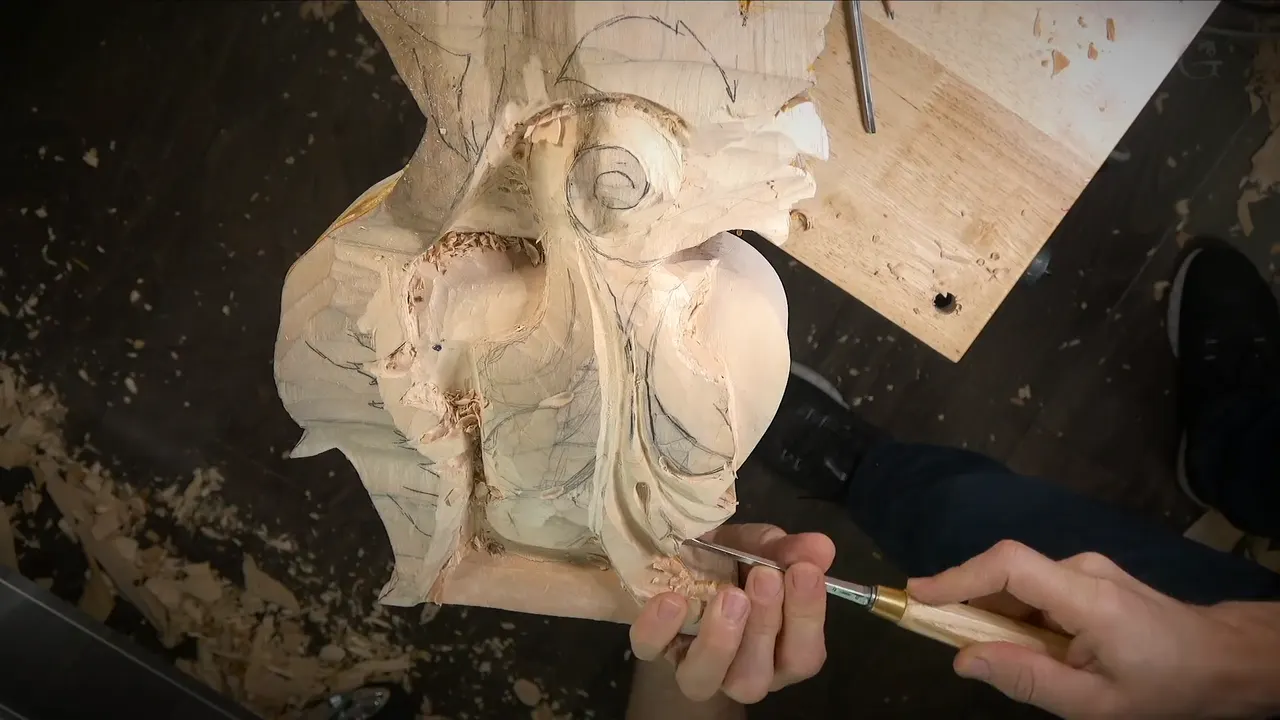
A leaf that looks like it lies on top of the wood is a leaf with a gap carved under it, about a quarter inch (6 mm) between its underside and the surface below. That gap gives you the look of layered relief carving, even though the leaf and the surface under it are the same wood.
In workshop 82 of the Venice Room I carved several leaves like that on the big corbel. On the first one I did not even know what to call the part it lies on. I said on camera I had no idea what the proper name was. So I called it the thing, and I kept going.
Have you seen an old carving where a leaf seems to float over the shape behind it? Would you like that look in your own work? Then follow me through this workshop, one leaf at a time, and keep your eye on the space underneath.

The gap beneath each leaf, in six plain lines
A gap of 6 mm, one quarter inch, stays below the leaf.
I cleared a section that was too bulky and carved an opening, so the leaf had room.
The surface underneath got cleaned smooth, with small tools where nothing else fits.
A flat #1 laid right on that surface kept the floor level.
In one spot a small #9 went clean through.
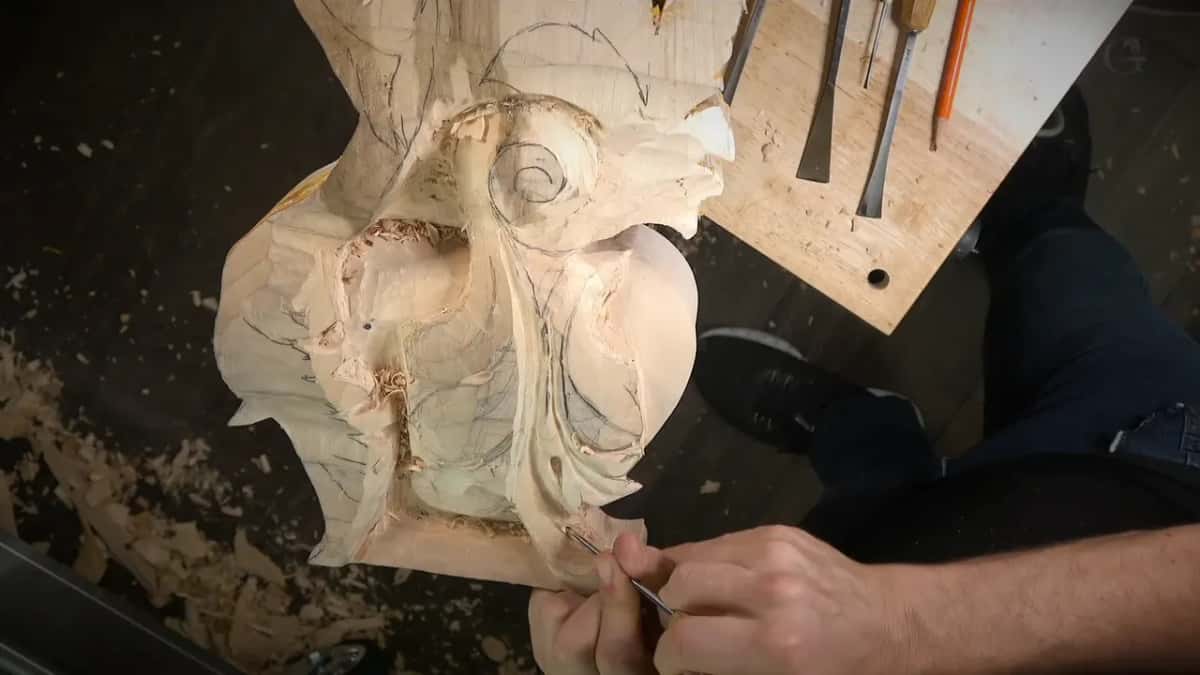
Undercutting with the smallest veiner, 1 mm, gave the shadow line, held back where paint is coming.
Why does a leaf need a gap under it?
Without the gap the section is too bulky, and it does not make sense. That is what I said on the first leaf, and I needed to remove that part and make some kind of opening.
I was not even sure yet what would go down there. Maybe a secondary level underneath, I said. For now I left that question open and took a #9 a quarter inch wide, 6 mm, starting with a pass across the grain.
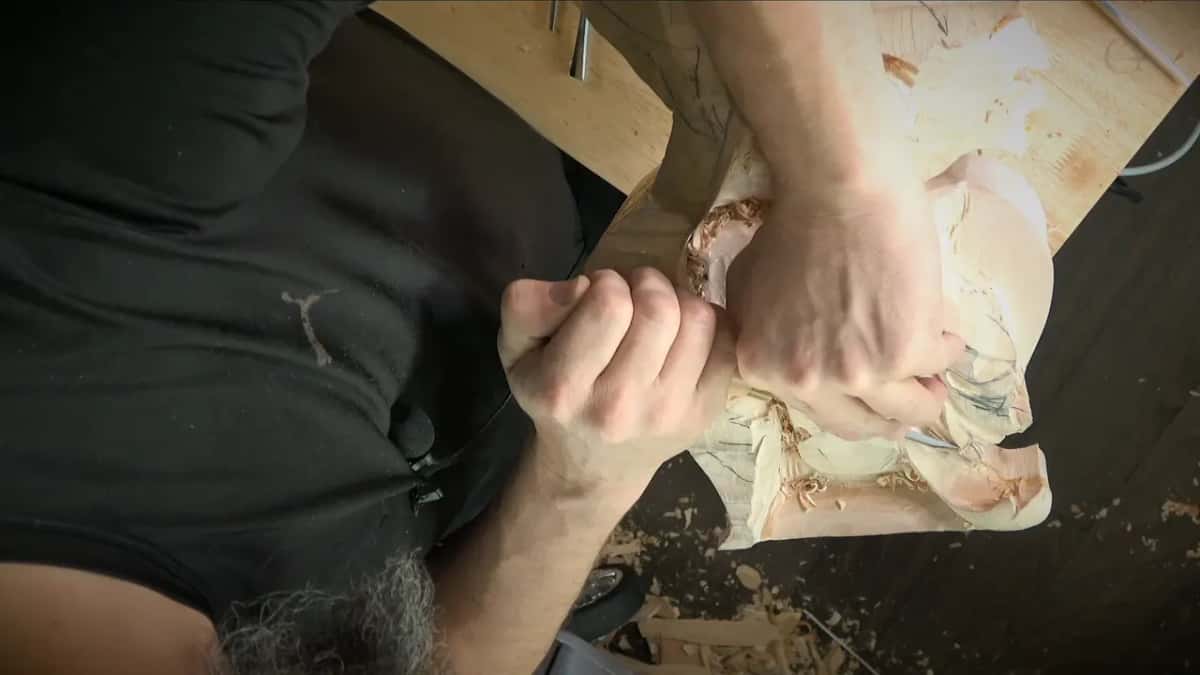
After that I said the plan out loud. Leave approximately a quarter inch above that main part, so the leaf feels like it is laying right on top of it. From there I went in a little at a time. That is the way it is done, I said, pretty much just little by little.
How much wood stays under a carved leaf?
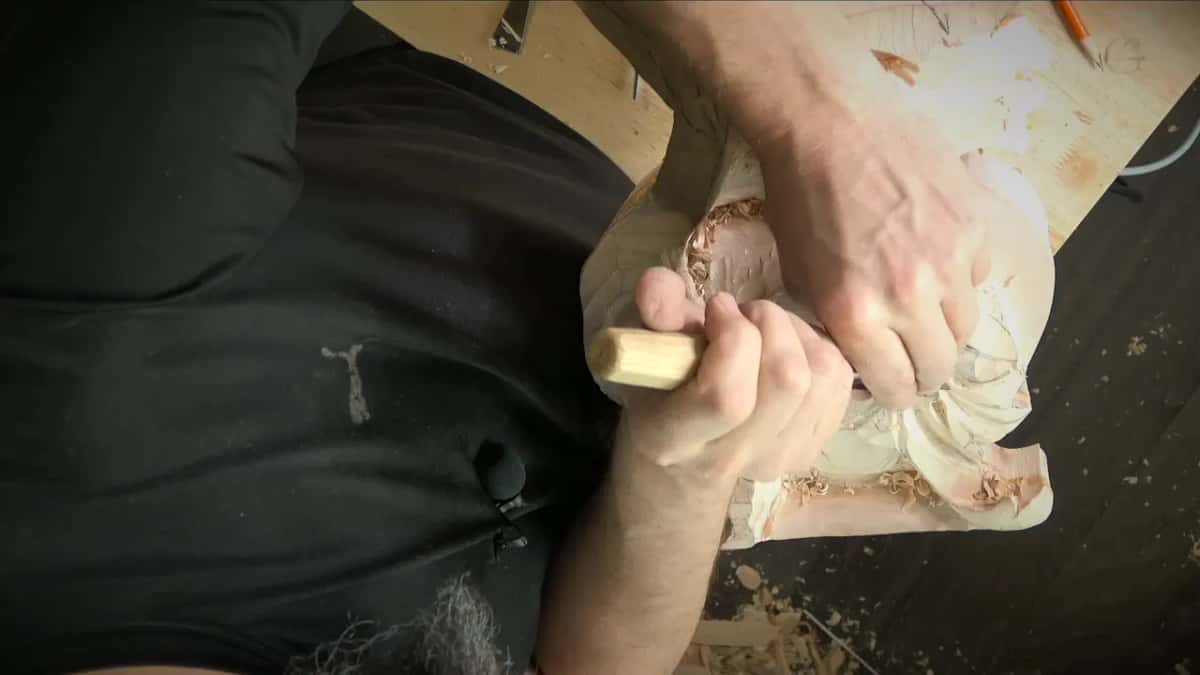
A quarter inch, and that number kept coming back. On one leaf I carried a concave down until its bottom sat roughly a quarter inch above the surface. Maybe even more later, I said, but for now a quarter inch.
A section on a different leaf was still a little too high. I lowered it to about six millimeters above the surface, which is the same quarter inch in metric.

The wood sets its own limit in places. One spot gave me only about 10 mm (3/8 in) between my point and the lowest place I could go. Because of that, I rolled the surface a little, and it gave a really nice movement. Rolling an edge back is its own subject, and workshop 73 is where it gets a whole page.
Somewhere else I had a mark below showing how far I could go. I don't want to go too deep, I said. Before taking more wood out in one place, I stopped and said I needed to measure it first. I knew approximately where it was. I just did not want to take chances.

Why does the surface below a leaf have to be smooth?
It becomes my guide later on, and a chunk under a leaf should not be there at all. I found a chunk under one leaf that should not have been there. It was supposed to be a really smooth surface, I said, and I was still careful taking it out.
I used a #9 for that job, and I said about 14 mm, like half an inch, would do.
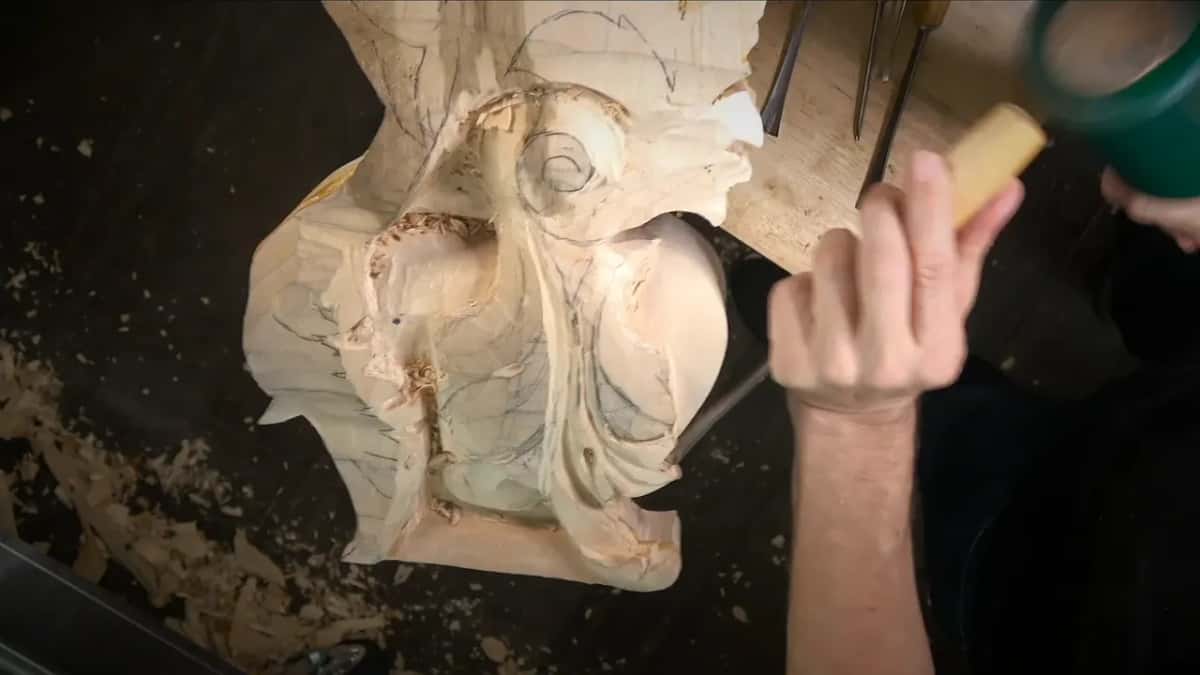
Under another leaf the surface still looked a little rough. I told the camera I was after a really smooth form, clean and nice right underneath, and that a place like that only takes really small, tiny tools. I really like my tiny #3 by Ashley Iles for spots like that. That one is 1/8 of an inch, about 3 mm. The tools smaller still each got their own job in workshop 78.
One messy section needed my Henry Taylor #3, about 5/8 in, around 16 mm, maybe 17 or 18. It wanted a strop first. So I used a piece of leather and mirror paste, by hand, because that paste is so liquid that on a machine it would fly all over you. It dries out fast. Still worth it.
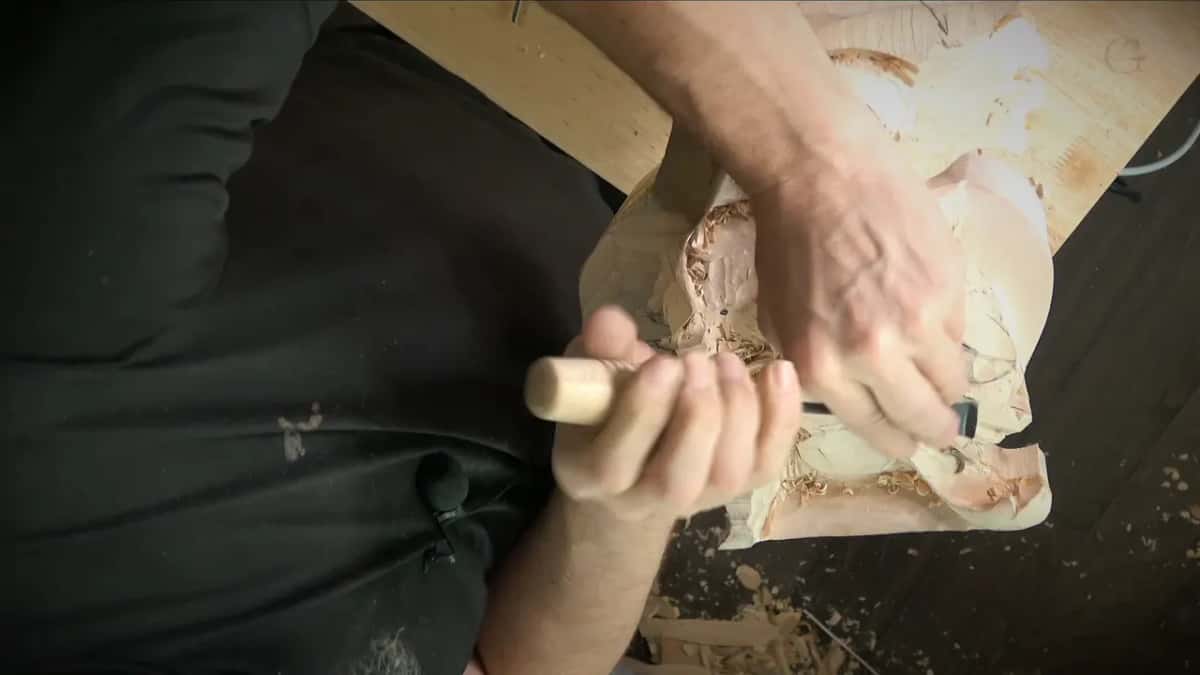
I also scraped off a carbon paper mark. With it gone, it did not strike my eye, and I could see the movement.
How does a flat tool use that surface as a guide?
You lay the tool flat on the surface and let the surface hold it level. Near the end of the workshop I had to make one area flat with a surface I had made before. The best tool for it, I said, is a #1, a flat chisel with a double bevel.
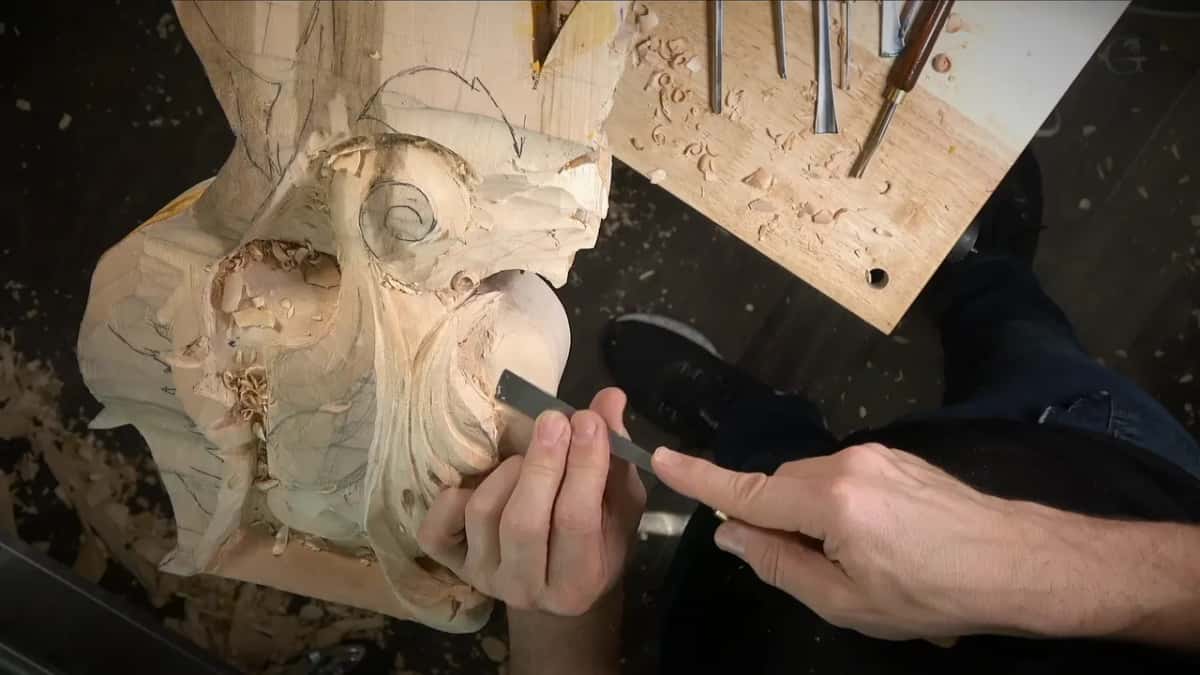
I laid it right on the surface and turned it as it moved, a rotating pass, and I slowed down on purpose so the camera could follow. That way it stays at the same level. I was pretty much riding on the surface I had made earlier.
Then I added one more thing. A single bevel would help even better, because you can lay it on the flat part and do exactly the same, and it will not move anywhere off that surface. A really good trick of the trade, I called it.
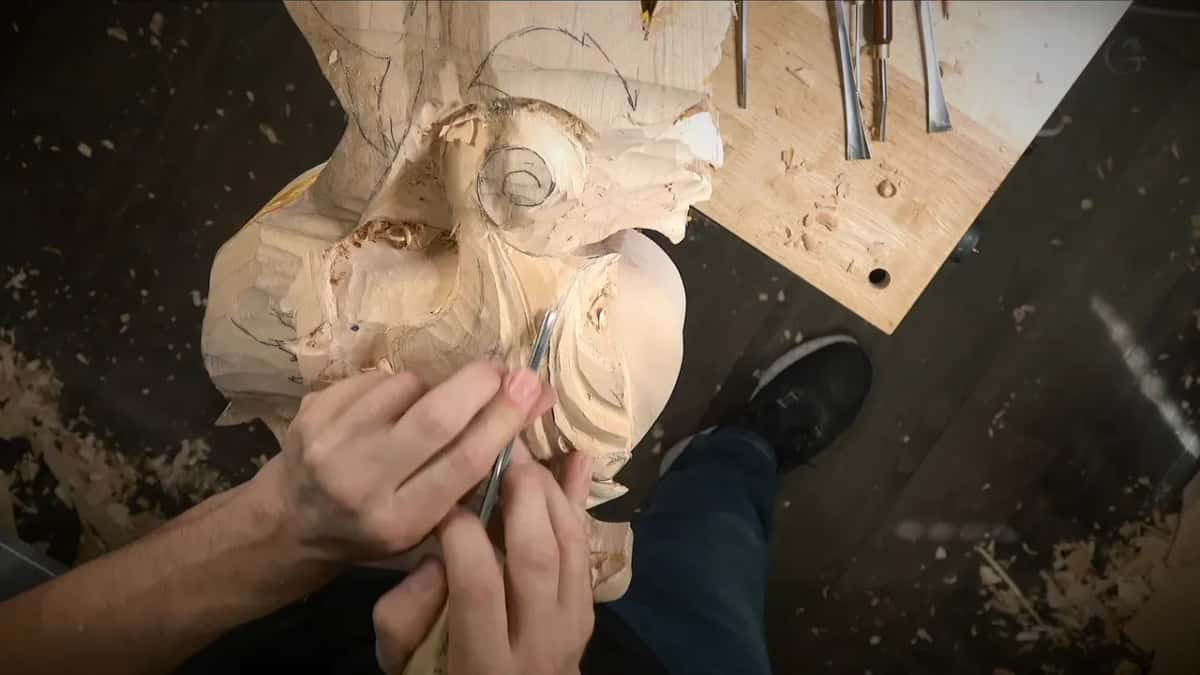
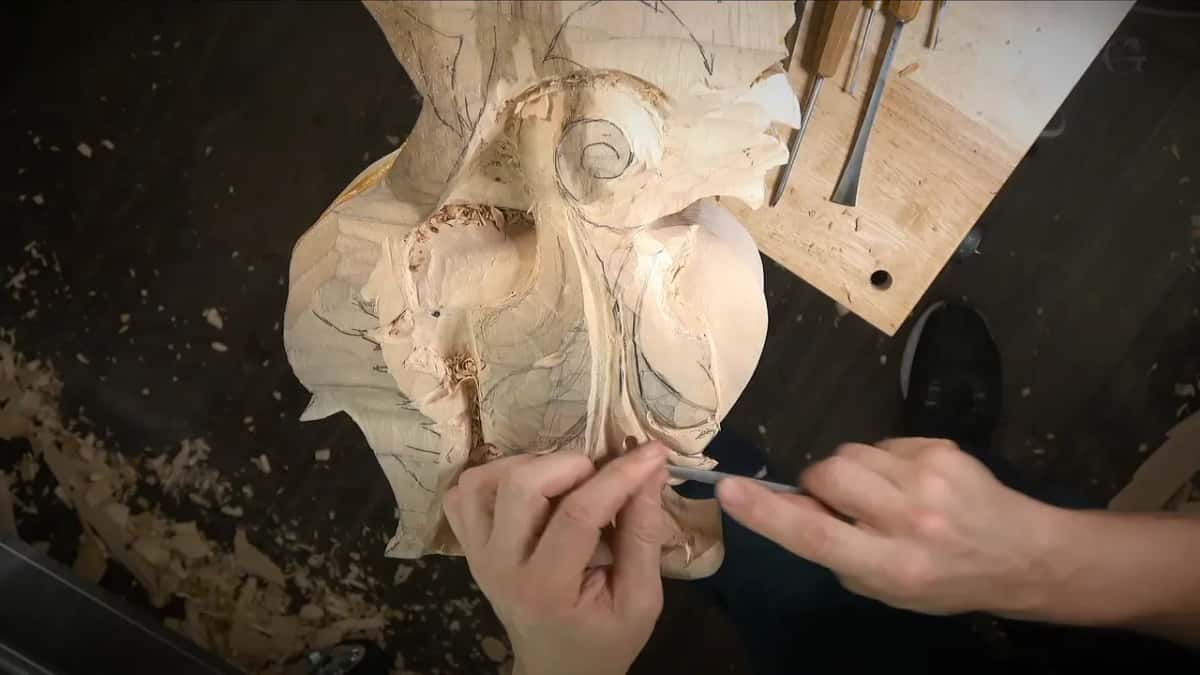
The same idea worked with a veiner. Cleaning one separation with a small #11, 2 mm (0.08 in), I laid it flat right on that surface too. That surface is my guide, I said.
Layered relief carving from the solid, or from glued boards?
Both are real ways to work, and this workshop shows the first one. Here the gap is carved into the block itself. Separate layers carved apart and glued into place are what the Part 7 overview says about Grinling Gibbons.
Making two glued boards read as one carving is the job of a lesson in the Maine class, and the whole Gibbons class works that way. On this corbel the quarter inch came up again and again. About one concave, I told the camera I was really limited with the space.

Why carve an opening all the way through?
A hole all the way through gave that spot a really nice look, and after it every later pass could go through the same hole. For that plug cut I needed only about an eighth of an inch #9, around 3 mm.
I had a line drawn, I carved down to it, and then I was through. See that, I asked the camera. Next came a 1 mm veiner, and you could see the shadow it made right away. Beautiful shadow, I said, twice.

Earlier, at another plug cut, I stopped and thought about my drill. I do have one, and in that case I could have used it. Maybe yes, maybe no, I said, and then no. I went the old way with a 6 mm #9, which is a quarter inch, and I could not go too deep there, or I would damage the side next to it.

What does a 1 mm undercut add?
It adds shadow, and on the first leaf I started it right away. The shadow was already nice there, and I undercut it pretty much at once with the 1 mm.
Later, on a shaky spot that was not as stable as I wanted, I undercut with the 1 mm again and said that was okay. Where I rolled an edge back a little, I said a 1 mm #11 was probably the best tool right then.
The final undercutting I left for off camera. The lens could not see in there, and I told my students I was not going to change the main movement, only undercut and maybe add a concave. My lights sit on two sides, and they hid that shadow from the camera. If I turned one side off, I said, you would see how deep it was.
How deep should the shadow go when paint comes later?
Deep enough to see, and no deeper than the paint allows. At one separation I wanted a deep shadow, but not too deep, because I still had to keep in mind how I would finish it and how I would paint it. I still want to see some shadow, I said.
In another section I kept a pass shallow on purpose, because I did not want a deep undercut in that section. This piece is paint grade. It gets a really thick chalk paint put on with a brush, and the brush marks give it some texture anyway.
Paint grade was also my reason for shaping a few spots with rifflers, small rasps, the same reason I gave for a rasp on this room's first panel. What paint forgives on a carving is in workshop 74, and I will leave it there.
Which tools did the work under and around each leaf?
| Tool | Job | Spot |
|---|---|---|
| Quarter inch #9 (6 mm) | Started the opening with a crosswise pass. | Under leaf |
| Henry Taylor #3 (16 mm) | Cleaned a section that looked too messy. | Beside leaf |
| Tiny Ashley Iles #3 | Got into one spot needing smaller tools. | Tight corner |
| Half inch #9 (14 mm) | Removed a chunk that did not belong. | Under leaf |
| Flat #1 chisel | Rode the surface in a rotating pass. | Flat floor |
| Small #11 (2 mm) | Rested flat so the surface guided it. | Leaf separation |
| Eighth inch #9 (3 mm) | Went right through to the other side. | Leaf base |
| One millimeter #11 veiner | Undercut the edge for a nice shadow. | Leaf edge |
A few bigger tools did the shaping around all this. A #7 of 14 mm, a little bigger than half an inch, set the S curves, and a #11 of 3 mm (1/8 in) did a lot of the outlining. For one spot I went to a mallet, to persuade it. Twice in this workshop an edge needed care, once a strop and once a sharpening, and the sharpening course is where I keep that subject.
What goes wrong in a space you cannot see?
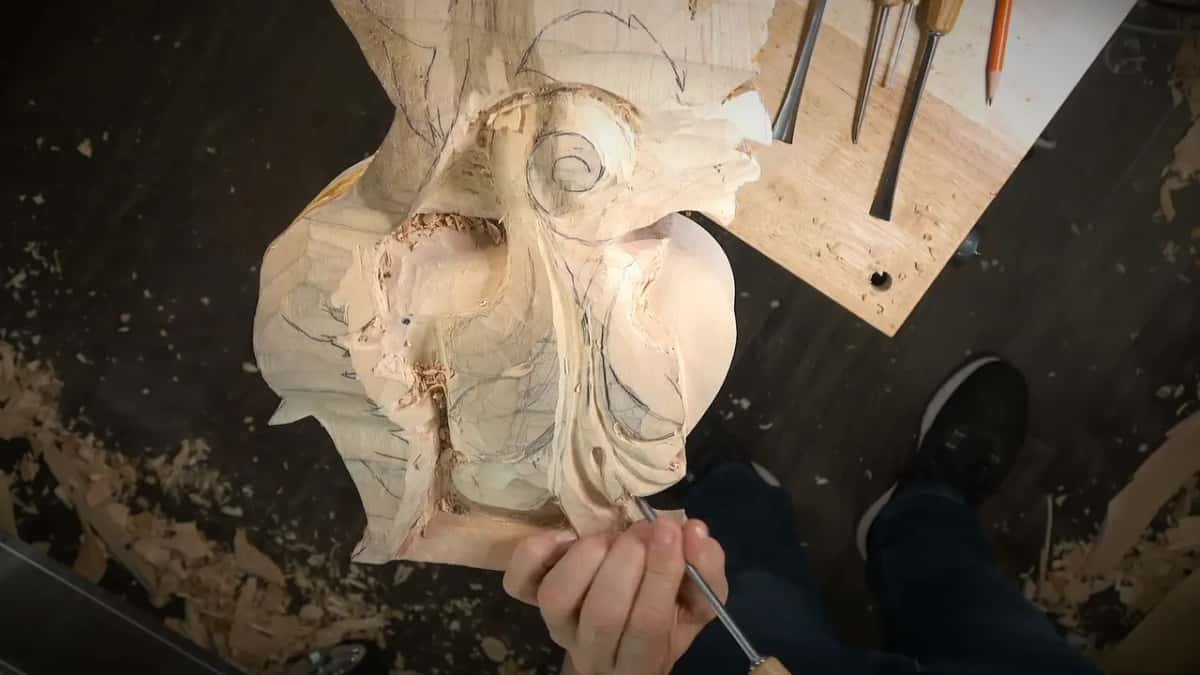
Plenty. Much of this is out of sight from above, and I told my students it will be really visible from below. And yes, I was on my knees working.
The piece is heavy, and that has a price. The only downside of my holding system, I said, is that the weight keeps me from making it tight enough, so it does not hold as stable as I want. In a couple of places I also worked uphill, against the grain, which I called the worst position, because there was no other way to get at that spot.
Partway through one leaf I stopped to check my pattern. It showed all those movements getting really close to each other, so one line there was not good, and I got rid of it. Shaping one area, I damaged an edge, which I should not have done. On another leaf I was not the biggest fan of what I saw and left it to fix later. Near the end I said one shape was okay, but not as nice as I wanted to see it yet, so I held off on digging in.
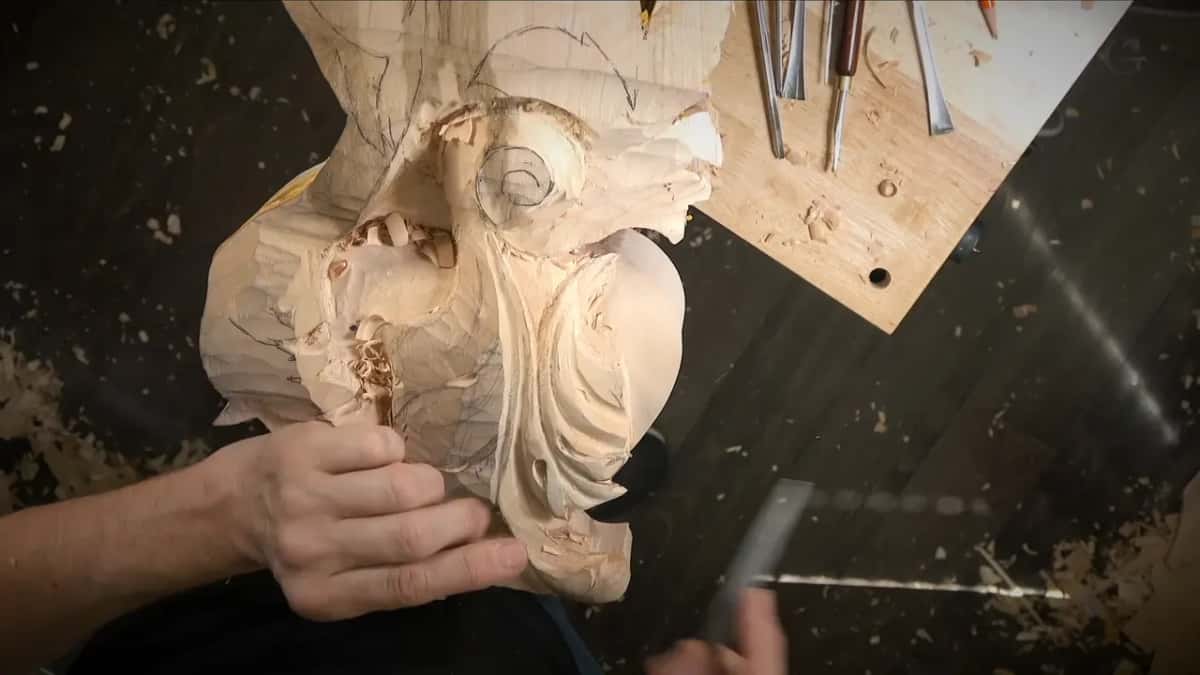
Can one leaf from a big carving become your own design?
Parts of it can, and I said so to my students early in this workshop. I know most of you are not going to carve a project that big. But sections of it can be used pretty much anywhere, and you can take the details and design your own application.
One of the acanthus leaves here can be a design on its own, because it has a really nice movement. It is also really authentic to the period I am working in. You can lift it into a relief design of your own.
This workshop sits in a long run. Workshop 81 comes right before it, workshop 83 comes next, and workshop 79 is where the big corbel starts. The whole run is Part 7 of the Venice Room. If depth worries you more than looks, workshop 70 is about knowing how much wood is left, and a flat ground on a panel has its own lesson.
Do you like a leaf that seems to float? Would you rather watch the slow parts, the measuring and the cleaning underneath, than a quick clip? Then this room is for you, and it all sits behind one tuition plan, with the map of every lesson open to anybody first. If you have never held a gouge, start here.
How it's done
- Leave room under the leaf. Keep roughly a quarter inch (6 mm) between leaf and surface, as I did here.
- Open up the bulky part. Where a section is too bulky, remove it and carve an opening. I started mine with a quarter inch #9 across the grain.
- Smooth the floor. Take out any chunk that should not be there, and clean the floor below it with tiny tools.
- Level with a flat tool. Lay a #1 flat on the surface and rotate it as it moves. A single bevel, I said, is even better.
- Go through where it helps. A small #9 plug cut can go right through; mine was near 3 mm (1/8 in).
- Undercut for the shadow. Take a 1 mm (0.04 in) veiner under the edge, and keep it shallower wherever paint will go on.
Frequently asked questions
How high should a carved leaf sit above the wood behind it?
On my Venice Room leaves I kept 6 mm, a quarter inch, between each leaf and the wood below it. One tight spot gave me only about 10 mm (3/8 in) to the lowest point, so I rolled that surface a little for movement.
What tool keeps the surface under a leaf flat?
I used a #1 with a double bevel, laid right on the surface and turned as it moved, so it stayed at the same level. On camera I said a single bevel would help even better, because it lies on the flat part and will not move off.
Does the look need a second board glued on?
My leaves in workshop 82 were carved with the gap under them, in the wood they sit on. Real separate layers, carved apart and glued in, belong to the Grinling Gibbons way of working, and my Maine class covers that.
What to carve next