

Alexander Grabovetskiy, woodcarver, School of Woodcarving · Published 2020
Should every leaf in a carving curl the same way?
Quick answer: Alternating leaf direction is the habit of letting each leaf on one stem move its own way. In workshop 77 one leaf rolled up on a single side, another rose and turned sideways, a ridge faced a hollow, and every leaf still left the stem gradually, because a real plant never repeats itself.
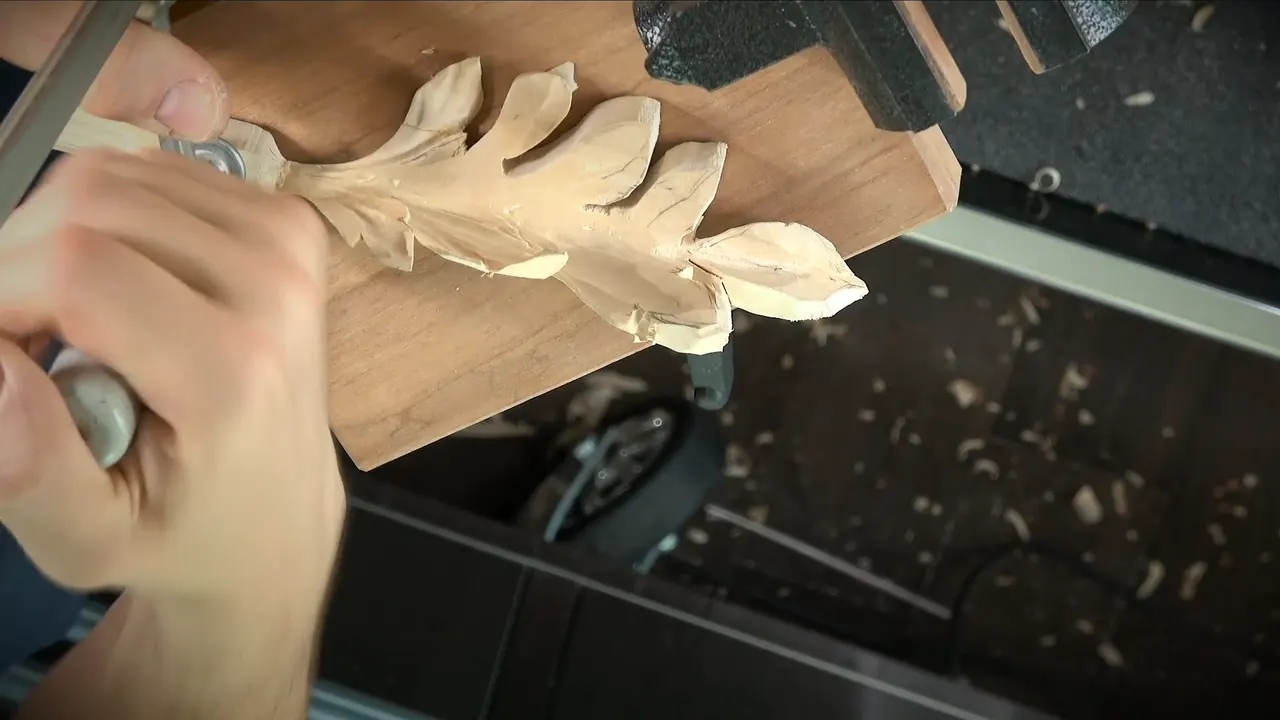
Leaf carving in wood looks alive when the leaves on one stem refuse to copy each other: one edge rolls up, the next leaf turns down or curls two ways, and a raised ridge on one answers a hollow on its neighbor. That is how I carved the eight leaves in workshop 77 of the Venetian room, and I said why while I was doing it. In real life they alternate, so on the wood they should too.
So no, they should not all bend alike. I will show you where that choice came from on this piece, and where the leaf next door made the choice for me.
Have you ever carved a row of leaves and felt they looked stiff? Were they all bent at the same angle, like soldiers? Then this page is about one small habit that fixes it, and it costs nothing but a decision before the gouge goes in.

What changed from one leaf to the next in workshop 77
Eight leaves come off one middle stem, marked before any detail.
One leaf curls up on just one side, and another curls up and sideways.
A ridge down one leaf, a soft dip inside the next.
All eight still flow gradually out of the same stem.
Where a neighbor sits too close, the neighbor wins and the curl stays out.
Why shouldn't sibling leaves all match?
A plant never does it. I said it plainly on camera while I was lowering one side of a leaf: I want them to go the alternate way, the opposite direction, just like in real life, because it is not going to look good if it is all the same.
One rule, really. In real life, each leaf on a stem bends a little differently, and I was following that.
Eight leaves rolled up the same amount would be exactly the thing I said would not look good. So I made each one a small decision of its own, and I kept talking through those decisions while I carved, which is why you can follow them on the video.
Early in the workshop I also said I did not want to take too much wood and end up with a leaf that looks too plain.
What was I carving in workshop 77?
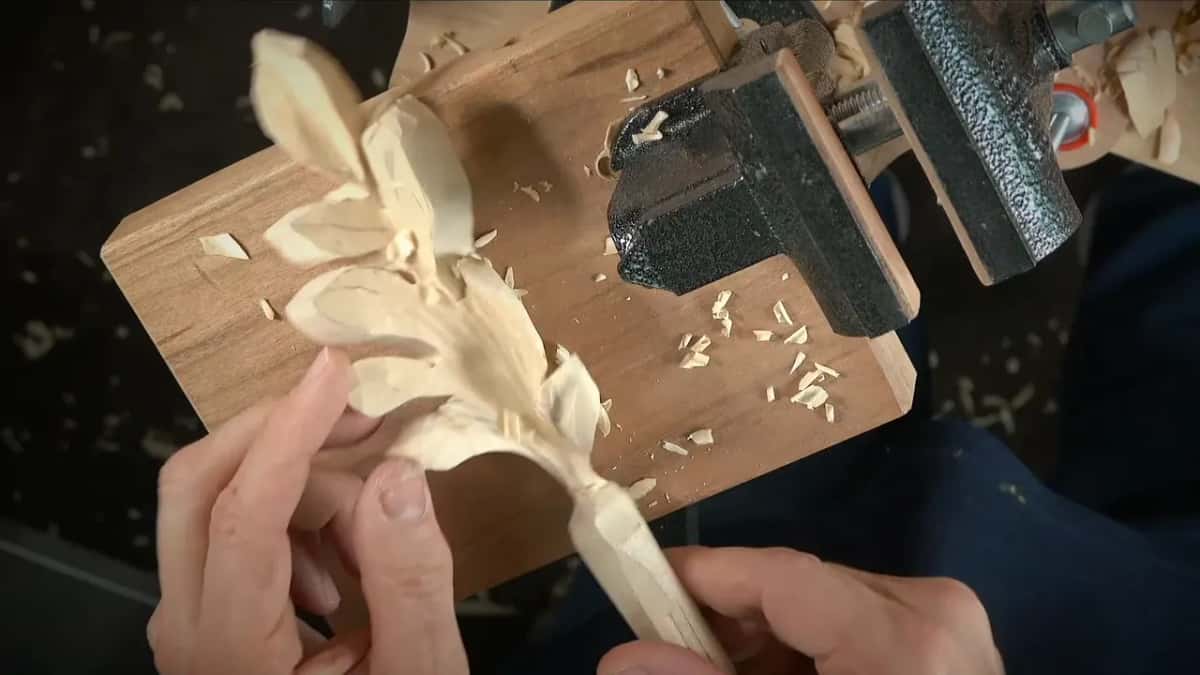
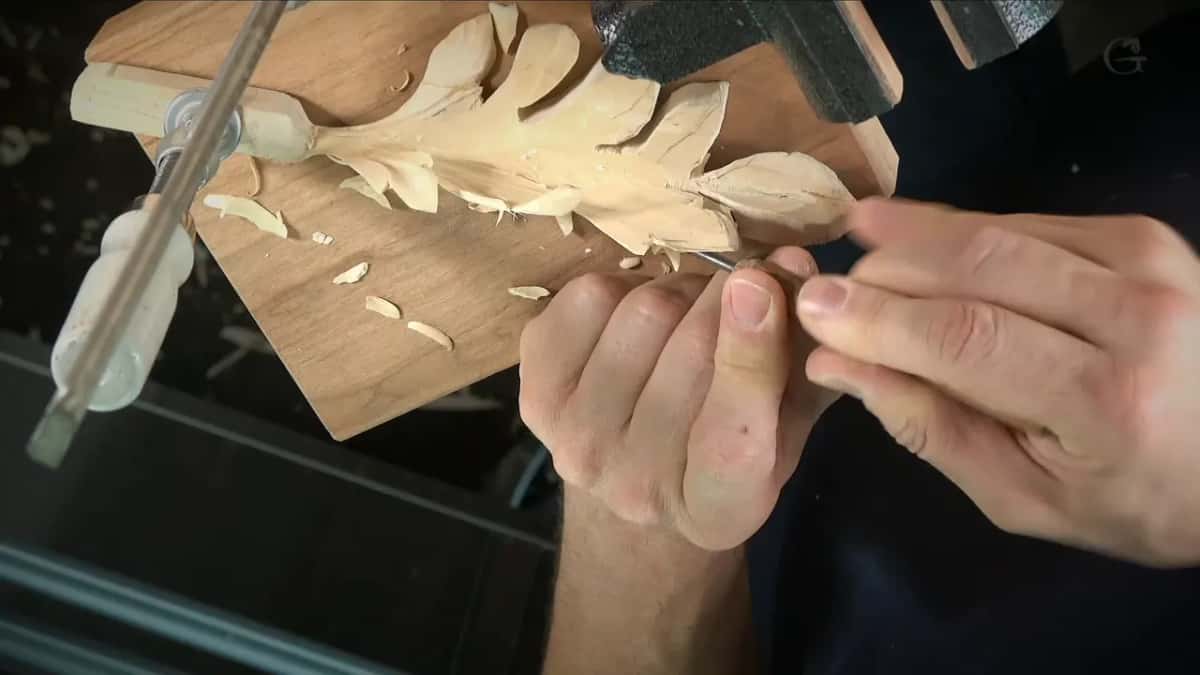
A thick separate block that will be fitted into the room. From one angle it looks almost like one single leaf folding over, almost like a boat, with a rib down the middle. From that one form I developed the smaller leaves and their separations. The middle stem could stay almost as it was.
I was clear that it is not acanthus. It is an absolutely different leaf, though I did say you could do an acanthus leaf the same way if you wish.
The piece works like a filler. Without it, the spot it goes into looked a little too empty, and some of its leaves have to tuck underneath the acanthus. When I roughed its outline I told you it does not have to be a really straight line, and there is absolutely no reason it should be. I left approximately three quarter of an inch, about 20 millimeters, of wood on the sides to work with.
This one is paint grade, and it is a real project with a delivery date. The date comes back later on this page.

Leaf carving in wood starts with counting the leaves
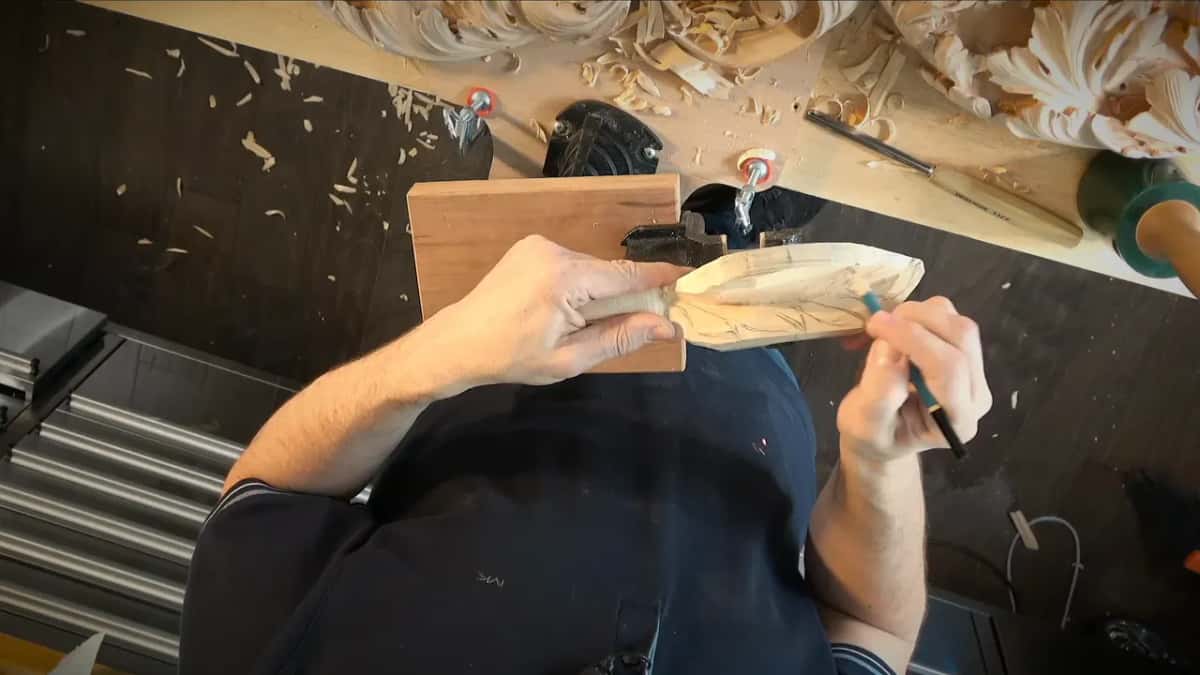
Before any curl, I marked the middle line of each separate leaf coming off the stem. One, two, three, four on the first side.
Then on the other side I decided on one more than I first had in mind, to be close to Fibonacci, if you wish, and that made four there as well: eight total. Eight is a number in that sequence, and botanists find the same numbers in the way leaves are arranged on real plants. On camera I only said close to it and left it there.
How does one leaf curl up while the next one goes down?
I made the decision first. In the seventh video of the workshop you hear me thinking out loud: I have kind of a thick block here, so I can go a lot of different ways. I could take this leaf downhill, I could curl it up, and I wanted variations.
For one leaf I decided on a curl up, but on one side only. The leaf beside it curls up that way too, and the third one curls this way and that way, up and sideways at once. To make that happen I had to lower the other side of it.
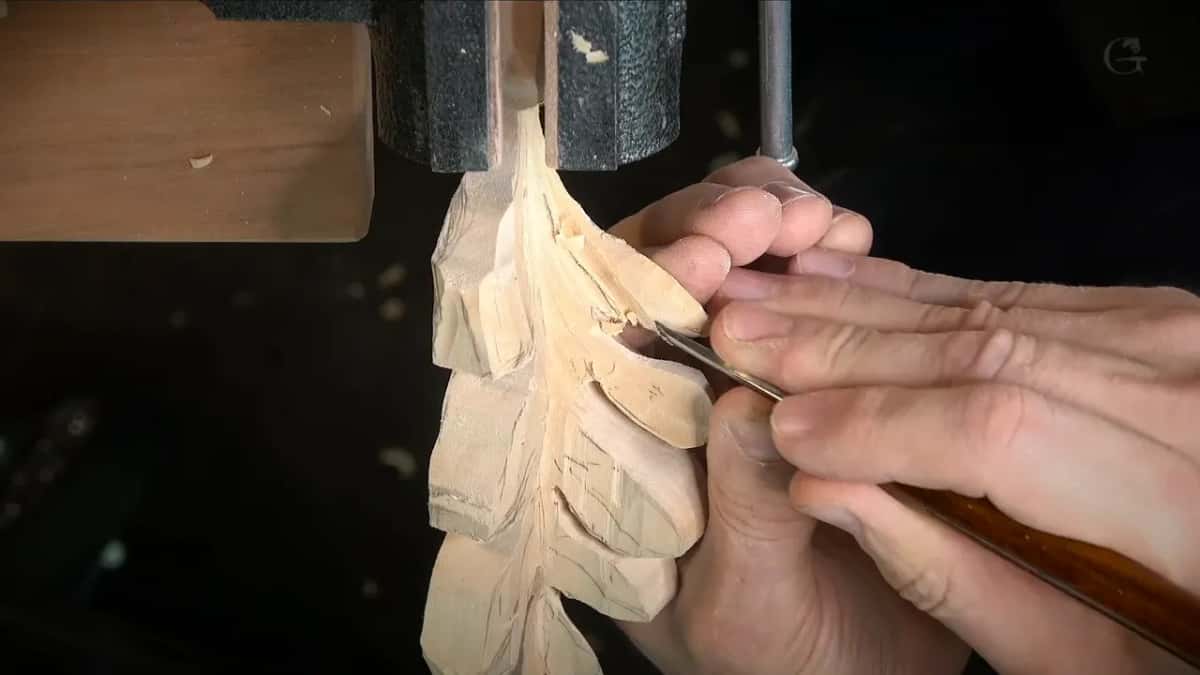
To start a curl I carve across the grain, a little at a time. Slice by slice, little by little, I dig in. It is not going to be a curl all the way over, but it is somewhat curly.
On an earlier leaf I attacked the edge from the back and got it up about a quarter inch, roughly 6 mm. A little later you can see one leaf just curl up, and I said the one beside it will curl down.
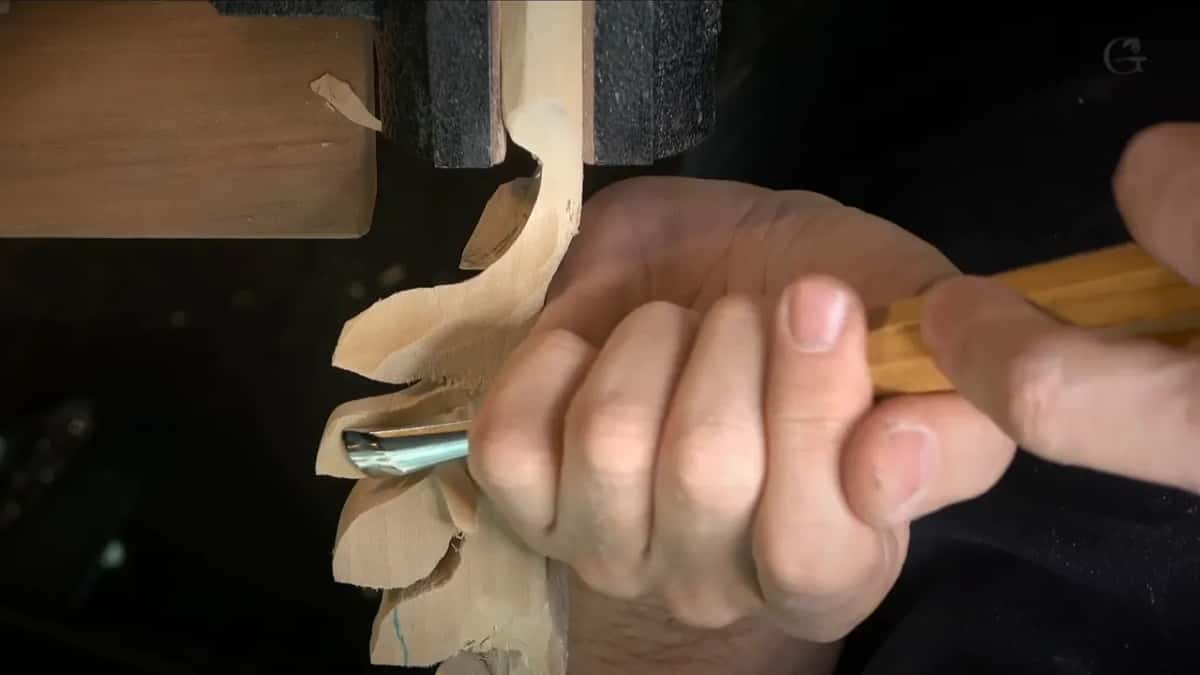
Is it clean yet at that point? Not at all. I said so. The cleaning comes later with a flatter gouge. The main movement of each leaf comes first, and I said I was trying to establish the main idea of those movements.
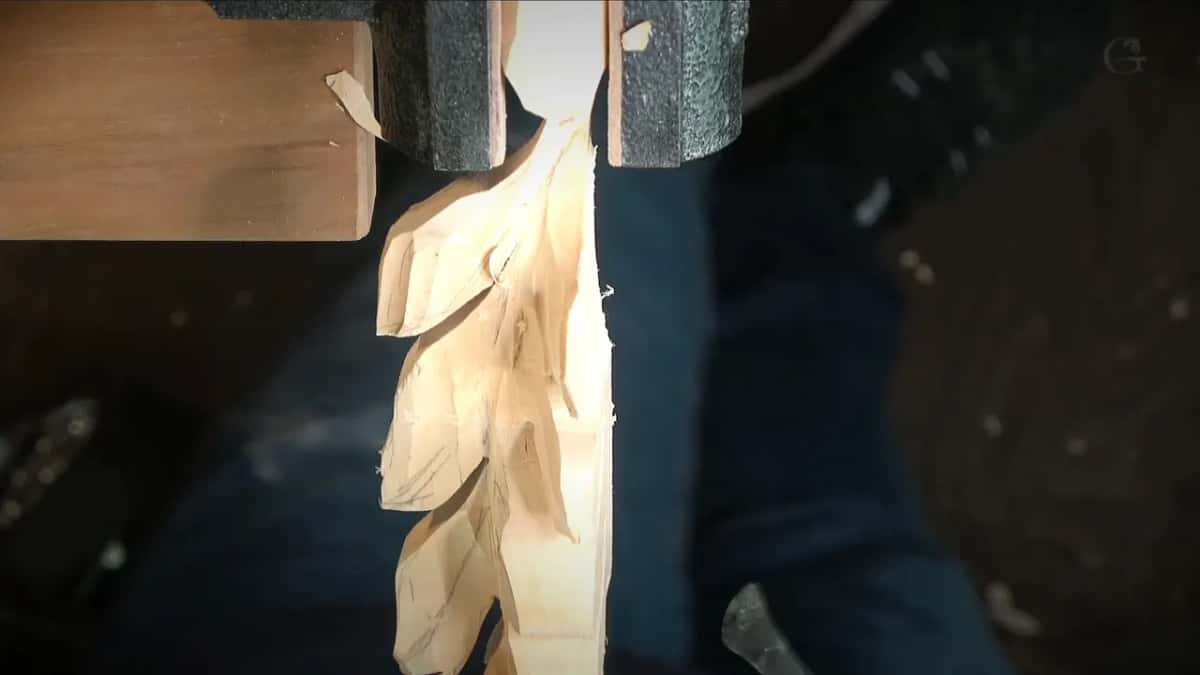
A ridge here, a hollow there
Direction is only half the story on a leaf like this. The inside of the leaf can change too.
One leaf got more like a raised middle line, a ridge. On the next I did the opposite and made a concave inside, not really a V cut but a soft hollow. I started it using a number 7 gouge, 14 millimeters, about half an inch, then a number 8 at 7 millimeters, a little bigger than a quarter inch, took it deeper, excavating from inside little by little.
Further on I told you a third leaf would be more convex. It doesn't have to be the same. Inside that leaf I also put two or three small concaves and convexes, not a lot, just to give a more interesting look and some waviness.

When one leaf was nearly done, it was already catching some shadow, and I thought it was looking not bad at all. Right there, I said, I could carry my concave all the way to the edge. Put a ridge beside a hollow.

Can leaves differ and still grow from one stem?
They have to. Variety is not an excuse for chaos.
Right at the start of the sixth part I said it: they are supposed to be from the same stem, so it has to be a gradual movement, and even when a leaf flips over above the others it must stay gradual. Every leaf leaves the stem smoothly and only then goes its own way.
Earlier I told you all the flow goes to the middle line. The separations I carved later with a small number 11 veiner, 4 mm, were part of that same movement, not marks laid on top of it.
And when I got it wrong, I said that too. There was a ridge where the movement should have rolled through, and I called it no bueno. It was not bad at all, it looked good, but we can do better than that, so I worked it gradually in the opposite direction.
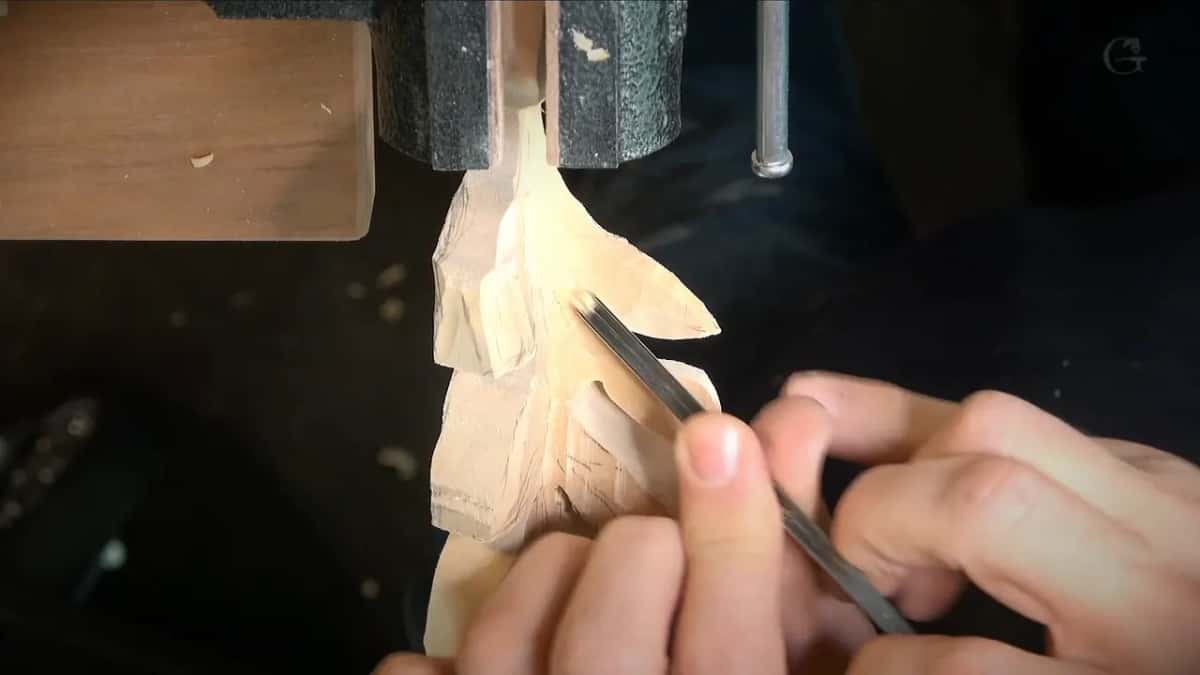
Where two parts of one leaf meet, I carved a separation using a number 11 veiner, about three millimeters, so you would visually see the difference between this part of a leaf and that one. Then a one and a half millimeter number 11 went in to get that shadow much deeper. They share a stem and a flow toward the middle, but not the direction their tips go.
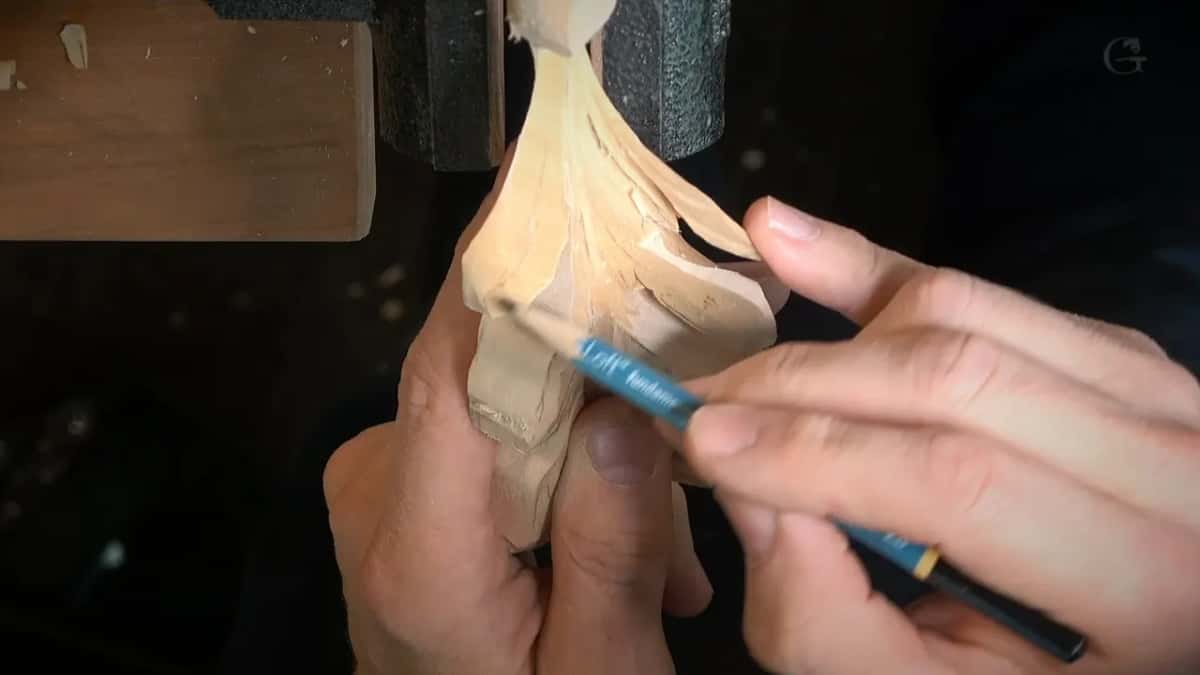
When does the leaf next door decide for you?
More often than you would think. Near the end of the workshop I looked at one leaf and asked myself whether to curl it a little downhill. Maybe not, I decided, because that side is going to go against the other detail. So I left it as it was and only carved the divisions.
Fit matters here. This filler has neighbors. One section has to go down underneath a movement that wraps above it, and on another side I could have done either, underneath or curled a little upward.
That is why I kept checking. Double check, double check how it fits inside, I said, because it all depends on how far I am going to mount it. After one leaf was done I moved to the next and told you it would go the opposite direction, so I had to chop a lot of wood off that side.

A curl that runs into the next detail is, in my own words, maybe not such a good idea. The alternation is what you want, but the fit decides which leaf gets which turn.
| What it does | How I got that shape on it | Which part | Why I chose it that way |
|---|---|---|---|
| Curls one side | Crossed the grain, slice by slice, lifting | Seventh part | Real leaves alternate, so mine did |
| Twists both ways | Lowered the other side so it twists | Same part | Matching all eight would look bad |
| Turns down instead | Planned against the one that curls up | Ninth part | Its neighbor already curled up there |
| Ridge down middle | Kept a ridge standing down its center | Sixth part | The next leaf gets the opposite |
| Shallow hollow inside | Number 7, then number 8, from inside | Same video | Not a V, more a concave |
| Stays as is | Skipped the downhill curl, carved divisions only | Twelfth part | That side meets the other detail |
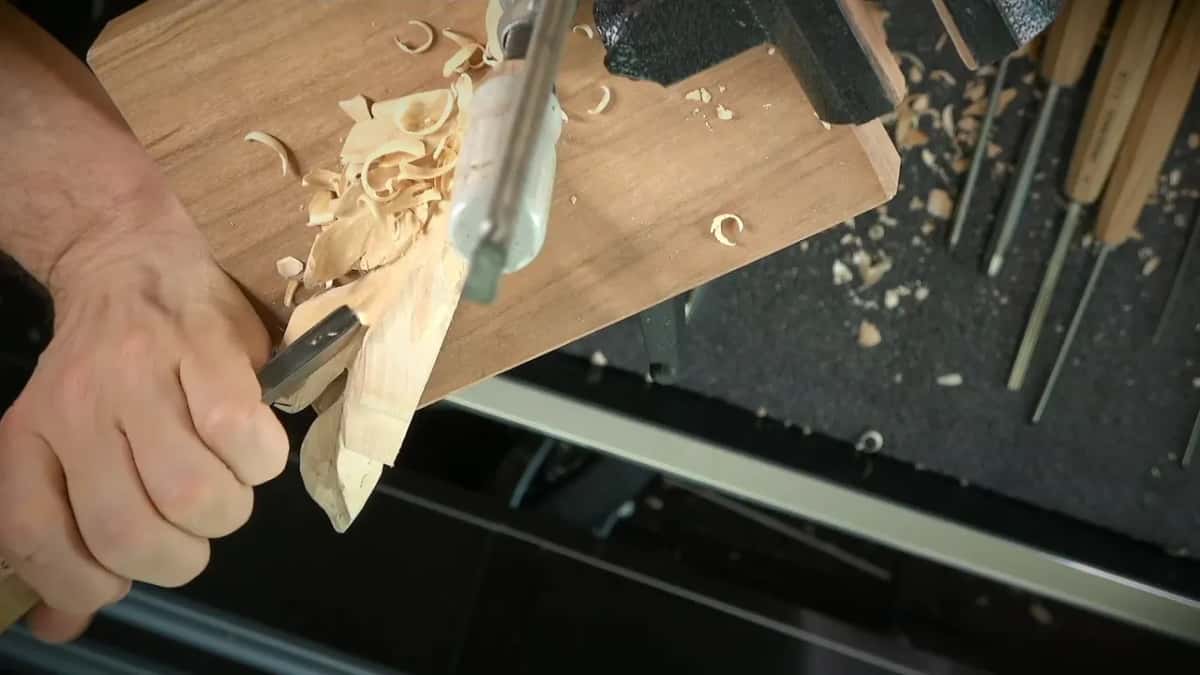
How thin did the curling edges get?
The edges went much thinner than the middle of each leaf did. When I rolled one leaf down, I said I really need at least an eighth of an inch of thickness, otherwise it is going to be too fragile, and I meant the middle. At the edge it could be much less, and in the last part I had only a 16th of an inch, about 1.5 mm, on one side.
There is a limit, though. I wanted the illusion of paper thin, but this is not just an ornamental piece, so it has to be somewhat solid. A curl that looks light and is still strong is the target.
Any small triangle of wood got a relief cut first. Every time I see a triangle like that, a small detail, I relieve it, otherwise it is going to break, and I told you that you will know what I am talking about once you start doing them.
I held a lot of this work in my hand, with a finger under the leaf for support, and I warned you to be careful because you can cut yourself that way.
Does an alternating leaf take longer to carve?
It does take a bit longer. Every leaf is its own small decision, and I told you more than once: please don't rush it.
But it is a real project, and I need to deliver it by a certain date. I could spend a lot longer creating beautiful detail. I didn't want to cut corners either, so I stayed mindful of how much time went into one area and moved on.
And I made mistakes. Two landed on a single leaf, and my reaction is right there on the video. I knew it would still look good. I almost broke a leaf by being a little too aggressive that day, and I said that too, because I don't want to spend time on repairs if I don't have to.

If you want to see the same kind of leaf work on a different shape, the curl choices in workshop 73 and the thin leaf in workshop 66 are good neighbors to this one. For flowers rather than leaves, there is the Hashemi flowers course.
Who is this workshop for?
A carver who has done a leaf or two and wants the next one to look like it grew. You do not need this exact piece. You need a stem, a few leaves and the nerve to let them disagree.
This is the seventh block of one big room. Part 7 opened with workshop 74, it runs through workshop 76 and on to workshop 78, and Part 6 sits right behind it. If the leaf work over a molding is closer to what you are doing, Acanthus over Moldings covers it. And none of it goes well without a sharp edge, which is a course of its own, with the tools course for what to buy first.
Would you like to carve a leaf that turns one way while its neighbor turns the other? Do you want to watch where I changed my mind, and why? Then the whole school sits behind one Tuition plan, and this room is one course inside it. If you have never held a gouge, start here first.
How it's done
- Mark every leaf. Draw the middle line of each separate leaf on the stem before any detail. I counted eight on this piece.
- Choose each direction first. Decide leaf by leaf which one goes downhill, which curls up and which does both, while the block is still thick enough to allow any of them.
- Start the curl. Carve across the grain in small slices, lowering the opposite side so the edge can lift.
- Give the neighbor the opposite. Send the next leaf the other way, or swap a raised ridge for a soft hollow inside it.
- Keep the flow gradual. Let every leaf leave the stem smoothly before it turns, even the one that flips above the rest, and remove any ridge that breaks the movement.
- Check the fit against its neighbors. Hold the piece in place again and again. If a curl would hit the neighboring detail, leave that leaf as it is and carve only its divisions.
Frequently asked questions
Should every leaf in a carving curl the same way?
Leaves sharing a stem look better when they alternate. In workshop 77 I curled one leaf upward on a single side and gave another an upward curl with a sideways turn. A third I planned to curl down, because in real life they alternate, and it won't look good if it's all the same.
How many leaves should come off one carved stem?
On this piece I marked four separations, then four more on the other side to be close to Fibonacci, eight in all. With the middle lines drawn, I could decide leaf by leaf which one rises, which drops and which twists.
How do you start a curl on a carved leaf?
I carved crosswise to the grain, a little at a time, slice after slice, and lowered the side opposite the curl so the edge could rise. Working from the back, I got one edge up about a quarter inch. A full roll was not the goal; somewhat curly was enough for me.
What to carve next