

Alexander Grabovetskiy, woodcarver, School of Woodcarving · Published 2020
How do you use a 3D model when you carve wood by hand?
Quick answer: Using a 3D model when you carve by hand is reading numbers off a screen and carrying them into the wood yourself. During my workshop 80, the model gave about a quarter inch from one surface and five-eighths from a cavity. A drill, a pencil and gouges did the rest.
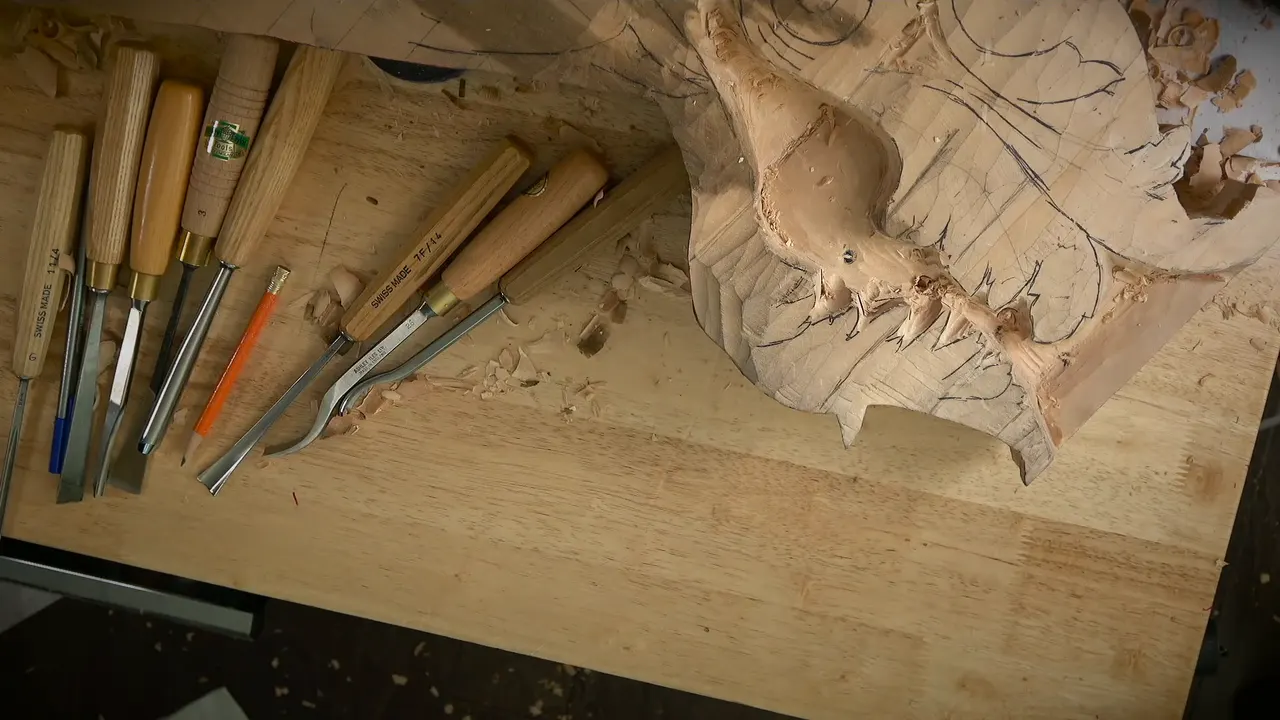
A 3D model for wood carving by hand is a shape built on a computer that you keep checking while your gouges do the real work. Mine sits on a screen by the bench while I carve. Nothing on this page went through a CNC router. In workshop 80 of the Venice Room I roughed a hollow between two acanthus leaves with gouges, a drilled depth hole and a blue marker, and in the last part the model gave me two depth figures for lowering the next sections.
Maybe you have drawn a design on a computer yourself. On the screen every line is clean and every depth looks right. Then a heavy block sits on the bench, and you have to choose where the first chip comes off and how far down it may go.
Here is how I used the model in workshop 80, pass by pass. Most of it has no talking. On camera I admitted that I get much quicker when I'm not talking. So the second half of this page gathers what I said about the model in other workshops of the same room, and each of those lines is linked to the workshop that holds it.
Have you ever looked at a drawing and wondered how deep one spot should go? Would one honest number for that spot help you? Then start with the hollow in workshop 80, because that is where my numbers came from.

Six lines on the model in workshop 80
I roughed the hollow almost straight first, and the real concave waited.
I measured one spot on the S curve.
A drill went down in three steps until roughly 3 mm (1/8 in) remained.
Blue marker went on every point once I reached it.
Then the screen gave two numbers.
Other workshops used that same screen for depth, high spots and overall feel.

What was on the bench in workshop 80?
The hollow between those acanthus leaves, on the big piece I started in workshop 79. There I called it a huge corbel and a full 3D movement, and in workshop 80 I was still roughing the space between those two leaves.
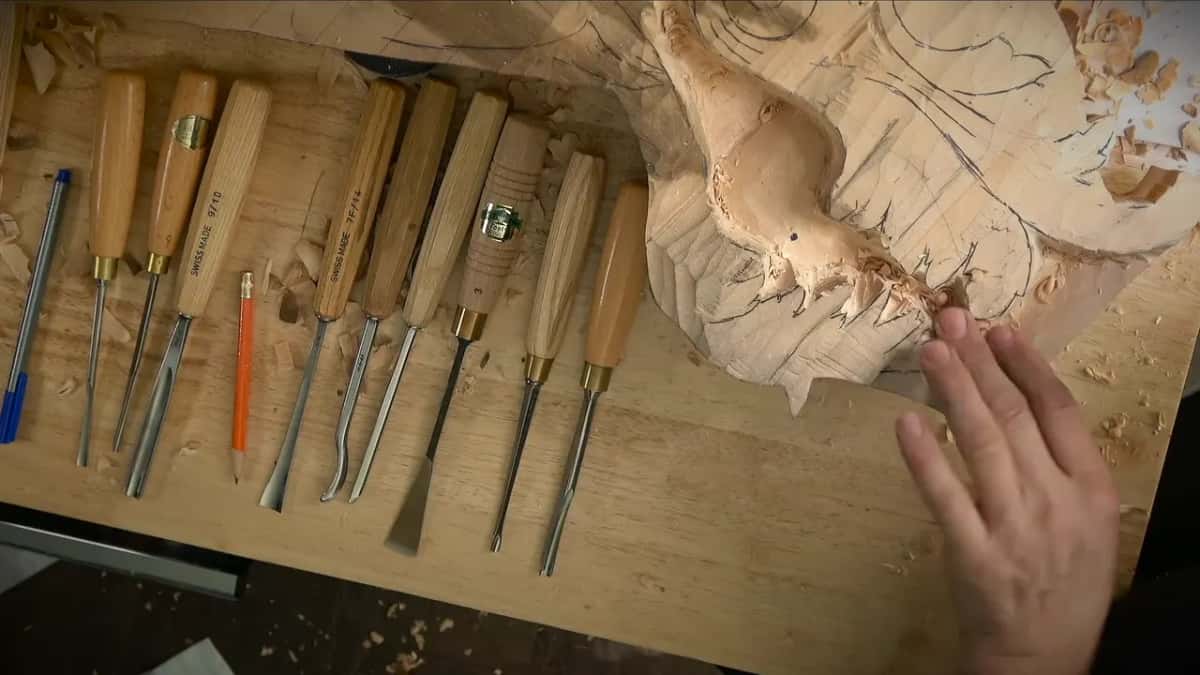
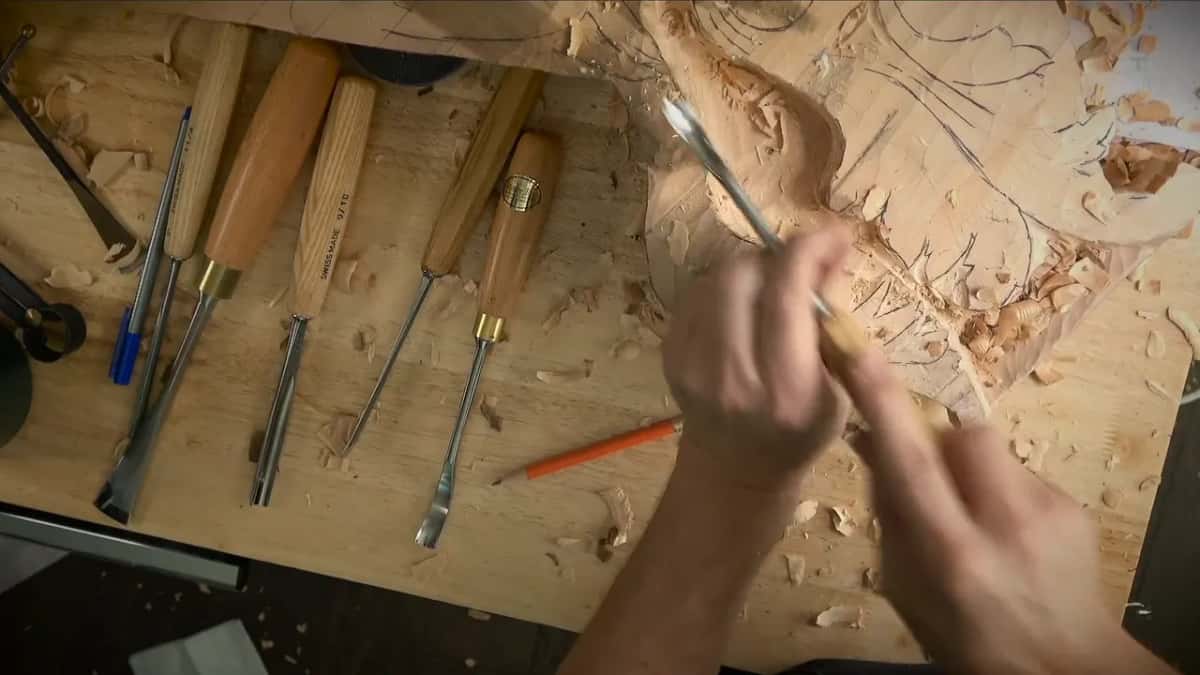
I cleaned a little first and made a deeper groove. Next I knocked down more material with a smaller tool, a #11 of about 10 mm (3/8 in). After it came a #7 of 14 mm (9/16 in), little by little, in shallow passes, because I didn't want to overdo it.
Later, working the sides, I held a #7 again at about 45 degrees. The angle, I said, gives much better slicing.
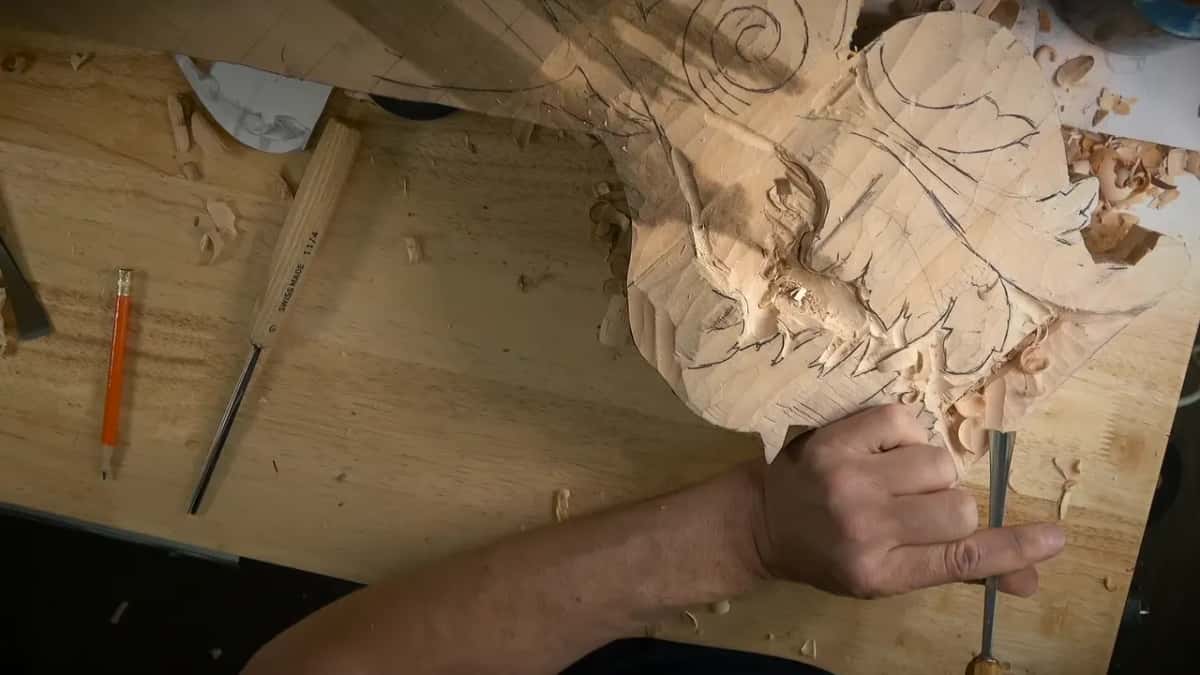
Why rough the hollow nearly straight first?
For me a nearly straight line comes first and the final movement comes later. I knew for sure the shape was supposed to be concave, since it plainly runs one way, so I felt safe taking material off, but I was not making the finished look yet.
Grain direction said part of the cleaning should really come from the opposite side. I cleaned it this way anyway. A somewhat rough side did not bother me one bit, because it was not the final look.
Next, a 7 mm #11, a little bigger than a quarter inch, dug a deeper excavation. I checked and had a couple of millimeters more to go. My plan was to take a 4 mm (5/32 in) #11 almost to depth and no further, since I wanted some wood left for cleaning and I needed that high spot.
So I marked the high spot with a pencil. It's better to mark it with a pencil or a marker than not to mark it, because you can always see it later.

Which spot on an S curve gets measured?
The one where the curve changes direction. My plan was to measure one spot, and then I'd know exactly how to blend, and I would make a hole right there.
I asked on camera why that spot is important. Look closely and the surface is like an S curvature. It is smooth, but around that point it turns over, convex going one way and concave if you look from the other position. I called it approximately the breaking point. It could be anywhere between those lines, and I chose one point.
On a graph that place has a name, an inflection point. At the bench it is just the spot where one shape hands over to the next one.
Out came my pointing machine.
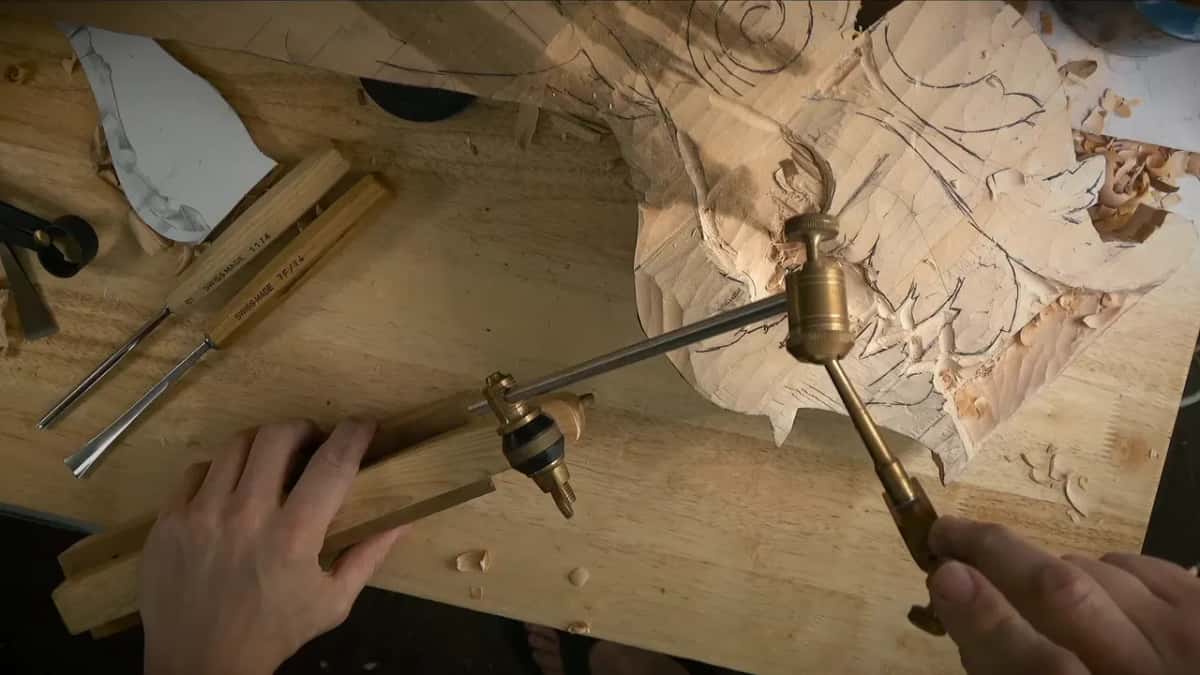
How deep did the drill go in workshop 80?
About three-quarters of an inch, 20 mm, on the first pass with the drill. I checked. Then about another 10 mm (3/8 in), and a double check.
Then I decided I could actually go a little deeper, and I did, another 6 mm or so, like a quarter inch. About 3 mm was left at the end. I showed the camera the distance at my stopper, about one-eighth of an inch, maybe a little less, maybe 3/32 in, and said that was the final depth of that spot.
That hole became my concave point. After that it was safe to go almost straight, remove the whole section, and concave it down to that point later on. One tiny spot needed care and only small tools.
Once I reached the depth, I marked the spot with a blue marker, and two more spots besides, so I would know exactly where the points are. Anyone who wants the drill and depth idea on a flat panel can read a lesson in the floral panel course that walks through it.
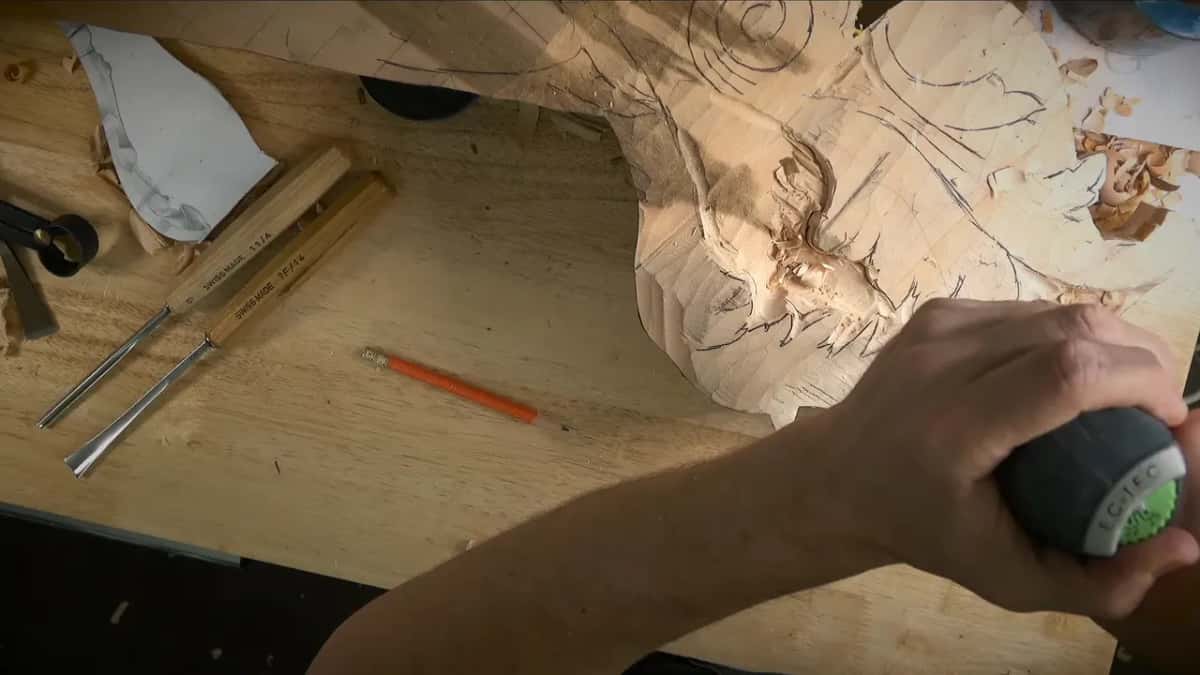
What does a 3D model for wood carving tell a hand carver?
Numbers, mostly. The last part of workshop 80 is where I said I was ready to lower those sections, and I gave the reason right there. Because I have a 3D model on my computer, I knew the end of that movement had to sit roughly a quarter inch (6 mm) from that surface.
From the cavity up, it was about five-eighths, 16 mm, something like that. All of that had to go down. I would keep my high spot untouched and slope both sides, so everything goes down around it, and I noted that the material could now come off quickly and safely.
Three things did the work in one workshop: a hole drilled to a known depth, a pencil mark on the spot that must stay, and two numbers from the screen. If that makes sense to you, one Tuition opens the whole room.
What did the model leave to the gouge?
A #9 of a quarter inch (6 mm) went in next to attack the hollow. Then I changed my mind. That channel runs along the grain, and I did not know where the grain goes, so I could create a problem.
I asked the camera whether I wanted a problem and said I doubted it. I picked up a spoon gouge instead and made a first, rough concave.
I also made sure I was not undercutting under two sections near it, because that would be a big mistake for me. Stuff was flying off my workbench, and I told the camera, yeah, I know.
The highest spot sat right there and gradually went downhill, so a straight channel between those leaves could go down to that point. I could have drilled more holes if I wanted to. My guess was that I didn't need them.
The same small 4 mm #11 then took material from both sides, since I knew the surface had to sit lower than that point anyway. In the next part a spoon gouge came up again, to get to the depth I needed.
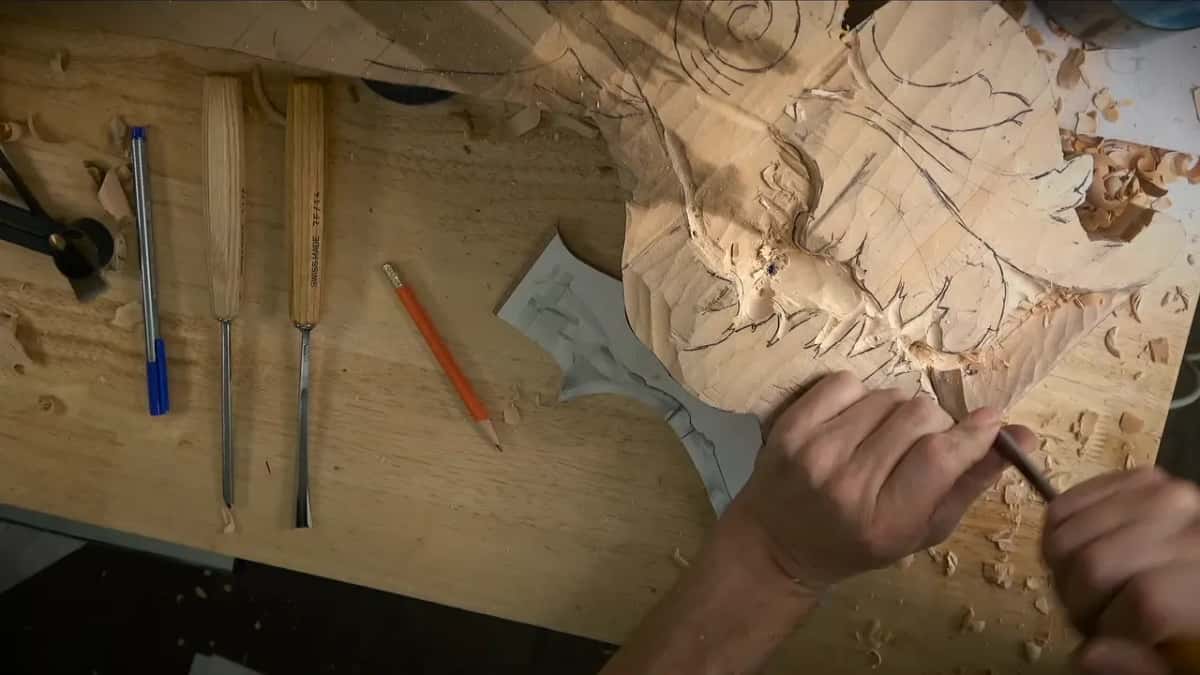
Parts 5 through 11 come with no transcript, only the carving itself. Before them I said it would be the same operation as right before, and that I get much quicker when I'm not talking. Seven videos, each about seven and a half minutes long, show just that.

Does the model stay on the screen while you carve?
Mine does, and this is where workshop 80 runs out of talk. The rest of this page is what I said about the model in other workshops of the Venice Room, and every line links to the workshop where I said it.
Workshop 83 is where I told the camera I didn't want to mess up. I have a computer right in front of me, my 3D model, and I was looking at what I modeled. Sometimes I just wonder myself how in the world I did that. Or why.
Two workshops later, in number 85, I knew I could get one area to a certain point and planned to check my computer for how deep it is supposed to be. Until then I carved it on an angle, not a true 90 degrees.
The next course opens with workshop 86, and there I checked a shape against my computer and saw it run all the way to one point. That point is the high spot.
Earlier in that same workshop I set one detail about 6 mm, a quarter inch, higher than the original picture, because I thought it would look better, knowing I could always make it lower. The reference in the computer is how I know exactly what is going on.
While redrawing a detail on the wood in workshop 93, I said I'd follow whatever I had in mind on my computer. Exactly that.
Does every detail come from the model?
Far from it. When I started the corbel in workshop 79, I said the unique part of the project is a linen fold, and I had not put it on my 3D model. I didn't have to.
Dividing a leaf in workshop 83, I figured I would probably stick another leaf below it, because I did not want to lose the overall feel of what I had done in 3D modeling, and I planned the next division as a letter S curve.
In an earlier workshop of this room I modeled only the main movements and made the details on the wood, and the workshop 55 page tells that part.
How does the model get onto the wood?
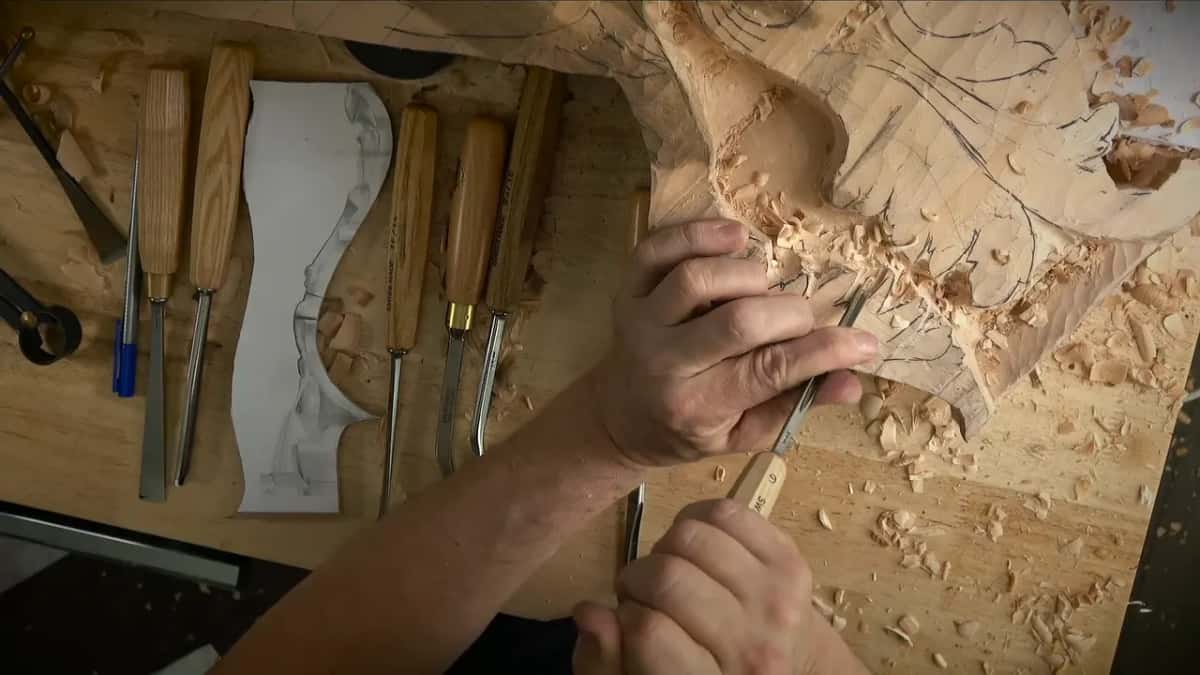
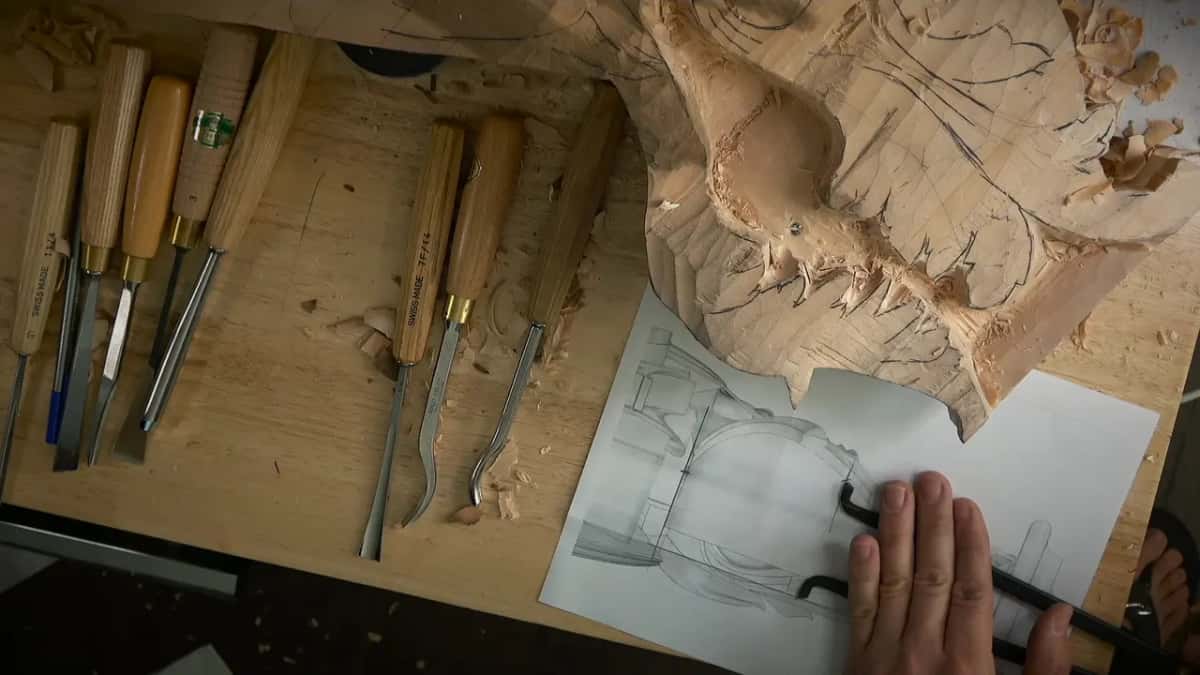
On paper first. My print in workshop 79 was a wireframe. It looks messy, because it's 3D lines, and if you know a little about 3D modeling and wireframe you see all the geometry. I could have chosen a different mode. Losing some of the lines was the thing I wanted to avoid.
How the whole room was researched, drawn and modeled before any wood came off is on the Part 1 page.
Sometimes the print is wrong for the wood. A detail in workshop 92 looked okay on the computer but did not look good in real life, a little too small, so I had to make it bigger. I said I could go the more complicated way, back to 3D software, and SketchUp, Rhino or Blender would all work to resize it. But it would take time.
So I took a picture of the paper, resized it by pinching on my iPad, traced it onto plastic with a blue fine point Sharpie and moved it to the wood with carbon paper. It came out a little bigger than I wanted, and that was okay. The iPad side of that has its own lesson.
What happens when the model and the wood disagree?
Real life decides. Back in workshop 85 I asked people to understand that I did the design, and even a 3D computer design doesn't look the same in real life. In real life I have to make a lot of different choices and decisions. If I don't like how something looks, I would rather change it.
A design I modeled for the first workshops changed within one lesson for the same reason, and the workshop 2 page shows how it moved.
Where the model came to the bench, workshop by workshop
| Workshop | Moment | Use |
|---|---|---|
| 80 | A quarter inch and five-eighths to lower | Depth from screen |
| 83 | A screen with my model facing me | Reference while carving |
| 83 | Another leaf planned to keep the feel | Overall movement kept |
| 85 | Planned to check the computer for depth | Depth, checked later |
| 86 | The shape runs to the high spot | High spot found |
| 79 | The linen fold was left off it | Left for carving |
| 92 | Too small in real life, made bigger | Real life won |
| 93 | I would follow what my computer held | Drawing followed exactly |

Who is workshop 80 for?
This workshop sits in the seventh course of the Venice Room, one long commission carved in front of the camera, and the course page lays out all twelve workshops. The next one, workshop 81, keeps going on the same piece.
If you have carved in relief and want to see how a real piece gets its depths, this is your stretch. Never held a gouge at all? The beginner lessons are here, and this workshop will wait.
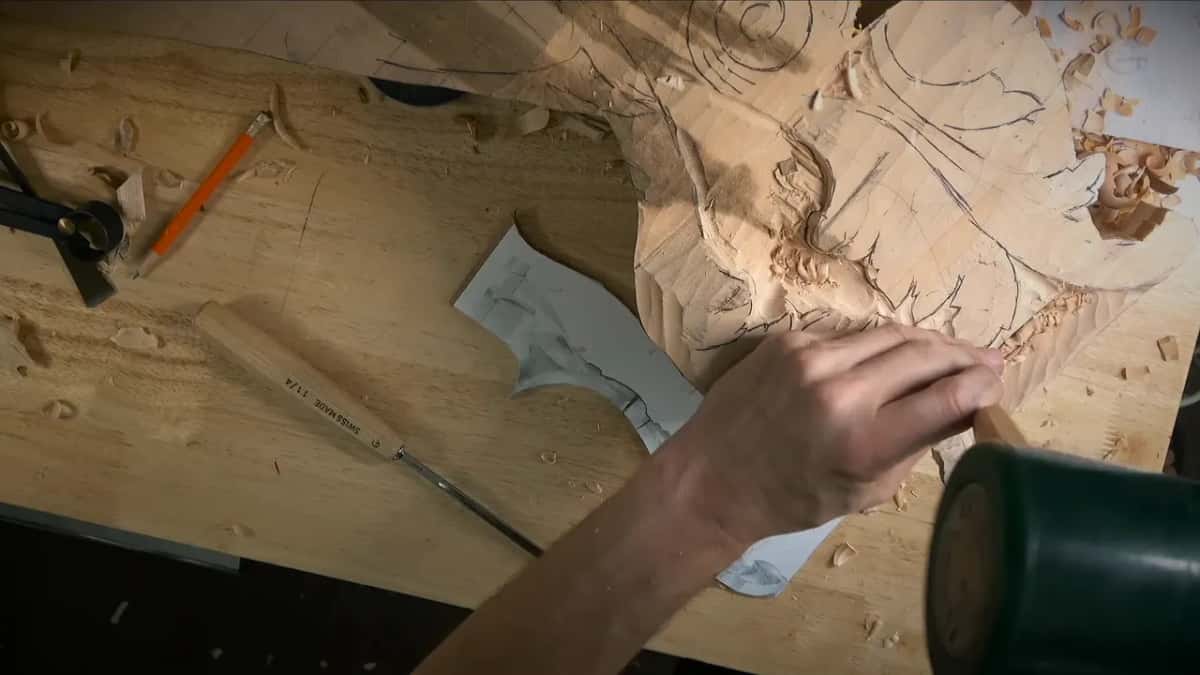
Would you like to watch the hollow go down to its hole in real time? Would nearly an hour of plain carving footage suit you? Then the whole room is there for you.

Stuff will fly off the bench, as it did off mine in workshop 80.
How it's done
- Rough it almost straight. Take material off with a #11 and a #7 in shallow passes, and leave the final concave for later, as I did between two leaves in workshop 80.
- Mark the high spot you need. Put a pencil mark on the spot that must stay. I did it before going deeper with a 4 mm veiner.
- Find the turn of the S curve. Look for the point where convex changes to concave and choose one spot there to measure.
- Drill down in steps. On my piece that meant about 3/4 in, a check, about 10 mm more, a double check, then 6 mm, stopping with roughly 3 mm left.
- Mark each point you reach. A blue marker went on every point, so I knew exactly where they were.
- Lower the rest around the high spot. With the depths known, slope both sides down and keep the high spot untouched.
Frequently asked questions
Can a 3D model tell you how deep to carve?
Mine did in the last part of workshop 80. It put the end of one movement a quarter of an inch off its surface and gave five-eighths of an inch, 16 mm, up from the cavity, so the section around the high spot had to come down. In workshop 85 I meant to check the computer for a depth again.
Do you need 3D software to resize a carving design?
I skipped it for one small detail in workshop 92. SketchUp, Rhino or Blender would work, I said, but would take time, so I photographed the paper, resized it by pinching on my iPad and traced it onto plastic. Carbon paper finished the job.
Where do you measure on an S shaped surface?
At the turn, where convex hands over to concave. I called that spot approximately the breaking point in workshop 80, then chose one point between the lines and drilled there until about 3 mm (1/8 in) remained. The rest could then go down almost straight.
What to carve next