
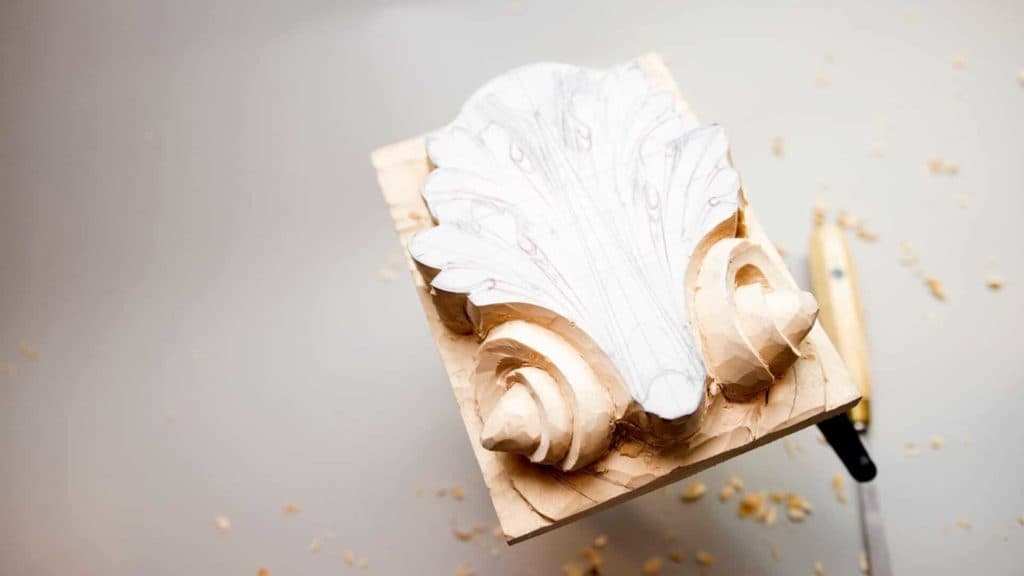
Alexander Grabovetskiy, woodcarver, School of Woodcarving · Published 2018
What does setting in mean in relief carving?
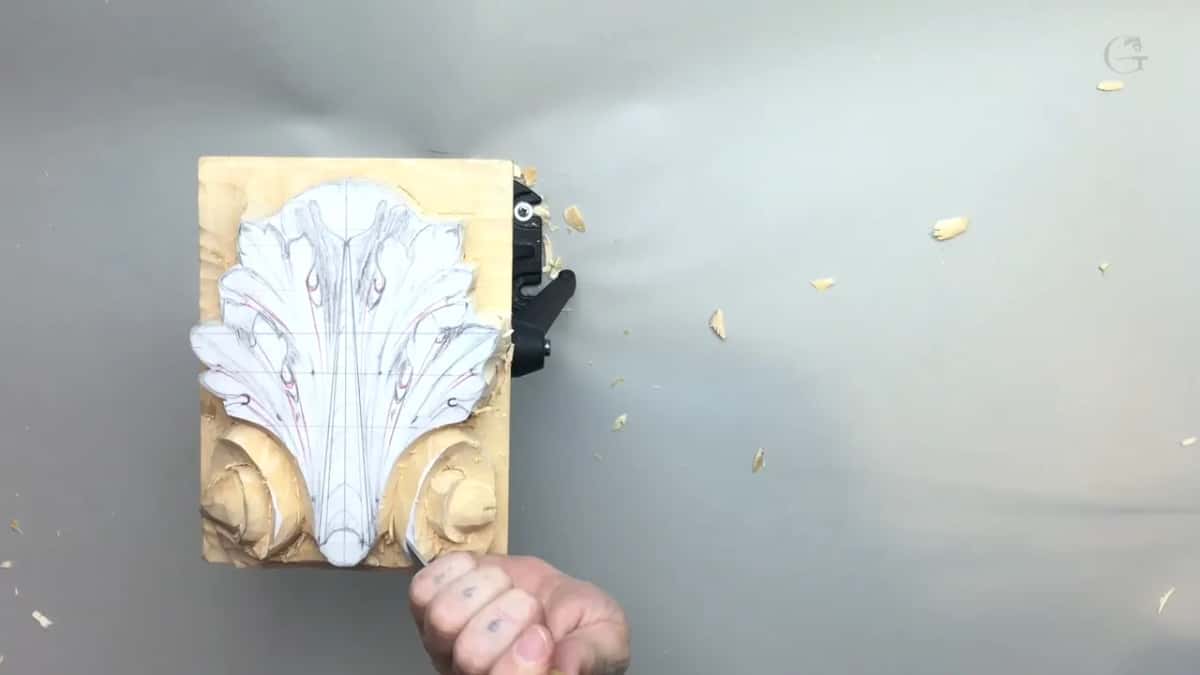
Quick answer: Setting in is the stage where the main idea of a relief design gets set in place. On my Roman acanthus a one inch number 8 gouge went around the leaf first, a few millimeters off the drawn lines, and the carving stayed above a rough line marked over the final background.
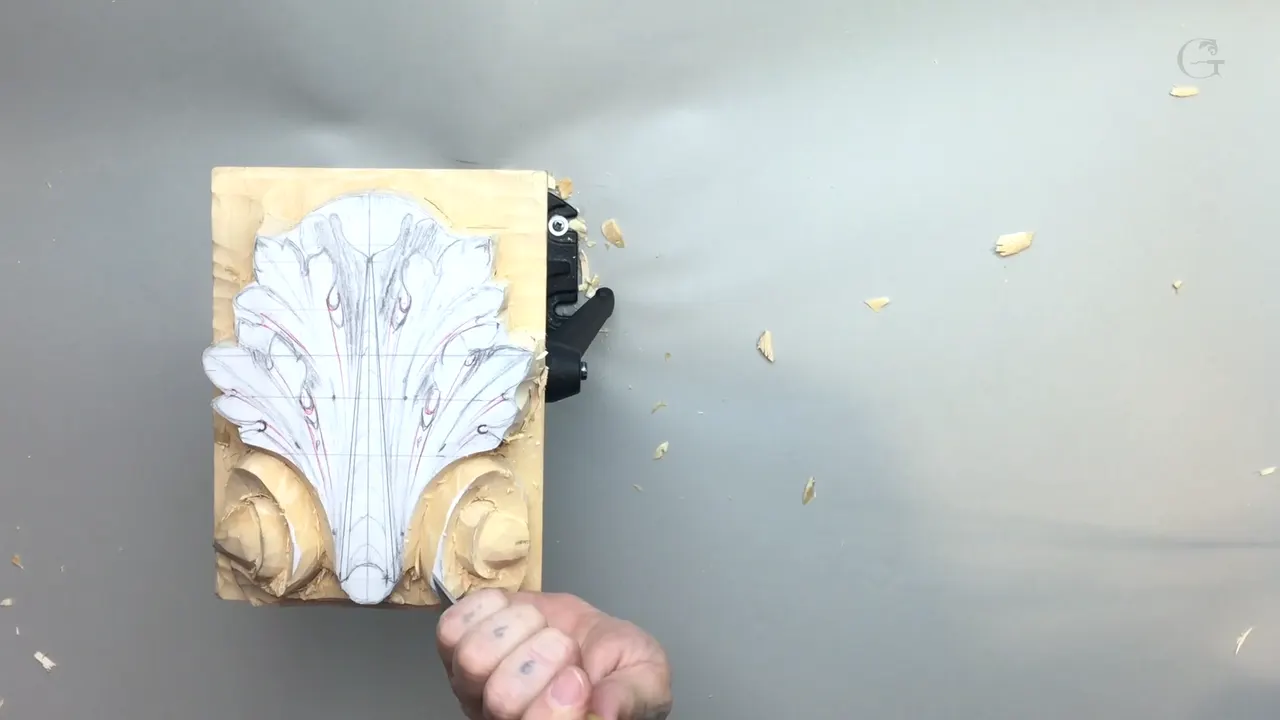
Setting in is the stage where you set the main idea of a design in place. On this Roman acanthus I went around the whole leaf with a big number 8 gouge by Ashley Iles, one inch (25.4 mm), and kept about 1/8 inch (3 mm) off the final lines. Nothing went down to the background yet.
Have you ever looked at a drawing on a block and wondered where the first gouge goes? Do you want the wood around it gone without losing your lines? Then start the way I started this Roman leaf, with two lines on the block's side.
Below are the lines, the tools and the distances from lesson 2, in the order I used them. I added a few things I said about this stage on other pieces too, because the name keeps coming back in my lessons.
What I set in place on this leaf
- Background depth, about one quarter inch (6 mm).
- A rough line 3 mm higher, and the carving stays above it for the whole lesson.
- Big gouge first.
- The outline goes to a number 5, since its sweep matches this leaf.
- A V tool sets the volutes, and after it come number 3s and 7s to shape them.
- Both halves, one right after the other.
Why mark two lines on the side of the block?
One line is the final background, and the other one tells me where to stop for now. The block I chose is one inch and 7/8 thick, or 47 and a half millimeters to be exact, and my background on this leaf is about one quarter inch.
To mark it I used a woodworker's marking gauge, set at a quarter inch first. Make sure it's tight. Without that it's not going to be accurate on all four sides, so I marked every side and did a couple of passes.
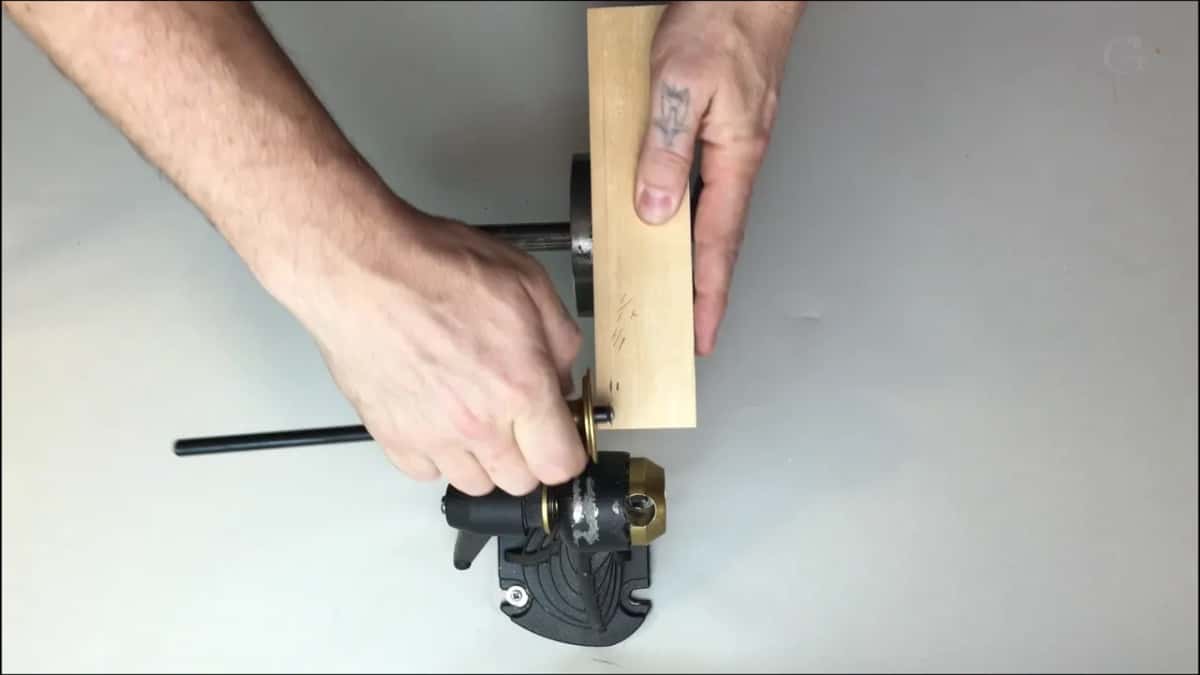
Next came another line, an eighth of an inch above the background line. That is my rough background. My carving goes all the way to that line, and when I'm ready to clean it, I'll clean it to the final quarter inch.
So there are two stages. Everything gets carved to the rough line first, and later it all goes down to the clean line. Even the rough line came later on this leaf, and in the last video of the lesson I was still staying above it.
Right after the gauge I also marked where my curl starts and where my volutes are going to be. The edges of an acanthus leaf create a concave look. They go really low on the outside and higher on the inside.
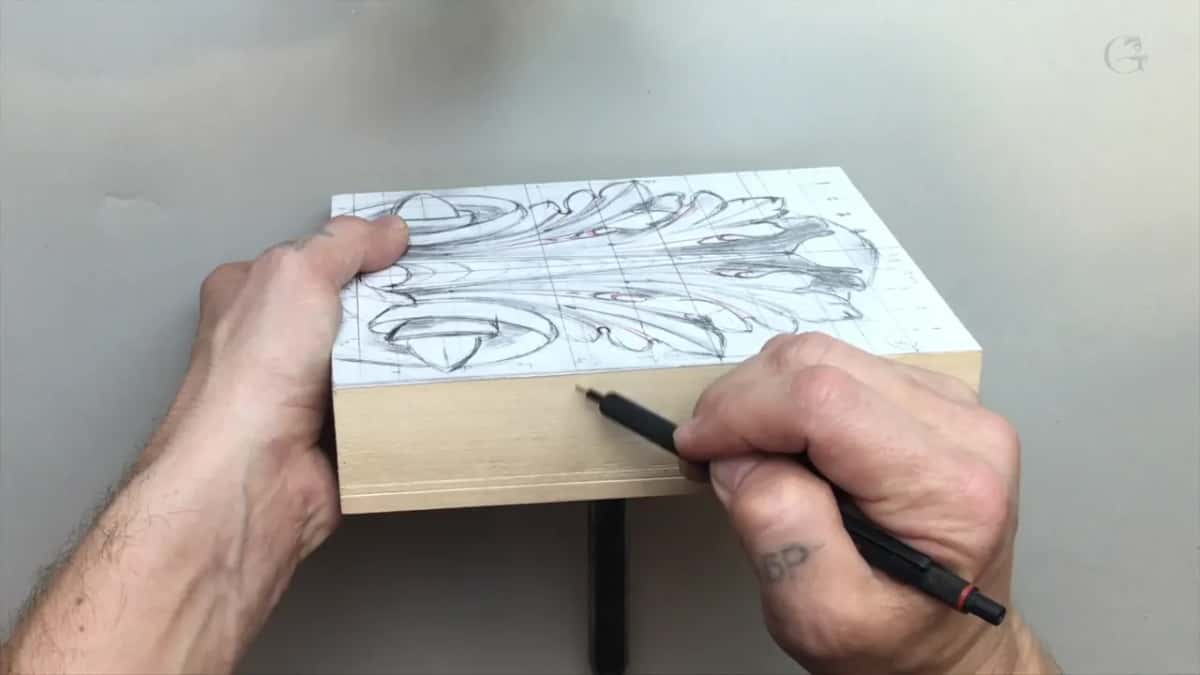
Why carve this leaf from the inside out?
Our design goes almost to the edge, so I had to work carefully. It's kind of dangerous what I'm doing there, and you can see that sometimes it just splits the wood. My wood is really thick, though, an inch and 7/8, so I'm not that concerned about it.
The best way, of course, is from the outside in, and along the grain you have to watch what your grain is doing. Before any of that, the block went into the vise. I really love this vise. It holds any kind of carving piece, small or big, a relief like this one, or even something huge, like the Grinling Gibbons we were working on in another course.
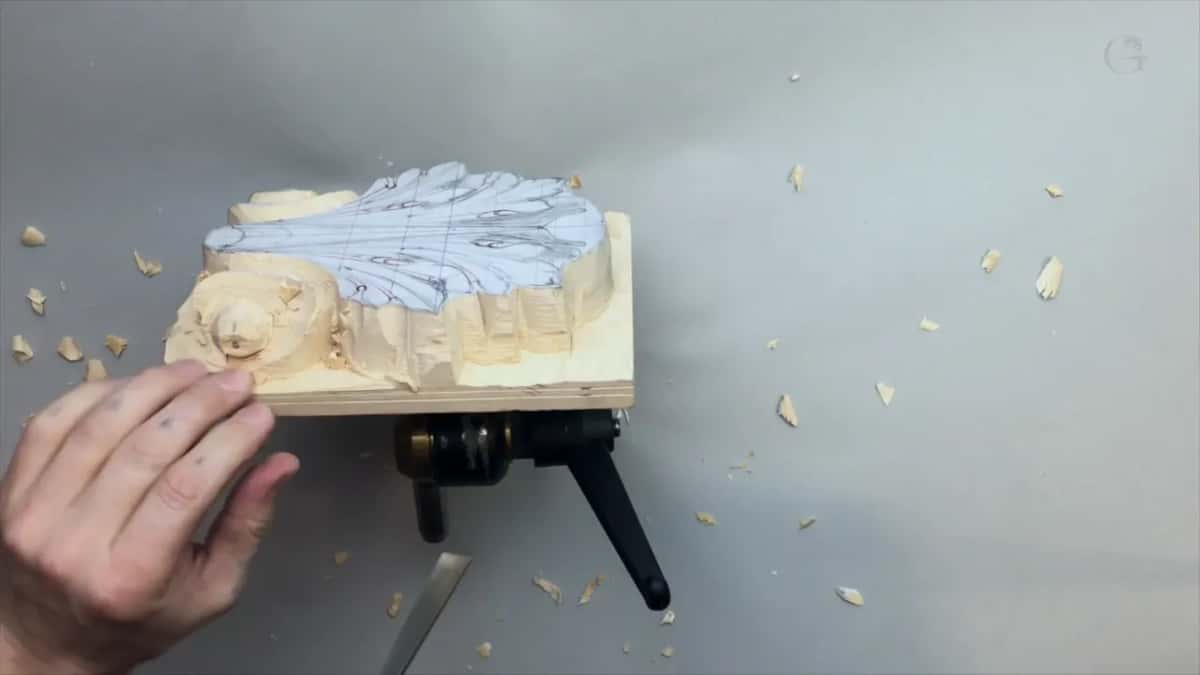
Which gouge goes around the design first?
A big one. My first was that one inch number 8, and I worked around the design with it. That stage is called setting in, I said right then.
A bigger gouge is even better if you have one. I usually use even bigger than that, but I do understand not all of you have the big gouges. Any big gouge works here, a number 8 or a number 9, and a number 10 still works too.
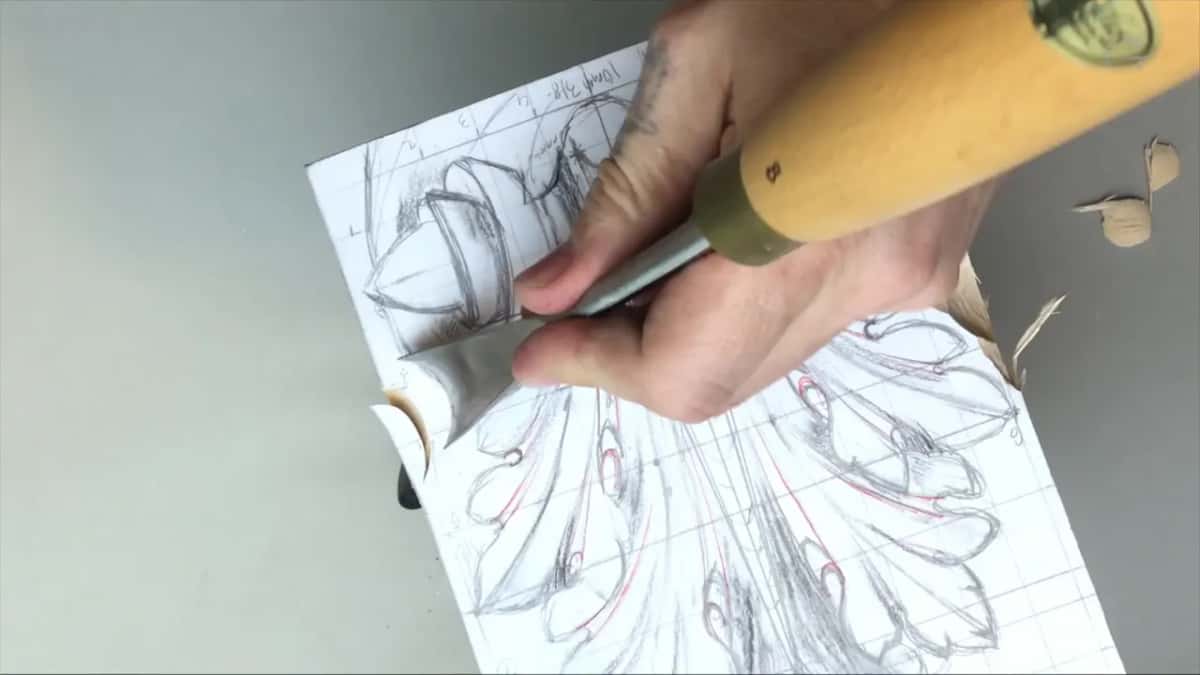
Later in the same video I went back to the number 8, one inch or 25 millimeters, 25.4 to be exact, just to remove chunks of wood, as much as possible. A big tool can remove a lot of material at once. That's why it's better to have bigger tools.
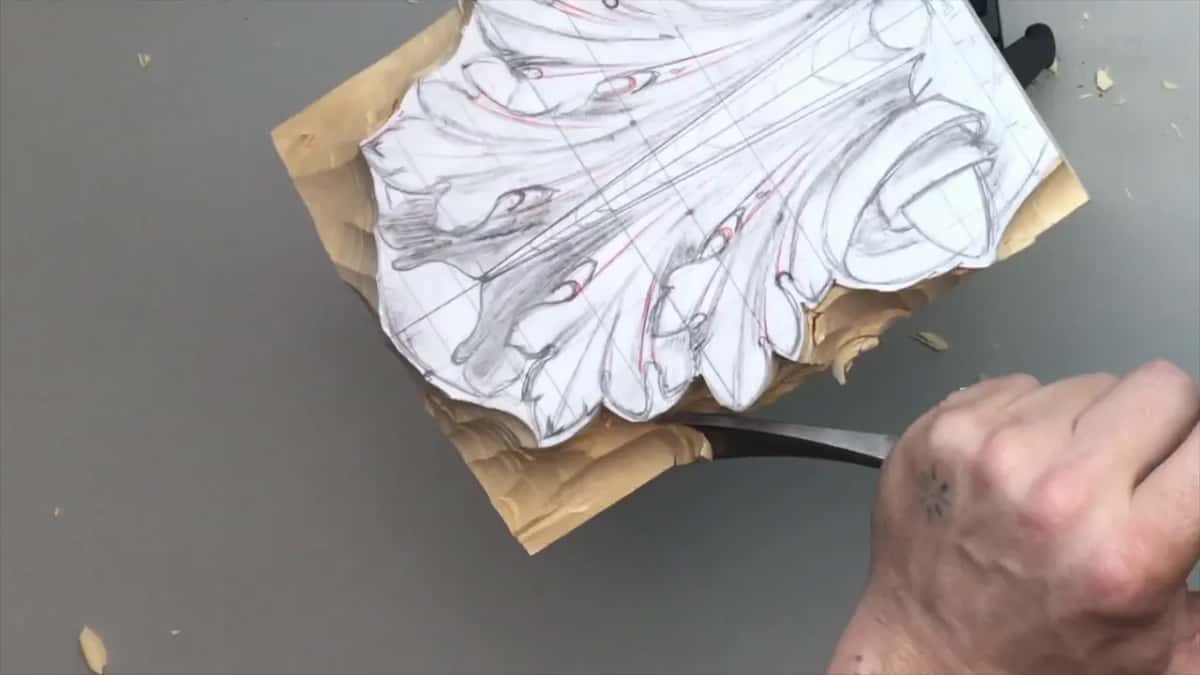
How close to the line should the first gouge go?
Don't get too close. Leave some space between the final lines and your gouge, maybe 1/8 inch, two or three millimeters away from the final design. And stay above the rough background line for now.
Turning the gouge the opposite direction for the outlines, I gave the room again in millimeters, a couple, three or four, or 3/16 of an inch from the final form. With the V tool on the volutes it was about the same, three millimeters, two, five.
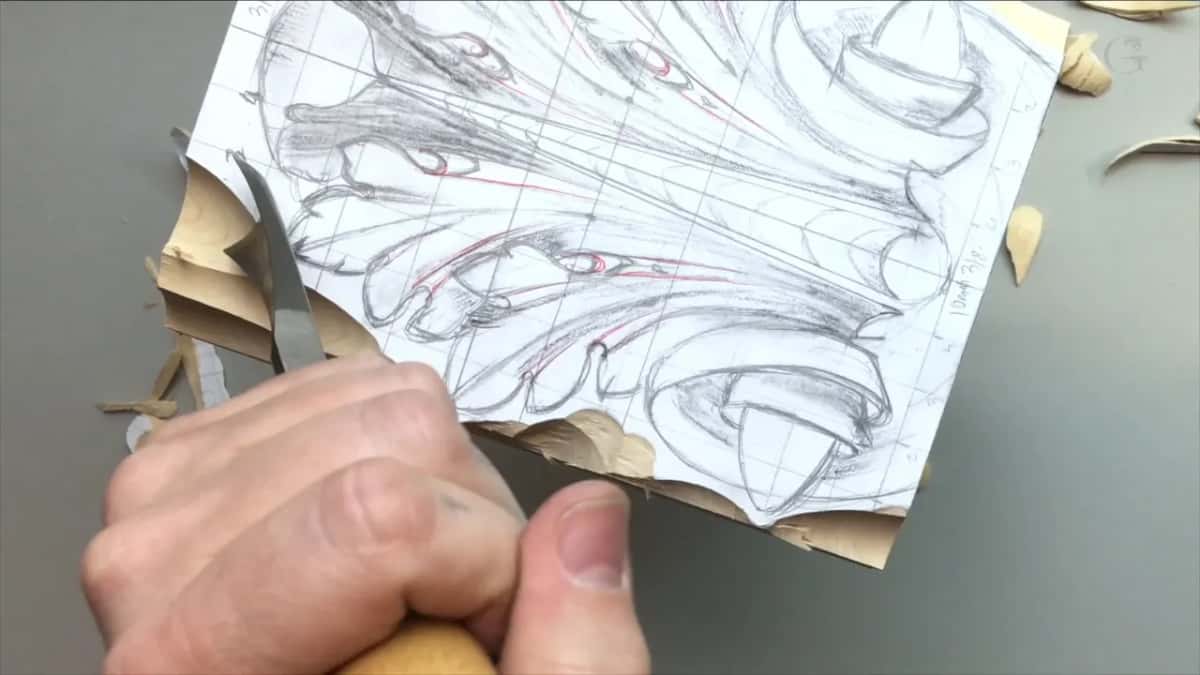
My own half inch number 3 went really close to the line, and I said I would not suggest you do that. Stay about one millimeter away and it's still going to work out. I feel confident, though. I don't think I will mess up.
And if you feel comfortable to get really close, just do that, I said. A little later I asked you again to stay away still about a millimeter at least, about 1/16 at least, or 1/32.
On the Corinthian acanthus, lesson 2, I gave the same rule. Stay away from the line approximately an eighth of an inch. That time I got even closer, about a sixteenth, but I felt comfortable and had no problem with it.
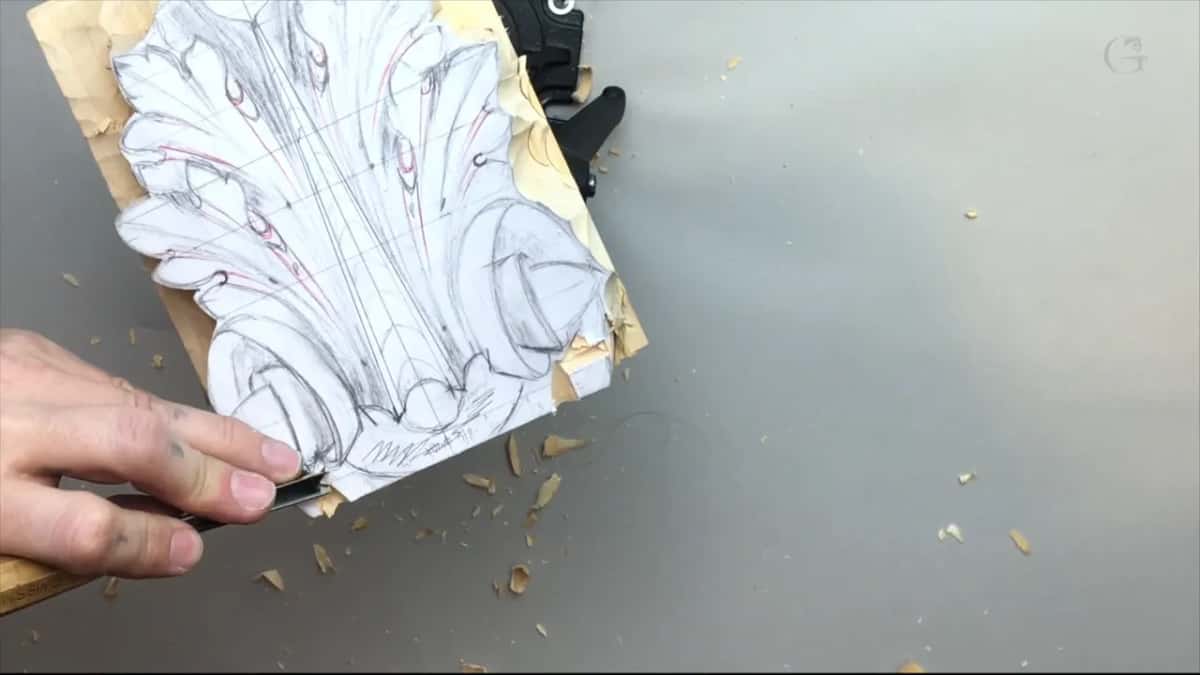
Why switch to a number 5 for the outline?
The number 5 is working better in this case to repeat the shape of the leaf. The idea is to find the closest gouge that's going to fit. Mine was one inch. A smaller one or a bigger one is fine too, as long as you can get really, really close.
I used the same gouge to clean my preliminary background, although it's not the final background yet. Smaller tools came after that. Whatever you can find that fits, that's wonderful, and it's not necessarily the tools I'm using that you have to use.
Here are the tools I named in lesson 2, in the order they came up. If a number on the list is new to you, there is a whole course on carving tools.
| Tool | Where it went to work in this lesson | Note |
|---|---|---|
| Number 8, one inch, Ashley Iles | First pass over the whole outline, and back again later for big chunks | I usually use even bigger |
| Number 5, one inch | Outlines, worked with the gouge turned the opposite direction this time | Repeats the shape of the leaf |
| V tool, 60 or 45 degrees | The main form of each volute, and the inner part as well | Most important in relief, with gouges |
| Gouge number 3, half an inch | Right along the outline, really near the drawn line | Keep about one millimeter away |
| My unbranded number 7, 3/4 inch (20 mm) | Cleaning in the second video, then shaping the volutes in the third | My teacher gave it to me |
| Five-eighths number 3 (16 mm) | Establishing the forms around, then the straight down cut on both sides | Any number 3 will do |
| Straight chisel, number 1, double bevel | Right after that number 3 in the second video | A carpenter's chisel will do |
| V tool number 15, 6 mm (1/4 in) | Outlining the main movement of the leaf in the third video | Used a lot on this leaf |
| My 13 mm number 7 (1/2 in) | Preliminary background, then the deeper shadow line inside each volute | I really love Ashley Iles |
Why does a V tool lead on the volutes?
Any V tool will work, a 60 degree one or a 45, whatever you have. Mine gave each volute its main form. These are not simple volutes, though, because they're angled, and I said on camera that I didn't know the best way to describe it.
In this workshop that was our main point, to establish those volutes on the sides, or curls, if you wish to call them curls. Mostly the V tool did the work in the second video, and in the third I named the one I outlined the main movement with, a number 15, 6 millimeters or a quarter inch.
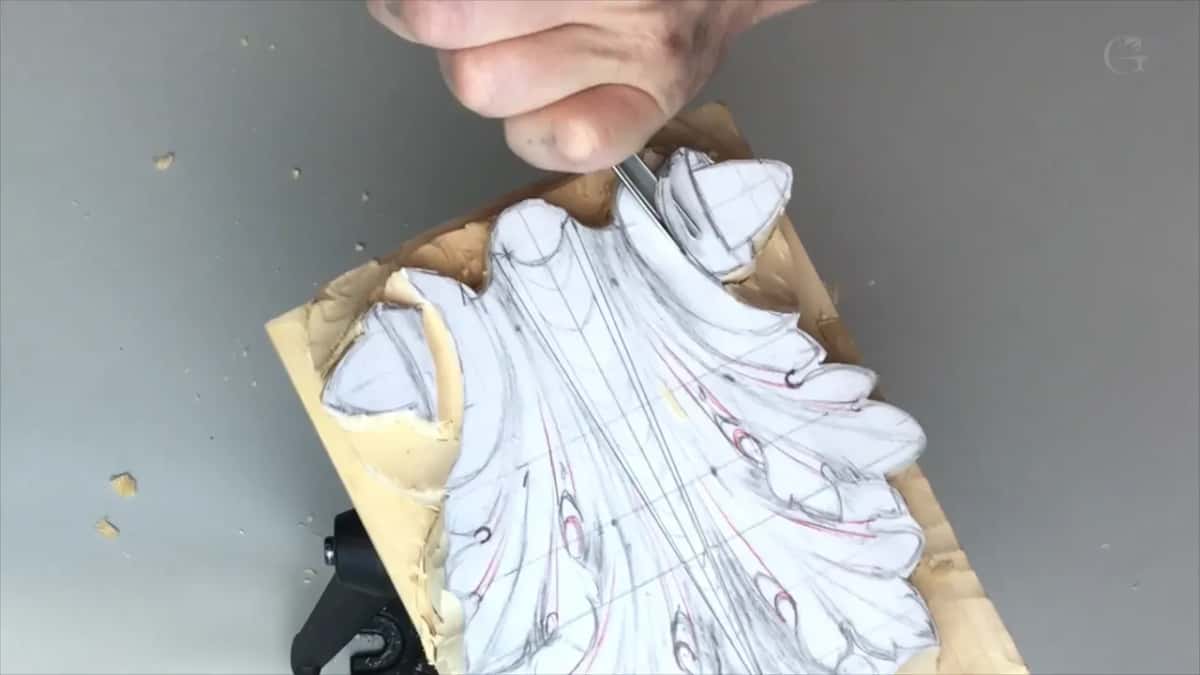
A V tool is one of the most important tools in your arsenal. I called it probably one of the most used in any type of carving, and then I stopped myself. I should not say that. For relief carving, yes, it's among the most important, and of course the gouge. On a big sculpture you use more gouges than V tool, so that would be more accurate.
What are the eggs on a Roman volute?
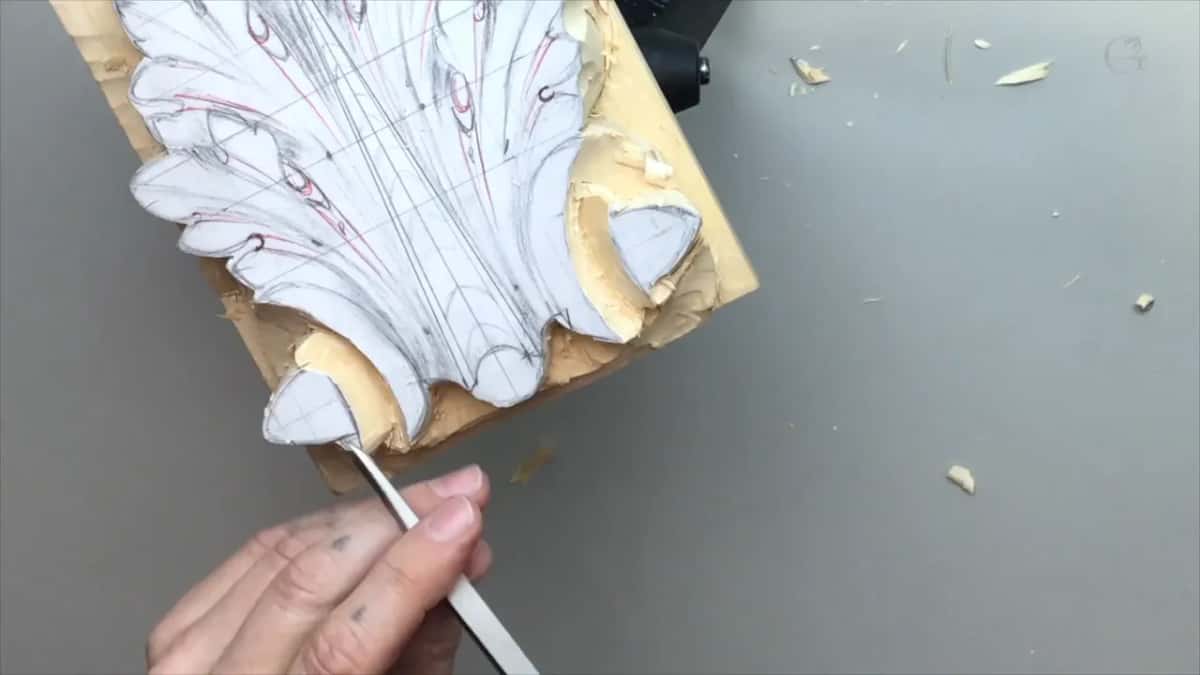
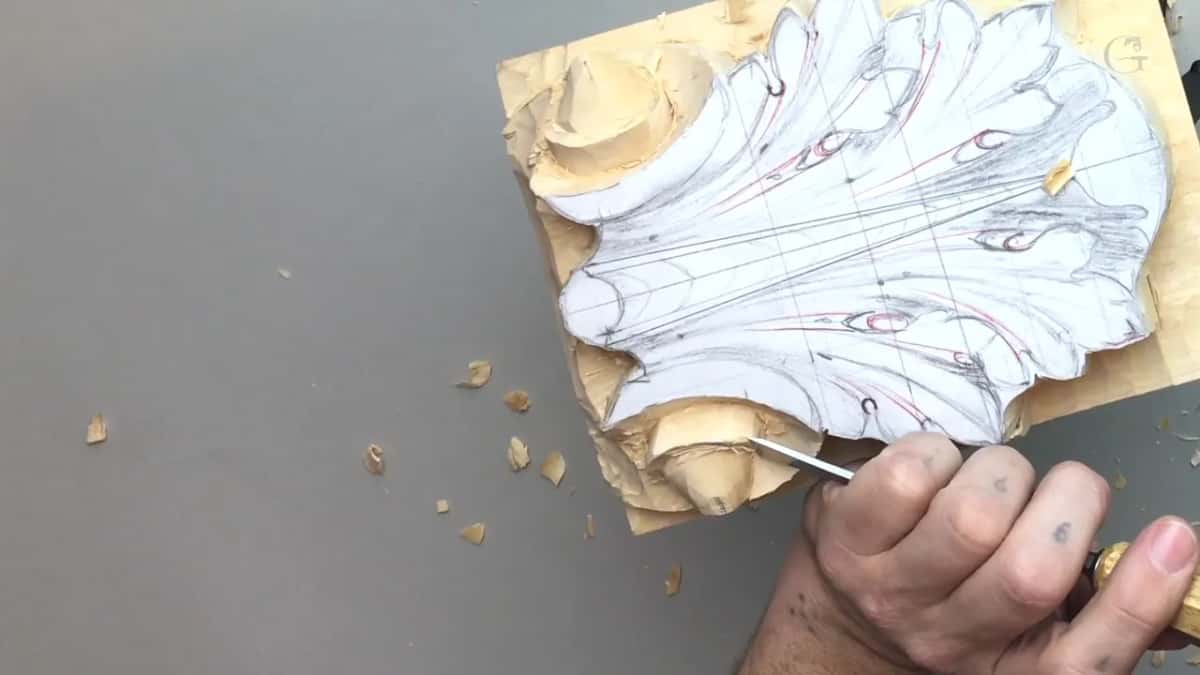
They're the sticking-out parts at the middle of each volute. I don't know the best name for those, but they look like the end of an egg, so in this course I just call them eggs.
First I set them with the V tool. A number 3 came next, a big one, to lower them down, and after that came the step cut. In the next video I did a couple of step cuts while shaping the volutes, and told you to make sure you don't overdo it, because it's always possible to overdo.
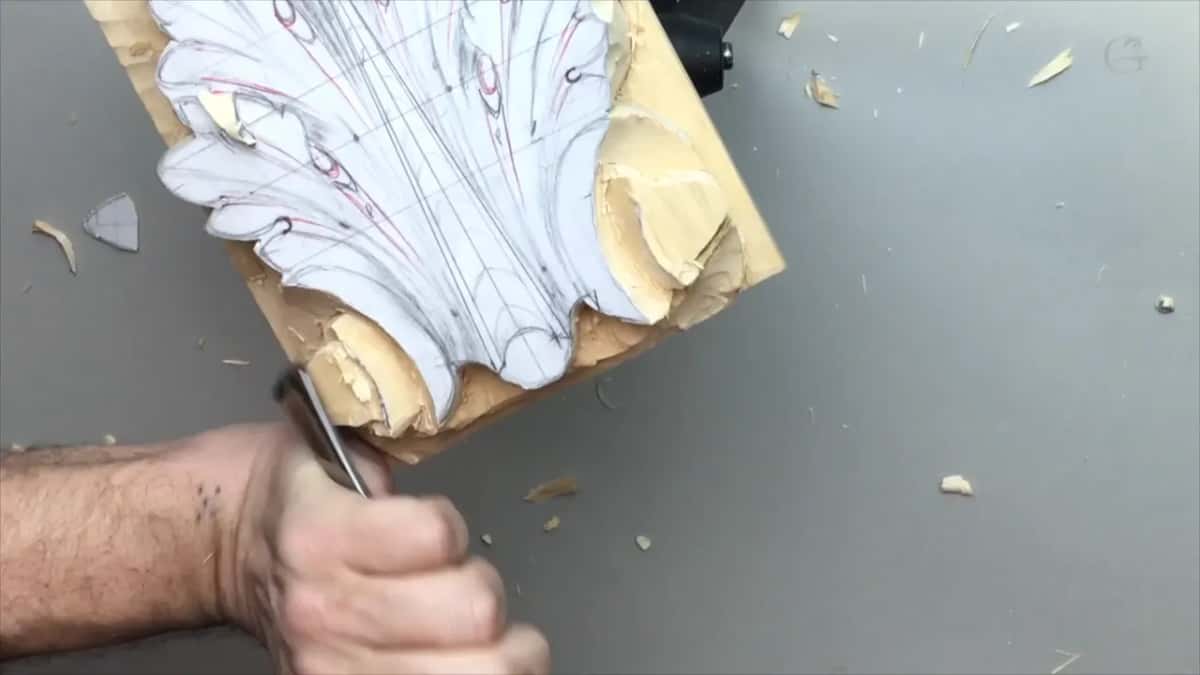
During the last video I came back to the sides of the volutes. Just a V tool set my movements and lines, the same idea as using a V tool for undercutting. So it's some type of undercutting around that sticking-out part, the egg part, if you wish to call it an egg.
Why do bigger tools leave a cleaner surface?
With a bigger tool, each stroke is much cleaner. My number 3 in the third video was a bigger one, and I told you that you don't have to use a bigger one. I'm always on the side of bigger tools myself, because with a bigger tool you can use just the edge of it, and you can take much more material than with a smaller one.
A smaller one works too, and you can get the same results probably, or almost the same. You will face the problem of too many chisel marks, though. Too many facets, if you can call it that. So get as big a tool as possible, and get it done with the bigger one, and the carving goes much, much quicker too.
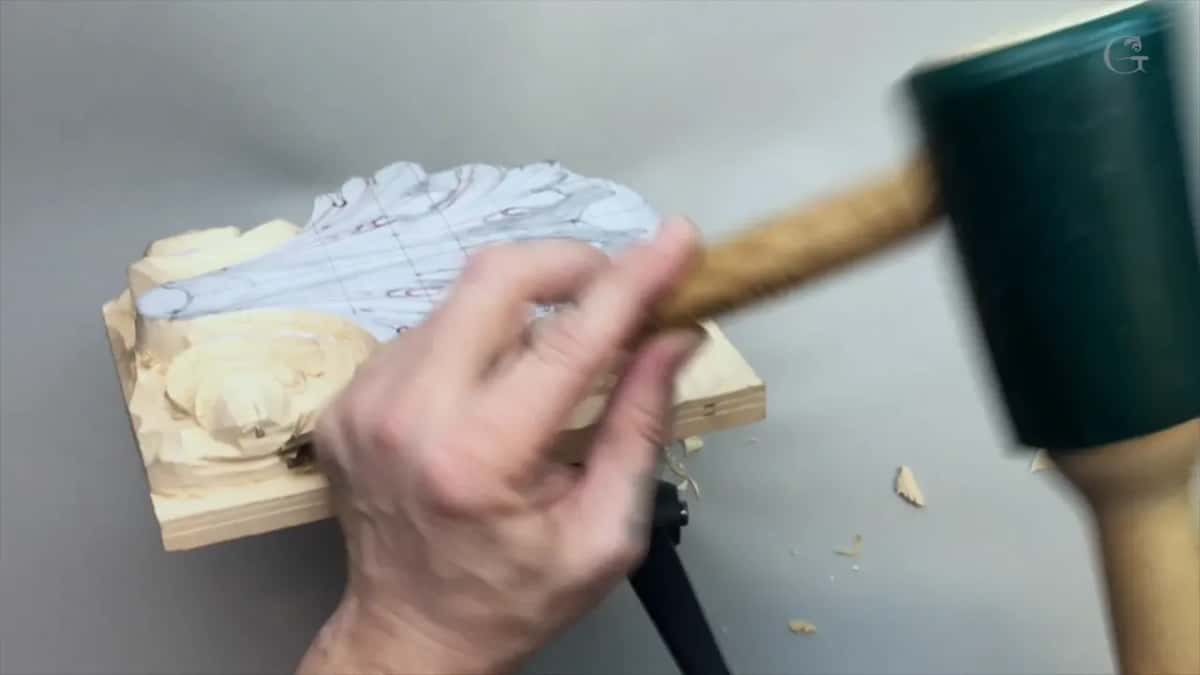
Lots of mallet strikes went into this part. I use the mallet because I can control much better with it. Of course, you could just push the gouge, but with the mallet, like I said, you do have much more control.
How does a relief volute come to run downhill?
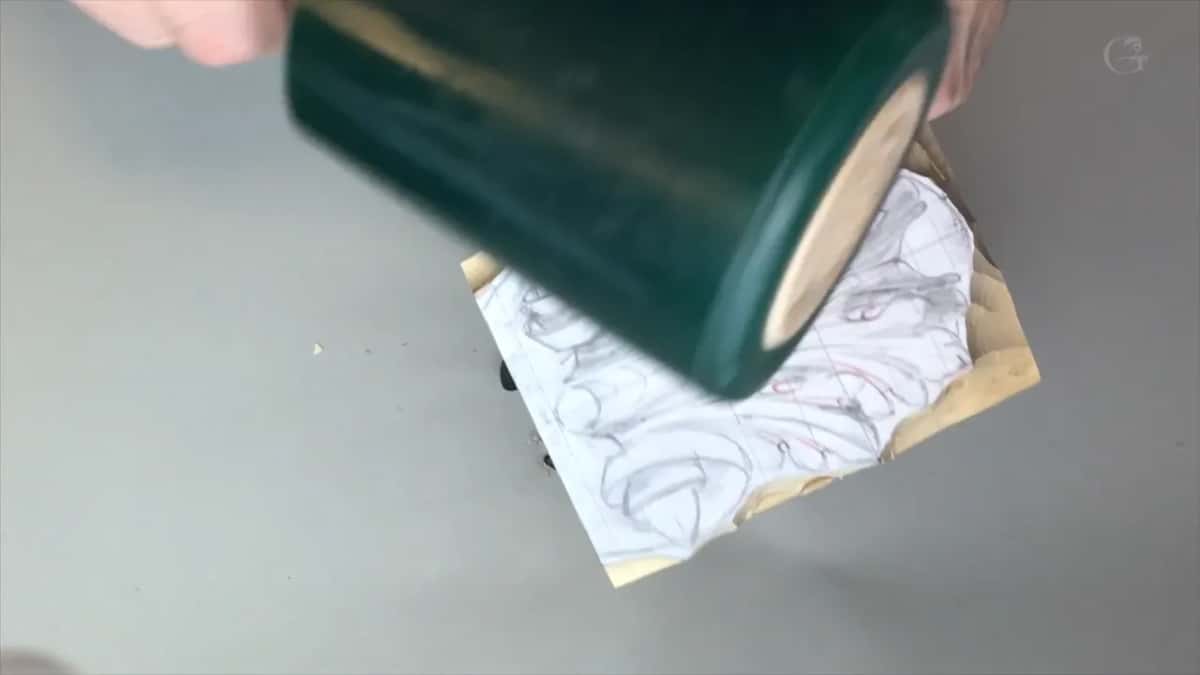
First the straight down cut. I set it with a number 3, five-eighths of an inch or 16 millimeters, the same on both sides. I was almost on the line, and I'd suggest you stay slightly away. After that I rounded it, because this volute has to go like a downhill.
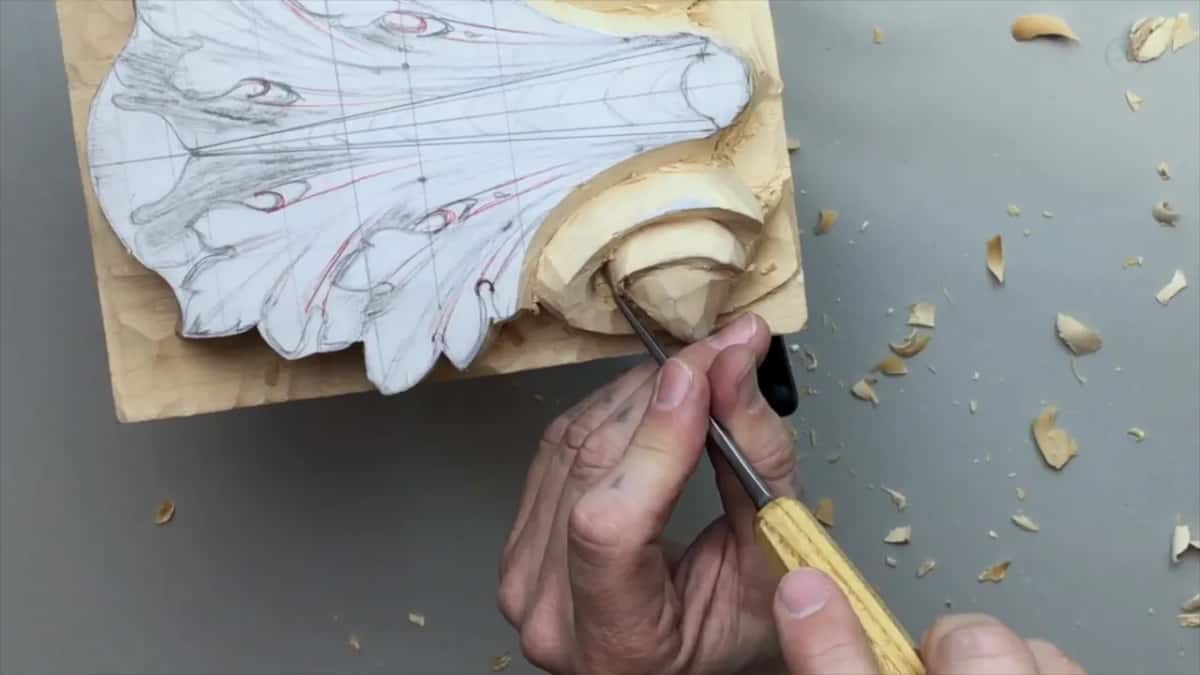
The last video of the lesson worked on the sides, to make sure there's a flowing line going all the way downhill. The volute should look nice from the sides too, as well as from straight above.
Inside those volutes I went deeper, so it would look like a true volute. That sets a shadow line. My tool there was a number 7 at 13 millimeters, or half an inch, and I'm using Ashley Iles tools, which I really love.
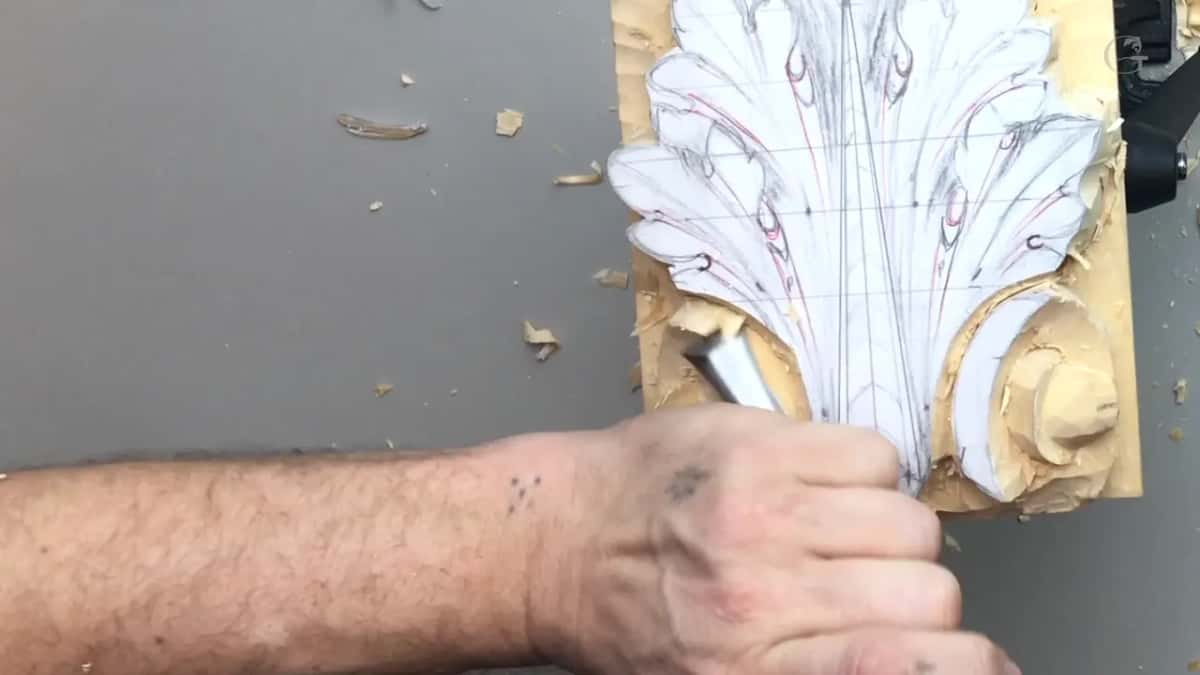
The number 3 came back after that. Be careful, I said, and don't overdo it, because it's better to just make micro cuts.
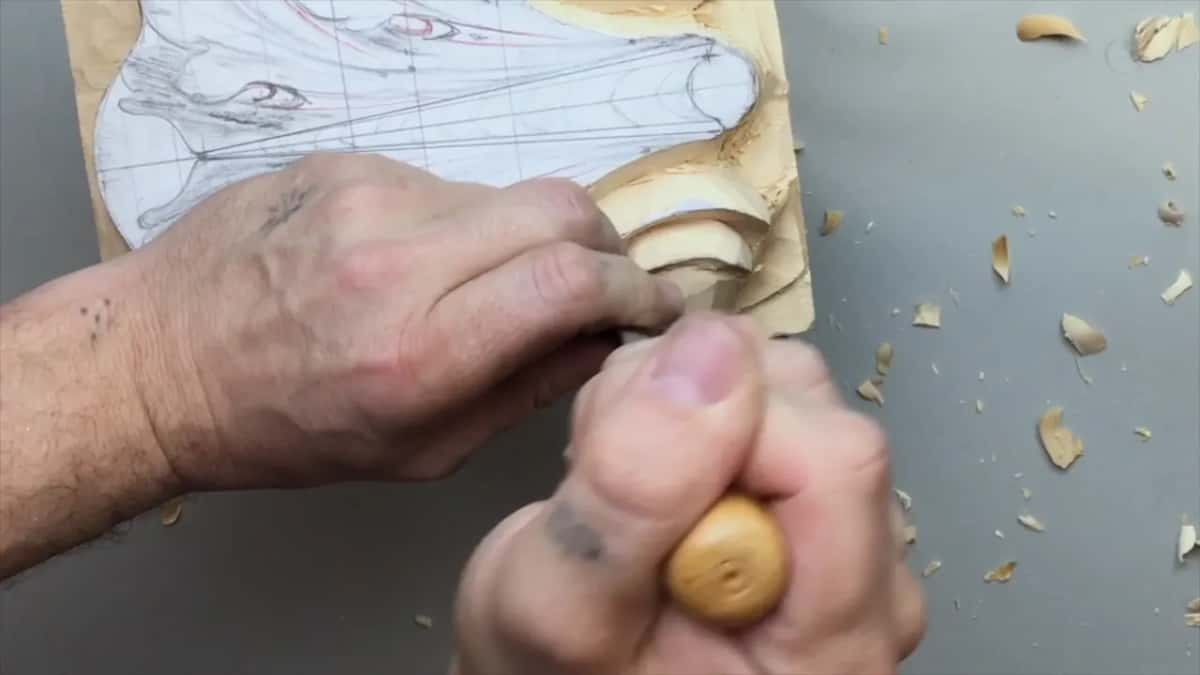
How do you keep both halves of the leaf alike?
Always watch both sides at once. Look at the overall picture, and when you're carving one side, don't forget about the other side, because it has to be symmetrical. The forms should be as close as possible.
You can see it in the video. When I'm done with one side, I work right away on the other side, doing the same thing, or something that's supposed to look about the same. Lesson 1 draws the two halves to match.
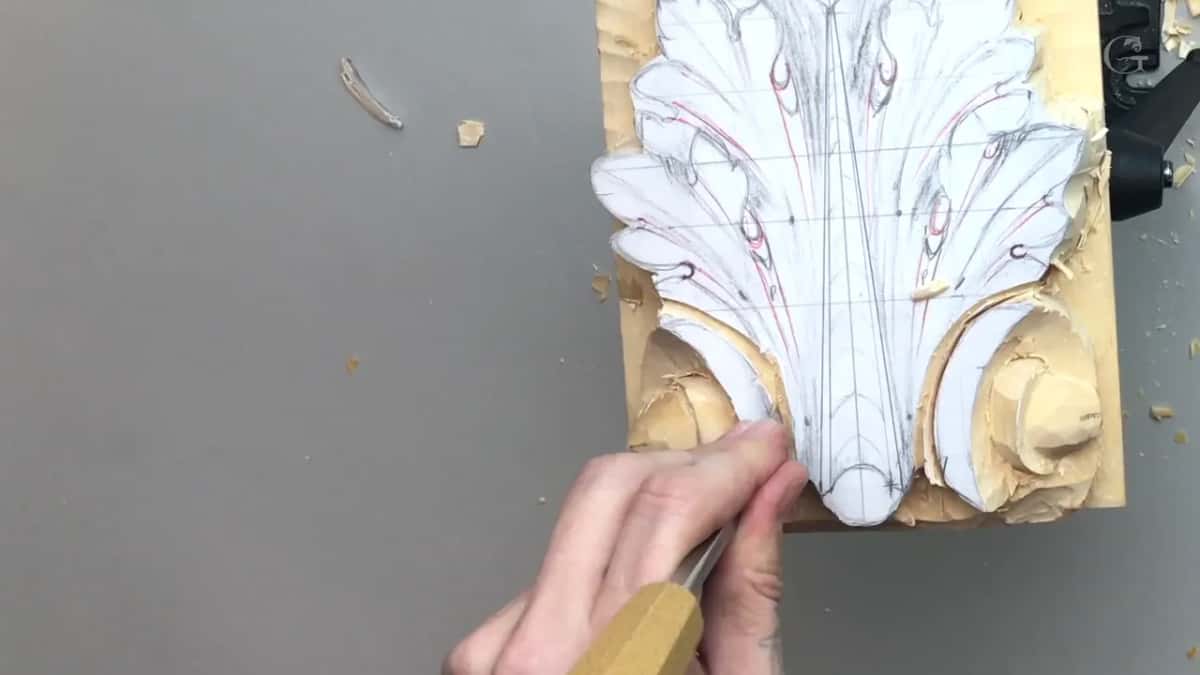
Don't worry if it's not exactly the same, because a human being is doing this carving, and without some imperfections it looks too plasticky.
Depth counts too. Keep an eye on how deep you go, because the right, center and left side have to be the same. Carving along the grain needs care as well, because you can easily break it.
What did I say about carving against the grain?
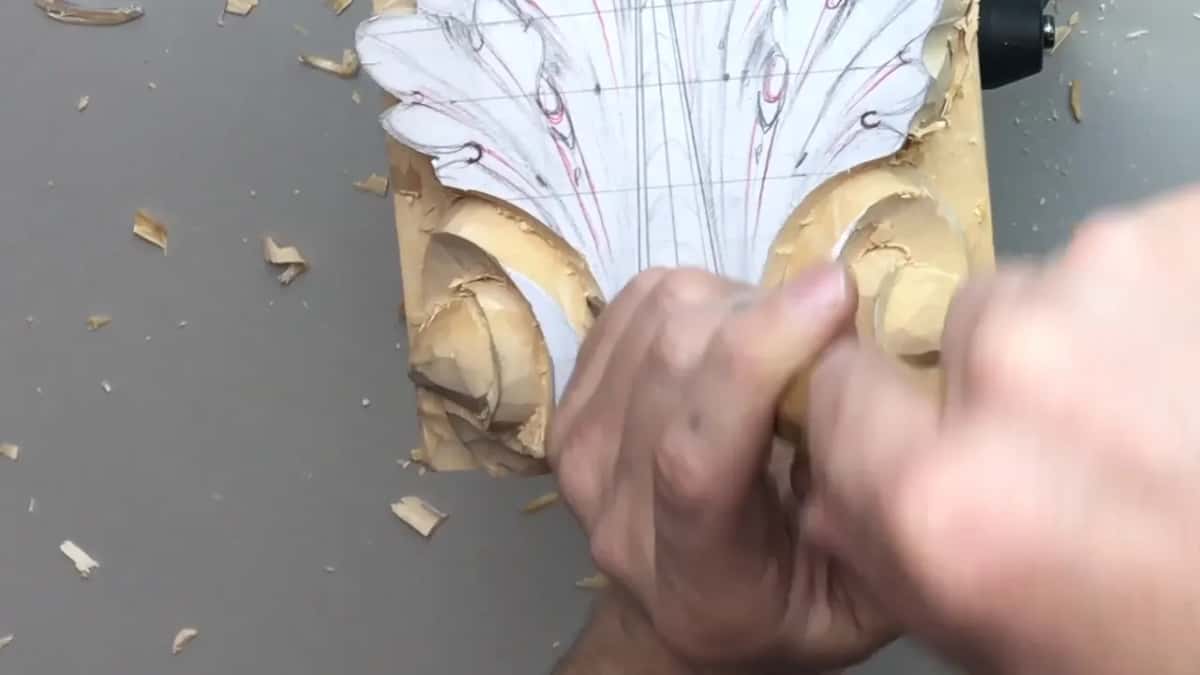
You have to go with the grain at times and against it at other times. So you have to kind of feel what your block of wood does at this moment. If you don't have to force it, just don't force it.
Near the end of the lesson I was working against the grain, because otherwise I just can't reach those areas. Also real important, you need really sharp tools for that. It's a good idea to follow the grain when you can, of course, but when you can't, the only solution is to have really, really sharp tools.
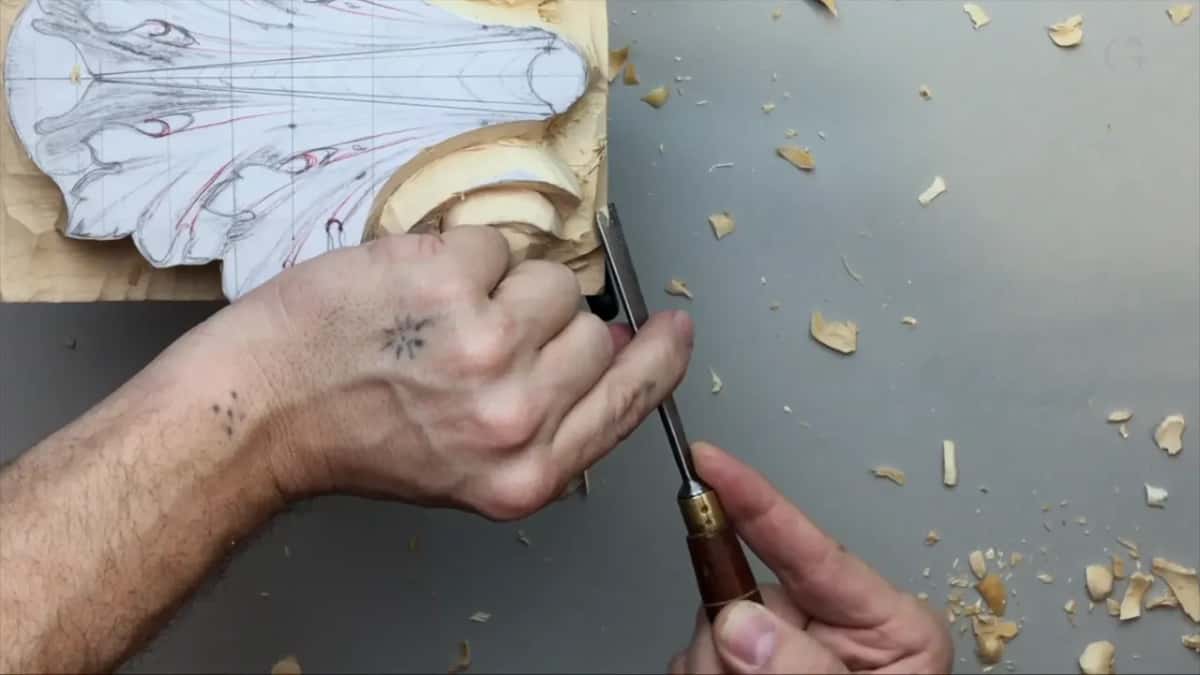
For the Greek acanthus, lesson 2, I put it as a law, and the law says you follow the grain. But I do have a habit to break that law, because on complicated pieces you really can't always follow the laws, so you attack from different points. And for that, you really have to have sharp tools.
What happens when a piece breaks off?
I got asked what I do if I break something. Sometimes you can glue back the part you broke, but not always. Not every carving can just be glued back, and it's better not to glue anything. So it's better not to break anything. Be careful.
I know I make that mistake many times, when I'm not too careful, when I'm trying to get my job done quickly, and I break stuff. Yes, I've done some gluing, but I prefer not to glue. If I broke something, let it be. That means it was meant to be like that. Just redesign around that broken part.
What other names does this stage go by?
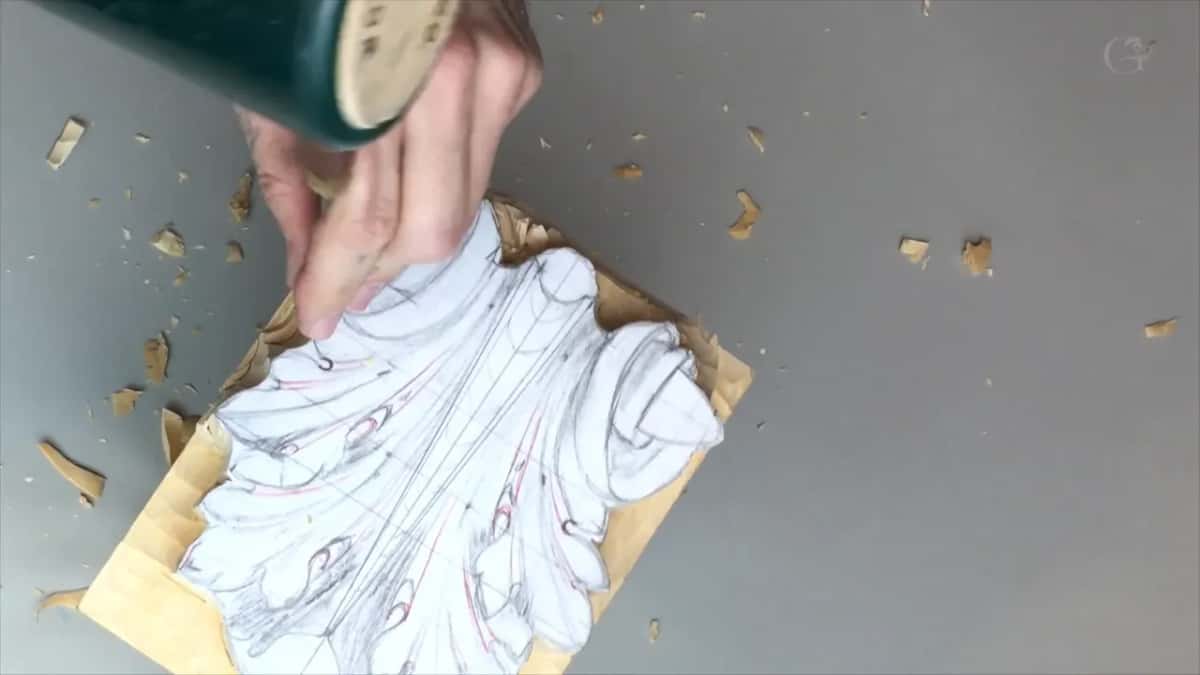
Outlining is one. The Corinthian leaf shows two ways to start, the V tool, or a gouge doing exactly the same as the V tool. That is outlining, and I said it's also called setting in. So we actually set the main idea in.
In Venice Room 55 I gave the move a full name, the outlining cut, or setting in if you are in England. With acanthus over moldings, lesson 6, and a quarter inch number 11, about 6 millimeters, I called it the professional term, the woodcarver's term, when it's relief carving. And when there are lower layers or lower details, we have to work on each layer separately, which in that lesson was the petals layer.
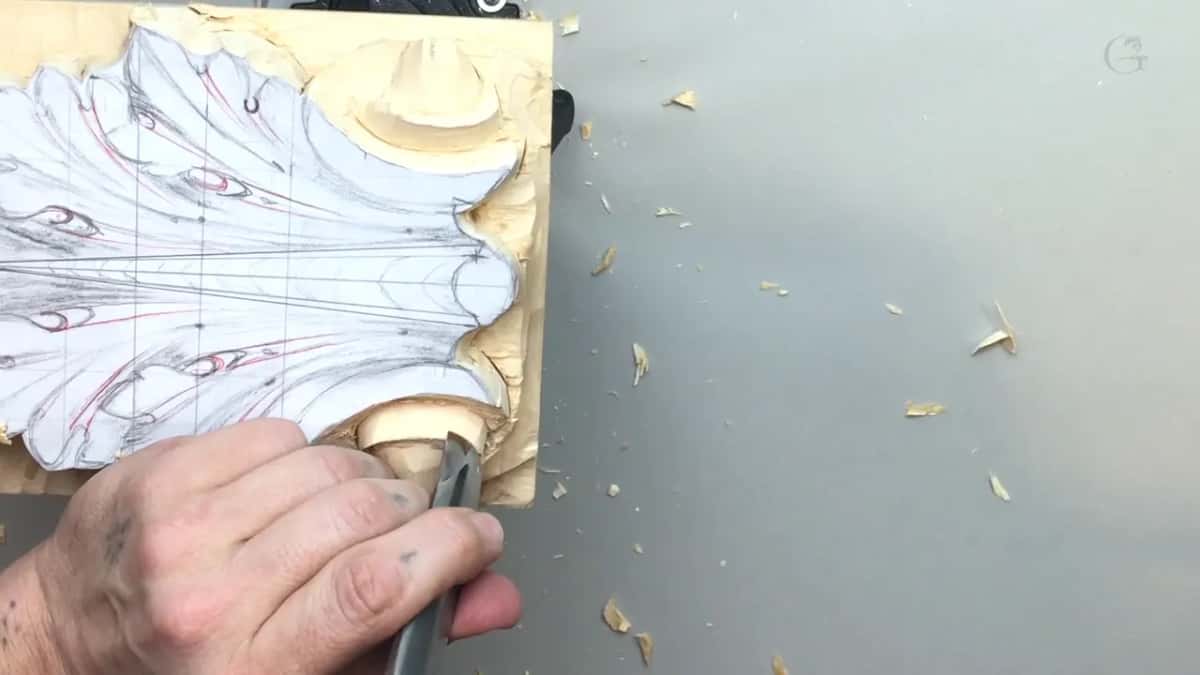
Over on the Venetian flowers rosette I put it in one line. When I'm saying set in, I'll just outline it, and that way I'm not going to lose the overall picture.
And in the first Venice Room workshop I said some carvers would call this stage setting in, then gave it a second name, roughing in, because we are roughly trying to get the overall design in. Even if it doesn't look too appealing yet, it's absolutely okay.
Where does the leaf stand at the end of lesson 2?
Still above the rough line. In the last video a 13 millimeter number 7 took it to my preliminary background, and that is not even the rough background yet. I was still establishing the main form, the main movement. Those lines are not the final lines, and this background isn't the last one either.
The last video also has me saying I love this type of leaf, the symmetrical acanthus. Even nowadays lots of furniture makers still use it to decorate furniture, and it just looks beautiful on the sides of a table leg, or pretty much anywhere.
It's about how you feel the three-dimensional world, I said in the third video, and how you establish the form. Tools help, of course, but you can have thousands of different tools, and without the feel of a three-dimensional world you can't really do anything.
The next lesson carries on from this board, and the Roman acanthus course page lists every lesson in order. Would you like to set in a Roman leaf at your own bench? Every lesson of this course is open with Tuition, and you can pick where to begin first.
How it's done
- Score the background line. Set a woodworker's marking gauge at about a quarter inch (6 mm). Make sure it's tight, then mark each side with a couple of passes.
- Add a rough line above it. Mark another line above it, about 3 millimeters up. Carve down to it later, and stay above it for now.
- Show where the curl and volutes start. Mark them before carving, since the edges of the leaf make a concave look, really low outside and higher inside.
- Take the waste off with a big gouge. Remove chunks at once with the biggest gouge you have, like my number 8. Outside in is the best way, though near the edge this leaf made me go from the inside out.
- Leave room at every line. Keep 3 mm (1/8 in) or so between your gouge and the final design.
- Outline with a gouge that fits. Turn the gouge the opposite way and find the closest one that fits the leaf. Mine was a number 5.
- Set the volutes in. Outline each volute with any V tool you have, then shape them with number 3s and round each one so it runs downhill.
Frequently asked questions
Is setting in the same thing as outlining?
In my lessons the two names point at one job. On the Corinthian leaf I said outlining has a second name, setting in, and in a Venice Room lesson I named it the outlining cut, or setting in if you are in England. Either way, the outline comes first.
How deep is the background on the Roman acanthus panel?
About a quarter inch, roughly 6 mm, on a block 47.5 mm (1 7/8 in) thick. A tight marking gauge scores it on every face, with a rough line 3 mm higher. All of lesson 2 stays above that rough line.
Should a beginner carve right up to the drawn line?
I got really close with a half inch number 3 and said I would not suggest you do that. Keep a millimeter off at least, a sixteenth, and give the big gouge two or three millimeters of room. If you feel comfortable getting close, I said, just do that.
What to carve next