
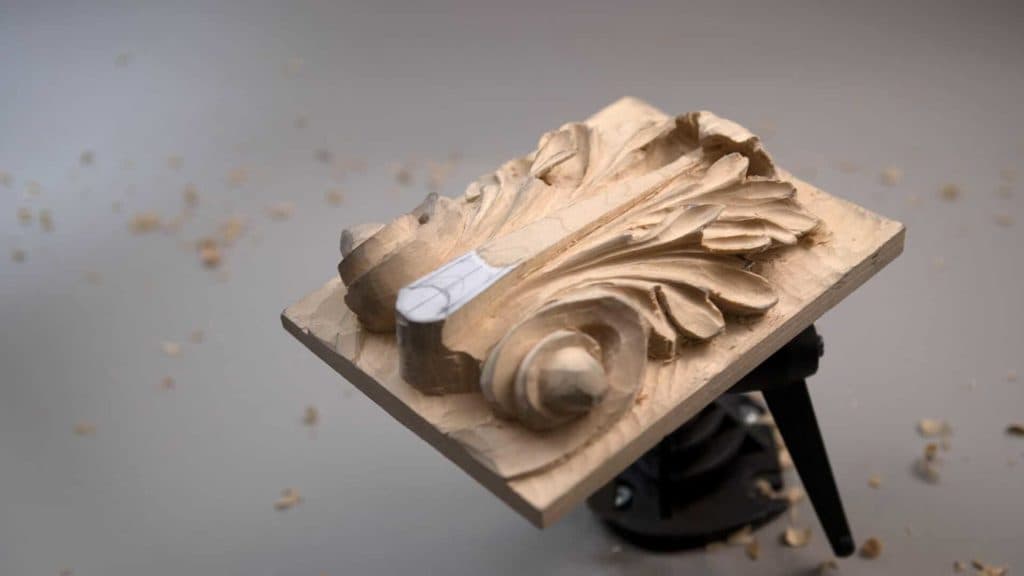
Alexander Grabovetskiy, woodcarver, School of Woodcarving · Published 2018
How do you stop a thin carved edge from breaking?
Quick answer: A fragile carved edge is stabilised with glue thinned right down, a lot of water to very little glue, brushed on so it soaks into the fibres. Yellow carpenter's glue carries resins that bind those fibres together as they dry, and the leaf will then take thinning closer to paper without letting go.
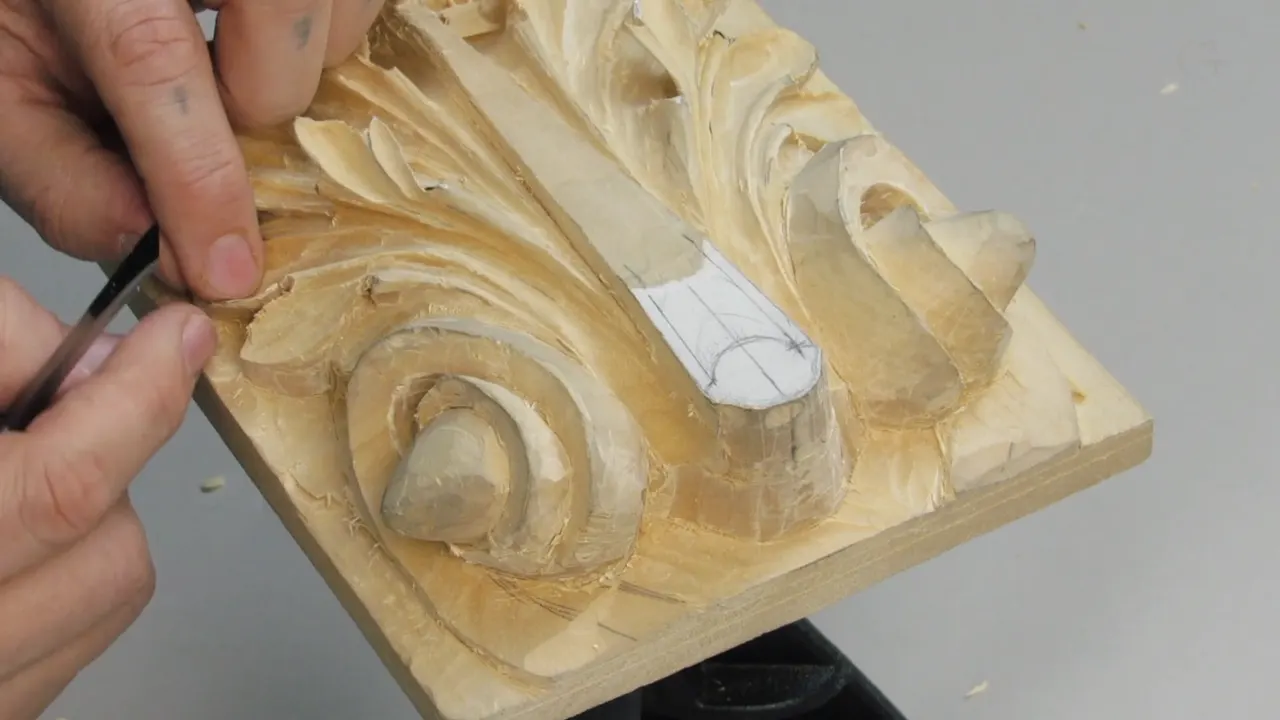
Thinned glue is what saves an edge that has gone too fragile to carve. Dilute carpenter's glue heavily, four or five parts water to one of glue, and let it soak into the wood. Resin travels in with it and holds the fibres to one another, so a leaf can be taken nearly to paper and still survive your hand.
Have you ever carved an edge down to almost nothing and then been afraid to touch it again? Watched a tip snap off and known, in the same second, exactly which pass did it? I break something in this workshop myself, on camera, and I leave the mistake in rather than pretend it did not happen. Then I show you the thing that would have prevented most of it.
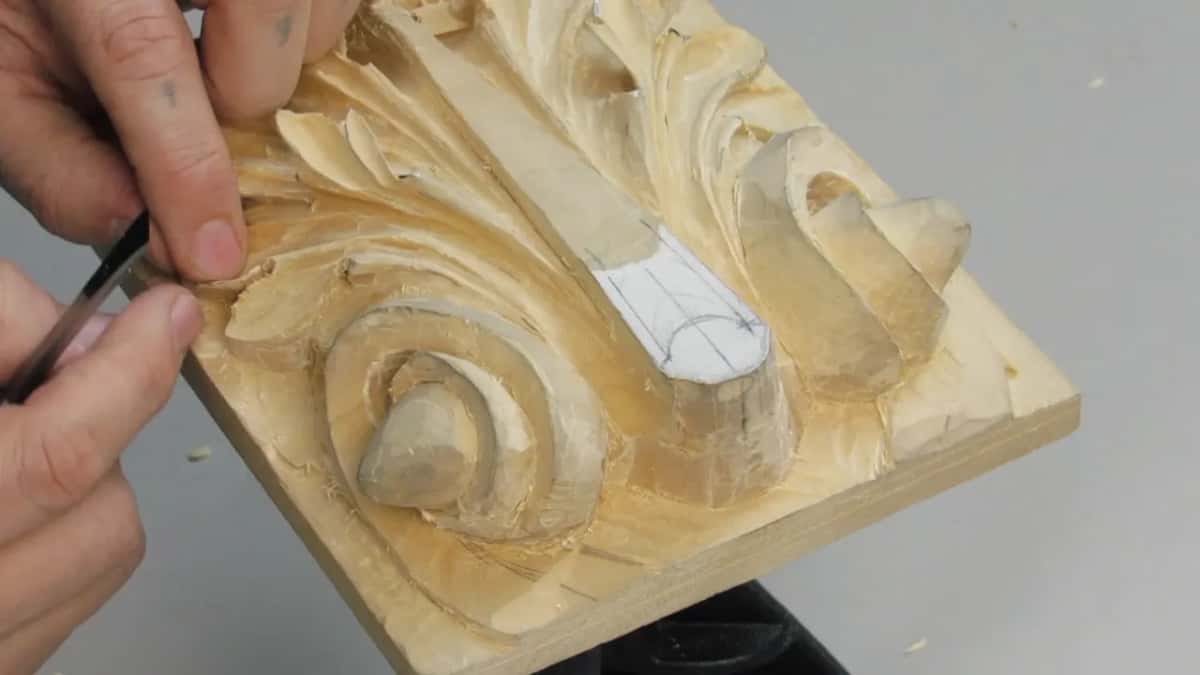
What this stage really turns on
- Water and glue, mixed heavy on the water, soak into fibre and hold a fragile leaf together.
- Keep well below the pipe top, by 3/32 of an inch. That band of wood has a job coming.
- Small bites. One big cut removes accuracy along with the wood.
- Sweep 9 leaves an undercut edge too sharp to meet a concave directly, so a 5 blends the two.
- Leave meat as a height reference until every movement matches, and undercut last.
- Mistakes happen to everybody at this depth. Say so, then work out the repair.
How do you stop a thin carved edge from breaking?
Flood the fibres with heavily diluted glue and let it dry before you carve further. Ordinary yellow carpenter's glue works, and so, historically, did hide glue. Thin it well past what seems reasonable, until it runs like milk, then flood the fragile area and let it go right in.
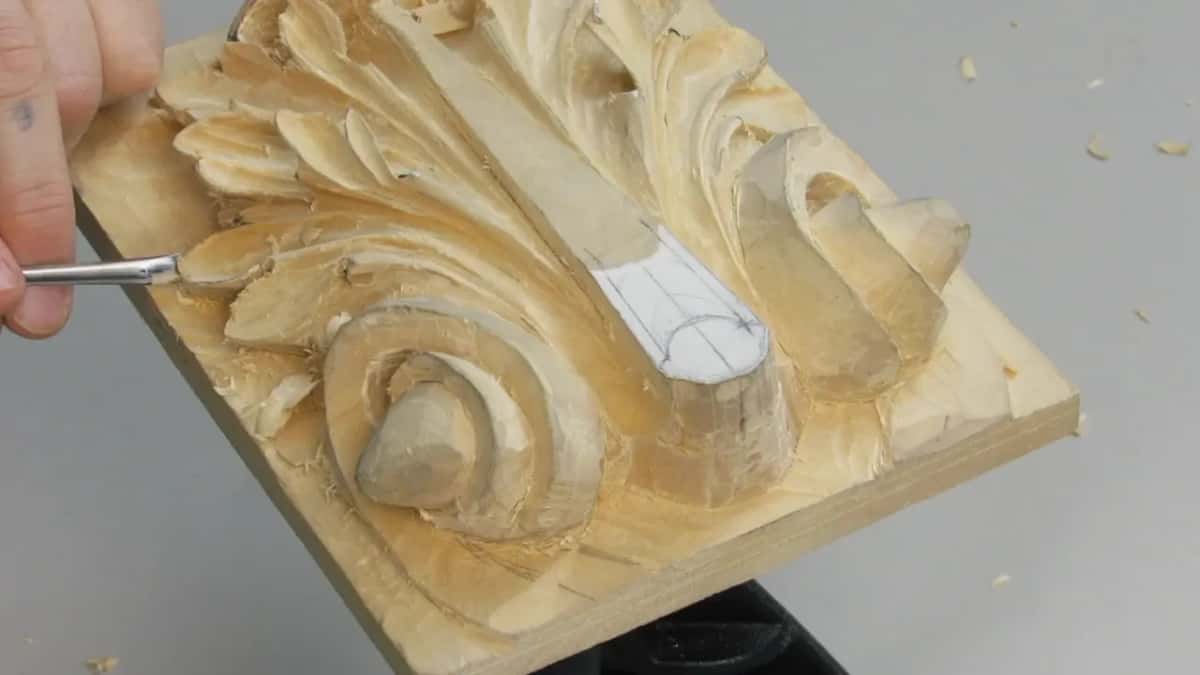
What does the work is the resin. Yellow glue carries resins that travel into the fibres along with the water, and as it dries those fibres end up bound to each other rather than merely sitting side by side. The wood stops behaving like a bundle of straws.

Paper thin becomes possible after that, and safely so. Break it you still can, if you push hard enough, because nothing makes wood immortal. The margin simply gets wider, and a margin is all you need at this stage.
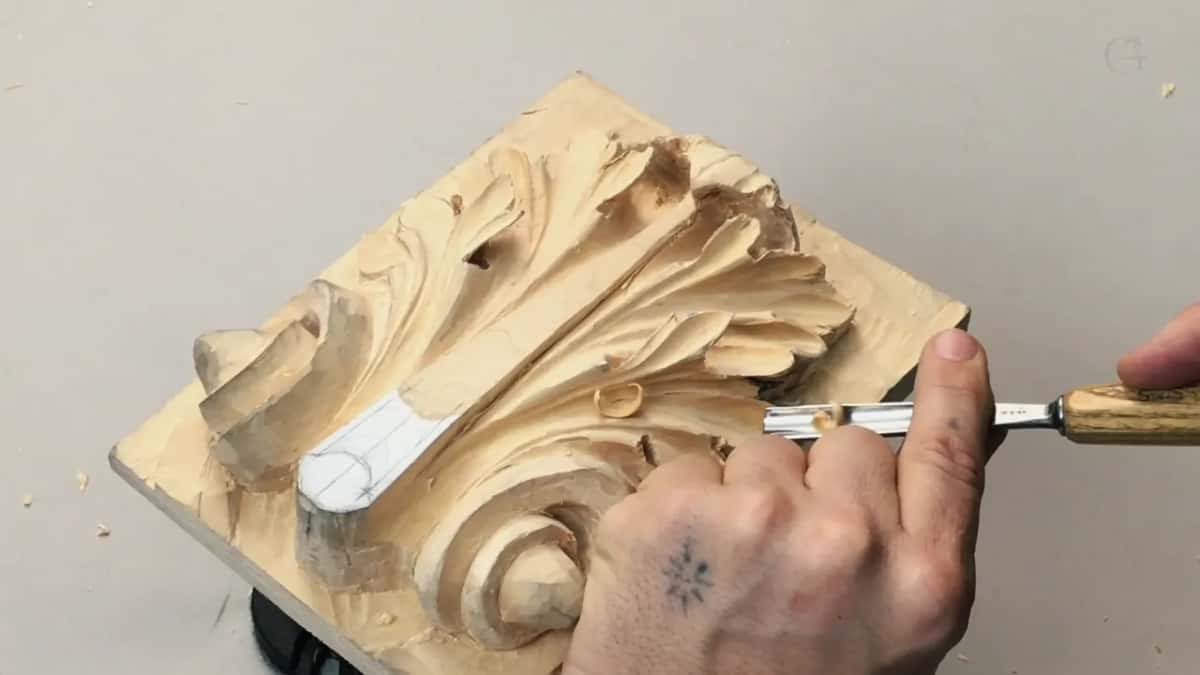
Honesty about my own habits: I rarely use it. Most of my work gets there by being careful instead. Keeping the option in your head costs nothing, though, and the day you look at a leaf you have taken too far, you will be glad somebody mentioned it.
What happens when you undercut too far?
Watch the panel partway through this workshop and you will see it happen to me. My blade went deeper than it should have in one direction, and the original eye and pipe were destroyed. Gone, in one movement.
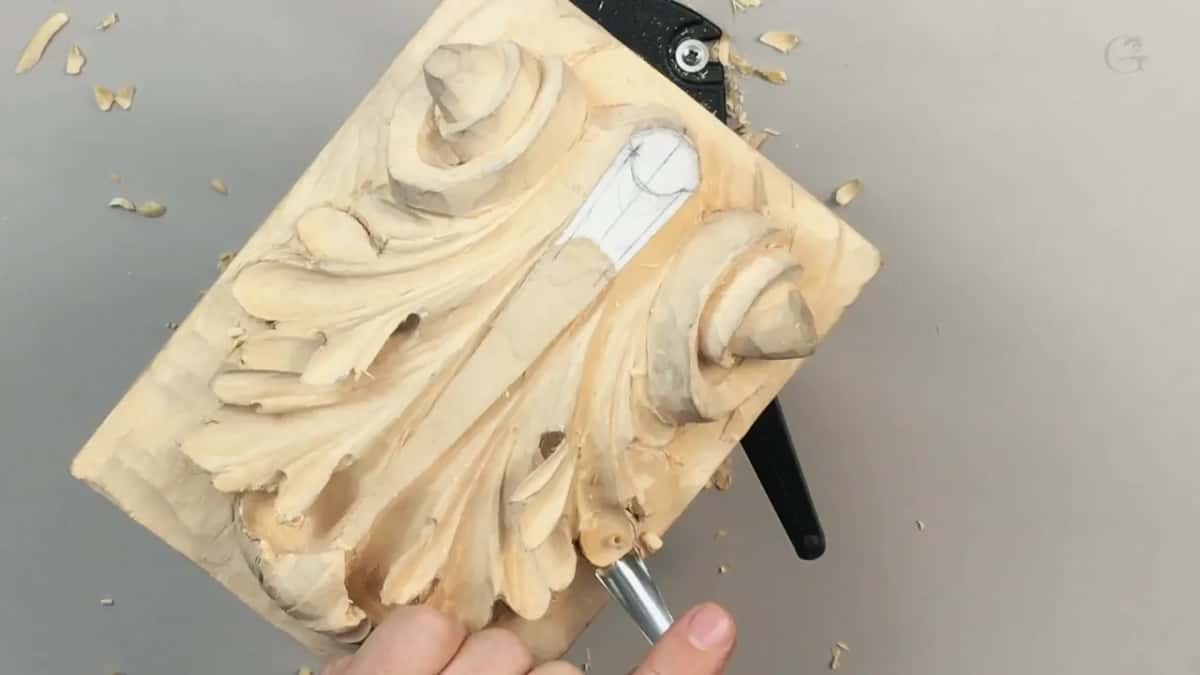
My reaction on camera is the whole lesson. I say plainly that I made a mistake, that I cut too much, and that this is what happens when you try to overdo it. Then I pick up the V tool and start working out what can be rescued.

The mistake stayed in the recording. Plenty of carving videos show only the passes that worked, and a beginner watching those concludes that masters do not slip. We slip. The difference is what happens in the ten minutes afterwards, and the second side of that leaf came out right because I had just learned something expensive about the first.

The intersection where a pipe meets an eye is genuinely awkward, more so than it appears in a finished photograph. Anyone who tells you that section is easy has not carved one recently.

Notice also that I did not repair it on the spot. My words at that moment were that I would leave it for now and think about what could be done, and that pause is the actual technique. A damaged area looks worse in the first minute than it will in an hour, and carving angry is how one mistake becomes three.

So the panel sat while I worked the opposite side. Whatever the answer turns out to be, it will need spare depth to work with, which is one more argument for holding material back until the very end.
Why leave material between the cut and the top of the pipe?
Ornament is going to be carved there, and you cannot carve what you have already removed. My undercut at the eye stops a shade below the crown of the pipe, and that gap is not carelessness. Every bit of it gets used.
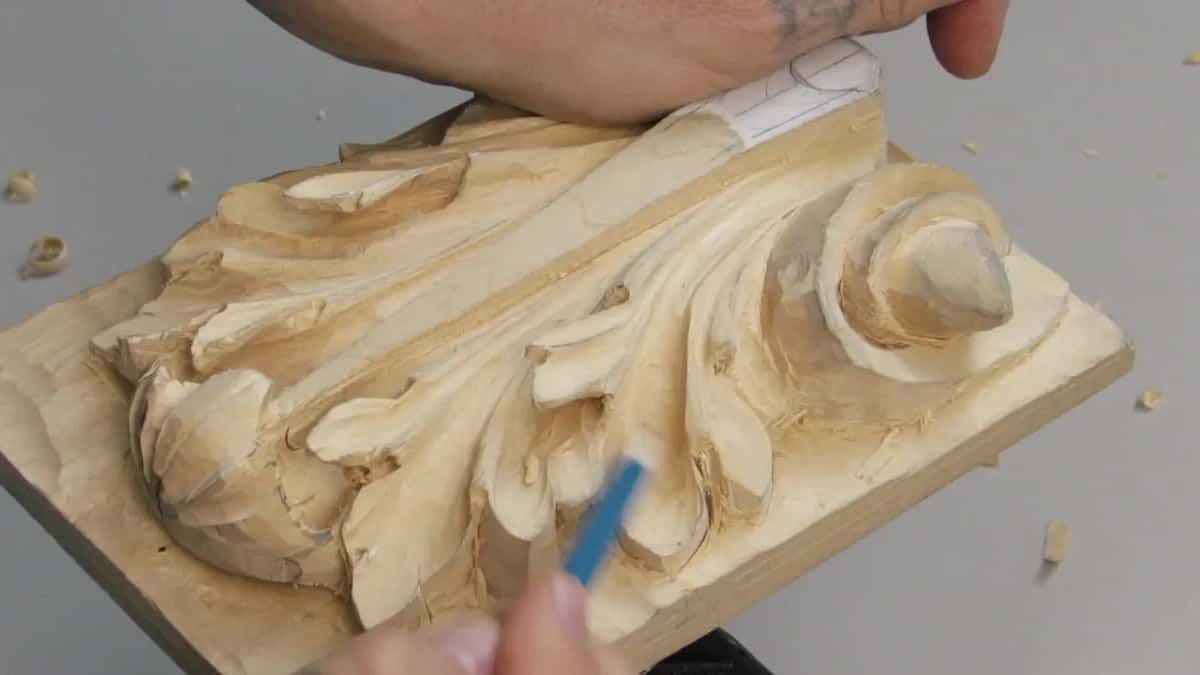
Details are coming. The Romans added a movement to the eyes and pipes that makes an acanthus read as something grown rather than something ruled, and carving it needs wood to carve it in. Carry the pipe down to its final edge now and that ornament becomes impossible.
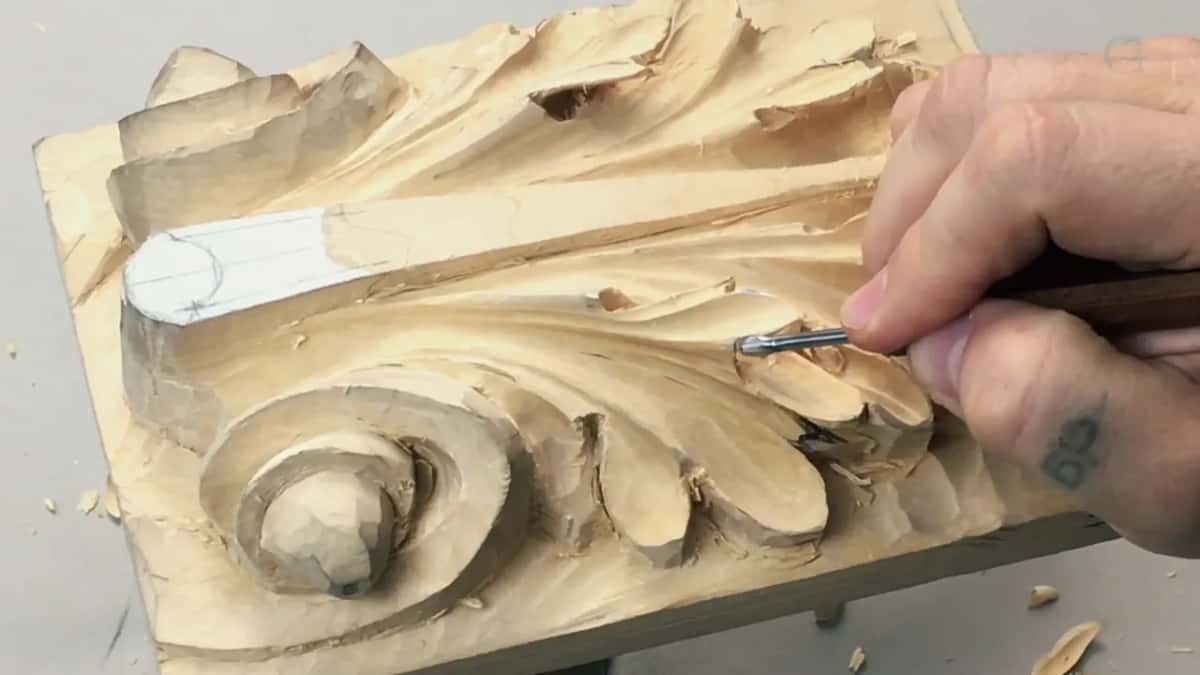
So the instruction is blunt. Do not go all the way to the edge. Leave the band there, and trust that the reason arrives in the following workshop.
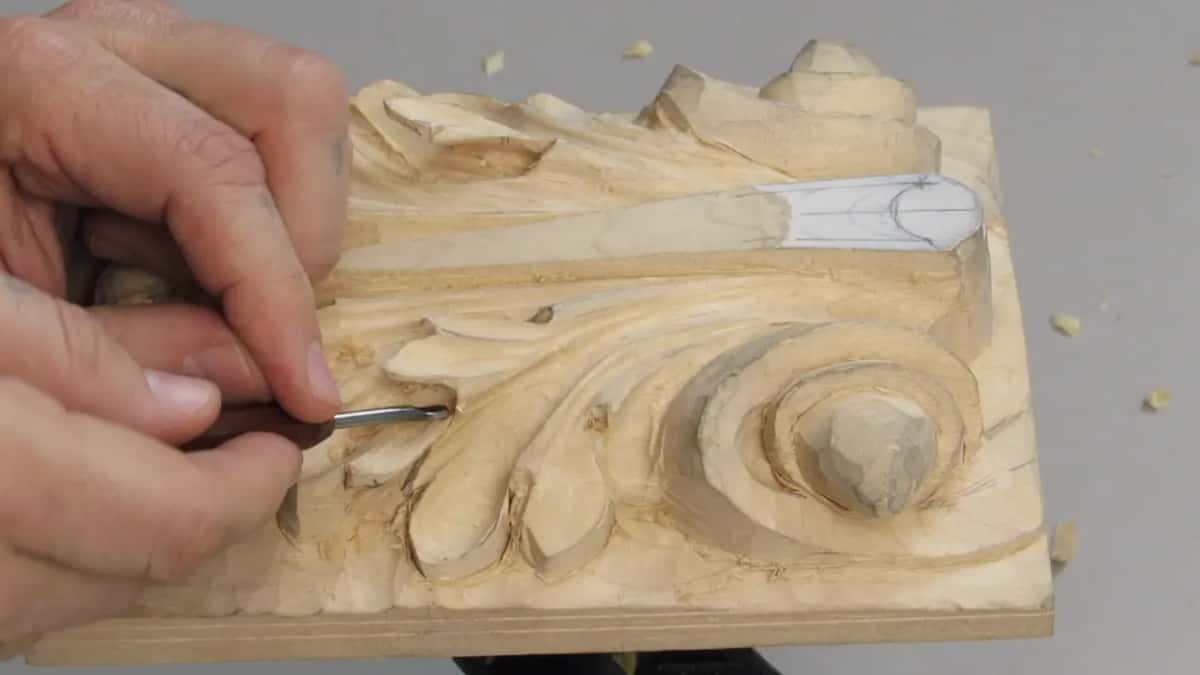
Same reasoning applies higher up the leaf. I deliberately hold back at the highest points while checking that both halves stand level and that the movements agree. That surplus is my reference. Once the panel reads correctly, the final undercut takes it away.
Why not take the whole concave with one big gouge?
Accuracy, mostly. Removing wood little by little lets me see what each pass did before committing to the next, and a single deep cut hands that control away in exchange for speed I do not need.

There is a real argument on the other side, and I make it myself in this workshop. A wide gouge, 16 mm in sweep 8, takes several ridges in one go and leaves a surface far better than four separate passes ever produce. So I use both. Narrow for control, wide for the finish.

Grain decides which side you come from. One flank of this concave cuts clean and the other tears, so I turn the panel and approach the rough one from the opposite direction. Where the grain rises against me mid pass, rotating the tool harder through the stroke carries it through.

Blending is the last part and it has its own rule. Undercutting with the 9 leaves an edge too sharp for a concave to meet, so I stop that tool about an eighth of an inch short and bring a sweep 5 in to marry the two surfaces. A faint ridge at the join is fine, and nobody has ever complained to me about one.
Which of these cuts are already final?
A good few of them are, and that changes how you hold the tool. By this workshop a proportion of what I carve will never be touched again, so I am trying to make every pass as long as it will go, knowing that a few of them are the finished surface.

Roughing lets you be approximate because a later pass will correct you. Refinement does not. The moment a stroke might be permanent, the standard rises, and the way you find out which strokes those are is by asking yourself before each one whether anything will come back over it.

Length is the tell. A short mark almost always gets replaced later, because short marks look accidental and I go back and join them up. A pass that runs the full sweep of a lobe usually stays, so those are the ones worth slowing down for.
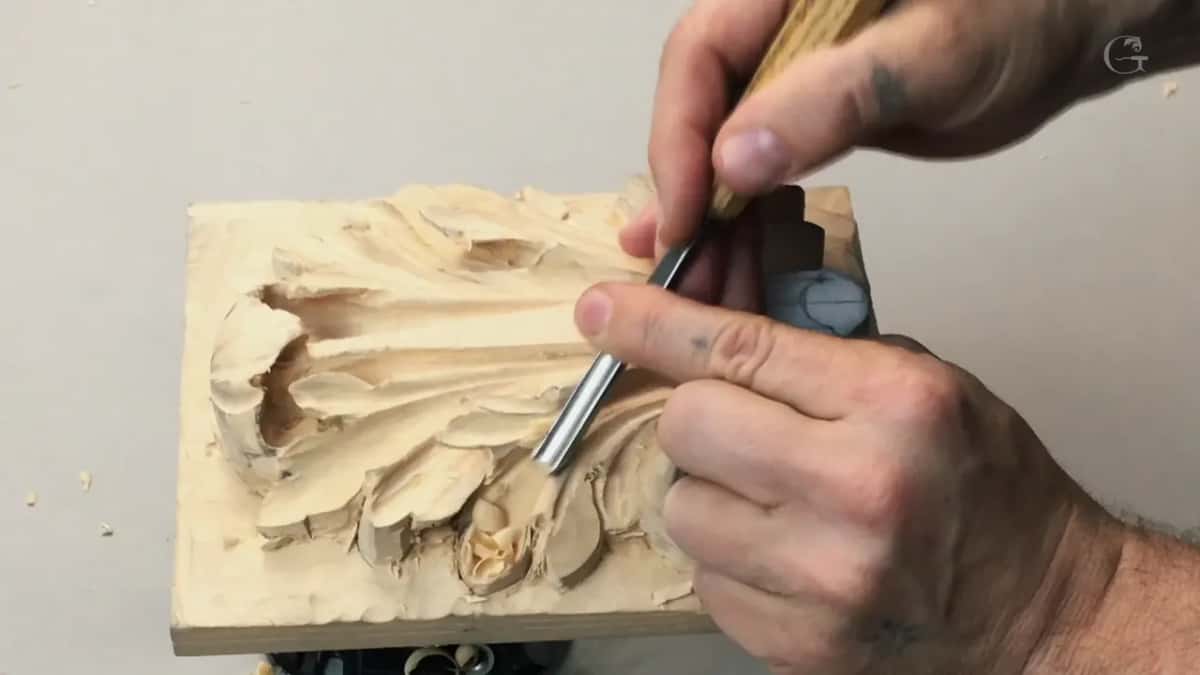
Symmetry has a deadline too. My two sides came out slightly different widths on this concave, one wider than the other, and I caught it early enough to bring them together. Catch that late, after both sides are finished surfaces, and the repair costs you both of them rather than one.
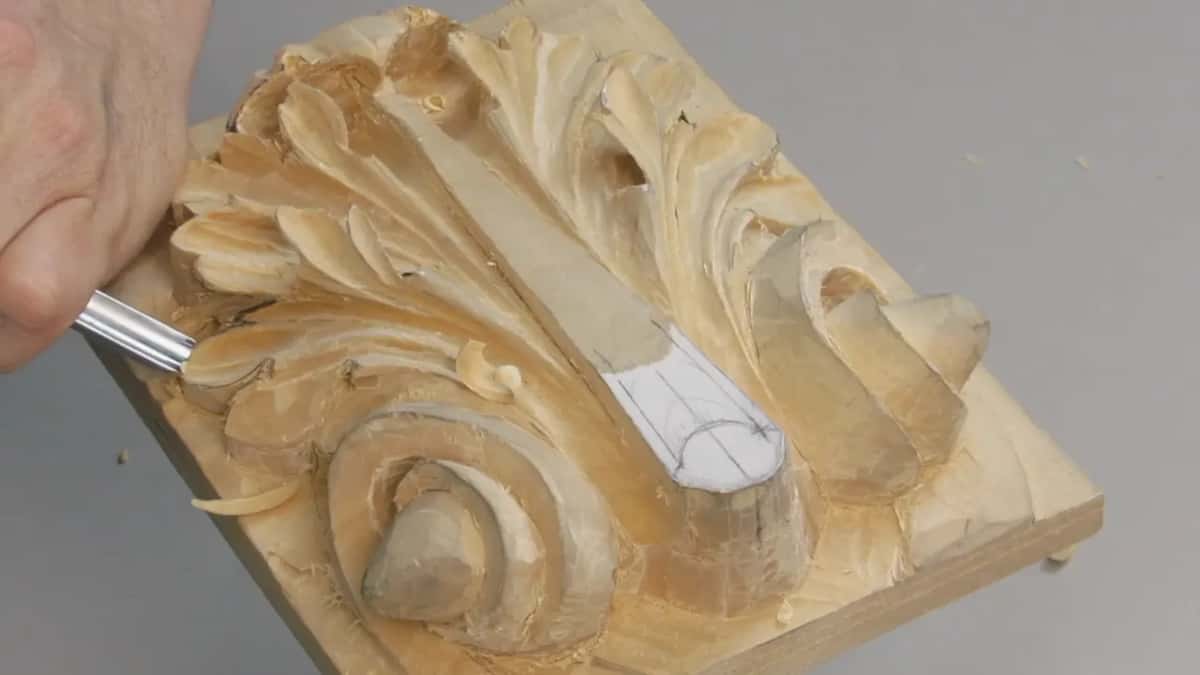
Not everything needs that care, mind you. The cleaning cuts that clear waste out of a hollow are just housekeeping. Twelve millimetres of sweep 3 does those, and it could be bigger or smaller with no consequence at all, because nobody will ever look at the surface it leaves. Knowing which category a pass belongs to is most of working efficiently.

Patience covers the rest. Careful and patient together will get a beginner through this stage without breaking anything, and neither one alone is enough. I have watched good designers ruin panels by hurrying the last hour of them.
What is a number 1 double bevel good for?
Everything a knife does, plus the things a knife cannot reach. A number 1 is a flat chisel, and sharpening it on both faces lets it slice in either direction without turning the tool over.

Today it did most of my preliminary undercutting, which is not the tool a book would have recommended. Sweep 5 would have done it. So would a 3. Several tools solve this same task, and I reach for different ones on different days partly to keep myself interested.

Mine here is about a quarter of an inch. Small, and it goes into places the bigger tools in my rack simply will not enter.
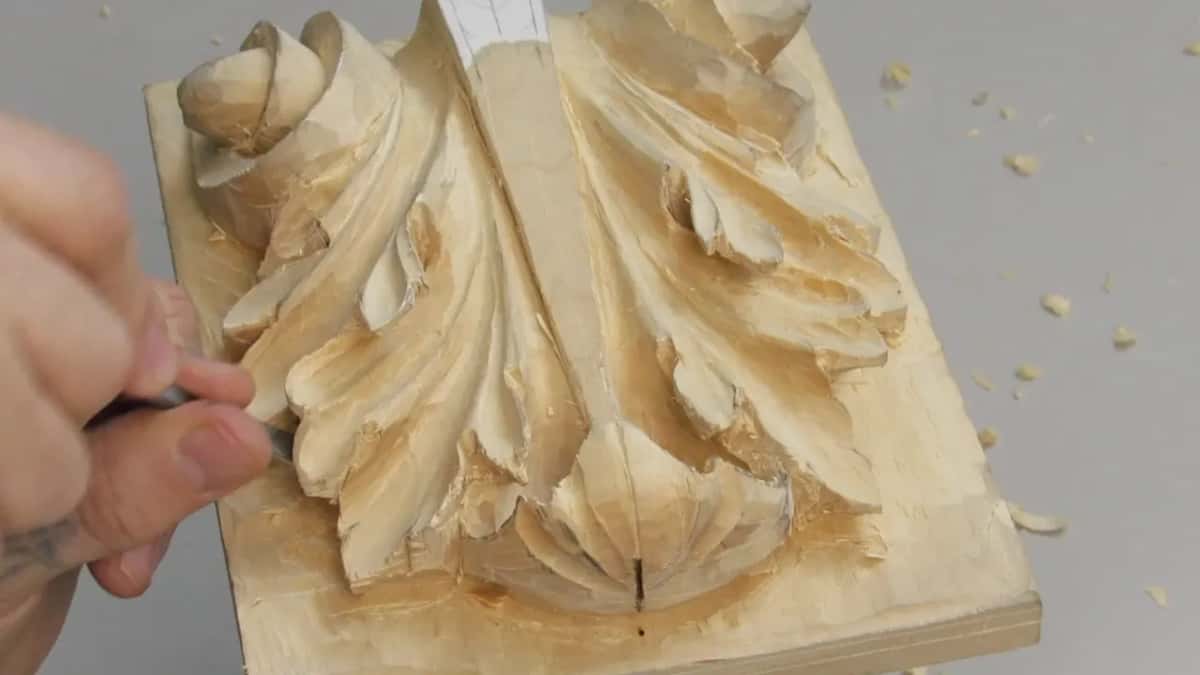
Alongside it I keep a V tool going. Number 15 at three millimetres, ground to 45 degrees, clearing the waste the chisel loosens. Then a 16 at six millimetres, laid over on one wing, cleans the undercut itself.
Is there anything to see inside an undercut?
Honestly, no, and I will not pretend otherwise for the camera. You cannot see in there while I work, and if you could, the view would disappoint you. A straight cut running to a point. No beauty in it whatsoever, and no secret either.
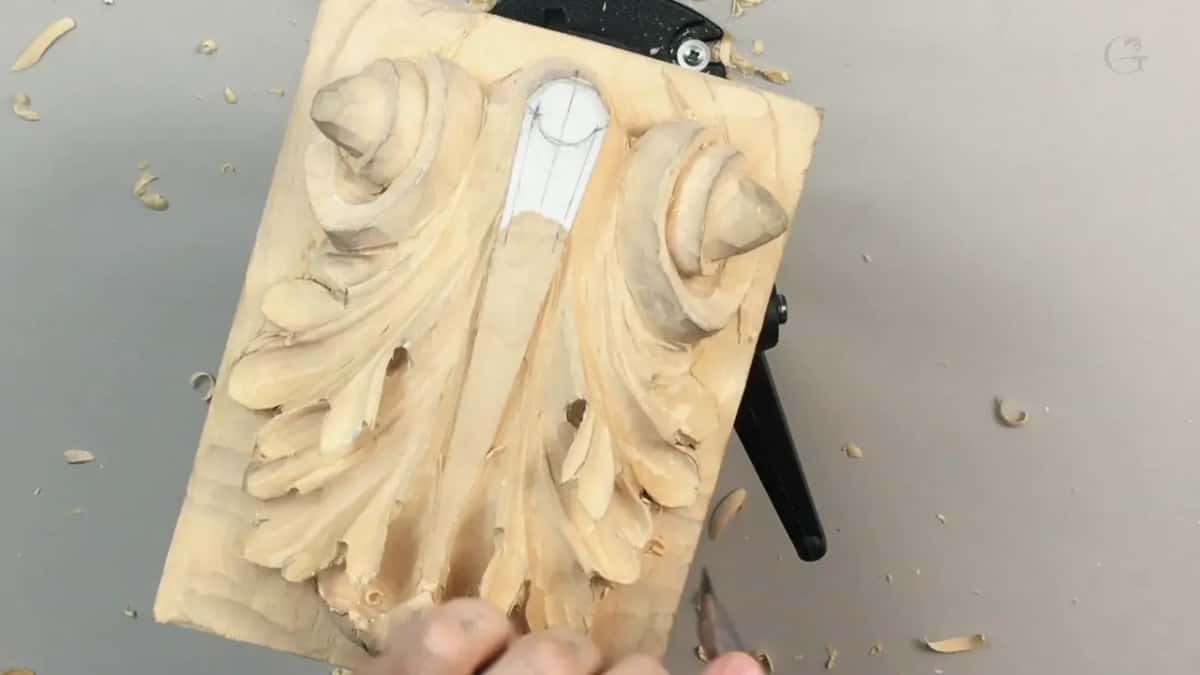
Clean matters even so. I want my undercuts free of fuss and loose fibre, not because anyone will inspect them, but because rubbish left inside catches dust for the next three hundred years and makes the shadow grey instead of black.

What you see on the outside is the payoff. Shade gathers where the leaf lifts off the ground, the second line of the design stands proud of the background, and a panel hung on a wall with light coming across it does something no photograph conveys. Light and shade do all of it.

No finish required for that, either. Bare basswood, unstained and unwaxed, looks right under raking light. Frame it, hang it where a window catches it, and the carving does the rest.
| The tool | The size in my hand today | Its job | What you could reach for instead of it |
|---|---|---|---|
| Sweep 9 gouge | Ten millimetres, which is about three eighths | The concave | A sweep 8 does the same work |
| Sweep 8 | Sixteen millimetres | Crossing ridges, several at a time | Any wide gouge in your rack |
| Sweep 5 gouge | Quarter inch | Blending two surfaces into one another | Honestly nothing |
| A number 1 ground on both faces | Fairly small | Preliminary undercutting, and general knife work | Either a 3 or a 5 will serve |
| V tool, number 15 | Three millimetres, ground to 45 degrees | Clearing waste | Any V tool at all will serve here |
| The smallest gouge | 2.4 mm | Undercutting the eye, rotating rather than pushing | A sixteenth |
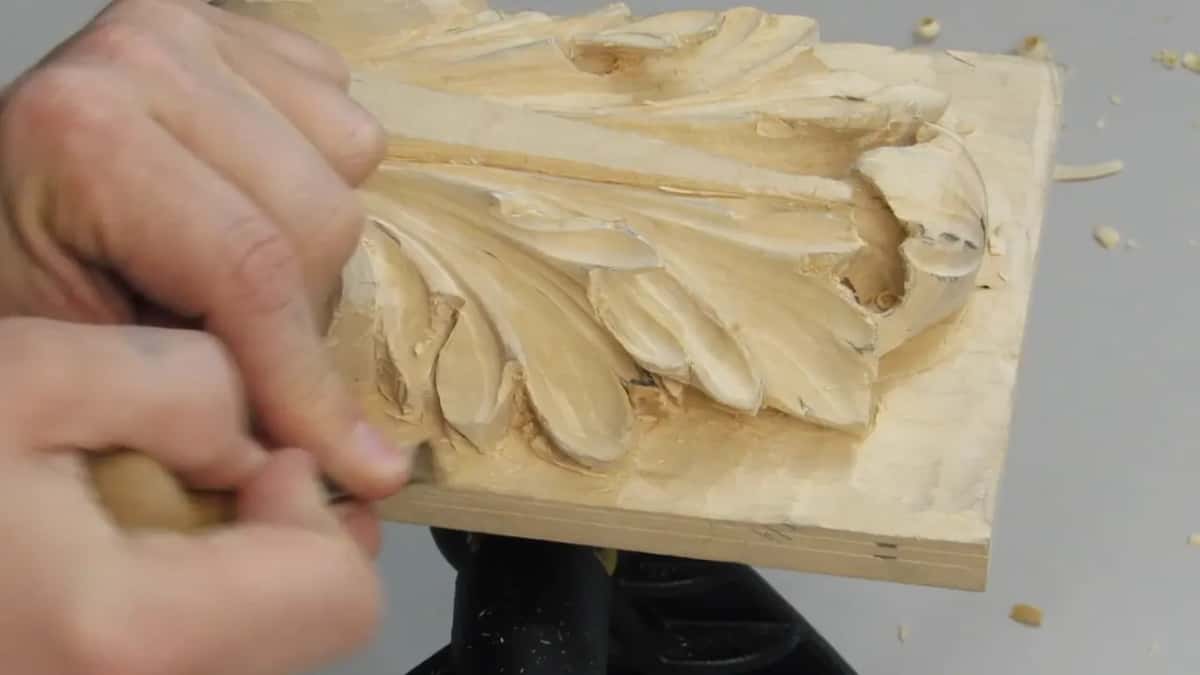
How careful do you have to be with the smallest tools?
Very, and for a reason people underestimate. Tiny gouges are not built for heavy duty. Lever one, or push it the way you would push a quarter inch tool, and you will snap the blade rather than the wood.

My smallest gouge does the eye undercut here, rotating fully on the inside rather than cutting straight in. Patience makes that safe. Force makes it expensive, and the tool is usually what pays.
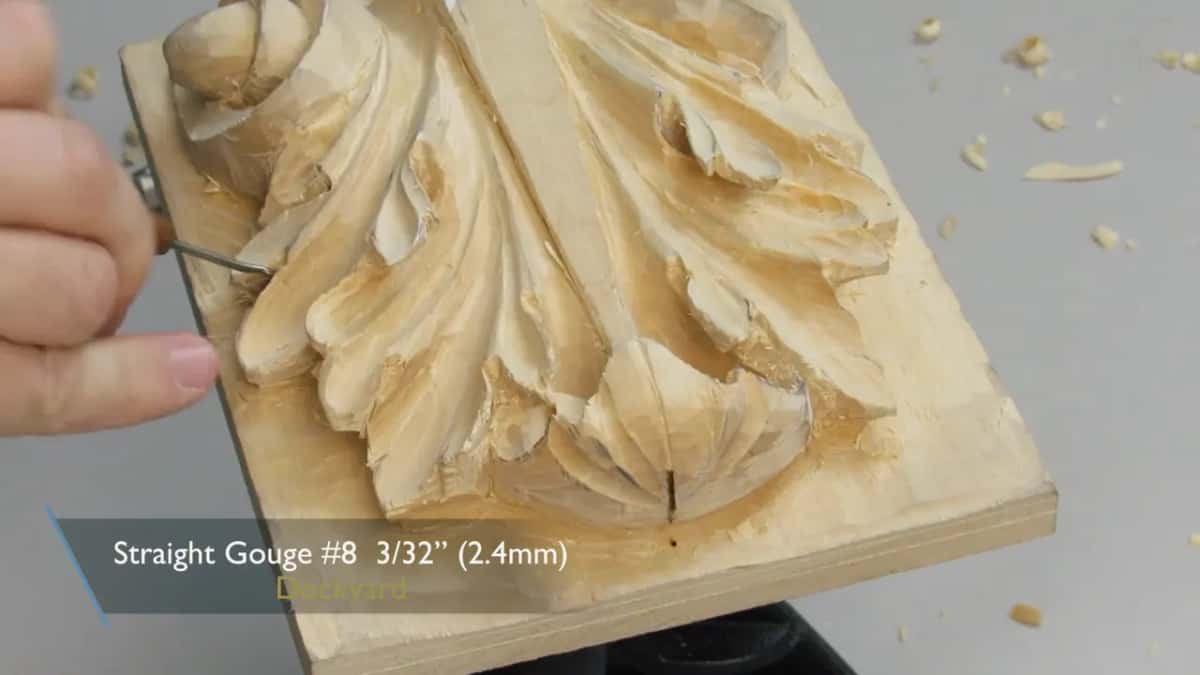
Cleanliness helps too. Junk left in a hollow hides the shape from you, so I clear it out as I go rather than at the end. Seeing the real surface is half of knowing what to do next.

Then a sweep 5 comes back for the cleaning cuts, working underneath where the wood is thinnest and the edge has to be genuinely sharp. A dull tool at this depth does not cut, it levers, and levering is what breaks leaves.
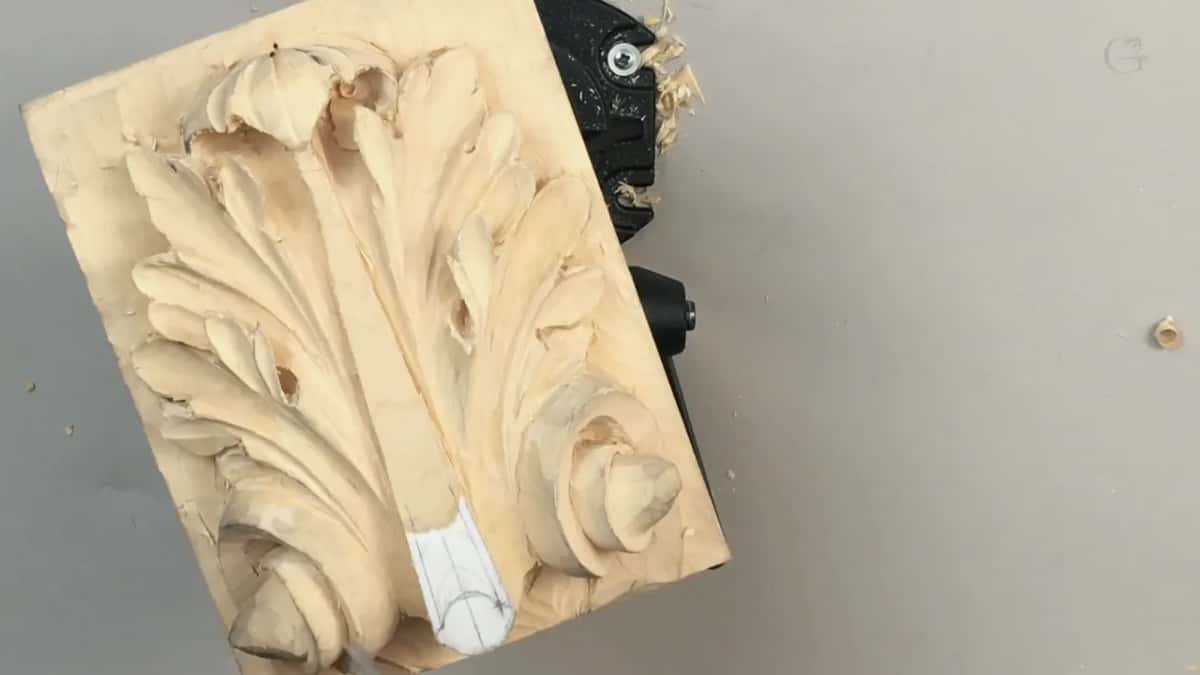
Stop when the piece tells you to. A panel this thin has a mood, and pushing through it is how the afternoon ends badly. Put it down and work somewhere else on the leaf.
Would you like to watch somebody carve past the point where it gets frightening, mistakes and all? Shall we carve?
Everything here sits inside the Roman acanthus series, and tuition opens the whole library beside it. The previous workshop took the leaf underneath itself, sharpening is what makes any of it possible, and we teach in person too. New to all this? Begin here, or look at the Greek leaf first.
How it's done
- Take the concave in small bites. Sweep 9 at ten millimetres, removing very little per pass. Accuracy comes from seeing the result of each stroke before committing to the next one.
- Finish the surface with a wide gouge. Sweep 8 at sixteen millimetres takes four ridges at a stroke and leaves a face that no narrow tool will match.
- Keep well below the crown of the pipe. Leave a narrow band of wood between your undercut and the highest edge of the pipe. Ornament carved later needs it to still exist.
- Blend the deep tool into the concave. Halt the sweep 9 about 3 mm from the edge and bring a sweep 5 across the join. A faint ridge there harms nothing at all.
- Hold back a height reference. Keep surplus wood at the highest points until both halves match in height and movement, then remove it during the final undercut.
- Soak a fragile area in thinned glue. Mix a lot of water with very little carpenter's glue, flood the thin edge, and let it dry. Resin travels in with the water and binds the fibre together.
- Put the piece down when it feels wrong. A panel this fragile lets you know. Move to another area of the leaf, come back later on, and nothing gets broken in the meantime.
Frequently asked questions
Does watered down glue really strengthen carved wood?
Resin is what does it. Diluting carpenter's glue heavily lets the mixture soak past the surface, and as it dries the fibres end up bonded to each other rather than merely lying side by side. Edges close to paper will then survive being picked up and moved.
What should you do after cutting too deep?
Walk away from it for an hour. A fresh cut looks far worse than it will once you have worked elsewhere on the panel, and carving angry turns one error into three. Having spare depth in reserve is what gives you options afterwards.
Why leave wood near the top of a carved pipe?
Ornament goes there. Roman carvers cut a small movement into exactly that band, so removing it while undercutting the eye makes the detail impossible later. Around 3/32 of an inch is the margin I hold back for it.
What to carve next