
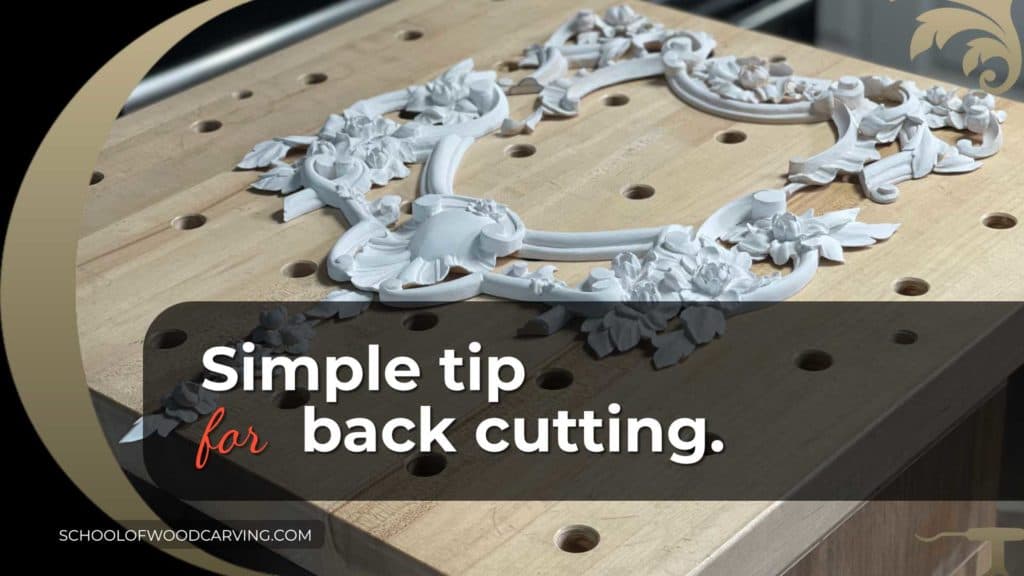
Alexander Grabovetskiy, woodcarver, School of Woodcarving · Published 2022
How do you carve the back of a fragile carving without breaking it?
Quick answer: Back cutting a fragile carving is safe once the thin parts are stabilized and the piece lies face down on soft acoustic foam instead of the bench. Glue thinned 50/50 with water, thin super glue or a wood hardener soaks in first. Then a small tool, a 5 mm Dockyard here, takes the wood from behind.
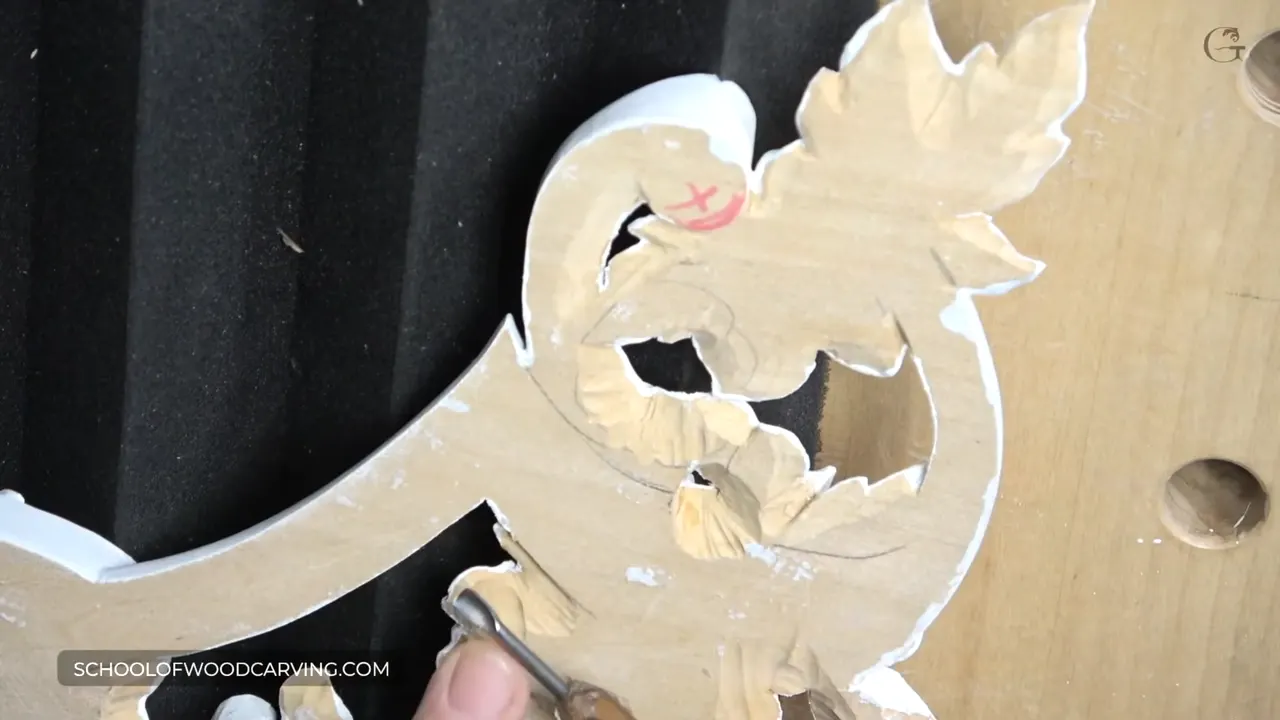
Back cutting is undercutting a carving from behind, with the piece flipped upside down. On fragile work the thin petals can break as soon as the piece lies on the bench and you press. So I stabilize the wood first, and then the carving lies on soft studio foam while a small tool works underneath.
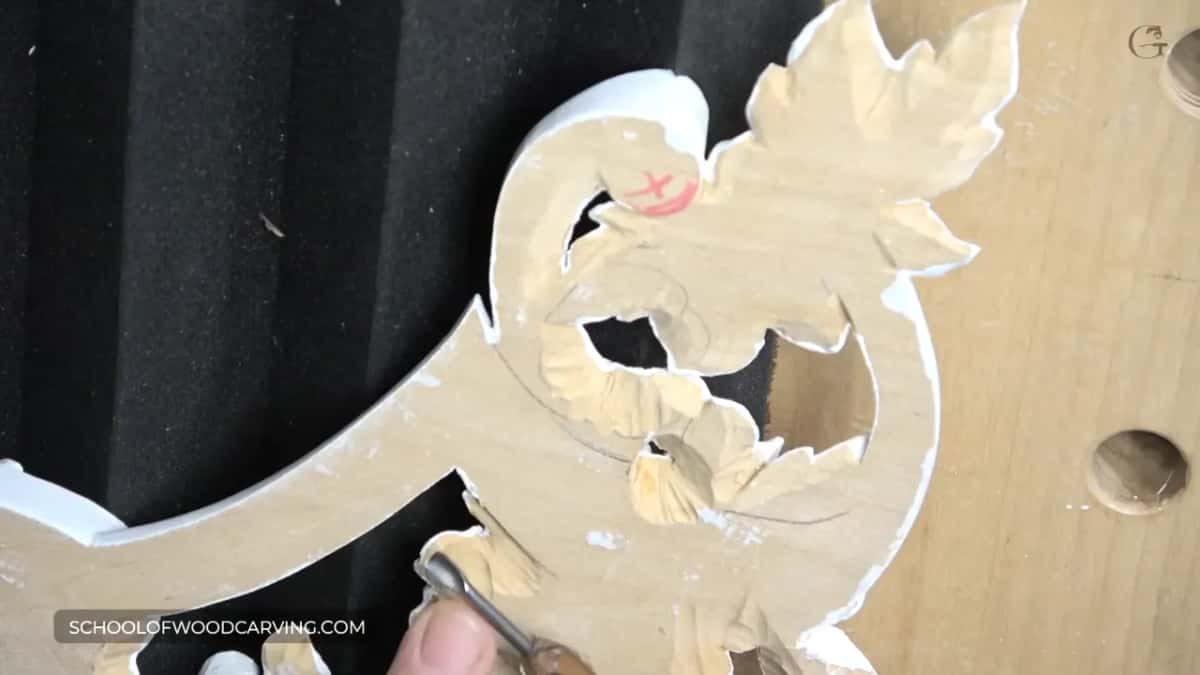
Have you ever broken a petal just by turning a carving over? Do the thinnest parts worry you most? This short tip came out of a live broadcast, and it saves exactly those parts. That morning my audio would not cooperate, and I had to connect four times just to get this short video out.
What makes back cutting safe
- Undercut from behind, with the carving upside down.
- Stabilize the petals before you flip anything.
- Thinned wood glue or Starbond if the piece will be painted, a wood hardener if it will be stained.
- Bench cookies are not safe for fragile pieces.
- Soft foam made for an audio studio is.
- Small tools only.
What is the difference between undercutting and back cutting?
Undercutting is carving away wood right underneath the carving so it throws a shadow. Look at this piece from above and you can see a deep shadow on one side, falling onto my bench. Carving from behind is one way to get it.
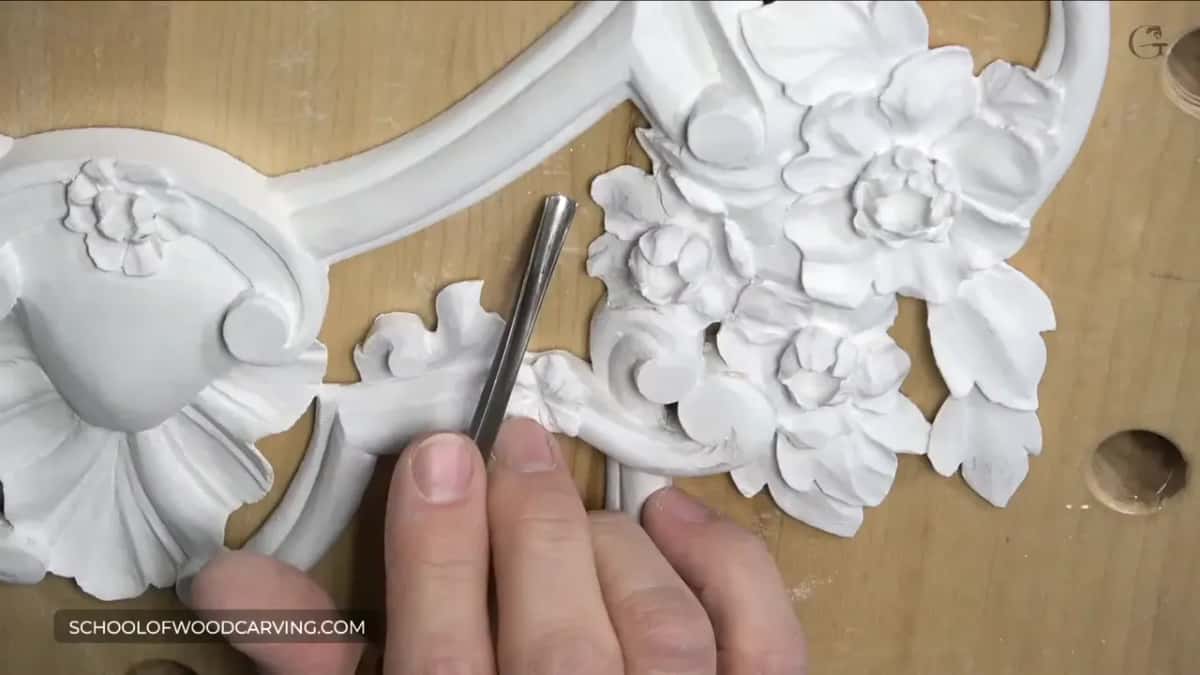
All wood carvers, including myself, really like undercutting. In my view, wood carving is all about the lights and the shadows. Even on a piece headed for paint, I still create those shadows.
A V tool comes first when I undercut the Corinthian acanthus leaf, a low angle one of 45 degrees if you have it. Then a plain straight number 5 gouge goes in turned upside down, slicing toward the background, and you don't push it. A back bent gouge is a lot easier for undercutting, and with it the opposite lobe stays safe. I broke some tools doing undercuts, so be careful there.
Even a tiny spot gets it. One ridge on the furniture panel stood half a millimeter above the background, about 1/50 of an inch, and I still undercut it, because it gives me extra shadow.
The simple approach is to attack it from above, with a knife or a gouge, however your piece is held down. The better idea is to flip it and attack from behind. That is called back cutting.
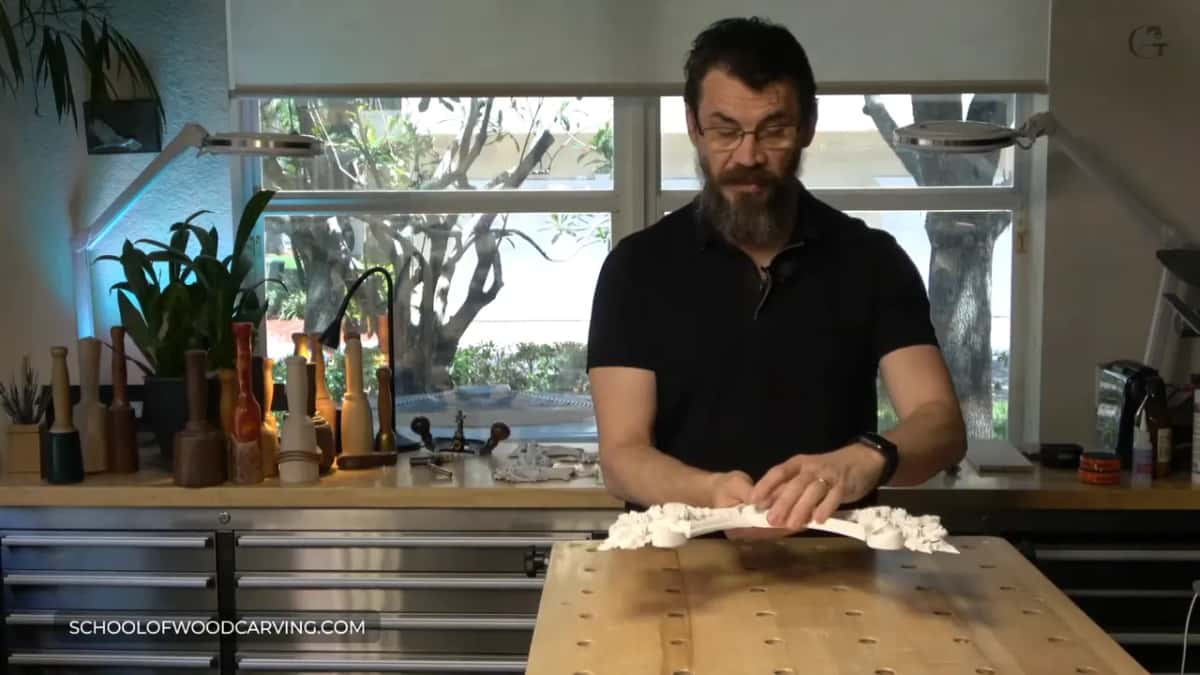
Why carve from behind at all?
With the Hashemi flowers I unscrewed the piece and screwed it back on from the front, where those holes would be hidden. Now I could attack from different angles. Working from my backside was much easier for me. If you fasten a piece like that with clamps to the workbench, you would not be able to do it.
We took the first layer off in the Gibbons class in Maine and clamped it to that board, which makes it easier to work from the backside. Then we went all around and took everything to the edge point. One area in the center stayed untouchable, since that is the glue spot, and it has to stay solid.
Thick work gains something else, and the grape onlay shows it. I don't make the finished look from the beginning there, because at the end I usually flip it over and start undercutting. There I said to picture the grain as small pipes, like drinking straws carrying all the juice, and wood moves with the seasons. Excavate inward and you break that force, so there is less chance to see a crack later. The piece also gets much lighter, so you are not afraid to glue it on something. I am advocating more undercutting than less.
What was on my bench in this lesson?
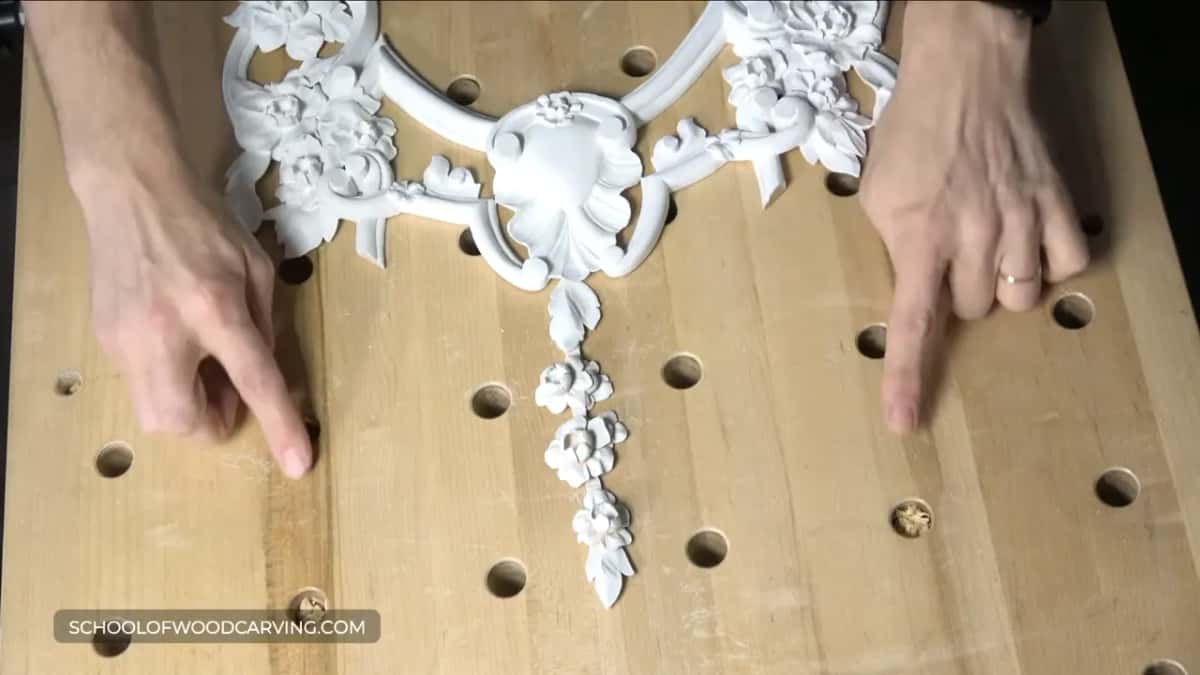
Small pieces of the same big project I am still working on, a Venetian style job for a whole room, and these are the small details. One piece already had its first coat, with more coats to follow, of chalk paint, and another had only its first coat of primer. All of it will be white.
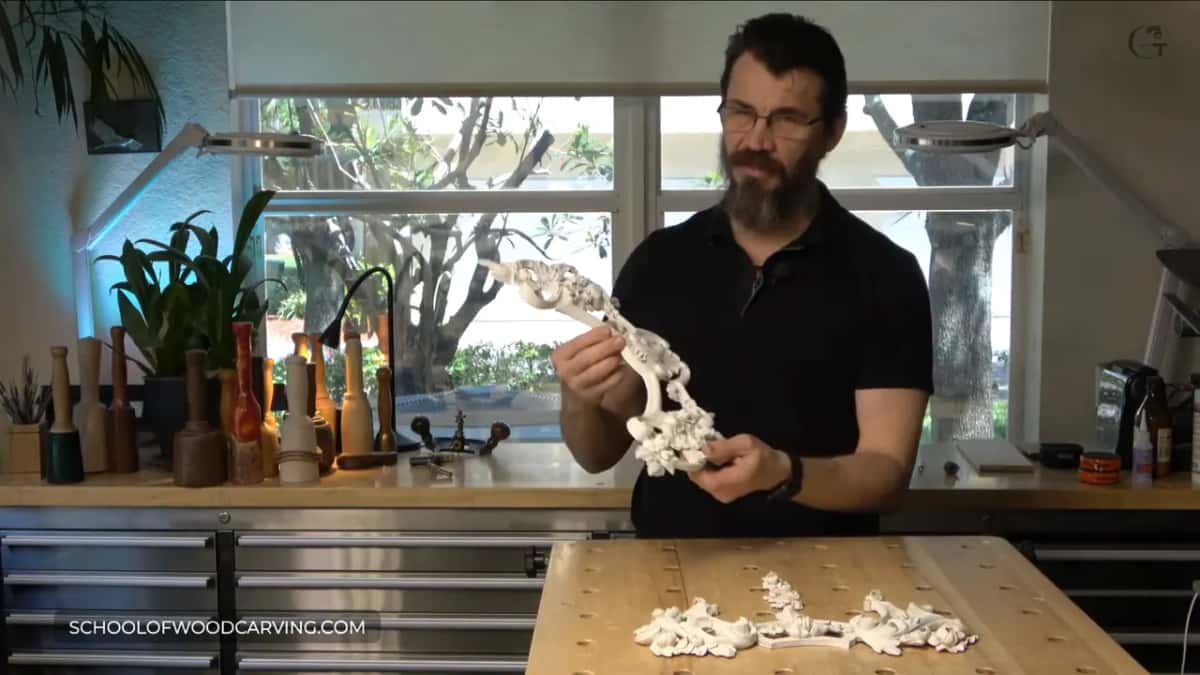
Those pieces belong to one panel of that room. It will get moldings, and lower down there are a couple of rosettes. If you don't know what those rosettes look like, they are in my earlier videos on YouTube. A third piece, the small flowers, goes on that panel too, and the lower part of the panel is still to be done, which is not that complicated.
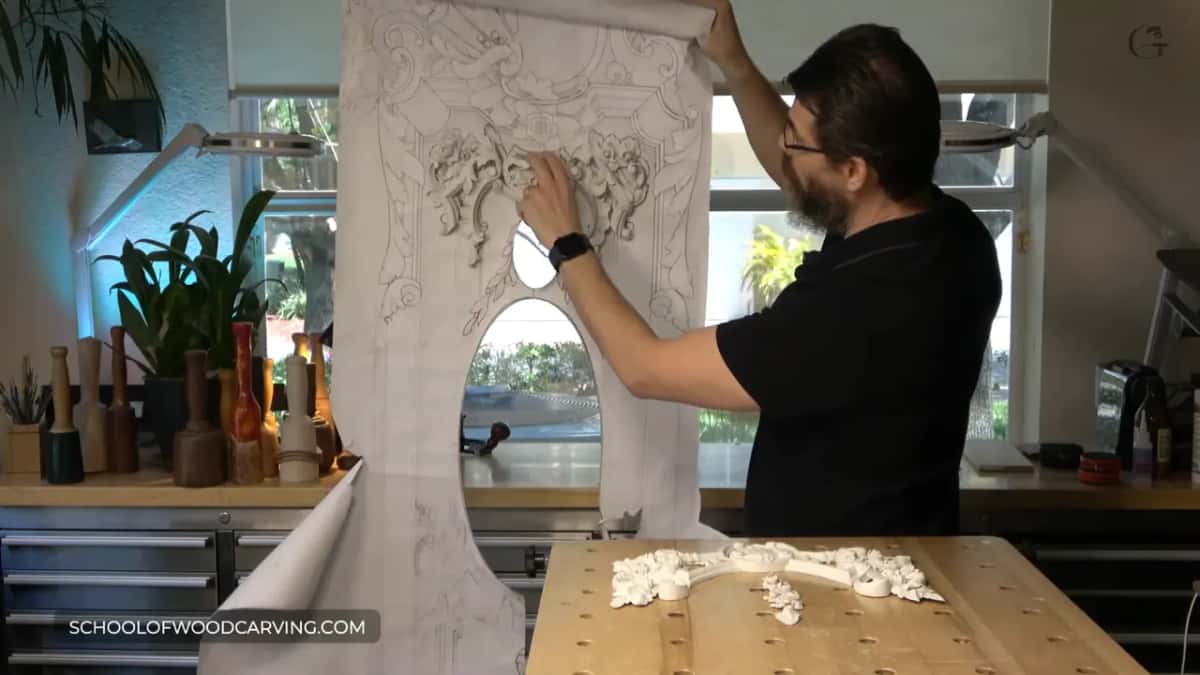
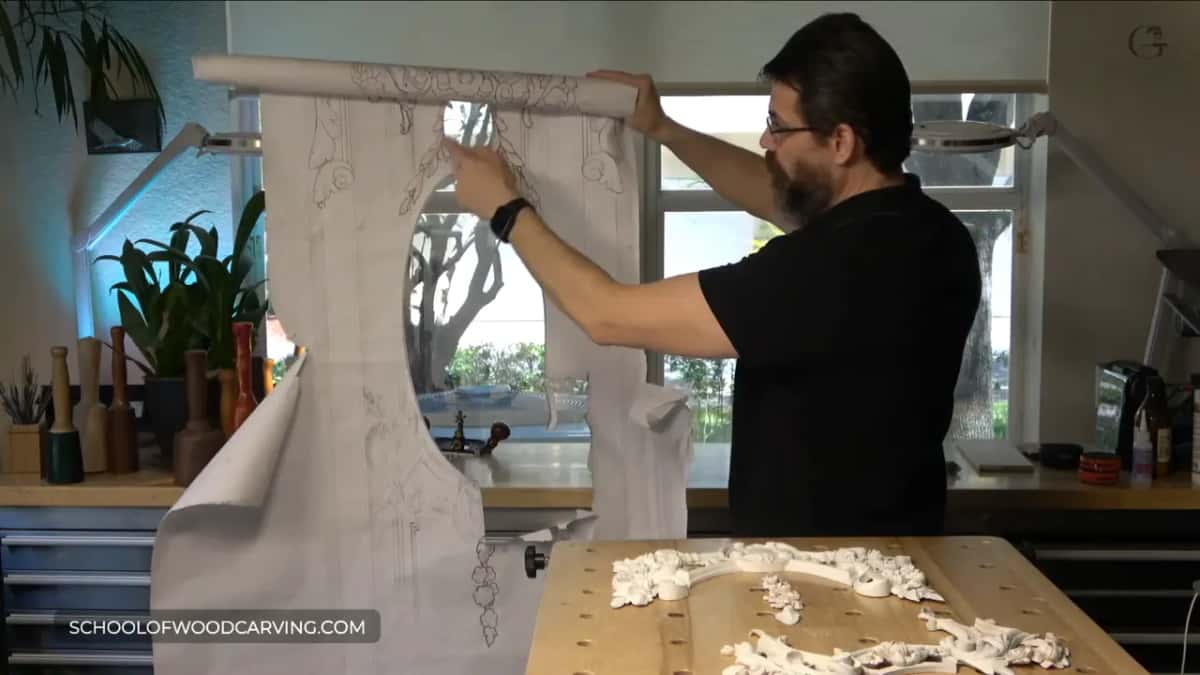
My apologies for the cutouts you see in the drawing, since I use that drawing as a template. Chalk paint comes up in the Venice Room workshops too, where I said it is really true to the European culture.
How do you stabilize a fragile carving before flipping it?
You soak something into it first, before the piece is ever turned over. I know several ways, but three are probably the best.
Number one is trusty Titebond wood glue. It does not have to be that brand, any wood glue will work, but I really like Titebond. Dilute it 50/50 with water and brush it on.
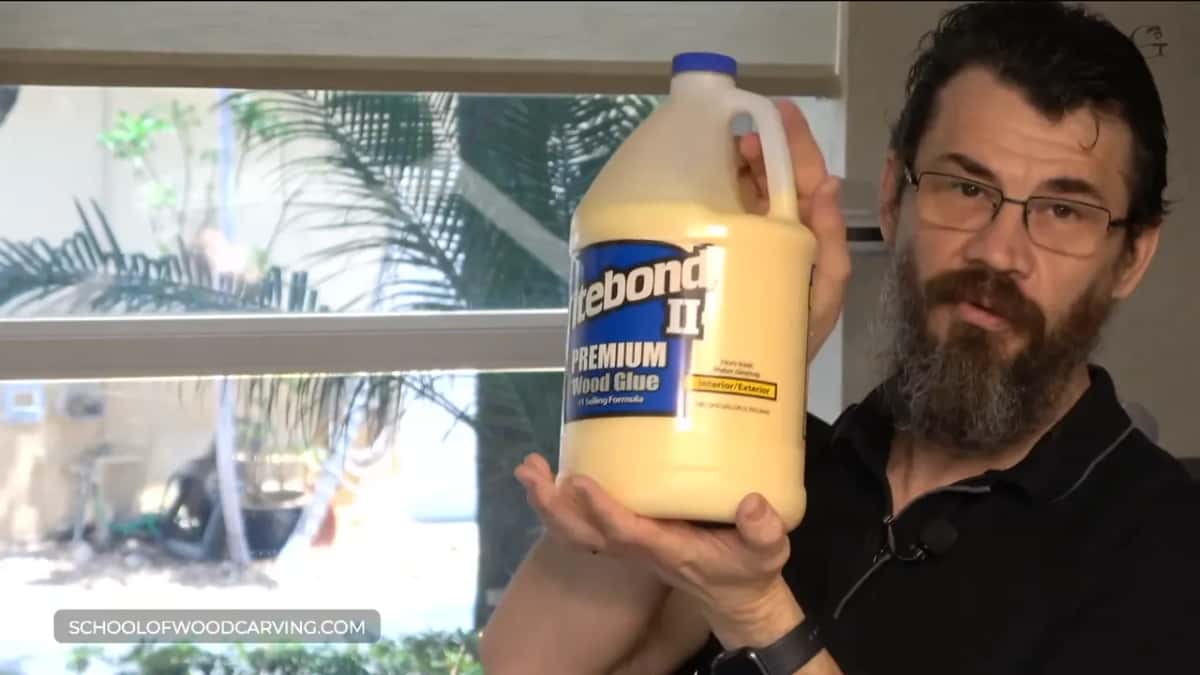
What happens next is that the wood sucks it in. The glue goes inside the fibers and the wood becomes more resin like, not true resin, but more stable. That method is good only if you are not planning to stain, because a stain or a dye will not take nicely over it. I gave the same trick for a fragile edge on the Roman acanthus leaf, even yellow glue like Titebond, with more water than glue. There I said I usually don't use that technique, but you could.
Number two is super glue, and mine is Starbond, a really thin one. Again, it does not have to be that brand. Really, really liquid, that glue. Put it all around and it penetrates, and it makes the wood really stable.
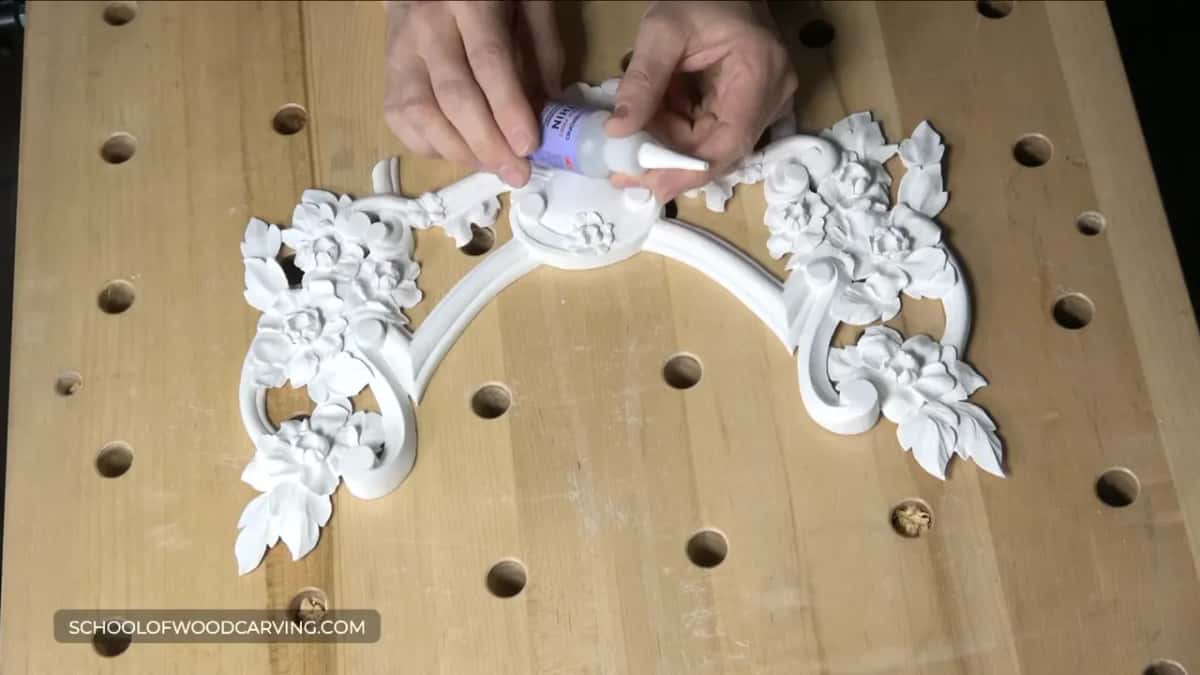
Runny CA glue is one of my favorite methods, but again, only if you are not planning to stain. For paint it is great, and for furniture it is wonderful.
People doubt one thing, wood glue against super glue, and wood glue is going to last you a lot longer. The lifespan of super glue, I think, is about five years. Maybe it is better now, I am not sure. So even if I love it, it is not the best way to stabilize wood.
Number three is for pieces that must be stained, a wood hardener. I am not selling anything and nobody sponsors me, I am just telling you what I use. Rotten wood is what it was made for, outside work.
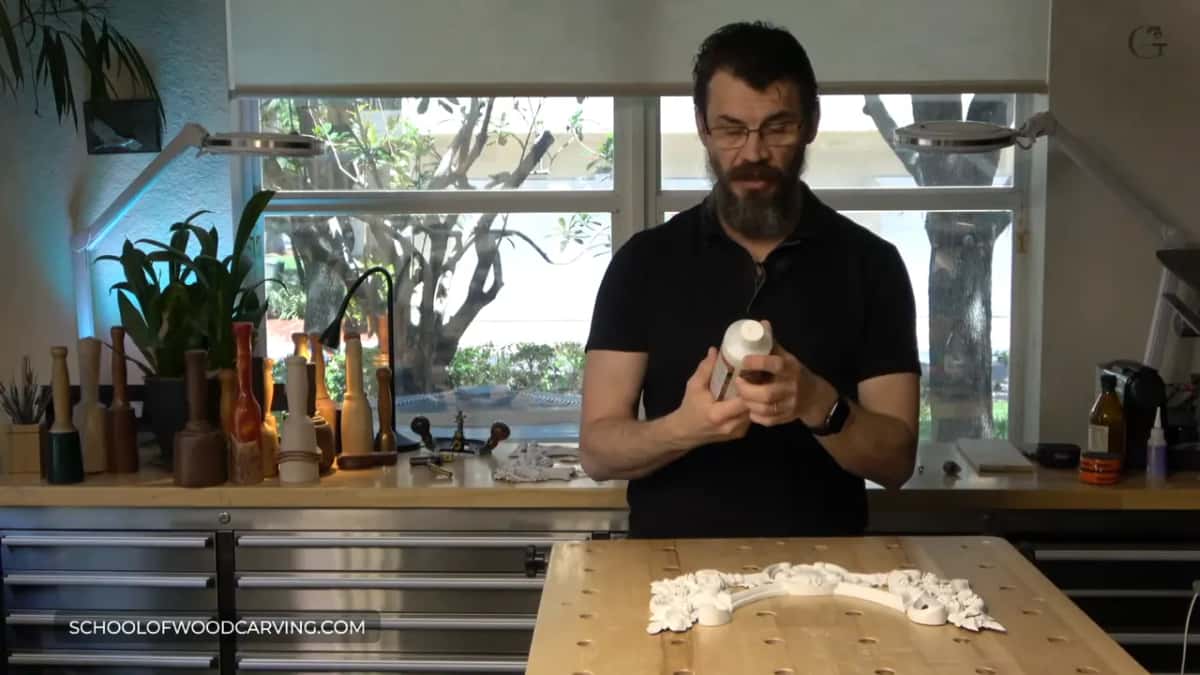
It smells like some types of wood glue, it penetrates really deep, and it dries really quickly. I put it on twice, sometimes three times, and afterward you can still stain the piece, and it stays stable.
| What I soak in | Stain over it? | What you should know before you reach for it |
|---|---|---|
| Wood glue cut half and half | No | It lasts a lot longer than super glue does |
| Starbond | No, paint is fine | A favorite of mine, maybe five years of life |
| Wood hardener for rotten wood | Yes | A second coat, sometimes a third, dries quickly |
A separate lesson in this course is about a piece that would be painted and would sit at about shoulder level, where somebody could hit it. There the Starbond soaked all the way through. You can still break a stabilized piece, of course, but it is a lot harder. Left raw with no finish at all, I would not glue it, and under a shellac finish or any lacquer finish the thin glue works too. That is stabilizing a fragile part, and one more lesson in this course is about stabilizing with epoxy.
What does runny CA glue actually do to the wood?
It turns the fibers almost into plastic. In the Venice Room workshops 74 to 85 I called Starbond probably the best CA glue I ever saw. Thin, just like water, it gets inside the fibers, and the wood becomes a little solid.
Carving close to a spot with that glue in the fibers, I found it really solid, and I did not expect that. On one side it sliced really well, with no problem, but closer to the break point it felt like plastic. Maybe I should use that glue much more often, on some of the areas at least.
On the chamomile and bow rosette a small cross in the middle started to move, which made me worry. A couple of drops right in the center penetrated it, and while the glue dried I started developing the petals. There too the rule was the same, glue only under a finish, lacquer, shellac or paint.
A paper thin edge on the Venetian flowers rosette, sharp like a knife, got the same treatment. It went all the way through and stabilized the edge. If that piece were not going to be painted, I would not have done it.
Why not flip it straight onto the bench?
Pressure on those tiny petals breaks them, and we are talking about really, really thin petals. Turn the piece over on the bench, press on it, and they go.
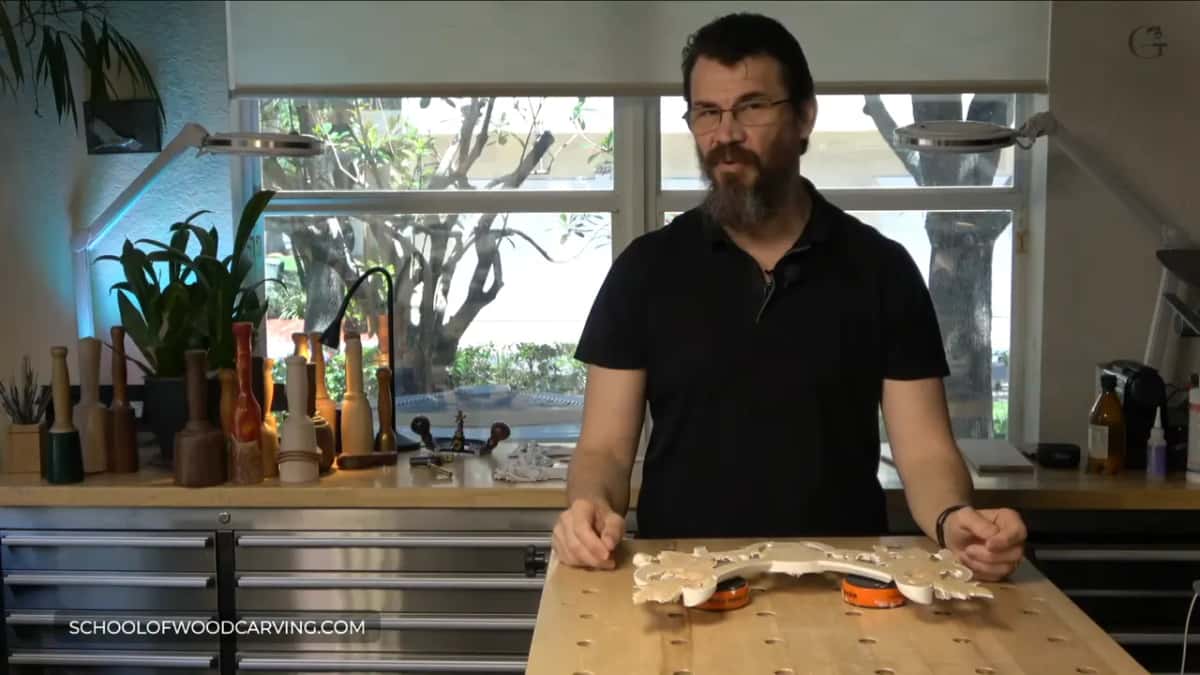
Some people use bench dogs, I'm sorry, not bench dogs, bench cookies, the small pads made by Bench Dog Tools. I have some of those, and some from Rockler. You set the cookies on the bench and the piece on them, but you still can't press, or you are going to break it, 100 percent. For fragile pieces they are not safe.
What foam do you put under a fragile carving?
Foam, the soft kind. You won't believe the solution. Mine is the foam made for audio studios.
Some of you record audio or video, and you have probably seen people online with a whole wall behind them covered in that kind of foam. It reduces hiss on the microphone and takes away the echo, so everything sounds much better.
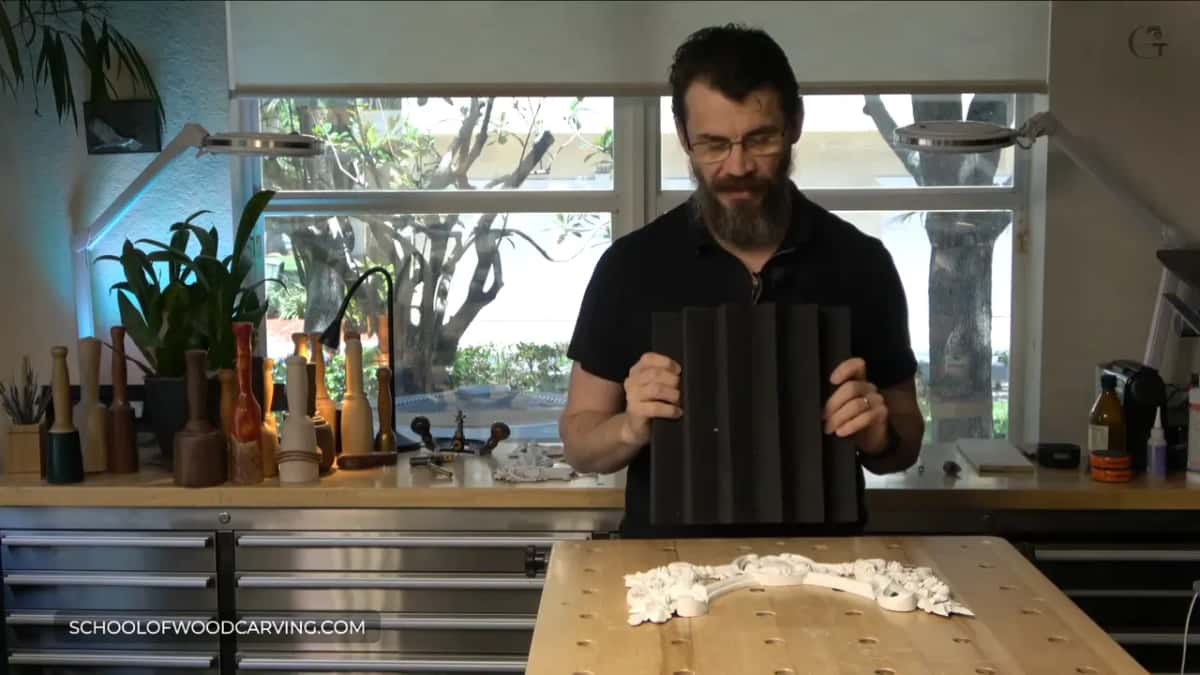
What I like is the anatomy of that foam, those ribs, whatever you call them. That foam is really safe and really soft. I can lay a carving on it softly and still press without breaking anything. I hope you like that idea.
I have a studio setup with a couple of walls covered in it, and I just grabbed one piece off the wall. It works wonderfully. Someone watching the broadcast wrote in that it is made for soundproofing a room, and that is exactly what it is.
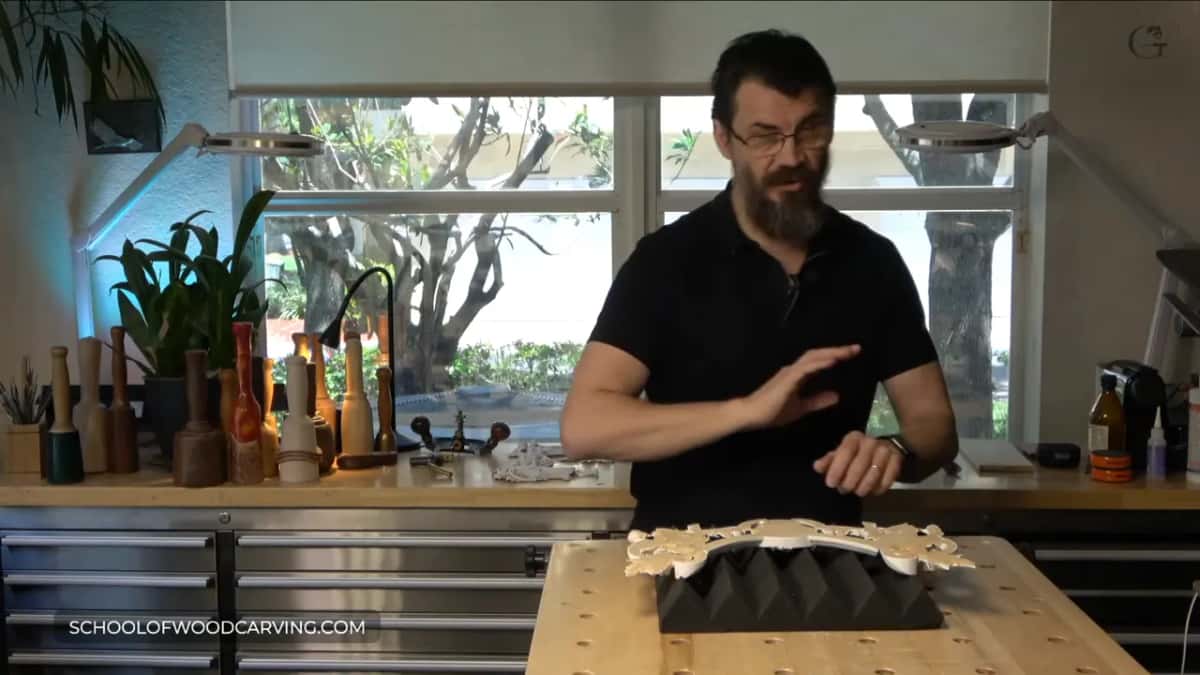
I used the same trick on the acanthus over moldings. First I took away the objects that can damage the piece. Then the soundproofing foam went down. It is soft enough, it has some ribs, and I knew if I pressed my piece on it, I would not break anything.
Which tools do you use behind the carving?
Small, tiny tools. Using big tools back there is not good. Big tools create a lot of force, and it does not matter how soft your foam is, you will still break things.
Mine is a Dockyard, 5 mm, about 3/16 of an inch. You still have to hold it solidly and press somewhat, but it does not create a lot of pressure.
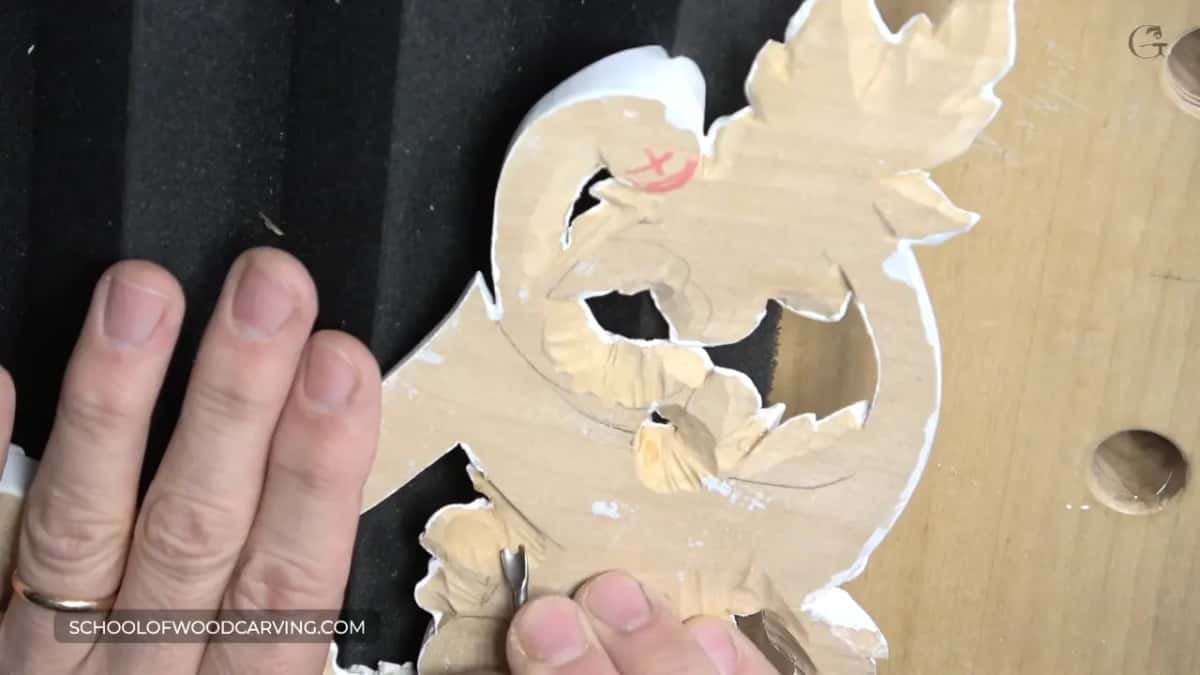
Little by little you excavate underneath and create a beautiful, beautiful shadow. I got some chips, wood chips. Smaller tools are the solution here, and I think it will help all of us.
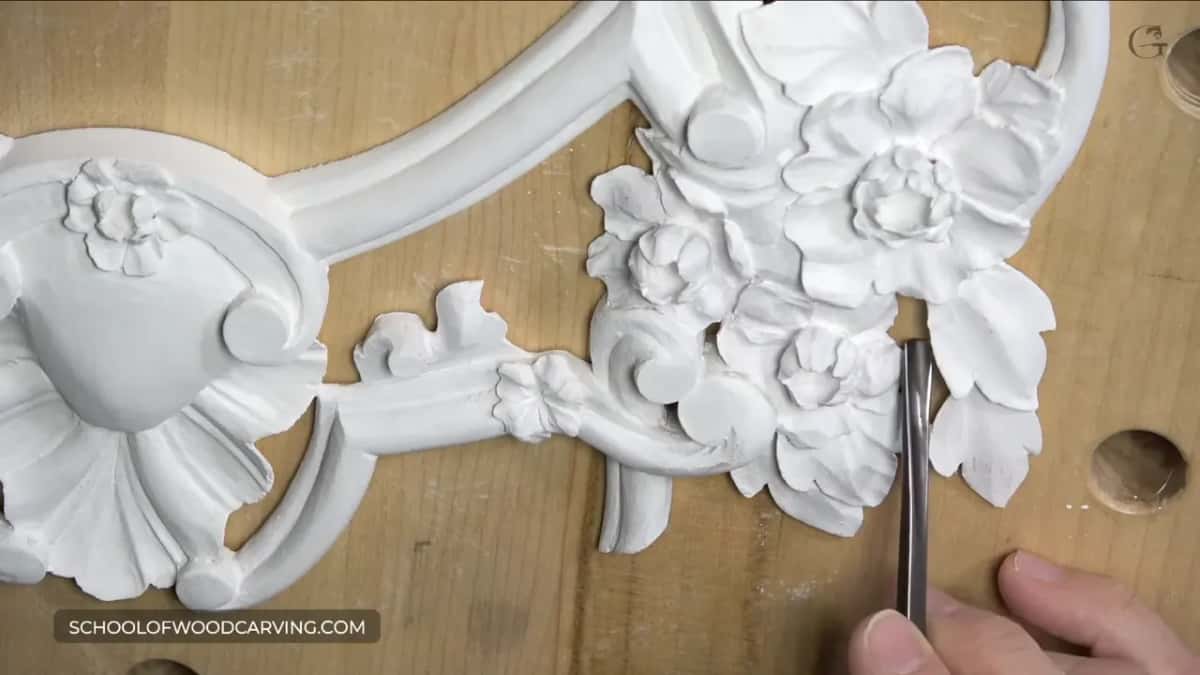
Those acanthus over moldings needed everything worked to the edge from the back side, except the part with the molding, which I was not going to undercut. I wanted to see only the edge, so the wall had to be gone. For that I took a small gouge, a number 5 of a quarter inch, about 6 mm.
By lesson 15 my Hashemi flowers piece was really fragile, hanging in the air. One way to hold work like that is to glue it to a piece of plywood with a piece of paper sandwiched between. The other way, since I flip it upside down all the time, is to clamp it on my MDF board with the 20 mm (about 3/4 in) holes. When I need to see the backside, I just unclamp it.
Early in the grape onlay I did not dig right away. I had already removed some material on one side, and digging on the other would create too much stress, so I could break it off. I just outlined it instead, not too deep, to relieve the stress. That lesson, like this one, sits inside the school.
What if a petal breaks anyway?
Glue it back. I use a small bottle of glue for that. It has happened to me, absolutely, and I have broken some stuff, as I said in the questions and answers of this course.
A micro crack showed up on my Greek acanthus leaf, right at the weak point I had talked about. I got too close to it, and that was my mistake. So I said I would put some glue right there, maybe with a little extra support, and leave it overnight.
In a later grape onlay lesson I took a number 11, three millimeters, one-eighth of an inch, and made what I call a relieving cut, a relief cut, because we need to relieve some of the stress.
What happens to this panel next?
A second piece comes, and then some molding going off in that direction. I still have to concentrate on the last parts.
I don't think I will film those last parts for the school, because it is the same idea I showed before. Maybe I will be able to take a picture later on, so you can see it.
It was a short one, I know, and my microphone gave me trouble. What can you do? You have that problem once in a while. I will try to connect a little more often, but now I have to get back to work.
Don't forget to hug someone today, and give a smile to someone. Is there a thin petal on your bench right now, waiting to be turned over?
How it's done
- Decide on the finish. Paint, shellac or lacquer allows glue in the wood, while a stain calls for a wood hardener.
- Stabilize the thin parts. Brush on wood glue cut half and half with water, run Starbond into the petals, or give hardener two or three coats.
- Lay out soft foam. Put ribbed acoustic foam on the bench where the carving will rest.
- Turn the piece over. Lay it on the foam with the carved face underneath, not on the bare bench or on bench cookies.
- Pick a small tool. Reach for something like a small Dockyard gouge instead of a big one.
- Work from behind. Hold it firmly, press only a little, and remove wood a bit at a time until the shadow appears.
Frequently asked questions
What is back cutting in wood carving?
Undercutting from behind is all back cutting means. You turn the carving face down and take wood away beneath the design, so from the front its edges throw a deep shadow. I call it the better idea of the two.
Can you stain wood after stabilizing it with glue?
Not well. Either glue, soaked into the fibers, keeps a stain or dye from taking evenly, so save those for paint, shellac or lacquer. A wood hardener still lets the stain in after a second or third coat.
How long does super glue last in wood?
About five years, I think, though it may be better now. Wood glue lasts much longer. That runny glue is still one of my favorite ways to firm up a petal on a painted piece.
What to carve next