
Alexander Grabovetskiy, woodcarver, School of Woodcarving · Published 2018
What is a number 11 veiner used for in carving?
Quick answer: Number 11 veiners carve the U shaped groove that gives a leaf its deepest shade. Leaning the tool sets one edge proud of its opposite so the high side throws darkness downward, and the sides of the same blade double as a shallow sweep for cleaning.
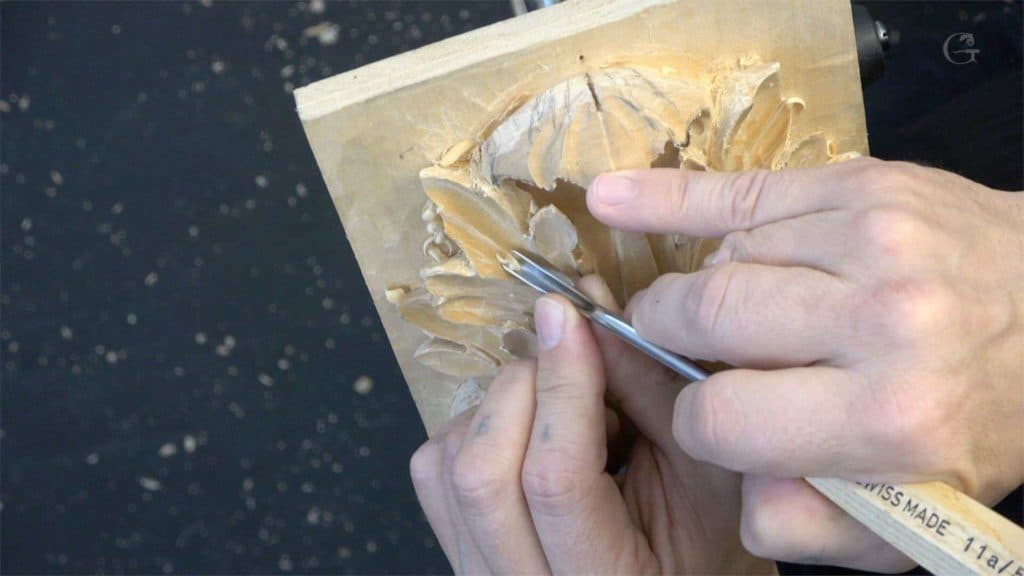
A number 11 veiner leaves a U shaped trench, and that U throws far darker shade than a rounded hollow of the same depth. One side of it stands proud of the other, so the high edge throws darkness over the trench. Mine is spoon bent. It gets into places a straight tool cannot enter at all.
Carved a leaf correctly and found it still looked shallow under a lamp? Gone for the sandpaper because your hollows came out rough, and hoped that nobody would ask about it? There is a tool that cleans and deepens in the same pass, and it is the one most carvers own and never pick up.

Key takeaways
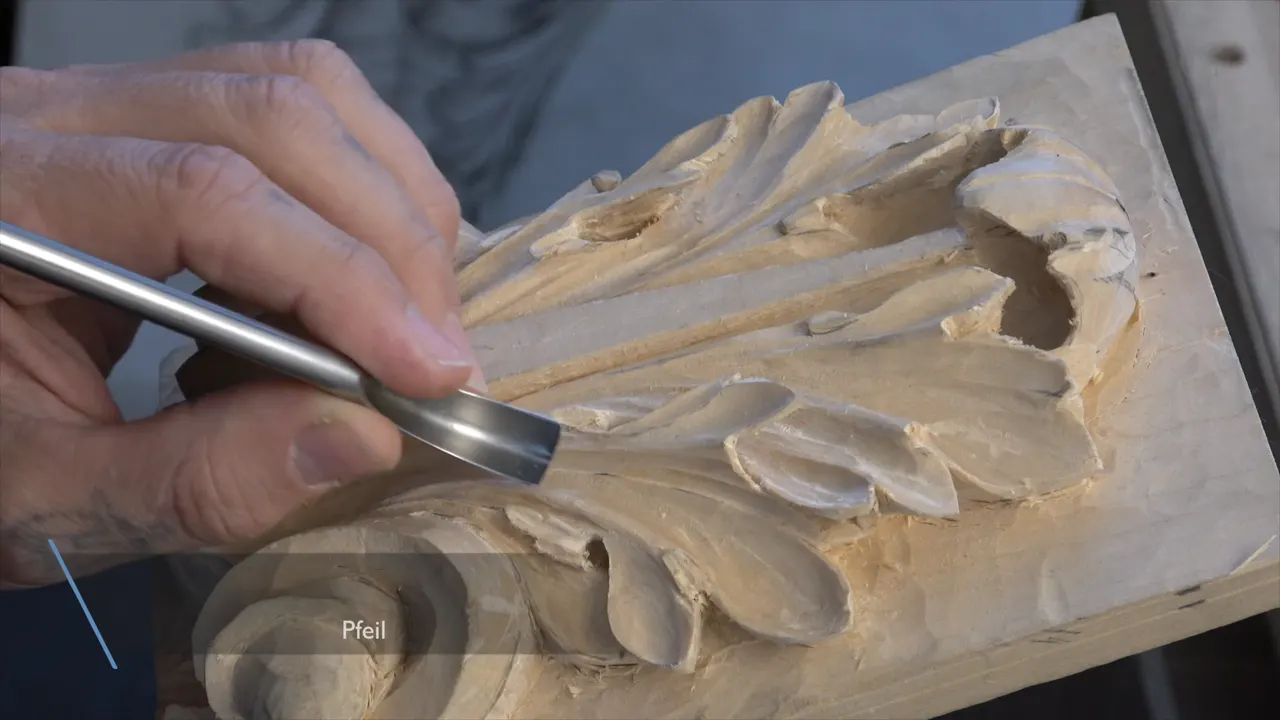
- Number 11, spoon bent. Pfeil stamps it /A, Swiss Made stamps it A.
- It cuts like a 9 in the middle and a 2 or 3 sweep along its flanks. Two tools.
- Lean it over and the proud edge throws the shade.
- Carve every hollow from both ends. Grain guarantees one side comes out rough.
- Sizes on this one leaf: 10 mm, 7 mm, 5 mm, 1 mm, then half of that.
- Went too close to the edge? Add a subdivision and it becomes design.
What can a number 11 do that a gouge cannot?
Two jobs at once. Down the middle it behaves roughly like a number 9, and along each flank it leaves something closer to a 2 sweep, or a 3 if you buy your tools in England.
That doubling is the whole reason I keep it on the bench. Lay the tool flat and the U bottom hollows out the centre of a leaf section. Roll it onto one edge and the same steel becomes a shallow sweep for cleaning a wall.

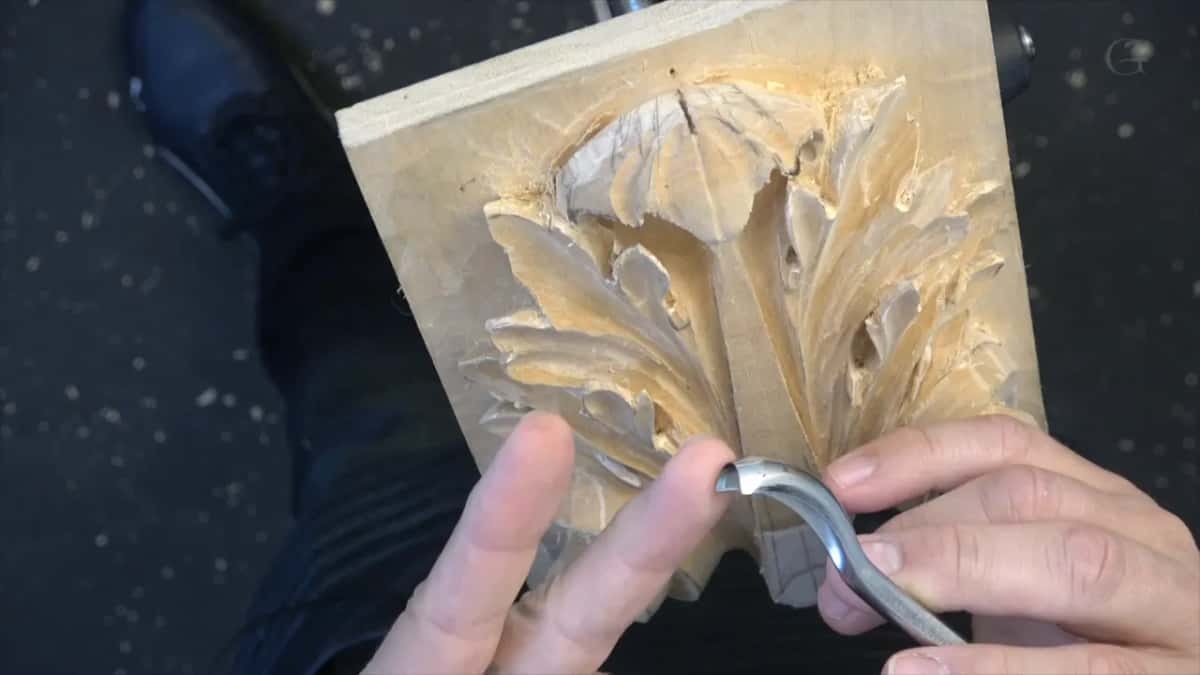
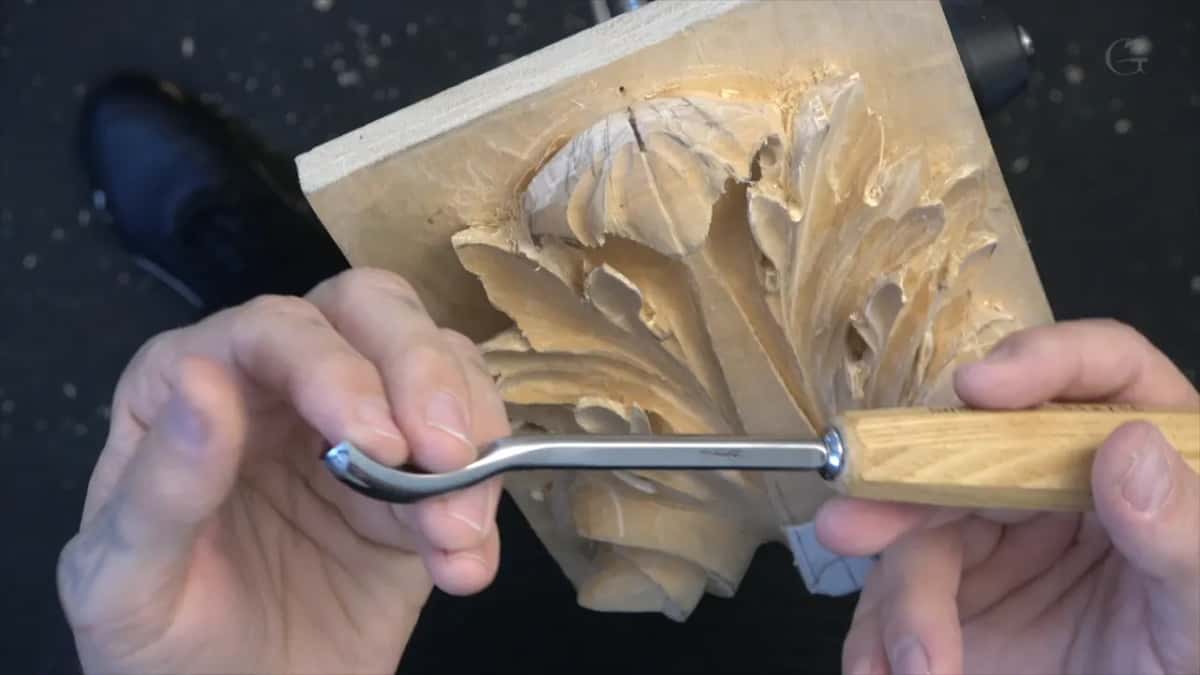
Mine is a spoon bent one, which matters here. The handle of a straight tool runs into whatever is standing above the hollow, and this panel now has carving standing everywhere. A short bent shank lifts the handle clear.
Veiner is not a marketing name either. The tool earns it on exactly this work, the veins running down the inside of a leaf, and the shape of those veins is why a U profile exists at all.
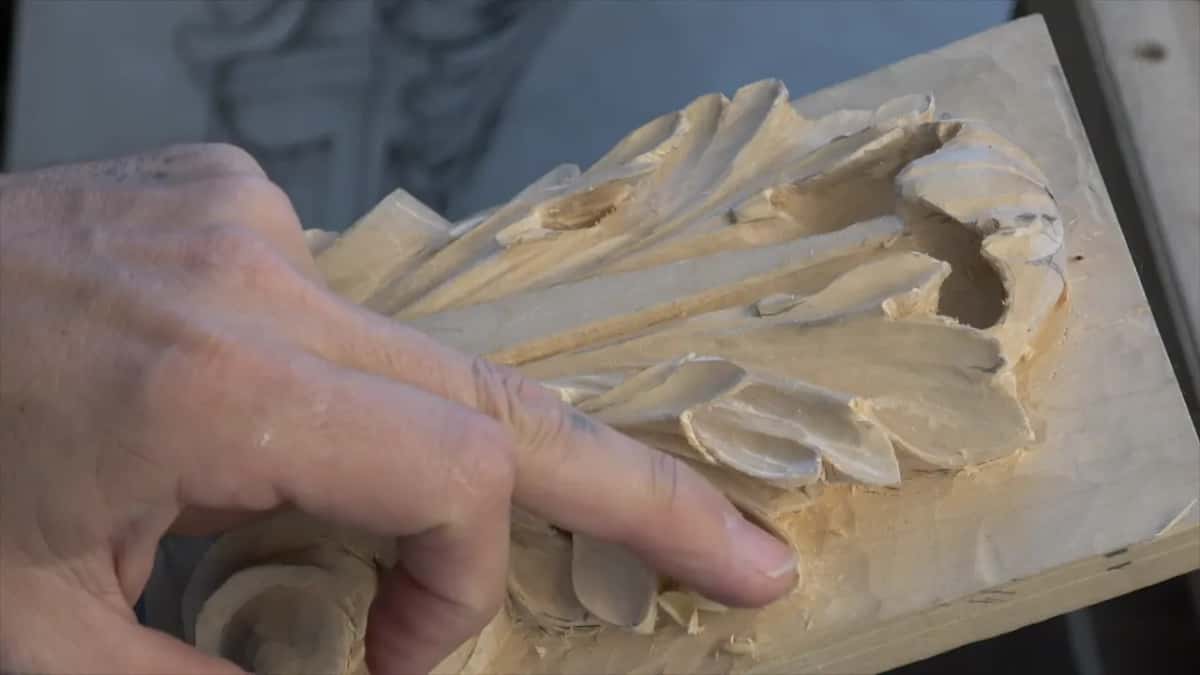
What comes off the edge is what I call a clean cut, and there is no cleaning up afterwards. One pass, and the surface it leaves is the surface that ships.
Why does a U cut cast more shadow than a round one?
The two sides end up at different heights. A round hollow is symmetrical and lights evenly all over. Lean the veiner over as it runs and the far edge rises well clear of the near one, putting a real overhang over the trench.
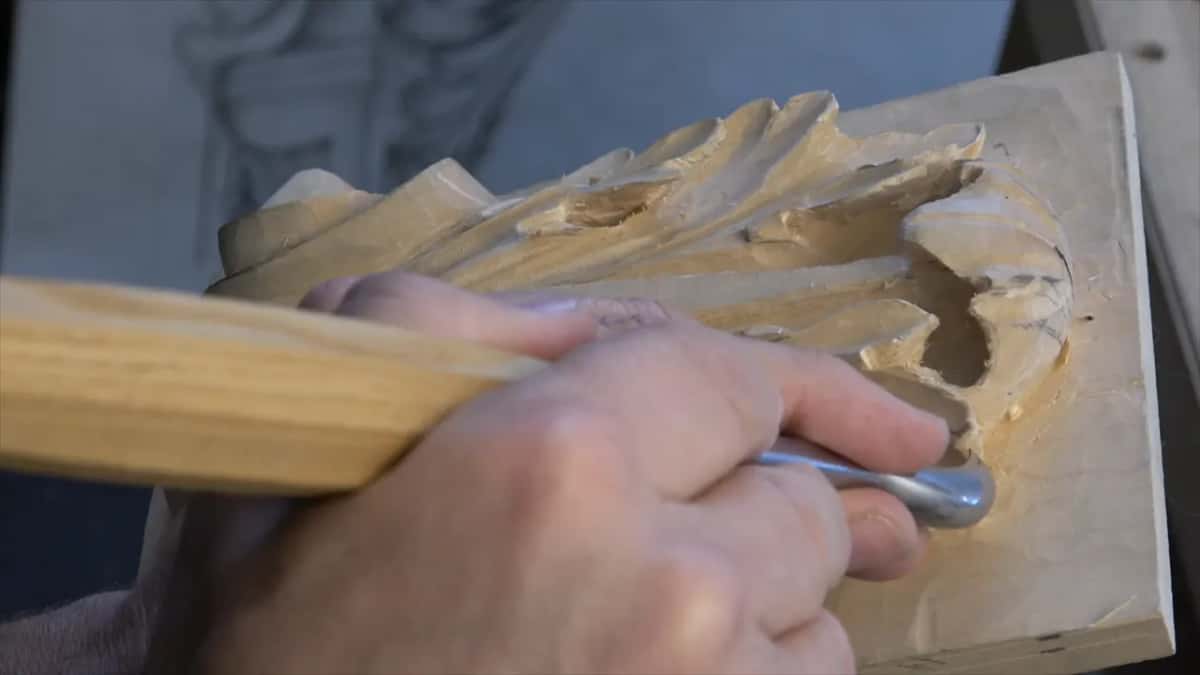
My hand leans left through most of this passage. The groove then narrows as it travels toward the middle of the leaf, letting a single pass run a whole section without widening at the far end.

Look at what it does to the depth. Nothing about the leaf got lower, and the hollow now reads far deeper than the hollow beside it. That is light and dark doing work that carving would have charged me an eighth of an inch for.

Spoon effect is my name for it, and a real spoon is the right picture. A deep bowl, one lip raised, shade pooling inside. Multiple passes build it rather than one heavy one.

Careful on the escape, which is the moment the tool leaves the wood. That is where edges break. I barely remove material on the last inch of every pass and the relief stays intact.

| Size of it | What that particular size is actually good for here | Where it gets used | The thing to watch out for the moment you pick it up |
|---|---|---|---|
| Ten millimetres | The main hollows running down the leaf | Across all the widest sections | Reaching the edge before you meant to, which happened to me |
| Seven, Swiss Made | Second pass where the ten ran too wide | Underneath the pipes, incaving sideways into the shade instead of downward into the face | Still a bit big |
| Five millimetres, small enough to finish the whole job with | Deep excavation | The next sections along the leaf | A rough flank on whichever side the grain runs against you, every time |
| One full millimetre | Undercutting the lip at the end of a return | Both sides of every return | Coming through the face of the leaf, which ends that section for good |
| Half millimetre | Pure shade, and nothing structural about it at all | Where a lip floats | Going as deep with it as you would with the others |

Should you sand a carved acanthus leaf?
You can, and I am fine with people who do. Plenty of carvers reach for abrasive at this stage and make everything smooth and nice, and there is nothing dishonest about that choice.
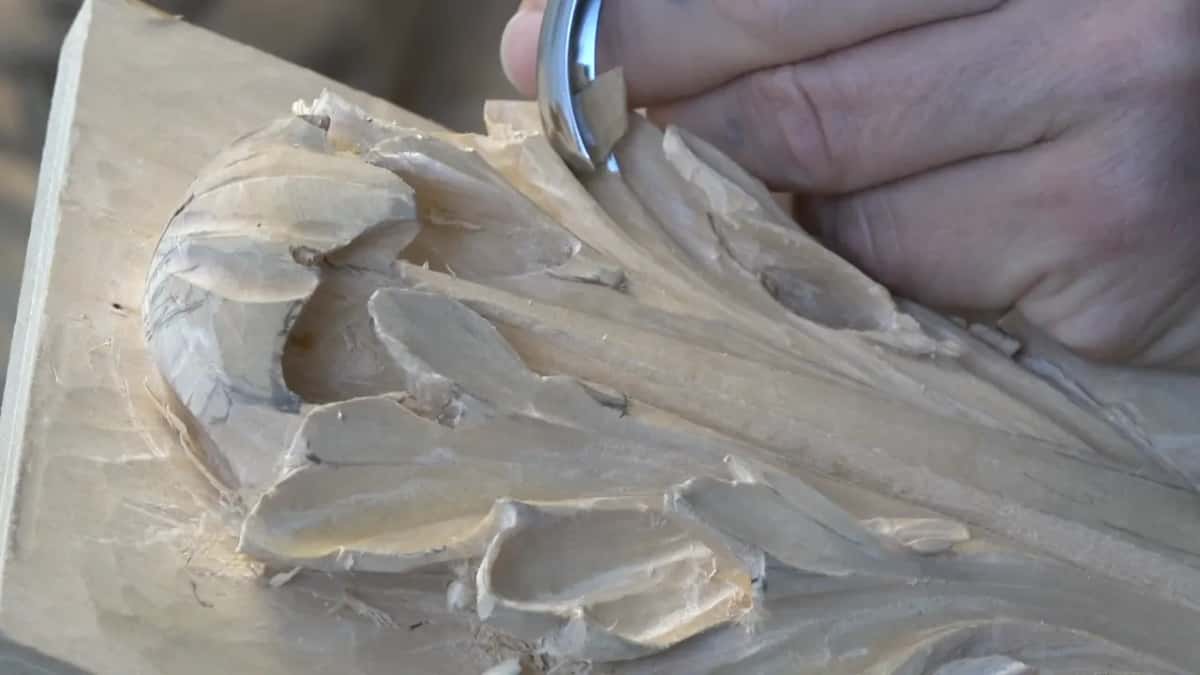
Mine keeps its tool marks. Not this many, though, because the inside of these hollows is rougher right now than I want to leave it, and the difference between tool marks and roughness is one that a finished panel makes obvious.

So the veiner does the cleaning instead of paper. One shaving pass through a facetted hollow removes the facets and deepens the shade at the same time, which sandpaper cannot do in either direction.

Sharpness decides whether that works. It has to be absolutely sharp, and I mean really, really, really sharp, because a shaving pass is the one cut in carving with no pressure behind it at all.
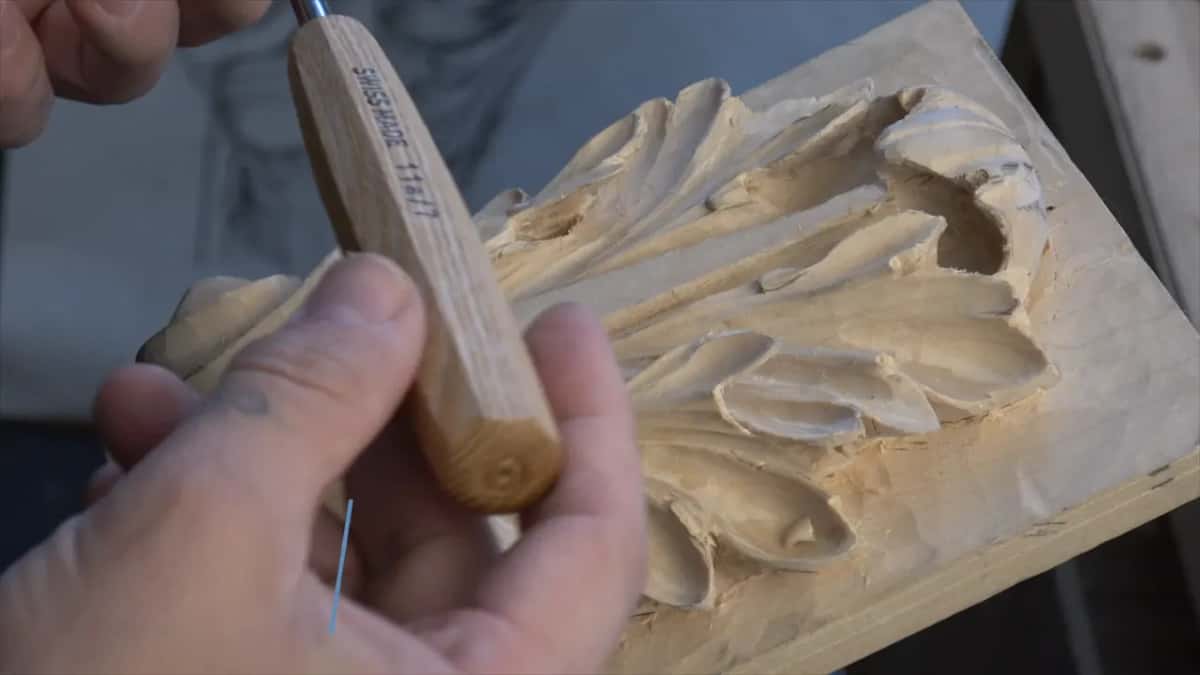
Mine went back to the strop partway through this workshop, because a 7 mm that had been working all morning stopped shaving and started scraping. Your hand knows it first.
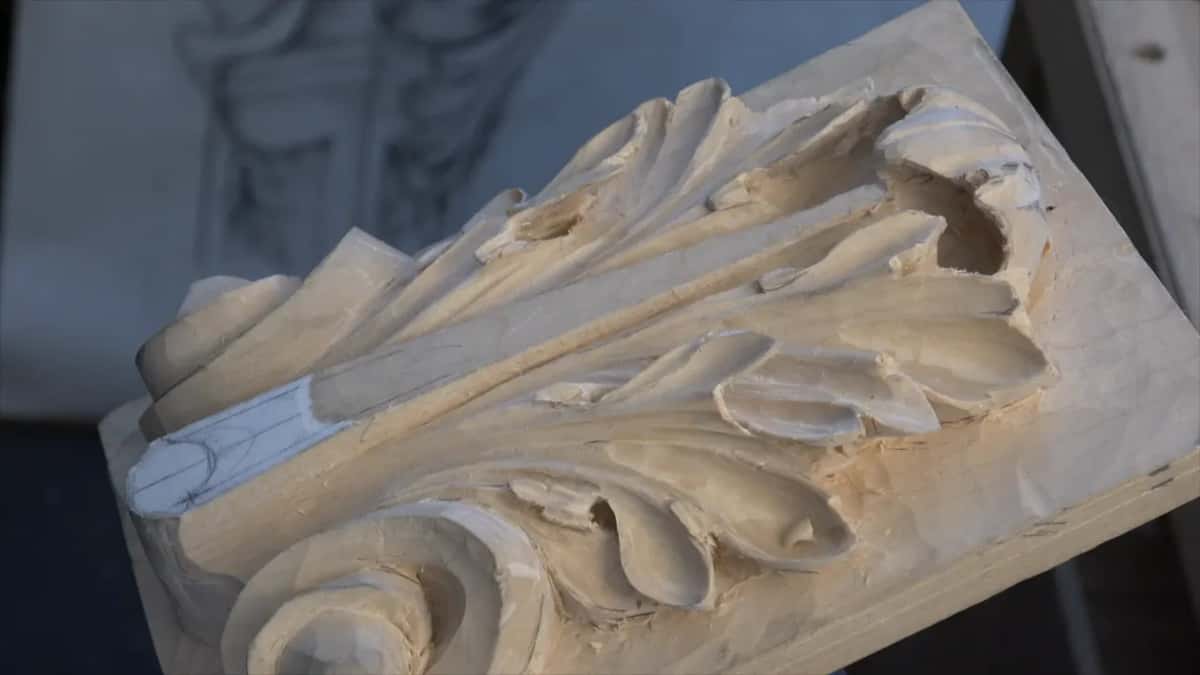
What does refining actually mean at this stage?
Adding shade, and taking away almost no wood at all. The leaf arrived at this workshop already shaped, which is the point where beginners assume the work is over and the difference between competent and good gets decided.
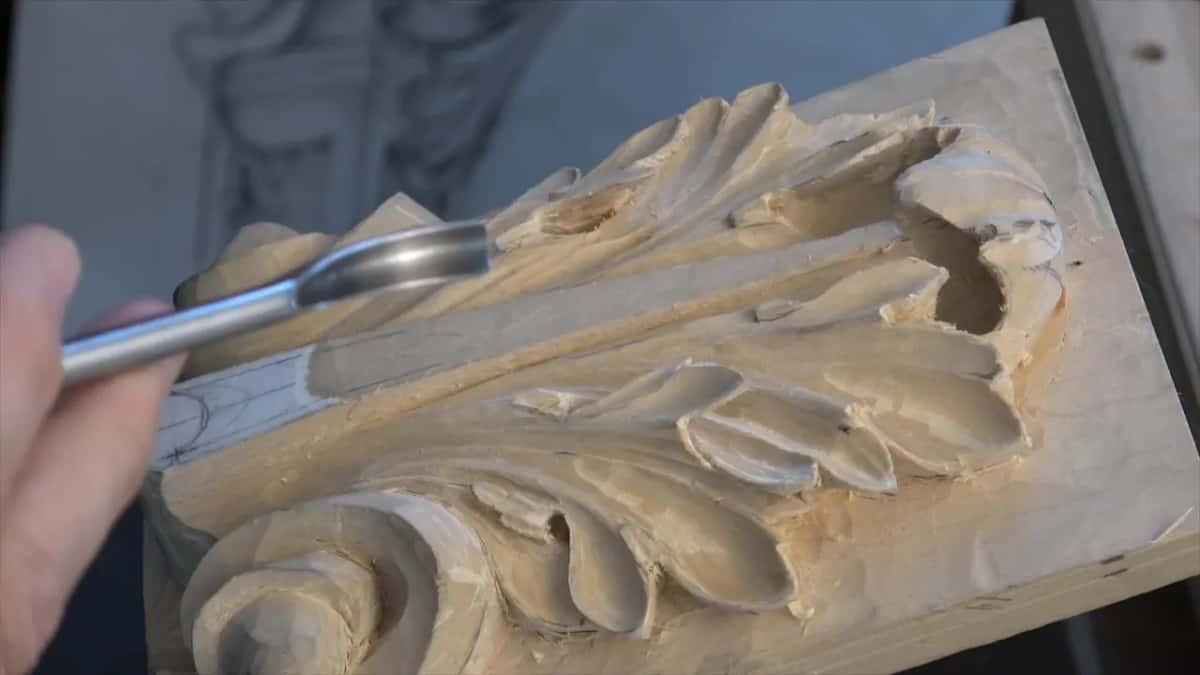
Every pass from here is a shaving. The veiner enters at one end of a section, travels its length, and leaves behind a trench a fraction deeper than the hollow that was already there.

Then it reads deeper, and that is the only measurement counting on a finished panel. Nobody puts a rule into a carved leaf. They look at it, and what they see is where the dark is.

The curl lip gets its own attention here. I noticed mine was not good while working beside it, so a 3 mm number 6 cleaned the shape first and the number 11 followed it underneath.
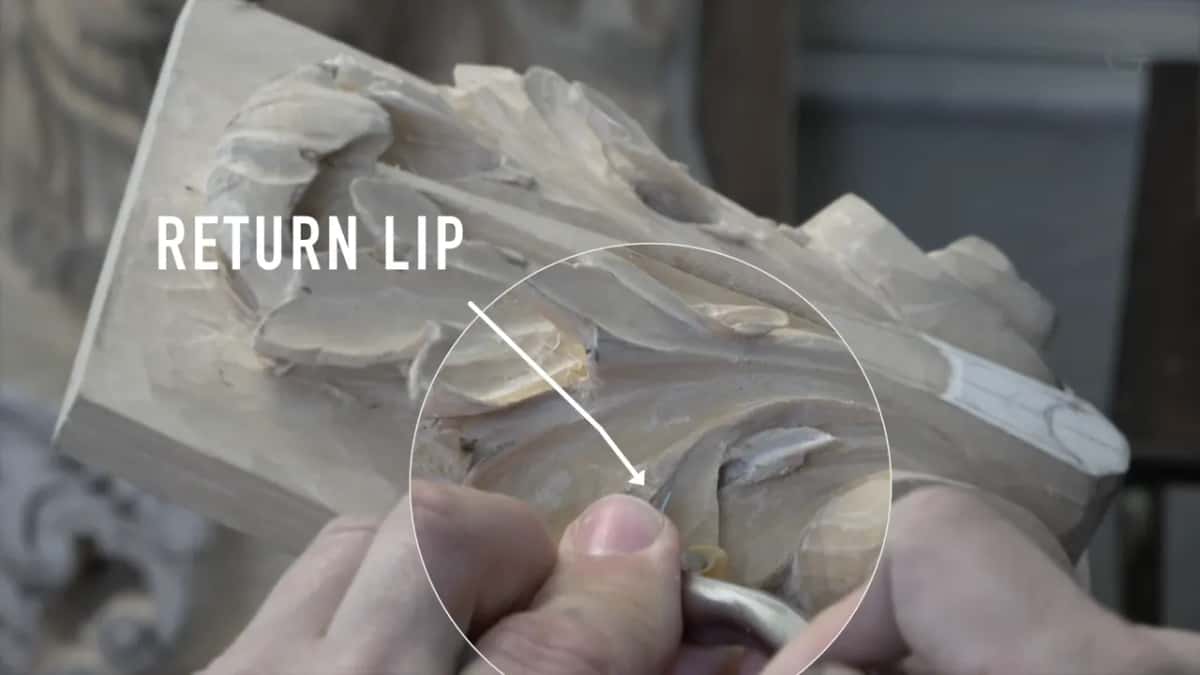
Order matters in that pair. Clean the lip before undercutting it and you are cutting into solid wood. Undercut first and every cleaning stroke afterwards happens over a void, which is where lips snap off.
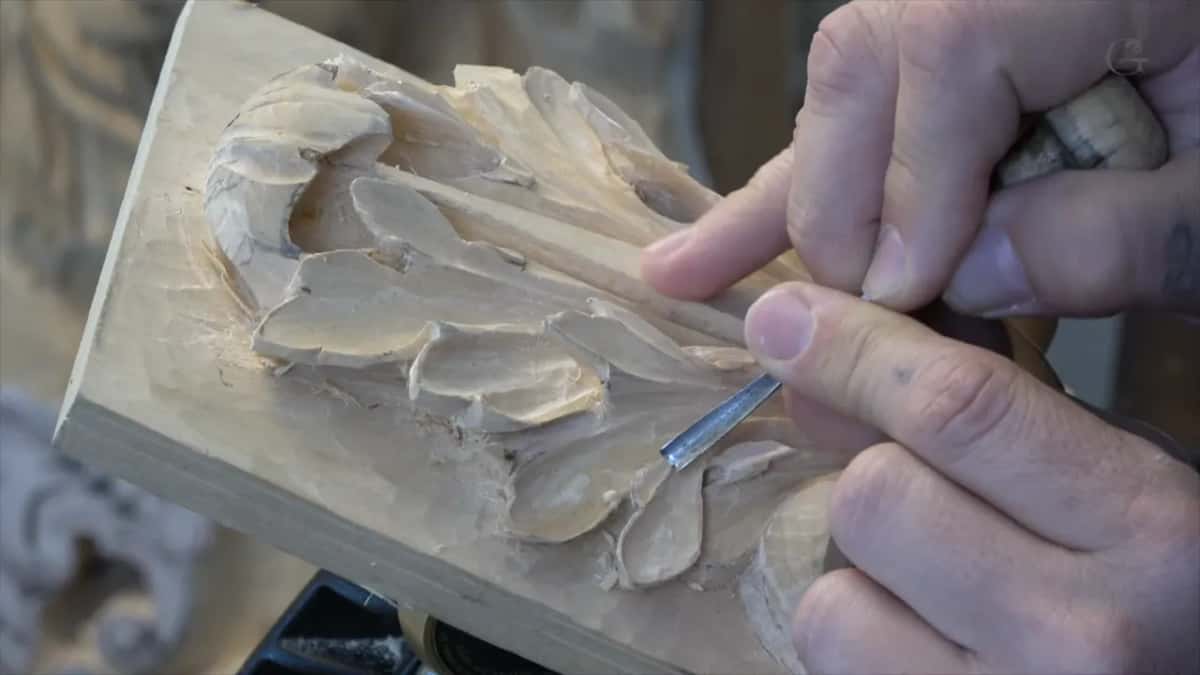
Underneath the pipe itself the tool incaves rather than hollows, working sideways into the shadow instead of downward into the surface. Less material, more darkness, and that trade is what this whole workshop is built on.

How do you fix a cut that ran onto the edge?
Turn it into a subdivision. I got too excited on one section and ran the veiner right up to the rim, the sort of mistake that used to cost me an afternoon.
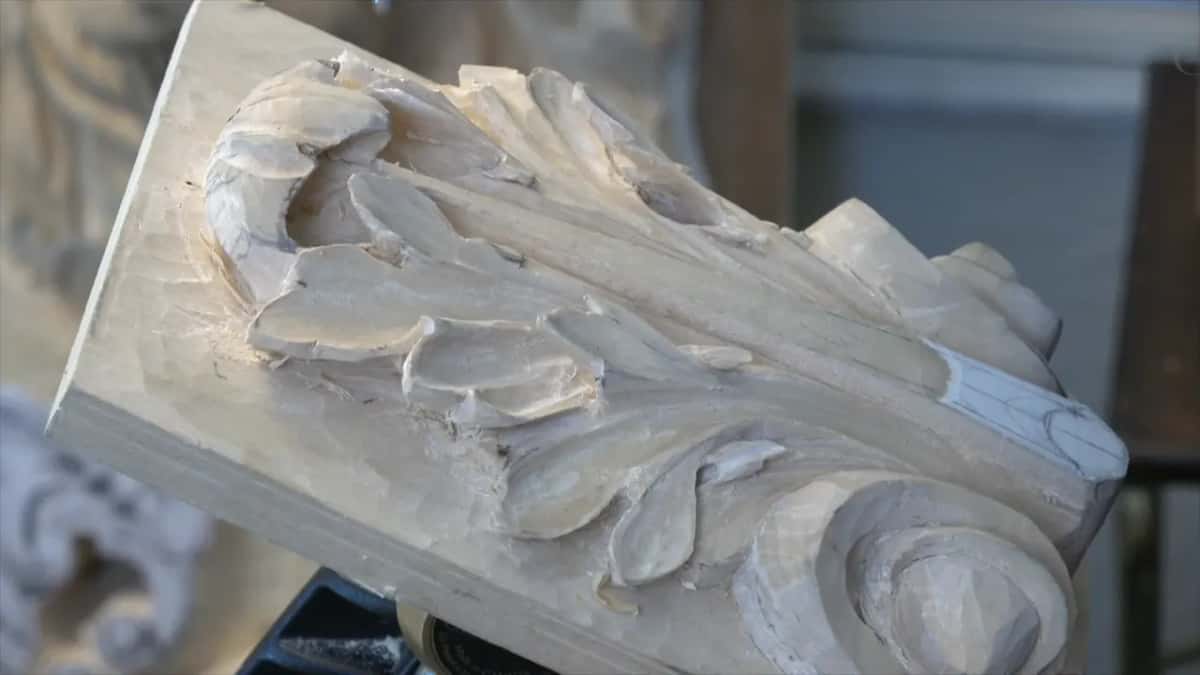
What saves it is repetition. Put a matching notch opposite it on the leaf and the accident stops being an accident, because ornament reads as deliberate the moment it appears twice.

A number 12 carving knife makes the new subdivision. Small, clean, and placed where the design can carry it, and afterwards nobody looking at the panel could tell you which of those divisions I planned.
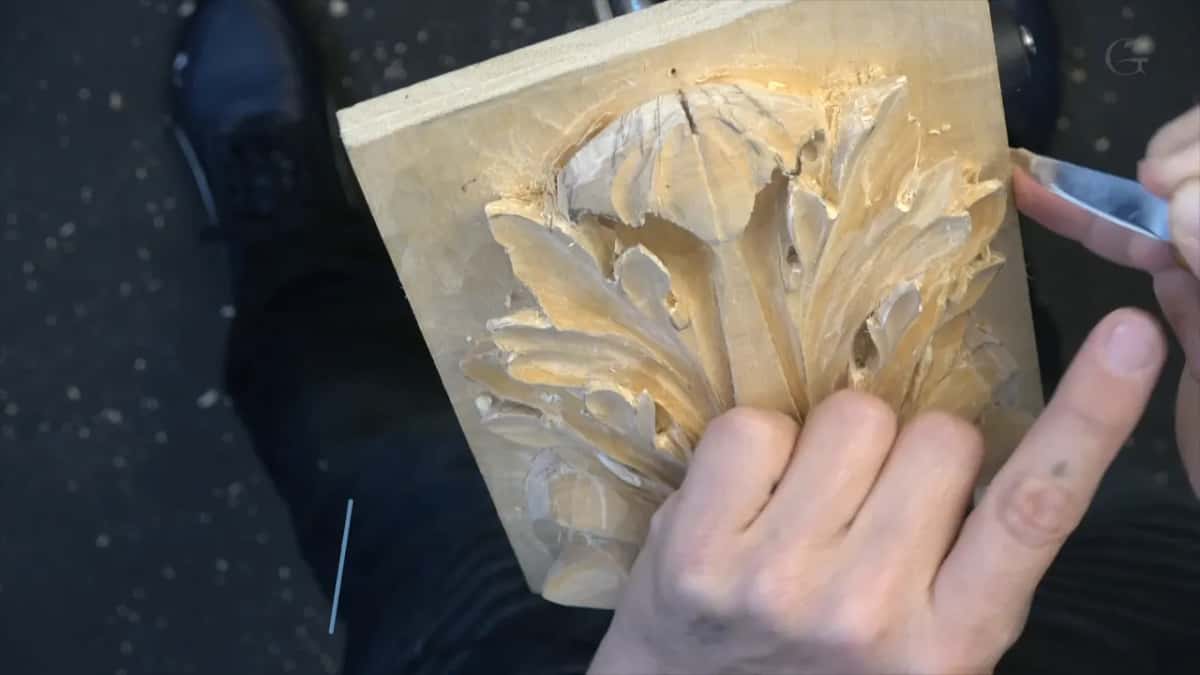
I messed up. Those two words belong in a workshop and they get left out of most of them. Carrying on as though the panel came out the way you drew it teaches nobody anything about carving.
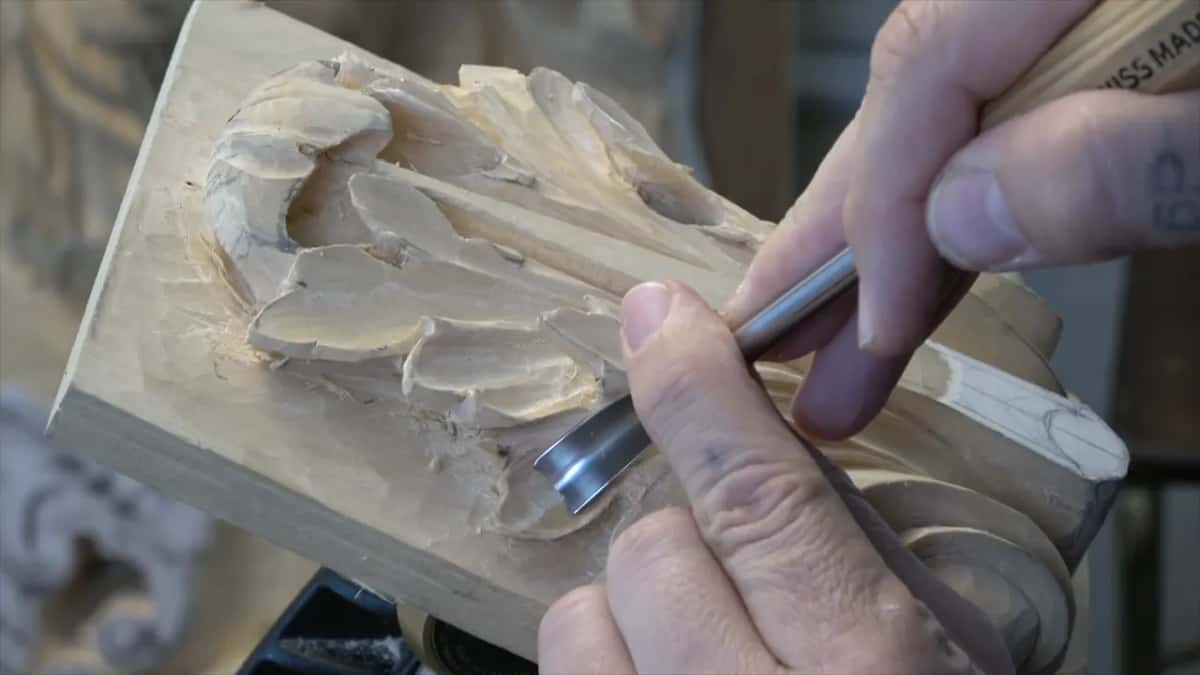
Then the same mistake gets avoided on the section above, since knowing exactly how close is too close is information you only own after you have gone past it once.

Why carve the same hollow from two directions?
Grain. Run a veiner one way and the near wall of the trench comes out clean and shiny while its opposite tears, and no amount of sharpening changes which is which.
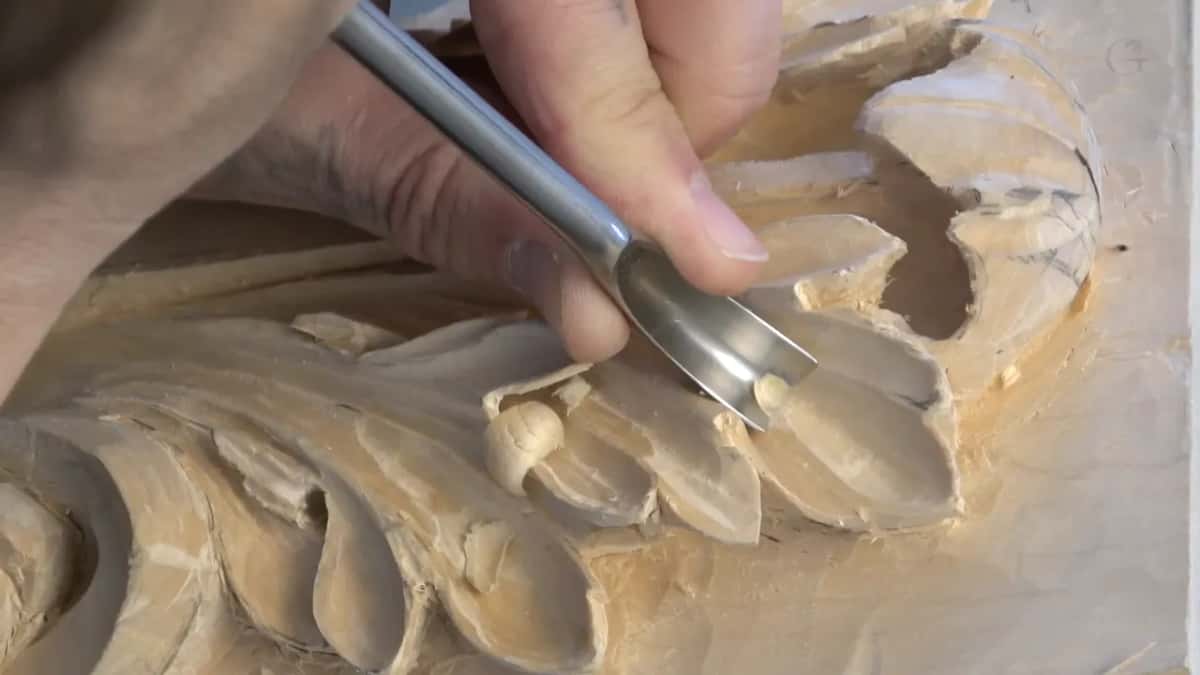
So each one gets carved twice, once in either direction. The clean wall left by the first pass sits across from the clean wall of the second, and the two meet somewhere near the middle.
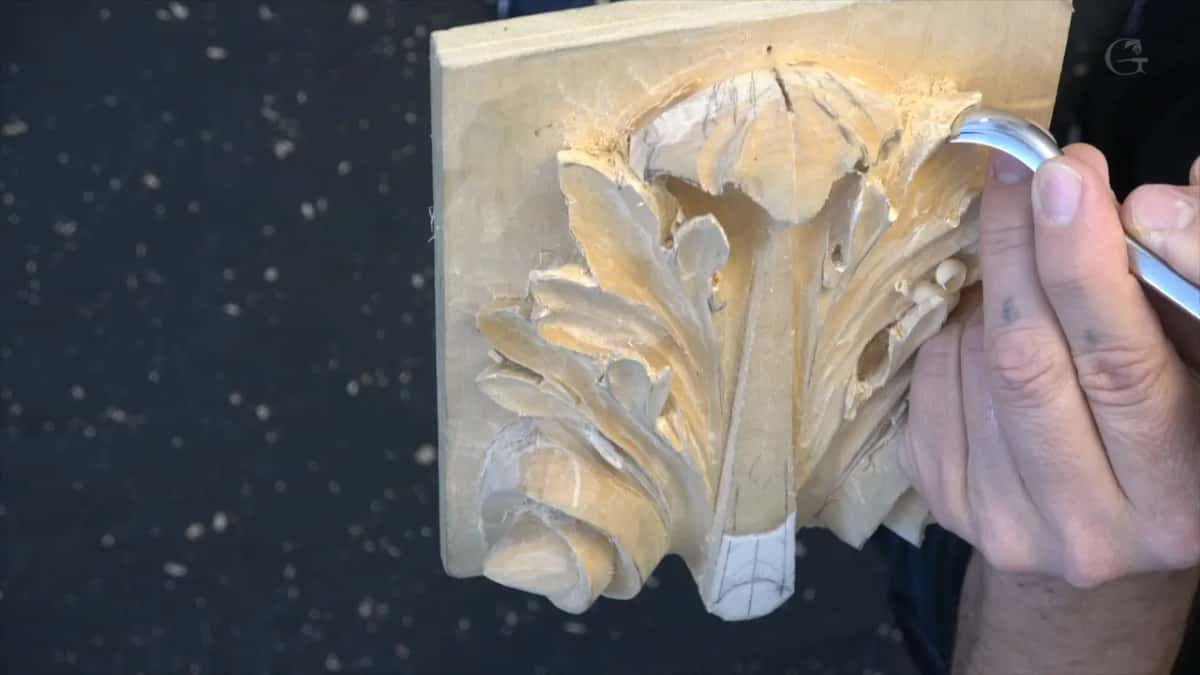
Marrying two cuts is what I call that, and where they meet is the marriage line. Place it where the fibre changes direction and it disappears completely.

One ridge has to survive all of this. The design line running along the top of each section is the thing the eye follows, so both passes stop short of it and the ridge stays as crisp as the drawing.
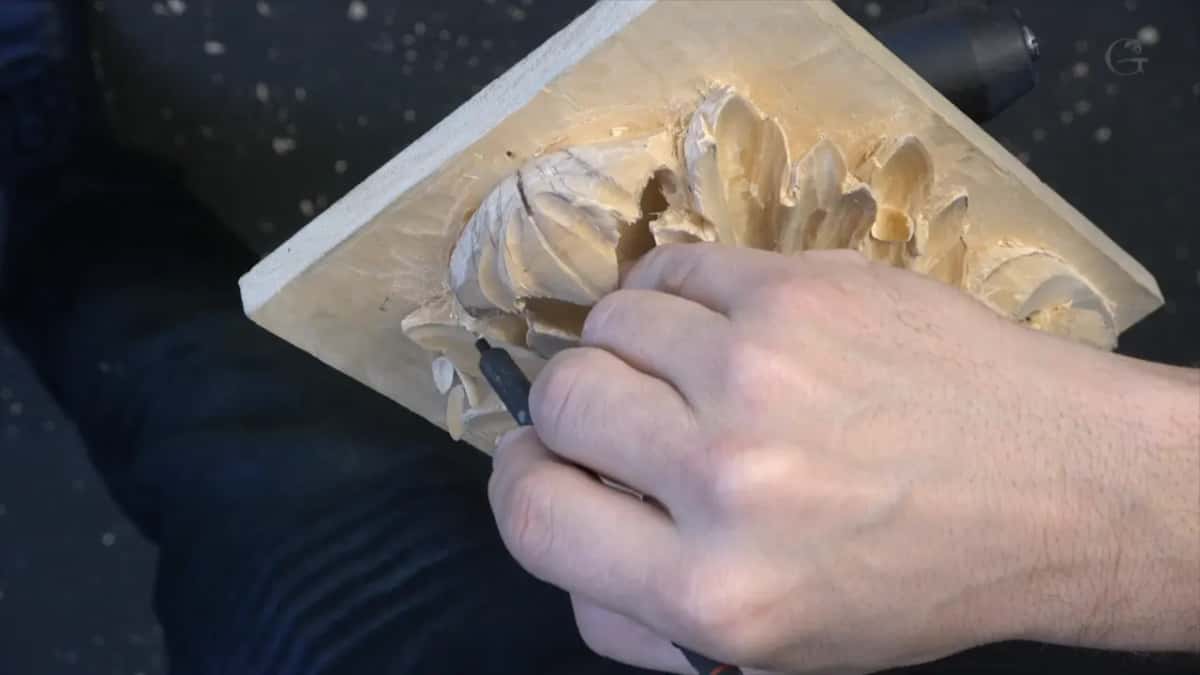
One flank shiny, the other rough, and the camera never shows it properly. Standing at the bench the difference is obvious. On video it is a matter of taking my word for it, which is true of about a third of what happens in this series.

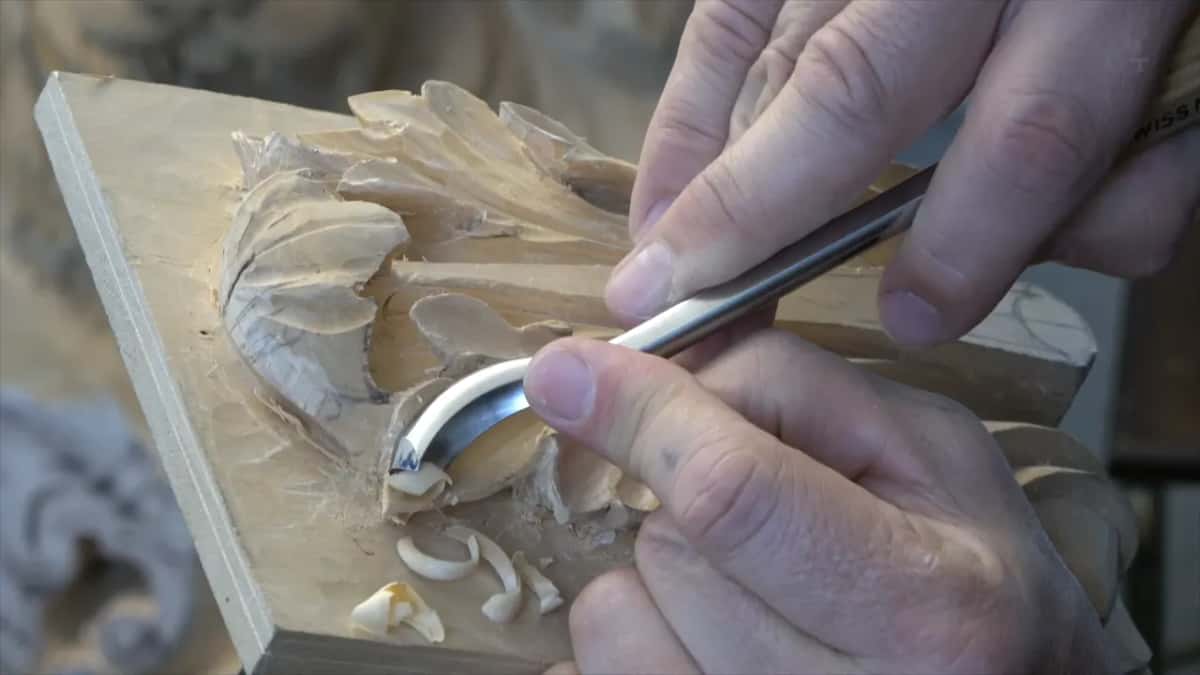
Slicing, even with a tool this shape. A veiner tempts you to push it straight in like a punch, and pushing gives you the rough flank on both sides instead of one.
Why is Roman acanthus exaggerated?
The originals were. Look at ancient Roman acanthus and every one is stylised, some of them extremely so, with movements pushed far past anything a real plant manages.

So I exaggerate too. The separations go deeper than they need to be and the movements swing harder than botany allows, and that is not me improving on the Romans. It is me copying what they already did.

Every acanthus family sets its own limit here. Not all of them take this much exaggeration, and the Greek leaf is considerably more restrained than what you are watching me do on this panel.
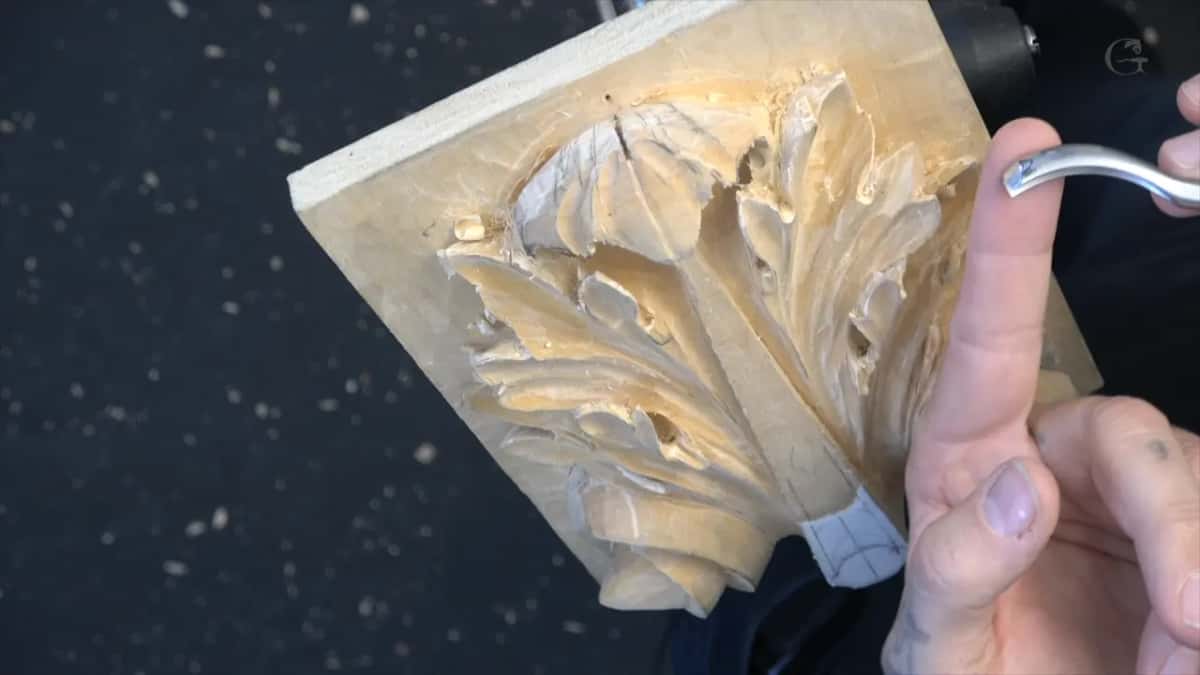
Cultural input is the phrase I use for it. A Moroccan acanthus looks nothing like this one. Same plant, same idea, completely different rules, and we carve one later in the series.
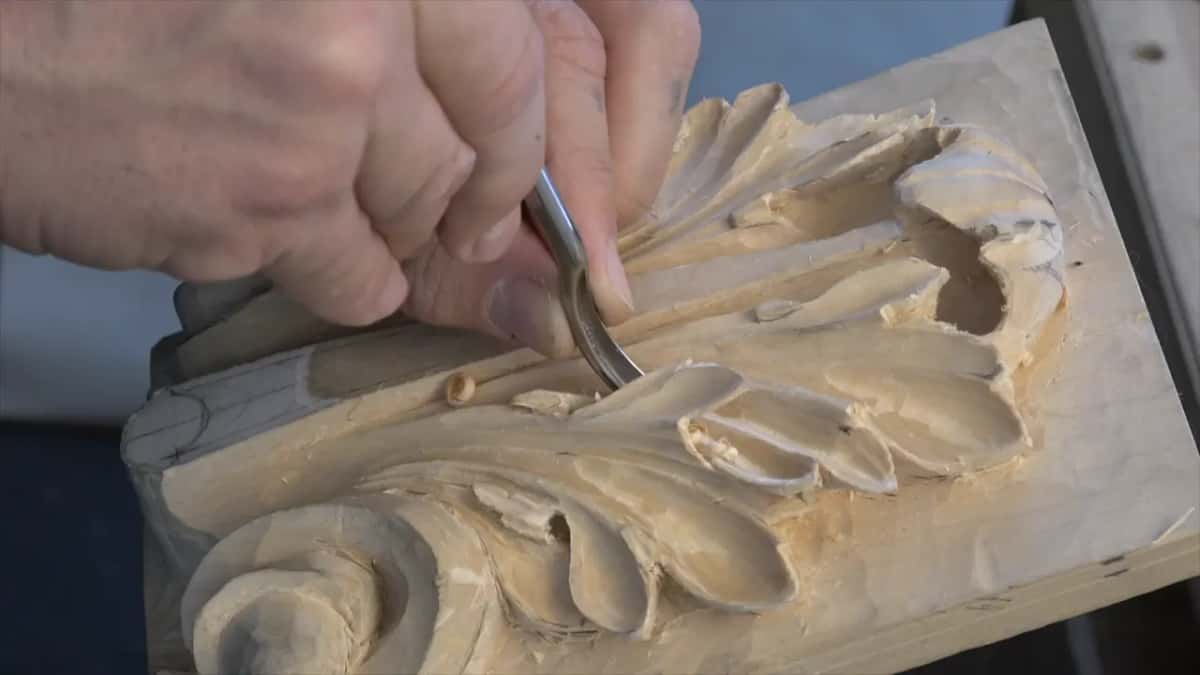
Shadow direction ties it together. Every hollow on the panel casts the same way, so the whole leaf reads as lit from one place, and a capital full of leaves lit from one place is what makes a building look carved rather than decorated.
Sometimes there is simply something in the way. A neighbouring form blocks the approach I want, so the cut comes in at whatever angle the panel allows, and the ridges it leaves are clean regardless.

The 5 mm handles the next sections along. Smaller sections, smaller trench, identical logic, and the shadow builds across the whole leaf instead of pooling in the two places I happened to start.

How thin can the edge get before it breaks?
Thinner than you would expect, and I work right up to that limit. Not much material is left on some of these rims, which is why the 7 mm veiner felt too big the moment it went in.
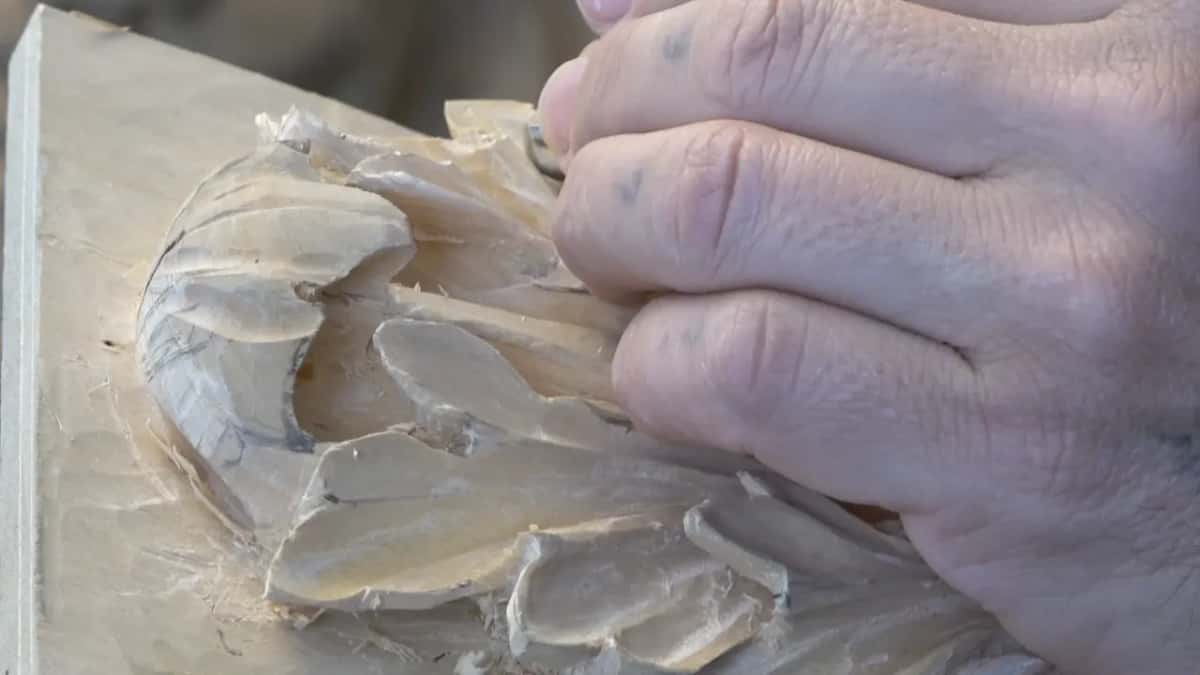
Wrong size, so I changed it. Reaching for something smaller mid pass costs thirty seconds and saves the section, and I have broken enough basswood over the years to make that trade without thinking about it.
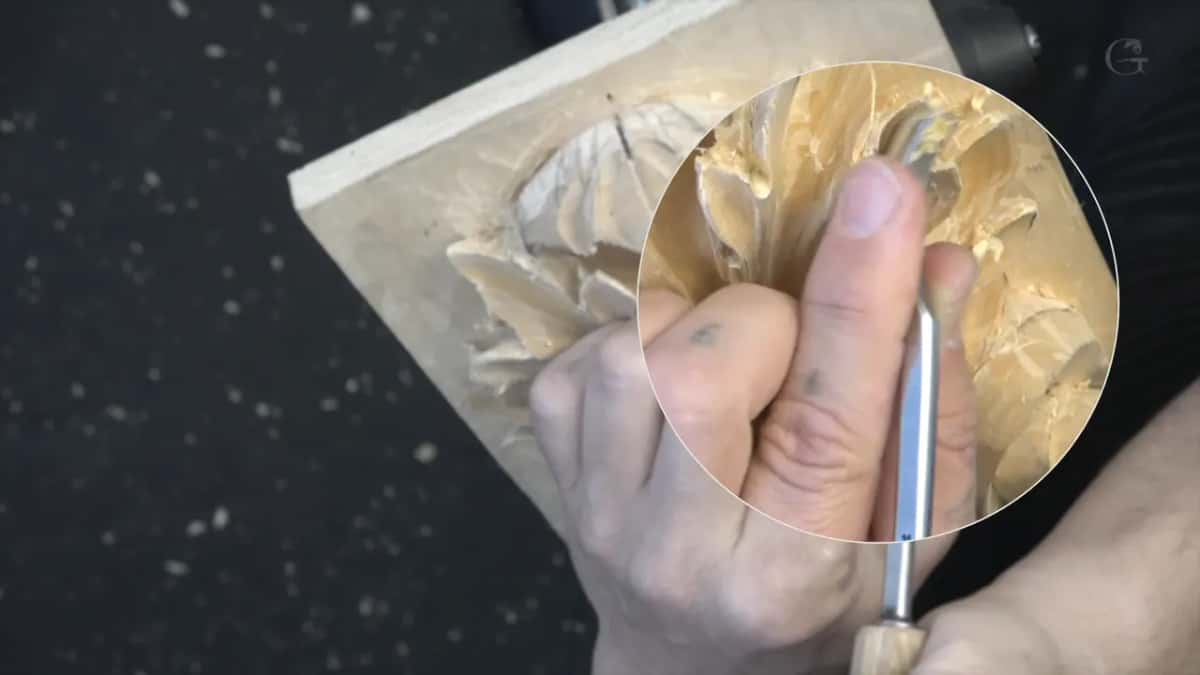
A 1 mm handles the undercut on both sides of a lip, and half that size follows it. That last one is not a necessary step. Skip it entirely and the leaf is still correct.
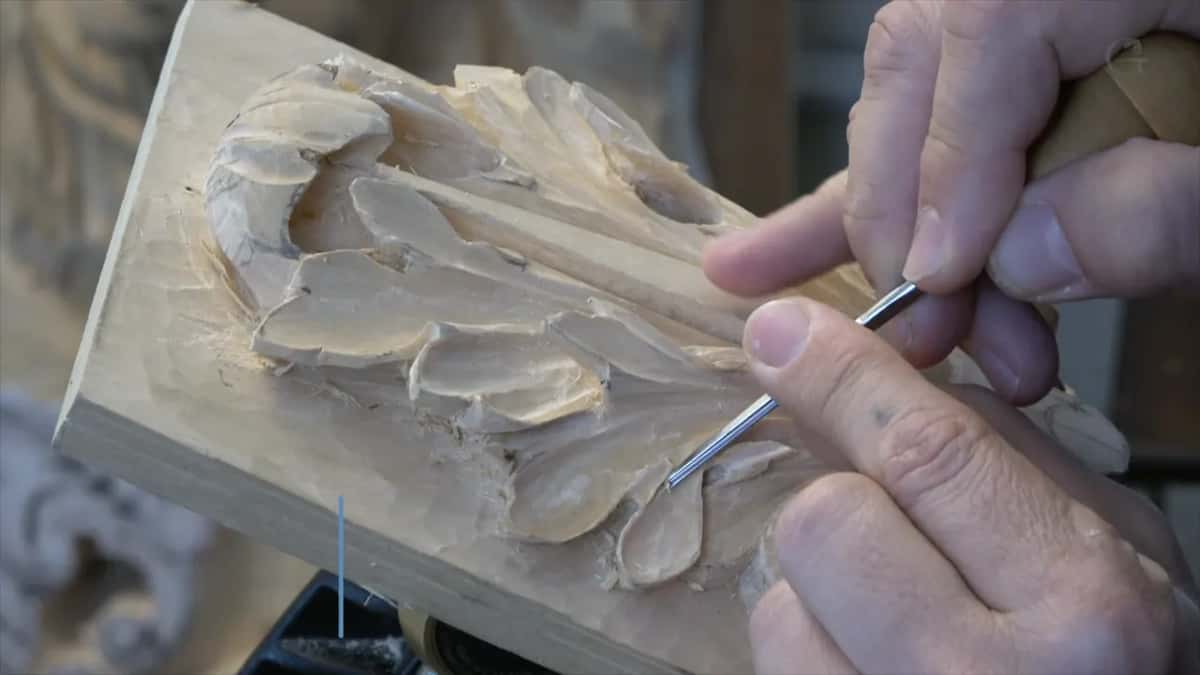
I do it for the shade. Uncomfortable with deep excavation around a lip that floats clear of its background? You really do not have to go there, and the last workshop covers the safer version.
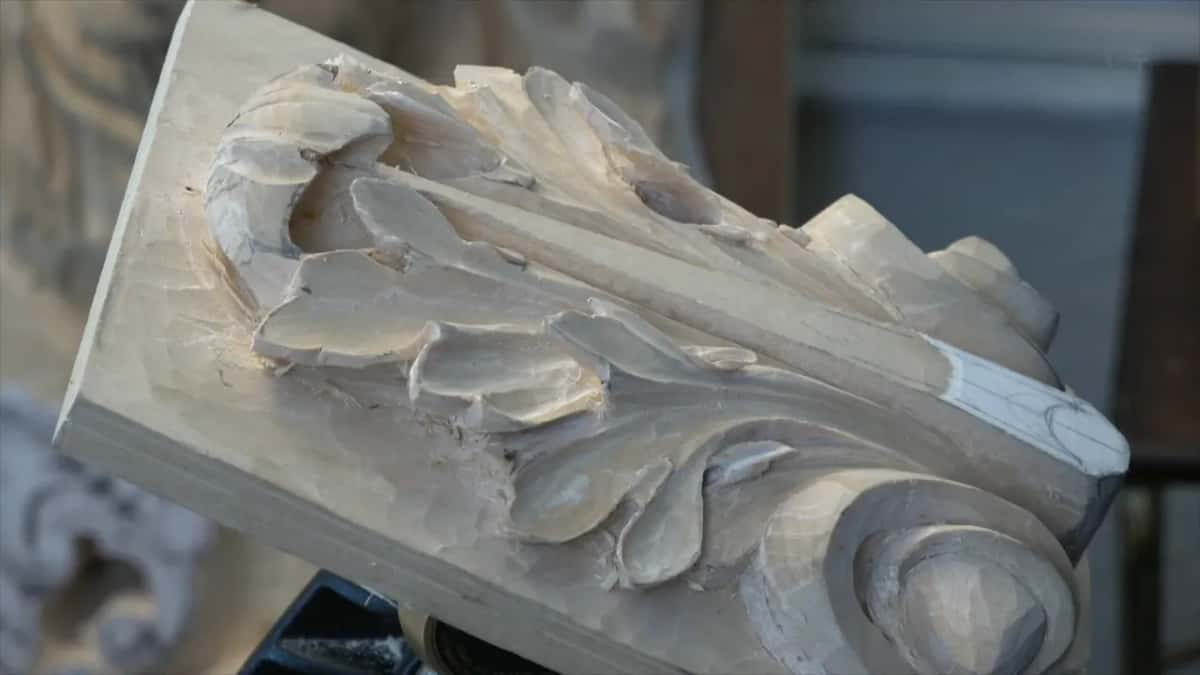
Between workshops here there was a gap, and students wrote to ask about it. I moved to another location and I became a grandfather. Now the panel and I are both back at the bench.
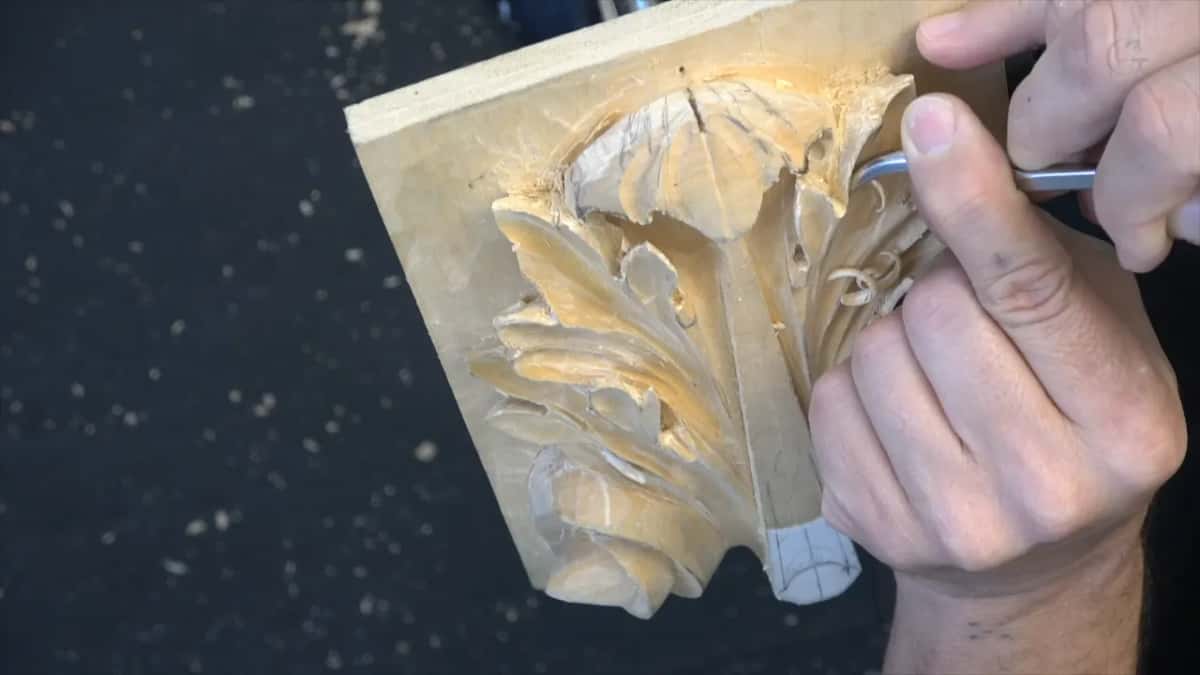
Then the last pipes take the same treatment as everything else, the 5 mm working both flanks, and the leaf arrives at what I would call its almost done stage. Steel has very little left to remove.

Quiet stretches take up most of a session like this one. Very little gets said, the panel turns under the light every few minutes, and the difference between the start and the end of an hour is a shade that a photograph struggles to record.
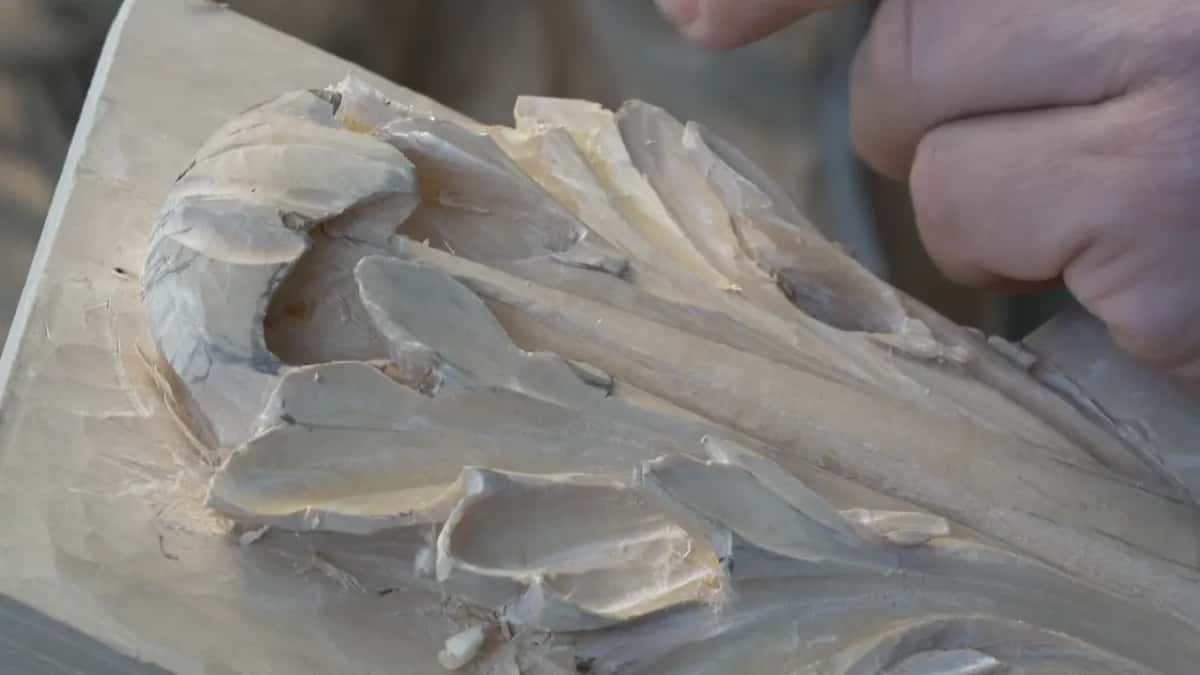
Would you rather watch a number 11 lean over and throw that shadow than read a description of it? Shall we carve?
This workshop belongs to the Roman acanthus series, and tuition opens it beside the rest of the library. Workshop thirteen set the sizes, sharpening decides whether a shaving pass works at all, and the tools course explains a veiner before you spend money on one. The design principles behind stylising a leaf are their own course. Want me beside you? We teach in person, and a beginner starts here.
How it's done
- Strop it before the first pass. A shaving cut carries no pressure, so it fails the moment the edge dulls. Mine went back to the leather partway through this session.
- Lean the veiner onto one side. Leaning raises one edge of the groove clear of its opposite. That overhang throws the darkness downward, and darkness is what makes a groove read deep.
- Let the cut narrow toward the centre. Rolling the tool as it travels lets a single pass run the whole length of a section without widening at the far end.
- Build it in several passes. One heavy pass tears. Three light ones leave the same depth and a surface that needs no cleaning afterwards.
- Work each hollow from either end. Grain leaves one wall clean and the other torn. Travelling back the opposite way gives you a clean wall on each side, joined somewhere in the middle.
- Stop short of the design ridge. The line along the top of each section is what the eye follows. Both passes leave it alone so it stays as crisp as the drawing.
- Undercut the lips last. A 1 mm number 11 on both sides, then half a millimetre if you want the darkest shade. That final step is optional and the leaf is correct without it.
Frequently asked questions
What is a number 11 gouge for?
Cutting the U shaped trenches that give carved foliage its deepest shade. The profile behaves like a number 9 down the middle and like a 2 sweep along its flanks, so one tool covers hollowing and cleaning.
Why does a U shaped cut look deeper than a round one?
Leaning the tool leaves one wall standing proud of its opposite. That overhang throws darkness down into the groove, and the eye reads that darkness as depth even though no extra wood came out.
Do you have to sand a carved leaf?
Sanding is a legitimate choice and plenty of carvers make it. A shaving pass with a sharp veiner cleans the facets and deepens the shadow at once, which abrasive cannot manage in either direction.
What to carve next