
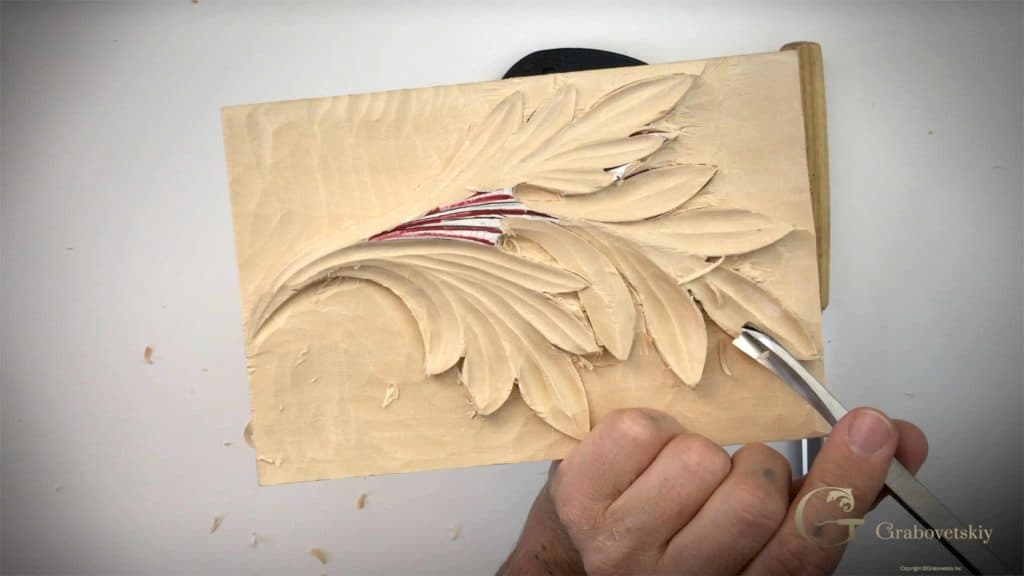
Alexander Grabovetskiy, woodcarver, School of Woodcarving · Published 2017
How do you undercut a relief carving?
Quick answer: Undercutting a relief carving is the act of cutting back in beneath the wall left standing round the design, so the shape sits proud of its ground and throws a shadow. A V tool at 45 degrees opens it, an inverted number 5 clears it, and a back bent finishes it.
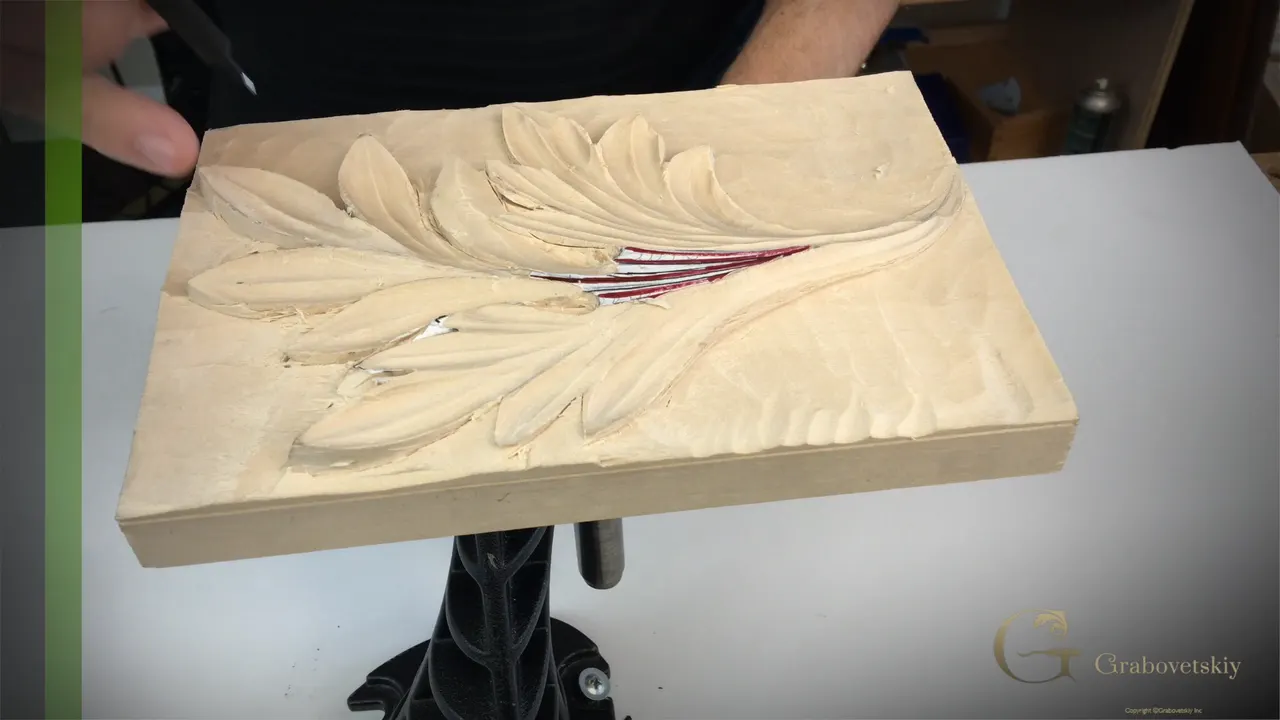
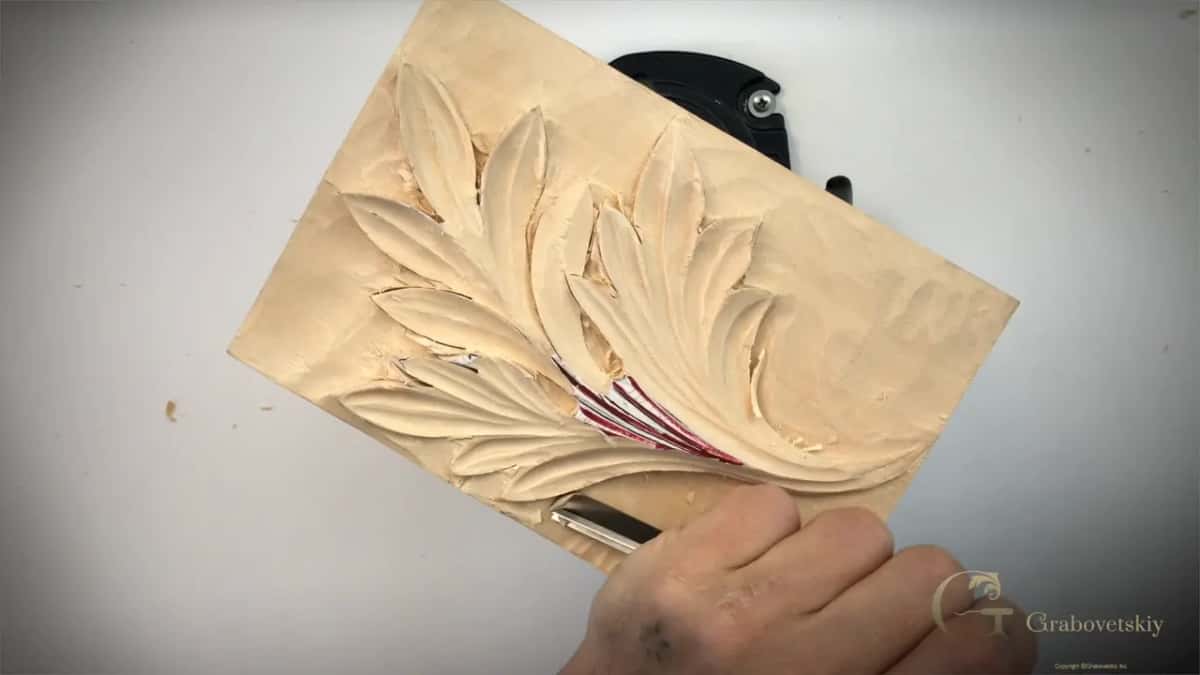
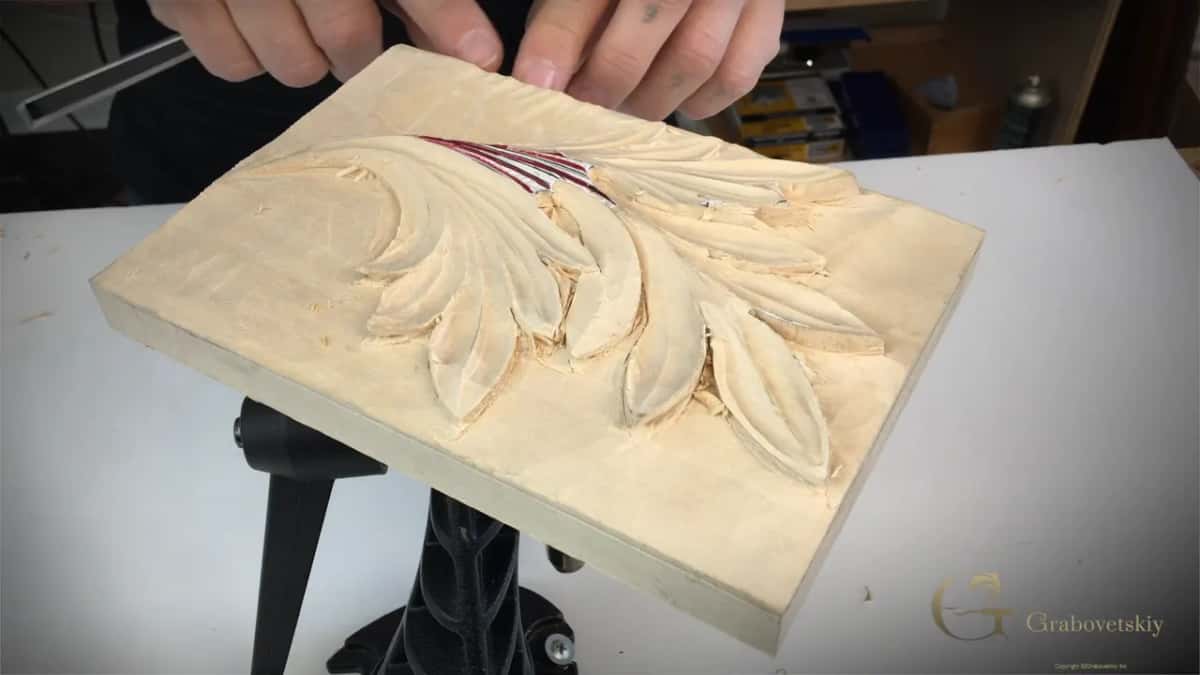
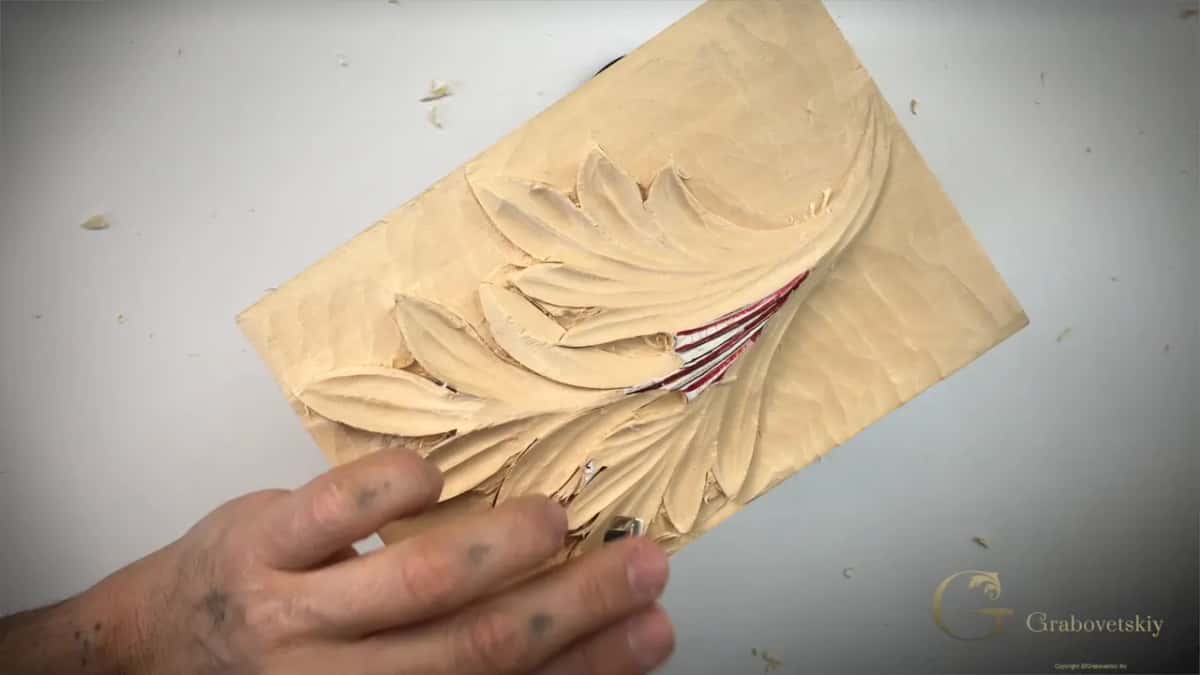
Undercutting means cutting back in beneath the wall you left standing, so the leaf sits proud of its ground and throws a real shadow. A V tool at 45 degrees opens the gap, a number 5 turned upside down clears it, and a back bent finishes what neither can reach.
Does your relief look flat under a lamp, even though every shape on it is right? Snapped a tip off a gouge? Wondered why a photograph of somebody else's panel carries depth that yours does not? One stage explains all three.
The wall around your leaf went straight down when you set in. Now it comes back in under itself. I will show you the V tool angle that reaches furthest on this acanthus leaf, the gouge trick that removes the most wood, and the point where this stops being a good idea.
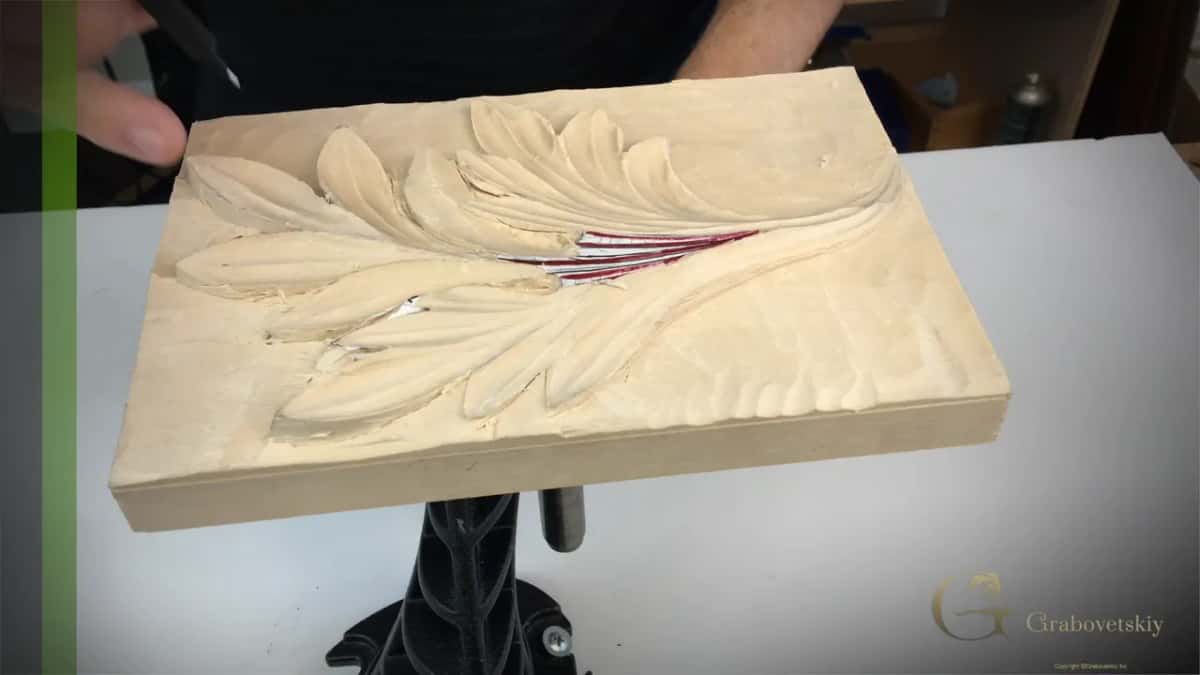
What undercutting buys you
- Shadow. One dark line beneath a carved edge is what makes the whole thing read deep.
- The leaf floats.
- Room to work further down later, without your tool fouling anything standing above it.
- The 45 reaches lower than the 60.
- Stop 0.8 mm back from the final line, a bare thirty second.
- More tools break here than anywhere else in this trade, and nobody is exempt.
Where does an undercut actually start?
At the wall. That vertical face left behind when you cut straight down around the drawing has a name for a reason, and every undercut begins by attacking its base rather than its top.
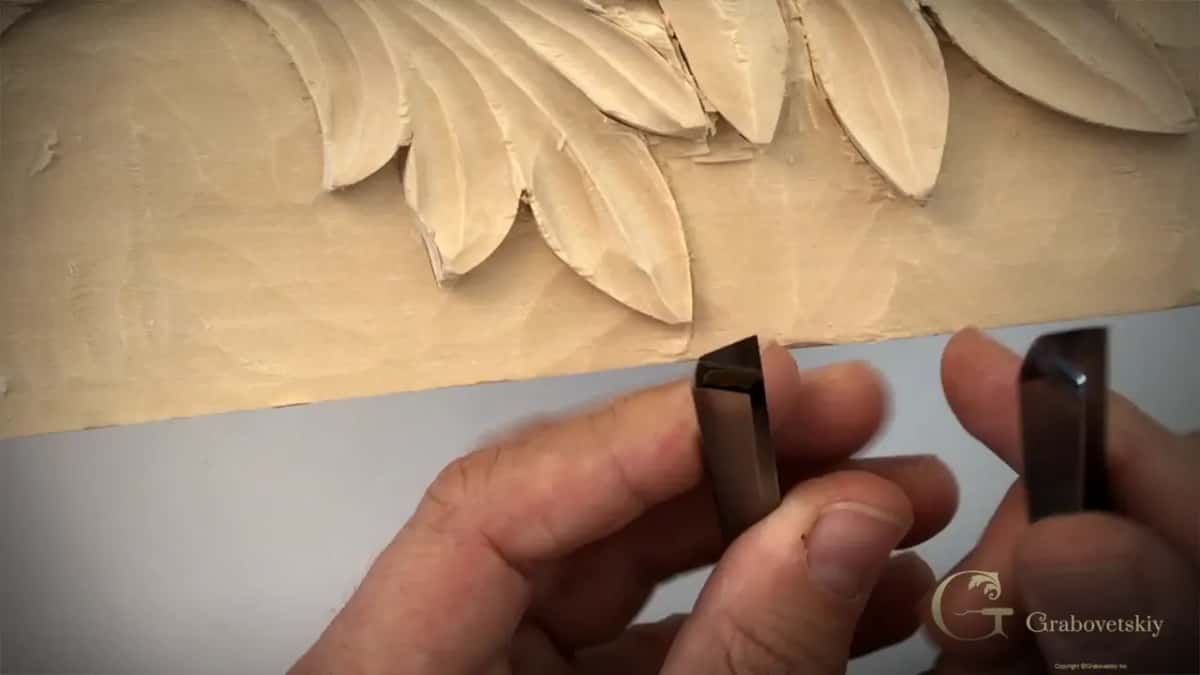
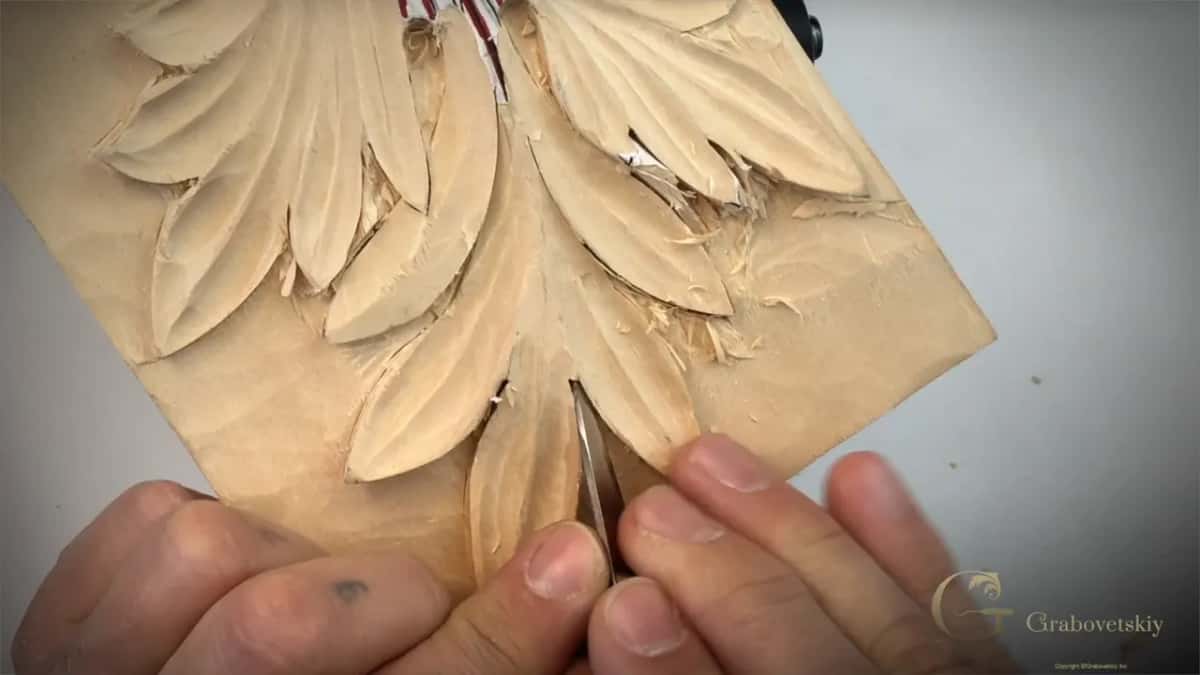
My first tool is a V tool, and almost any V tool will do the job. I lay one of its two wings flat against the background, so the other wing points up beneath the leaf, and drive it with a mallet in small bites.
Little by little is the whole method. Go around the entire outline this way, taking a shallow first pass, and resist any urge to finish one area completely before the rest has been started.
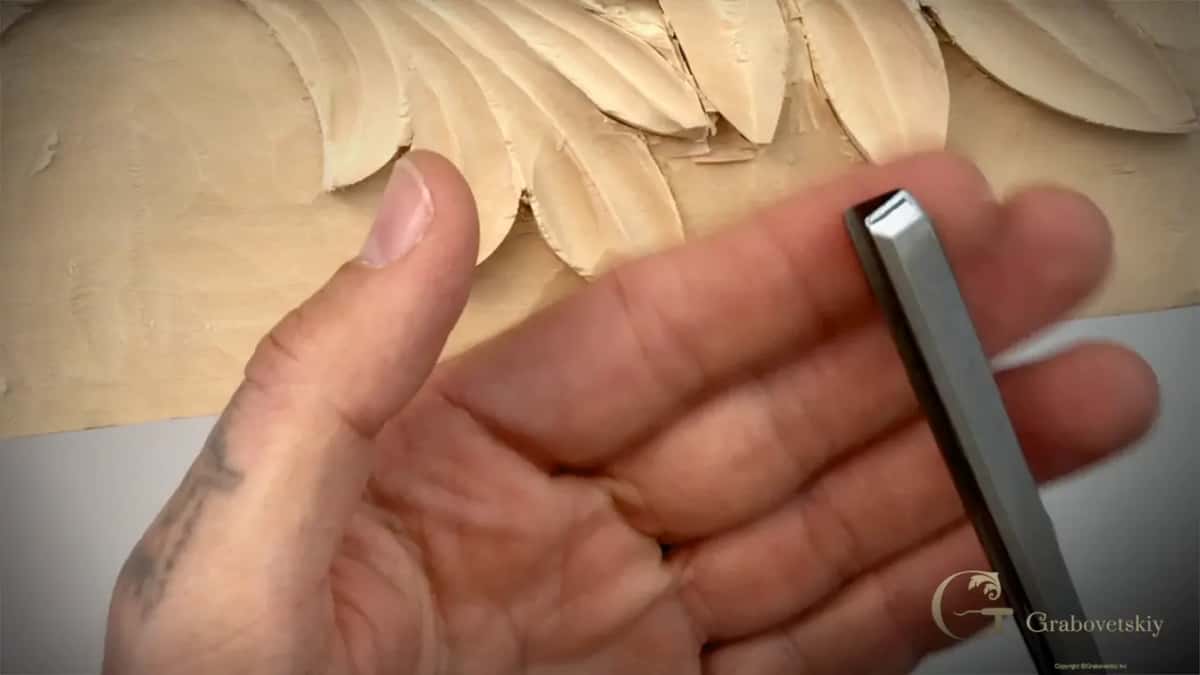
Nothing here is the final cut. You are still establishing form, and the surfaces you leave now get cleaned properly in the next workshop. Even so, the shadow begins showing up immediately, which is encouraging.
Which V tool angle works best?
Forty five degrees, when you have the choice. Put a 45 and a 60 side by side and the difference in profile is obvious, and the narrower one slips into places the wider one cannot approach.
| The tool | What the tool does at this stage | Reach | The moment I actually pick it up off the bench |
|---|---|---|---|
| The 45 | opens a first gap under the wall | Deepest of the five | on almost every outline I ever cut |
| The 60 instead | identical work on open, easy edges | Shallower | whenever the narrow one is busy somewhere else on the bench |
| A number 5, rolled over so its hollow faces down | clears bulk | Middling reach, and steady with it, which is what you want | once the V tool has made room |
| A back bent, any sweep | tidies up the underside so a fingertip finds no steps | Good enough for almost anything you meet here | tight lobes |
| Chip carving knife | the only blade thin enough to fit between two crossing lobes | Narrow | closed corners |
The 60 still works. I use one here and the results are nearly identical on open areas, though it has to stay nearer the outline, because its own body gets in the way as the cut goes deeper.
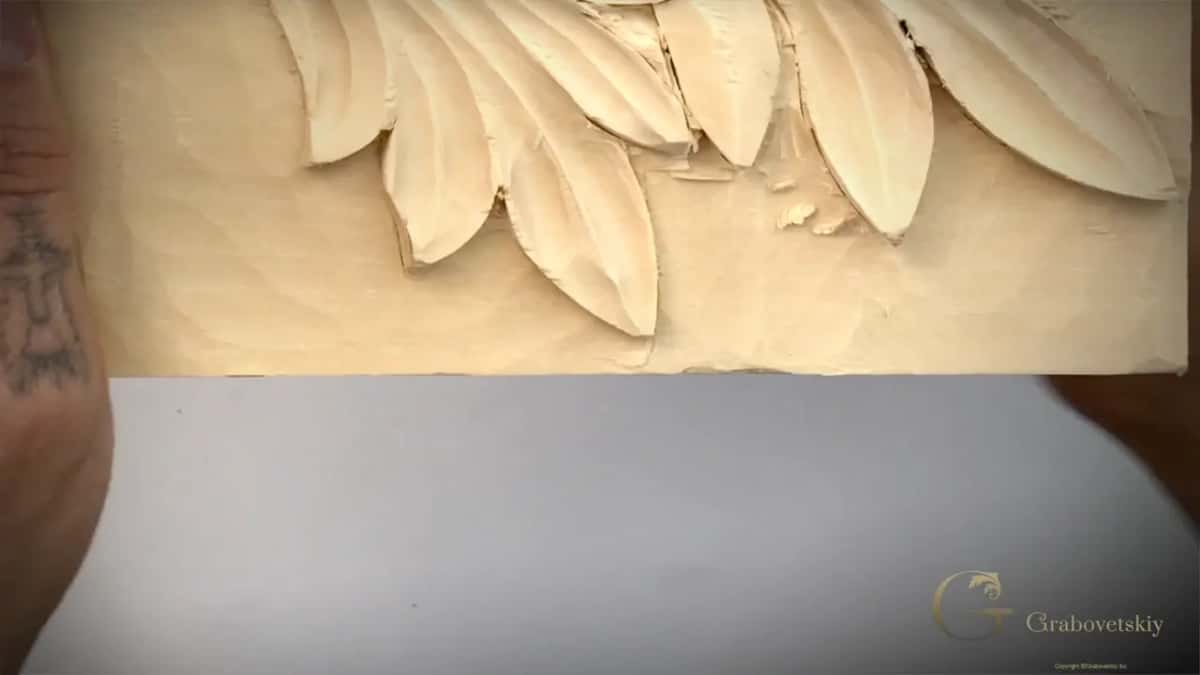
Where the leaf drops near the background, the 45 earns its keep. It reaches the lowest points and still cuts beneath them, and those low, tight corners are exactly where a flat looking panel gets rescued. The acroterion has exactly the same problem waiting inside it.
Should furniture be undercut this way?
Go carefully on anything people touch. Extreme undercutting belongs on a piece of art, and my own work sometimes has so much wood taken out from underneath that it would break if handled roughly.
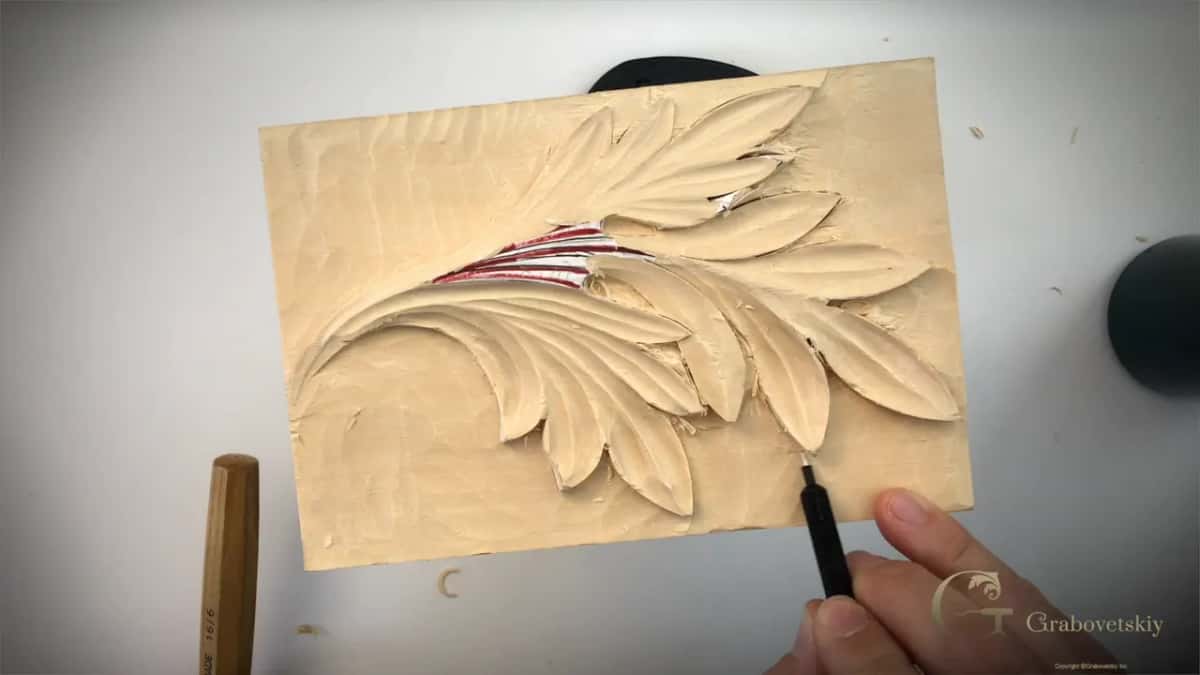
Think of a chair rail. Think of a drawer front, or a panel pressed up against something else. Cut deep under any of those and you have made a fragile object out of furniture, which is a poor trade. My furniture panel course keeps the undercut modest for exactly that reason.
A slight undercut is still worth having on shallow work. Even on low relief carving, just a little bit of angle under the edge produces the shadow line, and the whole design lifts off its ground without becoming delicate.
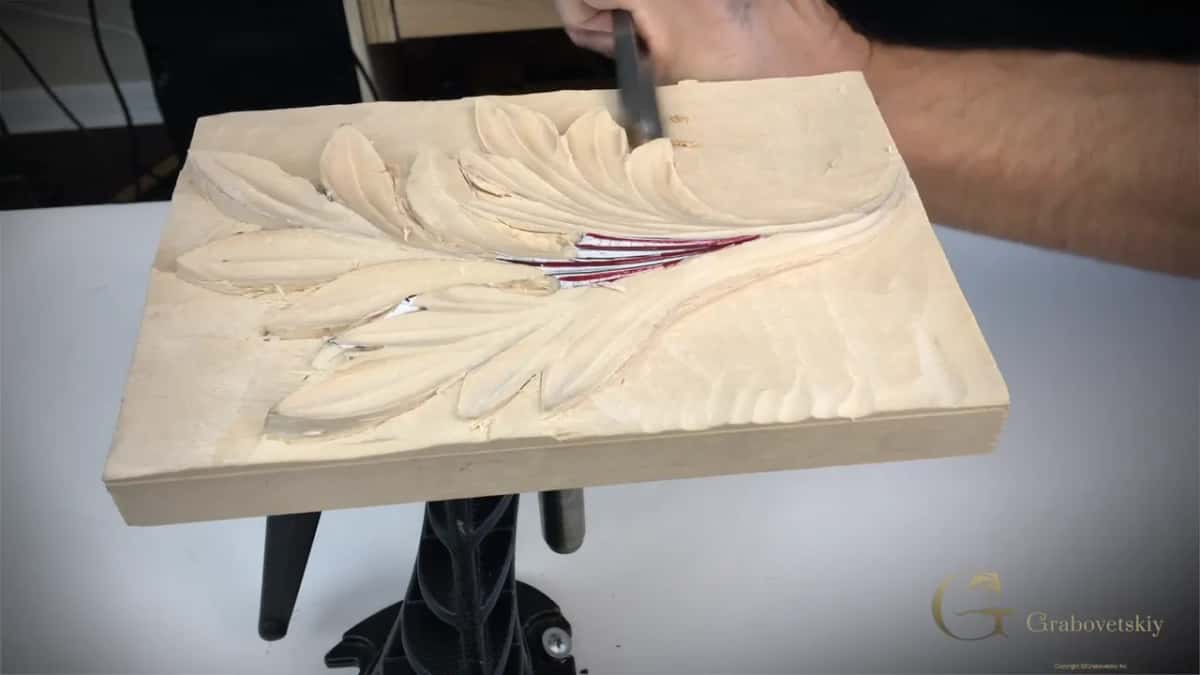
How far under can you safely go?
Further than you think, as long as you know where the finished ground will be. You left about a sixteenth of an inch, near 1.6 mm, of extra depth on the background, so the tool tilts around fifteen degrees and stays safe.
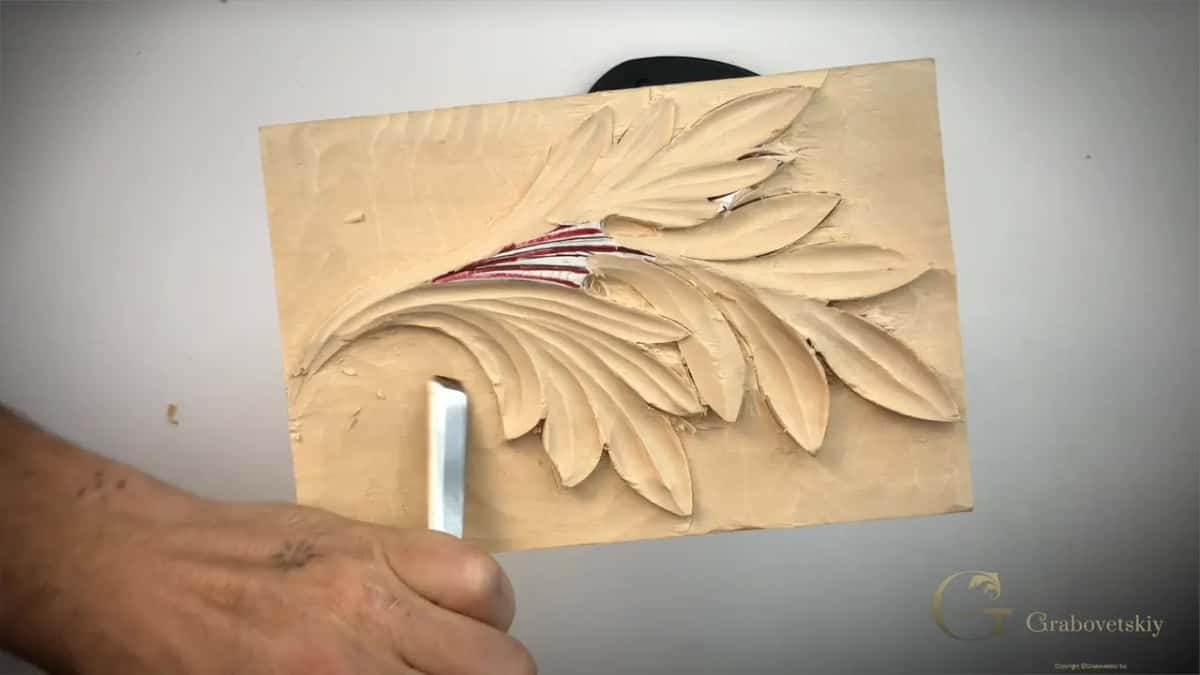
Out at the visible line I leave a bare thirty second of an inch. That thin wall gets removed at the very end, when the ground goes down to its true level and the outline gets its final crisp cut.
Go all the way out to the line now and you will have nothing left to true up with. The rule is the same one from the setting in stage, kept a little longer.
Why turn the gouge upside down?
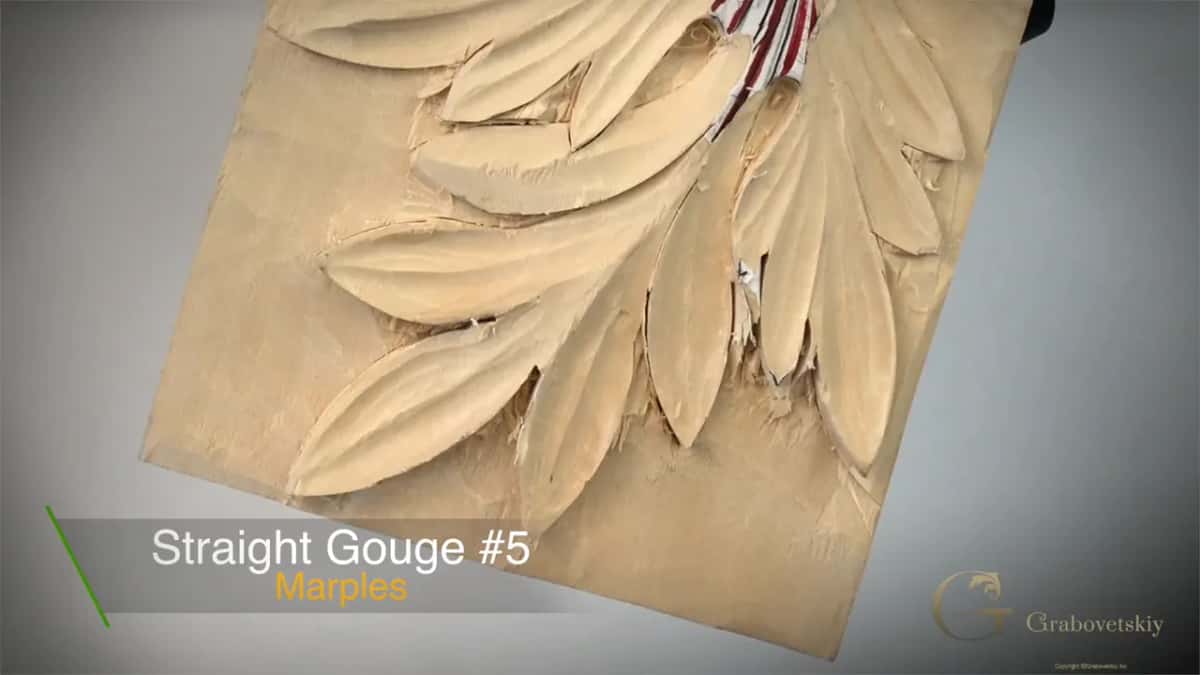
The bevel has to face the other way. Once the V tool has opened a gap I take a plain straight number 5, an Ashley Iles, roll it over so the hollow faces the background, and slice toward the ground rather than into it.
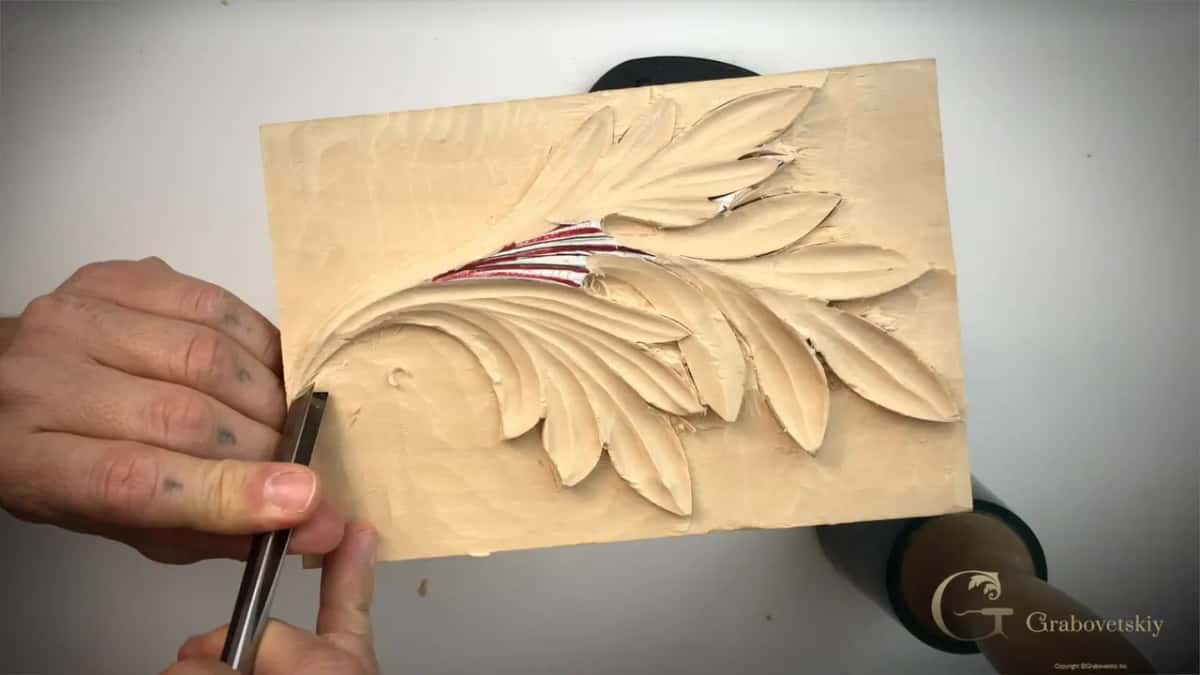
Chunks come away easily like that. I turn the gouge back the usual way round afterwards and clean the surface I have just made, so the underside ends up smooth rather than stepped.
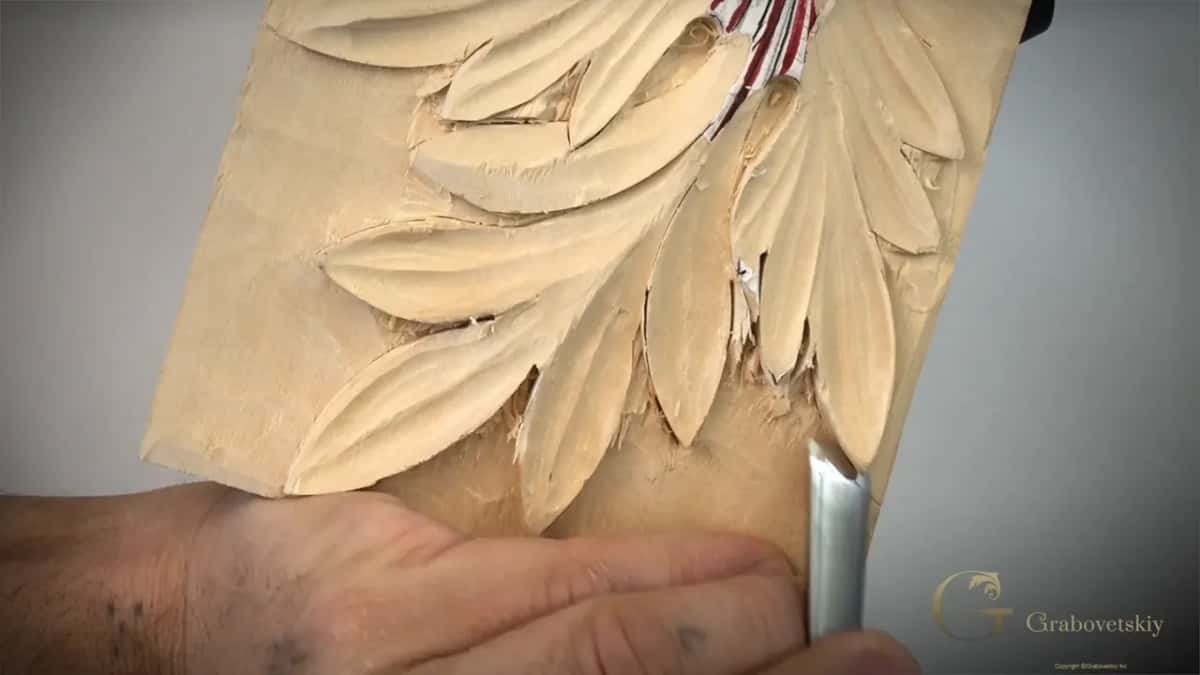
Watch the word slice. Pushing a gouge straight in while it is inverted is how tips get snapped, and I keep my hand right down beside the blade with the heel of it resting on the wood for support.
What reaches where two lobes meet?
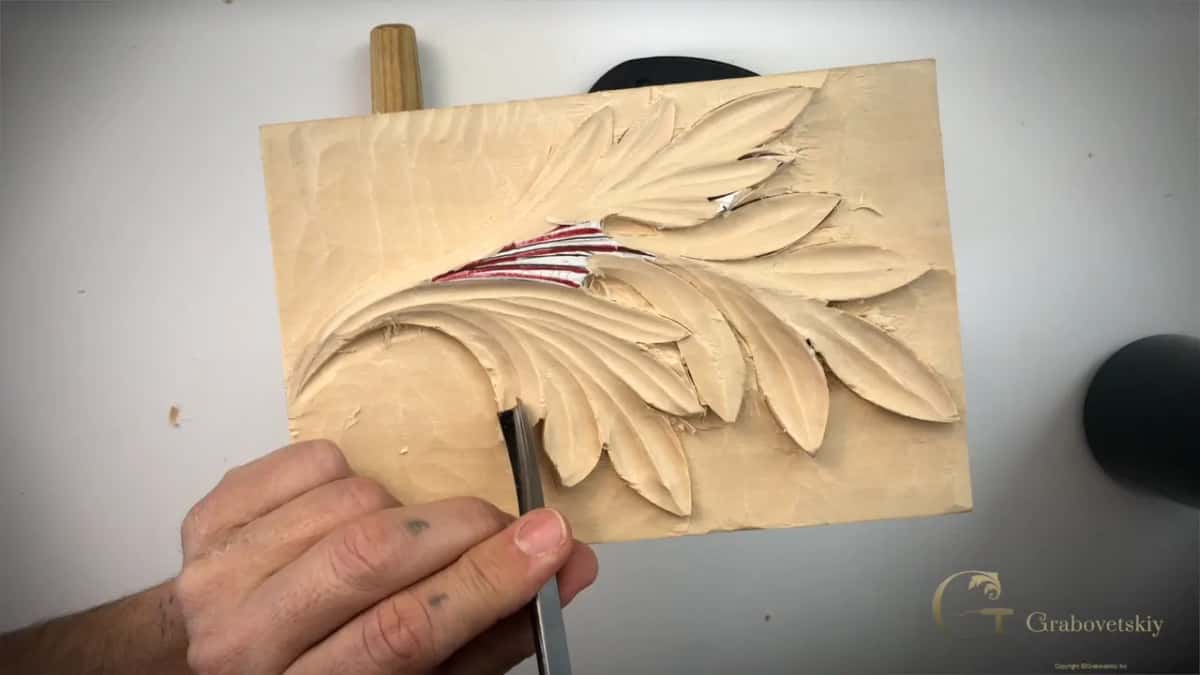
A knife, usually. Where two parts of the leaf close in on each other there is no room for a gouge at all, and a chip carving knife is the only blade that gets in.
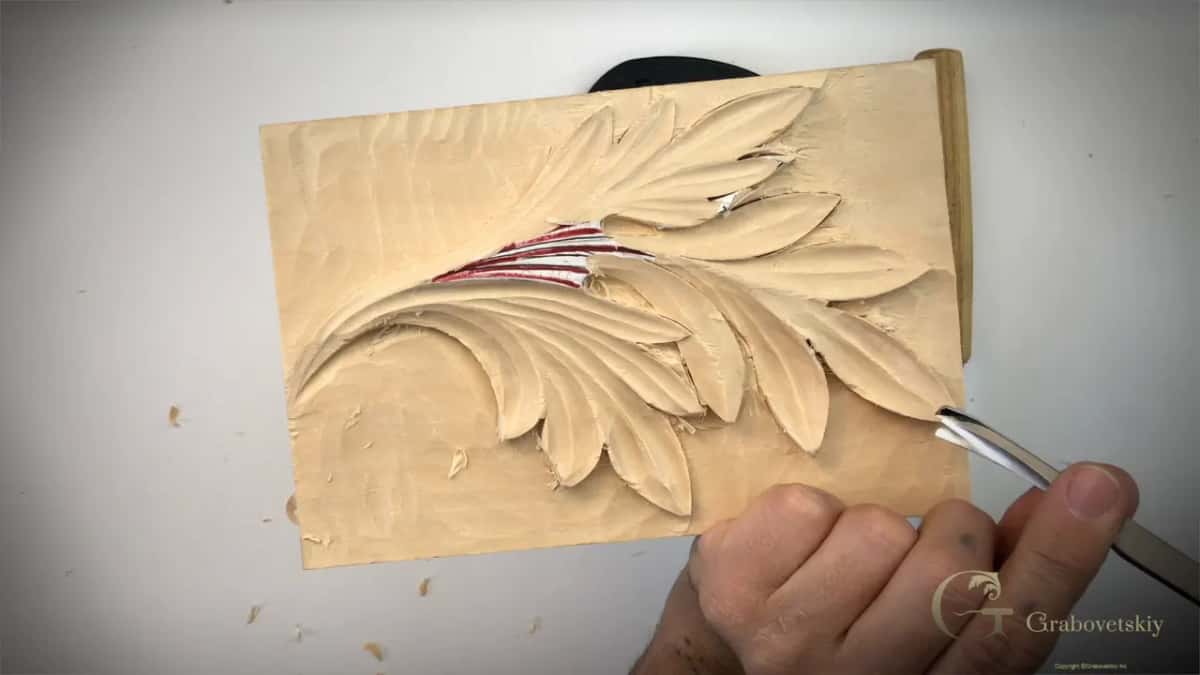
My method is simple enough. Angle the knife in at the corner, lay it over, and cut the waste away in one piece. The cut goes in from both sides until they meet underneath.
For clearing out what the blade leaves behind, a very small V tool works well. Mine is a number 16 at one millimeter, about a twenty fifth of an inch, by Pfeil, and I reach for it far more often than its size suggests.
Are back bent gouges worth buying?
They earn their money, and they change this stage completely. A back bent curves away from its own handle, so the blade travels beneath the carving while your hand stays well clear of everything above it.
Mine is a Pfeil number 25 at 13 mm, half an inch. Same slicing motion as the straight gouge, without the awkward wrist angle, and one side of the blade stays safe, so you can undercut one lobe without touching the one opposite.
Straight gouges will do this job. Bent ones do it faster and with less risk to both your tool and the carving, which is why mine live at the front of the rack. My tools course goes through every shape worth owning, and why.
Where do skewed gouges come from?
Mostly from your own grinder. Skewed gouges, ground at an angle instead of square across, are close to impossible to buy in any useful range, and the ones I own came to me in various ways.
I keep both hands of them, left and right, and several sweeps. One slightly bent skew, by Henry Taylor, is in my hand almost every working day. My number 3 gets into corners nothing else will enter.
Making your own is straightforward. Buy an ordinary number 3 or number 5, reshape the end on a grinder, then resharpen it. I did exactly that to a number 7, ground with a very low angle, and it now removes huge amounts of material deep under a leaf.
You will use them much more than you expect. Every carver I know who made one ended up making three. Grinding one is covered in my sharpening workshops.
Why do carvers break tools undercutting?
Leverage. The blade is buried under an edge with its tip unsupported, and any sideways force at that moment goes straight into the thinnest, hardest part of the steel.
Some of the most skilled carvers I know have never broken a tool anywhere else and have broken several here. I have broken my own. There is no technique that removes the risk entirely.
Slow down instead. Multiple light passes, the tool laid on its side, no prying, and a mallet used gently rather than confidently. Undercutting is the most difficult skill in this trade, and I say that knowing some carvers will disagree with me.
How do you hold the work while undercutting?
Right at the edge, and resting on the piece itself. My fingers sit within an inch of where the blade is cutting, and the heel of my hand lies flat on the wood, so the tool has nowhere to run.
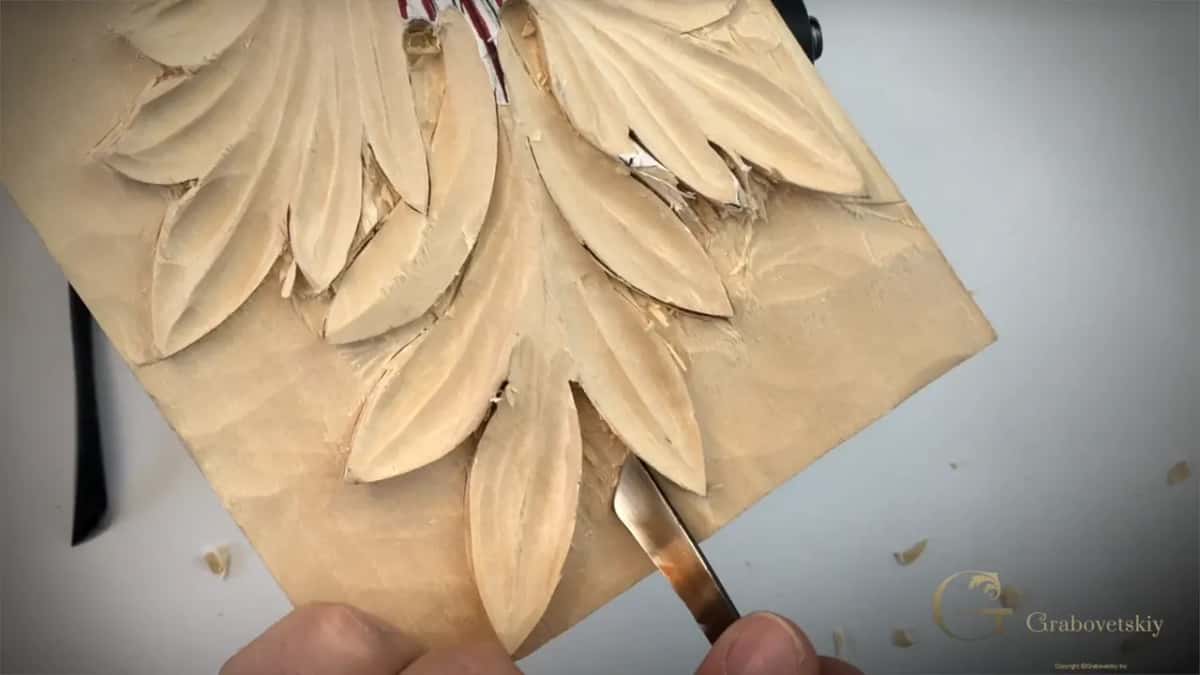
Floating your hands above the bench is what turns a slip into damage. Rest the hand on the wood and a slip travels a few millimeters before stopping dead. Support like that matters more here than anywhere else in the Corinthian course.
Complicated pieces do not always allow it. On a tall panel or a deep hollow you sometimes have to work unsupported, and those are the moments to take even lighter passes than usual.
Does every area cut the same underneath?
Never. The grain runs in a different direction under each part of the leaf, so the same stroke that slices cleanly on one lobe will tear on its neighbour an inch away.
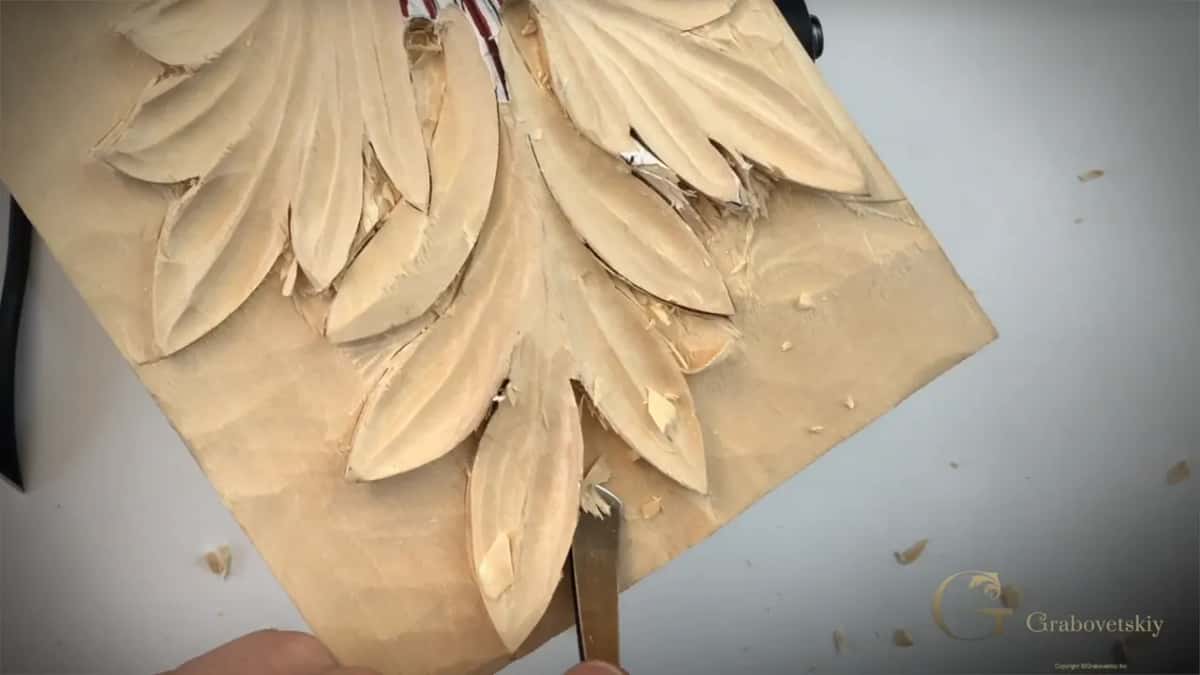
Feel the change rather than force through it. When the tool starts to push instead of slice, turn the work and come at the same spot from the other direction, which is the same habit the hollowing workshop taught for the hollows.
Never drive a gouge in with force to find out what happens. Undercut wood is unsupported, and unsupported wood splits along the grain without warning.
What does a finished undercut look like?
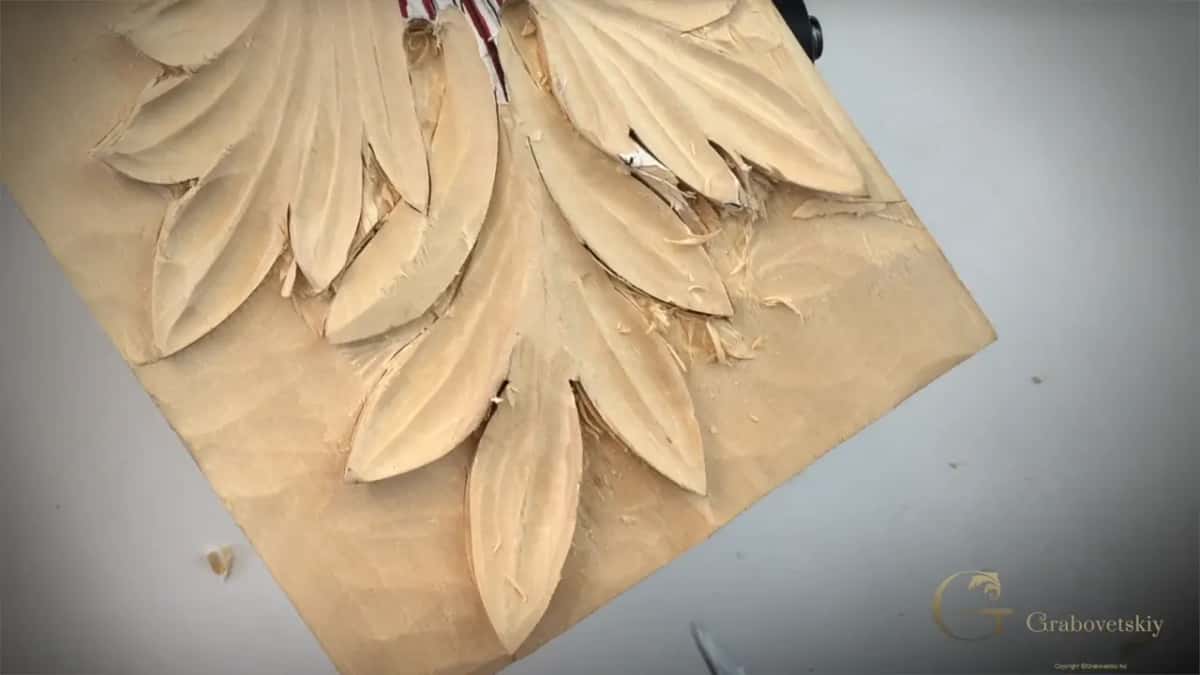
Dark. Stand back, put a lamp low and off to one side, and every lobe carries a black line following the whole outline of the leaf.
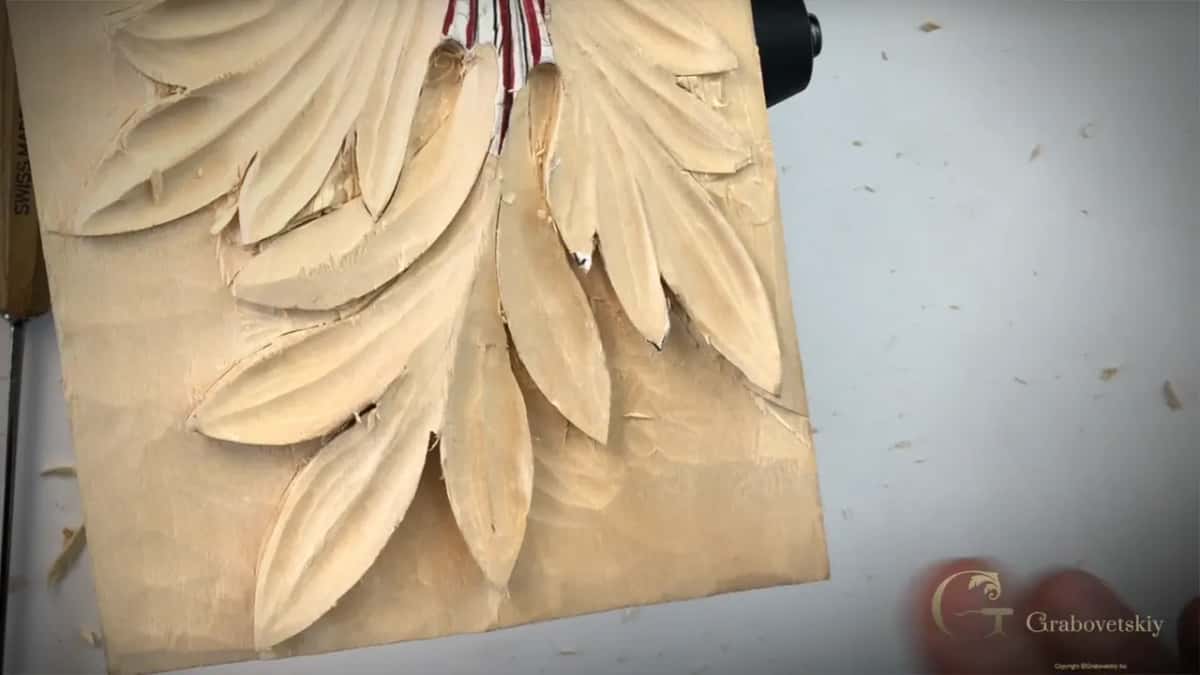
Underneath, the surface wants to be smooth enough that a fingertip finds no steps at all. Rough work down there still throws its shadow, and it also collects dust for a century, so do it properly on work meant to last.
Look at the piece from the angle a viewer will actually see it. A carving over a door gets looked at from below, and the undercut on the lower edges is the part that will be doing all the work.
Why is carving all about light and shadow?
Wood has one color. Unless you plan to stain or glaze the piece, every effect you will ever get out of it comes from how light falls across the surface and where it fails to reach.
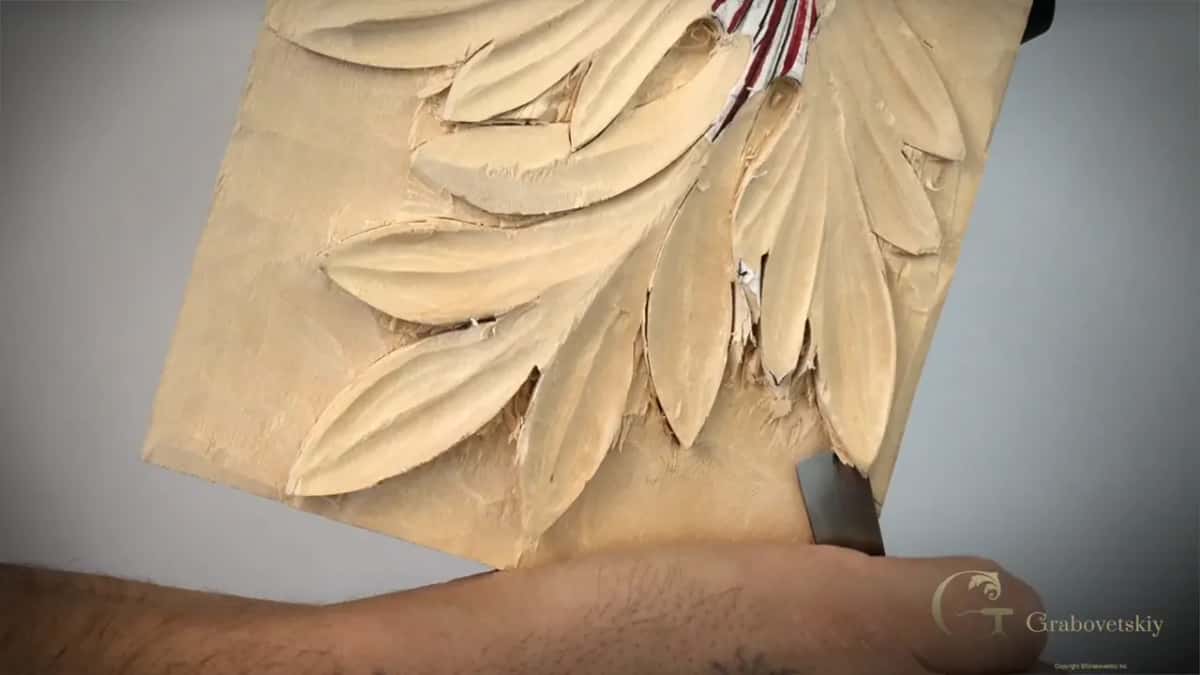
That is why the undercut matters so much more than its size suggests. A cut of a few millimeters beneath a lobe produces the dark line your eye reads as depth, and the leaf detaches from its ground.
Painters call the same thing chiaroscuro. A carver works with real light instead of pigment, and your tool marks, raised ridges and undercuts are how you steer it. There is far more about it in my design principles course.
Can a machine do this work?
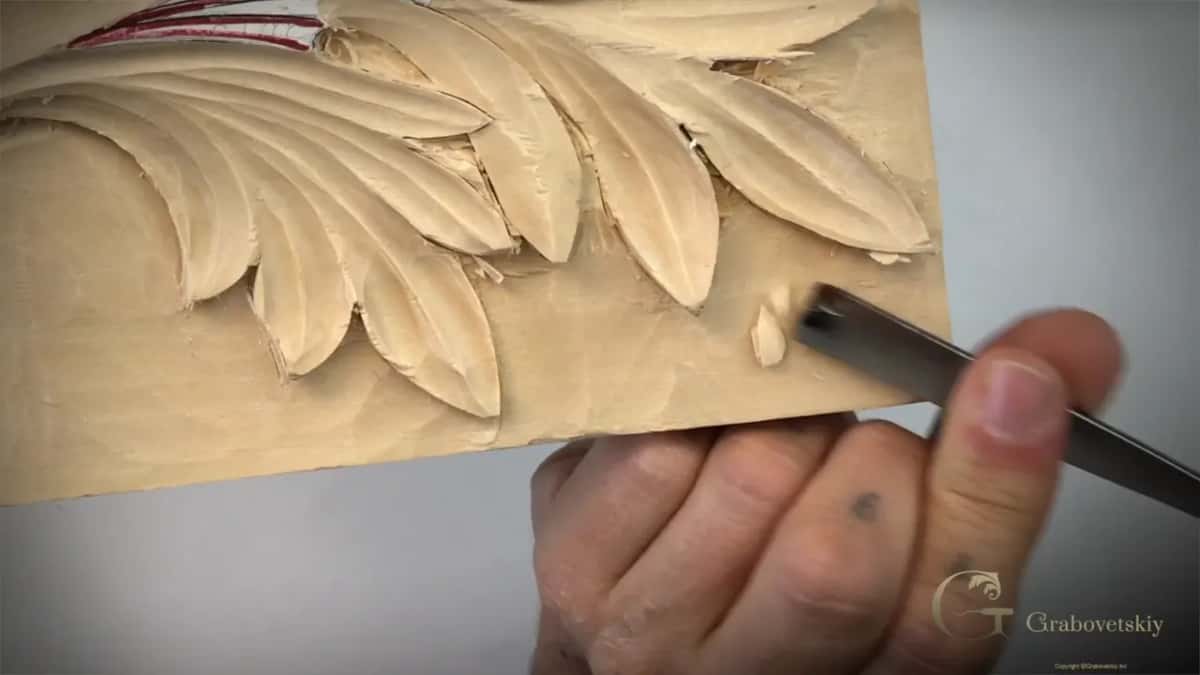
Machines manage some carving, though not this kind. Shallow repetitive ornament runs perfectly well on a CNC machine, and the deep undercut foliage of a Grinling Gibbons panel is beyond anything I have seen.
3D printing gets raised whenever this comes up. A printer might one day approximate the shape. It will not be a solid piece of timber, and it will not carry the marks of a hand, which is the part people actually respond to.
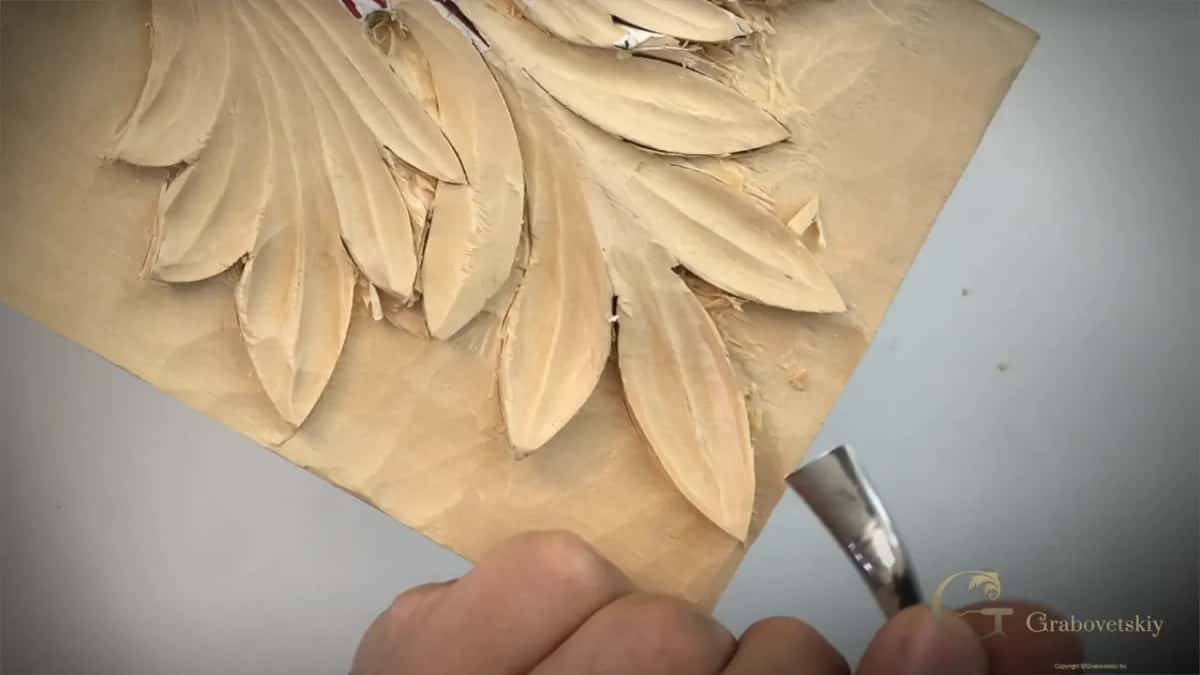
Machine carving looks plastic, and most people feel the difference even when they cannot explain it. A mark left by a gouge is evidence of a decision taken. A router path is only ever evidence that somebody owned a file.
How long does work like this take?
Longer than anybody expects, and that includes the person who commissioned the piece. One piece of mine took a few years to finish. It lives in a customer's house now and I do not think I even have a photograph of it.
Customers sometimes ask me for machine prices. A complicated piece on a CNC takes maybe a week all in, counting design time, drawing time and the file export, with the machine itself running twenty hours or more of that.
The same piece by hand takes me at least a month. It also looks considerably better. My own price is simply my time multiplied by what I want to earn in an hour, and honestly it is not much.
This trade has barely changed in thousands of years. A carver from the fifteenth century, or the seventeenth, or the nineteenth, would use the same wood carving tools, take the same time and set up his bench almost the same way. That continuity is worth something.
By the end of this workshop your leaf already floats, even though the background has not come down yet. The shadow is there. Cleaning and the final crisp edges belong to the next workshop, and the whole set of workshops is open inside the school.
How it's done
- Open with the V tool. Lay one wing of the 45 flat on the background and drive it in under the wall in small bites, all the way round the outline.
- Keep the first pass shallow. Go round once before going deeper anywhere. Shadow appears immediately and shows you where more is needed.
- Invert the number 5. Roll a straight number 5 over so its hollow faces the ground, then slice toward the background to lift chunks from underneath.
- Clean with the back bent. Follow with the bent tool, which slips below the carving while keeping your hand and the opposite lobe clear.
- Knife the closed corners. Where two parts cross, angle a chip knife in from both sides and lift the waste out in one piece.
- Stop short of the edge. Leave 0.8 mm of wall standing at every visible line, ready for the final stage.
Frequently asked questions
What angle of V tool is best for undercutting?
Forty five degrees reaches furthest. A sixty cuts the same shape on open edges, though its body fouls the carving sooner and has to stay nearer the outline. Where a leaf drops near the ground, the narrower angle is the one that gets in.
How much wall should be left on the line?
One thirty second of an inch, no more, right up until the very end. Keeping that thin wall gives you something to true up when the background finally comes down, and taking it early leaves nothing to work with.
Why do carvers break tools when undercutting?
Blade tips sit unsupported beneath the wood, so any sideways force lands on the thinnest steel in the tool. Light passes, no prying, and a gentle mallet keep it whole. Even careful carvers snap something here eventually.
What to carve next