
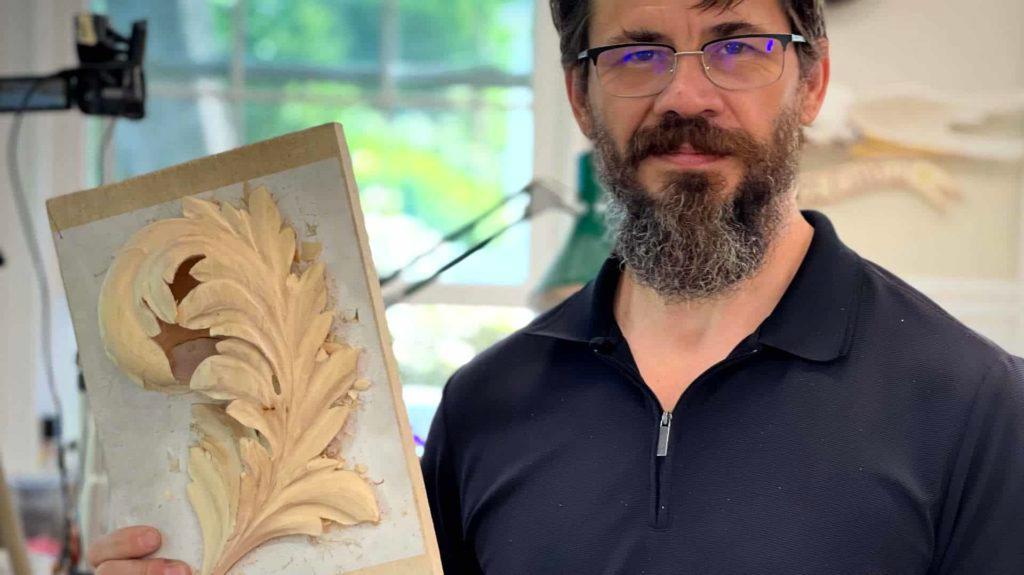
Alexander Grabovetskiy, woodcarver, School of Woodcarving · Published 2021
What is a Byzantine acanthus leaf?
Quick answer: Byzantine acanthus is a carved acanthus leaf with a raised convex ridge running up the middle of each lobe, where the Greek carver put a sharp V and the Roman put a hollow. Byzantine carvers pushed that ridge high, carved huge eyes that could be open, and held the top piece on with pegs or tacks.
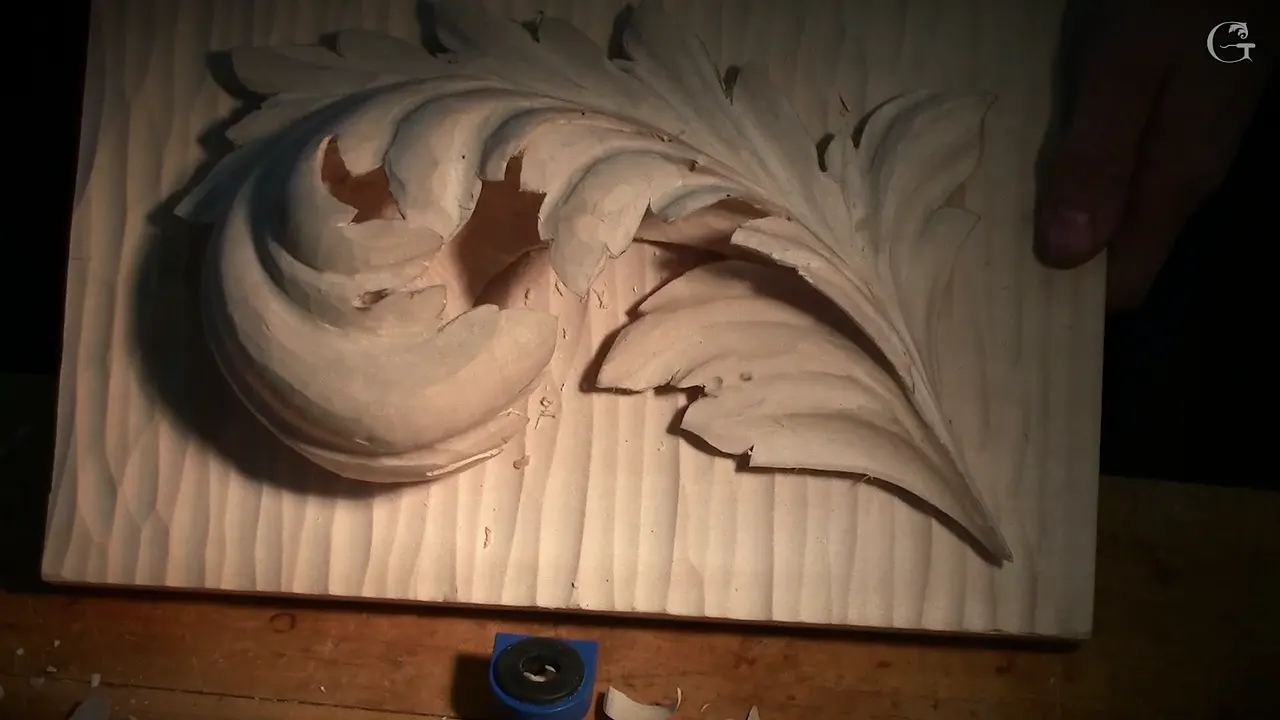
Have you ever carved an acanthus leaf that stayed flat, no matter how much wood you took off it? Does your leaf sit on the board like a sticker instead of lifting away from it? So let us do the Byzantine one together. I am talking to you, right now, the same way I talked to the people standing at my bench in Maine.
That class ran in person and we filmed it. Ten lessons and one panel, with the wood stacked three layers deep. I asked Bill to cut the plastic drop cloth into two pieces for our templates. Somebody brought me coffee but no cookies. I said so on camera.
One week is not enough time to take it to the extreme. That is what I told them in class, and I will tell you the same. When the class ended my own panel was almost done, and I meant to work on the details a little later. Perfectly normal. Wood carving does not go faster because you want it to.
How is Byzantine acanthus different from Greek and Roman acanthus?
Byzantine carvers raised a rounded ridge on every lobe, where the Greek carved a crease and the Roman scooped a dish. Same plant, three answers. The Greeks made the inside of the leaf come to a crisp point. Rome softened that point into a dish. Then came Byzantium, which took the whole thing and pushed it up into the air.
Here is how I put it to the class that week, word for word. Greek acanthus leaf, it has a sharp V cut on inside. Roman acanthus leaf has a concave on inside. Byzantine acanthus leaf has a raised up convex, and we are working with Byzantine style.

They took it to an extreme. Not just a curve drawn on a surface, but real curvature carved into the three dimensional world, so the leaf turns and rolls and throws shadow from every side.
I told the class that if you master a Byzantine acanthus, all the other acanthus leaves are going to be easy, just like a piece of cake.
Why does a Byzantine leaf need three layers of wood?
Three glued layers give the leaf enough height to roll over itself and turn back. The bottom layer holds the big movement. Above it, the middle layer carries the leaf that rolls across. A third goes on top when you want the true Byzantine height.
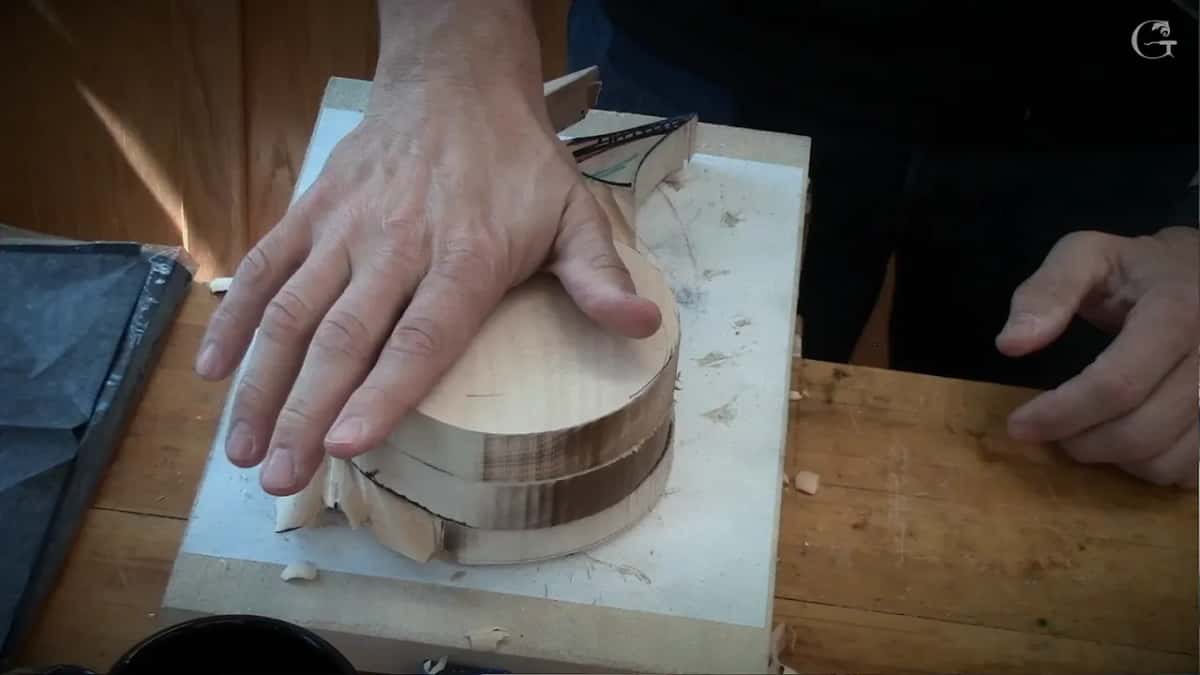
I use Titebond, the original or the number 2. Titebond 3 takes too long to dry for a class like this. Half an hour and you can already carve on it. If you want your signature inside, put it on the inside face before you glue. It will look like one solid piece, and nobody will know how you did it.
Now the glue line. You blend the seam. Keep carving across that glue line until it disappears, and the panel starts reading as one solid block of wood rather than a sandwich.

In old Byzantine work the top piece could be replaced if something broke, held with pegs or tacks. Later the Orthodox churches used screws from the back. If somebody knocked the top piece and broke it, you could pop it off and put on a new one.
How do you lay out an acanthus leaf before you carve anything?
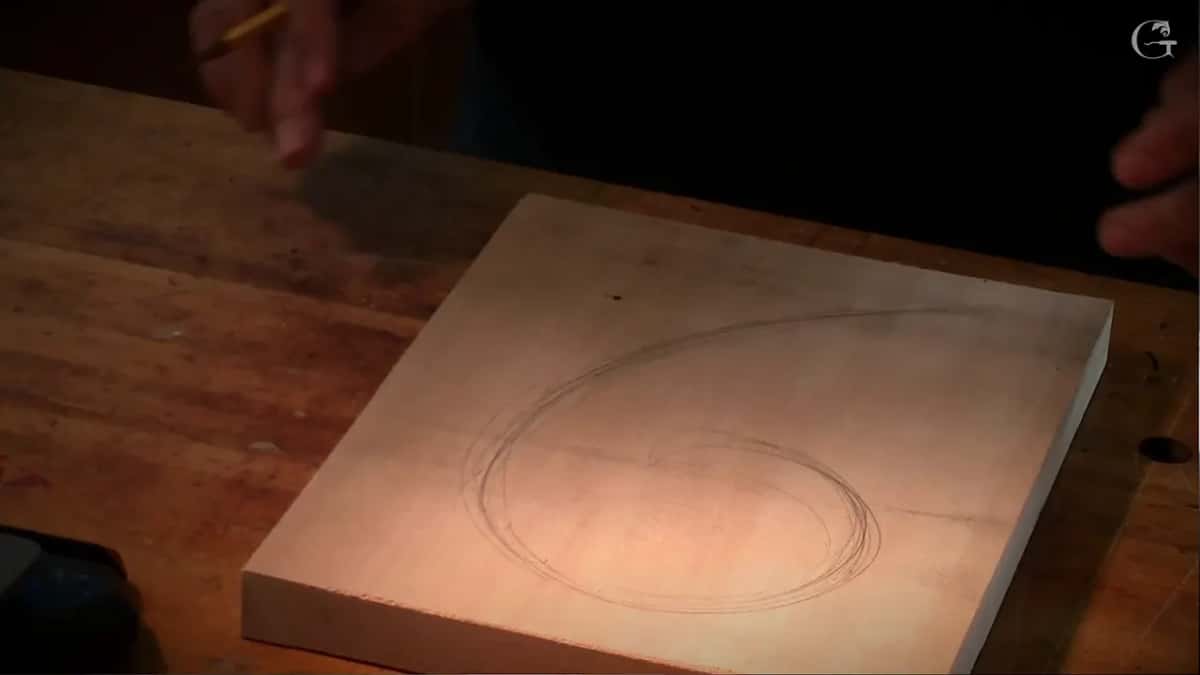
Draw the biggest movement first, straight onto the board, and let every smaller shape hang off that one line. One swirl. Divisions come next, inside it. I count eight movements on this design, and I call them Fibonacci movements.
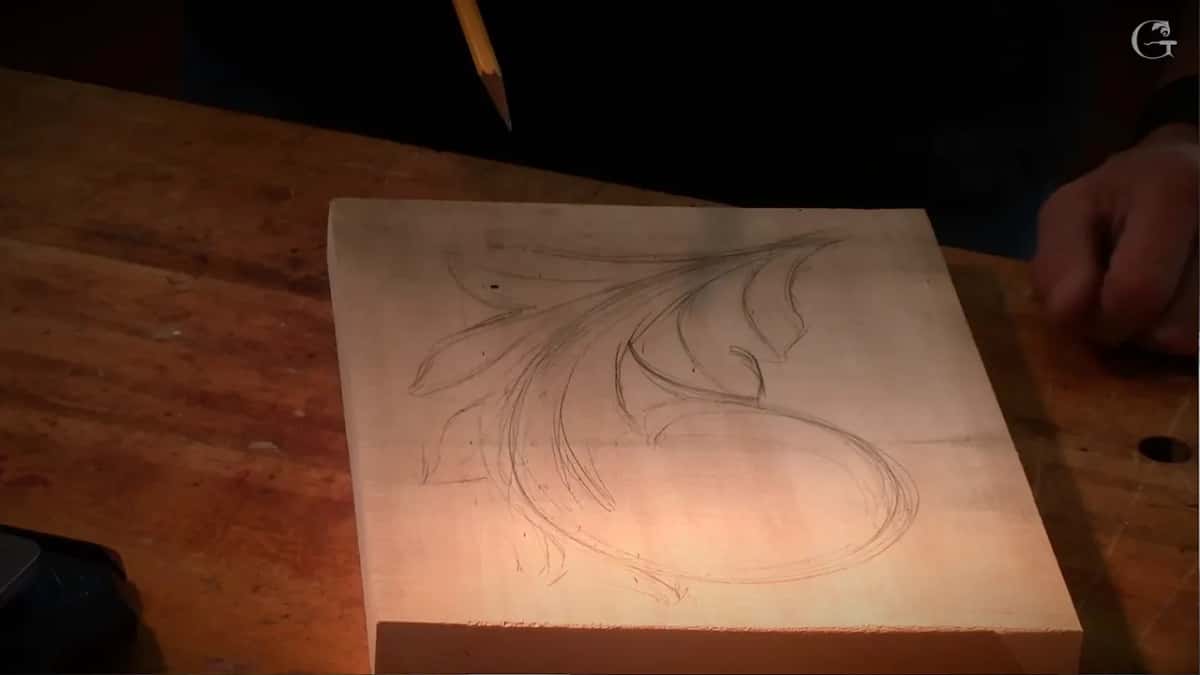
Everything flows to one center line. A line that runs into another like the letter T is what I call a T-stop, and that is no good. In wood carving you really have to be flowing.
Then I mark the drawing in color, right on the board. Blue means concave, so that area gets hollowed. Orange means convex, so that area has to stand up above everything around it. Black is only there to give you a picture. I used markers so you could see it on the screen. On your own board use a pencil, because marker is really hard to clean.
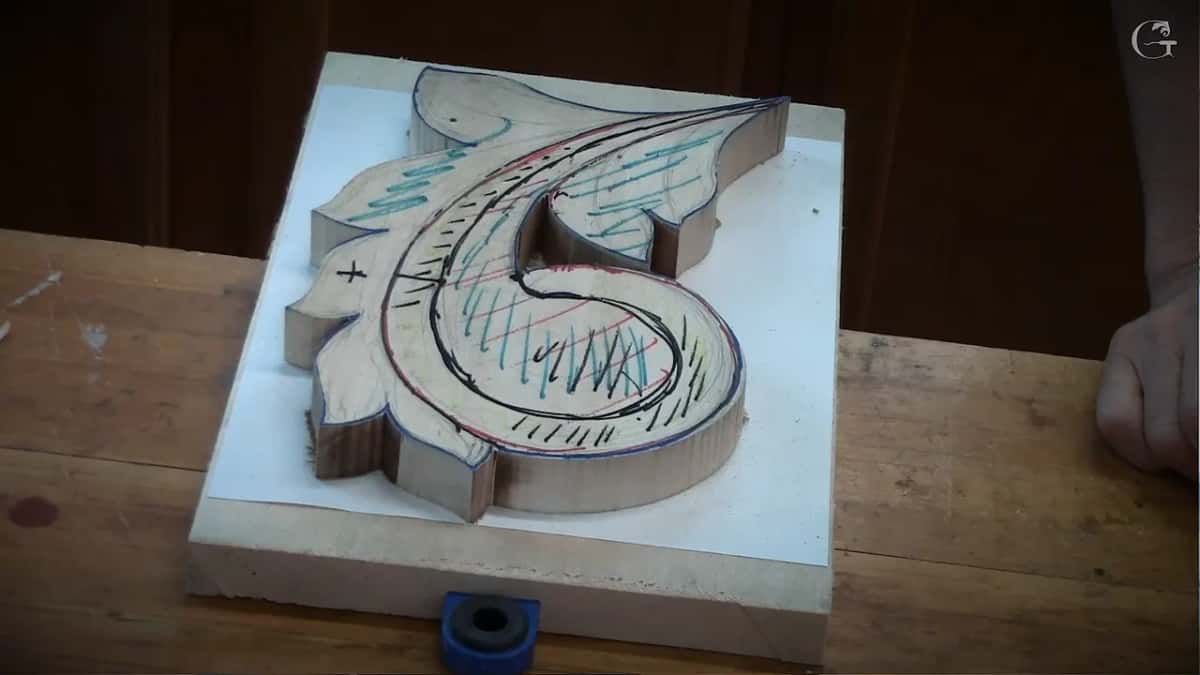
Never chase a perfect drawing. My line to the class was to not worry about being perfect, but also not to drift away by a whole inch. Somewhere between those two you will find the leaf.
Can one drawing give you both halves of the leaf?
Trace the design onto a scrap of plastic drop cloth with a marker, then flip the plastic to get the mirror side for free. I call it the cheap man technique and I am not embarrassed about it. Flip it, flip it, flip it, and you could cover a whole church wall with one small drawing.
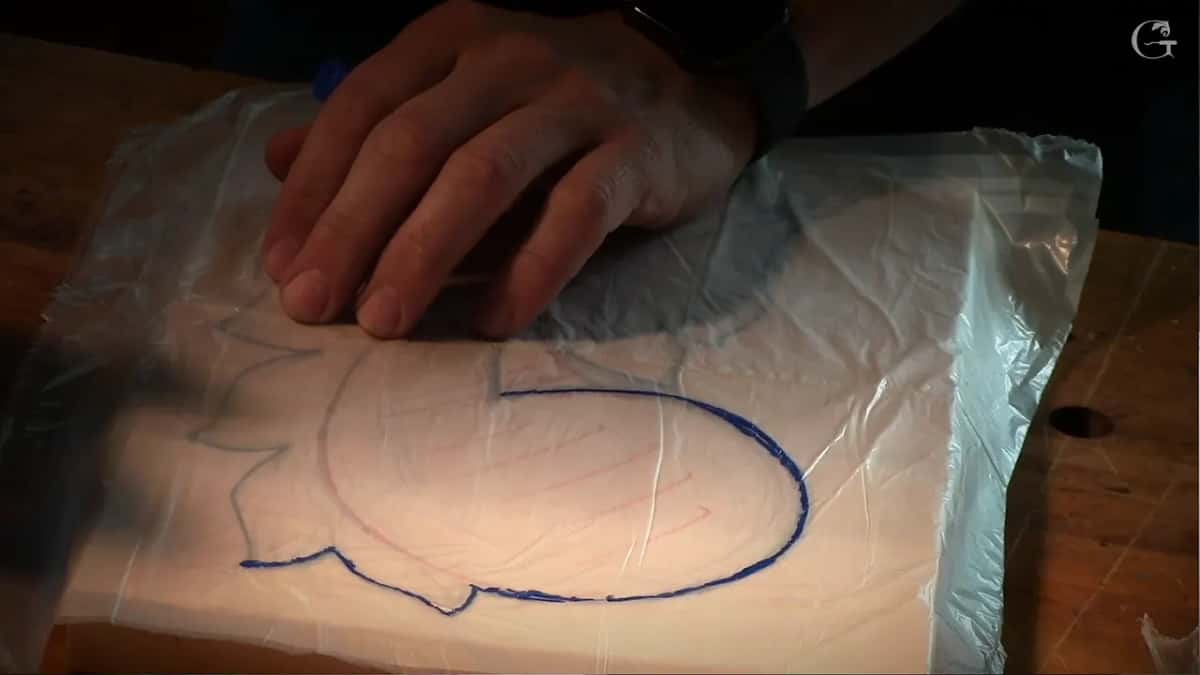
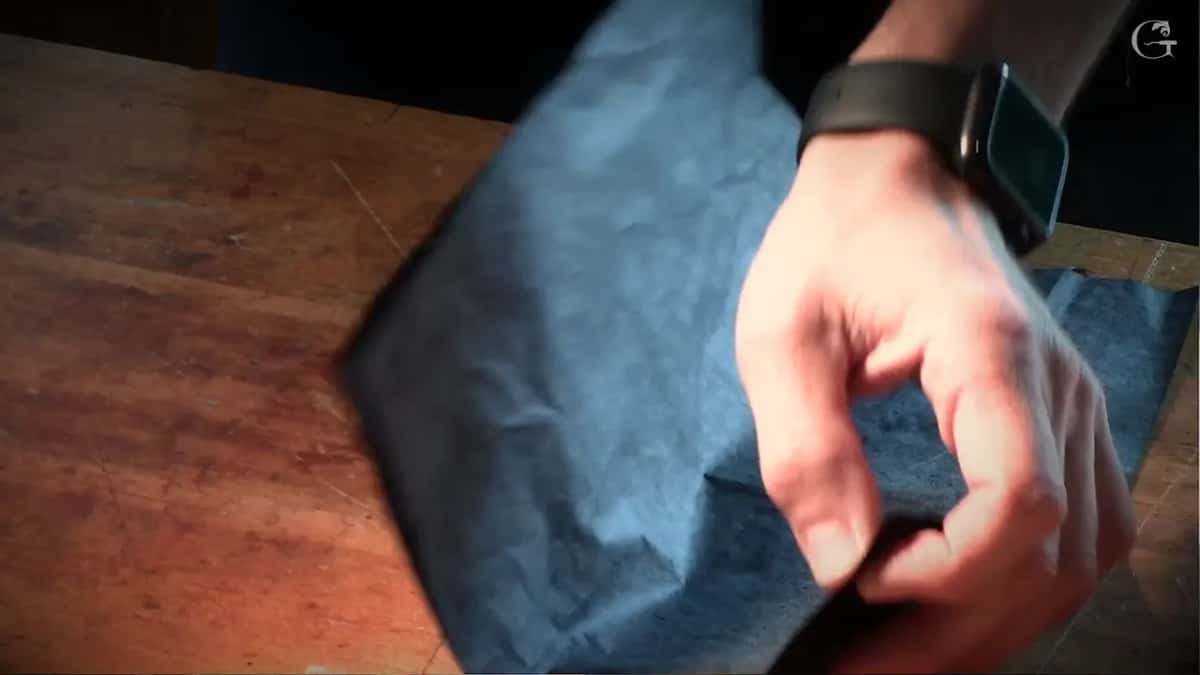
From the plastic it goes onto the wood through carbon paper with a ballpoint pen. Not a gel pen. I don't like gel. Good carbon paper lasts for years, and one sheet served that whole class. I borrowed a ballpoint from Abdul.
Then you mount the blank. Spray glue on both faces, a sheet of ordinary paper in between, and press it down onto the backing board. No clamps. When the carving is finished you take it off and remove the paper.
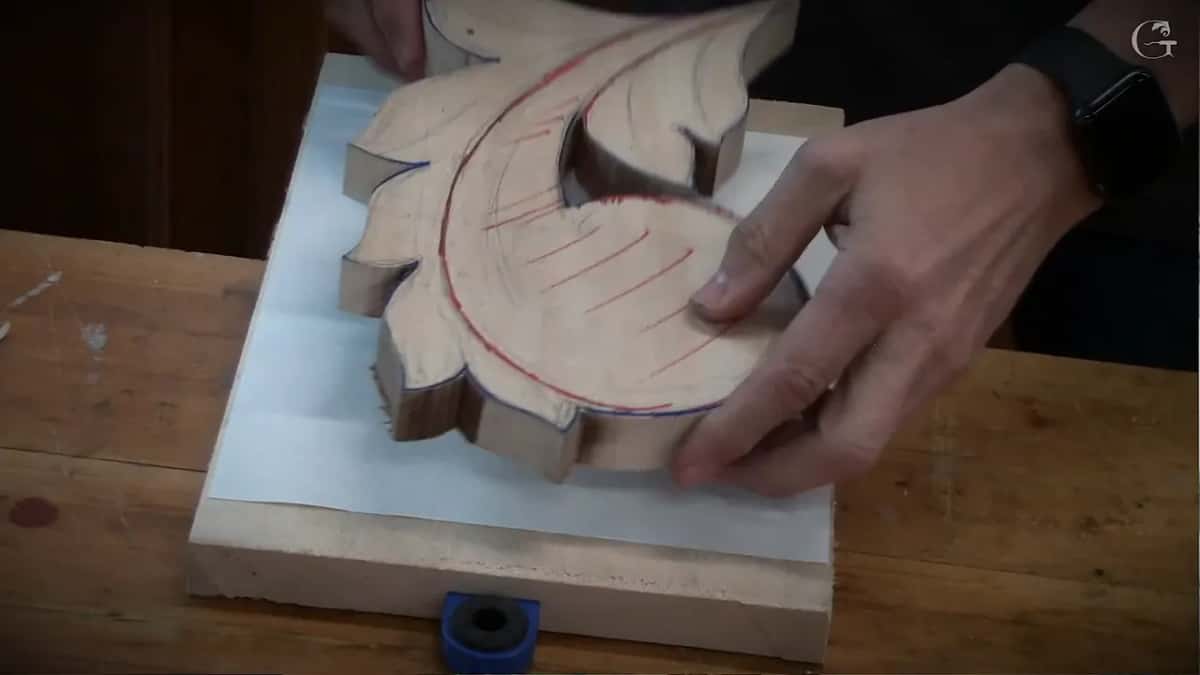
I trust that joint completely. When I carved a pair of lions that measured 47 and 3/16 inches, about 1198 mm, the only thing holding them to the plywood was glued paper.
Where does the gluing border go, and how wide?
Leave 19 mm, about 3/4 inch, of untouched wood all the way around the first layer so the next layer has something solid to sit on. You can get away with 16 mm, near 5/8 inch, but the wider border gives you more gluing surface and I would rather have it.

That border is no flat shelf. In places it tapers, and elsewhere it stays about three-quarters wide. About 50 mm, two inches, at the tail end stays untouched and never gets undercut. Later that end blends down to nothing into the background.
What gouges do you need to carve an acanthus leaf?
The biggest tool I take for this panel is a number 9 at 19 or 20 mm, which is 3/4 inch. That gouge does the roughing, the deep hollows and the background texture.

Next comes the 10 mm number 9, three eighths of an inch, for the concaves inside the leaf. Then a number 11 veiner at 3 mm, near 1/8 inch, which is the tool that carves every eye and every separation on this panel. It looks like a U. I always start my acanthus with it.
Ridges get rounded over with a flat number 2 at 10 or 12 mm, 3/8 to 1/2 inch. I also reach for a number 6 at 20 mm to clean facets, a number 7 at 14 mm for the S curves, and a number 11 at 1 mm for undercutting where the leaves overlap. A skew is one of the best tools you can own.
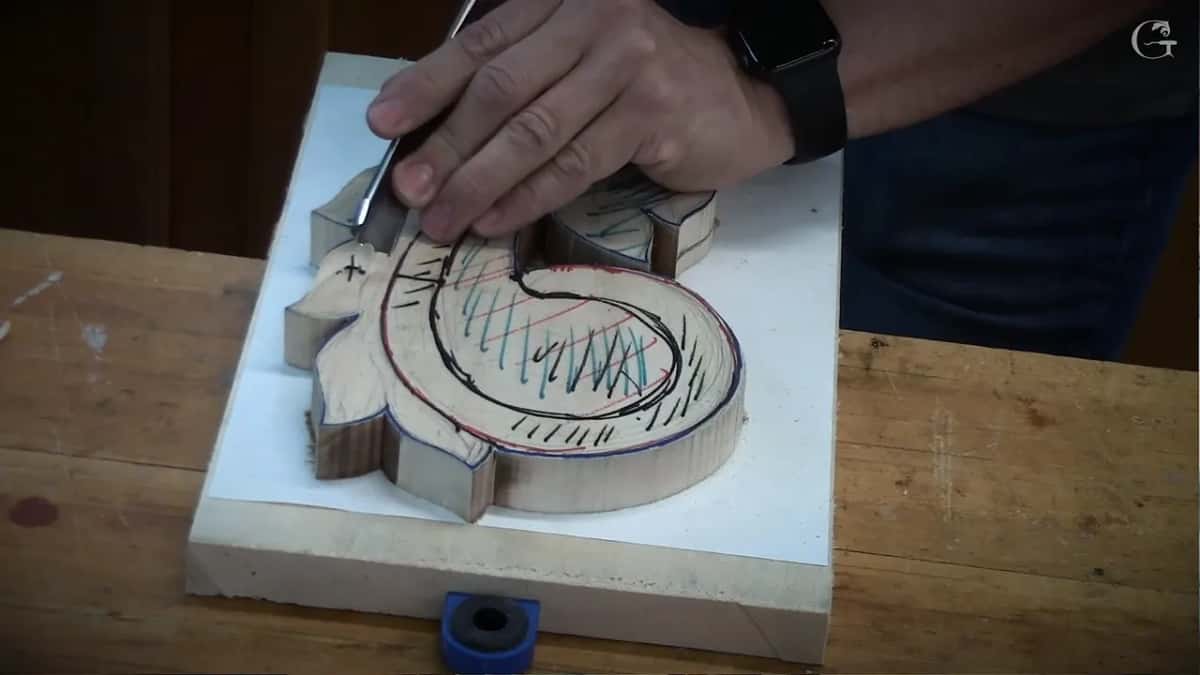
Hold it right or none of it matters. Never both hands on the handle. Your second hand belongs on the blade, near the edge, and you rotate the tool as you push so it slices instead of shoving. It is not a paint brush.
Why does bosting come before every detail?
Bosting is the roughing stage where you carve only the big shape and refuse to carve any detail at all. Outside leaves go downhill to about 10 mm, roughly three eighths. Sides stay full and fat, because you will need that wood later for undercutting.

The problem I see is people working on details first. Then they think, oh, it is too late, I've got the details, I don't want to take this off.
Keep the meat. We still need wood for the future development of the shape. Rotate the piece constantly. Do not be lazy about that, it is really important. Later that week Eli took my Sharpie, and I asked him why he would do that.
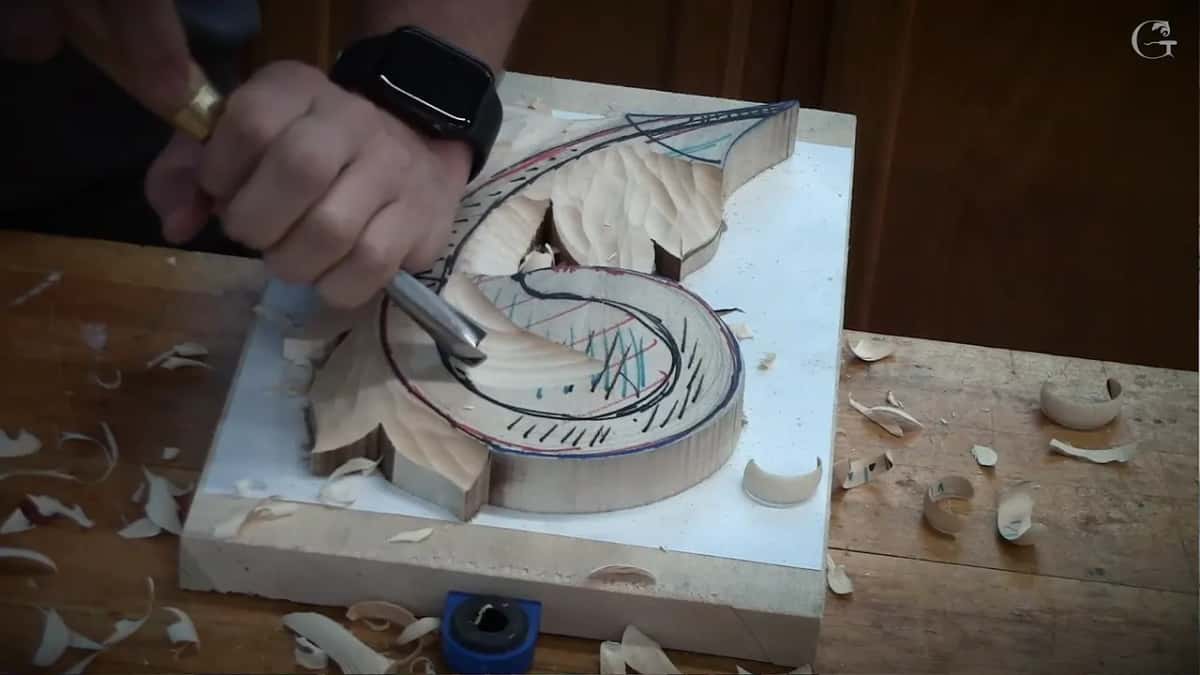
Dishing goes crossways to the grain, worked from both sides toward the middle, high spot blended into low spot. A flat number 6 cleans the facets afterward. My students hear one number over and over here, 10 mm, because the first layer keeps 10 mm or so above the surface.
What are the eyes on an acanthus leaf?
An eye is the small teardrop opening where two leaves meet and one passes under the other. Mine run about 5 mm at most, near 3/16 inch. Draw it like a water drop.
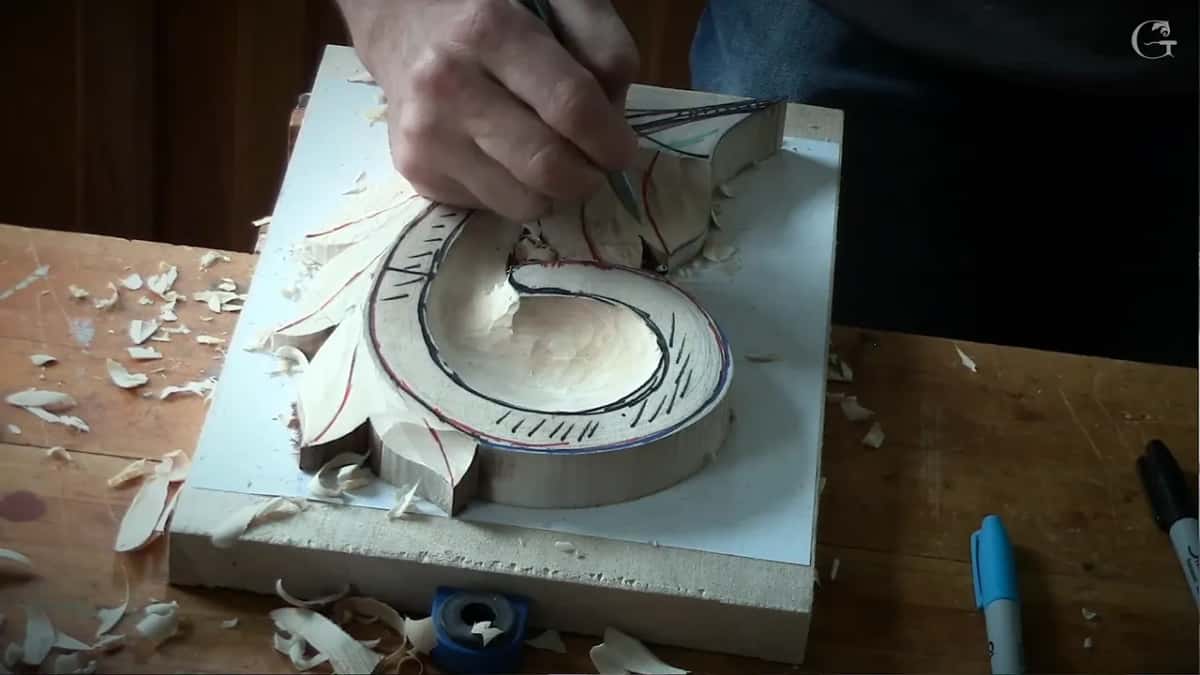
Two passes with the small veiner open one. First notch goes in one direction, then a second notch beside it. Roll the flute over toward 2 o'clock as you carve, and 10 o'clock on the mirrored side, so one part of the leaf overlaps another.
Then comes the part I want all of you to see. The convex leaving that eye has to climb. I want to see the convex going uphill and never falling backward. When it climbs, it looks like a more organic movement.
To force it, blend the transition with the flat gouge held upside down, and go deeper in the concave beside it. Deeper concave, higher convex.
Where the middle line sits is a decision too. I split a leaf roughly 60 to 40 rather than down the middle, and I flip that ratio on the inner leaves.
Each leaf is also shaped like a boat, with its own middle line running the length of it. Establish the borders first, then divide. On the big head I asked the room whether the end should go uphill, downhill or stay in the middle, and we went uphill.

What is the pipe on an acanthus leaf?
A pipe is the rounded ridge that runs out of an eye and up the lobe, and on a Byzantine leaf it is deliberately over exaggerated. Draw a center line out of every eye first. Blue on both sides, orange down the middle, then carve to your own marks.
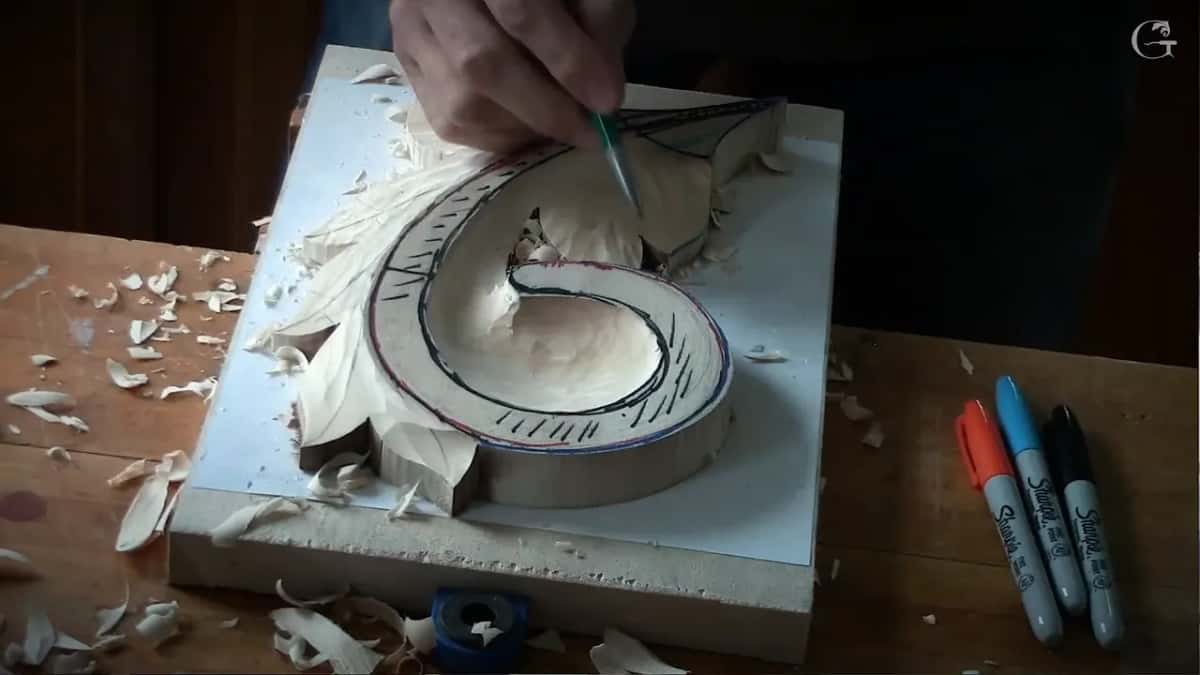
Every pipe is born from two concaves. Carve the hollow on the left, carve the hollow on the right, and the wood standing between them is your pipe. Then the flat number two rounds the top of it until no sharp facet is left on that ridge.

Smooth, wide, and pronounced. Byzantine work is known for exactly that shape, and the Italians did the same thing later in their own way. I said it out loud the moment one pipe came right. It was deep, and now it created the beautiful pipe.
Mind the family order too. Where a big form meets a small one, the bigger part overlaps the smaller one, following the flow.
How deep should a relief carving be?
Deep enough to throw a really thick, heavy shadow. Go deeper here than feels comfortable. We are after all the shadow we can get.
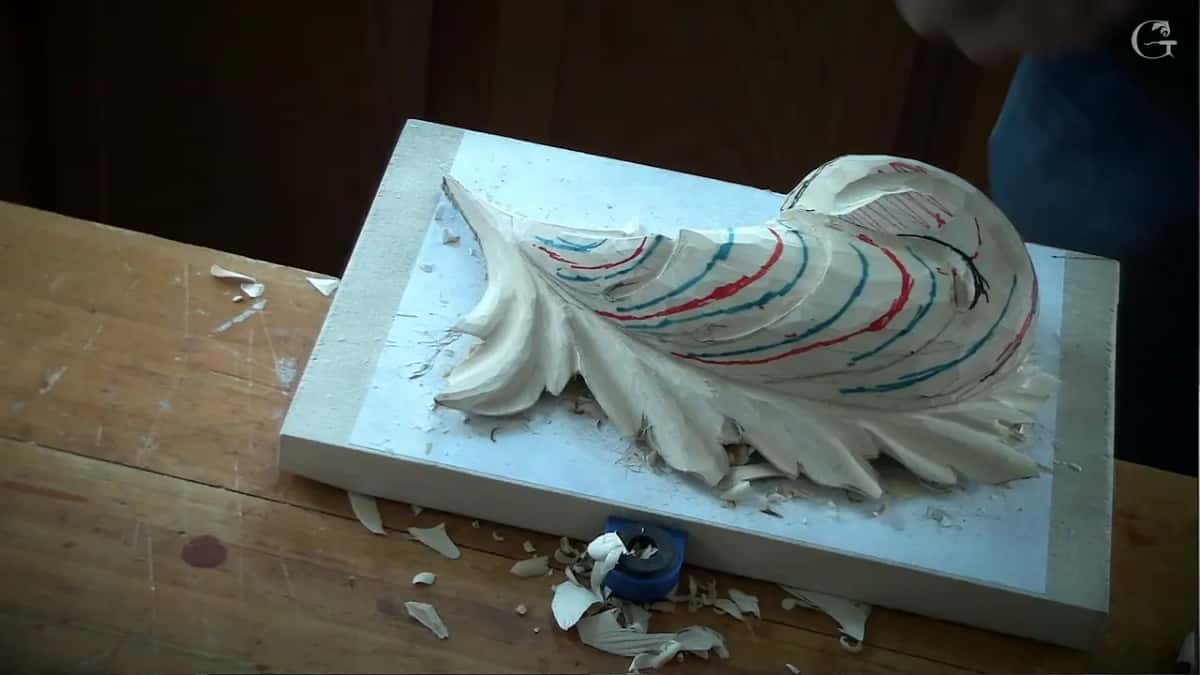
That courage comes from the layers. We deliberately did not carve the first layer all the way through, so there is thickness left to spend. Some students had left only 6 mm, a quarter inch, and I told them to make sure they did not destroy that piece.

Shape the whole upper layer like a bowl turned upside down before you carve any detail into it. A dome. Everything after that is carved into a curved surface.
How do you carve holes through the leaf without a drill?
Carve a plug from the middle of the section using a number 9, then lift it away, then work toward the hole from the sides. I showed the class how to do it without drilling.

Then stab your relief lines. Three separations inside each leaf, a triangle drawn at every separation, and a few firm stabs with the 3 mm number 11 in each triangle. Waste comes out with the flat gouge, little by little.
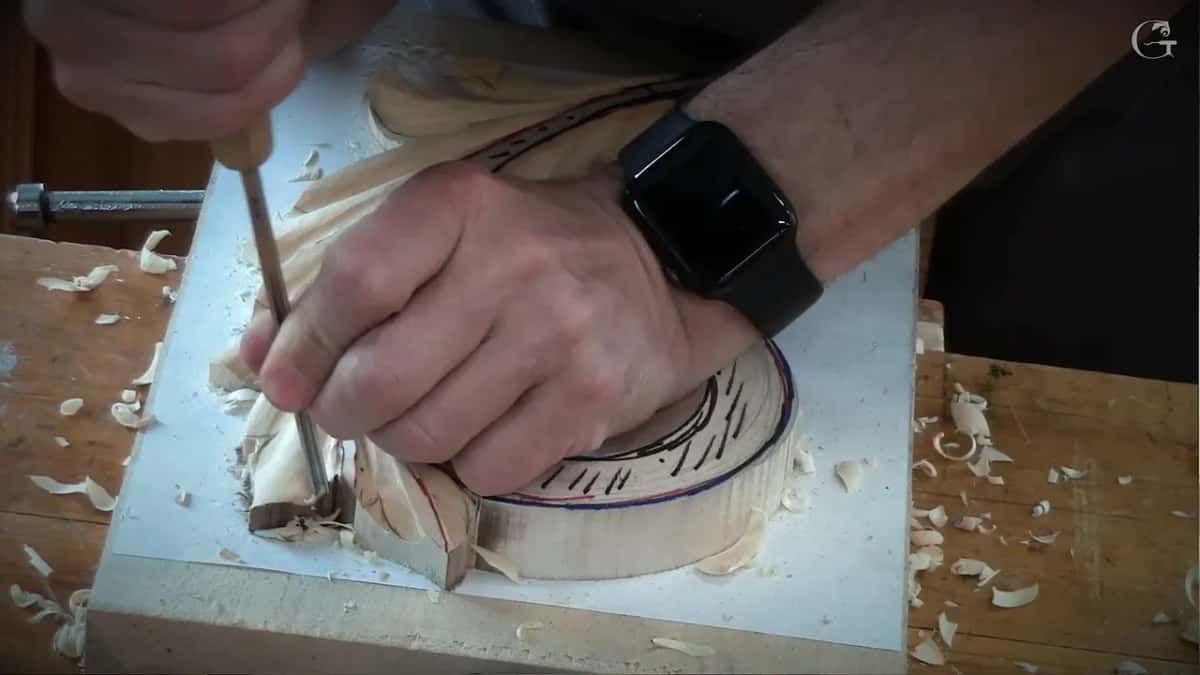
Leave about a quarter inch, 6 mm, of wood between the ridge and the hole for now. Keep every bridge and support in place until the very end. Everything turns fragile fast once the light starts coming through it. I noticed Gary had already started his hole. John too.

Look at one pierced eye next to a solid one and you will stop asking whether it is worth the risk. With that hole it looks even better. You don't need to do it, and even without it the leaf still looks good.
Do you undercut a Byzantine leaf?
Yes, and the undercut is what lifts the leaf off its board, so a thick leaf looks paper thin. Clamp the panel upside down and sweep with the number 9, working slowly, until you have brought everything right out to the edge.
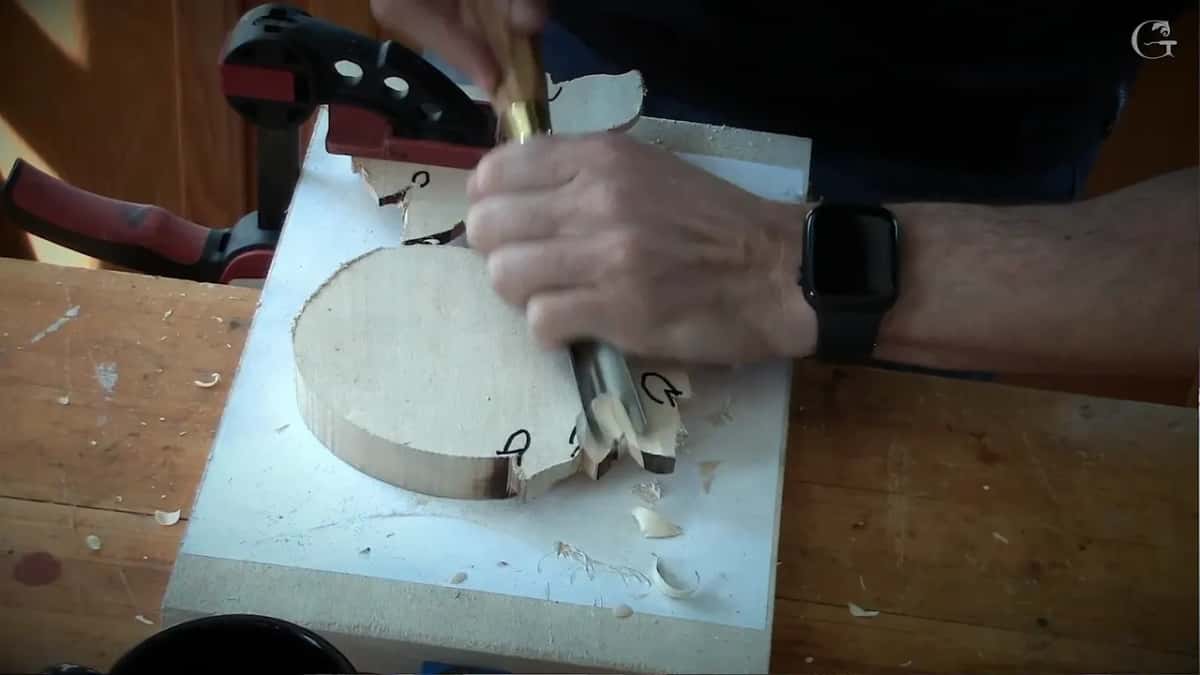
Leave 1 to 1.5 mm at the very edge, close to a sixteenth of an inch. The blend zone stays around 3 mm, an eighth of an inch. Any recessed circle behind the leaf goes no deeper than 3 mm either, sitting 6 to 10 mm, a quarter to 3/8 inch, in from the edge.

Undercut every overlap with the 1 mm number 11, flute rolled to 3 o'clock. The goal is airy and light. Overdo it and you will break it, and I broke something on camera myself, in front of the whole class.
Never carve toward yourself unless you happen to be a dentist. I told the class that out loud, and then I told them the truth. In reality I still carve toward myself, and everybody does.
Clean, clean, clean. That is the last operation, bringing everything to the edge and refining all the movements.
One time I broke something and told them I was going to redesign it into a French acanthus, and I guess that is how the French developed theirs anyway. By breaking stuff.
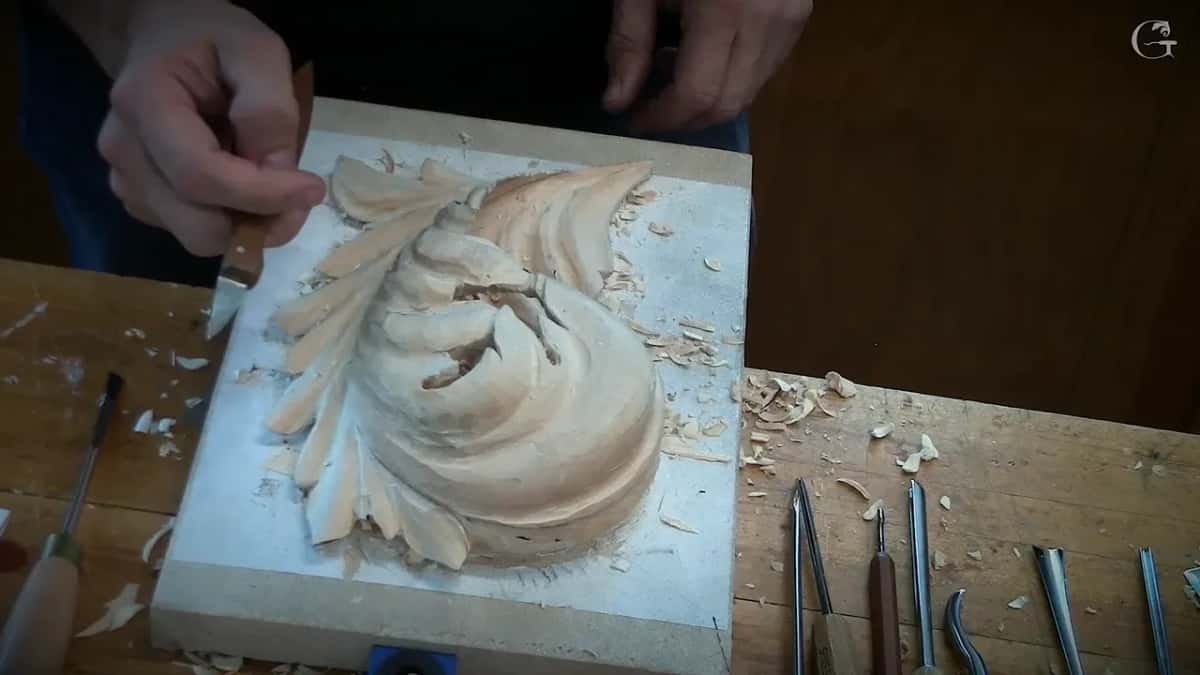
What do you do with the background board?
Texture the background by hand with a number 9 running across the grain, and leave one flat patch bare where the leaf will be glued. Texture right up to the pencil outline and about 25 mm, an inch, inside it.
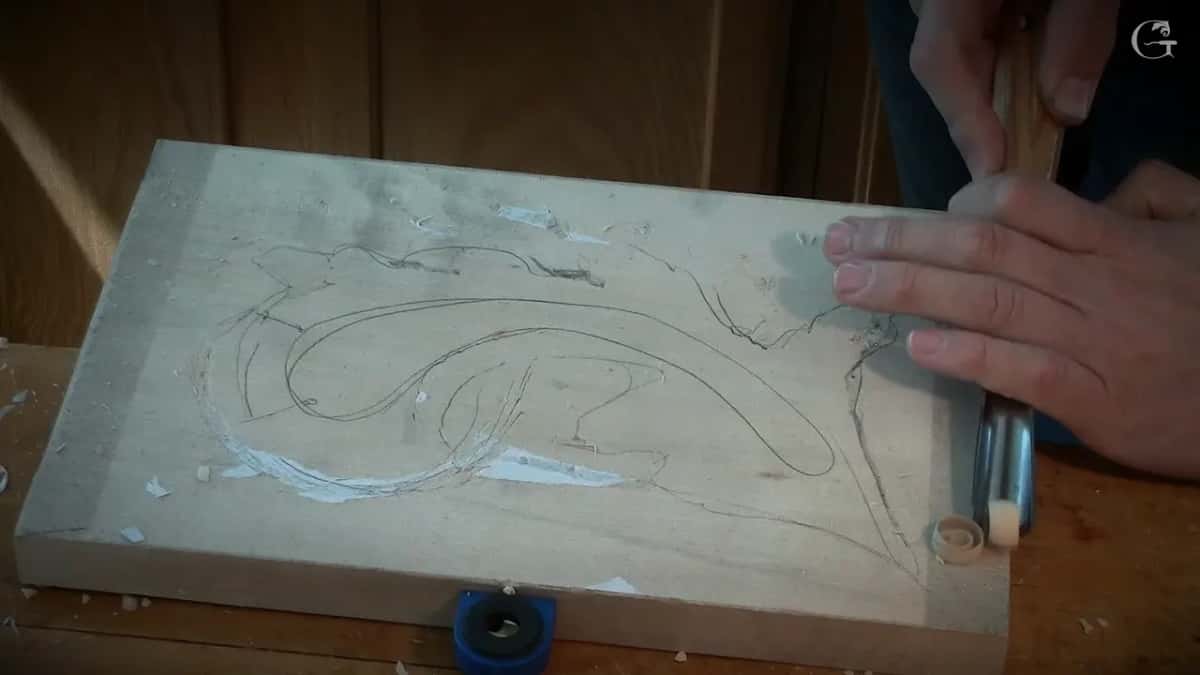
Position the leaf toward the golden ratio rather than dead center, trace around it in pencil, then texture everything outside that line. Grinling Gibbons used oak backgrounds for his work all the time. A darker wood like oak or cherry is another technique you could use for the background.
Glue it down and walk away for half an hour. No clamp. Rub the leaf into the glue, set it, leave it alone. Now the last pass, and a lot of people ask me about it.
Kill the facets. Shave the last flat spots off the curves with a flat number 3, almost like using a razor, and burnish what is left with a scrap of the same wood. I don't use sandpaper on this. Sandpaper is offensive to me, and I still love a finish that came off the chisel.
Was Byzantine acanthus ever left as bare wood?
Byzantine church carving of this kind was made to be gilded, and that is how I teach it. Nobody in a Byzantine church was looking at bare wood. The carving was the ground for the gold.
Before Italian gesso, they used just the red clay as the first coat for the gold leafing. They burnished the clay itself, sometimes with a pumice stone. Then another thin layer of red clay, then oil, and the leaf itself goes down. When they burnished the gold again it cracked in tiny lines and the red showed through, and that makes it look even better.

Which means the carving under the gold stays simple. Stripes and channels made a big problem for the gold leaf back then, and red clay is really thick. So not too many details, not too many facets, just a really beautiful shape.
That week I talked about a project I might take on for a European castle, French limewood, the whole castle gilded, in an 18th century Italian style. That client has waited on me for years. I carve for a living and deadlines create real tension.
Can a beginner carve a Byzantine acanthus?
Byzantine is one of the most complicated acanthus leaves you can find, and I still told that class not to worry, everybody would do a really good job. The big number 9 does the roughing, and the small 3 mm veiner opens the eyes. Again and again I stopped to make a decision, what overlaps what and where the end of a leaf goes.
I want you to understand why we do what we do, not just follow step by step like 15 miles an hour and then switch the gear. When some of the class asked why we left that wood so thick at the beginning, I told them I knew we were going to bang from the top with the mallet, and we needed that support.
Be careful with the sharp stuff. Never carve toward yourself unless you are a dentist. Then I will admit the truth, which is that I still carve toward myself sometimes, and so does everybody.
The year before that class I spent a thousand dollars on rasps, just to try them, because I saw other carvers use them. In that class I said I still don't use them.
Twice during that week my gouge hit something buried inside the wood. Something broke. It looked like a piece of metal, and I have no idea how that gets in there. It was the first time it ever happened to me.
So. Would you rather carve a leaf that lies down on its board, or one that rolls up off it and pierces the light? One number 9 and a small veiner, that is where I start.
Come carve the whole panel with me in Carving Byzantine Acanthus, ten lessons filmed in that Maine classroom. If you want the earlier steps of the family first, start with the Greek acanthus leaf, then the Roman acanthus leaf, and read how the Greek and Roman leaves differ before you draw anything.
I taught this class in person in Maine and we filmed it. What you are watching is a leaf that starts as a pencil swirl on a bare board and ends up pierced, undercut and looking paper thin. Few acanthus leaves you can find are as complicated as Byzantine. Learn this one and the rest get easy.
| The job | The tool I reach for |
|---|---|
| Roughing out the whole leaf | number 9 gouge, 19 to 20 mm (3/4 in) |
| Hollowing a concave inside a leaf | the 10 mm number 9, three eighths of an inch |
| Opening an eye | the small number 11, 3 mm |
| Undercutting an overlap | the tiny number 11, one millimeter |
| Rounding a pipe over | flat number 2, 10 to 12 mm |
| Killing the last facets | flat number 3, in whatever width your roll happens to hold |
| Slicing the S curves | number 7 gouge, 14 mm (9/16 inch) |
| Cleaning facets after dishing | number 6 gouge, 20 mm (three quarters) |
| Texturing the background board | a number 9, small or big |
| Gluing the layers together | Titebond original or 2, sets in about thirty minutes |
The tools that carry this panel, and the job each one does.
How it's done
- Draw the big movement on the board. Start with one swirl and hang everything else off it. Add the divisions inside, then count your movements. Eight of them on this design, and I call them Fibonacci movements.
- Mark concave and convex. Blue for concave, orange for convex, black only to give a picture. On your own board, a pencil is a lot easier to clean than a marker.
- Trace templates on plastic and transfer. Marker on a scrap of drop cloth gives you a template you can flip for the mirrored side. Carbon paper and a ballpoint pen carry it onto the wood. Skip the gel pen.
- Mount the blank on glued paper. Coat both faces with spray adhesive, put ordinary paper between blank and backing board, and press it down. No clamps at all. At the end you take the leaf off and remove the paper.
- Bost the shape and nothing else. Take the outside leaves downhill to about 10 mm, 3/8 inch, and leave the sides fat for later undercutting. Carve zero detail here. We still need that meat for later.
- Glue on the next layers and lose the seam. Titebond, thirty minutes, no rush. Then carve across the glue line until it disappears and the stack reads as one solid block instead of a sandwich.
- Cut the eyes first, then raise the pipes. Two passes of the small veiner open each eye, about 5 mm or 3/16 inch across. Hollow left and right of a center line and the wood between them becomes your pipe. Round it over using the flat number two.
- Pierce it, undercut it, then mount it. Carve the plugs away to open the holes, keep every support until the end, and undercut to about 1 mm at the edge. Texture the ground crossways to the grain, glue the leaf down, and shave the last facets away.
Key takeaways
- The convex ridge up the middle of each lobe is what makes a leaf Byzantine. Greek carves a V there, Roman carves a hollow.
- Stacking and gluing a third piece on top is what gives the true Byzantine height.
- We are after all the shadow we can get, so carve deeper than feels comfortable.
- The big number 9 at 19 mm, its 10 mm brother, a 3 mm veiner and a flat number 2 come out again and again on this panel.
- Every dimension here is given both ways, the way I gave them in class.
- Detail carved before the shape is settled is detail you will have to destroy.
- Leave every bridge and support standing until the end. The panel turns fragile the moment light starts coming through it.
Frequently asked questions
What wood should I use for a Byzantine acanthus panel?
Basswood or European limewood is what I reach for, and your backing board can be plywood or basswood. For the ground behind the leaf, a darker species earns its keep. Grinling Gibbons used oak for his backgrounds all the time, and cherry works just as well.
How long does a panel like this take?
One week of class got my piece almost 100 percent done, and I could have spent a lot longer cleaning and cleaning. Ten filmed lessons carry the whole build. Spend another month on the facets and it can look like it was sanded.
Do I need a V tool for the veins?
You do not need one. I used the small number 11 veiner, 3 mm, near an eighth of an inch, for the relief cuts. When someone in class asked about a V tool, I said yes, a V tool is also good, go ahead and use it. Authentic Byzantine carvers did not have V tools, though.
What to carve next
More on this: Acanthus as an ornament, on Wikipedia, Byzantine carving in the Metropolitan Museum collection