
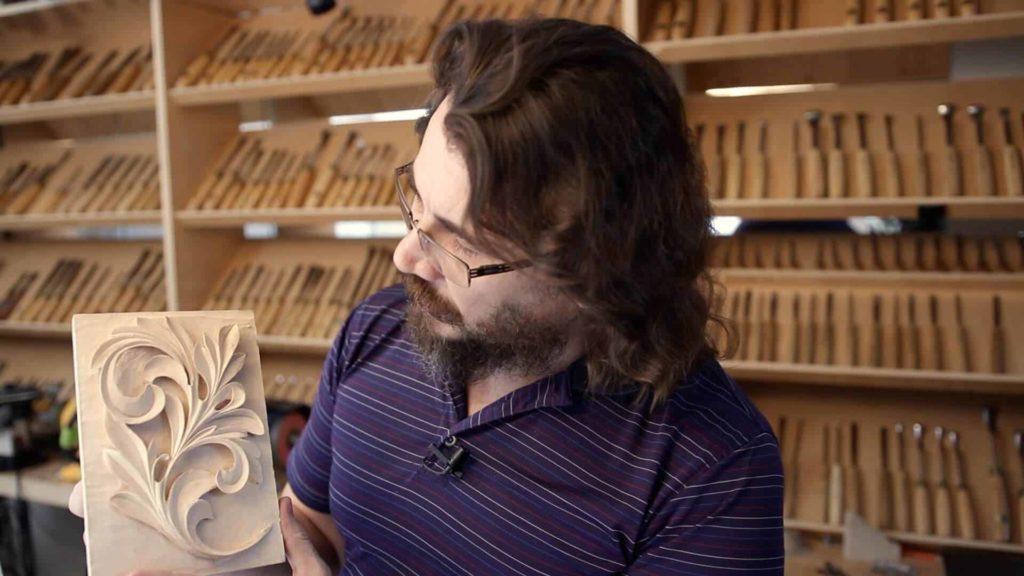
Alexander Grabovetskiy, woodcarver, School of Woodcarving · Published 2018
How do you carve a Greek acanthus leaf?
Quick answer: Draw the leaf full size on paper, glue it to a lime block about 1 1/8 inches (29 mm) thick, then set the outline in using a knife and drop the background 5/8 inch (16 mm). Open the eyes, raise the pipes, run a V groove down each leaf, undercut, and clean the ground last.
Do you have the Corinthian leaf sitting on your bench right now? Does your pencil stall the moment a curl has to turn back on itself? So the Greek leaf is your next one. I am talking to you, not to a room.
We take the same size block and the same lime wood, and it goes in the vice I use for almost all of my carvings. What changes is one thing the Greeks put into the leaf that the older form did not have, and once you see it you cannot unsee it.
What makes a Greek acanthus leaf Greek?
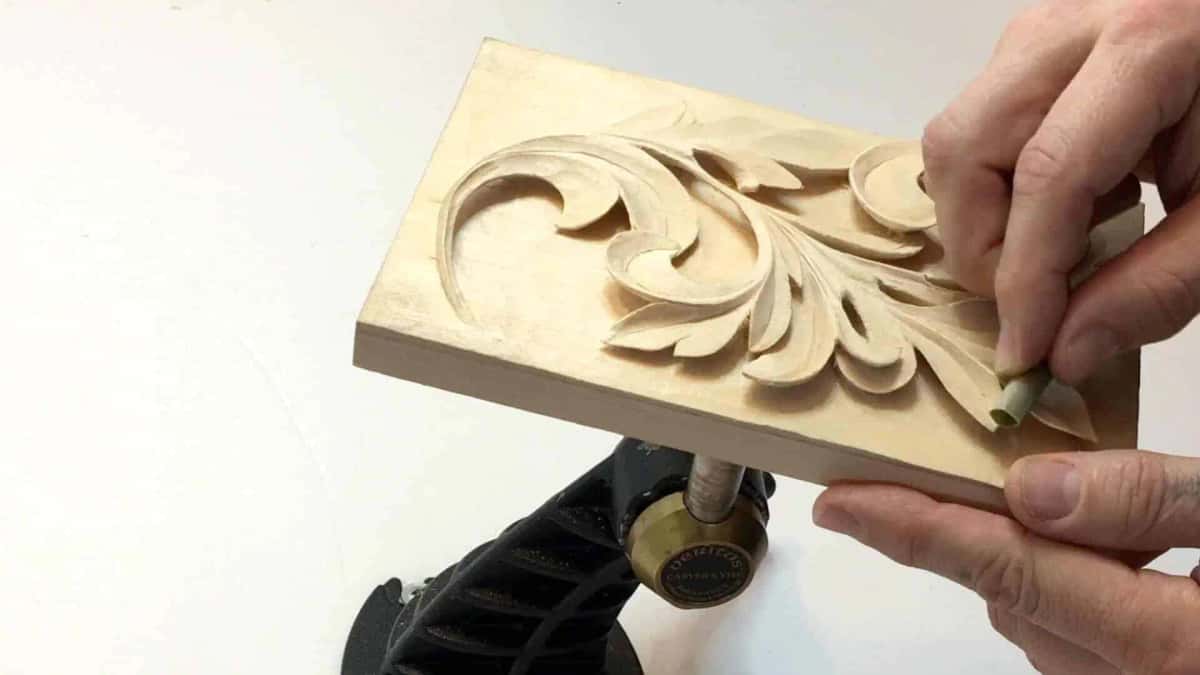
Curls. The Corinthian leaf we carved before runs on three straight divisions, and everything in it goes more or less straight. Greek carvers kept those three main movements and the five subdivisions under them, then bent the ends into volutes so the leaf turns and comes back. That turn is the biggest difference.
Two other marks come with it. Inside each leaf there is a V groove, and a lot of times no ridge is left standing in it, just the V. The form also stays simple. In ancient Greece they kept it simplistic, and it is simplistic. Micro pipes and tiny extra eyes came later, and I say on camera that they would not be authentic to the true Greek leaf.
If you want the two side by side with photographs, I wrote that out already in Greek vs Roman acanthus. This page is about carving one.
Why does the Greek acanthus have a V cut down the inside?
Most likely because the men who carved the first ones had a knife and not much else. A V groove is quick with a knife. Convenient, too. You lay the blade in twice and the leaf has a spine.
I cannot prove that with a document and I will not pretend I can. But I have carved this one with a knife, and the groove drops out of that tool the way water runs downhill. Later on, carvers stopped using the V. Byzantine work still has some of it, and after that the groove mostly disappears from the acanthus family.

Where does the drawing of an acanthus leaf begin?
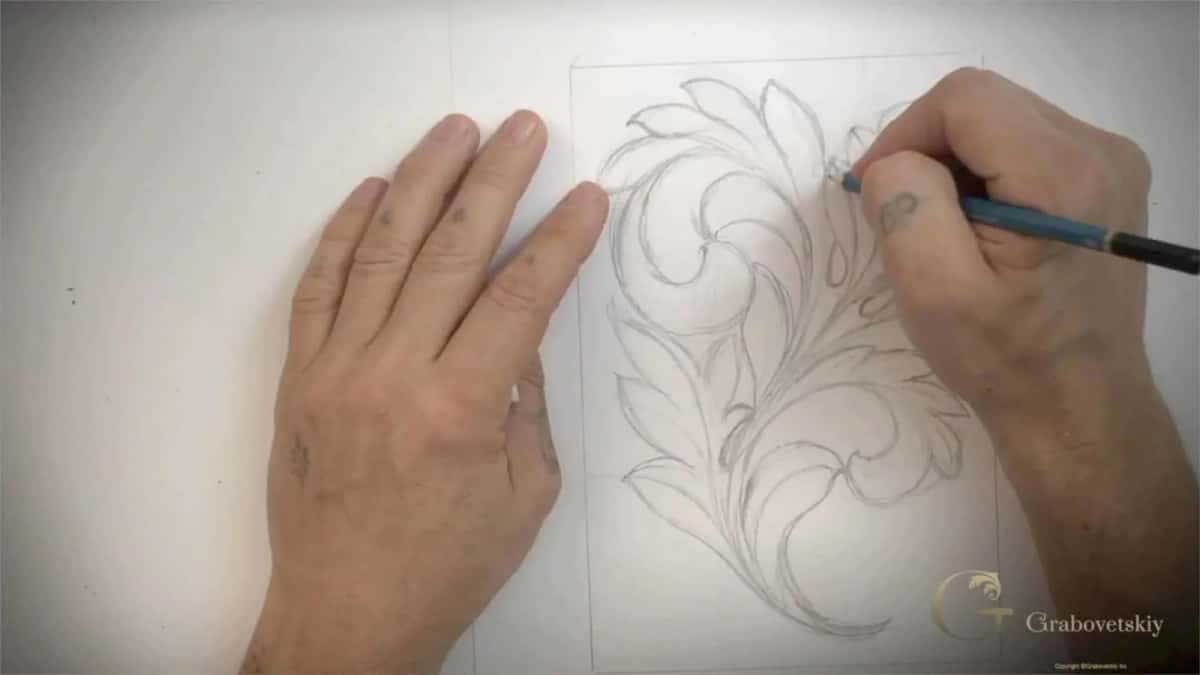
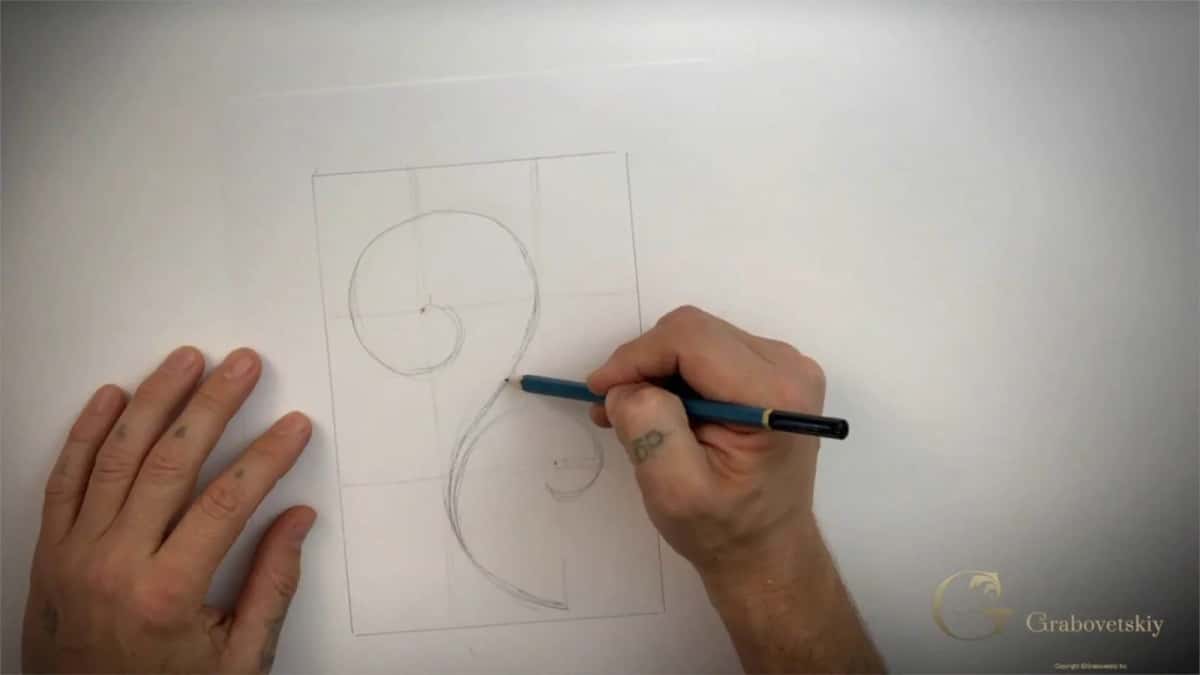
Lay the block on the paper, trace around it, and work at full size inside that rectangle. Full size, start to finish. Divide the rectangle in three across and in three down. Where those lines meet you get two points worth building on. Not the true golden ratio, and I say so out loud in the lesson, but it puts the volute where the eye wants it.
Then draw the outside boundary of the whole leaf before you make the main divisions. Mine looks like a boat. That boundary is a fence, and I do not go past it later when I am subdividing. Once the fence is there, hang the leaves off the main flow line, then place the eyes, then run the pipes.
One rule governs all of it. Every leaf, every section, every small movement runs back to that one flow line. And each subdivision should repeat the movement of its parent. When one of them does not flow nicely to the center line, I stop and fix it.
Jay Hambidge, writing about how the Greeks laid out their work, put it better than I can. "Instinct and feeling must be directed by knowledge and judgment." The grid exists for exactly that. Five subdivisions is what you find on most ancient leaves. Not a law, though. I ran out of room on my own sheet and admitted it on camera, because that happens.

What are the eye and the pipe on an acanthus leaf?
An eye is the small hole where two leaves separate, and a pipe is the raised tube of wood that runs out of that eye toward the middle of the design. Those two shapes are the acanthus. Pipes and eyes are what the leaf is made of, and everything else on the panel is support.
Two rules keep them honest. The eye goes right down to the background, not partway. A pipe has to reach the main flow line, and it has to sit higher than the leaf beside it.
I open an eye with a number 11 veiner, 3 mm, which is about 1/8 inch. Not a gouge. Past number 9 the wings rise above half round and the tool becomes a veiner. Even an 8 or a 9 will open the eye, as long as it is small enough.

What wood should you carve an acanthus leaf in?
Lime wood, which Americans call basswood. Some people call it the queen of the woods, and I will not argue with them. They call it a soft wood and it is not really soft. You would be surprised how nicely it keeps the detail, as long as people do not damage it.
Lime is also the wood already sitting in the buildings. The palaces in England carved 300 years ago and more are lime. In Europe the run goes back further than that. Lime is one of the oldest known woods for carving, and I really do love it.
Someone once watched me online and repeated one of my carvings. He did fine work. What he did not know was the wood, so I told him in a comment it was lime. Sure, lime can be damaged, and so can oak, walnut or cherry just the same.
What gouges do you need to carve an acanthus leaf?
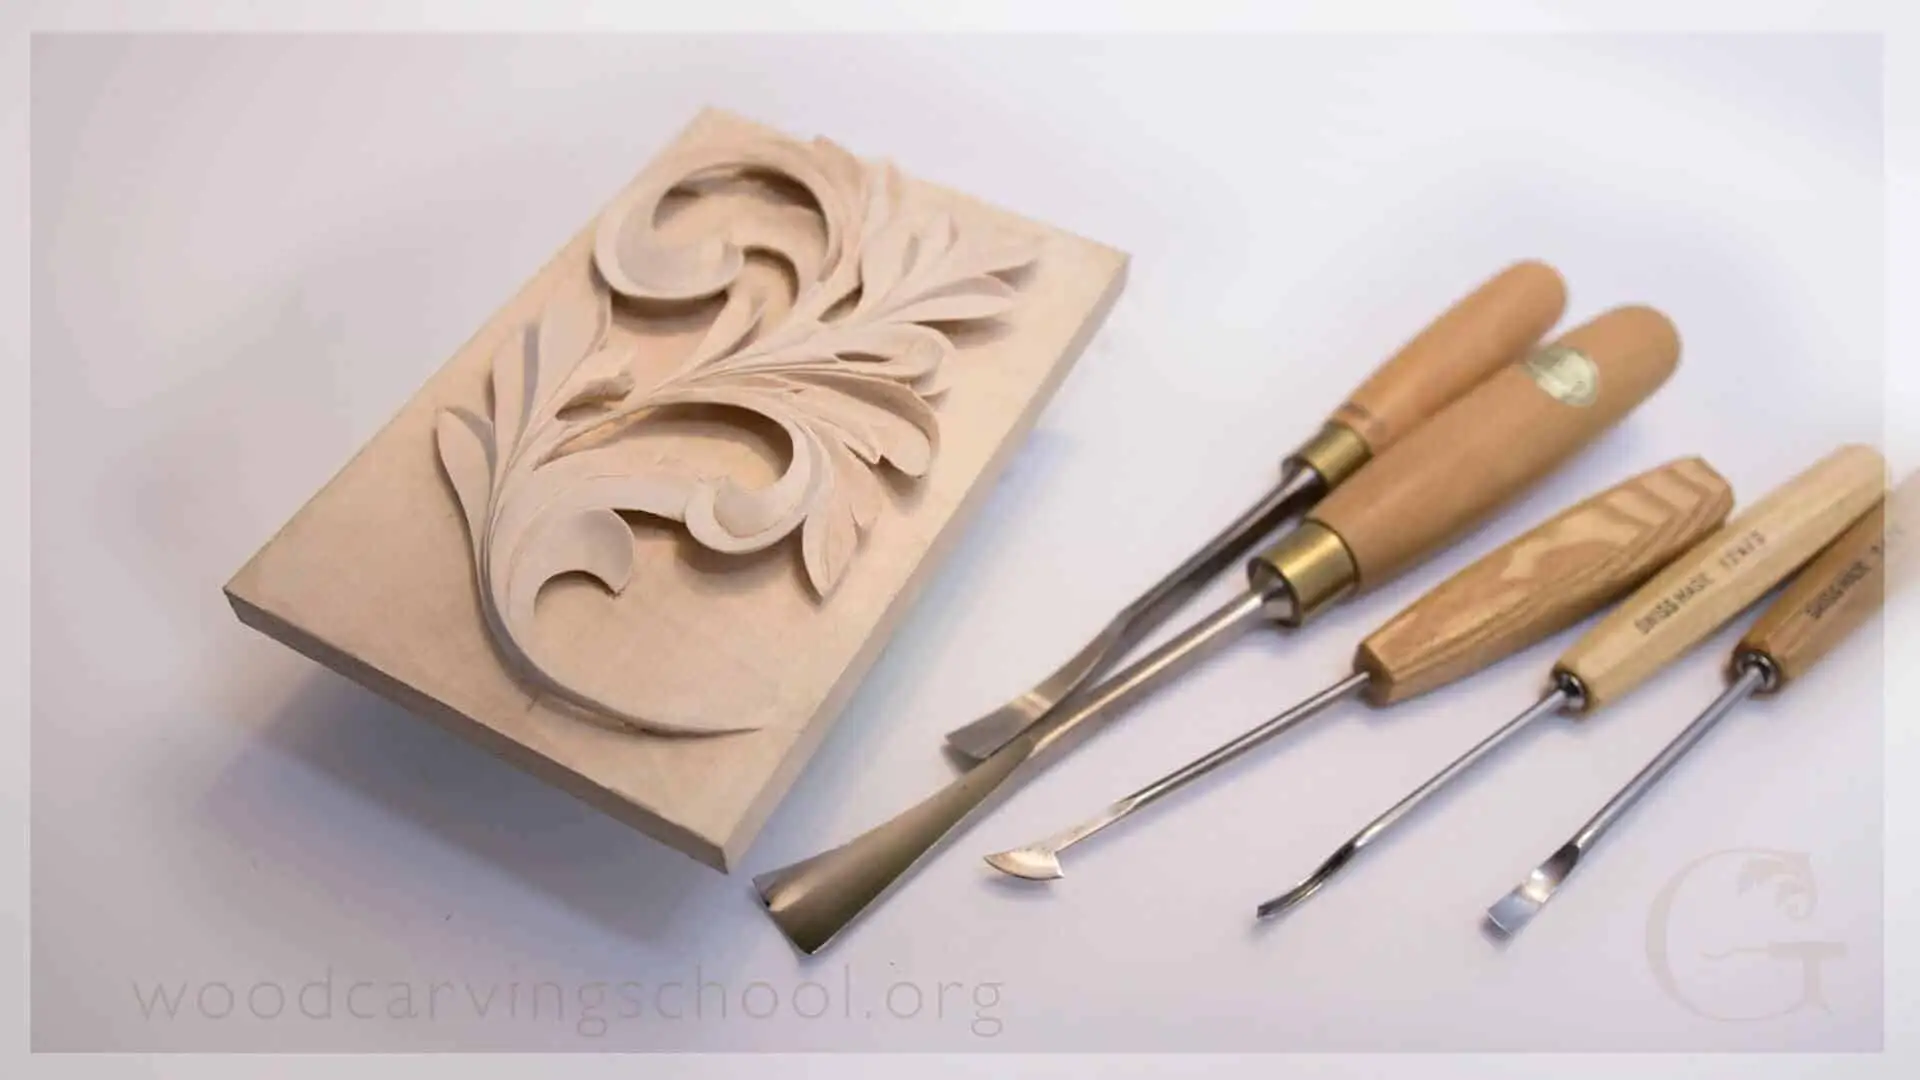
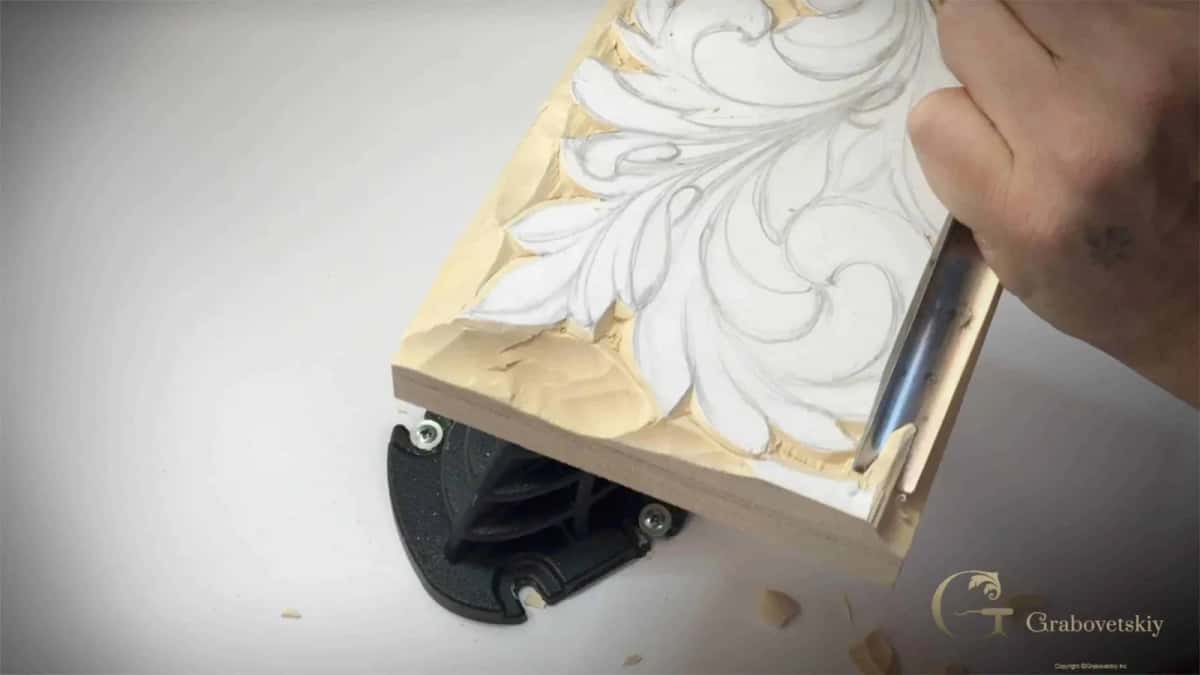
A chip carving knife, one number 7 gouge around 14 mm, a small V tool, a number 11 veiner and a grounding tool did a big share of this leaf. The deep undercuts needed back bends. I list what I actually picked up in the table further down this page.
One of my favorite tools is the number 12 chip carving knife by Pfeil. It sets in the outline, opens eyes, blends a leaf to its middle line and cleans every edge at the end. Out of the box it will disappoint you. Hone it to a mirror first. I know some of you already ordered that knife and still cannot get a grip on it, and this is why.
When you are choosing between a small tool and a bigger one and you own neither, buy the bigger one. You can always use just the corner of a wide gouge. A narrow one will never get wider. And do not copy my exact numbers. Any gouge pretty much will do, because I am working with the minimum I keep on the bench so that you can follow with what you own.
Sharp is the part that is not optional. My teacher used to say it whenever I complained about a board. There is no such thing as bad wood, only dull tools.

How deep should the relief be?
Take the background down 5/8 inch, about 16 mm, on a block roughly 1 1/8 inches thick, which is close to 29 mm. Halfway into the board, deeper than the Corinthian, because later I undercut deep.
Draw two lines around the edge, never one. The lower line is your final depth. Your second line sits 1/8 inch above it, call it 3 mm, and that is where the rough work stops. Anywhere from 2 mm to 3 mm of margin is safe. During the heavy stage you are allowed to be sloppy right up to the second line and no further. The final line waits until the very end, when I creep up on it and leave about 1/32 inch for cleaning.
I draw both lines freehand with my finger riding the side of the block as a fence. I am eyeballing it, and I am accurate. If that feels shaky, use a marking gauge. I set one with my knife in it for the final line at the end.
Where do you make the first carving on the panel?
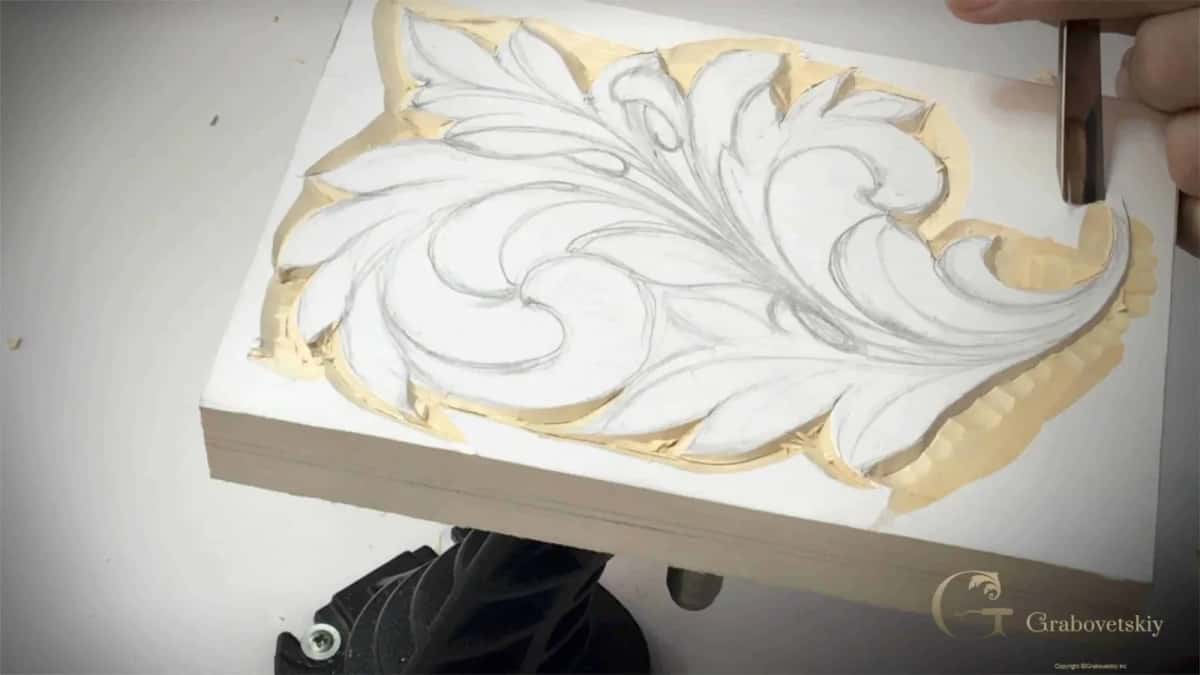
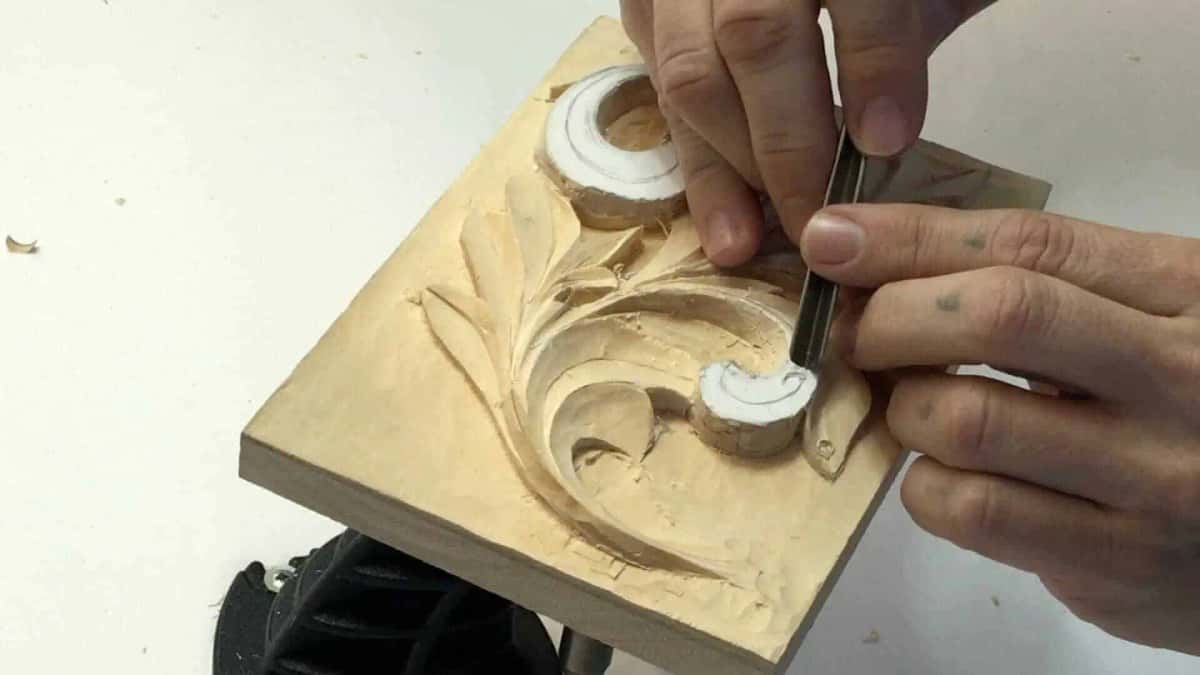
On the outline, with the knife, cutting toward yourself at an angle. This stage is called setting in. You are not shaping anything. Your job is to tell the wood where the design ends, right around the outside, with a beveled cut that leans away from the leaf.
That lean matters more than it looks. The bevel protects the wall you are about to make, and later the whole bevel disappears under the undercutting. After that the waste comes off around the leaf with the number 7, taken to the second line, and the ground is left rough on purpose.
Only after that do you stand the wall up. Straight down, 90 degrees to the background, the whole way round. Nothing gets shaped until that wall exists. Keep your second hand clear of the blade's path, always on the far side of it, because a knife that slips goes exactly where your hand was resting.
How do you stop the grain from tearing the leaf?
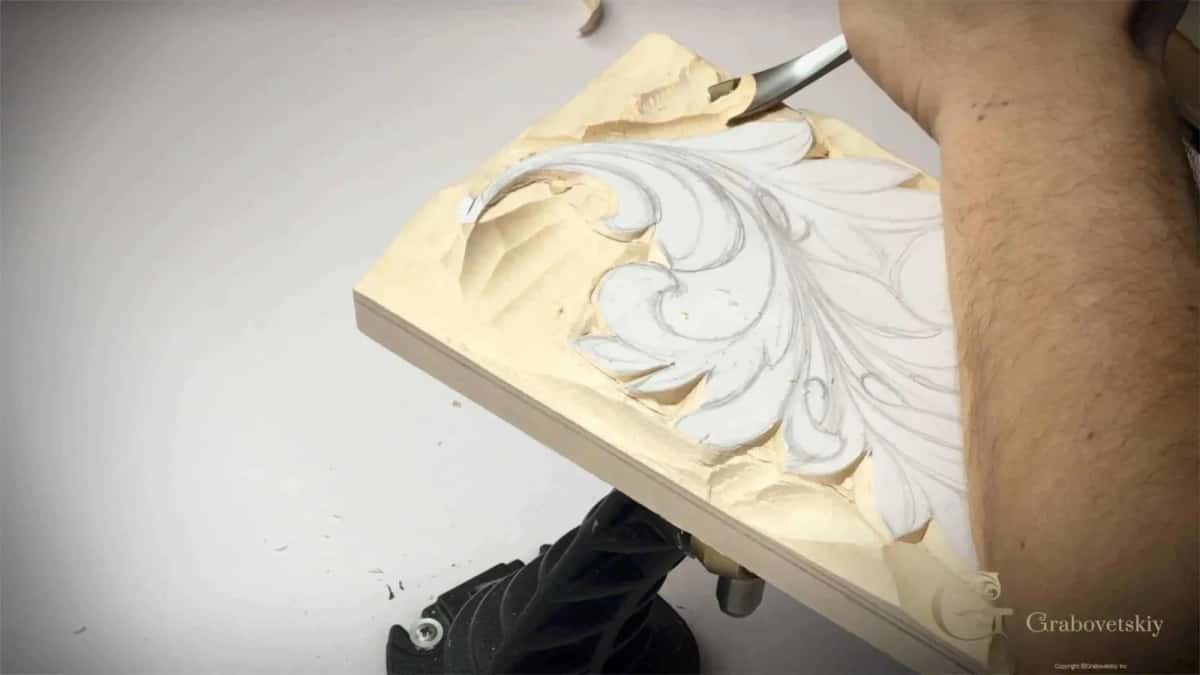
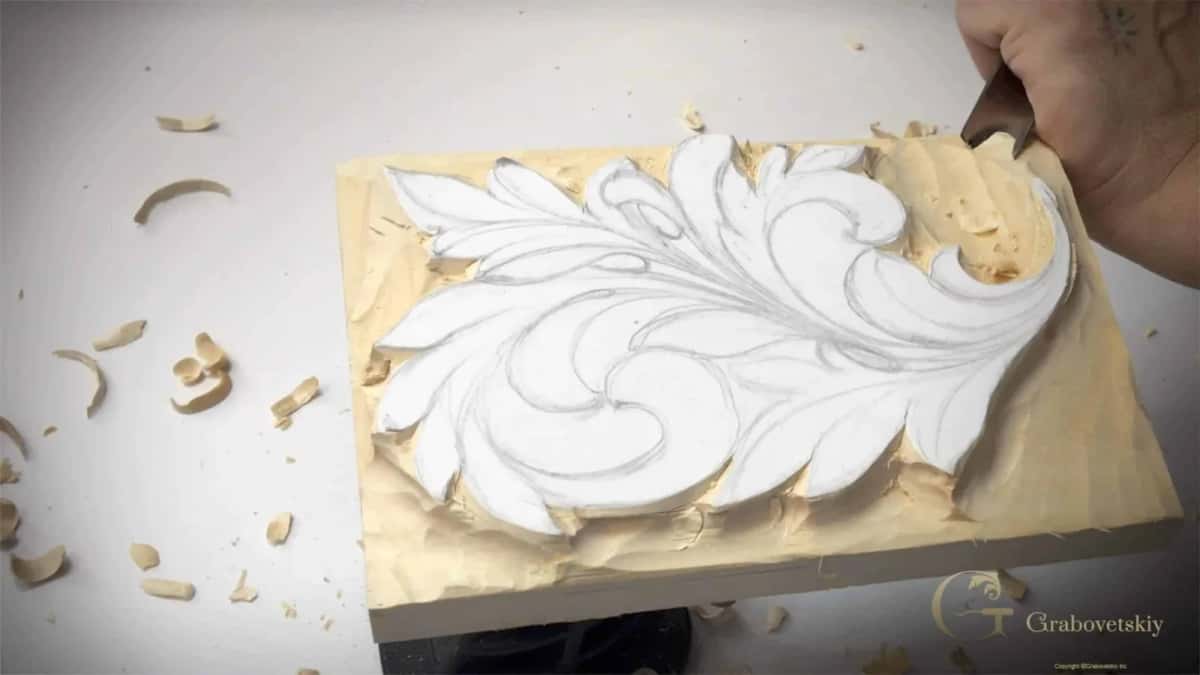
Work crossways to the grain for the heavy removal, take many light passes instead of one hard one, and rotate the tool through every cut so it slices rather than pushes. Some people call that rotation the carver's cut.
The law says work with the grain. I break that law regularly on complicated pieces, because you cannot always follow it, and going with the grain tempts you to push too hard and pop a whole section out. Across the grain I feel safer and I control more.
Watch for what I call the marriage lines, the places where grain running two ways meets. There you turn around and come at it from the other side. And a veiner cuts two directions at once. One wall of that groove comes off clean and the other does not, so put the clean side on the pipe and you will not do that work twice.
Rest your hand on the wood. Not in the air. The push comes from inside your palm with your fingers pulling toward you, and the pinky helps control the move. My lamp started blinking halfway through this project and I had to change my lights.
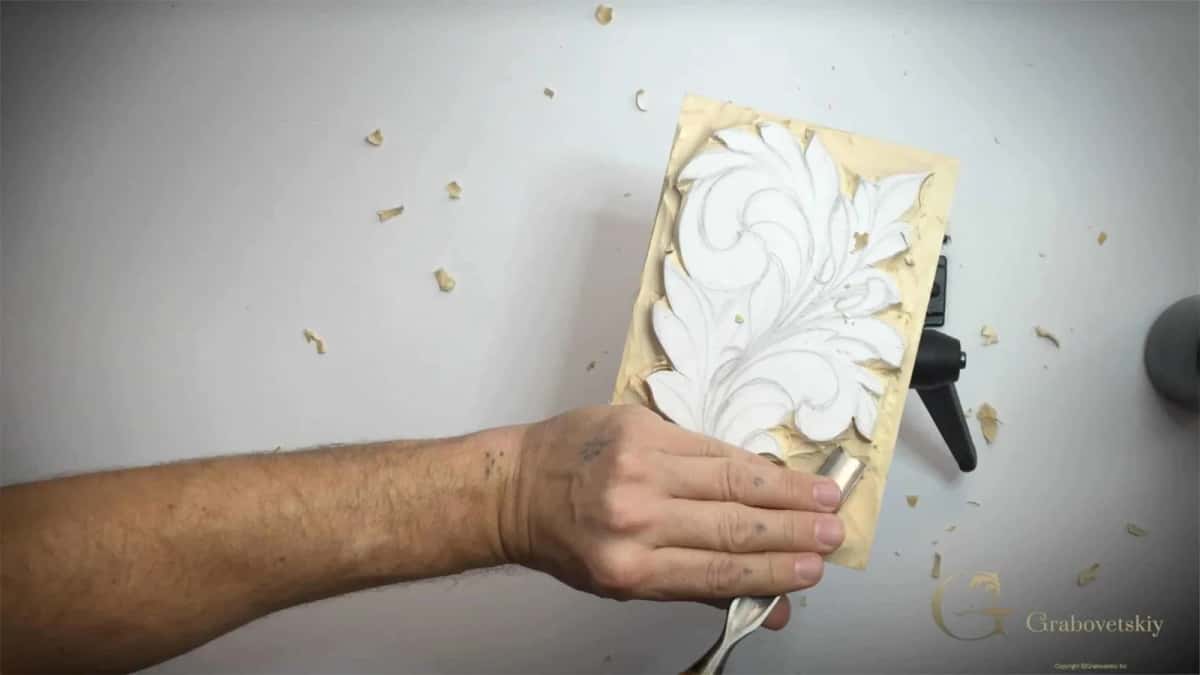
Why is the middle line off center?
I want a sharper shadow on one side of the leaf, and a groove dead in the middle would not look as good. Most of the time I move that line about an eighth of an inch off center, call it 3 mm, sometimes only 3/32. Which way depends on the leaf.
Move it toward the higher side, and the shadow line gets exaggerated. It looks more organic. The leaf starts reading as three dimensions, which is what you were after when you picked up the gouge.
On a very small section, forget it. Put the groove in the middle and move on. On a part that small it is not that big of a deal.
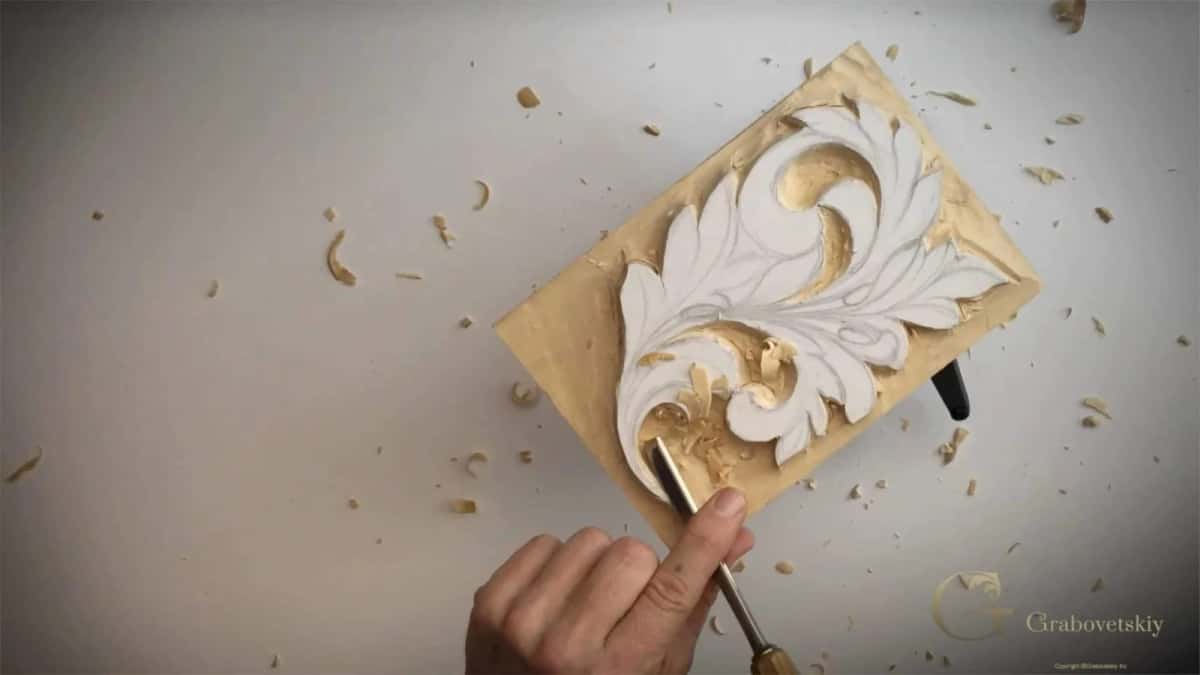
Where does the V cut go inside a Greek leaf?
Run a V groove down the inside of each leaf, off center, then shave both sides down to meet it. The groove comes first and the surfaces come to it. My tool here is a number 15 V, 6 mm at 45 degrees, and I like 45 because it reaches into the tightest corner without the wings bruising the sides.
Dig in on the line and escape before you reach the edge. Do not run the tool off the end of a leaf. Then knife away the ridges left on either side until the two surfaces meet the groove in one clean line, with no ridge standing in it.
Some leaves get a hollow instead of a V. On the Corinthian we left a ridge inside, and that is right for the Corinthian. Here the pure V is what you want, although a small ridge inside would still be authentic. Both existed.
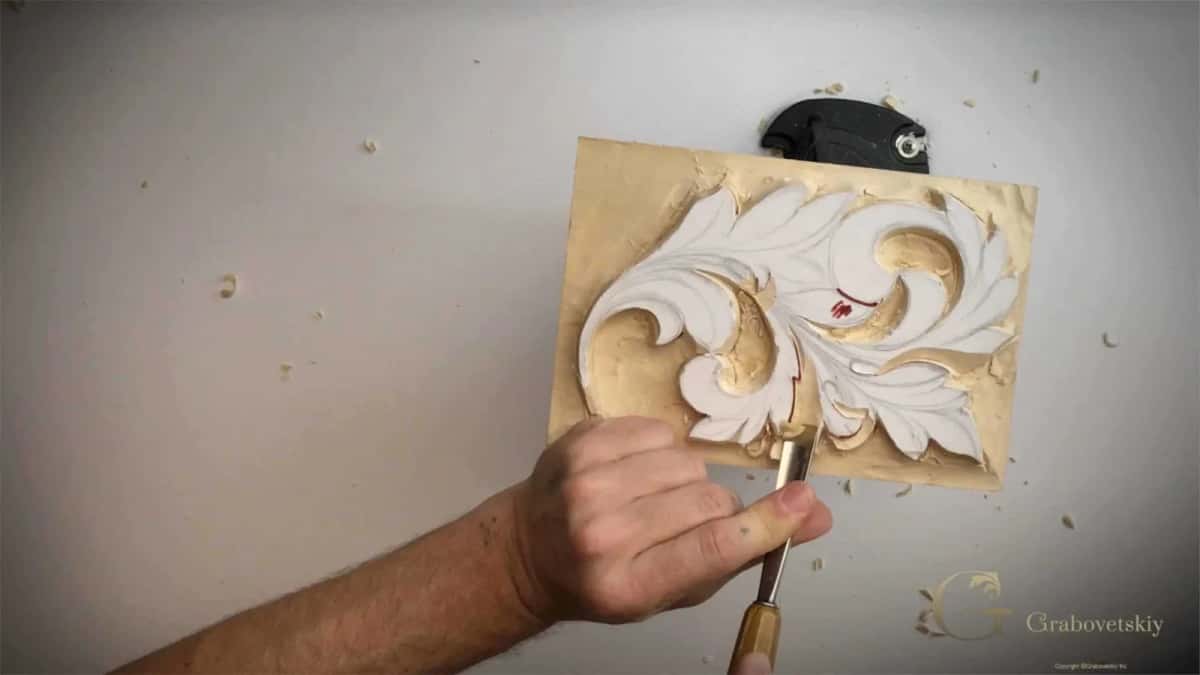
What is undercutting, and why does it come last?
Undercutting is carving away the wood underneath an edge so the leaf throws a hard shadow and looks like it is lifting off the panel. It comes near the end. While the walls are going in it is too early for undercutting, so I keep them at 90 degrees.
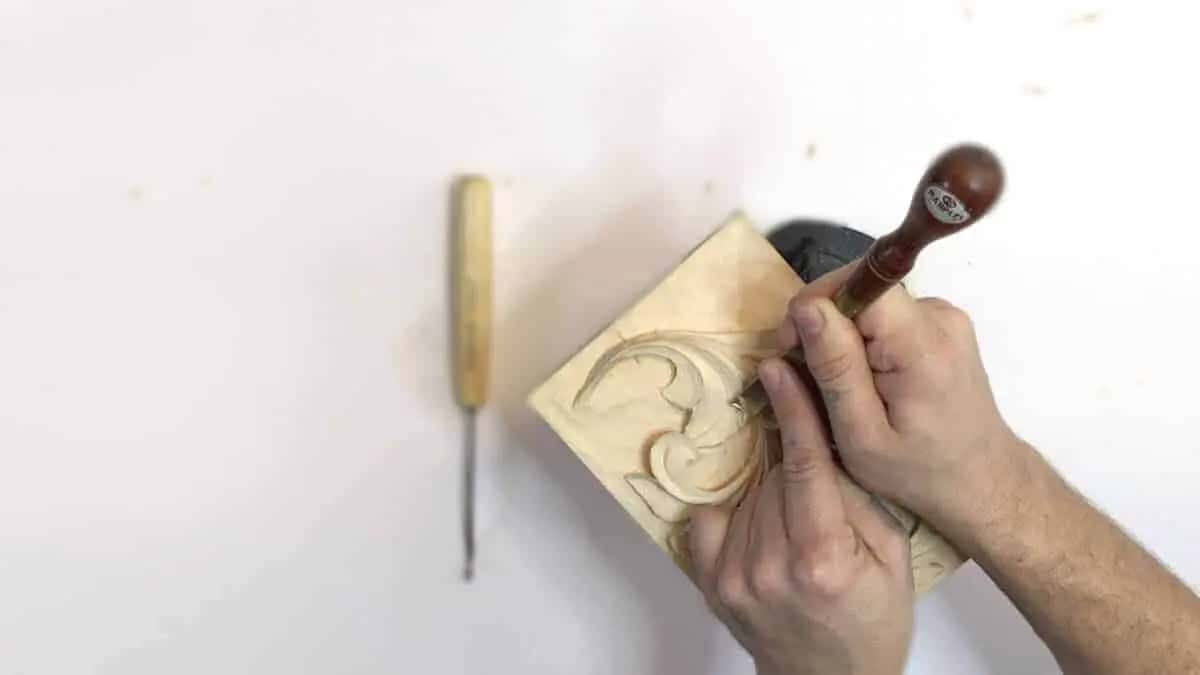
A straight tool will strike the carving you already finished, which is exactly what you do not want. Back bends and short bent gouges exist for exactly this. I use number 25 back bends at 13 mm and 6 mm, and an Ashley Iles back bend marked 37 that reaches a full half inch under an edge when I need it. The move is called hooking. You put the corner of the tool under the loose waste, take micro strokes, and hook it out. If a chip is stuck, go back and recut it. Force it and you break the edge you were protecting.
Do not go so deep that the leaf sits level with the background. Then it stops looking natural and you have made a hole. And in a few places I push the tool all the way through the board, so light comes through and the leaf floats.
Some carvers do not approve. They say I make my carving weak and easy to break, and they are right, it is easy to break. My question is why would you break it. If a piece is going on a wall it is fine. For furniture that people touch every day, do not undercut it this hard.
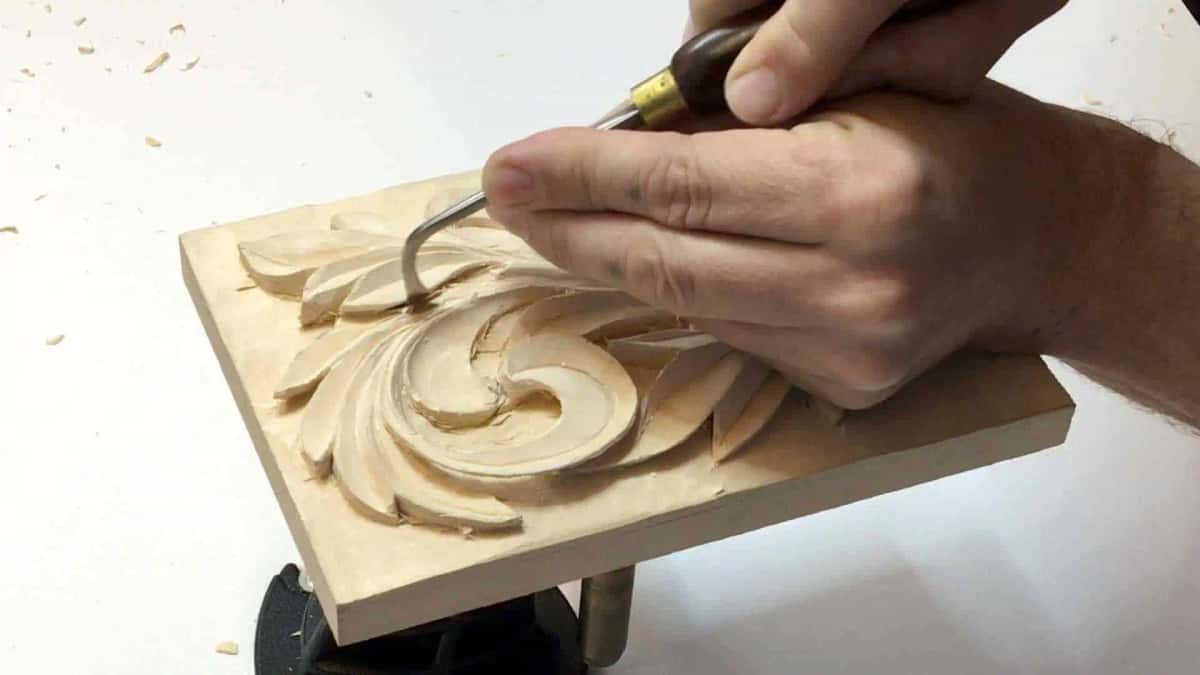
David Esterly, who spent his life carving in the Grinling Gibbons manner, noticed the same thing and said it plainly. "The hardest parts to carve are the parts that end up looking as if they were the easiest." Undercutting can take longer than establishing the whole form. None of that is wasted evening. Shadow and light make a big difference in wood carving, and only one person will ever know what is underneath, and that person is you.

What do you do when a piece breaks off?
You glue it back and keep going. I broke two pieces on this panel in one day, on camera. One went back on with glue. The other I worked into the design, so the overall design did not change. Nobody except you and me knows where they are.
Rushing is the biggest mistake I see. People think speed saves time, and then a mistake takes a lot longer to fix, and some mistakes never do get fixed. Wood carving is an art of deduction. Once you deduct a piece of wood, nothing puts it back on.
The other trap is the finish line. You get comfortable, the panel is nearly done, you force the tool and snap a tip. That is the stage where force breaks things. The most famous carvers in history made the same mistakes and I have seen the evidence in their work.
One of those breaks turned out useful. Because that piece came away I could reach in and undercut a section I could not have touched otherwise.

Can you finish a carved leaf without sandpaper?
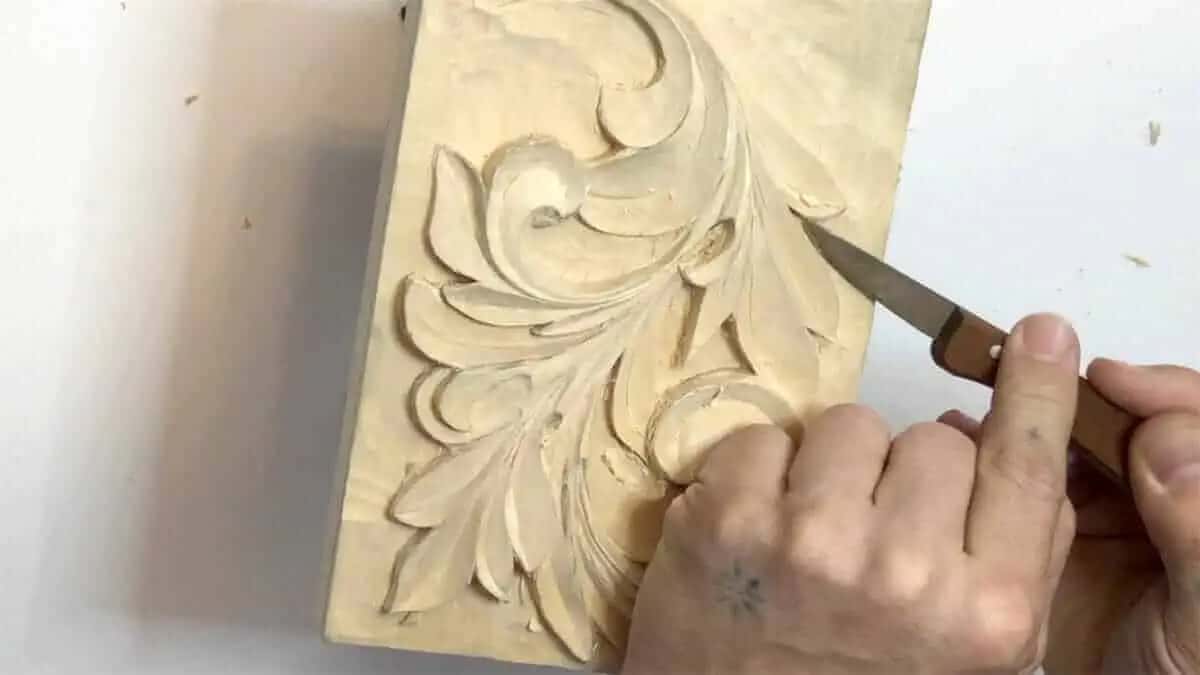
Scrub the fuzz off every edge with the knife, then rub the surface with dried Dutch reed rush. Reed is roughly 300 to 400 grit and it cleans the edge without overdoing it. Grinling Gibbons used it. Carvers in England, Holland and Belgium used it. It still works.
Sandpaper I would not recommend, even for a smoother look. Use the reed again and run it along the arrises and the pipes. You still see every chisel mark, and I like that.
The last small thing is a toothpick. Press it into the center of each leaf to bring out the middle, then take the background down to the final line, across the grain, and clean the ridges out with a grounding tool.
At some point you stop. This work has no end. You can always find something to refine, and I said so on camera in the last lesson, while I was still finding things.
What is inside this Greek acanthus course?
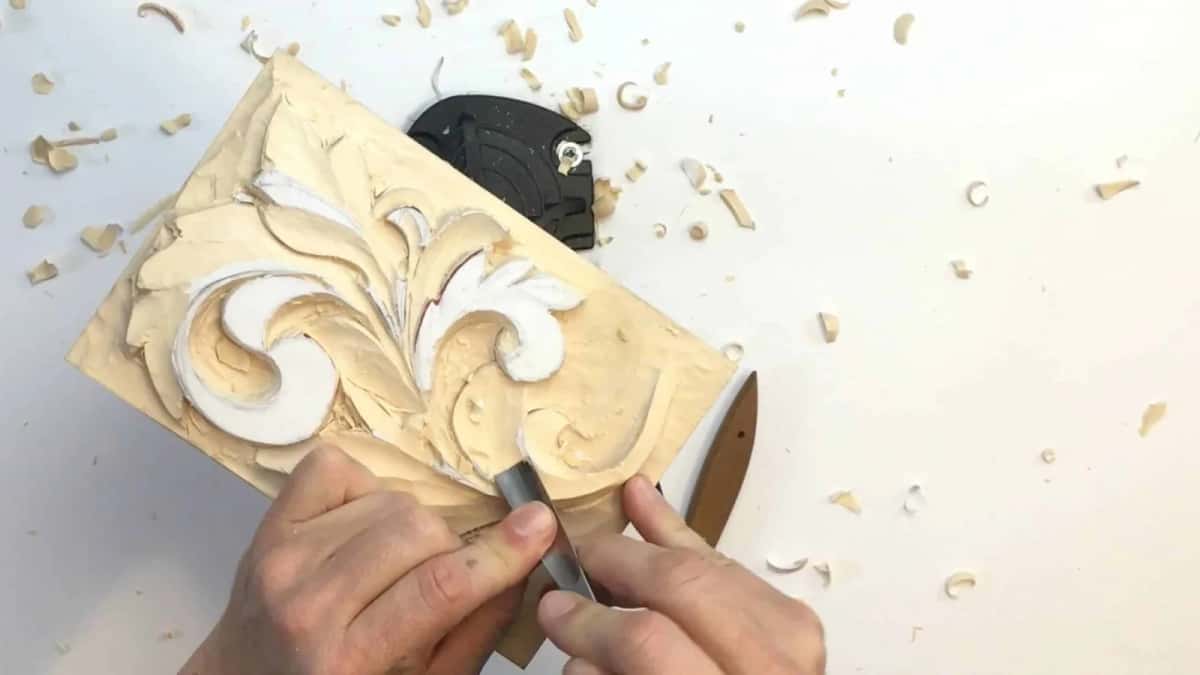
Sixteen lessons broken into 59 short videos, filmed over the shoulder, from the blank sheet of paper to the finished panel. You watch the drawing get built line by line. Then comes the first knife pass, the wall going up, an eye opening, a V groove running, the undercutting, both breaks and what I did with each one.
It follows the Corinthian acanthus and it feeds the Roman acanthus after it. Carve them in that order. We go through the types one by one, and I try to keep each one authentic. If your edges are letting you down before any of this, fix that first with Carving Tool Sharpening.
Very little here is locked behind a bigger tool budget. I carved the whole panel with what sits on my bench, and I say the alternatives out loud when there is more than one way to reach the same place.
Today everything is speed. Go, go, go. The biggest difference between the ancient carvers and us sits right there, and that is not always good. Just the patience. That is what we all need, right?


I teach this in person too, at the Marc Adams School of Woodworking, and the acanthus is always the week people remember. Filmed lessons buy you something a classroom cannot. You get to rewind the pass that went wrong.

So. Is there a board in your shop you have been saving for the right project? Are your gouges sharp enough to slice end grain right now? Then let me present to you the acanthus leaf in a Greek style, and let us carve one together. Shall we carve?
| The job | The tool | Size |
|---|---|---|
| Setting in the outline | Chip knife, number 12 | one blade, Pfeil |
| Taking the background down | Gouge, number 7 | 14 mm, about 9/16 inch |
| Heavy waste with a mallet | Gouge, number 8 | 1/2 inch and 5/8 inch |
| Flattening the ground | Gouge, number 3 | 1/2 inch, about 13 mm |
| Opening an eye | Veiner, number 11 | 3 mm, an eighth of an inch |
| Running the V groove | V tool, number 15 at 45 degrees | 6 mm, about 1/4 inch |
| Separating tight details | V tool, number 16 | 1 mm, about 1/32 inch |
| Reaching under an edge | Back bend, number 25 | 13 mm and 6 mm, 1/2 and 1/4 inch |
| Hooking waste out | Short bent gouge, number 3A | 12 mm, 5 mm and 3 mm |
| Cleaning the background | Grounding tool | 1/8 of an inch, 3 mm |
What I actually picked up on this panel, in both measuring systems.
How it's done
- Draw the leaf at full size. Trace the block onto paper, split that rectangle into thirds both ways, and build the volute off the point where the lines meet. The outer boundary gets drawn before the main divisions.
- Glue the paper down and mark two depth lines. Photo mount glue holds the drawing face up on the lime block. Mark the final depth 16 mm down, five eighths of an inch, then a second line 3 mm above it as the rough limit.
- Set in the outline with the blade. Ride the number 12 blade around the whole design at a lean, cutting toward yourself, leaning the bevel away from the leaf so it protects the wall you are about to make.
- Drop the background to the second line. A number 7, 14 mm wide, takes the waste away. Work crossways to the grain, rotate every pass, and leave the ground rough. Nothing here is a finished surface yet.
- Stand the wall up at ninety degrees. Straight down, right around the design and inside every enclosed pocket. No shaping starts until that wall exists.
- Open the eyes and raise the pipes. A veiner, number 11 at 3 mm, sinks each eye to background level. Then lower the leaf around each pipe so the pipe stands higher and runs into the flow line.
- The V groove inside each leaf. A number 15 V, 6 mm and 45 degrees, off center by about 3/32 of an inch toward the higher side. Shave both surfaces into the groove until no ridge is left standing.
- Undercut, then clean the ground. Back bends and short bent gouges hook the waste from under every edge. Then scrub the edges with reed and bring the ground to its final line, working crossways.
Frequently asked questions
Do I need a full set of gouges to start?
No. Any gouge pretty much will do. I own hundreds, but most of you do not have that big a collection, so on this panel I kept to the minimum on my bench. Buy wide before narrow.
Is the Greek acanthus too hard for a first relief carving?
In this course it comes right after the Corinthian leaf, and you should have that one done first. I still call the Greek one somewhat simple, because later leaves get really complicated. The hard part is the undercutting. Don't fool yourself, it is not the easiest technique.
Can I use American basswood instead of lime wood?
Basswood and European lime both come from Tilia, the linden tree, so they are close relatives. On camera I carve lime.
What to carve next
More on this: Acanthus in ornament, The Corinthian order