
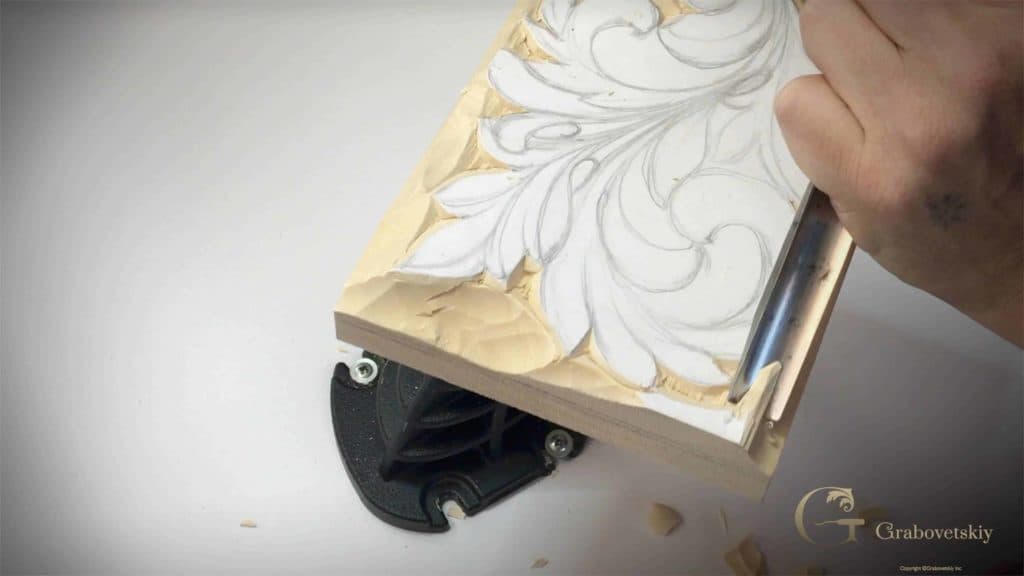
Alexander Grabovetskiy, woodcarver, School of Woodcarving · Published 2017
What is the setting in stage in relief carving?
Quick answer: Setting in is the opening stage of a relief carving, where the outline gets established and waste around it drops to a marked depth. Nothing is shaped yet. A pencil fence a few millimetres above the final floor keeps the fast tools honest, and the last sliver stays on the panel until the finish.
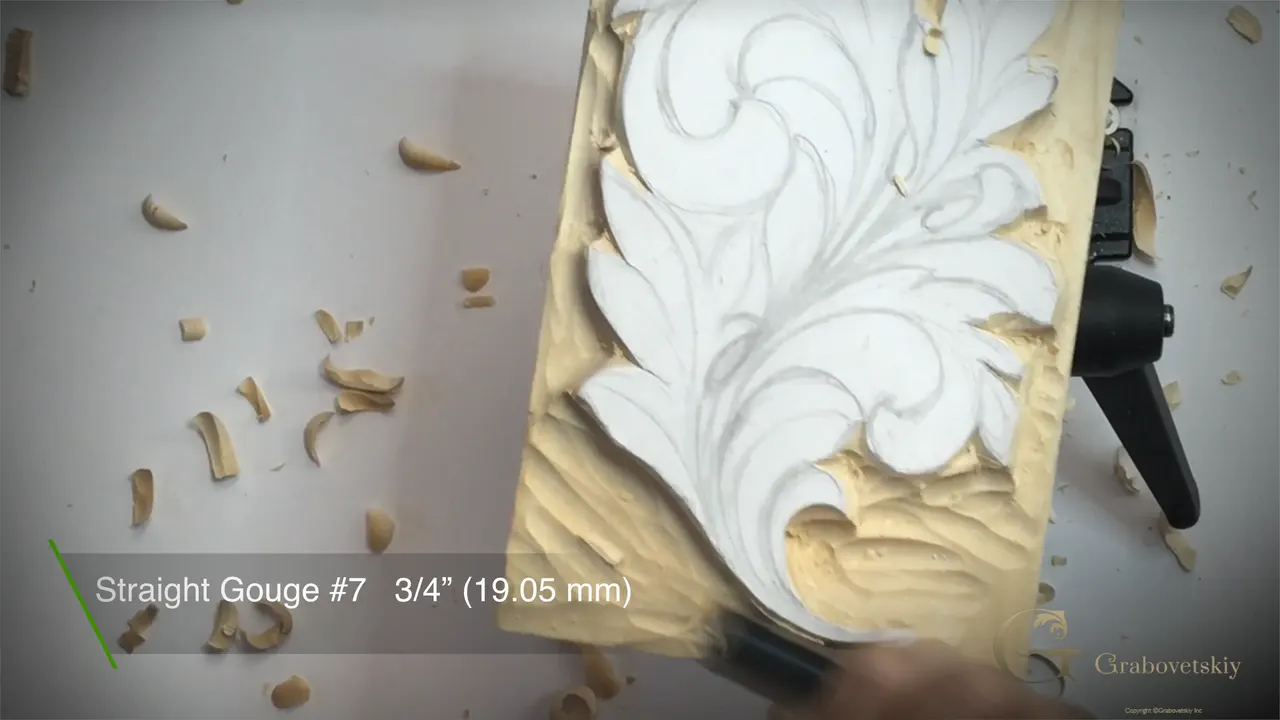
Two pencil marks go onto the edge of the block before one chip comes off. The deeper mark is where the ground finally sits. A fence line rides 3mm shallower than it, and every bit of the rough work dies at that second mark rather than the first. Everything here happens between the pair.

You glued the drawing down, you stropped every gouge on the bench, and now you are standing over a block with no clear idea where the first tool goes. That feeling is honest. It is also the moment most relief carvings are decided, long before anything on the board looks like a plant.
Setting in is the trade name for this stage. It establishes a main outline, and that is the whole of its job, since shaping and refining both belong to the lessons after this one. The acanthus leaf receives a silhouette and a floor.
Key takeaways
- Depth line first, fence line second.
- A number 12 knife opens an outline on limewood quicker than a gouge, and leaves a sloped wall behind it.
- Angle every early pass.
- Undercutting takes that whole surface off later, so a slope at this stage costs nothing at all and buys the leaf edge real protection while the waste beside it comes out.
- Buy the wide gouge.
- Grain running the way you are carving feels kind and hides splits.
- Square wall last, once the ground is down.

Where does 5/8 of an inch come from?
From the block. Mine is an inch and an eighth thick, I want the ground 5/8 down, and that leaves half an inch of leaf standing above it. No rule comes out for this. My finger goes against the side of the block, the pencil sits at the depth I want, and the two travel along together until the marks meet at the far corner.
Deeper than a Corinthian panel, by the way. I said in the drawing lesson that a Greek leaf goes further into the wood. This is where that promise gets paid.

Why draw a second line at all?
One mark is not enough for a two stage job. Boasting takes the bulk away in a hurry, and a hurrying tool overshoots, which is why the fence goes on. Rough work stops dead at the fence. That last 3mm belongs to a clean pass at the very end of the carving, when my hand is slow and my eye is on the finish.
Two to three millimetres is the safe band. An eighth of an inch is what my thumb already knows, so an eighth is what I use.

What holds the work while you carve?
A vice with a rotating head. Mine takes a plate screwed to the back of the panel, and the whole thing turns under my hands with no clamp anywhere near the edge I am working on. I love that vice. You can mount an odd shape in it, spin the piece to meet the grain rather than walking around the bench, and it holds really, really tight.
Which tool opens the outline?
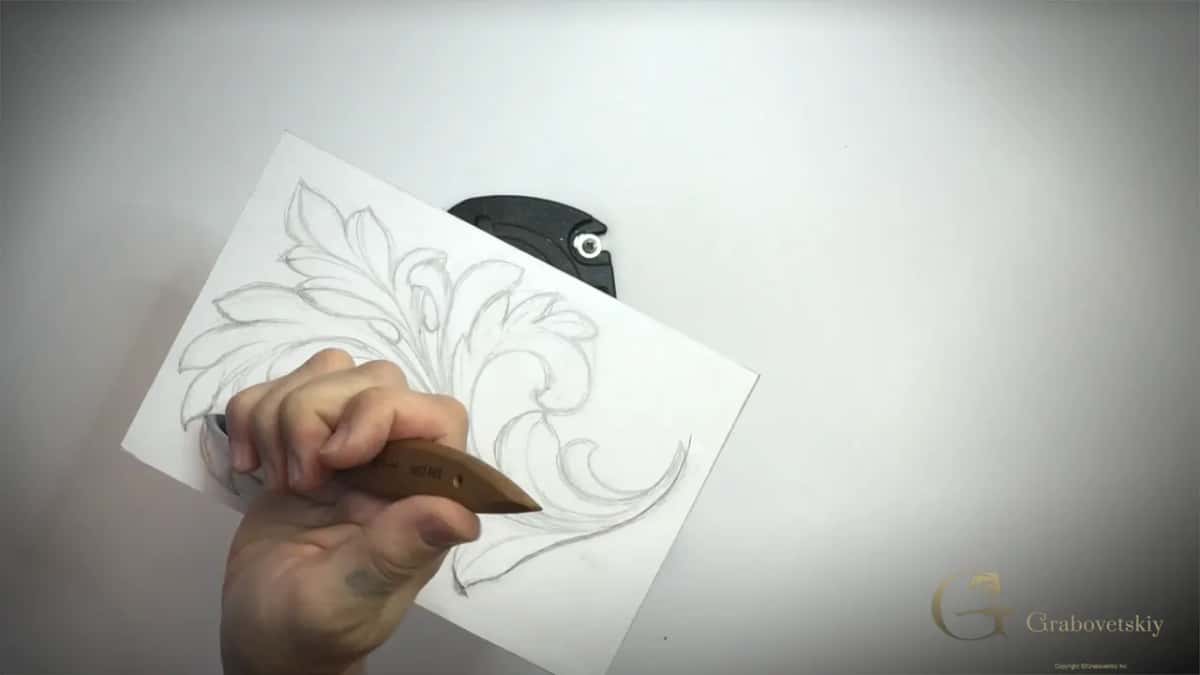
Any of three, and I picked the knife. A V tool will set an outline in. A big seven gouge takes great chunks out and gets you there fast. My choice on this panel was a number 12 chip carving knife, going right round the silhouette with an angled pass close to the drawing.
On limewood the knife is often quickest. It also leaves me the slope I want, which the next question explains.


How close to the line dare you go?
Close enough that the job is not carved twice. Mine lands right on the pencil, because I have done this a few thousand times and my hand knows where a blade stops. Your first leaf might want more room, and nothing is wrong with staying back an eighth, or even 3/16, then creeping up on the drawing over two or three visits.
Five millimetres of insurance costs you about ten minutes of extra creeping. Carving through your own outline costs the panel.

What does the bevel buy you?
Protection. When the knife leans out and leaves a sloping face rather than an upright one, that slope shields the leaf edge from every tool that comes at the ground afterwards. I can drive a 14mm seven straight into it and not flinch, since the whole surface is coming off later when I undercut. An upright face at this stage would be a face I had to defend for the rest of the carving.
Is a knife really carving?
Ask an Englishman and you may get an argument. In the UK there are carvers who will not call you a wood carver if the tool in your hand happens to be a knife, and I have never understood why. Wood is coming off the board. Someone is following a line they drew by hand, holding a sharp edge to it and watching where the fibres go. All of that counts as carving. The oldest way of working an ornament was to let the knife do as much as it would, and some of the finest work in Europe was made exactly that way.
When should you reach for the bigger gouge?
At the shop counter. Put two on the bench, a narrow one and a wide one, and the wide one does both jobs. Lay one edge of a broad sweep into a tight spot and it carves as though it were narrow, then turn it over and take a chunk the small tool could never reach. The reverse never works. A small gouge stays small all its life.
The wide ones do the work of both, which is the whole of the argument. My cabinet is full of them now, and the ones earning their keep are still the broad ones. The tools course goes through the numbering if sweeps are new to you.


Why rotate the gouge as it travels?
A pushed edge crushes fibres, and a turning edge severs them. Watch my wrist rather than my arm on the video, since the camera does not always pick it up. The tool turns while it moves, so the edge enters at one corner and leaves at the other. Same gouge, same pressure, and the surface underneath is a different surface.

How safe is working along the grain?
Less safe than it feels. Everyone teaches you to follow the grain, and a tool does slide more sweetly that way, which is exactly the trap. A micro crack inside the timber cannot be seen from the top, and when your pass runs along it the wood chooses the crack over your line. There goes an edge you needed.
Across the grain is the safer habit. It looks rougher, it is not as pleasant, and the whole silhouette can be carved that way with no surprises. For the awkward places I break the rule, and I break it knowing what I am risking.

Does the background have to look clean yet?
Not remotely. Mine at the end of this lesson is a field of ridges and torn spots and it does not bother me, because an eighth of an inch still has to come off and every mark I am looking at will vanish with it. I do knock the worst ridges back with a 20mm seven. Vanity more than necessity, that pass, though a shape does read easier once the floor around it stops shouting.

Should you ever rock the tool sideways?
Plenty of carvers say never. You are supposed to drive in a straight line and keep the edge from wandering, and when two delicate points sit close to my outline I wiggle it anyway. My hand rests on the wood, the movement is a couple of millimetres, and afterwards a clean pass goes over the whole thing. That rule exists for people who are not in control of the tool. Be in control and it loosens.
What is a wall cut?
Straight down, square to the ground, following the outline the whole way. The old name for it is a cut with the wall, and it turns a rough silhouette into something with an edge. Find the gouge whose sweep matches the curve in front of you, stand it upright, drive it, then clear the ground alongside. Then hunt the next stretch and the next tool.
That face is not the final edge. It gets undercut later, which is what makes a leaf look lifted off the background instead of painted onto it.
How deep is deep enough?
On this panel, as deep as I like. Nothing above or below the leaf is competing for room, so the only limit is how much wood I feel like spending. A furniture job answers differently, since a drawer front has a thickness and a frieze has a rebate behind it, and your carving lives inside whatever the cabinetmaker left you. On a commission the restriction arrives before you do, and you carve inside it. You work to the restriction or you work somewhere else. Depth is a conversation with whoever built the carcass, and that conversation happens before your pencil touches anything.

How the two marks divide the work
| Stage | Stops at | Tools | How clean |
|---|---|---|---|
| Outlining | Right on the line, or an eighth back while you learn the tool | Number 12 | Sloped, rough, and deliberately so |
| Boasting | The fence mark | A seven at 14mm, a wide eight, the rubber mallet | Ridges everywhere |
| Tidying | A whisker above the fence | One pass with the 20mm seven | Readable |
| The wall | Square, right to the boasted floor | Whichever sweep happens to match the stretch of curve in front of you | Crisp for now, gone after undercutting |
| Clean pass | Final depth | A slow hand and an edge straight off the strop | Finished |
Where does the rubber mallet come in?
Right where the hand runs out of push. Most of this outline gets carved by arm alone, then I reach a stretch of open ground needing half an inch taken off it and my shoulder starts negotiating. An eight at 16mm with a rubber mallet behind it goes through limewood without argument. Rubber rather than wood, since the blow is softer and the handle lasts longer.
Pick one up whenever the job asks. No prize is waiting for anybody who does it the hard way.
What happens if the timber decides to split?
You find out at the worst possible moment. Halfway down one side of this leaf my pass followed the grain into a split nobody could see, the split ran, and a piece of the edge went with it. That edge was coming down anyway, so I lost nothing. Put the same accident two millimetres over and the leaf is short a lobe.
There is the whole argument for a fence line, for the bevelled face, for turning the work rather than forcing an awkward direction. Each one is a way of being wrong cheaply. The beginner course spends a lot of time here, and not by accident.

Does any of this change on a different leaf?
Depths change and the method does not. A Corinthian panel sets in the same way, so does a Greek one like this, and so does a rosette or a shell or a run of carved moulding. Two marks, an outline, waste down to the fence, an upright wall. What shifts is how far down you go and how much leaf is left standing.

What the acanthus is doing in all this
It is the oldest ornament we have, near enough. I love acanthus leaves. Forty years of carving them and there is still no end to what a designer can do with one, which is why the furniture makers of every century kept coming back and why some are still using it today. Corinthian, Roman, Byzantine, and the Greek one on my bench are four answers to the same plant.

What comes next on this panel
Three inner sections still have to drop to ground level, and then the leaves that lie over each other need sorting out, which fills the whole of the next lesson. Eyes and pipes follow after that, and they are the first marks on this panel that will survive to the finished surface. Every one of those steps leans on an upright wall and a floor sitting at the fence, so there is no skipping ahead.

If your drawing is glued down and your edges will shave hair, you have everything this stage needs. Sharpening first, always, because a dull gouge tears limewood and then you will blame the wood. Then the design, then two marks, then the knife. The rest of it sits behind one door. Shall we carve?
How it's done
- Glue the drawing down. Spray mount holds the paper flat, and it peels away afterwards without leaving anything on your edges.
- Mark the depth. Run a finger along the block edge as a fence and let the pencil travel with it. On a block an inch and an eighth thick I take the ground 5/8 down.
- Add the fence line. A shade over 3mm shallower than the first. Rough work dies here.
- Mount it in a rotating vice. Screw a plate to the back of the panel so no clamp sits near an edge you are about to carve.
- Outline with the number 12. Angled passes the whole way round, pulled toward you, turning the work instead of walking the bench.
- Boasting, the fast stage. A 14mm seven across the open field. Where there is real depth to lose, a wide eight and the rubber mallet.
- Knock the worst ridges back. One pass with a 20mm seven. That is for your eyes, not for the finish.
- Stand the wall up. Match a sweep to each stretch of curve, drive it straight down, sweep out what falls loose, move on.
Frequently asked questions
What does boasting mean in wood carving?
Boasting is the fast removal stage that follows the outline. It brings waste close to final depth without shaping anything, and it stops at a pencil line drawn a few millimetres short, where an overshoot cannot reach the finished surface.
Why not settle for a single pencil line?
One mark gives a fast tool nowhere to be wrong. The shallower of the two catches rough work, while the deeper one waits for a slow hand at the very end. Three millimetres between them is plenty.
Can a leaf be set in with nothing but a knife?
On limewood that is often the quickest route. A number 12 chip carving knife takes an outline right round the silhouette and leaves a sloped face that protects the edge while you clear the waste beside it.
What to carve next