
Alexander Grabovetskiy, woodcarver, School of Woodcarving · Published 2018
What do you do when a wood carving breaks?
Quick answer: Fixing a broken wood carving is mostly glue and time. When my acanthus panel cracked where I had warned it might, I planned glue, a support if needed, and a night of drying, worked on another section meanwhile, and later kept a piece that broke off completely to glue it off camera.
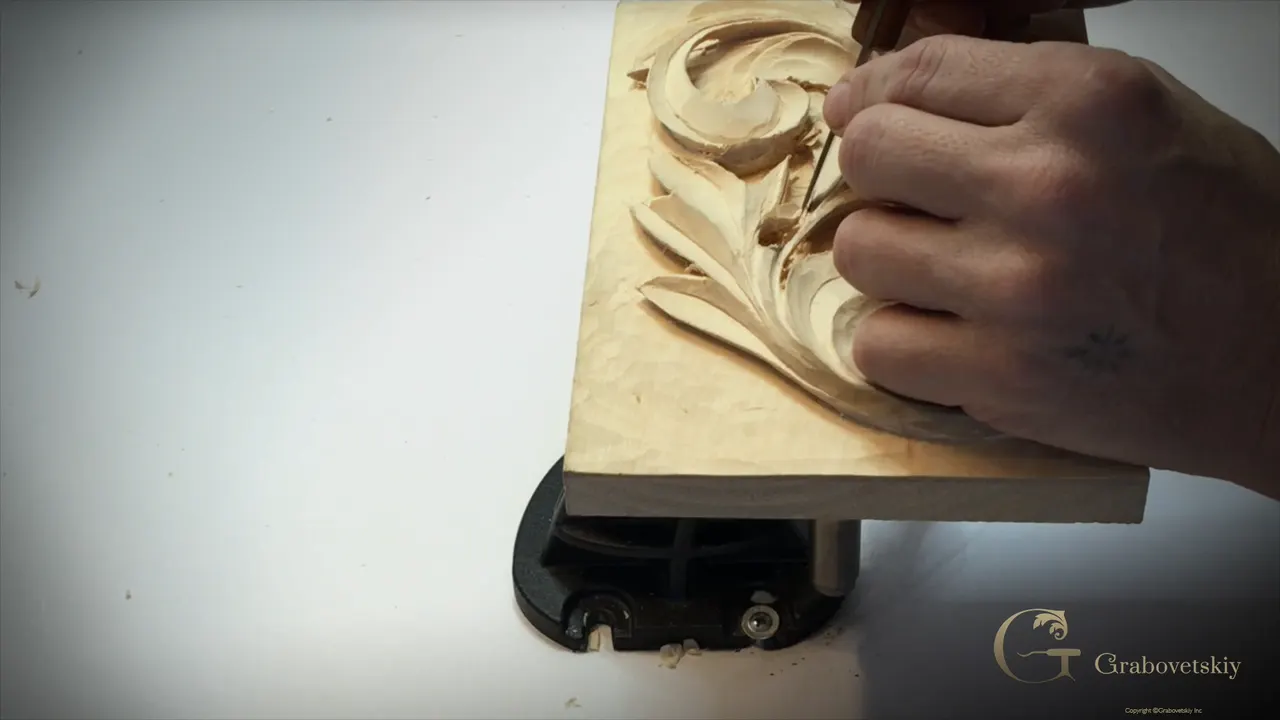
Fixing a broken wood carving is mostly glue, maybe an extra support, and one night to dry. That is what I planned on my Greek acanthus panel after I saw a micro crack at the weak point. After that I moved to a different section, without hitting that one.
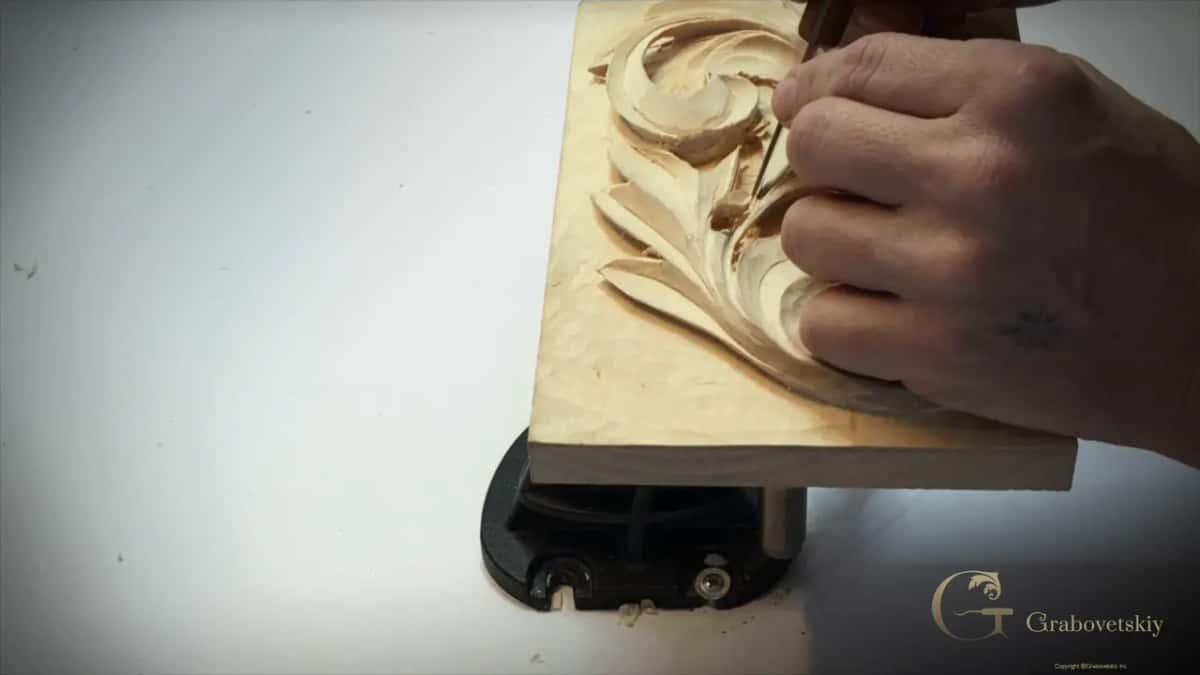
Have you ever looked at a thin leaf and been afraid it would snap? Ever pressed a little too hard right next to it? Then you know this feeling. I got too close to a spot I had warned about, and I told the camera I made a mistake. This page is that lesson, plus the way I glue a piece back on a Venice Room panel and a lily box.
A broken carving in five short lines
- Whatever breaks off, hold on to it.
- Glue goes in deep, a small clamp holds it if it needs one, and it sits until the next day.
- Work elsewhere meanwhile.
- Near a thin part, many light passes beat a single one.
- Not every break can be glued.

What did I do when my acanthus panel cracked?
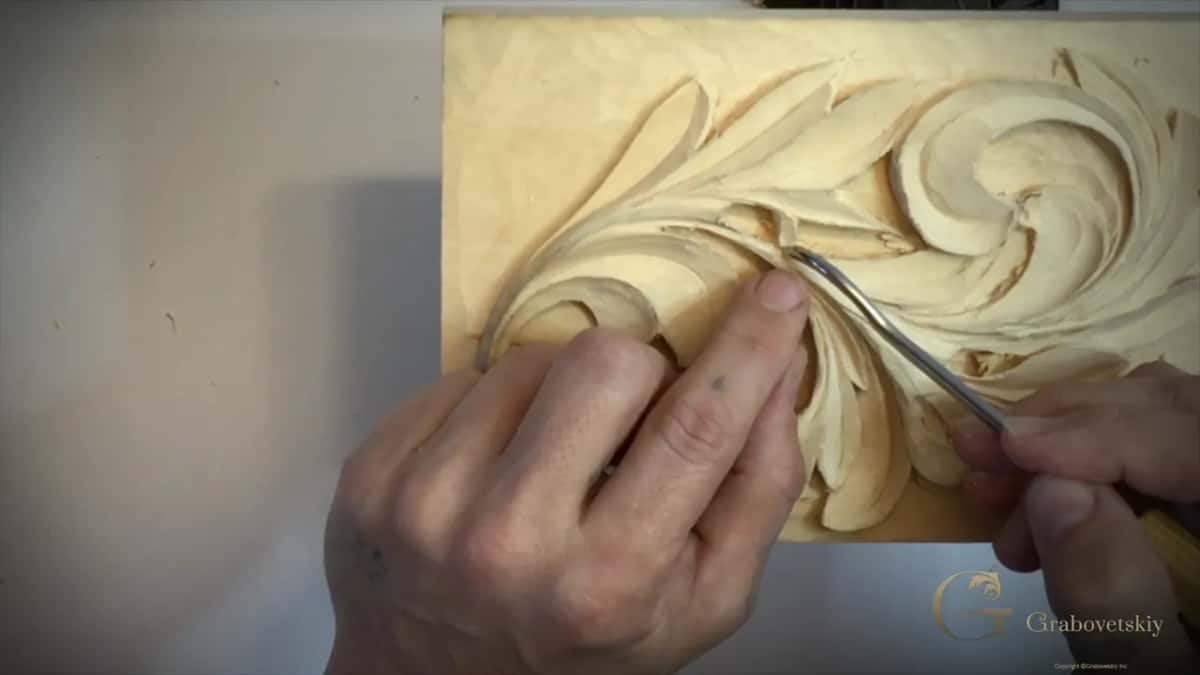
I named it right away. I was undercutting from the opposite side, with the knife at the beginning, and then I saw a micro crack in this piece. Oh, yes. I guess I made a mistake, I said, so I have to glue it.
Next came the number 9 again, little by little. What happened there did not make me happy, and I told you. You can see this is the weak point I was talking about, I said, and I got too close to it, so I have to fix it. And what I will do, I will put some glue right there, maybe an extra support, and leave it for overnight.
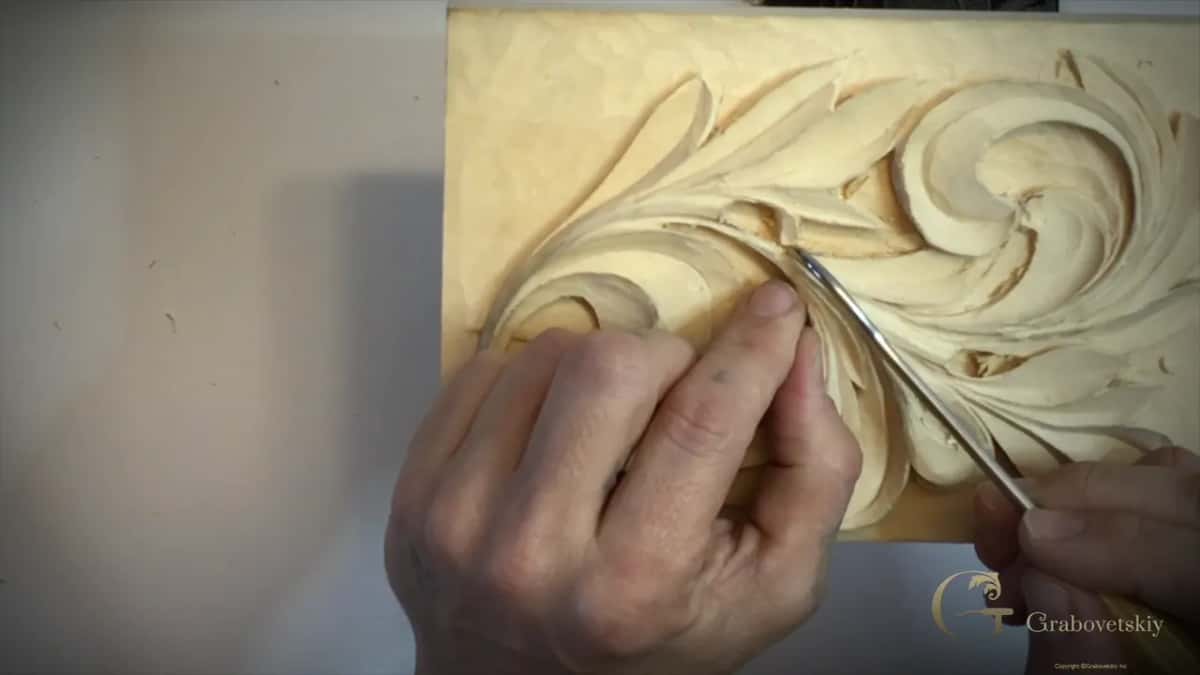
Where exactly did my panel go wrong?
At a spot I had already warned about. Near the end of lesson 12 I said to be careful with this piece, because the grain is going like this, and with extreme undercutting you can damage it. It's kind of a weak point, I said.
Earlier in this same video I was working a piece with a 2 mm (3/32 in) number 9A, and I said it was really fragile and could break. I probably shouldn't divide this piece from that side. But that's okay, I said. If you break it, you just glue it back.

Where do you carve while the glue waits?
On a different section. Right after the crack I said, let me just work on the different section without hitting this one. Maybe I'll just work on this wall right here. A number 5 at 8 mm (5/16 in) went to that wall, and I kept going.
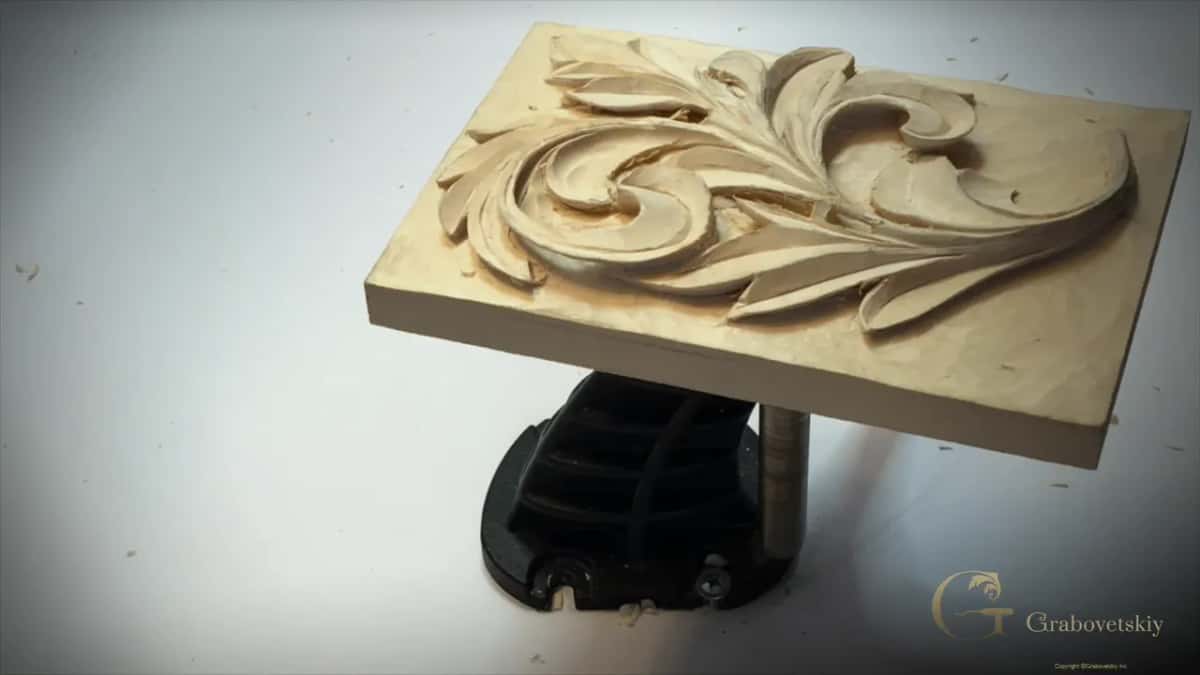
Two videos later the piece was still not glued. I have to be careful, I said, because I broke this piece right here, and I want to make sure I don't hit it again before I glue it and don't completely break it. I know that was a mistake I should not do.
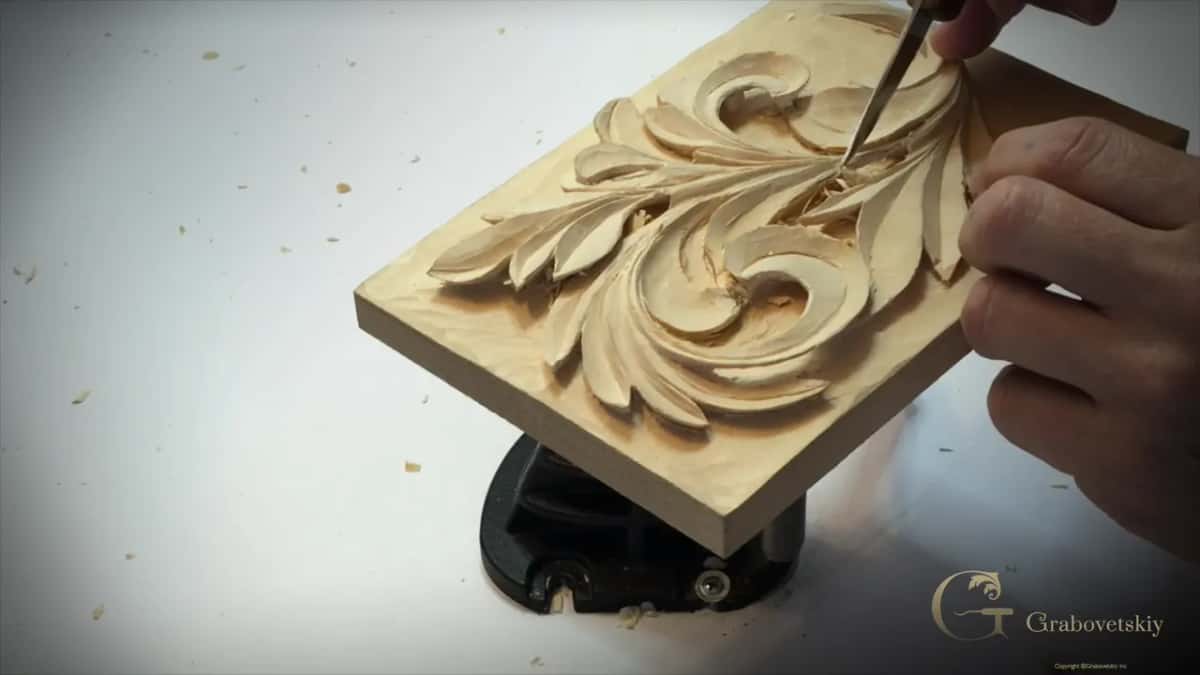
In the last part of the lesson a piece broke off completely. Okay, I completely broke this piece, I said. I'll just keep it, and I'll glue it off camera. My own repair went on off camera.

How does the glue go on?
Deep inside the break, then a small clamp until morning. The Greek panel went to the glue off camera, so let me tell you a story from the Venice Room instead, where you can watch all of it. In workshop 8 I said, see, I need to glue it, and for now I let it be.
And still I put it off. Yes, I will, I said, but I don't want to stop working yet. I'll glue it for the night, so that is not going to stop me right now. Some minutes later I gave up the delay, and I said I know I'm just trying to avoid that to the last moment, but I don't think it's a good idea.
Should I break it? I don't think so. I put some glue in and got it inside. I'm not going to save on the glue. I can always clean up that mess, and I want to make sure it's glued all the way. What do you do if something's broken? You just glue it back. Nothing special.
Before the clamp I wiped the excess, since I really don't want to see too much squeeze out. The rest I'll clean with the gouges later. Then a small clamp went on, not too tight. I could see a little bit of squeeze out, and that should be enough. And I'm going to leave it for overnight, I said.
Does every repair need a clamp?
Not every one. Lesson 7 of my acacia and olive wood lily box had a part that felt like it had no glue underneath, and that was exactly what I was afraid of. There are a lot of micro cracks inside that wood. I glued it back, and directly to the background too.
It happens. What can you do? I put a little more glue on, and I did not want any squeeze out, but I guess I have to clean it after. I don't think I even have to clamp it, I said. From there I went on with a curl, using a number 5 at 5/8 inch (16 mm).
Did the famous carvers break their work too?
Yes. Later on I will just glue that piece on, I said, but sometimes it does happen. I saw the glue lines. The most famous wood carvers still made those mistakes. I have seen it many times.

Why a small gouge instead of a V tool?
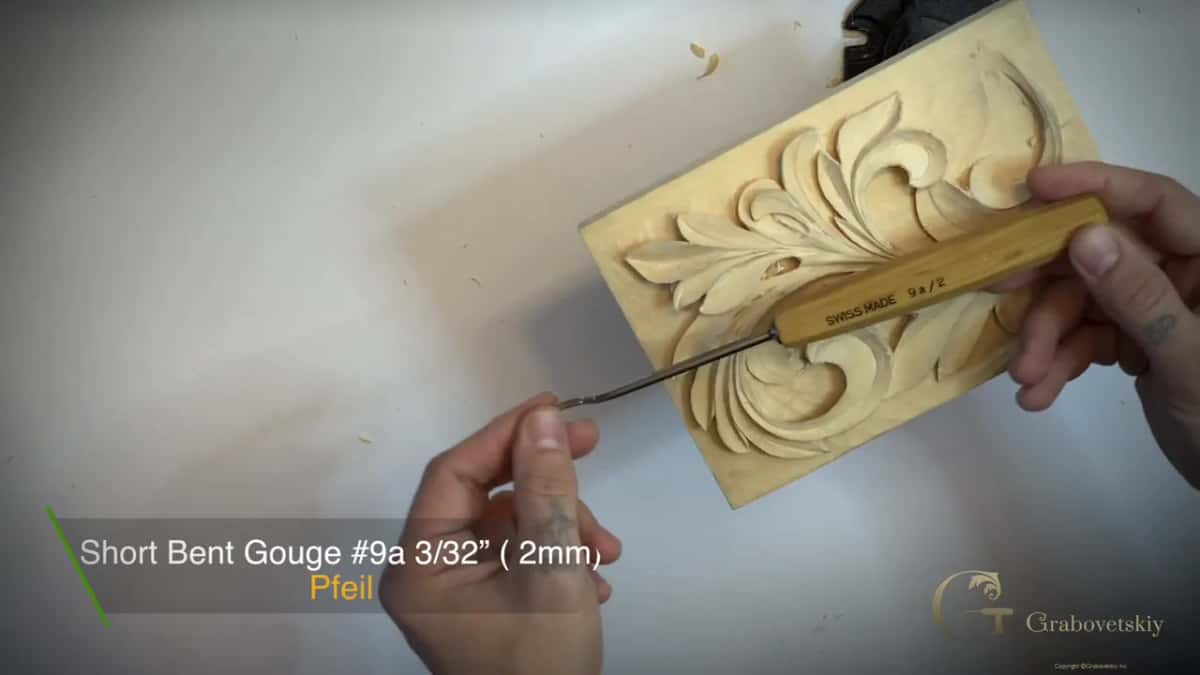
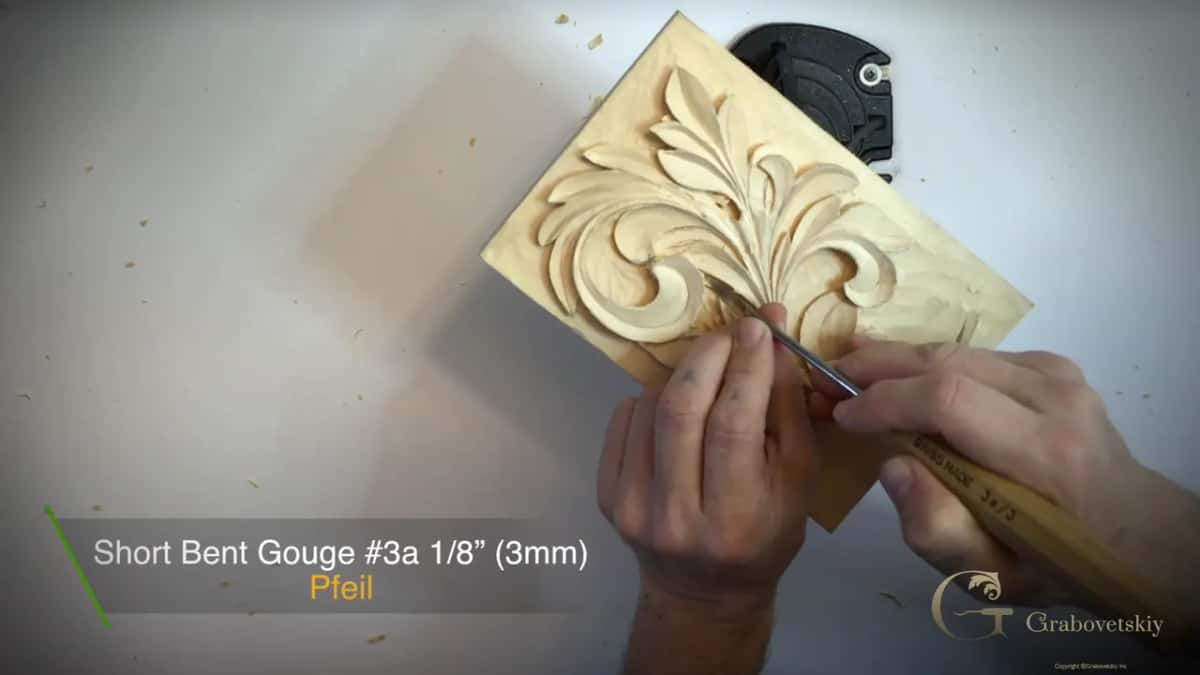
A short V tool is not the only choice near a fragile piece. In a case like that, I said, it would be a really good idea to take a short bent 9A, only 2 mm (3/32 in). I just use it as a gouge, and I remove whatever I can reach from this side. The card on the screen says Pfeil.
How many passes near thin wood?
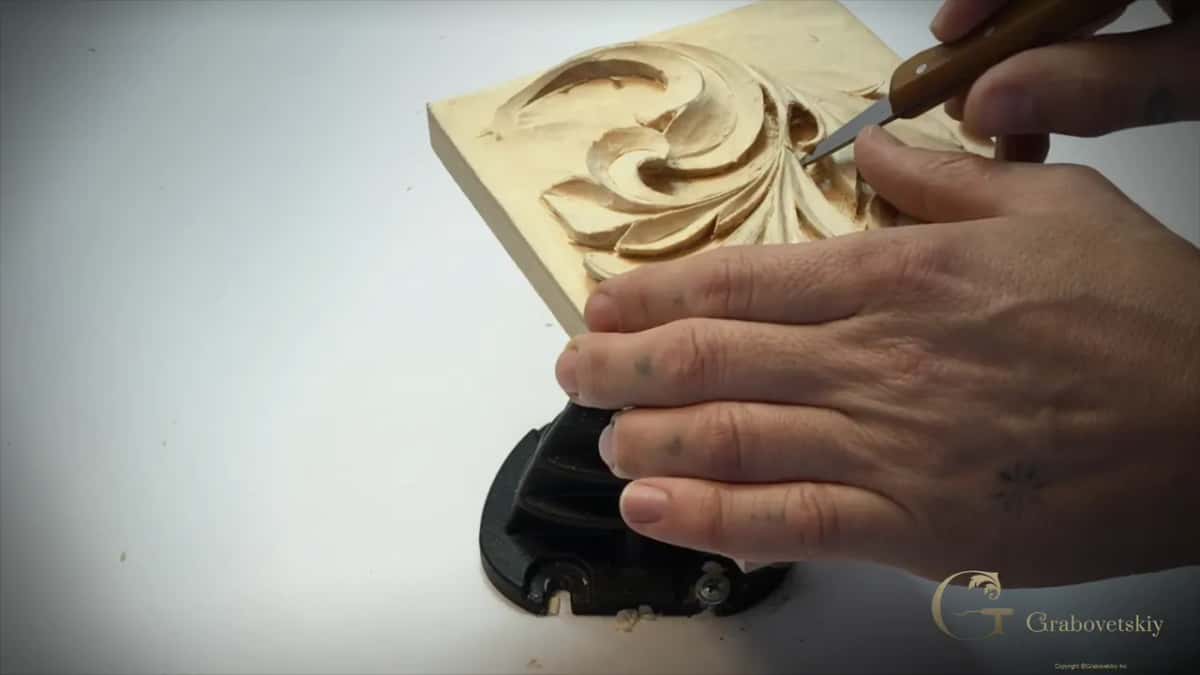
More than one. Knife in hand, I said, carefully, try not to break it, and make multiple passes. It's better to make multiple passes than a single one.
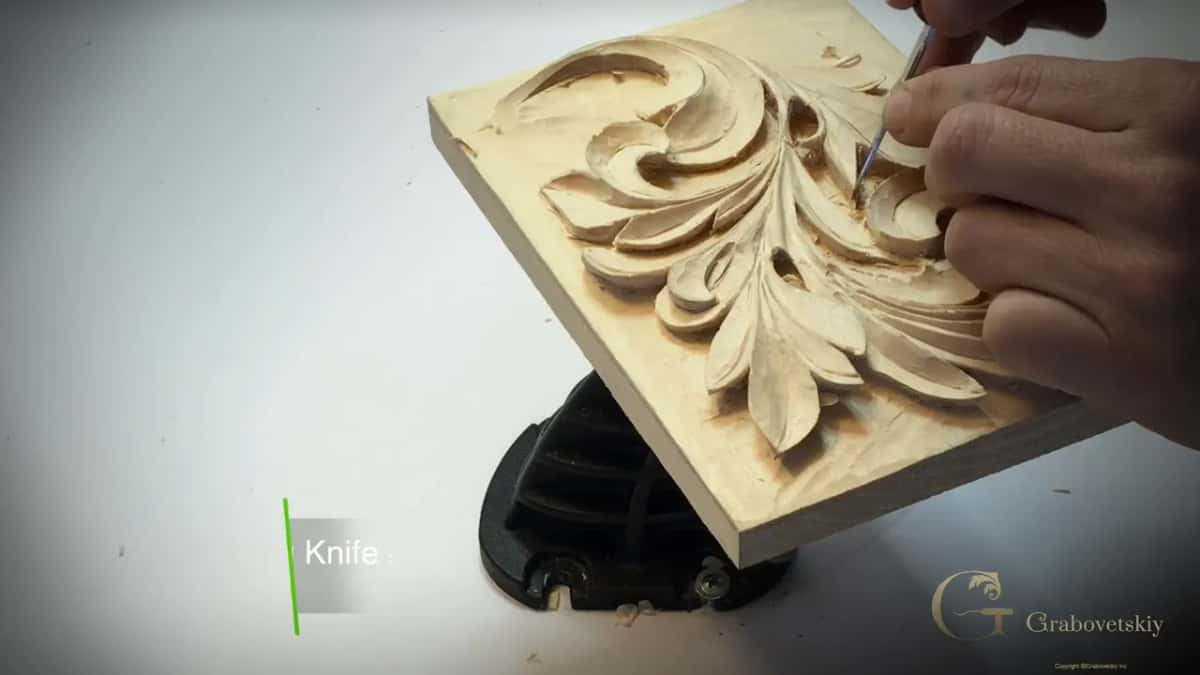
The same lesson opens with my knife, and I told you I like to use a knife a lot, although it's kind of dangerous. If I press it, I damage this piece right here. Then came a number 12 short bent, carefully, really carefully. Really important not to force it, and believe me, it's easy to break.
What tells you to stop before it breaks?
Movement. In workshop 18 of the Venice Room I was going up with a number 11 at 2 mm (5/64 in), carefully. At some point even two millimeters is a little too big. If I crank too much, see, it's already breaking, so I said that's not good, and I stopped.
No glue this time, I said, I'm going to fix it. If you see the movement like that, that's it. You're pushing it too far. So I took a micro tool, a number 3 at 1/8 inch (3 mm) by Peter Benson, and made many small passes inward. It does not make a lot of stress, because it is a really thin tool, and that's why it's safe to use. My other number 3s from other brands are too thick, and I really need thin.
Why change tools for the same job?
Boredom, for me. There is more than one tool you could use, I said, but for myself, I found that when I'm changing tools, it's not as boring anymore. You can get bored if you use the same tools all the time. First, of course, you train yourself to use different tools. Second, you just get rid of the boredom.

Soon after I saw my edge was not really nice, and I used the same tool to fix it.
What is a short double bevel number 1 for?
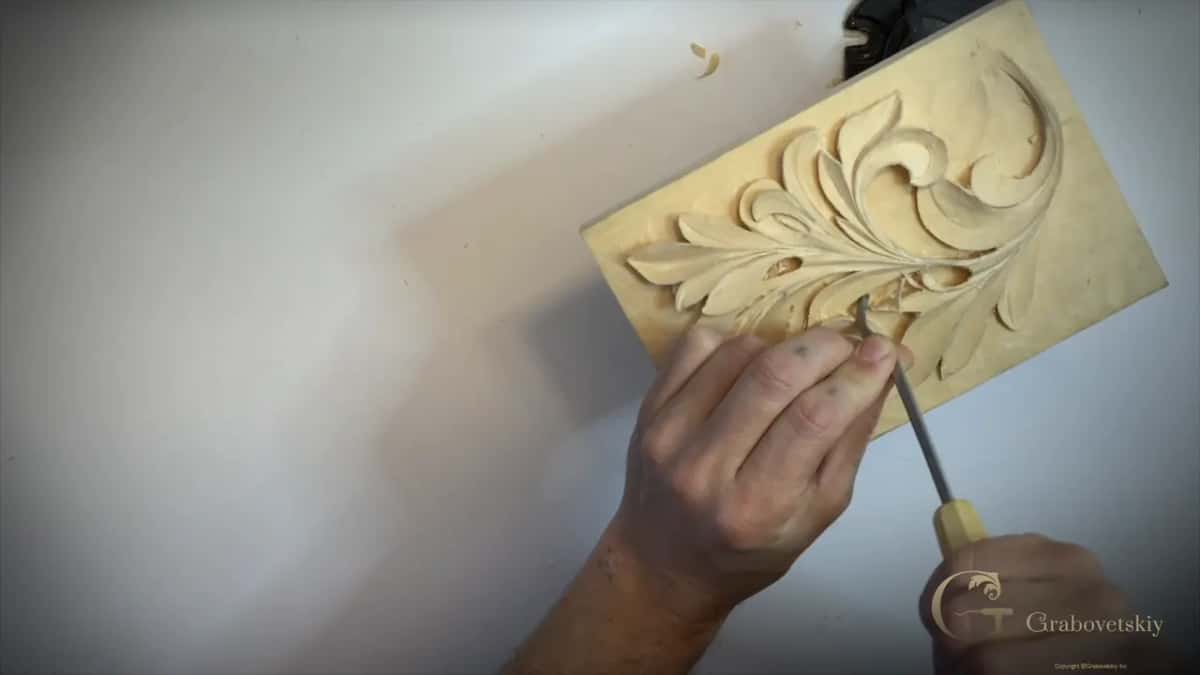
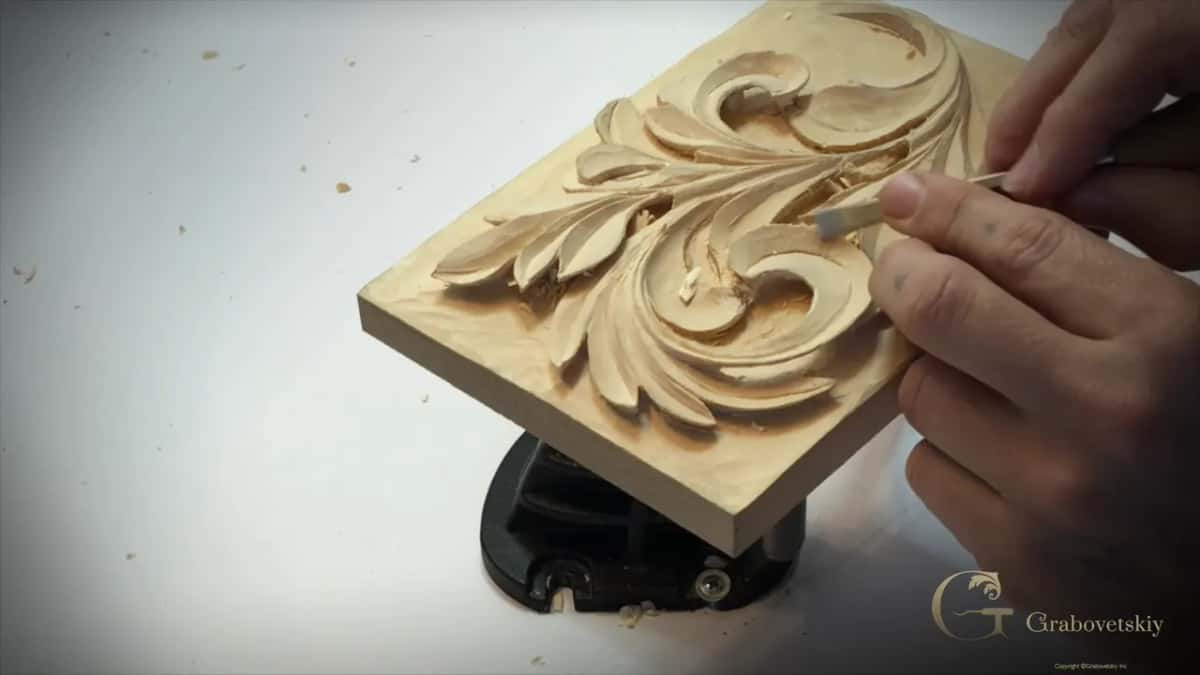
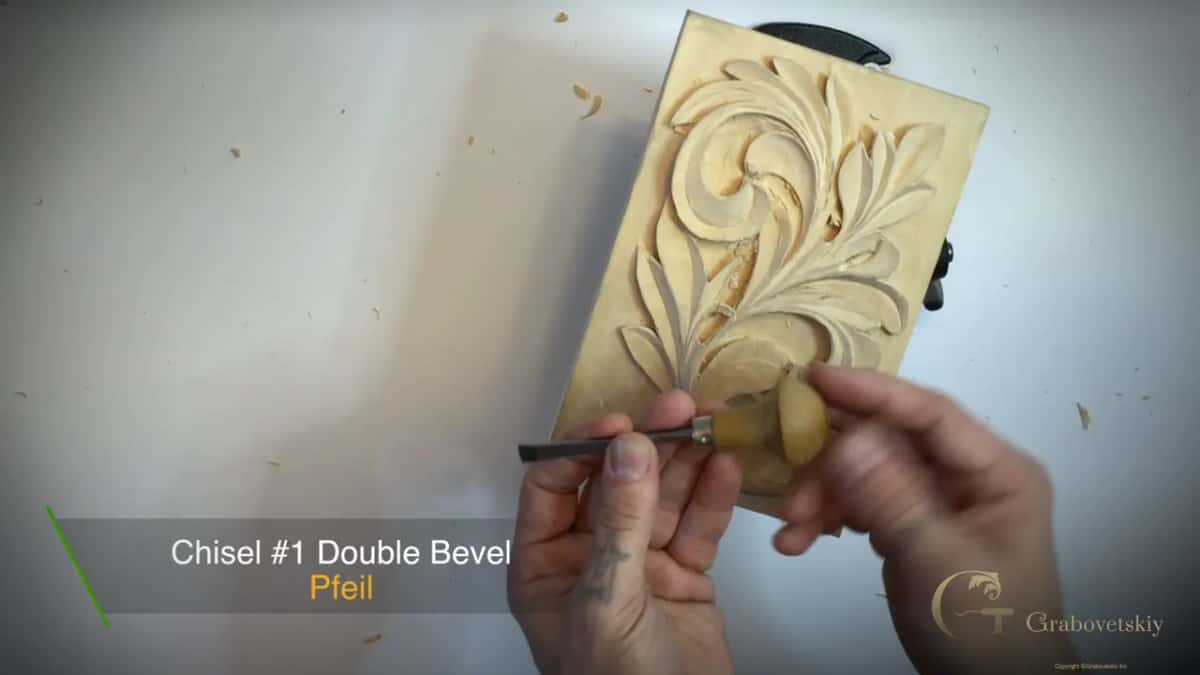
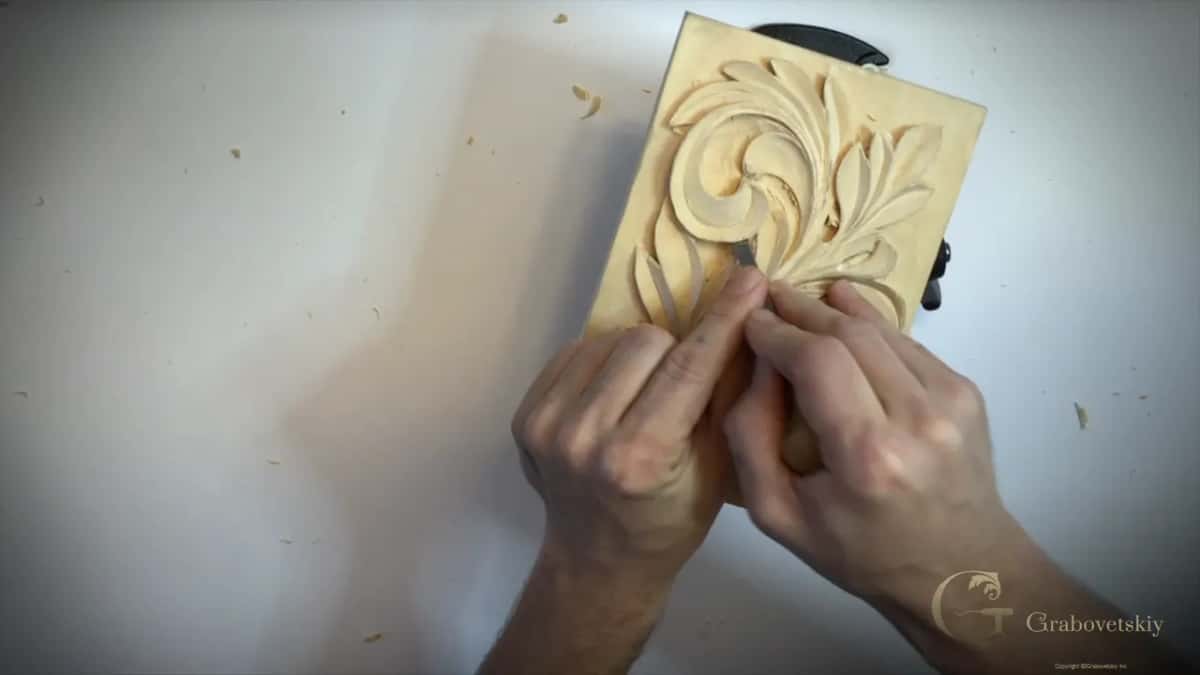
Tiny spots. Mine is a small double bevel number 1, and it's really short. They used to call it ladies tools, but they are not ladies tools. It's just really handy for getting into tiny spots like this one, and I really like it. It has a bevel on both sides, and it gets into spots where other tools would not be handy, and the screen card calls it a chisel.
Should you push or slice a gouge?
I slice. Maybe it's not visible on the camera, but with my number 5 I was not just pushing. I start on the right-hand side and move just like that, to the inside, little by little. Then let me take this out, I said, just hook it out.

Is a bigger tool always faster?
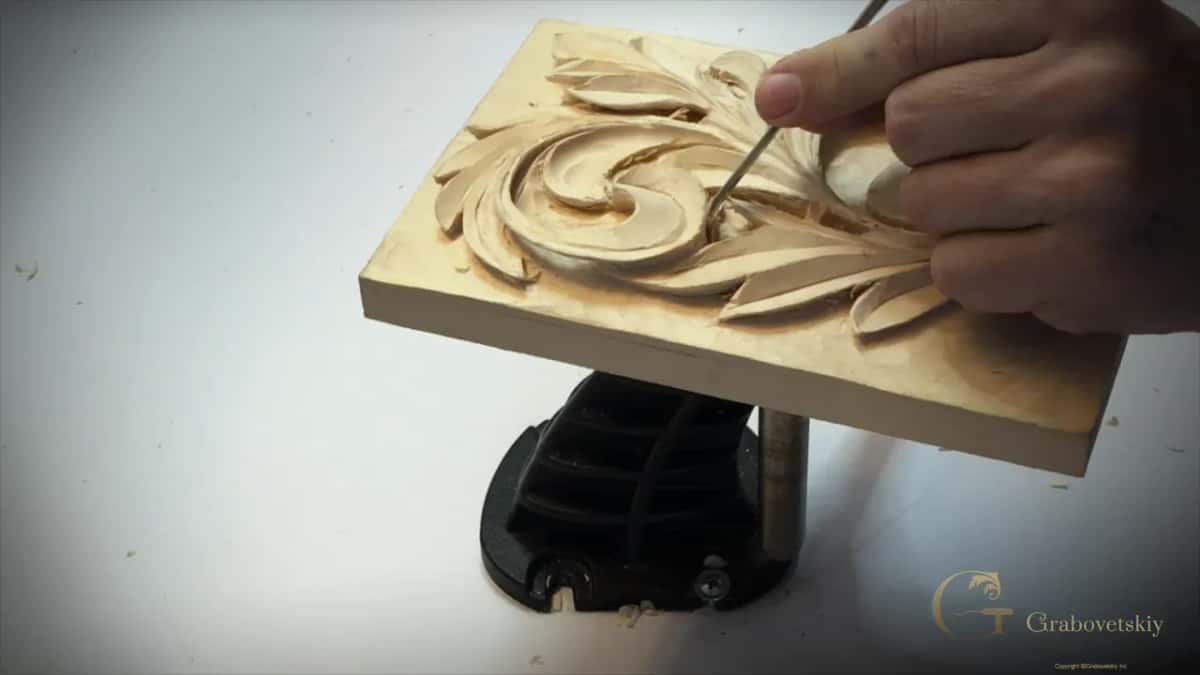
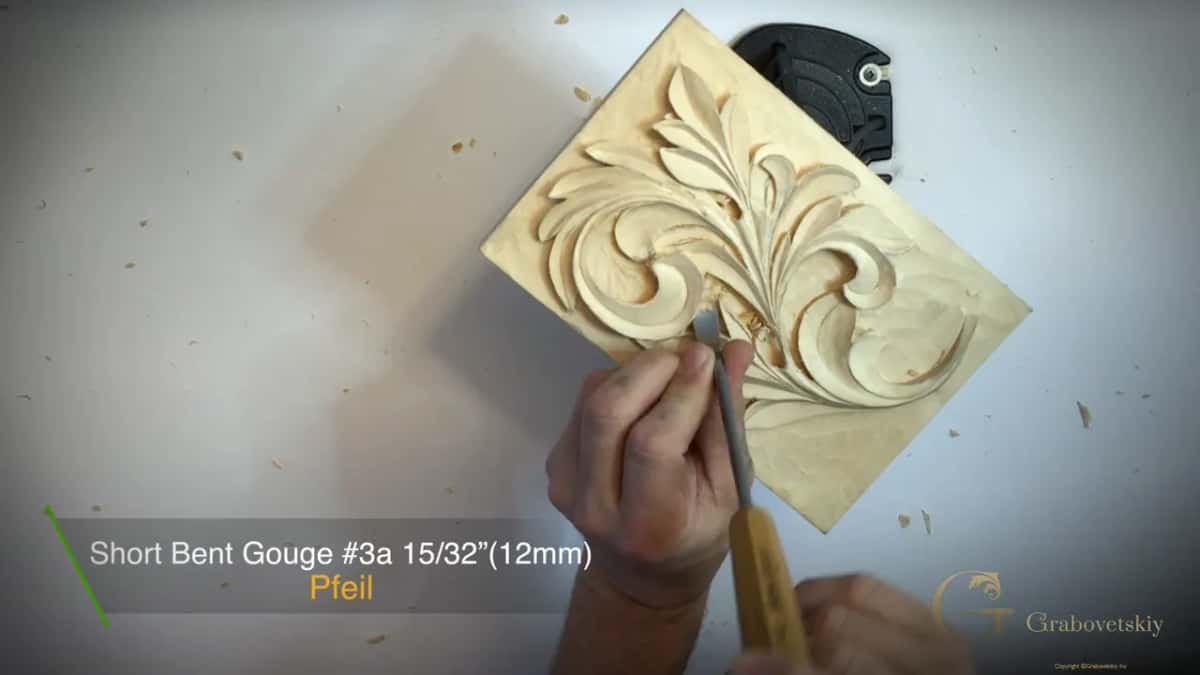
Not in this spot. To clean the bottom, I took a short bent number 3 at 12 mm (15/32 in). It was a little too big. I should be more careful with this, I said. So I went to the 5 mm (3/16 in) number 3, and it was much better.

Why must the middle line continue underneath?
This section goes under, and the line has to go with it. Where one leaf passes beneath another, the groove down its center has to carry on into the shadow rather than stopping at the overlap. I'm not sure you can catch that on the camera, I said. I used the knife, number 12, and then a 3 mm (1/8 in) number 3 to hook out the chunk we don't need.

A middle line going underneath left a ridge in the last video. I took the same 5 mm number 3 to blend it, and I rotated the panel to attack it from the correct side. Now I don't have that ridge, and that looks fine to me.

How do you find a bump in an outline?
You look for it, and you fix it while you are there. I'll come back to the outer lines, I said. What I am after is a true flow line. One spot showed a difference of about 1/16 of an inch (1.6 mm). It's like a bump, and I don't like it, so I reached for a knife, since I am here anyway.
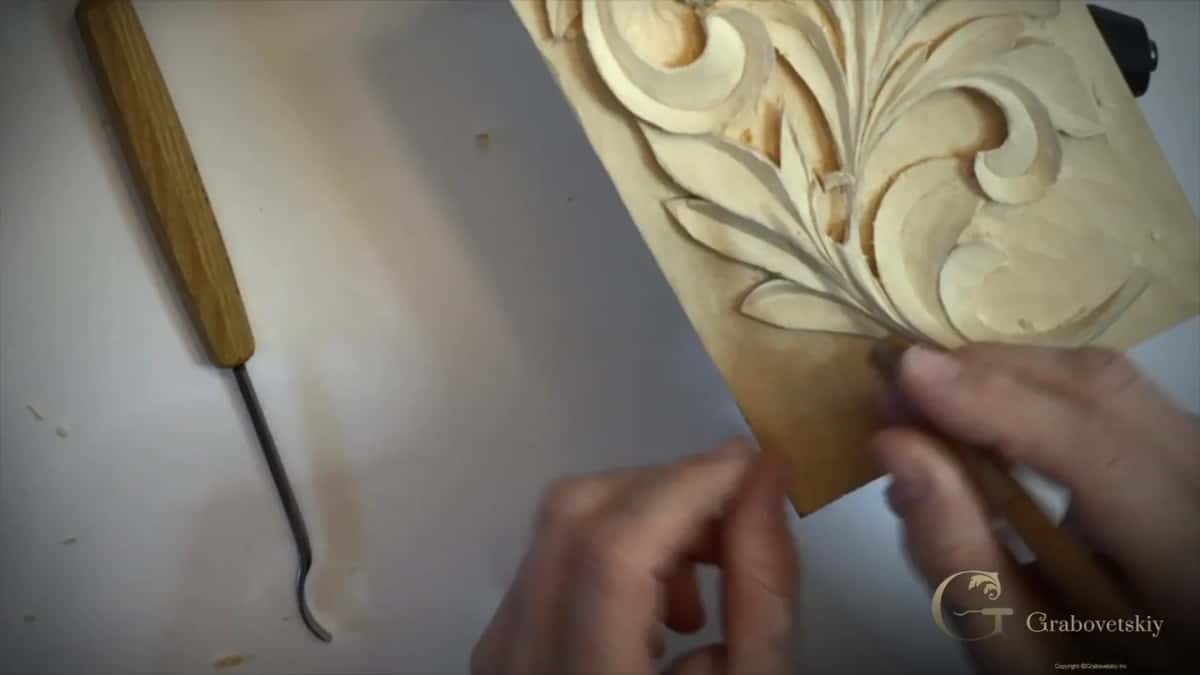
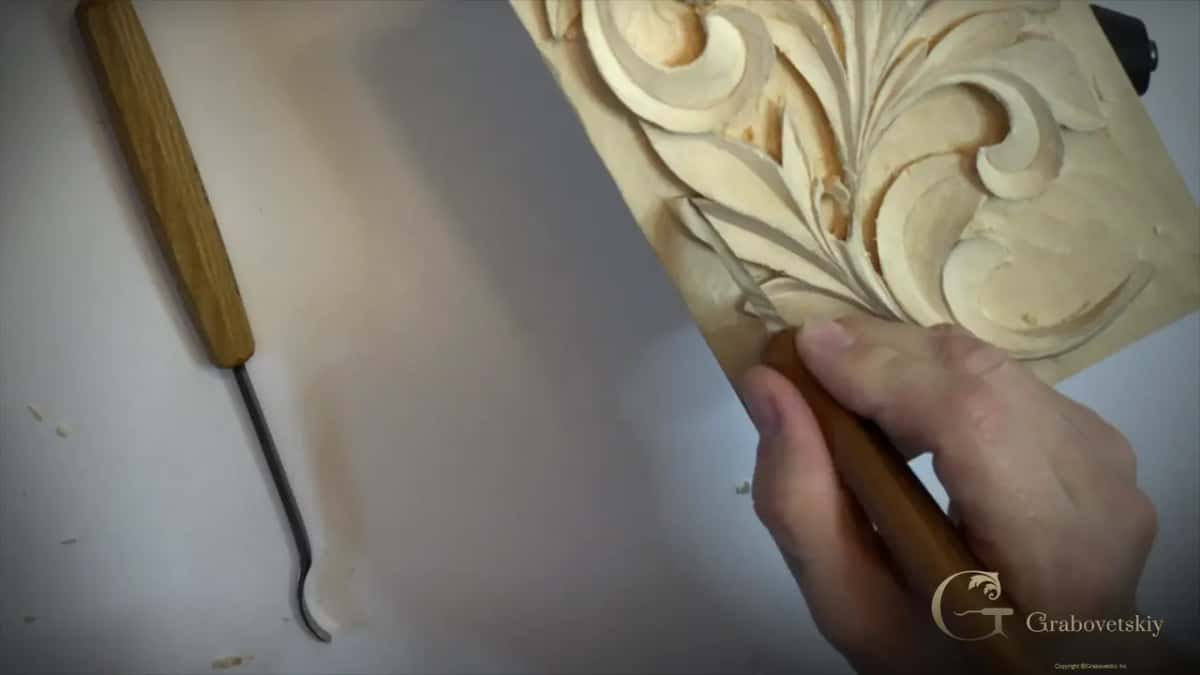
Now I like this line much better. On the other side I fixed a little notch that should not be there.
Can you break a knife as well as a carving?
Yes, you can. Using the knife to take out some junk, carefully, I said, believe me, you can break your knife if you're not too careful.
Why go deeper than you have to?
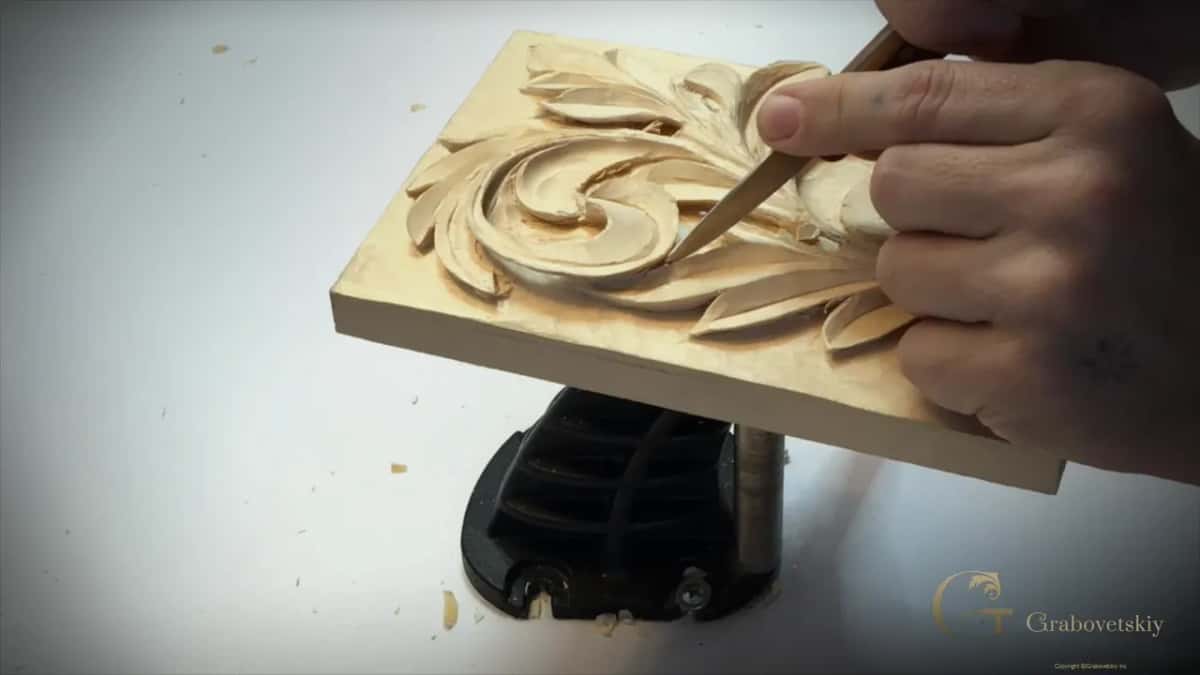
I like it, and this piece is only decorative. You would ask me, why deeper? Well, you don't really have to go that deep. I really like extreme undercutting, I'm not always doing it, and this piece is not a furniture piece. It's just a decorative piece, and nobody is going to destroy it, and the deeper the undercut you make, the nicer it looks, in my opinion.
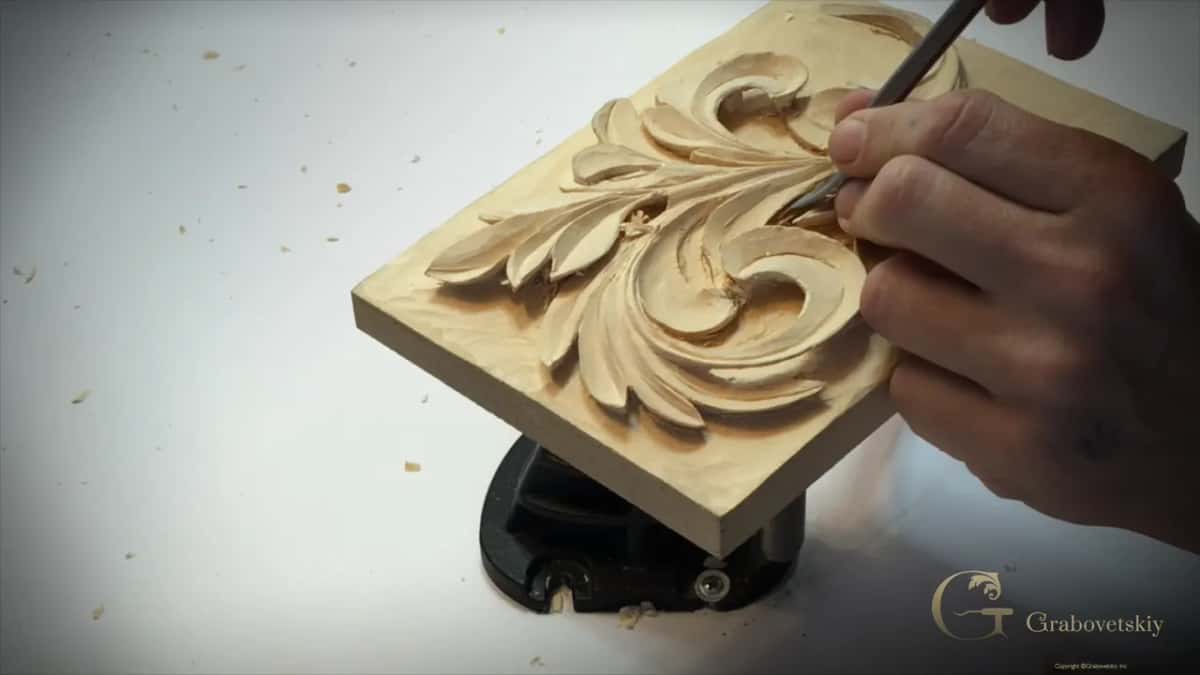
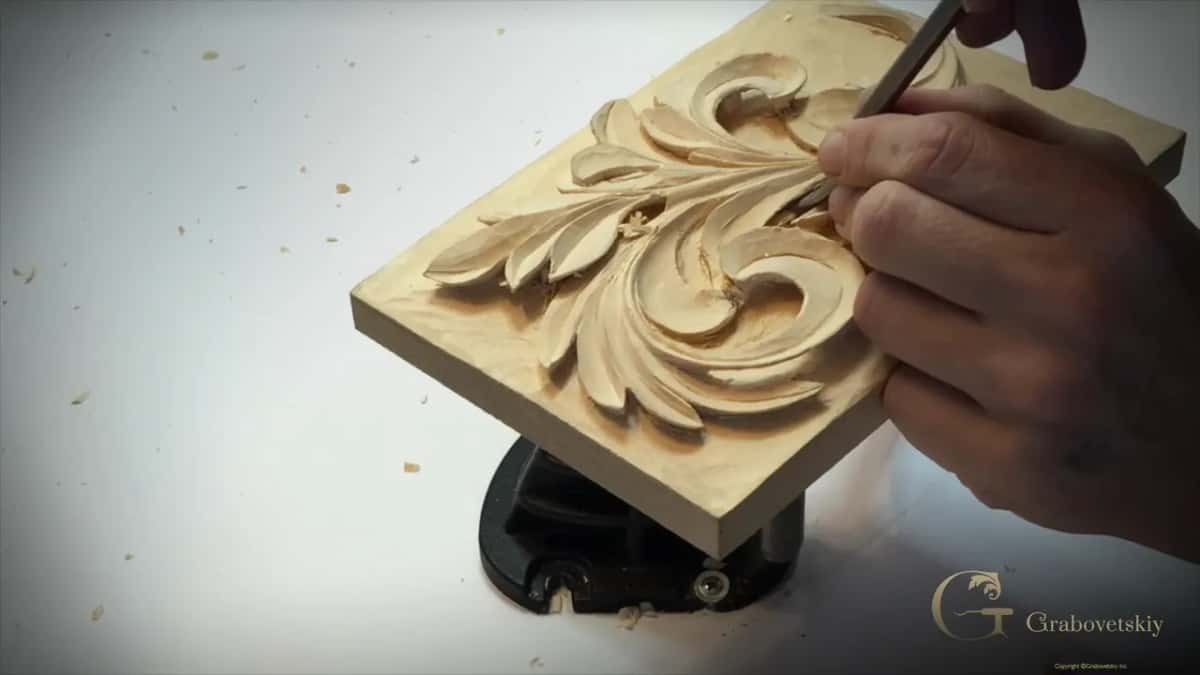
A minute later, with the 5 mm number 3, I said you can see how nice the shadow line is, and how deep my tool goes.
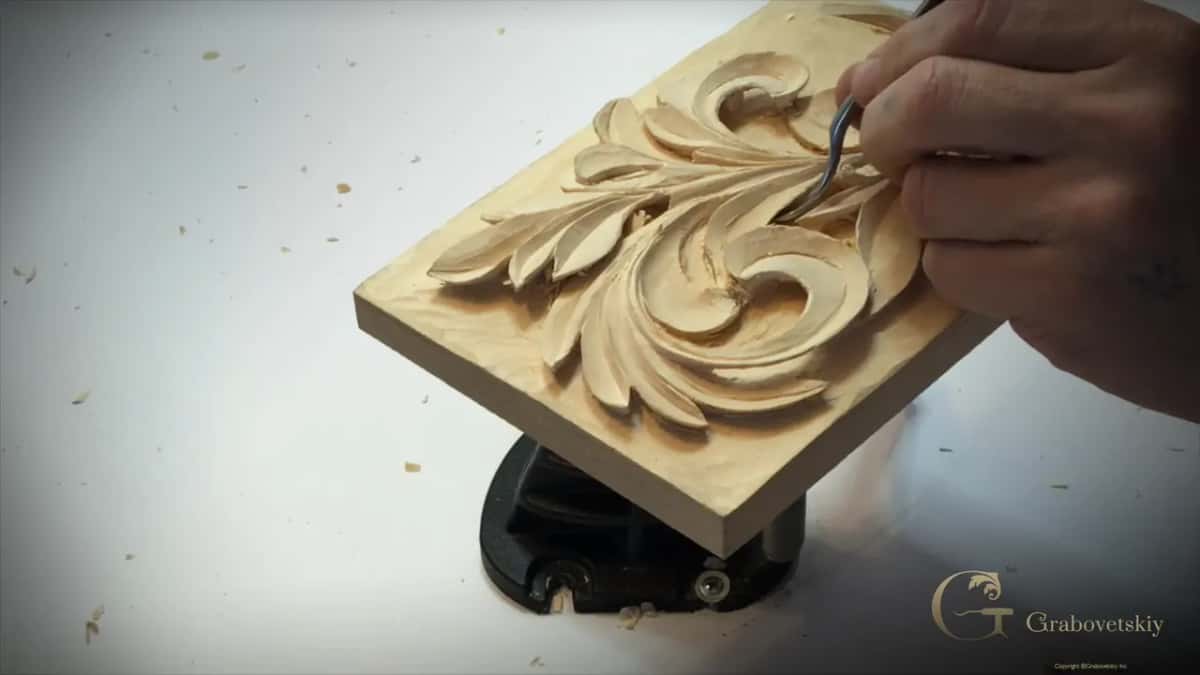
One video earlier, for one spot, I took a number 25 back bend, 13 mm, which is really close to half an inch. It is possible to get a really deep undercut with it, and when it was done I said, okay, I'm happy. Back bent tools have a lesson of their own in the tools course.
What does the background have to reach?
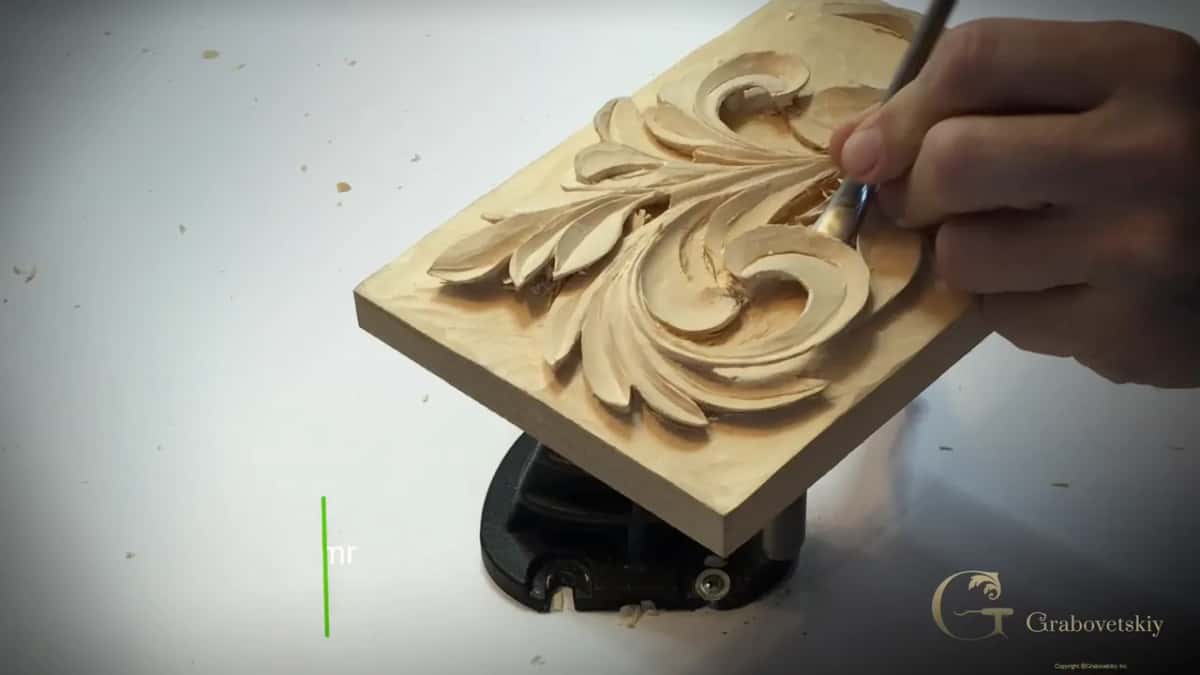
The main background, at the same level. Of course I can clean the background a little deeper, I said, and the goal is to take it later all the way to the main background. It has to be on the same level. The panel is lime wood, as I said in lesson 5.


What about a place no tool fits?
Patience. The area right here is not handy for almost any type of tool, I said, but that doesn't mean it's impossible. It's still possible to undercut and to clean the background. Patience is the thing we all need.
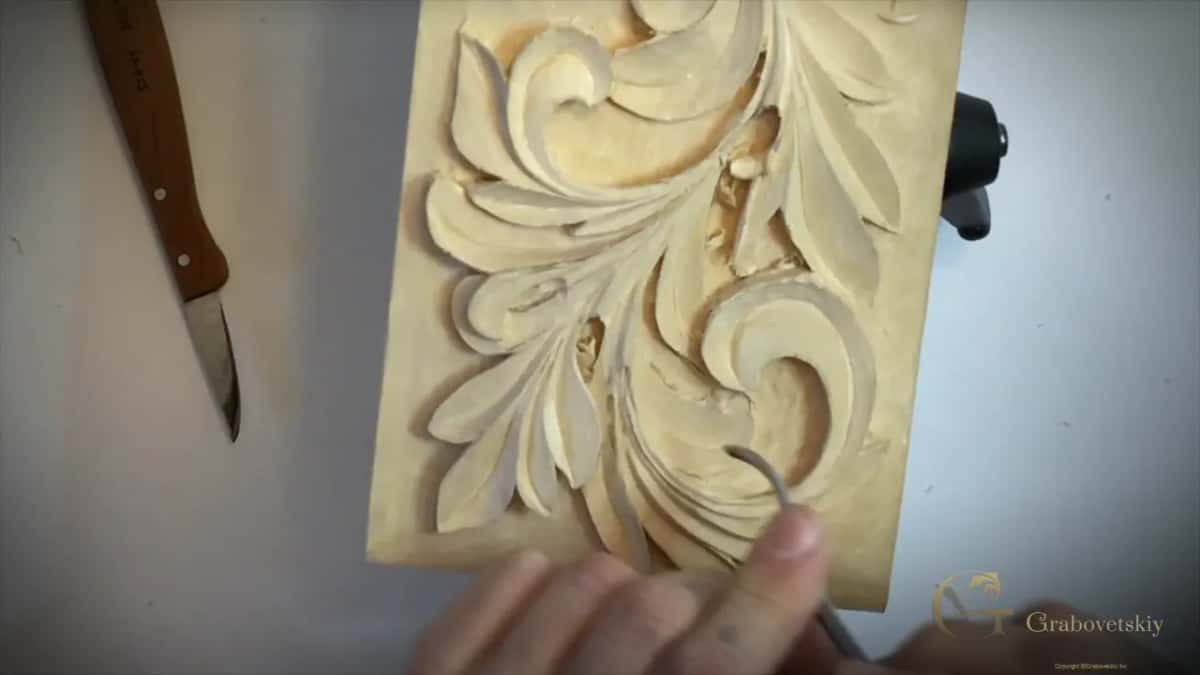
What separates ancient carvers from carvers today?
Speed, I think. The biggest difference between the ancient carvers and today's carvers, I said, is that today's society runs on speed, like go. And that's not always good. Right after those words I completely broke a piece.
A little later I was still using the number 3 short bent at 5 mm, a 3A to be exact, and I said that is how Pfeil marks those short bends.

What happened to the broken piece after lesson 13?
It turned into an advantage. In lesson 14 I said that since I broke that piece, I can use it as an advantage and undercut this section, which I could not probably even reach before. Then I left that section alone until I fixed what I broke. I could leave it without it, and it would still look nice, but I kind of like the original design.
Later that lesson another piece went. It looked solid, but it was more fragile than it looked, and I just broke it. But it's okay, I said, I'll use it to our own advantage. Undercutting is not that easy, so sometimes it changes your design. On furniture, if I had to make exactly the same pattern, I could not allow those errors. Two mistakes in one day. That's kind of not good.
Back in lesson 11 I answered a question people have asked me before, what happens if you break something. It's better not to break. Some stuff you can fix, some stuff you can glue back, but many times you really can't. Soaking a thin part with thin super glue before it breaks is its own lesson, on stabilizing a fragile carving.
Which tools did the work in lesson 13?
| Tool | What it did on this panel | My words |
|---|---|---|
| Chip carving knife | Opened the first line, later refined the edges | Press it, and I damage this piece |
| Bent number 12 | Went under carefully, really carefully, with no force | Believe me, it is easy to break |
| 9A, 2 mm | In place of a short V tool, carefully | Remove whatever I can reach from here |
| Number 5 gouge | Sliced along the wall, from the right side | I am not just pushing, I'm slicing |
| Double bevel 1 | Short chisel for tiny spots other tools miss | I really like it, actually, I said |
| Back bend 25 | Thirteen millimeters across, for a really deep undercut | It is possible to get really deep |
| 3A, 5 mm | Hooked out waste and blended one ridge away | I'm just doing little moves, like hooking |
What would I tell you if your carving just broke?
Save what came off. Put glue on it and give it the night. Then work somewhere else on the panel until it is ready.
The full lesson, with my mistake left in it, is in the Greek acanthus course, and Access opens it together with every other lesson in the school.
How it's done
- Keep the piece. I kept mine to glue off camera.
- Move to another spot on the panel. Choose a wall away from the damage and leave the broken spot alone.
- Get the glue inside. Plenty of it, deep in, since the mess cleans up later with the gouges.
- Wipe the excess. Take most of the squeeze out off first.
- Clamp lightly, or not at all. A small clamp, never overtight, with a little squeeze out showing. Some parts may not need it, as I said on the lily box.
- Leave it overnight. Let it sit until morning.
Frequently asked questions
How do you repair a carving that broke?
Glue does most of it. For a Venice Room piece I pushed it deep into the crack, wiped what squeezed out, put on a small clamp that was not too tight, and left it until the next day. Before that I had put the job off for a while, which I said was not a good idea.
Do professional carvers break their work?
Yes, and the most famous carvers made those mistakes too. I said so in lesson 13 of this course, with a cracked piece of this panel still waiting for glue, and I told you I saw their glue lines many times.
Should you keep carving after a break?
Yes, just somewhere else. I took my number 5 gouge to a wall in another part of the panel while the cracked piece waited for glue. In the lily box course I glued down a part that had no glue under it, then carried on with a curl.
What to carve next