
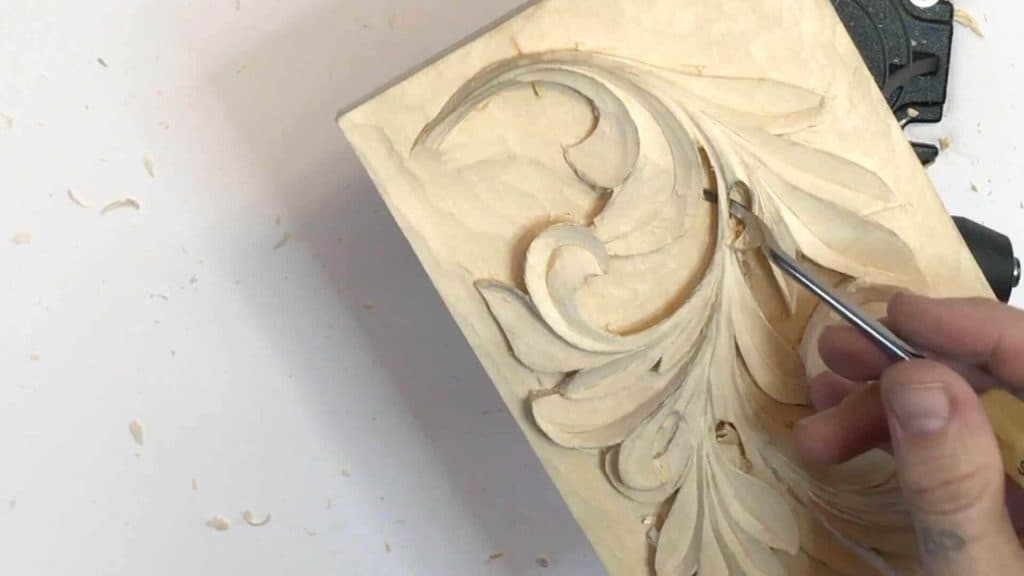
Alexander Grabovetskiy, woodcarver, School of Woodcarving · Published 2017
How do you make a wood carving look deep?
Quick answer: A deep look in a relief carving is mostly shadow, and on my Greek acanthus leaf the shadow came from extreme undercutting. Short bent and back bent gouges and a curved Chris Pye tool took wood from under the edges until pieces seemed to float, and one section got carved right through, so light comes through.
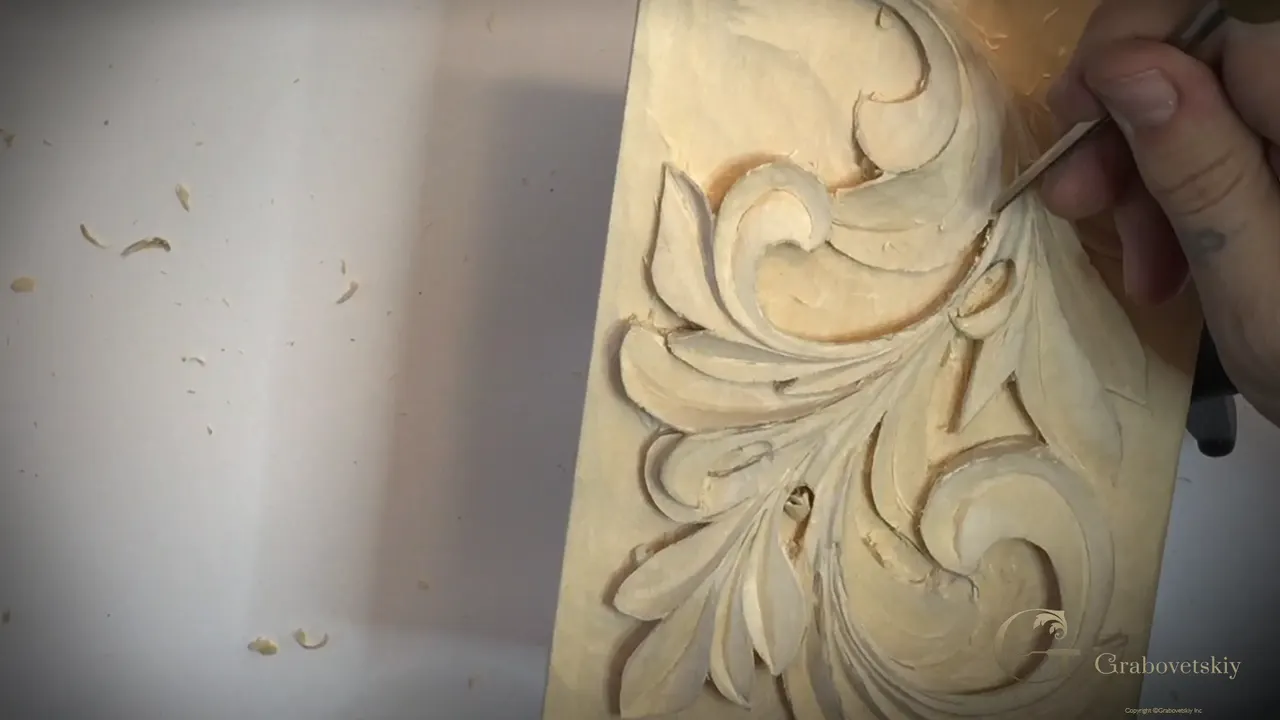
Making a wood carving look deep is, for me, a matter of shadow, and on this Greek acanthus leaf the shadow comes from extreme undercutting. I take wood out from under the edges until a piece seems to float, and in one spot I go right through, so light comes through.
Have you seen a carved leaf whose edge seems to lift off the board? And did you notice the dark line under that edge? That line is what this lesson is about, and it comes from wood taken out from underneath.
This is lesson 12 of the Greek acanthus course, four parts on one acanthus panel carved in lime wood. I'll name each tool in order, and the one spot where it can break.
What I did on the leaf in lesson 12
- A 3A short bent gouge, 12 mm (15/32 in), leveled a bumpy background without hitting the carving next to it.
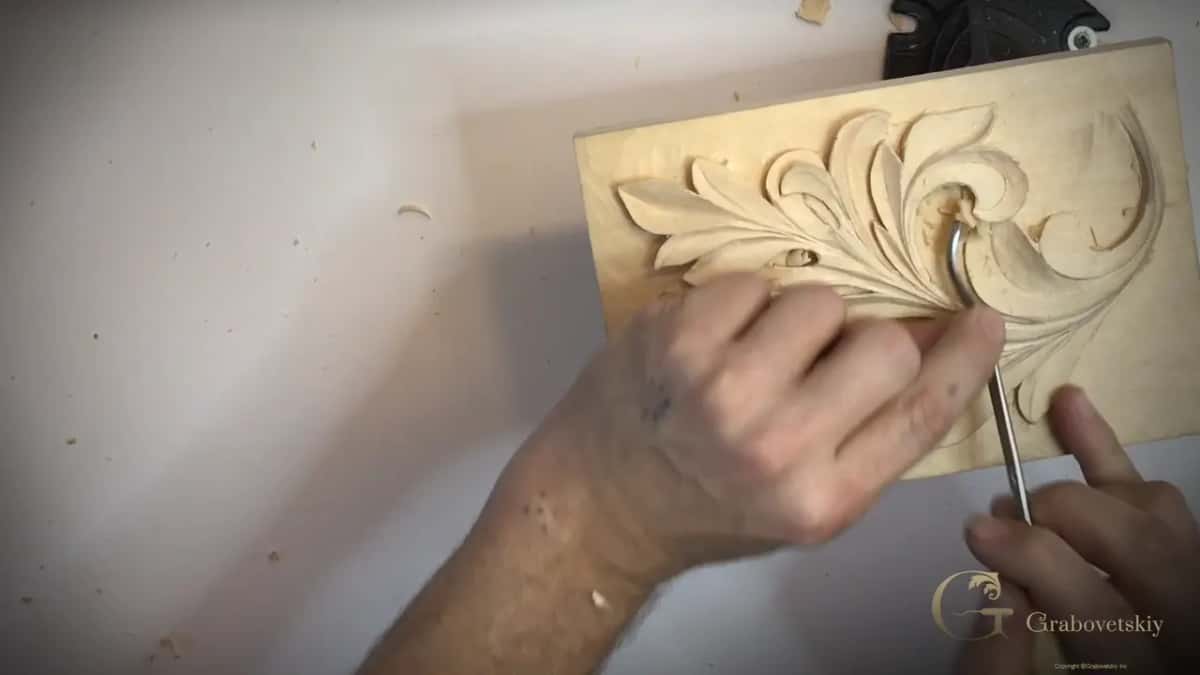
- My right-hand curved undercutting tool, the Chris Pye one, made a shadow even where one piece almost touched the ground.
- A knife fixed a shadow line that came out wavy.
- My tiny V tool, a 1 mm (1/32 in) number 16, cleaned up what the knife left.
- One section got pierced right through.
- In part 4 a number 25 back bent at 6 mm (1/4 in) went deep where a piece blocked the way.
Why does undercutting make a carving look deeper?
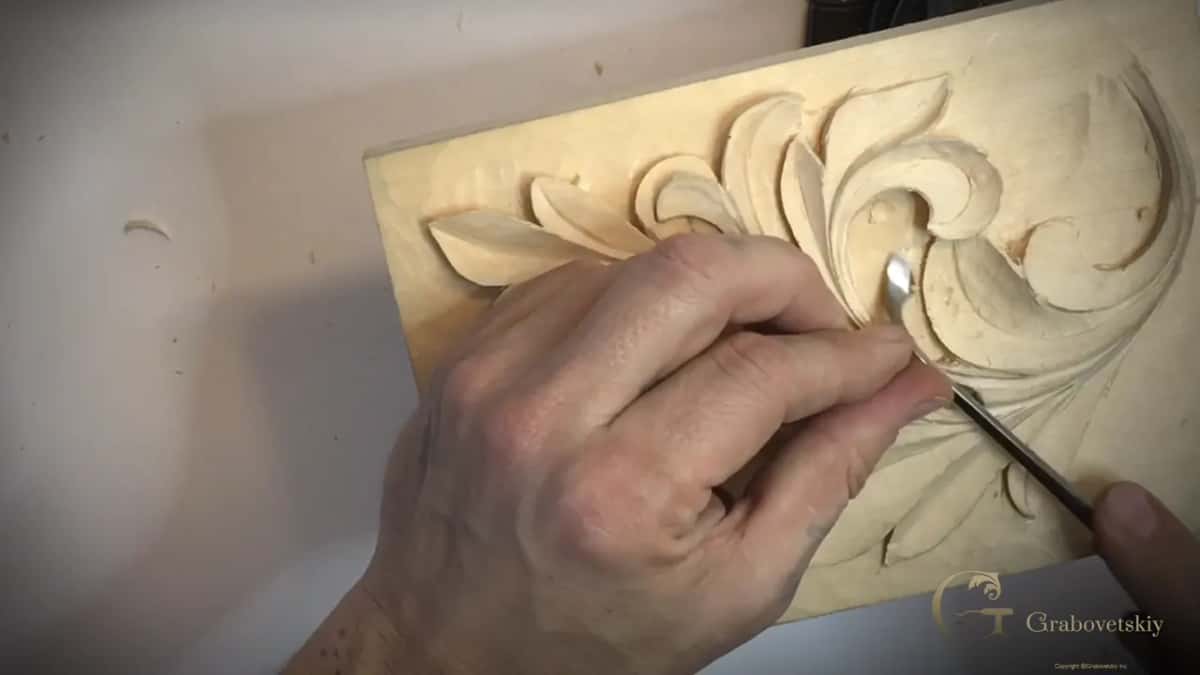
Shadow. In part 3 I said it plainly. At least for myself, extreme undercutting is the actual secret, and when you do it you make your work look beautiful. I came back to it in part 4, where I said undercutting is the main thing behind that rich, detailed look.
For a Roman acanthus leaf I put it another way. I hoped you could catch the shadows, because that's the whole idea, to make it look really deep. And on a furniture panel I said I'm all about the shadows and lights, and there are five different levels of shadows you could create.
Which gouge levels a background next to finished carving?
A short bent one. My background had a bump at the start of part 1, and I had to remove that extra material. I started with a straight gouge. That's kind of dangerous, because with a straight gouge I can hit the carving beside it and damage it.
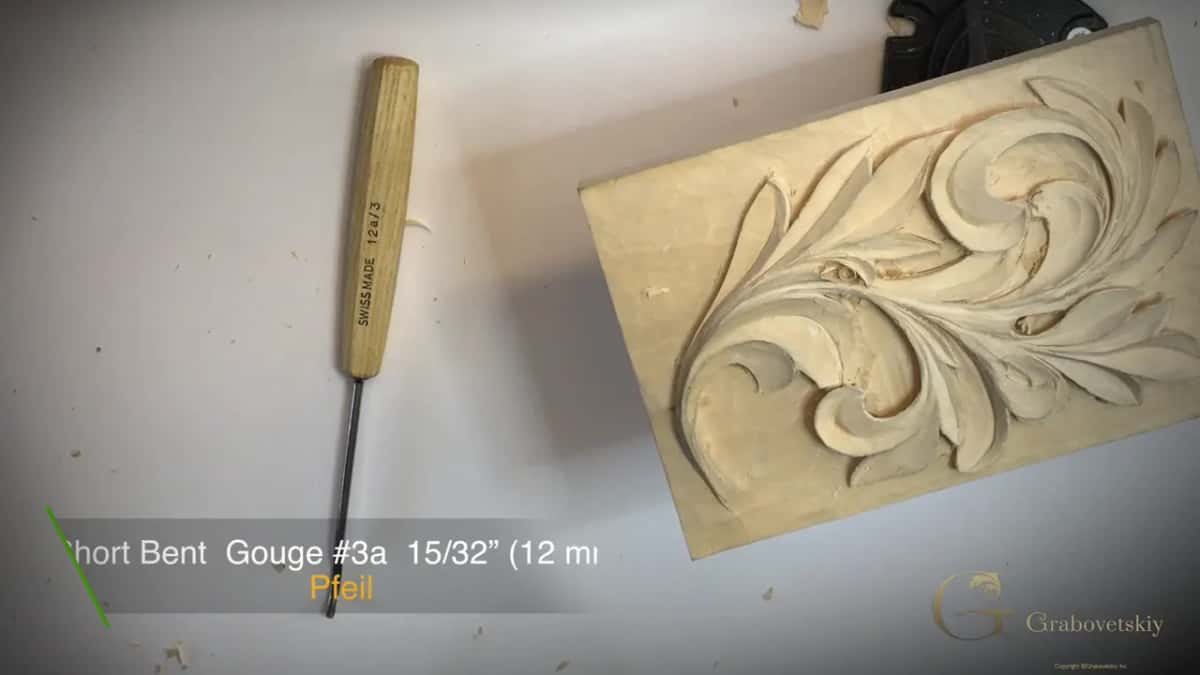
A bent or a short bent is better if you have one, and a short bent is the best. Mine was a number 3A, 12 mm, by Pfeil. That one didn't hit the side, and I could reach much deeper. Then I turned the panel and worked from the opposite side, and nothing was in my way.
What was left came out with a 12A V tool, which is a short bent too.
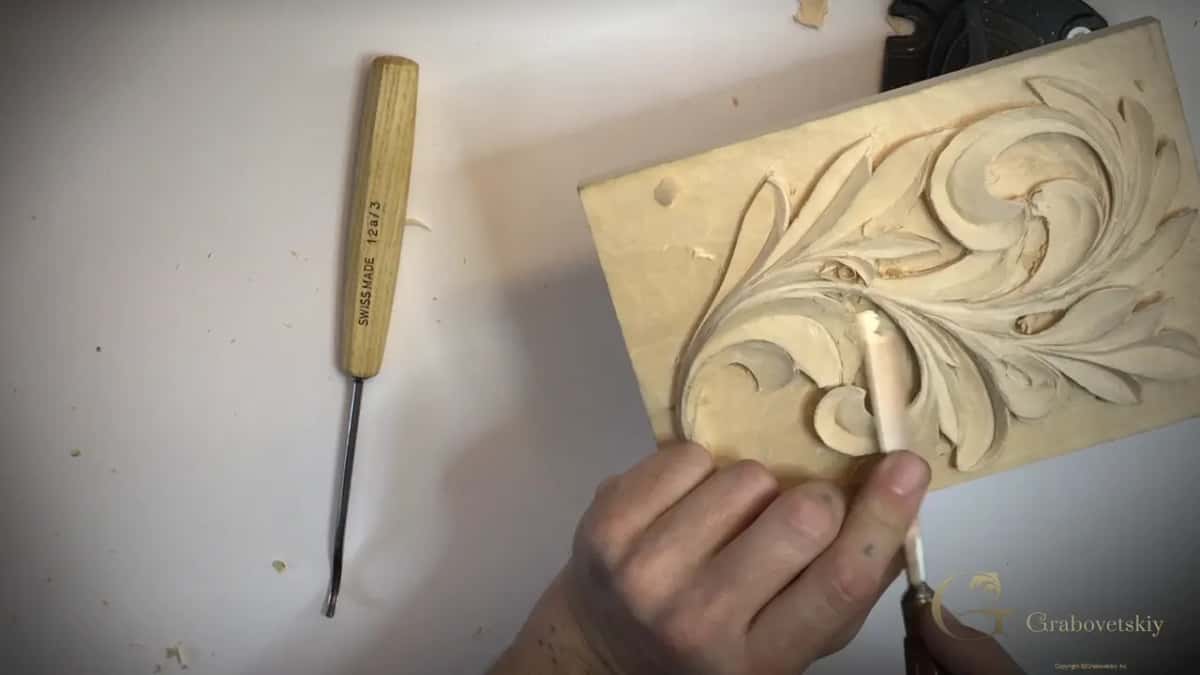
What is a Chris Pye undercutting tool?
A curved tool for getting deep under a piece. On camera I said I don't even know the best way to describe it. I used the right-hand curved one, and it let me get really deep in spots like that and undercut.
In lesson 6 I said Chris Pye designed it just for getting to areas like those. There's a right hand, a left hand and a straight one. It's made by Ashley Iles, and when I filmed this I said that in the USA you could get it from Tools for Working Wood.
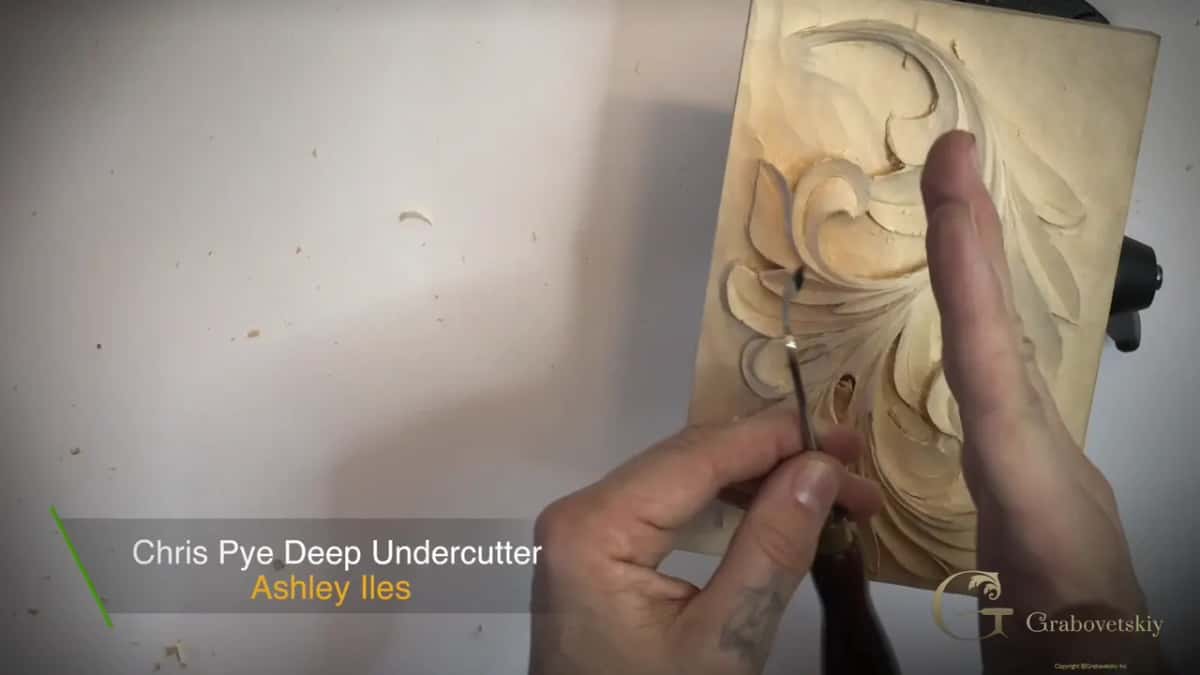
I usually pull it toward myself. You can also push it to kind of clean. Really handy tool.
Can you undercut a piece that sits close to the background?
It works even there. Even if that piece is really close to the background, I still can make a shadow and make it look like it's floating. Go deep, but carefully, because you can always overdo stuff, and I've done it.
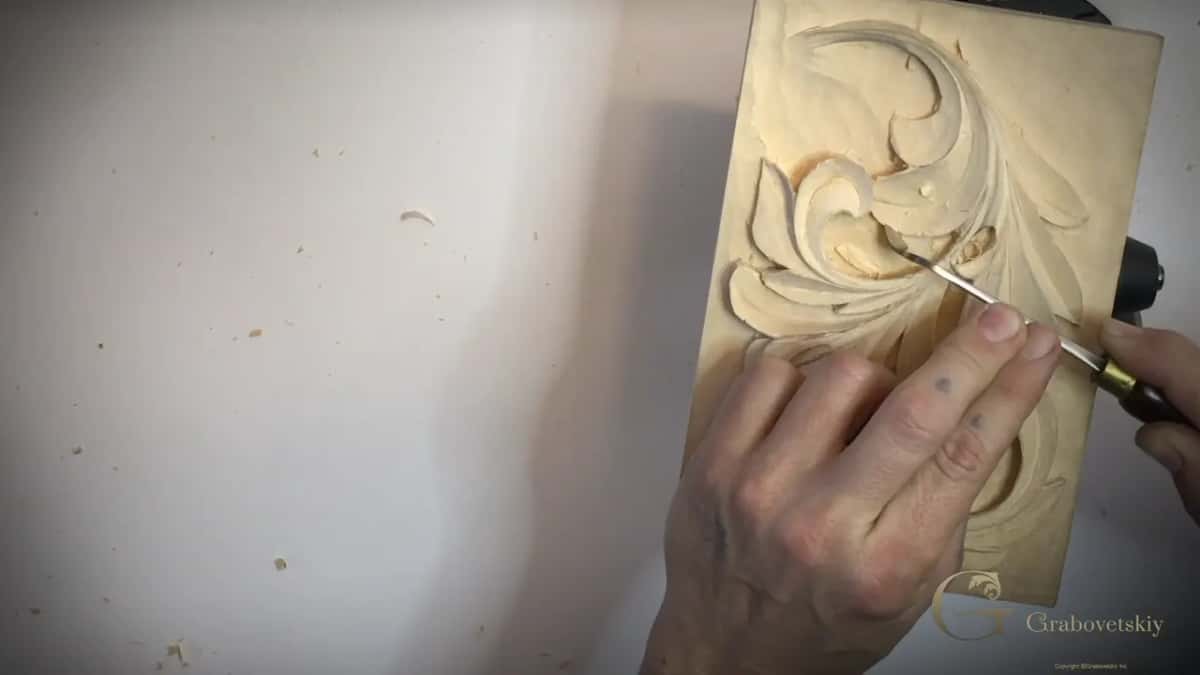
I made a second pass, hooked the waste out, and then I could see my shadow line. There's more on hooking in lesson 10, and lesson 9 shows how that shadow line starts.
What do you do when the shadow line comes out wavy?
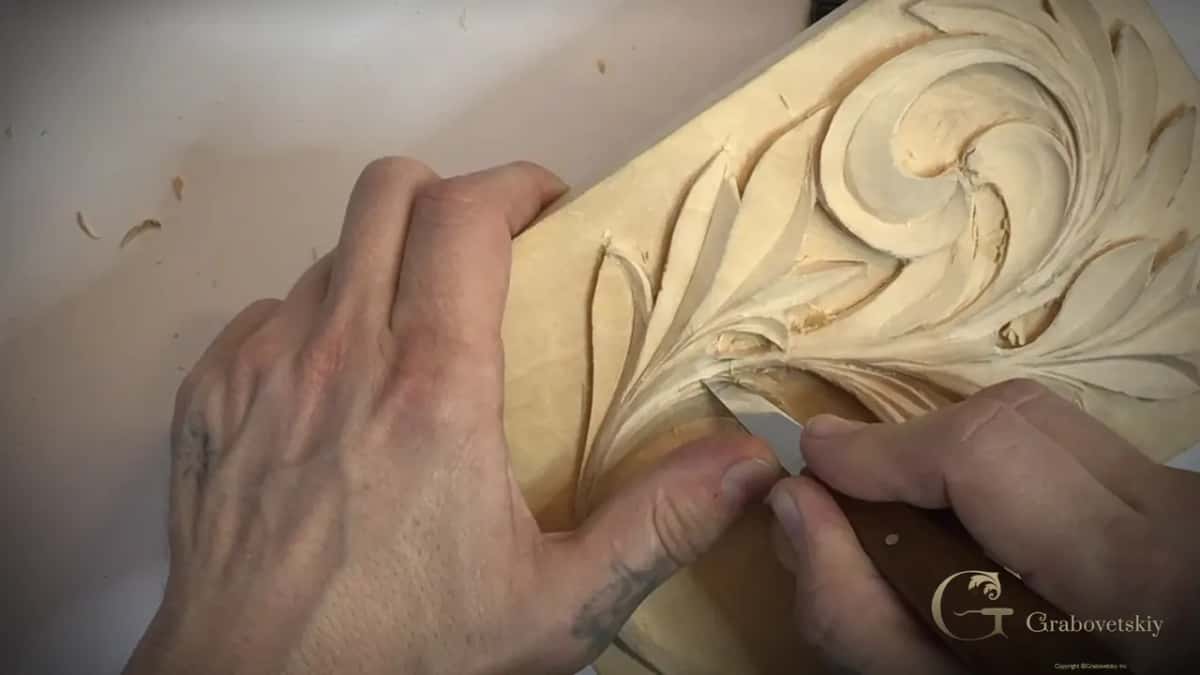
Take a knife to it. After that pass the line was there, but I wasn't too happy with it. It wasn't nicely flowing, it was kind of wavy, and I didn't like how it looked.
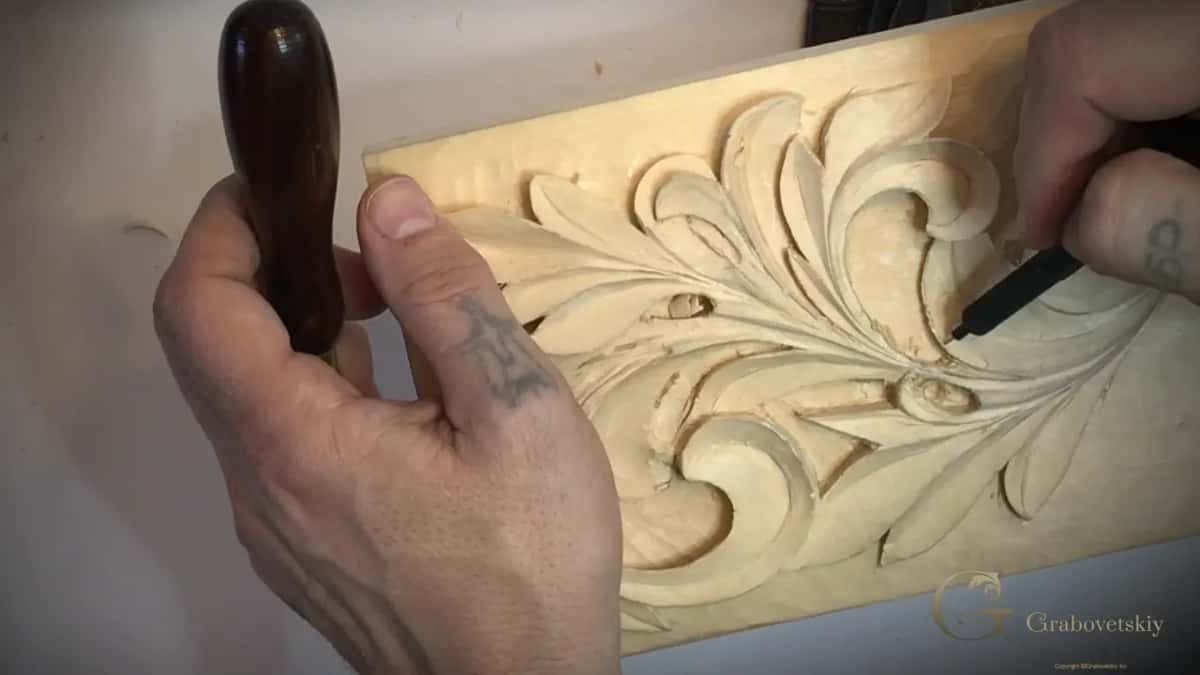
So I carefully fixed that line with a knife, and the same blade carried my undercut right along it. I hooked it out after that, carefully.
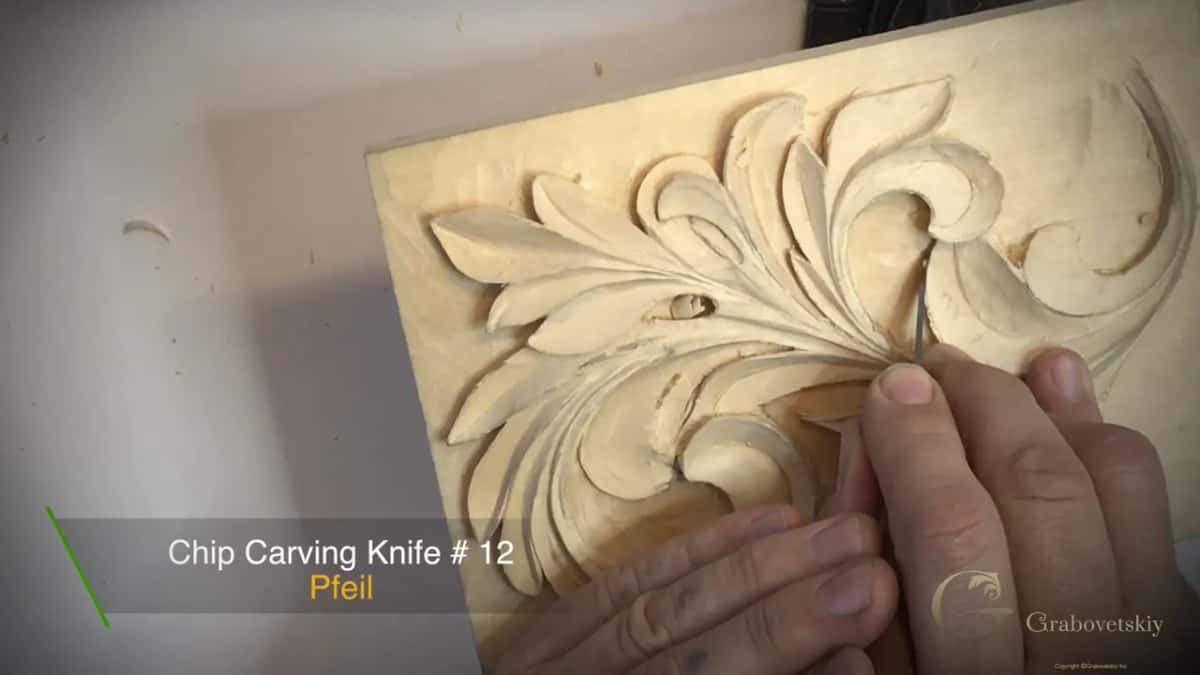
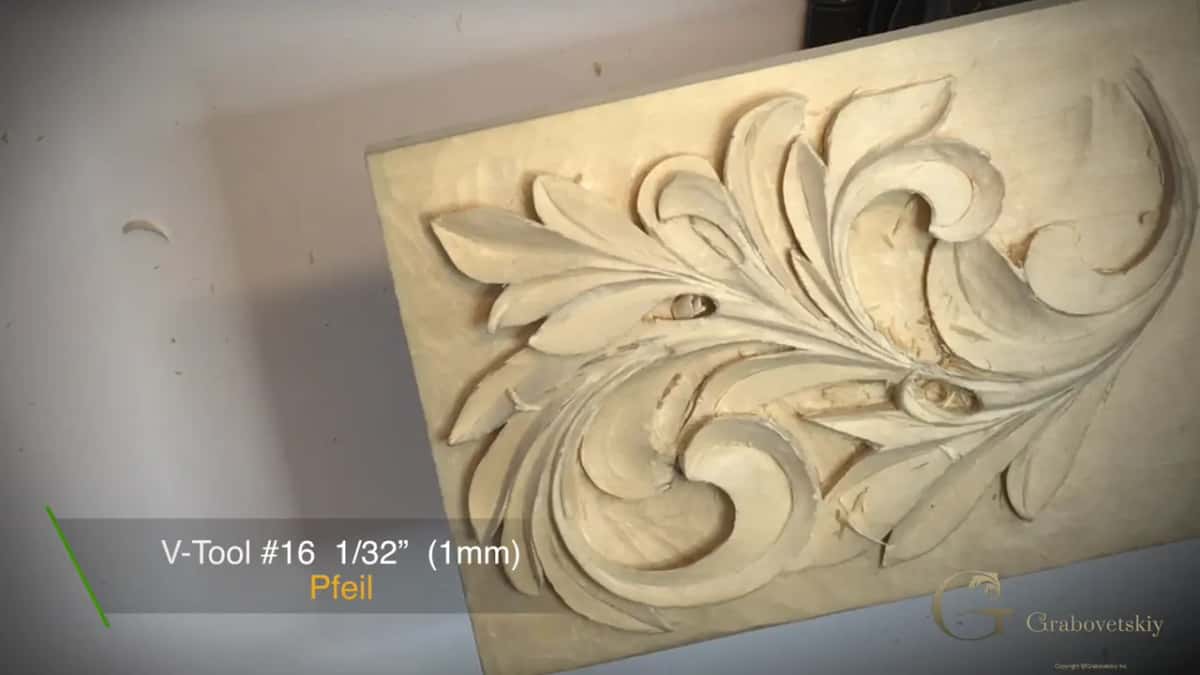
Next came my small V tool, number 16, just 1 mm, to remove the extra I didn't need. It's removing, deducting, I said. I'm deducting what I don't need, but sometimes you can deduct the wrong stuff, and you can't put it back.
How hard should you press when you undercut?
Please don't create too much pressure, I said at the start of part 2, and then once more: please don't. If you do, you can mess up, and you don't want to mess up, unless you plan it.
I made multiple passes, first with the knife. Then a short bent number 12 V tool, 3 mm (1/8 in), took out what was left, bit by bit. At one spot I guess I wasn't too careful with the knife, but it's okay, and I said I'd be able to fix that side.
The 1 mm number 16 came back for whatever was left between two cuts. Don't push it too hard, I said, because at this point your piece has more fine detail than you even think.
What do you do with a chip that won't come out?
Hook it, a little at a time. Next I needed the small short bent number 3, the 5 mm one, a 3A to be exact, to clean that spot. I could pull stuff from underneath with it.
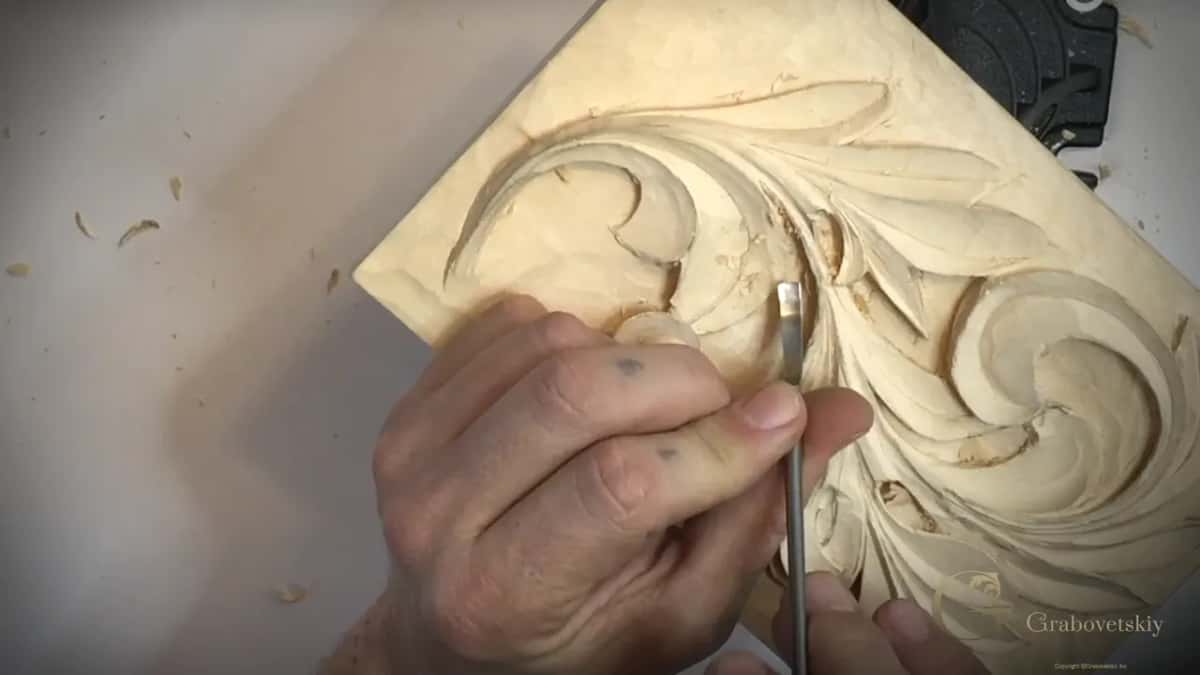
But you've got to be really careful there. All that junk is already cut, it's just kind of stuck right there, and it's better to dig and hook it little by little than to force it.
After that a number 7 back bent got underneath, and again I hooked the waste out without it breaking. The number 3 at only 3 mm got the rest out.
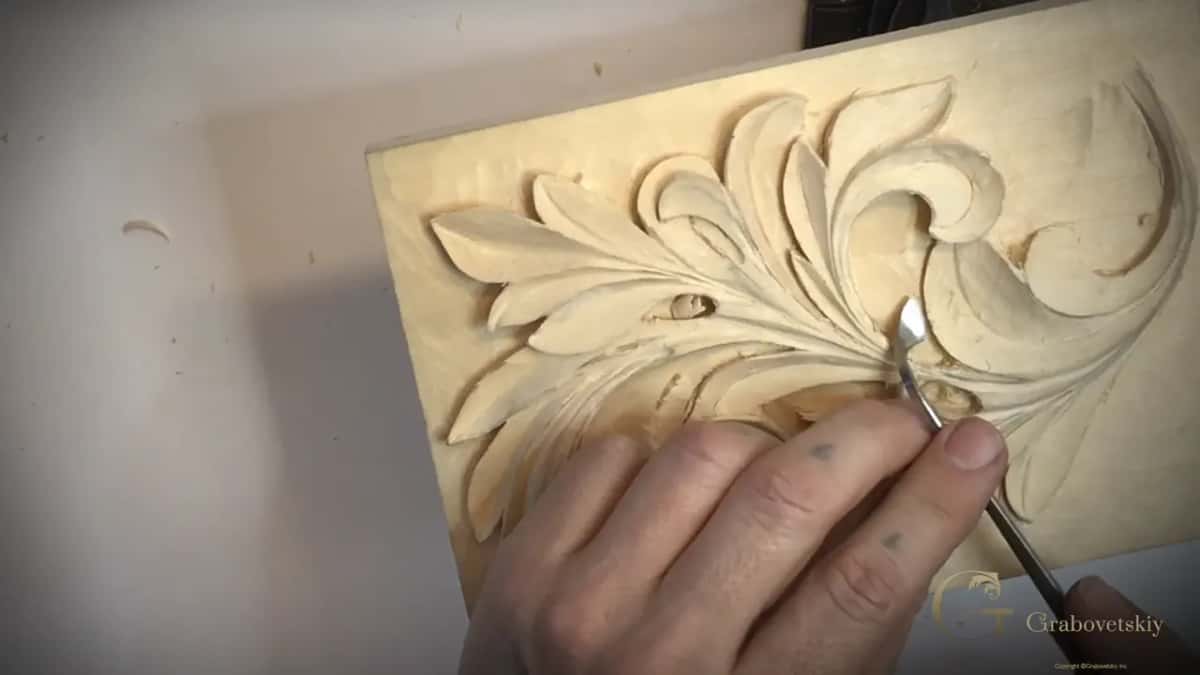
It's work, believe me. To make a nice undercut is not as easy as some people think. But that undercutting creates the beauty.
Is extreme undercutting worth the risk?
On a piece of art, I think it is. In my Corinthian acanthus course I said there are different approaches to undercutting. Some people say you should not do it, and that's probably true for furniture, or for a piece people are going to touch all the time. For that kind of piece I would not suggest extreme undercutting.
But if it's a piece of art, I go to the extreme, and some of my work is so undercut it can easily break.
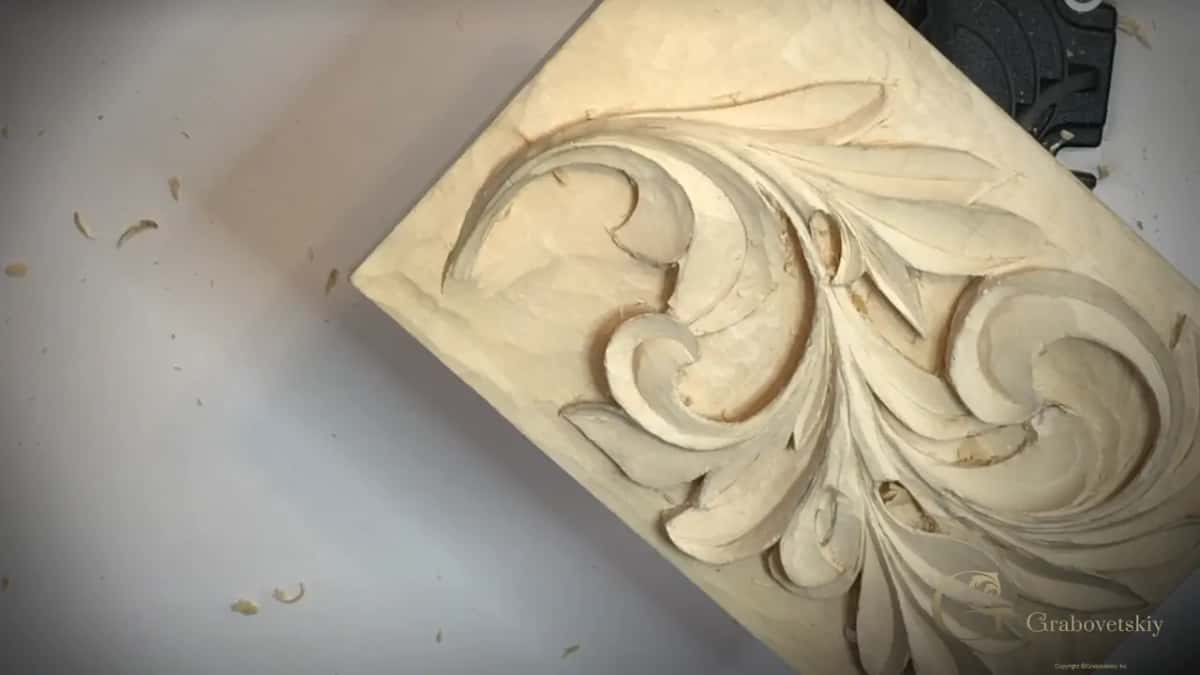
In Roman lesson 8 I said I absolutely understand the carvers who don't approve of it, because it becomes fragile. But you can break anything. Crystal is really fragile, and that doesn't mean you can't create beautiful things just because it's fragile.
In the Hashemi Flowers course I named Grinling Gibbons, from Great Britain. He used to carve really extremely when he was alive, and his carving is still there. Some of it is probably broken, I said, but not much.
Where can a deep undercut break?
At a weak point in the grain. Near the end of part 4 I said to be careful with one piece, because the grain is going like this, and with extreme undercutting you can damage it. It's kind of a weak point, I would say.
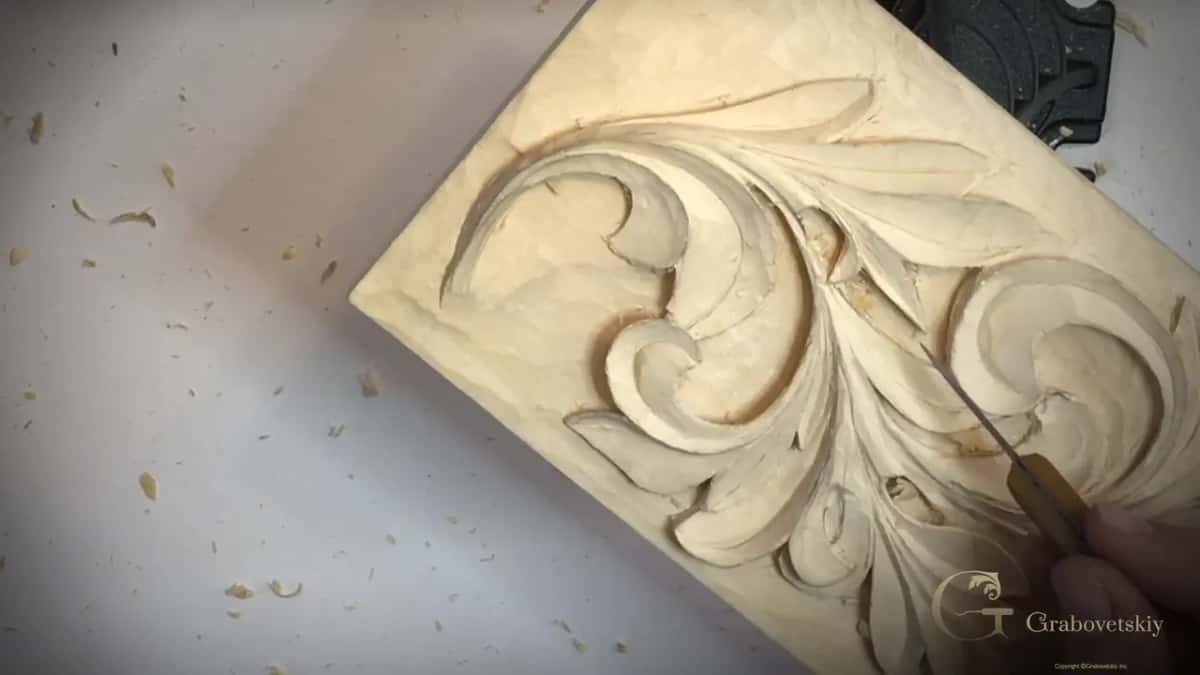
There my number 5 dug in. What happens when a piece does break is the subject of lesson 13.
What does piercing do to a relief carving?
Light gets through. Once I was happy with one side in part 3, I jumped to the other side to undercut in that direction and create a piercing right through. That part is going to look like it's growing right in the air, I said.
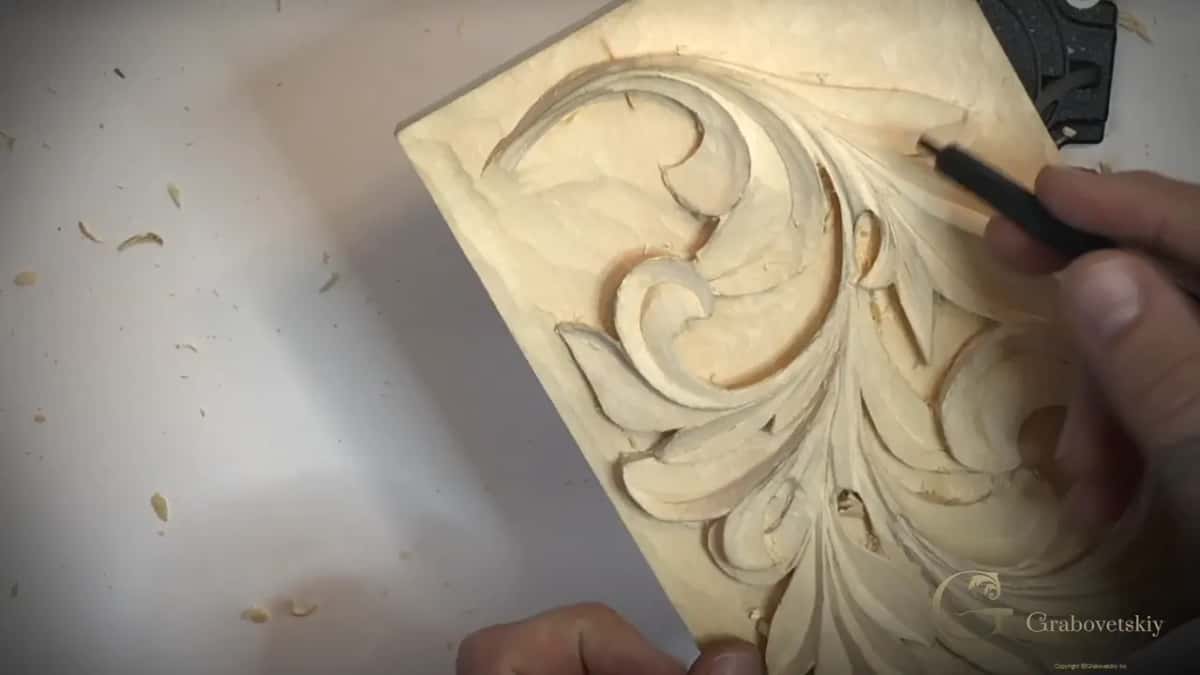
But be careful. It's always possible to overdo it, and if you do it the right way, it's going to be beautiful.
Soon I was through. My number 5 removed the junk, a 5 mm 3A short bent took out the background between those pieces, and a smaller 3 mm one hooked out the rest.
What happens next depends on the angle the light comes from. It makes a beautiful shadow, and it also makes light that comes right through the carving. Before part 3 was over it was all the way through. I can rotate the panel, and the light hits through, which is just a beautiful thing, at least in my opinion.
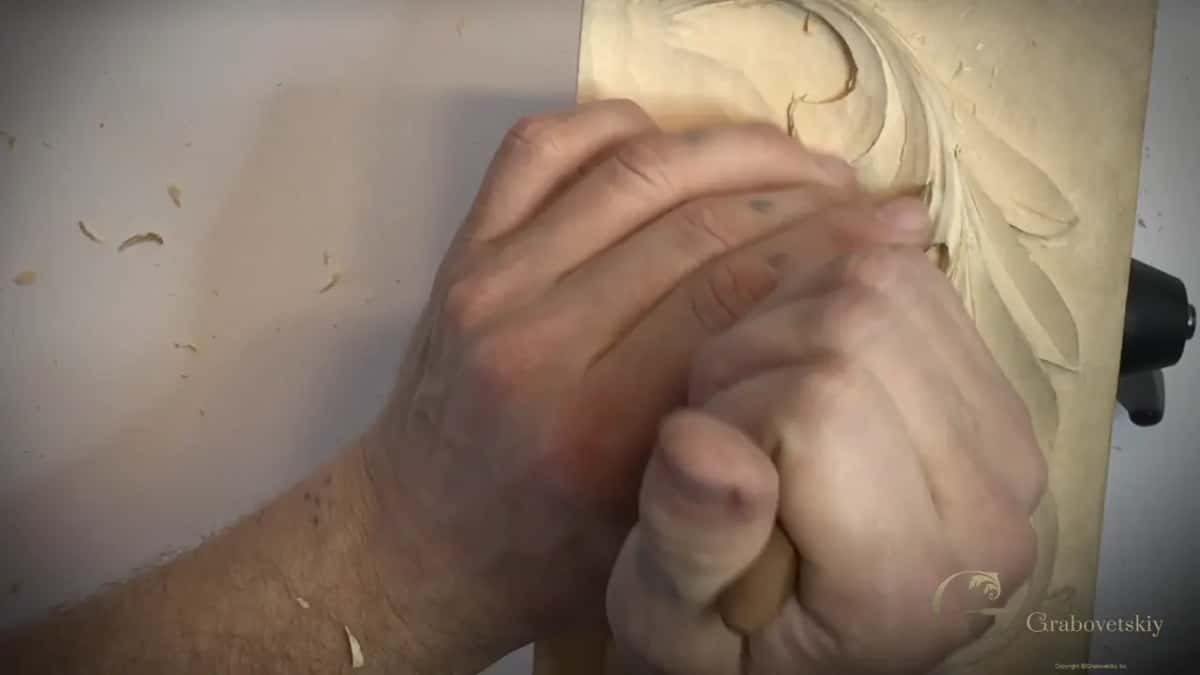
Wikipedia calls this openwork. It covers any decorative technique that makes holes or gaps through a solid material such as wood or stone. In lesson 11 I had already said I could make one section go all the way through, pierced, and that nothing held me from it.
On a Hashemi flower I corrected my own word there. I had said gap, and piercing was the more accurate description. My goal was to dig deep enough to pierce it through, because it gives a really beautiful shadow, at least I think so. I also kept my finger as a leverage point, so I could crank against my finger, not against the piece of wood.
Why use a back bent gouge for a deep undercut?
To get past whatever is in your way. For the last part I took a number 25 back bent, 6 mm, and started moving in that direction. One piece stood in my way, but because of the back bent I could get really deep undercutting. A regular gouge couldn't do it, I said.
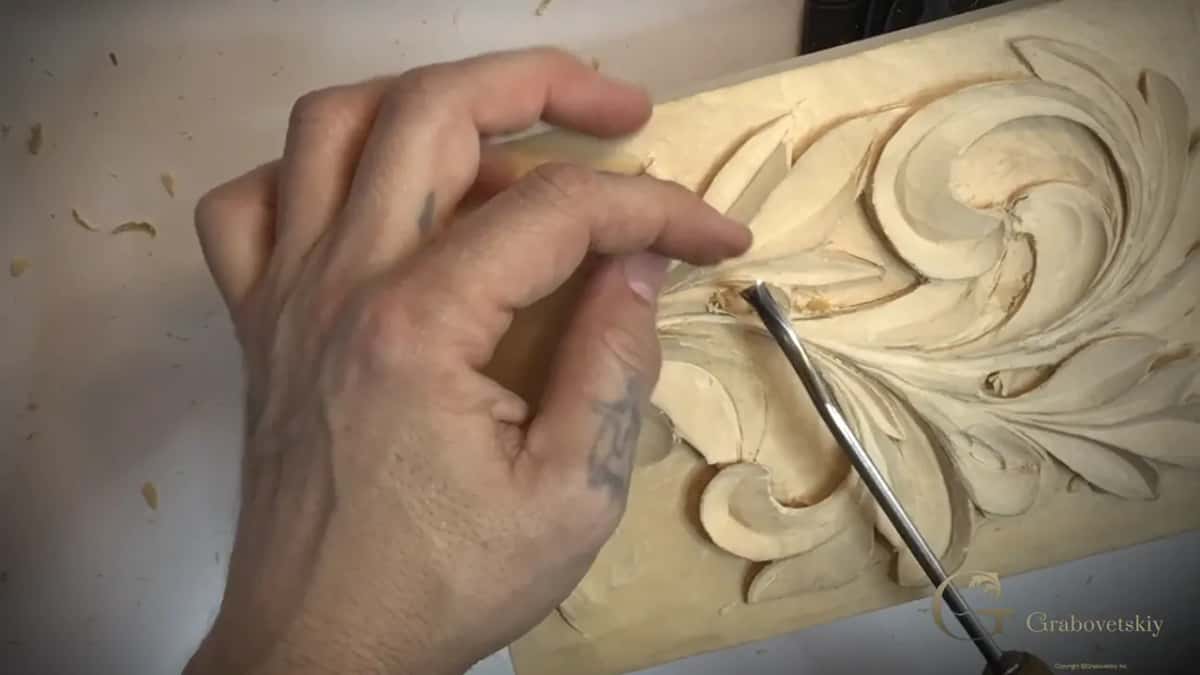
Because I had carved that spot through, I got space below it, so I could attack and remove extra wood even from a farther point. The 3 mm number 3 cleaned up after the back bent, and later the same back bent made an even deeper undercut on that side.
There I used just the right corner of the tool, in small micro rotations, micro sweeping cuts. On camera that's impossible to catch, I know. The big one in lesson 9 was a 13 mm number 25.
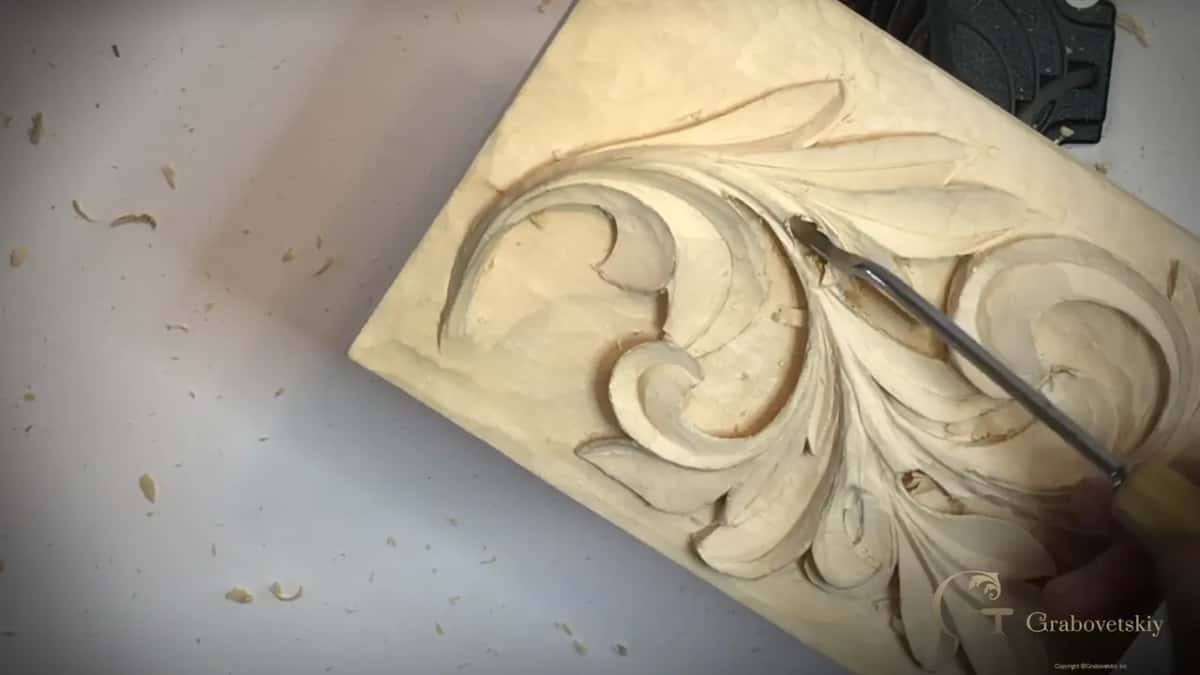
Which tool gets under a pipe?
A small gouge, or a tiny back bent. One pipe needed carving underneath, a pipe we made back in lesson 4. I could use a number 9 of about an eighth of an inch, or a small back bent, and that would work too.
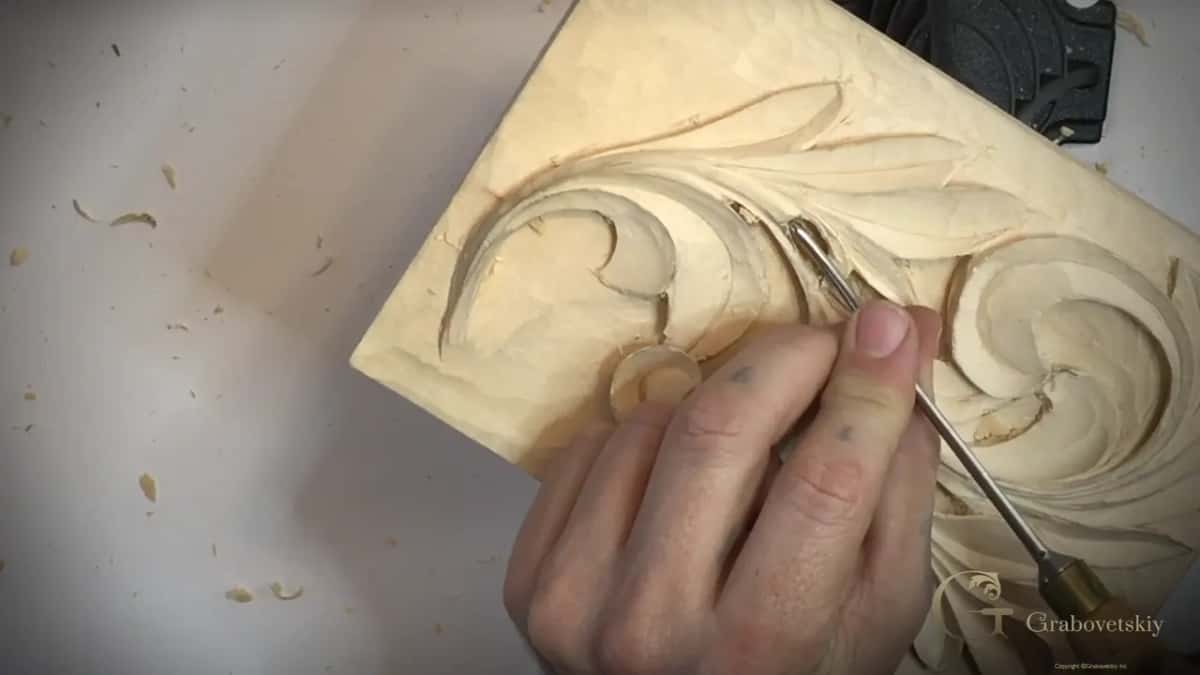
Right there I had one by Ashley Iles, a really tiny one. I called it a number 7 first, but to be exact it's a number 37, that's how they mark it. That tool can go as deep as half an inch, if I need it to.
After it, my 3 mm number 3A took out what I didn't need, and the hole got so deep that I could place my tool right in.
Can a thin board look deeper than it is?
It can, if you trick the eye. On my Lily Box the slab was only 5/8 of an inch thick, about 16 mm, and I still wanted a more three-dimensional look, a true look of a lily flower. So my plan was a lot deeper concave inside the petals, everywhere, and really extreme in one spot, so it would look much deeper.
I called it a common design trick on a Venice Room panel. The surface is almost flat, and we try to fake the eye and make that area look much deeper than it really is.
Does the light change how deep a carving looks?
It does. It depends how you're going to use it, I said in Roman lesson 11. Put it in a frame, on a wall, with the right lighting hitting it, and it's going to create a beautiful effect.
In Roman lesson 15 a number 11 veiner, leaned over to one side, left one edge higher, so the hollow cast a shadow and looked much deeper.
What if an undercut edge still looks rough?
People asked me that. I gave two answers in part 3. Number one, you can use just a knife and refine it, and number two, a small piece of sandpaper or just a Dutch reed.
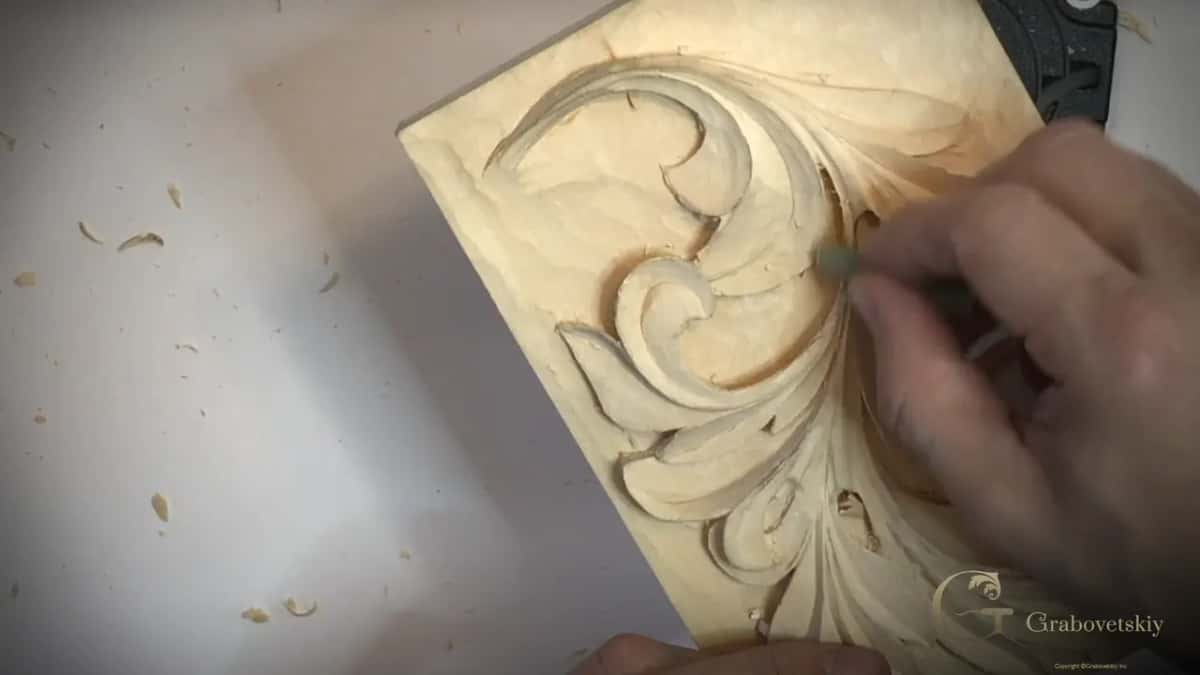
They used Dutch reed 300 years ago in Europe for sanding, I said. It kind of smooths out the edges and takes out the roughness. Wiktionary gives Dutch rush as the scouring rush, and Wikipedia files the scouring rush under Equisetum hyemale, whose stem ridges carry silica and feel rough to the touch. I come back to the reed in lesson 15.
The tools in lesson 12, and what each one did
| Tool | What it did on this Greek leaf | In my words |
|---|---|---|
| Short bent 3A, 12 mm | Leveled the bump in the background, nothing nearby got hit | I can just reach much deeper |
| Chris Pye undercutting tool, right hand | Made a shadow under a piece that nearly touched the ground | I still can make a shadow |
| Knife | Fixed the wavy shadow line and carried the undercut along it | It's not nicely flowing |
| V tool 16, 1 mm | Cleaned out the bits the knife had left behind | What I don't need |
| Back bent 25, 6 mm | Reached deep under, past a piece in the way | This piece is on my way |
| Ashley Iles 37 | Got underneath a pipe from lesson 4 | And I can dig deeper |
Where lesson 12 leaves my Greek acanthus panel
The background is level and the undercuts go deep, and one section is pierced, so light gets through. At the very end of part 4 I said I could pierce one more piece the same way and create even nicer lights and shadows.
Do you have a carving with a flat look? And a knife? Then go under one edge, carefully, and watch the shadow show up.
Every lesson of this Greek acanthus course is open with tuition, including all four parts of this one.
How it's done
- Level the background. Use a short bent, like a 12 mm number 3A, so you don't hit the side next to it. Turn the panel and work from the other side.
- Undercut with the curved tool. Pull the right-hand curved tool toward yourself, carefully, and take a second pass.
- Fix a wavy shadow line. Run the knife along it until the line flows, and carry the undercut with it.
- Clean up after the knife. A 1 mm number 16 V tool, a little at a time, without pushing hard.
- Hook out stuck chips. The junk is already cut and just stuck there. Dig and hook it bit by bit rather than forcing it out.
- Pierce one section. Undercut from both sides until you're through, then clear the background between the pieces with a small short bent.
- Go deeper with a back bent. Take a 6 mm number 25 past a piece that's in your way. Work with its right corner in small turns.
Frequently asked questions
What is extreme undercutting in wood carving?
Extreme undercutting means taking a lot of wood out beneath a carved edge, so the piece casts a deep shadow and seems to float. On my Greek leaf I called it the actual secret, at least for myself. Some people say not to do it on furniture, since people touch it all the time and it can break.
Can you undercut a part that almost touches the background?
One piece of my Greek leaf was almost down on the background, and a right-hand curved tool still gave it a shadow. The piece looks as if it floats. Go carefully, though, because you can always overdo it, and I've done it myself.
Why use a short bent gouge on the background?
A straight gouge can hit the carving next to the spot and damage it. My 12 mm 3A missed that side and got much deeper, and then I turned the panel and came at the bump from the other side with nothing in my way.
What to carve next