
Alexander Grabovetskiy, woodcarver, School of Woodcarving · Published 2017
What is hooking in wood carving?
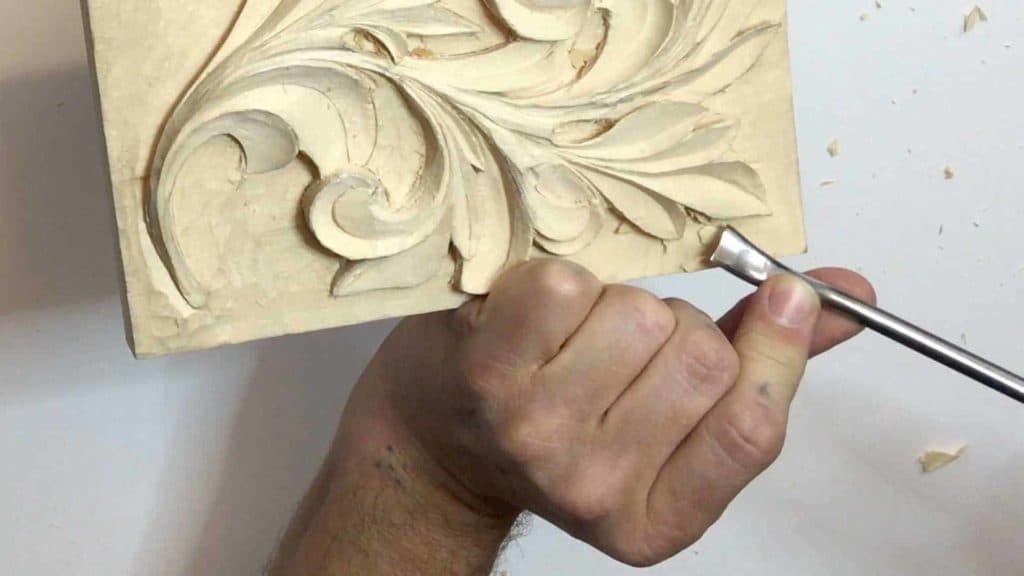
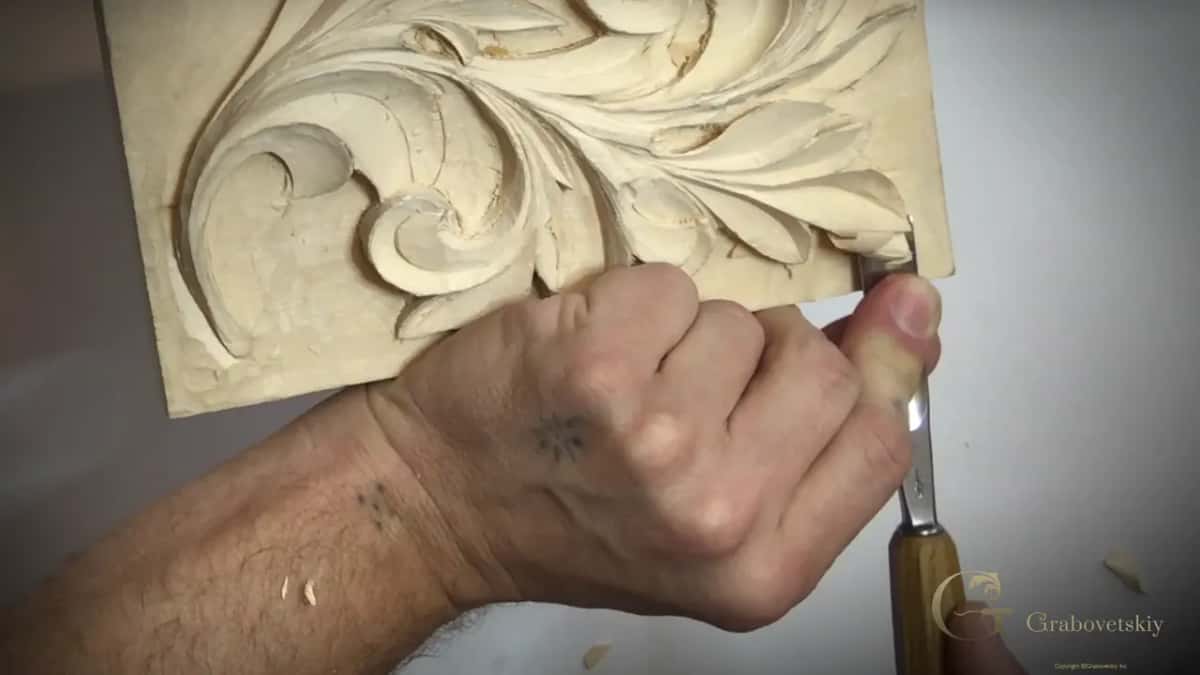
Quick answer: Hooking is the small lift that takes loose waste out from beneath a carved edge. On this Greek acanthus panel I go in with only the edge of a knife or gouge, in tiny moves, after carving the spot several times, so the piece comes away without breaking the edge above it.
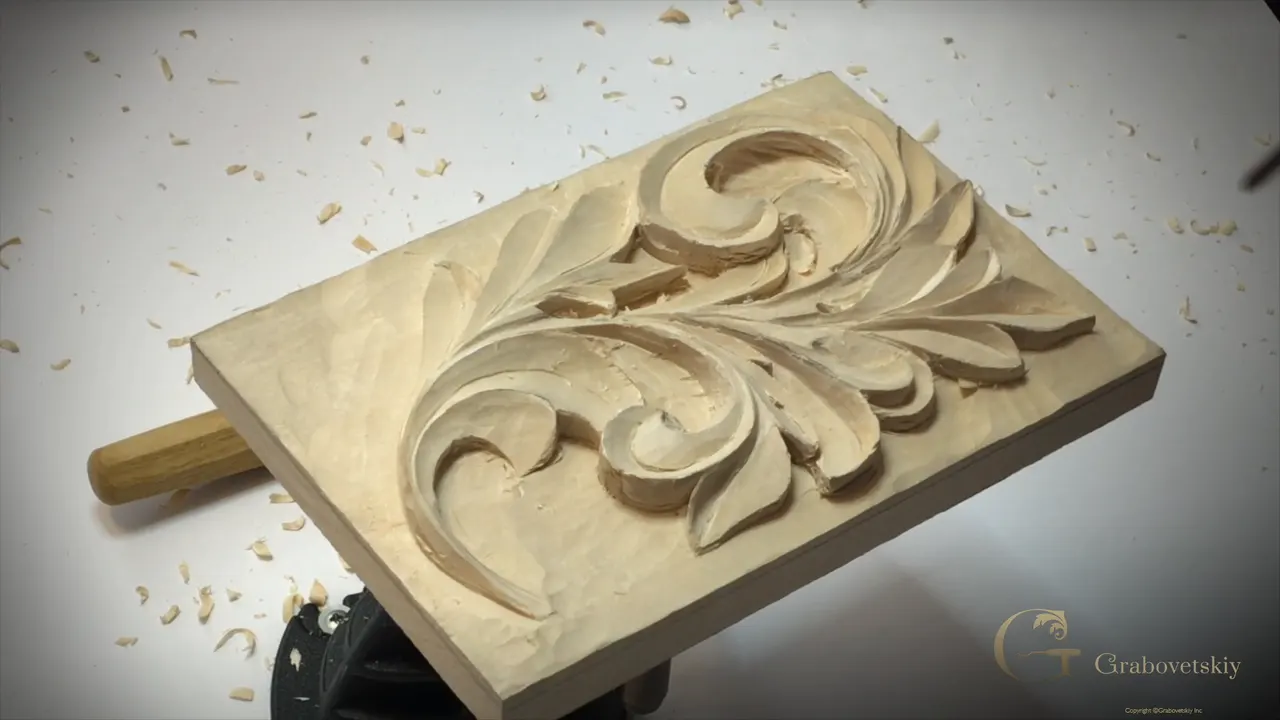
Hooking is lifting the loose waste out from under a carved edge with only the tool's edge, a little at a time, once the wood around it has been carved free. On my Greek acanthus leaf I do it in micro moves, until I can grab the chip and move it out. In this lesson I hook with a knife, a small number 5, a short bent 3A, a back bent number 25 and a number 7, round one leaf after another.
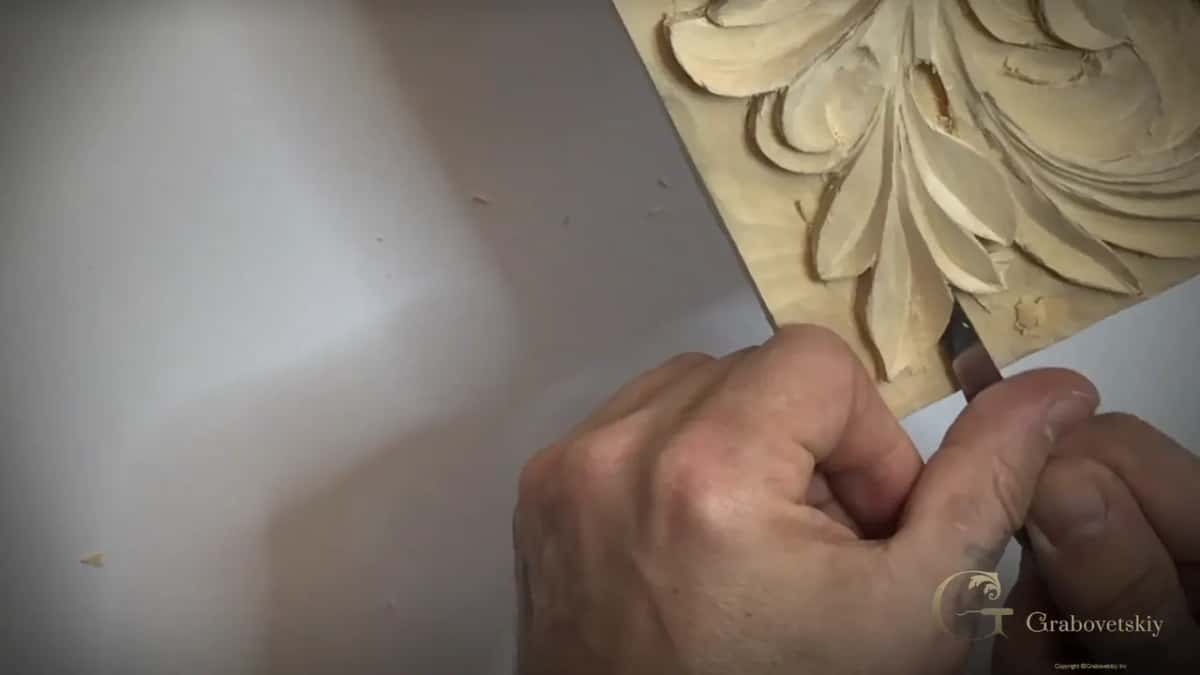
Have you looked at a carved leaf and seen the thin dark line under its edge? And how did the wood get out of there? It comes out in small pieces, and each piece only after it is carved free.
Below is how I did it on this panel, part by part. You'll see which tools I picked up, what I did with a piece that got stuck, and the same move on carvings from my other courses.
Hooking in wood carving, the short version
- I hook with the tool's very edge, little by little.
- Go over the line several times first, until you're sure it's free.
- A stuck piece gets carved again instead of forced.
- A back bent lets the edge get deep under a part that is in the way.
- English carvers, I think, have their own word for it, hoiking.
- Edges get fixed later.
How do you hook a chip out from under a leaf?
Little by little.
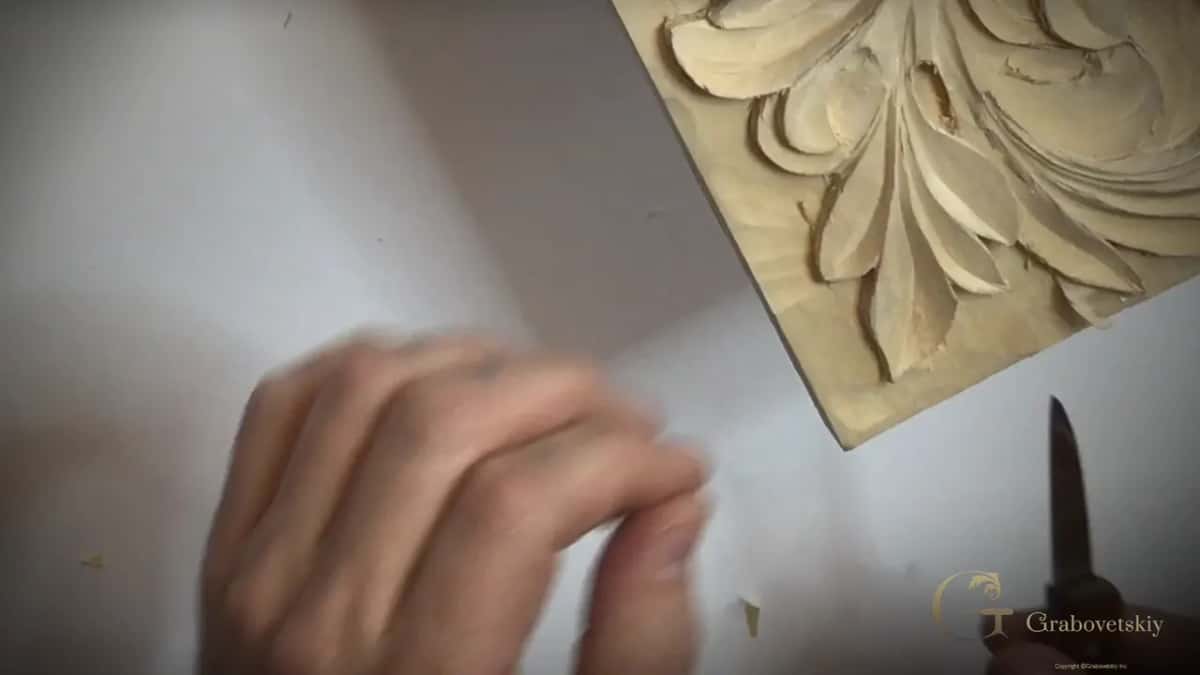
Part one had the knife in there, and I said I can kind of hook it, but slowly, because if I force it I can make a mistake again, and I don't want to do that. It's better to carve the same place several times, until you're 100% sure that once you hook it, the piece is going to come out just like that.
And you can go really deep with your knife.
In lesson 9, I named it. I was using just the edge of my tool in micro moves, hooking the extra wood underneath until I could grab it and move it out, and I said that's hooking.
A few minutes into lesson 10 the same thing happened with a gouge. I took a small number 5 straight gouge, went in, and just hooked that with its edge until it was completely removed.
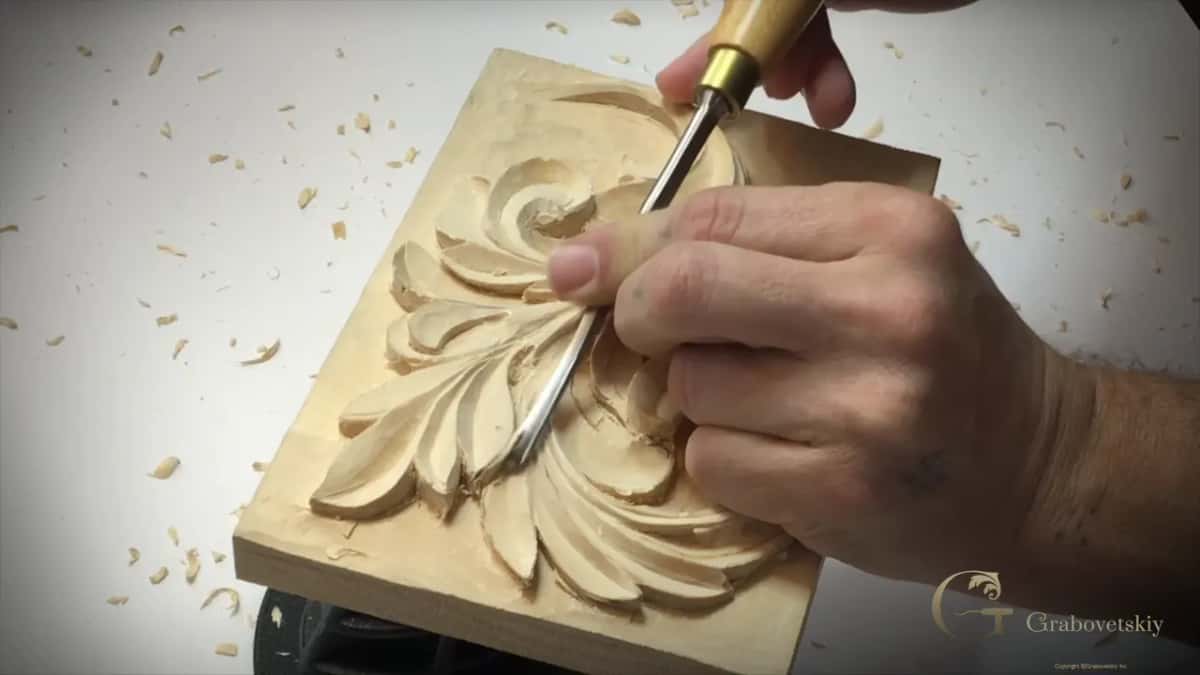
Which tools did the hooking in lesson 10?
The knife came back to it in all four parts.
Mine on this lime panel is a number 12, and the card on the screen calls it a chip carving knife. For a leaf in part three it took most of the wood off first, since that leaf sits really high above the background and will be mostly in the air. Moving to the next one, I hooked the waste out with the knife's edge, and you can see how nice a shadow there is.
I love this knife for all of my projects, because you can get really deep into some areas that are impossible with other tools. Be really careful with it, though, because you can make a mistake with the knife too.
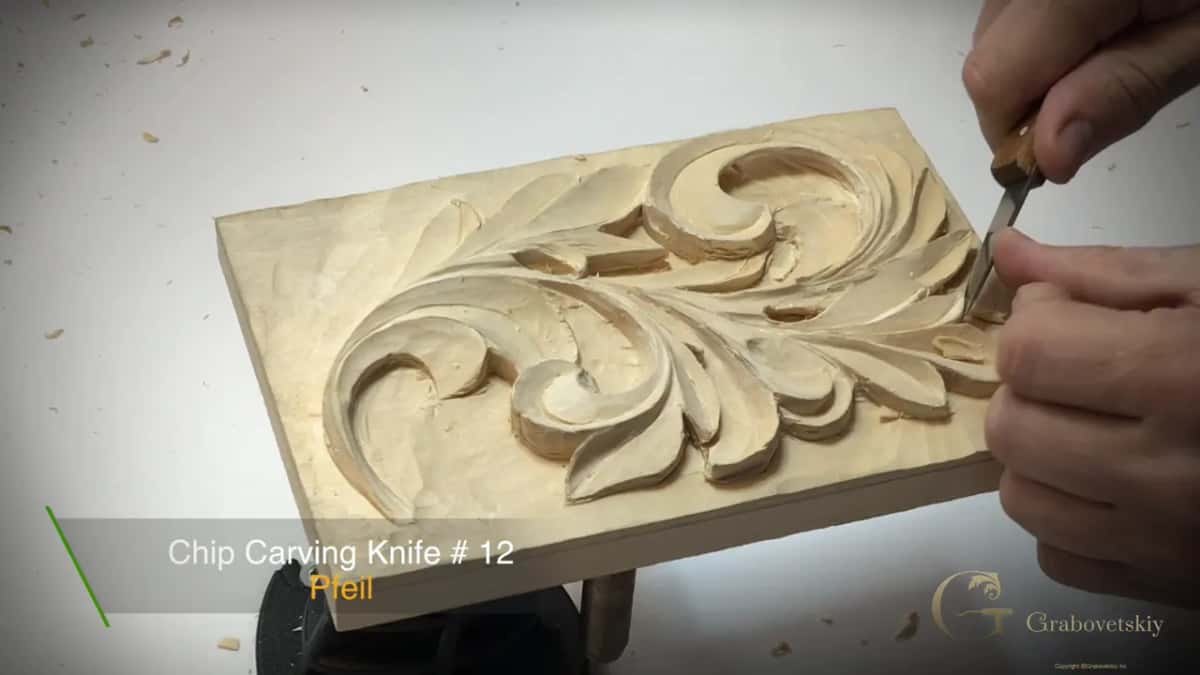
At the start of the last part I took the number 7. I used its edge to hook the rest out.
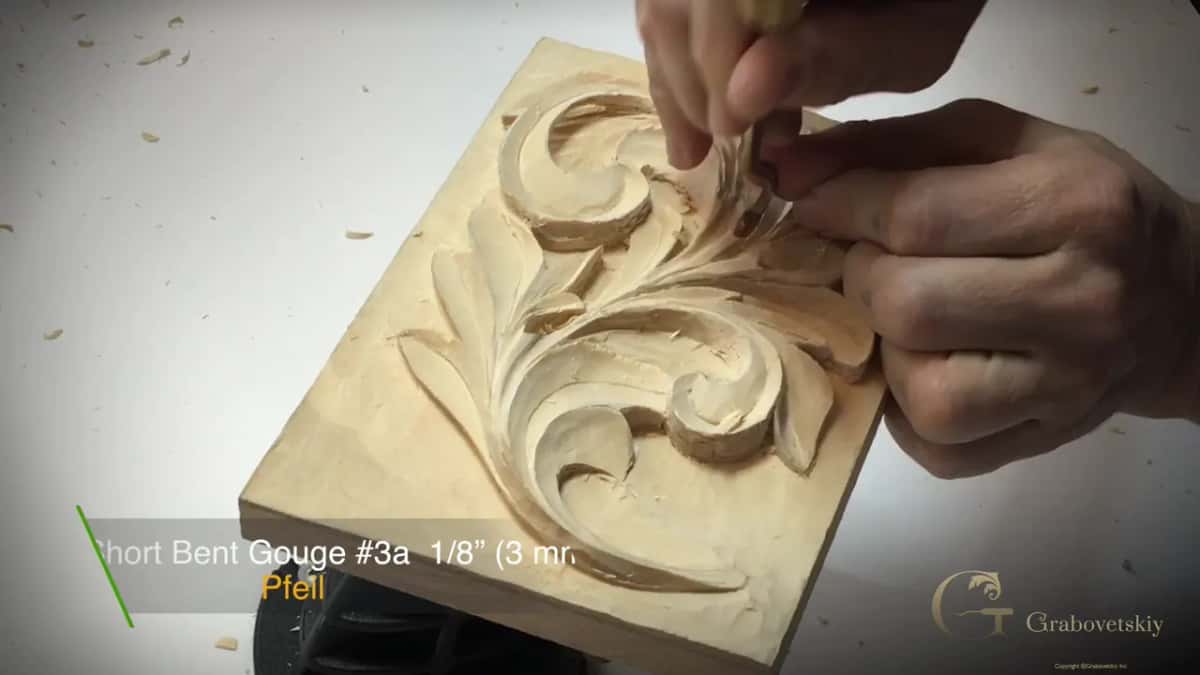
And the 3A, a short bent of 3 mm (1/8 in) on the card, cleaned one area in part two. At the end I was kind of hooking it, removing what I don't need.
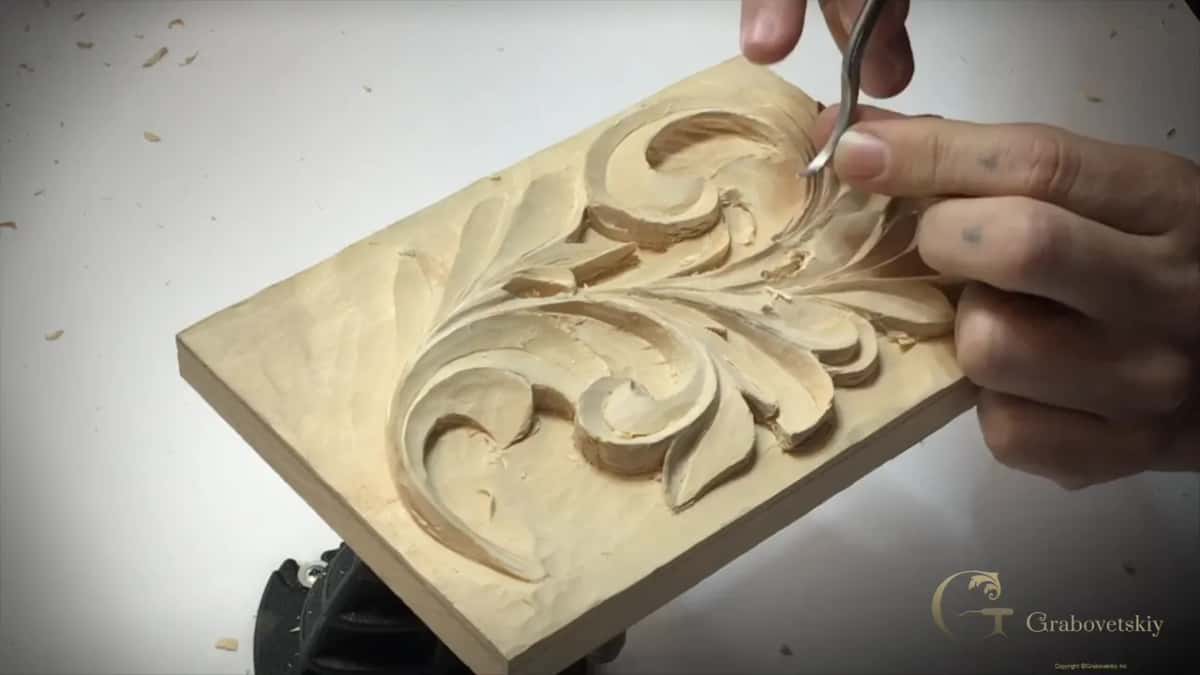
Why use a back bent to get beneath a leaf?
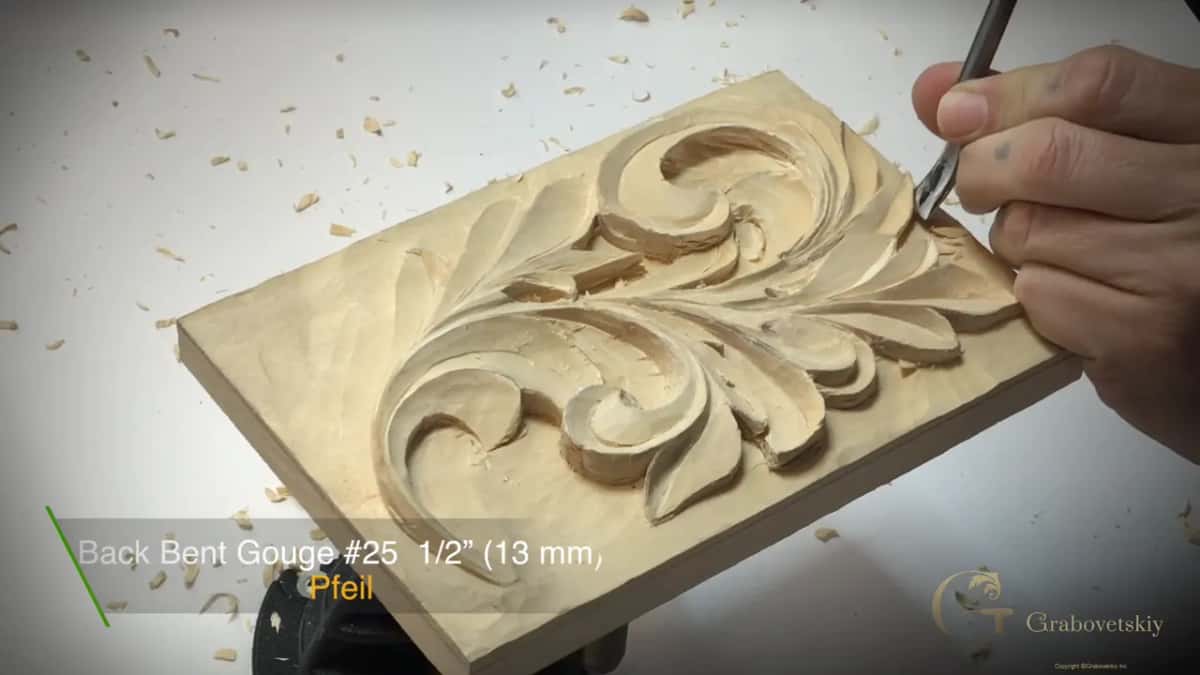
A piece of the carving is in the way. Back in part one, a knife would have done at one spot, I said, but the back bent is actually an excellent tool, and you can see why. This piece is in my way, and with the back bent I can still use just the edge of my tool and still get really deep.
Near an edge it helps too. One leaf in part two had to be undercut in the opposite direction, and probably the only way was a small back bent, since the spot is really close to the edge. With it I get into the smallest, tiniest spots, and at least I get a true undercut.
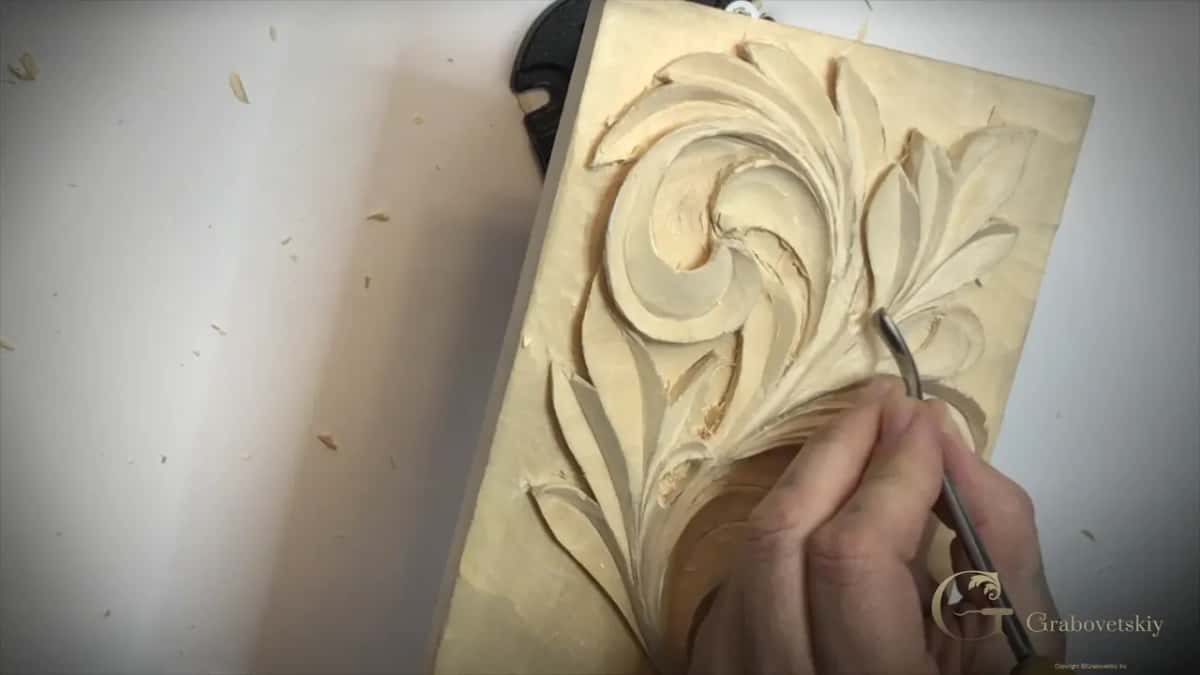
Watch the grain as well. In part one, at a certain leaf, it runs one way, and if I'm not that careful, it won't look nice.
The big one is a number 25, 13 mm (1/2 in). A knife would work there too, I said in part three, but I kind of like the back bent idea, and I hooked it again.
What do you do when a chip is stuck?
Go back and carve it again.
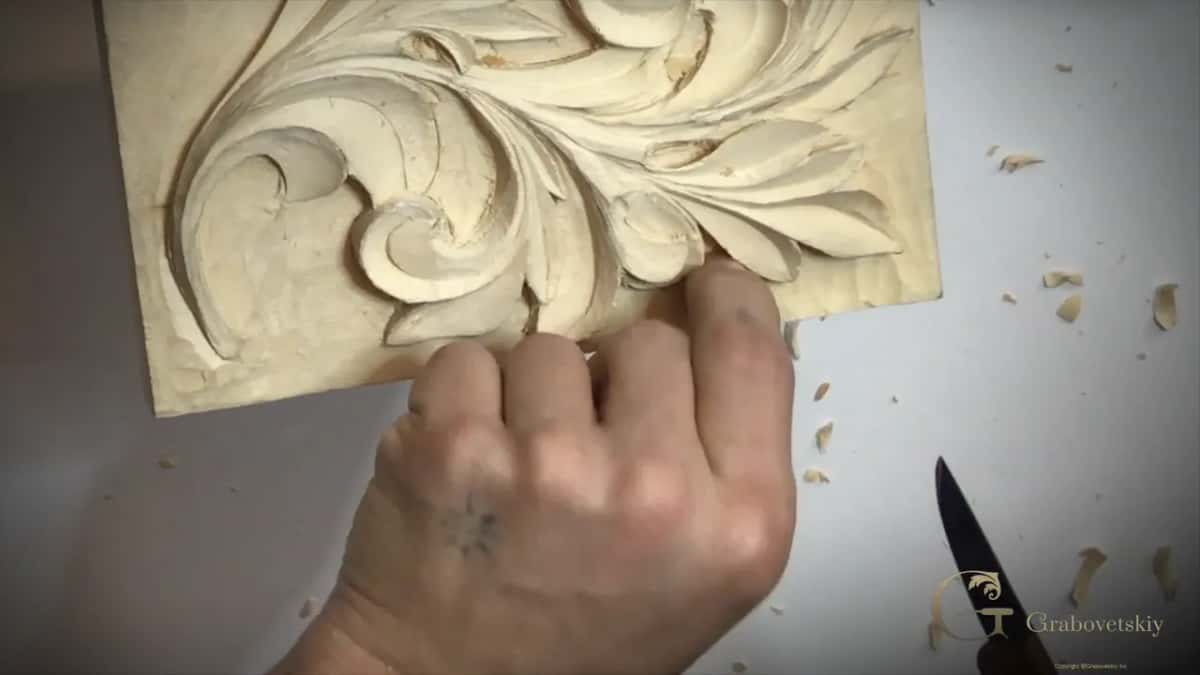
One piece in the last part was kind of stuck underneath. I knew it was carved free, but it stayed there, so I went back over it, and then it just flew out. Easy.
If I forced it, I could break the edges of my design. It's a good idea not to rush anything.
I'm going to be honest with you about rushing. In lesson 16 of my Roman acanthus leaf I was hooking out from underneath without forcing it, because I wanted to see a really smooth transition. I also said I do have a tendency sometimes to rush it, because I want to get paid too when I'm doing a project for a client. It's better not to rush it.
Is hooking the same thing as hoiking?
Same move, another country.
Part three of this lesson is where I said there's a specific term in England for this technique, and it sounds a little different. I think they call it hoiking. Wiktionary lists hoik as informal English for lifting a heavy thing carelessly, or for throwing something out.
On my Hashemi flowers, I put it plainer. You carve and you hook it, and English carvers would call it hoiking, and by English I meant Great Britain, the UK. That lesson has its own page on the word.
Do you hook out waste anywhere else?
On other carvings I hook in tight eyes, in a flower, and even on paper.
On the grape onlay, in the eyes, I put a 2 mm (about 0.08 in) number 11 upside down, flute down to six o'clock, and excavated. As I go, I'm pulling slightly, hooking and dragging out. You don't have to, but I have a tendency to do it naturally, carve and hook, carve and hook, and you can see the chips flying out right away. That way it's cleaner inside, and you can see much better in there. Even with that small tool I got about half an inch (about 13 mm) deep.
On a flower rosette, the same move lifted off my paper. With a number three, without digging too deep, I was just hooking my paper and removing it, almost not touching the wood at all.
On a Hashemi flower, with a number 8 spoon gouge, 5/8 of an inch or 16 millimeters, I told you what I'm doing this way is hooking. I was just trying to hook it up.
And on the Corinthian acanthus leaf, the kind of leaf you see on a Corinthian capital, I took a small V tool, only 1 mm (about 1/25 in), a number 16, and carefully hooked with it. Just be careful when you hook that, I said.
Which small tools reach the tightest spots?
For one spot in part two I needed a really small gouge.
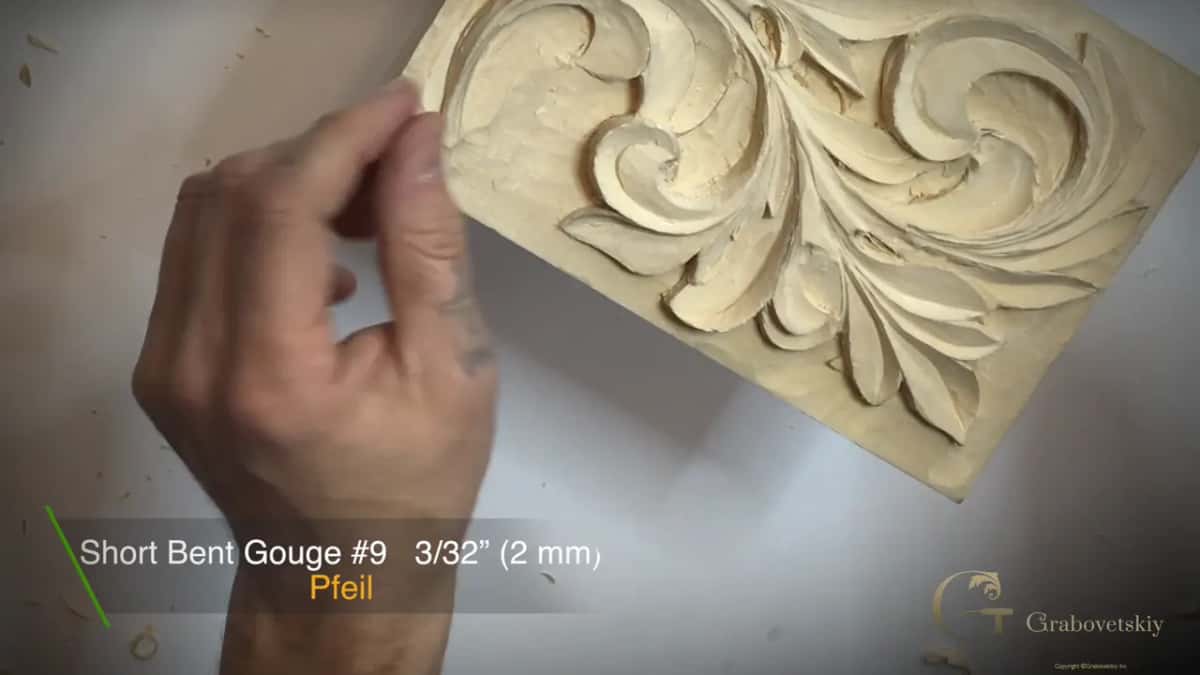
I took a 2 mm number 9, which the card on screen calls a short bent, 3/32 in, and really carefully removed what I don't need.
On one pipe I still wanted the undercut to go inside. For that I used a small gouge by The Dockyard, about an eighth of an inch (about 3 mm), and I said I could use even smaller than that. You just dig inside, and you create that shadow.
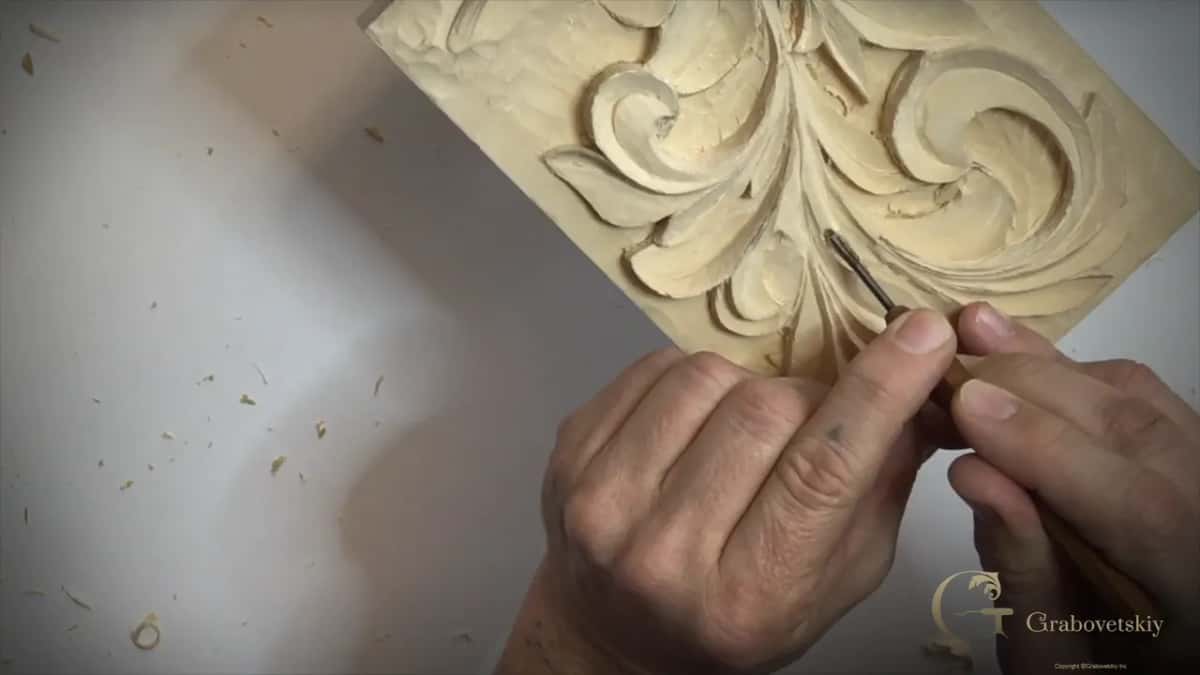
Then a really tiny one. I have a really tiny back bent, a number 7 by Ashley Iles, 3/32 in (2 mm) on its card, and I can go as deep as I want with it. As long as you have a really small, tiny gouge you can do almost the same, although you're not going to get as deep. With this one I go really deep inside and make the leaf look like it's just floating.
How hard should you push inside a narrow pipe?
A little, and carefully.
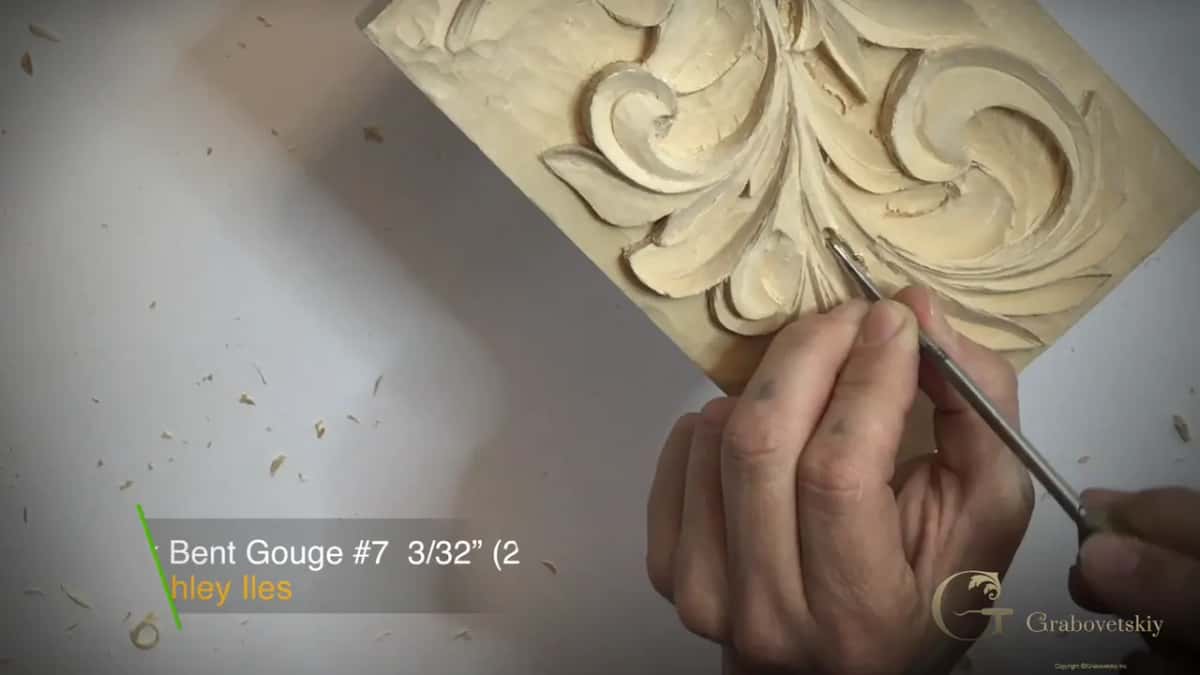
Don't push too much in that direction, or you're going to smash the fibers right there at the pipe, and that's not going to look nice. Be careful.
And don't overdo it. In an area like that you're never going to get a really deep undercut. I said much the same in part three, don't press too much and just take your time.
Can a straight gouge undercut at all?
It can, where you come in from the end of the board.
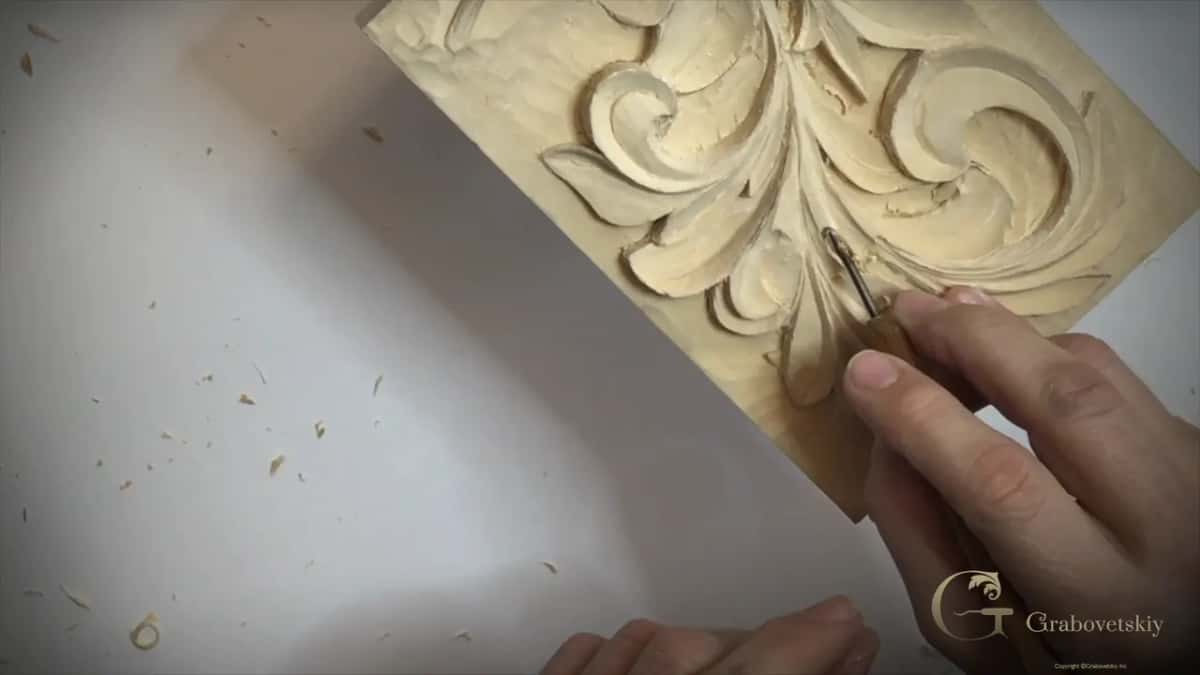
During the last part I used just a number 7 for undercutting, because I could reach that spot from the edge of the piece, so I was safe to use it. Earlier, in part three, the same number 7 went even deeper underneath at one spot, and you could already see a deeper shadow.
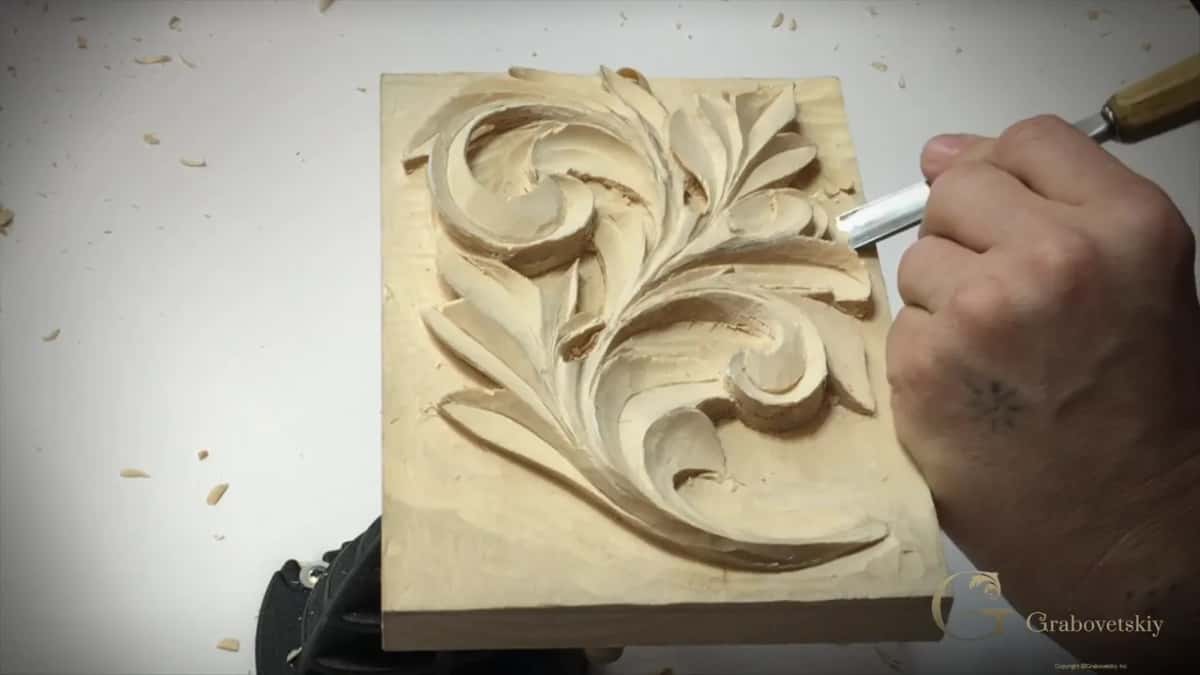
Near the end I picked up the V tool to get underneath, and it was a really excellent idea right there, because I got even deeper.
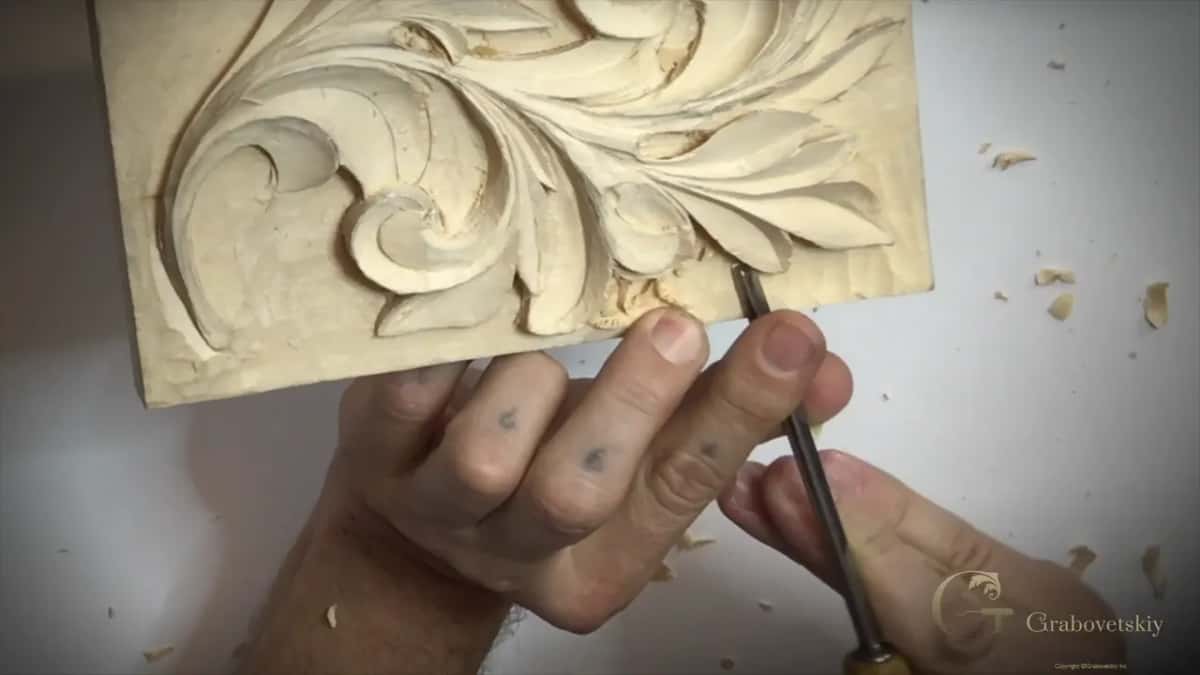
What about sideways undercutting tools?
I have them, and sometimes I use them.
They're Chris Pye's undercutting tools from Ashley Iles, as I said in lesson 6. They come as a right hand, a left hand and a straight. In some areas, if I can't get in with other tools, I would just use those.
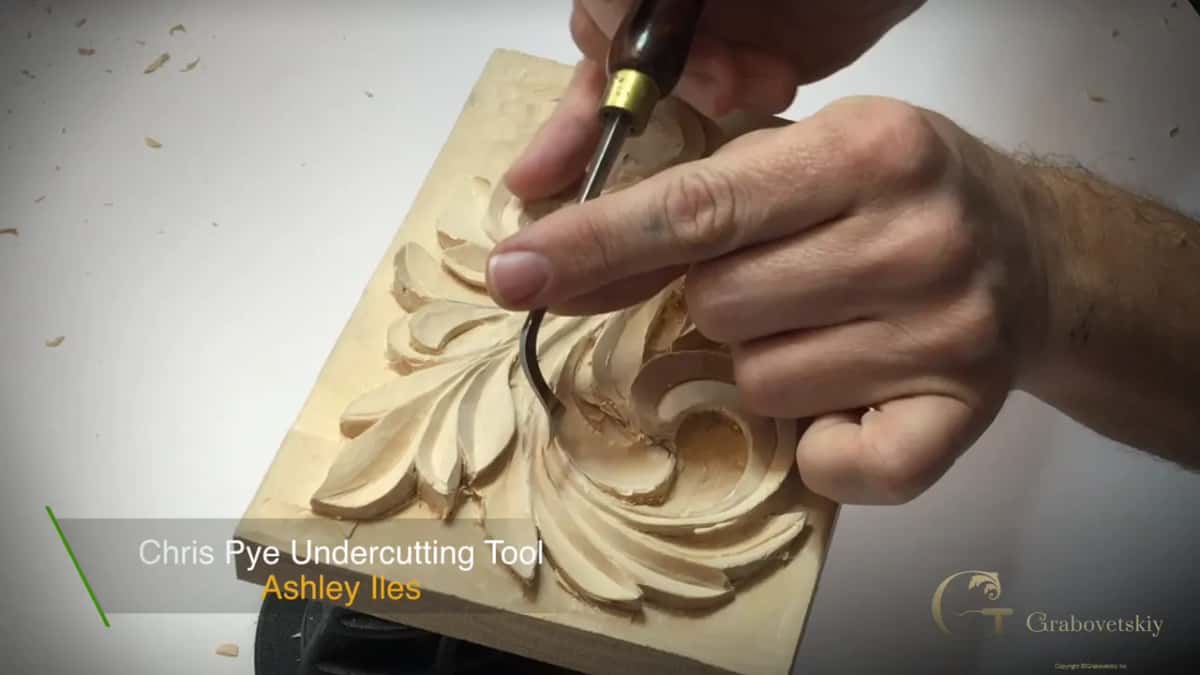
Beautiful tools for undercutting, but for me they're not an everyday tool. A few years ago, when I got them, they were the only tools I used for undercutting, since you can get in deep and get a nice shadow.
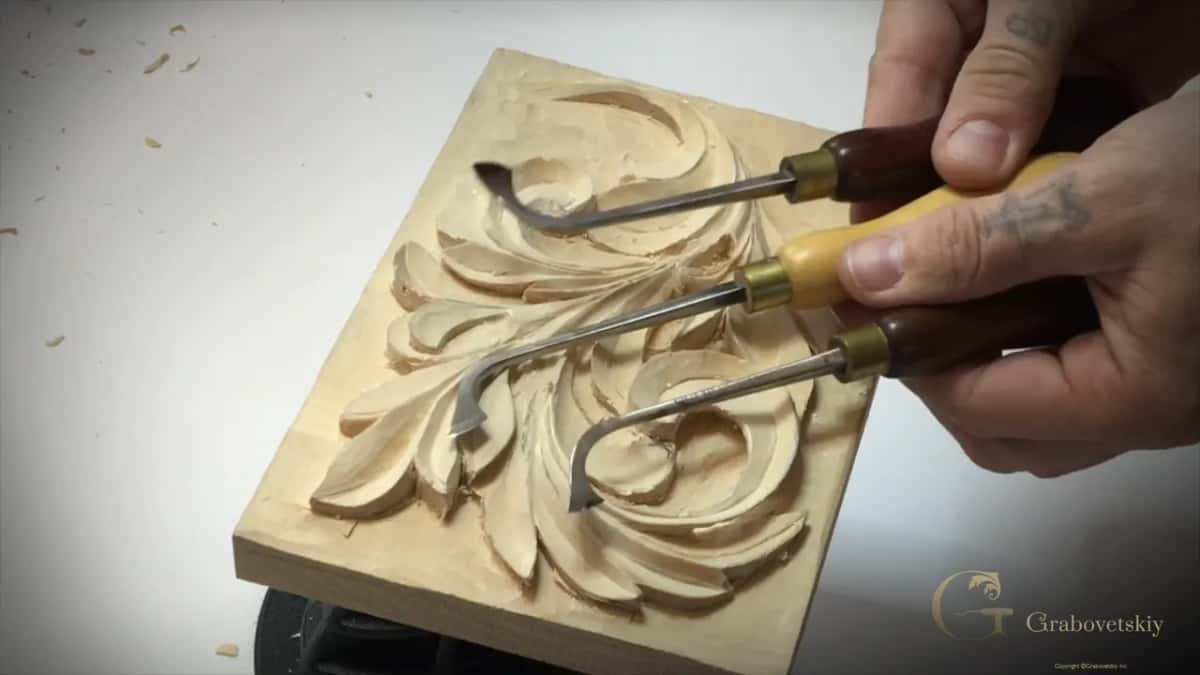
There are multiple approaches you can take. Try different techniques and see whatever will be best for you, I said, and for me the back bent's edge is the quickest and really accurate.
The tools from lesson 10, and what each one did
| Tool | What it did on this leaf | In my words |
|---|---|---|
| Knife, number 12 | Took most of the wood off a high leaf, and hooked waste out | I love this knife |
| Back bent #25, 13 mm (1/2 in) | Got deep under a piece in the way | Excellent tool |
| Short bent #9, 2 mm | Removed what was not needed in one small spot, really carefully | Just really carefully |
| Dockyard gouge, about 1/8 in (3 mm) | Dug inside a pipe for the shadow | Don't push too much |
| Tiny back bent #7, Ashley Iles | Went deep inside, so the leaf looks like it floats | Just floating |
| Short bent 3A, 3 mm | Cleaned an area and hooked the last waste out | Kind of hooking it |
| Straight gouge #7 | Undercut from the edge of the piece, where reaching in was safe | Safe to use it |
Why do a lot of carvers skip undercutting?
Undercutting is not the easiest technique, and I told you not to fool yourself about it. That's why a lot of wood carvers don't undercut. It's a lot easier to leave a carving without any undercutting. You can break your tools, or you can break your carving, and it takes long to do a really nice undercut.
Believe me, sometimes it takes longer to undercut than to establish the main form. But when those shadows get the right lighting, they look really nice. Gorgeous.
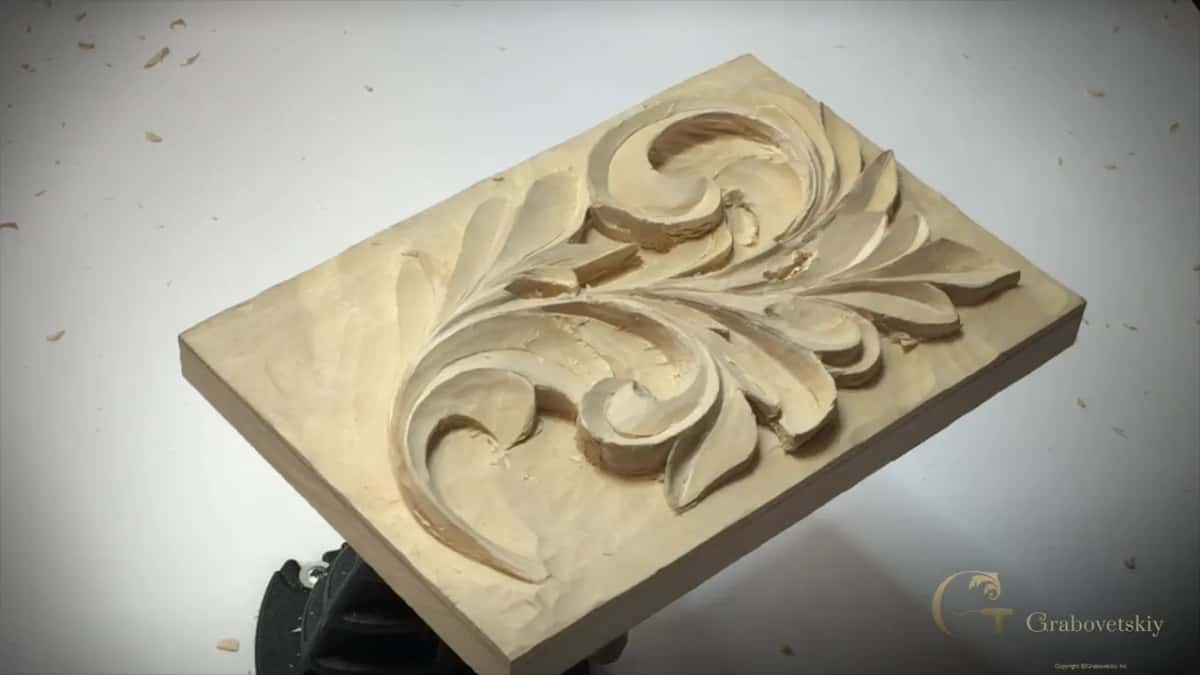
Your tools have to be really sharp. They must, absolutely must. If I complained about wood, my teacher would say to me that there's no such thing as bad wood, it's just dull tools. I said that's probably one of the most important things, and I told the same story on the Roman acanthus leaf. Sharpening has its own course here.
When do the edges get cleaned up?
Later, and on purpose.
Don't worry about the edge yet. I don't fix it right away because I know the other tools will still hit it, and once it's undercut it will be a little rough. I could do it at the beginning, but I really didn't need to.
Some edges do get a touch now. I refined mine with the knife in part two, and in part one I said I can always come back and refine my edge.
The background still has to come down on this relief. The space under one leaf is going to be on the same level as the background, and there's another 1/8 inch (about 3 mm), even more probably, to go all the way down to the background later. That will make even more shadow, and lesson 11 is next.
Where lesson 10 leaves the panel
That's it for today, as I said at the end of part four. I'm happy with what I see.
Do you have a knife? Is there one edge on your carving with wood still sitting under it? Every lesson of this Greek acanthus course is open with tuition, including all four parts of this one.
How it's done
- Outline the spot with a V tool. Make the first line around the area you are going to undercut.
- Get under with a back bent. Use just its edge, so you still go deep when something stands over the spot.
- Go over it more than once. Carve over it again and again, until you're certain the piece will come out.
- Hook the waste out. Use the edge of a knife or gouge, slowly. Don't force it.
- Recut a stuck piece. If it stays stuck underneath, go back and carve it again, and it will just fly out.
- Leave the edges for later. Later tools would only knock them again, so refine them last, with a knife.
Frequently asked questions
Do English carvers have another word for hooking?
In England, I think, the word is hoiking. On the Greek leaf I said it sounds a little different from hooking, and on my Hashemi flowers I said English carvers would call it that, meaning Great Britain. In the furniture panel course I said that in the United States it would be hook out.
How do you know a chip is ready to come out?
When you're 100% sure it's free. I go over that spot a few more times first, and then, once I hook it, the piece comes out just like that. Forcing it early is how a mistake happens, and I don't want that.
Can you hook with a carving knife?
My number 12 knife did it in every part of this lesson. Once a piece is carved free I lift it out with the knife's edge, a bit at a time, and a nice shadow shows underneath. Where a leaf stands high, it clears most wood off first.
What to carve next