
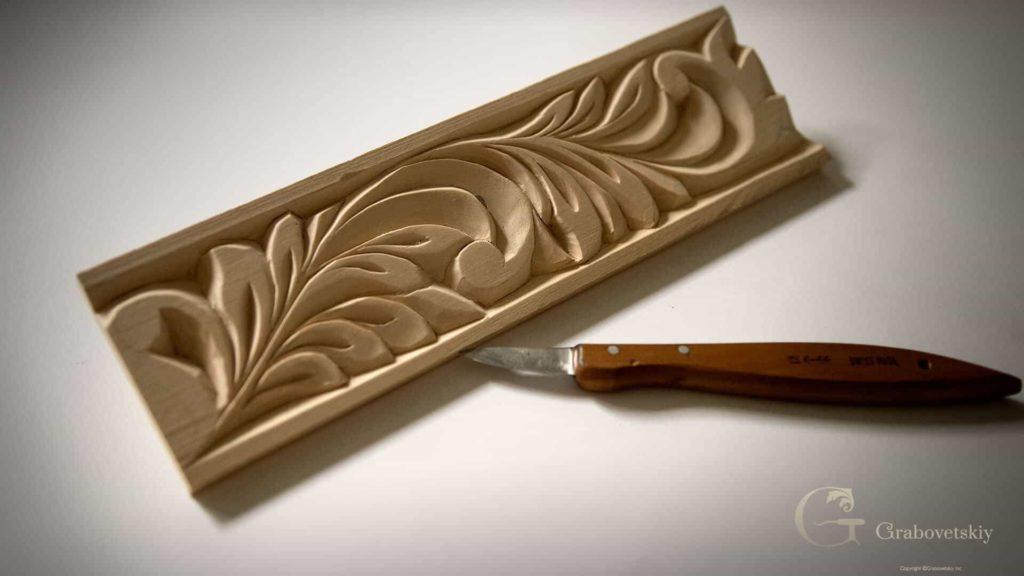
Alexander Grabovetskiy, woodcarver, School of Woodcarving
How do you start wood carving as a complete beginner?
Quick answer: Start with one knife and a scrap of basswood. Three angles do all the work. Straight down at 90 degrees, angled to the right, angled to the left. Practice those three on a flat board, then carve a small molding the way people did it thousands of years ago.
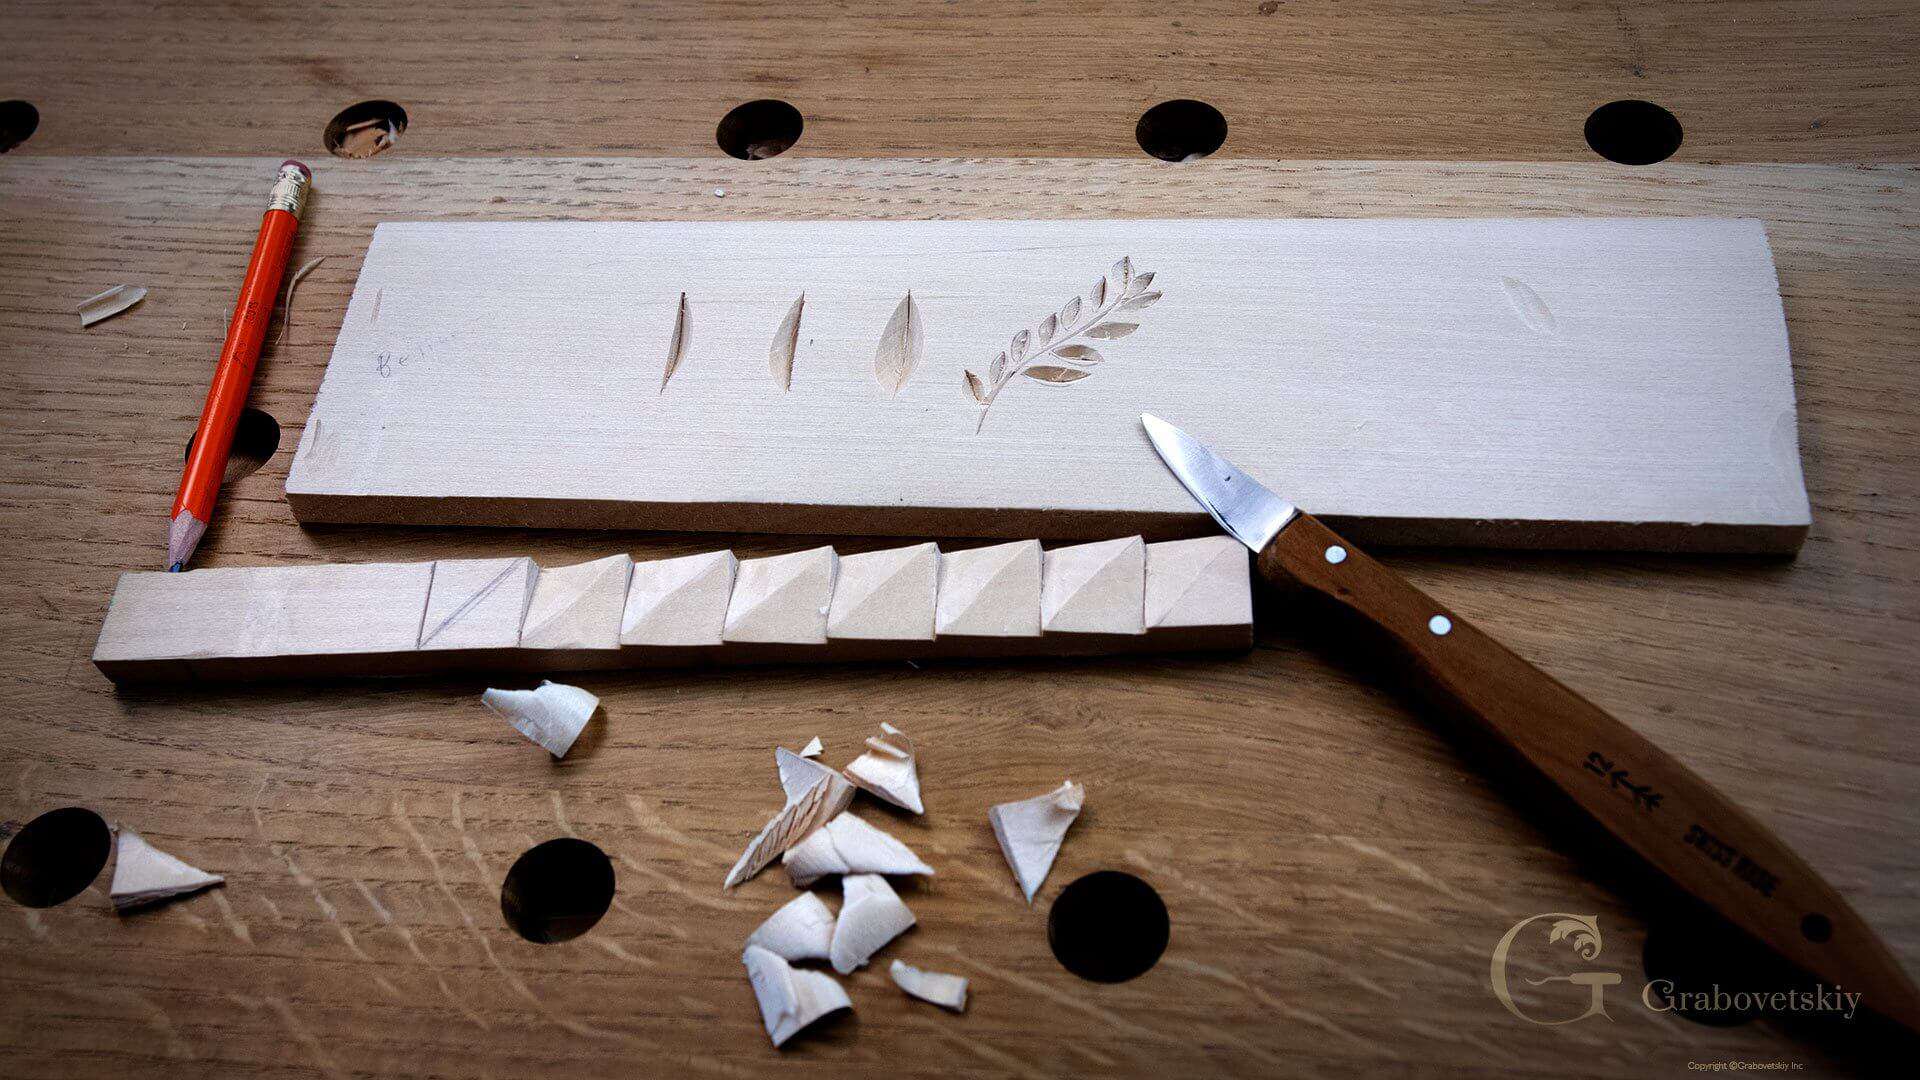
Every carver I have ever admired started at the same bench you are standing at. Not with a wall of gouges. One knife, a scrap of soft wood, and a line drawn across the grain.
My teacher did the same with me. He kept me on one knife for a long time before he handed me a gouge, so that is the order here too.
What knife do you need to start wood carving
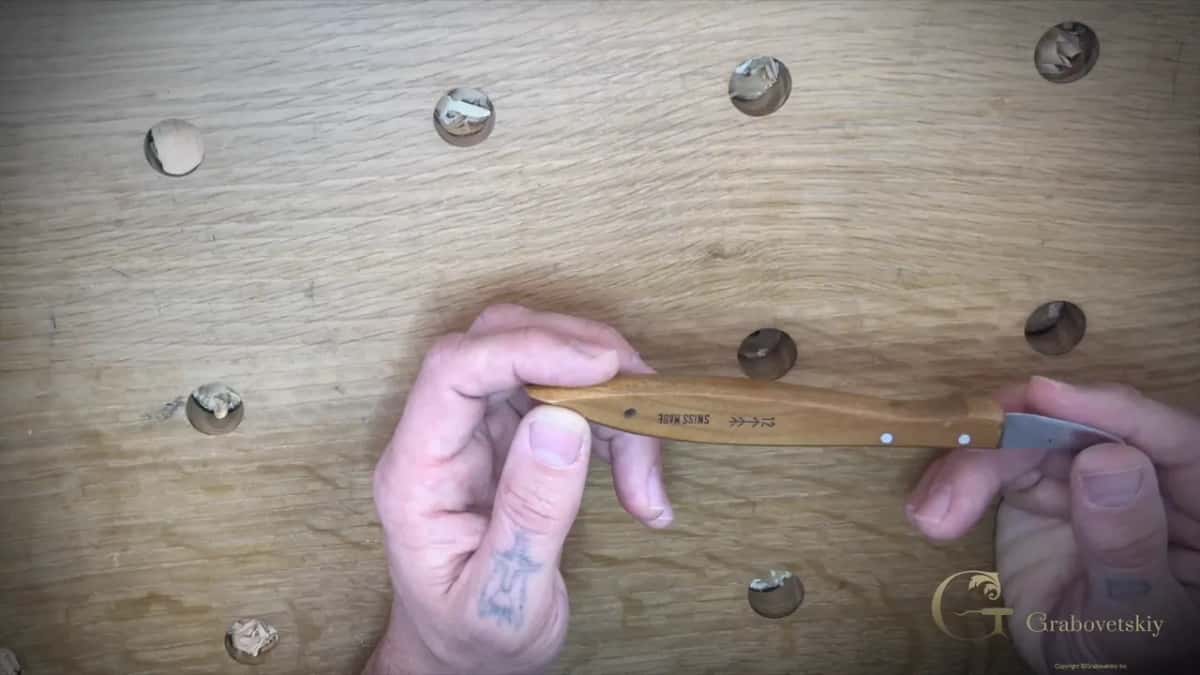
One knife. A number 12 Swiss made chip carving knife is the one I reach for, and the one on my bench has been with me for 20 years. It is not the cheapest knife on the shelf and it is worth every dollar.
That knife paid my rent. It bought my food and the clothes on my back, and the work I carved with it ran into tens of thousands of dollars over the years. One purchase, and it is still going.
Do not reach for the cheap one to save a few dollars. I know the cheap brands. The steel is not stable, the edge will not hold, and the blade snaps when you lean on it. You can break a good knife too, but you have to work at it.
Shops sell it under the chip carving name. We are not going to do chip carving with it.
What wood should a beginner carve on
Basswood. The same tree is sold as limewood or linden in Europe, and in Russia, where I grew up, we call it липа, lipa. Soft enough for a knife, firm enough to hold a detail, and almost no visible grain fighting you.
In the United States you can walk into Michaels and buy basswood planks off the craft shelf, or order from Woodcraft. In England ask for lime timber. Everywhere else, find your local carving supplier and ask for linden. Some people in my part of the world dry the flowers off that tree and brew them for tea.
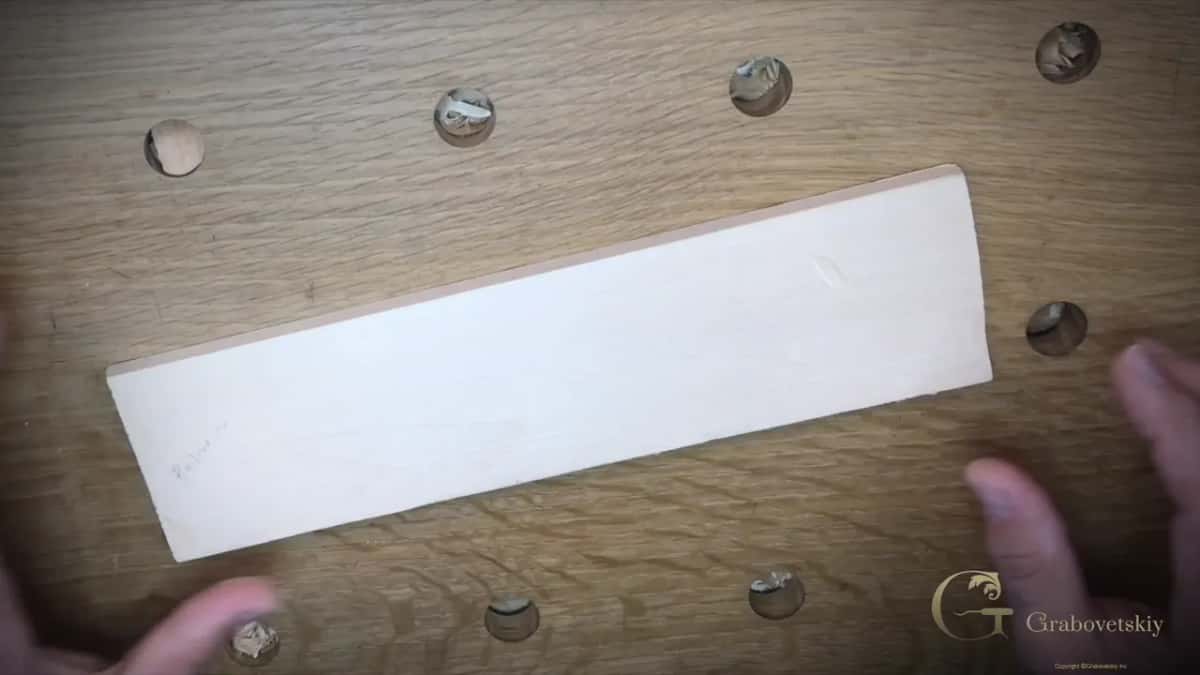
Whatever you carve today does not have to be a fresh board. The piece I work on in these videos is a leftover from another project.
What else do you need besides the knife
A flat surface, a clamp and a pencil. The whole shop, right there.
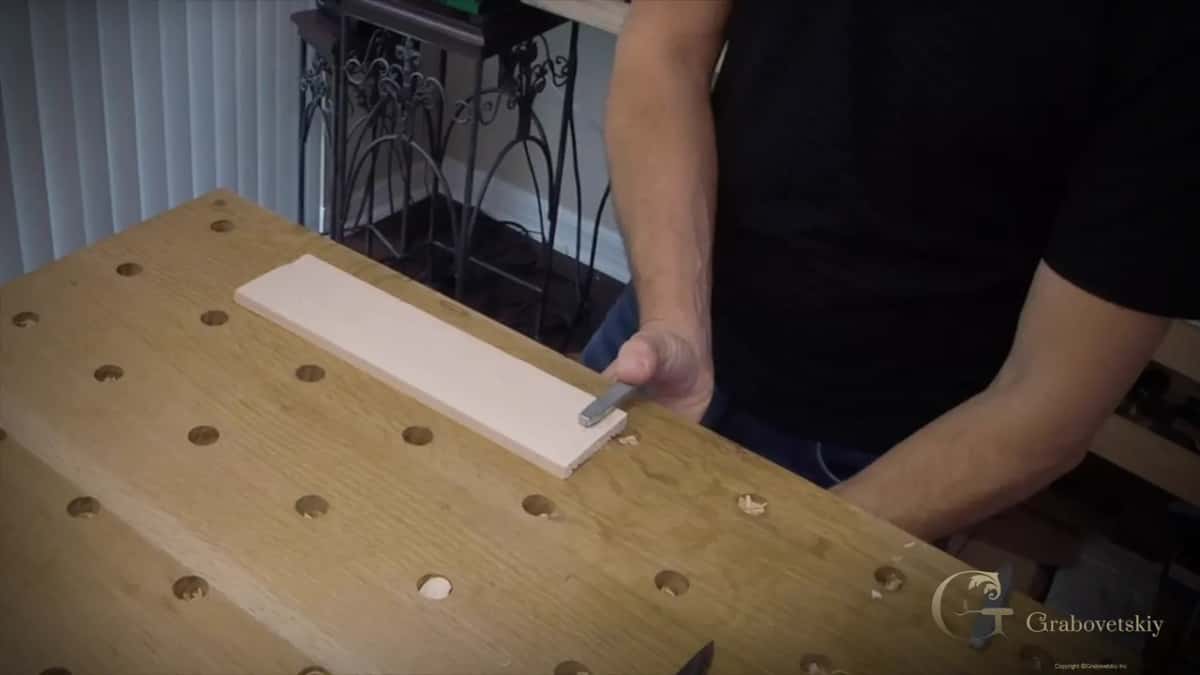
You do not need a workbench. I have carved plenty of good work on a kitchen table, and you are not swinging a mallet here, so any solid surface holds up. Clamp the wood down, and a simple clamp is all it takes.
| What you need | What I use |
|---|---|
| Knife | Number 12 Swiss made chip carving knife |
| Wood | Basswood, sold as limewood, linden or lipa |
| Practice board | A flat offcut, plus a strip about 20mm wide and 10mm thick |
| Holding | One clamp on any solid table |
| Marking | A pencil, drawn freehand |
What is the safest way to hold a carving knife
Set the handle in your palm and squeeze it tight, keep the blade facing your body, and pull toward yourself. For the small shapes you can hold it the way you hold a pencil. Both grips are correct, and you will switch between them without thinking about it after a week.
One rule never bends. Your hand never goes in front of the blade.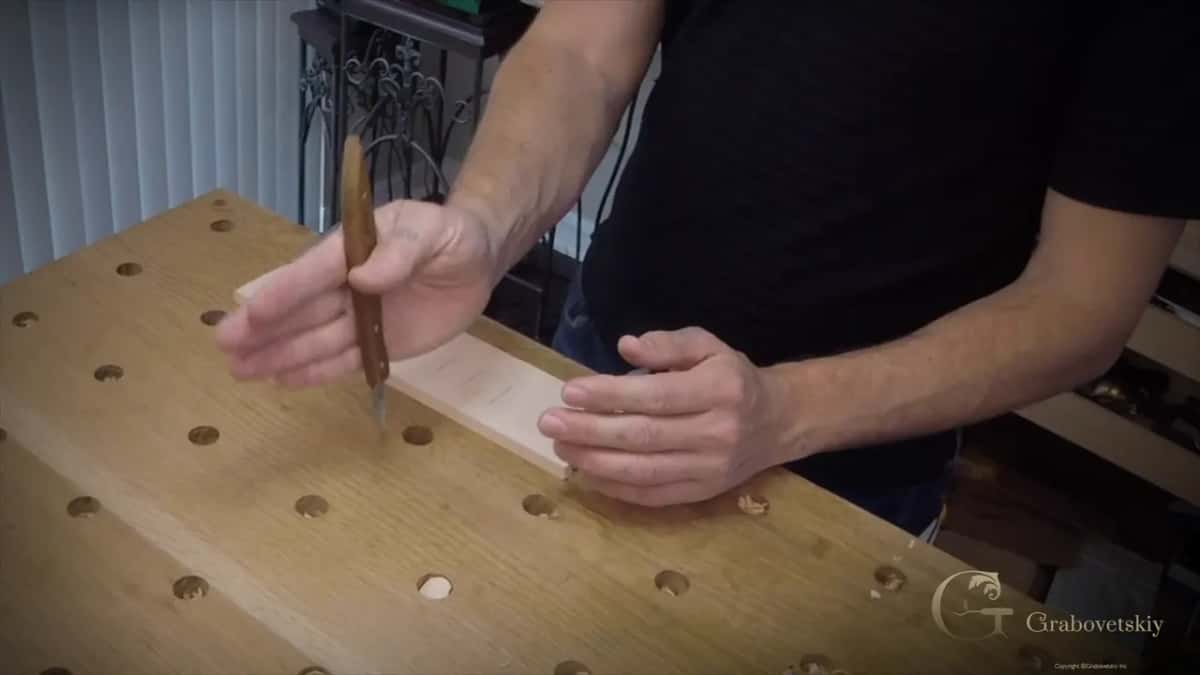 Not while you carve, and not while your other hand steadies the piece. The edge is going somewhere, and your fingers should not be there when it arrives.
What are the three basic knife angles in wood carving
Ninety degrees straight down, then that same line taken at an angle from the right and from the left. Everything in this course is built out of those three.
Draw a straight line across the grain in three separate places on your board. On the first line, put the knife straight down and pull it toward you. Call it your 90 degree pass. The two angles that follow both lean on it.
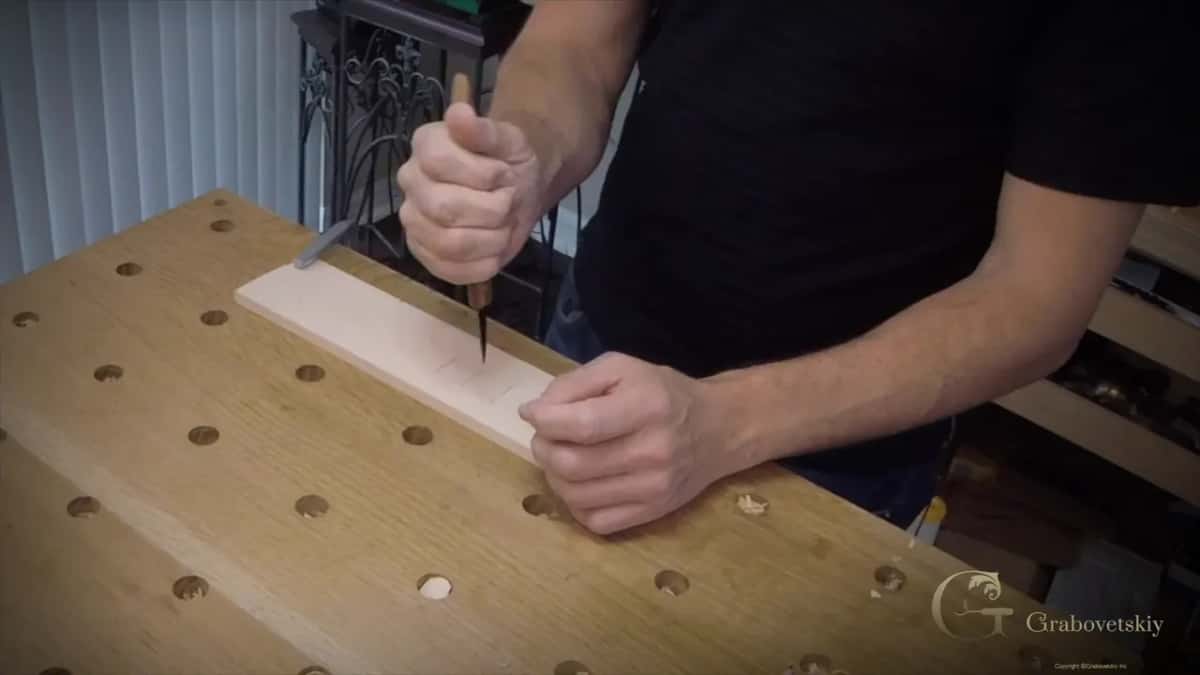
On the second line, start about 5mm out from it, near enough to 3/16 of an inch, and come in at an angle until you feel the bottom of that straight pass. A clean chip lifts away. If the chip does not want to leave, do not pry it. Go back down the straight line once more and it comes out on its own.
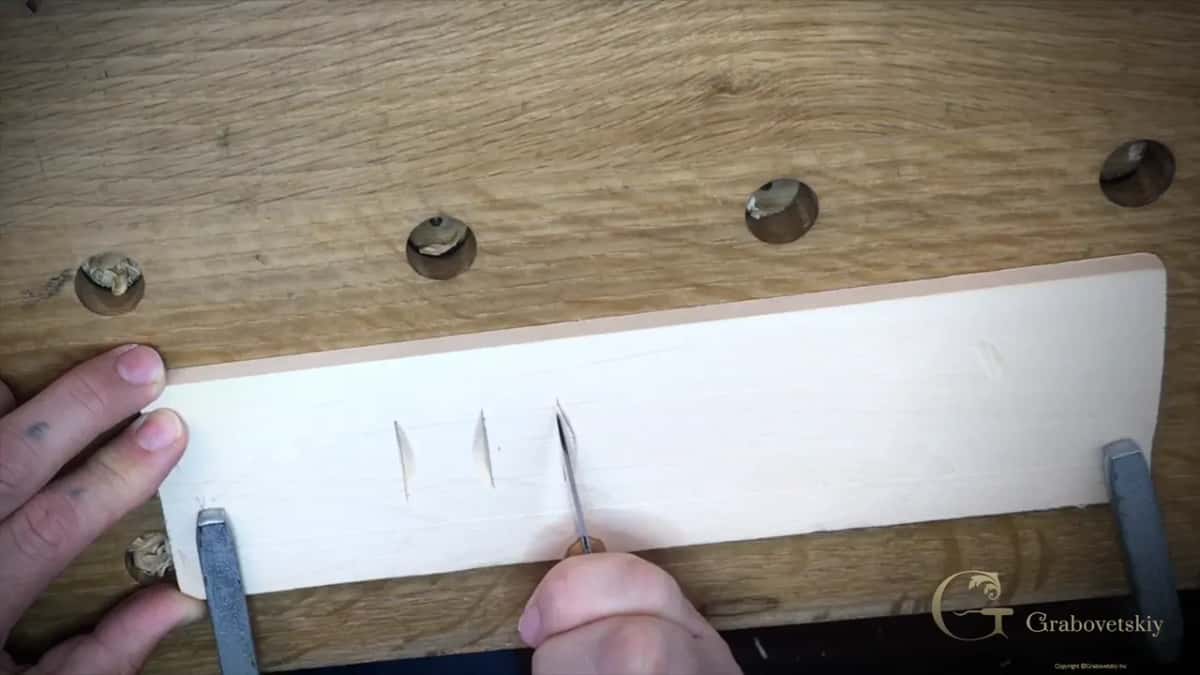
Third line, same move, mirrored to the left. Then do both sides into the middle on one line and look at what falls out. A clean, even chip means both angles traveled to the same depth. That is the whole point of the exercise. You are teaching your hand how deep it is going, and no video can do that part for you.
The idea is to train your hand to feel how deep you have to go with your knife.
What can a beginner carve with just a knife
A stem with a few leaves, drawn freehand. Right angle, then left angle, and the leaf drops out of the board.
Tiny leaves let you skip the straight pass in the middle and go right then left. If that feels shaky, put the straight line back in. Nobody is watching. Hold the knife like a pencil for the small shapes, because you need the control more than you need the power.
One sitting, and you have carved something. Not a masterpiece. Carving.
Which molding is simplest to carve with a knife
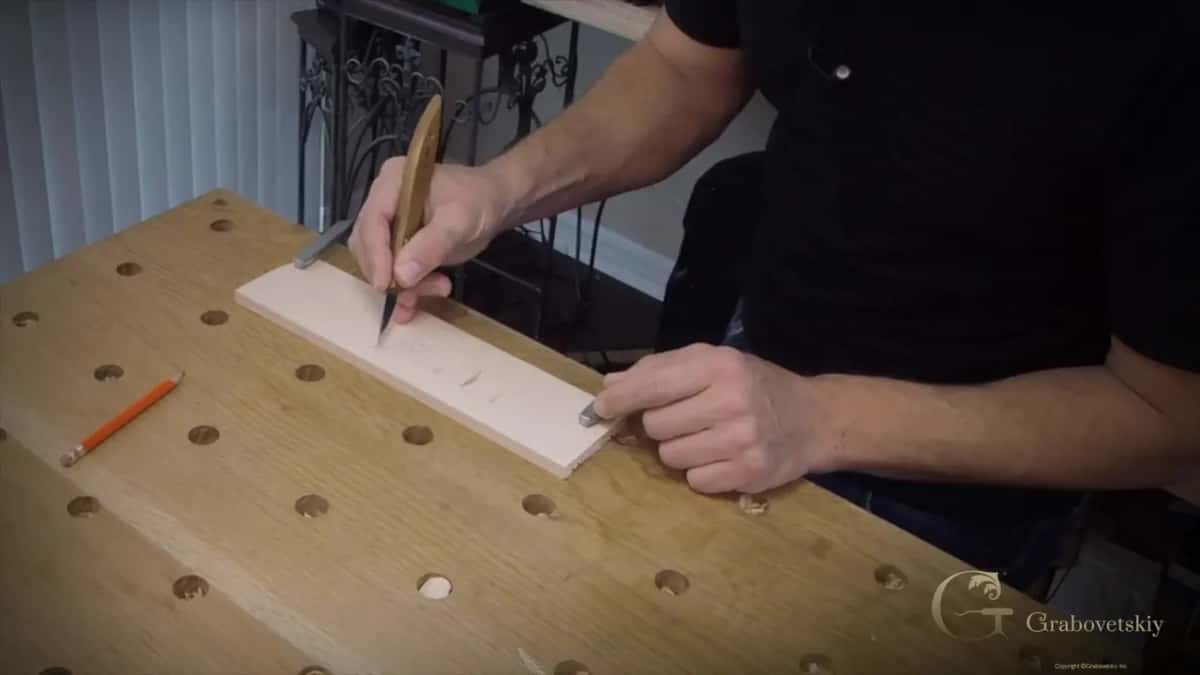
Take a strip about 20mm wide and 10mm thick and divide it into equal spaces by eye. Three quarters of an inch is close enough if you work in inches.
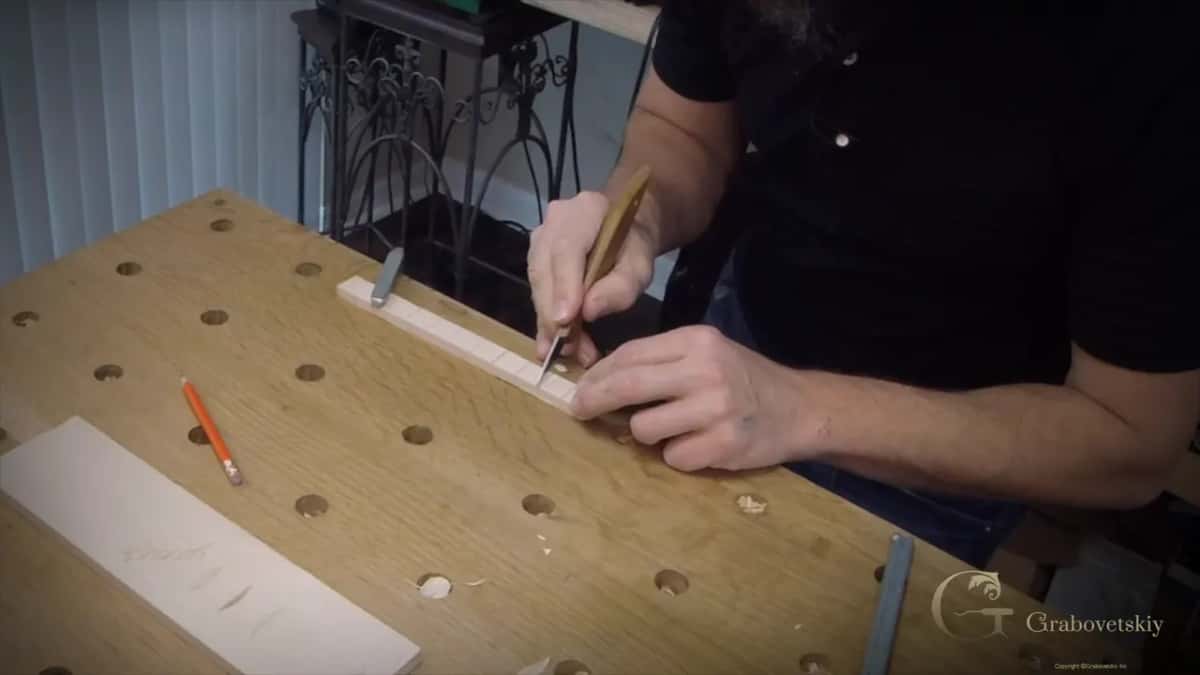
Draw the division lines across the strip at roughly 90 degrees, and draw them by hand. Put the ruler down. Later on you will need to draw and design, and the feel only comes from doing it wrong a few hundred times. Pretend you live 4,000 years ago and a knife is all you own.
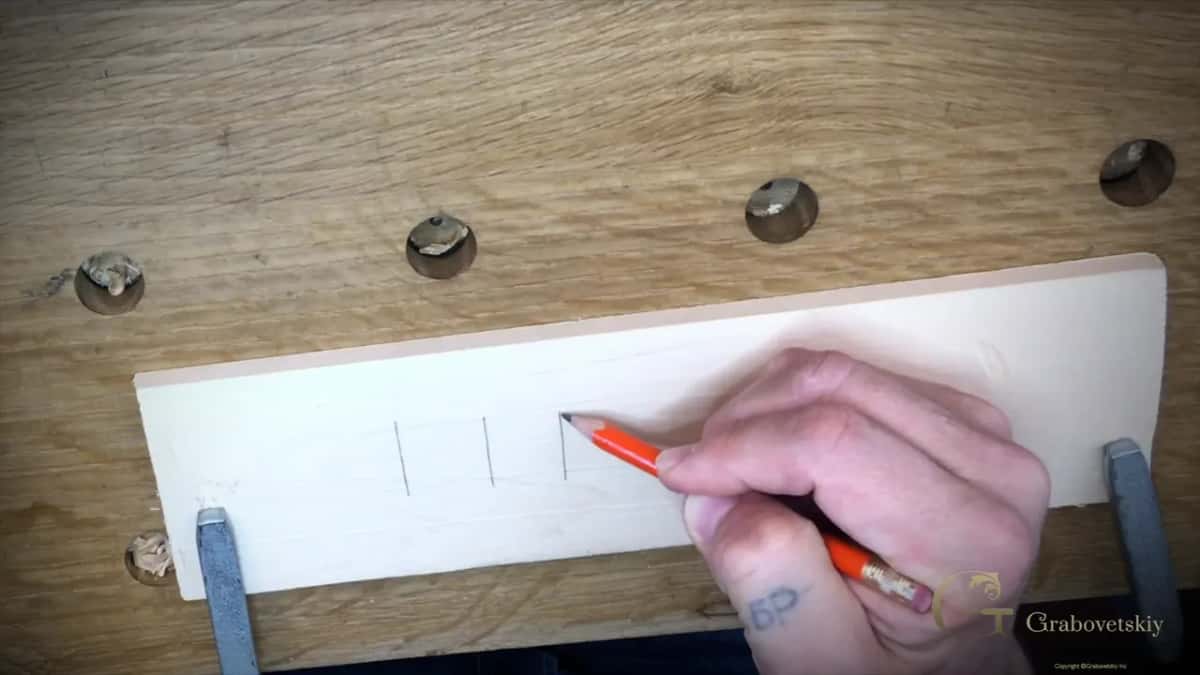
Put the knife straight down on every line, not deep. Then draw a diagonal from corner to corner in each space. Now the knife position changes. Turn the point away from your body, begin at the high corner of the diagonal, and skew down toward the middle, about 2mm deep. Two passes are fine. Three are fine.
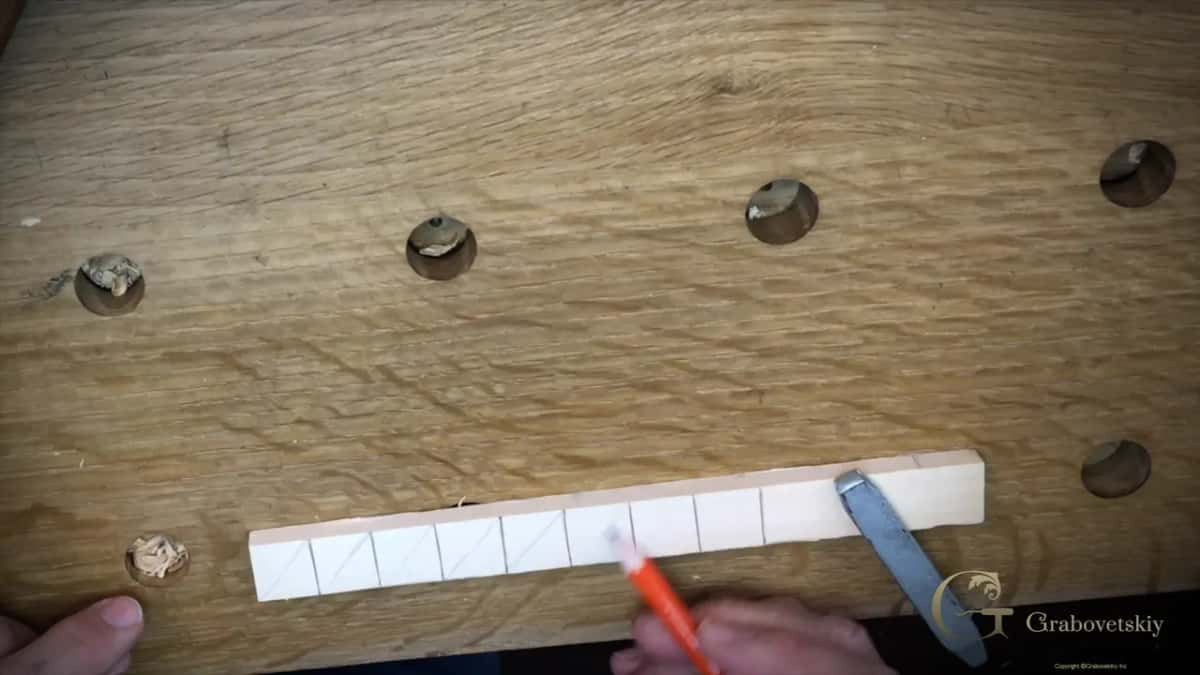
Then flip the strip over, clamp it again, and work the other side of every space a little deeper. Look at it under a lamp when you are done. The shadow does the work, and that shadow is why this pattern shows up on Greek work and all over old Europe.
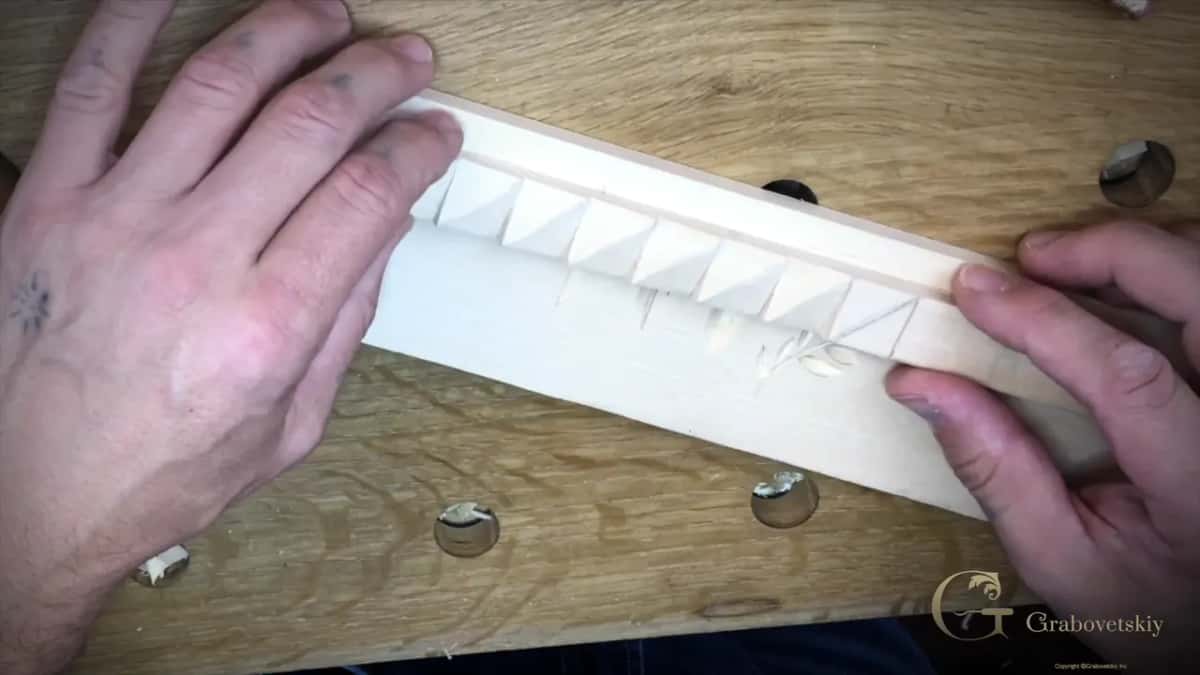
Can you carve a leaf that sits above the background
Turn the idea around. Leave the leaf flat and carve the wood around it instead.
Put a soft S line down the board and hang a few larger leaves off it. Angle the knife along every line of the leaf, right side first, then swap and take the left, and feel for the point where the two meet. Now mark a second outline about 5mm outside the leaf and carve in toward it.
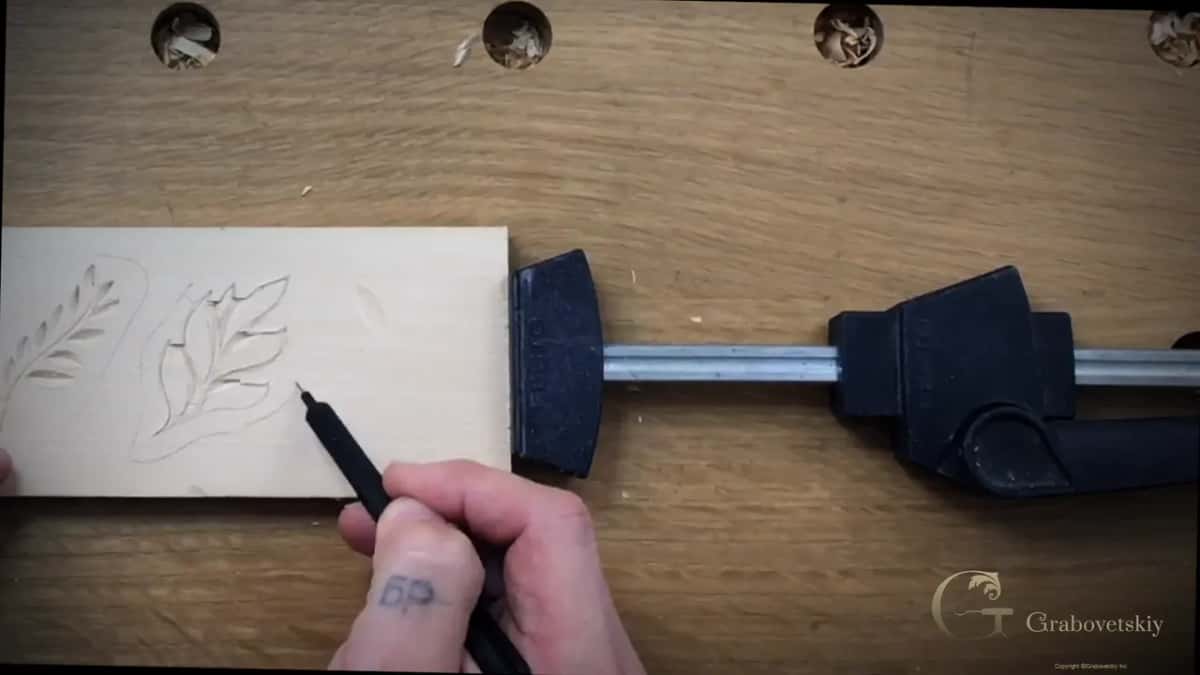
The leaf sits up while the space around it drops. Same three angles, opposite result.
Do you draw the design before you carve it
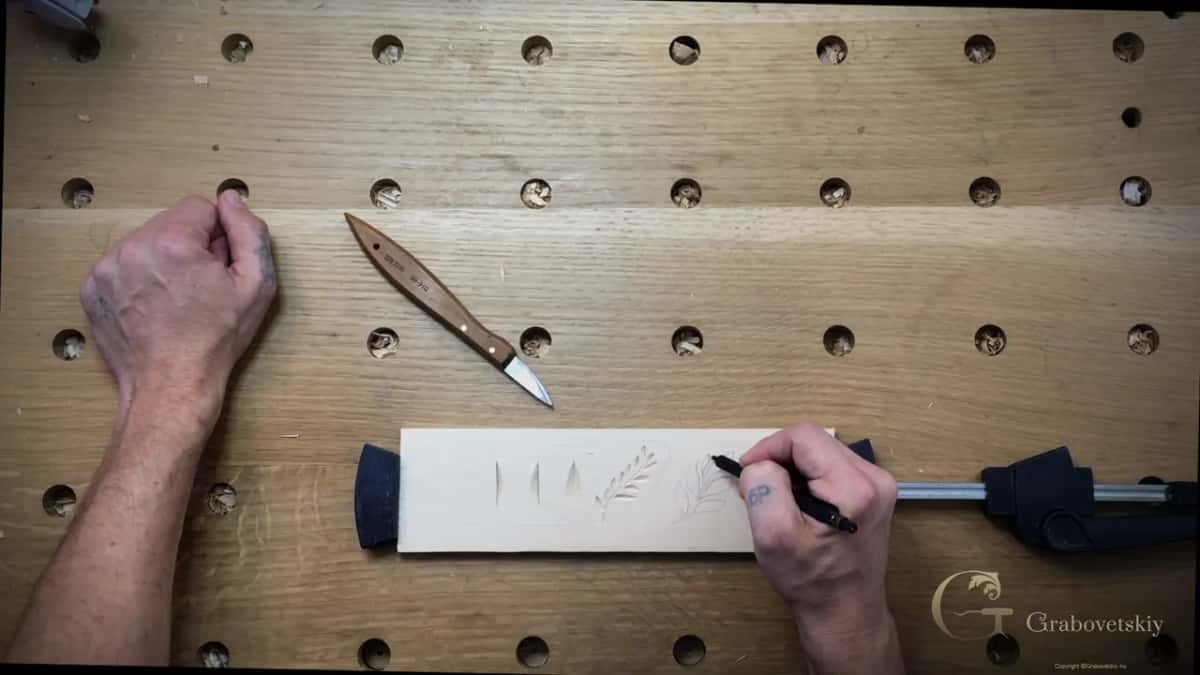
Draw a boundary line about a quarter inch in from the edge, then a second line about an eighth of an inch inside that one. No part of the design crosses the boundary. Nothing else about the layout is a rule.
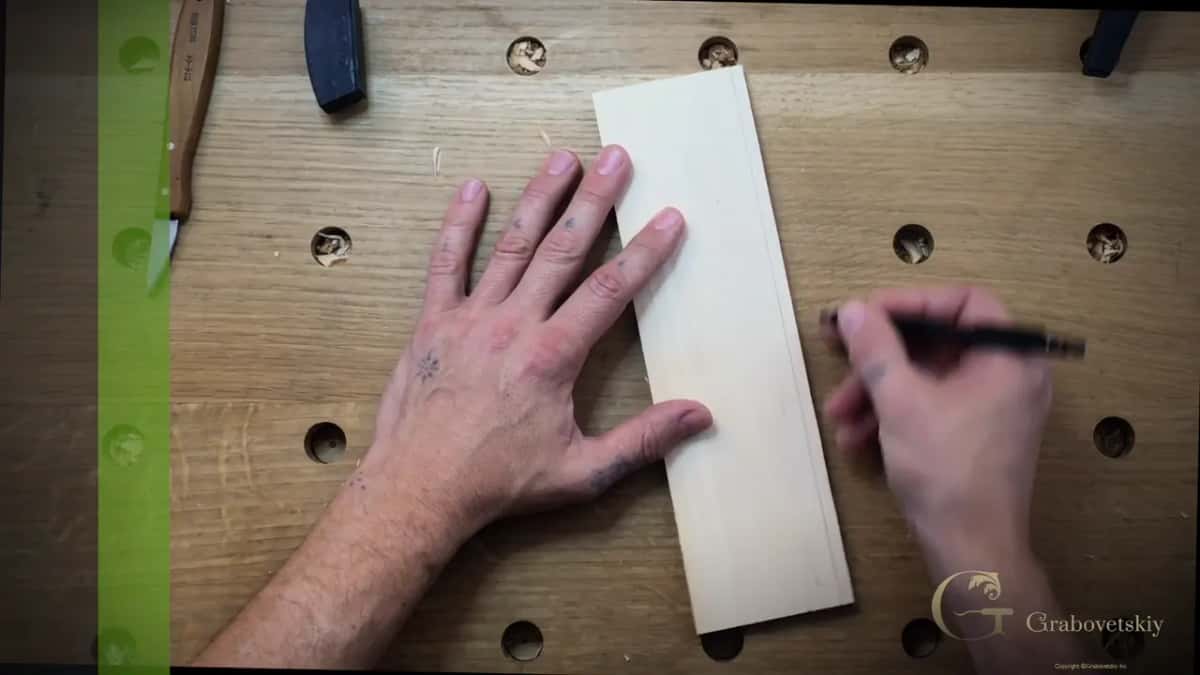
Then draw. A swirl on the left, the same swirl mirrored on the right, a leaf where the space looks empty, another leaf turned the other way to fill the corner. I design these on camera as I go, so you watch me change my mind. People later called that swirl a volute, though it existed long before anybody gave it a name.
Which direction do you carve with the grain
Start at the top of your line and follow it down, so the blade runs with the grain instead of digging under it.
Keep the angle low. Low angle, follow the line, and when the chip does not release, repeat the identical pass instead of forcing it. Some spots take two passes. Some take four. And you will sweat, because this is real work for your hand and your shoulder.
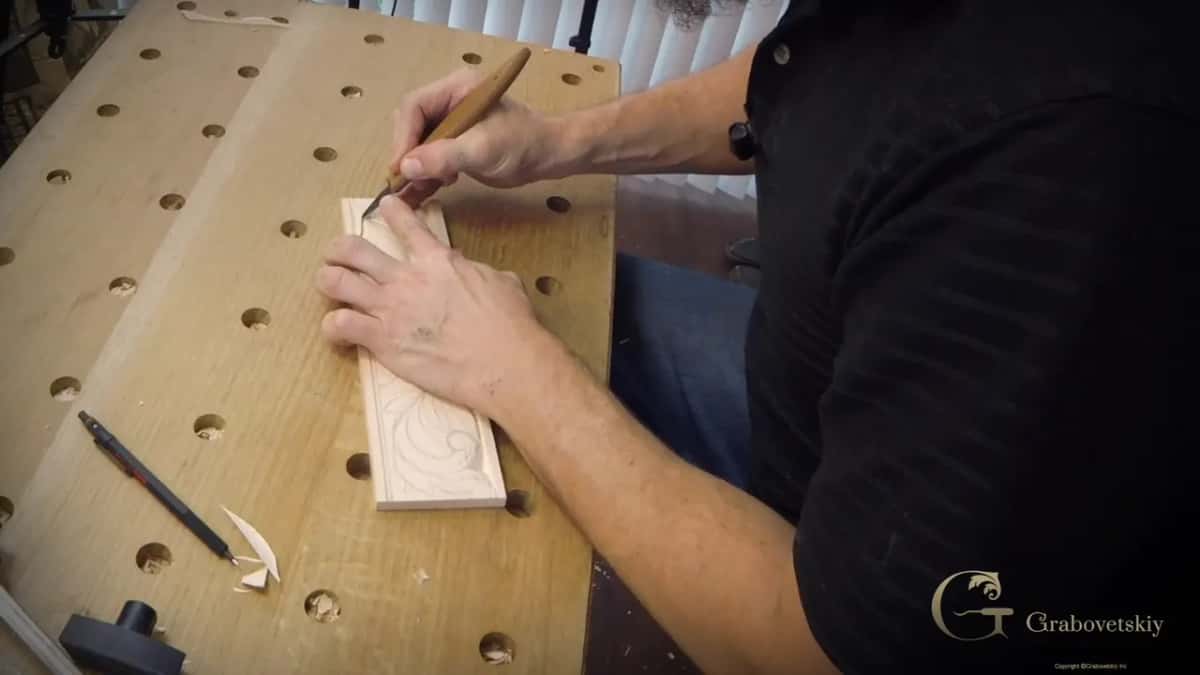
The meeting points are what people look at. Where two angled passes come together, the wood should break clean and sharp, with no fuzz. Come back and repeat the pass until it does.
Is one knife carving the same as chip carving or relief carving
No. Chip carving is geometric and came later in history. Relief carving needs a background, and here there is no background at all.
Everything on that board is a V groove, or a right angle and a left angle meeting on a line you cannot see. No punches in the background, because there is no background, and because the people who invented this had no punches.
You will hear it called Viking carving. Archaeologists did pull heavily carved boats out of the ground, and the Vikings really did work this way. So did German carvers, Slavic carvers, and half of Asia. The Viking era sits about a thousand years back, and carving was already old by then.
Train your hand on this and true relief carving gets much easier when you come to it.
What makes a carved design look finished
Put a V groove down the middle of each leaf and refine the outline with a low angle. Ancient carvers did the same, and it is what turns a flat shape into a leaf.
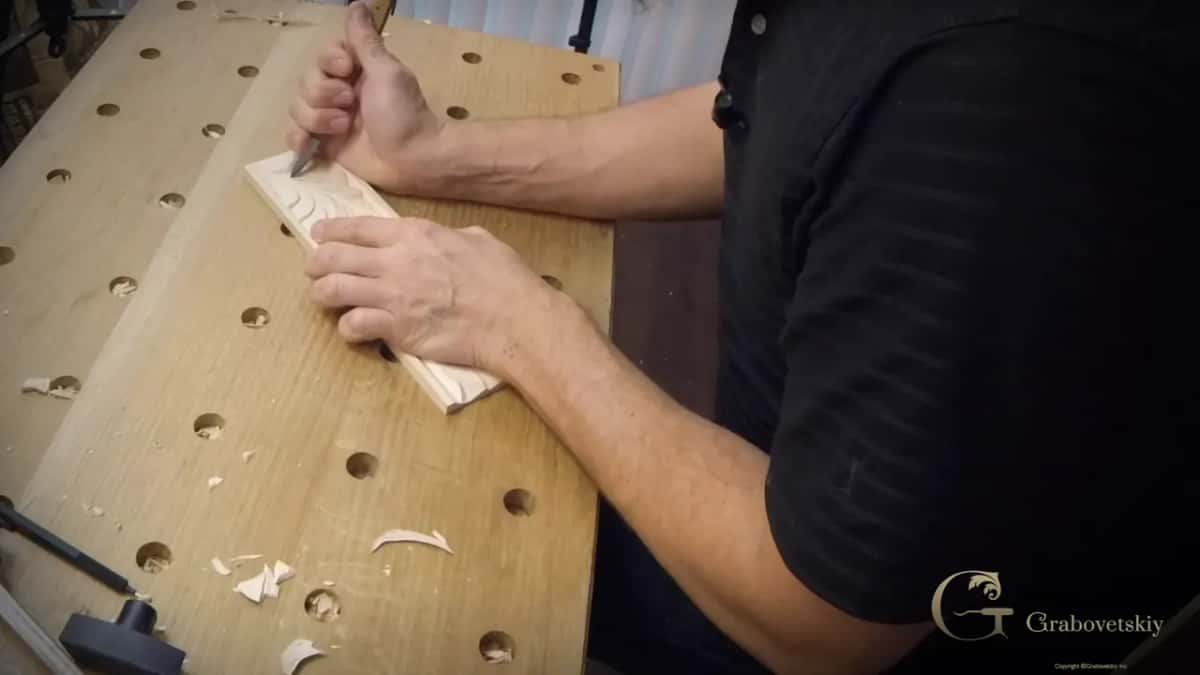
Clean every meeting point. Blow the chips off, do not brush them, and look at the piece from the side in raking light. If you can see shadow, you carved it. Scratched means your angles never met.
Nothing stops you from running this border as far as you have wood. Frames, the sides of a jewelry box, window casing, the apron under a table. I have run this same border along the sides of coffered ceilings.
How long does it take to get good at wood carving
Nobody can answer that for you, and anybody who gives you a number is guessing. Somebody wrote to me asking what level he would reach in one month, in two months, in a year.
I pay for a gym every month. I like going. But it would be foolish of me to ask what my arms will look like in eight weeks if I do not lift anything. Young guys come in, pump dumbbells for one day, then walk to the mirror to see what grew. Nothing grew. Do not be a child about it.
Somebody once asked me what the richest place on earth is. It is the cemetery. All those people with a gift they never used, buried right there with them. If there is a talent in you, I would like you to spend it.
So you do have your potential inside of you, and you can become a really good wood carver.
What to remember before your first pass
- A single good knife is enough to start, and it lasts decades.
- Basswood, limewood, linden, lipa. One tree with four names, depending on where you live.
- Three angles carry every project here. Ninety degrees, right, left.
- Pull the knife toward you and keep your other hand behind the edge.
- Follow every line downhill so the blade never digs under the fibers.
- If the chip will not lift, repeat the pass. Never pry it out.
- Clamp the wood. A kitchen table is a workshop.
Buy the knife and find a scrap of basswood. Shall we carve?
Frequently asked questions
Can I learn wood carving with only one knife?
Yes, and that is how I was taught. My master handed me a single knife and kept me on it for a long time before he gave me my first gouge. People carved boats, doors and church work with one blade for four thousand years and more.
What is the best wood for a beginner to carve?
Basswood, which you may know as limewood, linden or lipa. Soft enough that a knife slices it without a fight, firm enough to hold a fine detail, and there is almost no visible grain to pull your blade off the line.
Where do I buy basswood for carving?
In the United States, Michaels carries basswood planks on the craft shelf, and Woodcraft carries them too. In England ask for lime timber. Students write to me from Australia, Argentina, Holland, Denmark and Finland, and every one of them found a local supplier once they knew the right name to ask for.
How it's done
- Mark the board. Pencil three separate lines on a flat basswood offcut, running them at a right angle to the fibers.
- Anchor at 90 degrees. Squeeze the handle into your palm, stand the blade upright on line one, and pull it toward you.
- Come in from the right. Begin a few millimeters away and lean the blade in until it meets the bottom of that upright pass.
- Mirror it on the left. Swap sides and repeat, feeling for the same depth.
- Free the chip. Bring both angles together on one line until a single clean chip drops away.
- Never force a chip. One that clings needs another upright pass, not a pry.
What to carve next
More on this: Tilia americana, the tree sold as basswood, limewood and linden, The volute, the scroll shape people later gave the swirl