
Alexander Grabovetskiy, woodcarver, School of Woodcarving · Published 2017
What is one knife carving with no background?
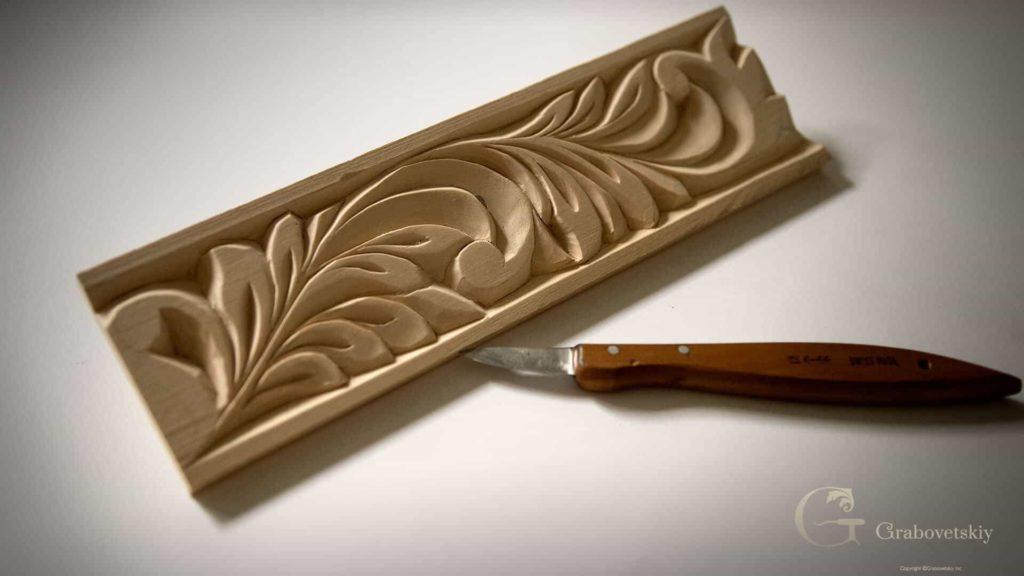
Quick answer: One knife carving is the most ancient form of carving, and it carries no ground behind it. Leaves keep the original face of the board while the wood beside them is removed, and almost every cut is a right or left angle, the two meeting on an invisible line under the surface. No gouge, no mallet, nothing punched down flat.
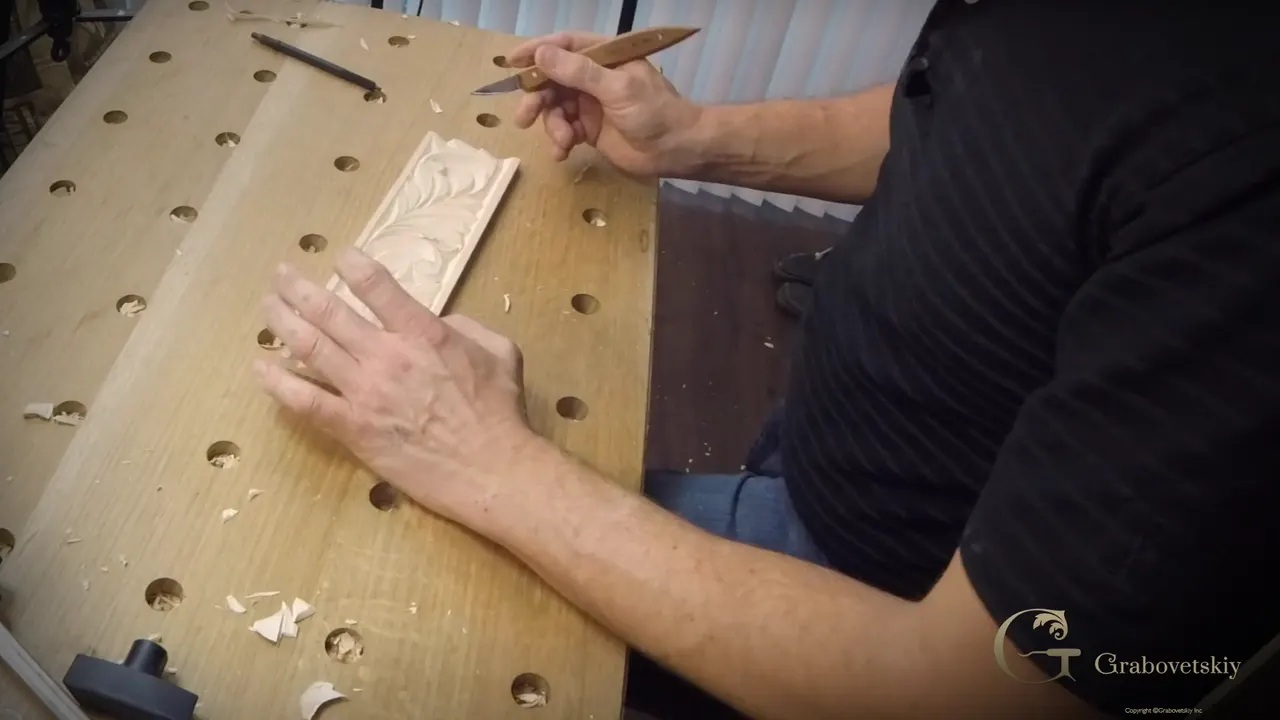
This time the knife carves around the leaf. In the first workshop the leaf was the hollow and the board stayed put around it. Turn that inside out and the leaf keeps the original surface while the wood beside it goes.
Same knife. Same board, other face. Nothing new arrives in your hand today, because we are still working with the one-knife technique.
You would be amazed how much comes off a plank with one blade. Ancient carvers had nothing else, and the carved designs archaeologists found from cultures across Europe were done with a knife and a hand, not a workshop full of steel.
Key takeaways
- The leaf stays high and the wood around it goes.
- Draw two lines along the border first, about a quarter inch and then about an eighth, and the leafage design stays inside the boundary.
- Cut downhill with the fibres.
- Your other hand lives behind the blade, never in front of it, even when you are only steadying the work.
- A chip that will not release is telling you a cut stopped short.
- There is no ground here, no background, nothing punched down, and that absence is why it usually is not called relief carving.
What actually changes from the first workshop?
Which part of the wood survives. Last time the leaves went into the board like little boats and the surface around them stayed untouched.
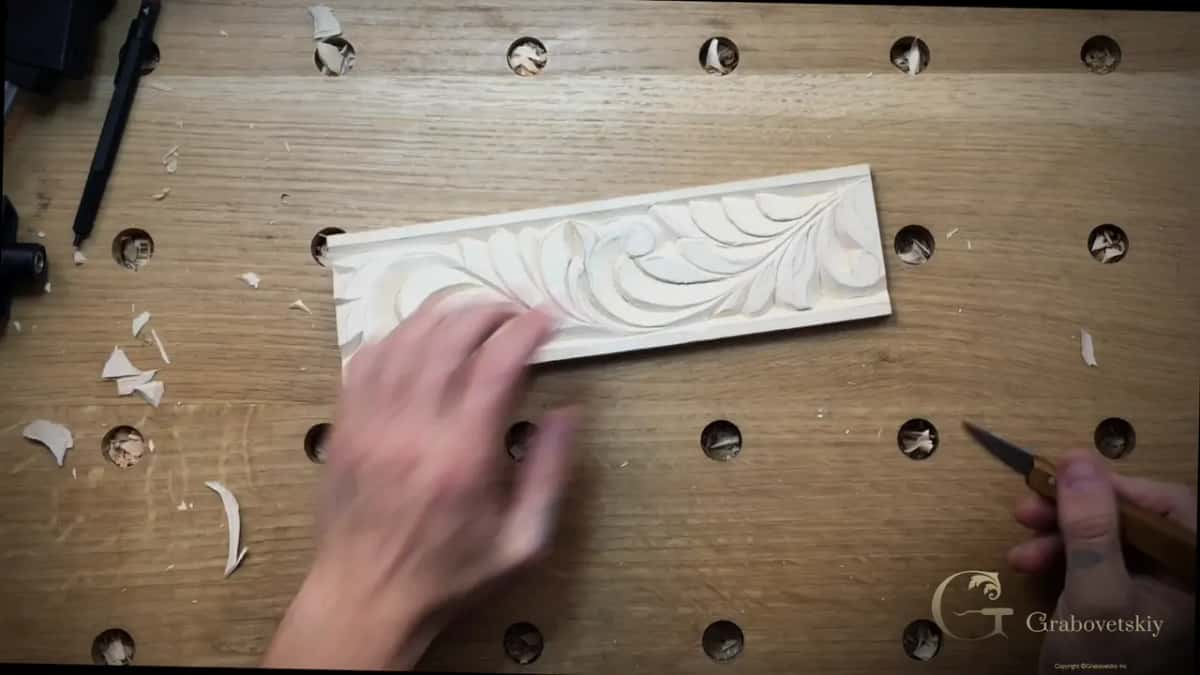
Now the opposite happens. Leaves keep the flat original face, and my knife removes the material beside them, so the ornament stands up out of a plank rather than sinking into one.
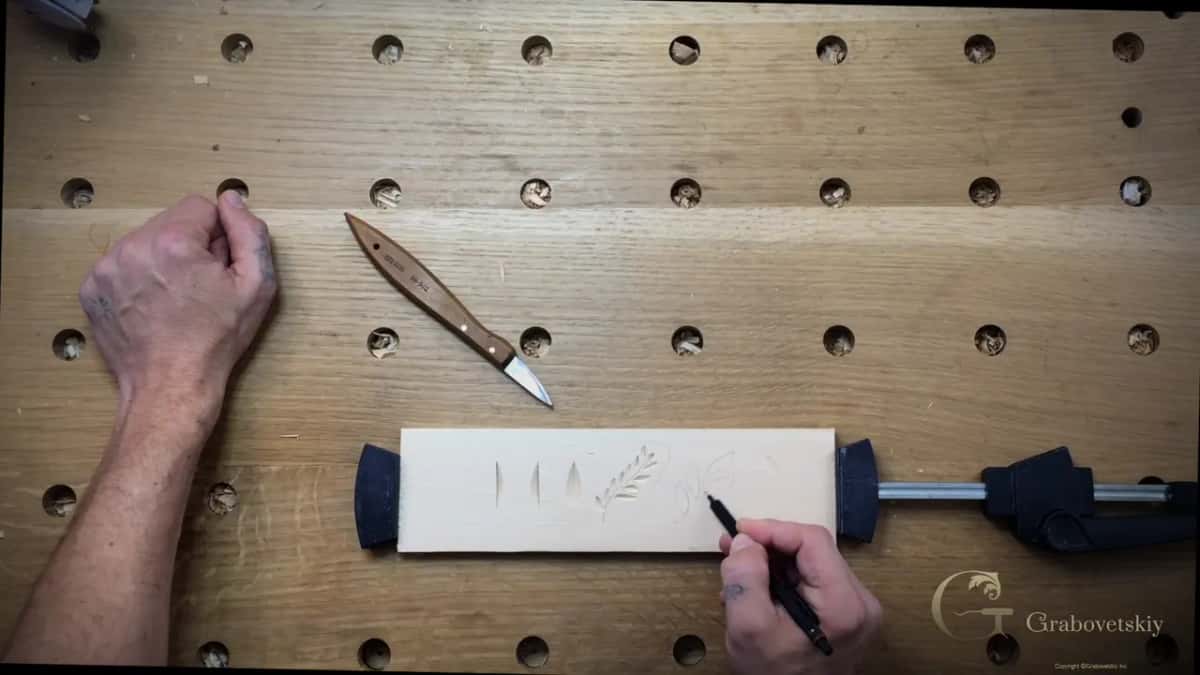
Practice on something simple before touching the real design. A gentle S line goes on first, not too sharp, with the leaves drawn a little bigger for now.
Depth is what you are training, not shape. Every one of these cuts teaches your hand how far down the blade has travelled, and once your hand has it, other types of carving get much easier and go much quicker.
Grip is unchanged, and there are still two of them. Locked in the palm, or held exactly like a pencil, whichever suits the size of the shape in front of you.
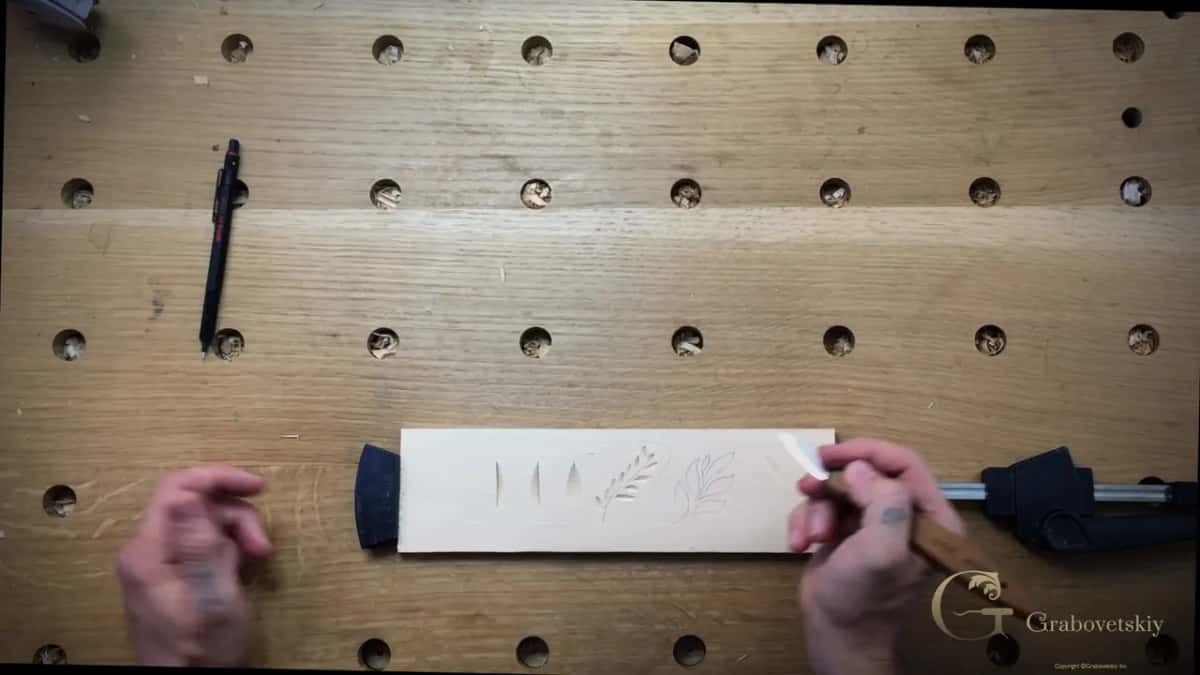
How many cuts is this really?
Two, until late in the lesson. Right hand angle, left hand angle, over and over, and a third arrives only near the end.

Angle the blade, put it on the drawn line, cut. Then turn the work, or change your side, and take the matching angle from the far side.
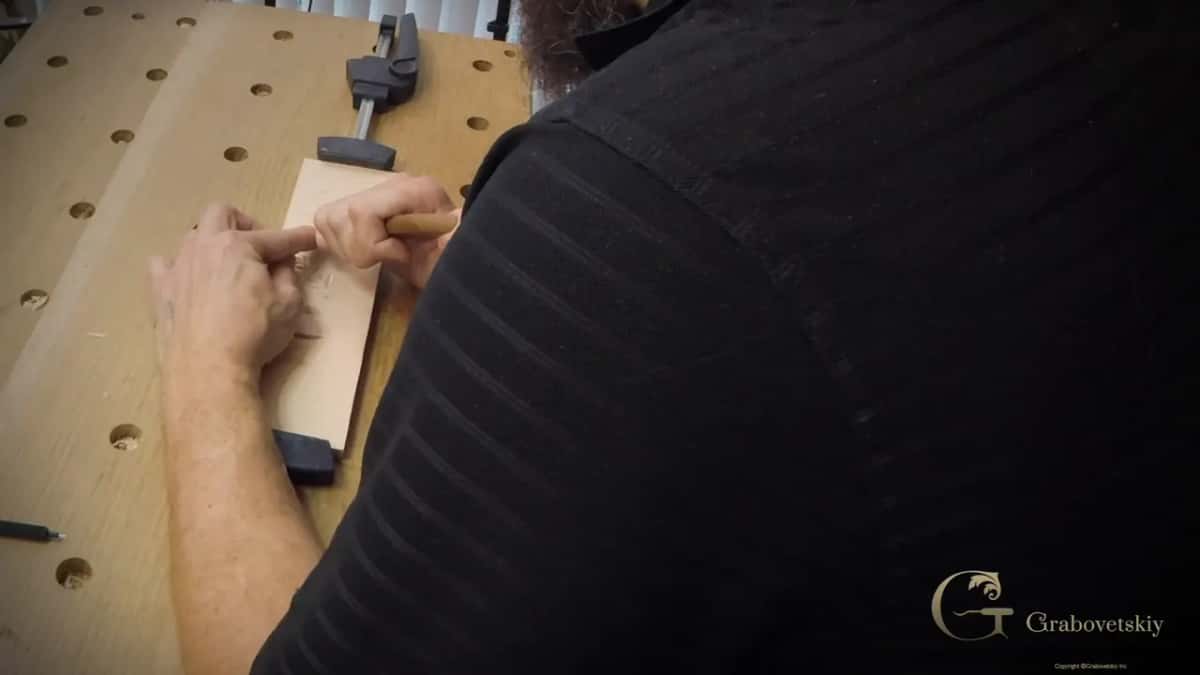
Where the pair meets down in the wood, you get a clean edge and a chip that lifts out unaided. Do exactly the same on all those lines and you have the entire mechanism.
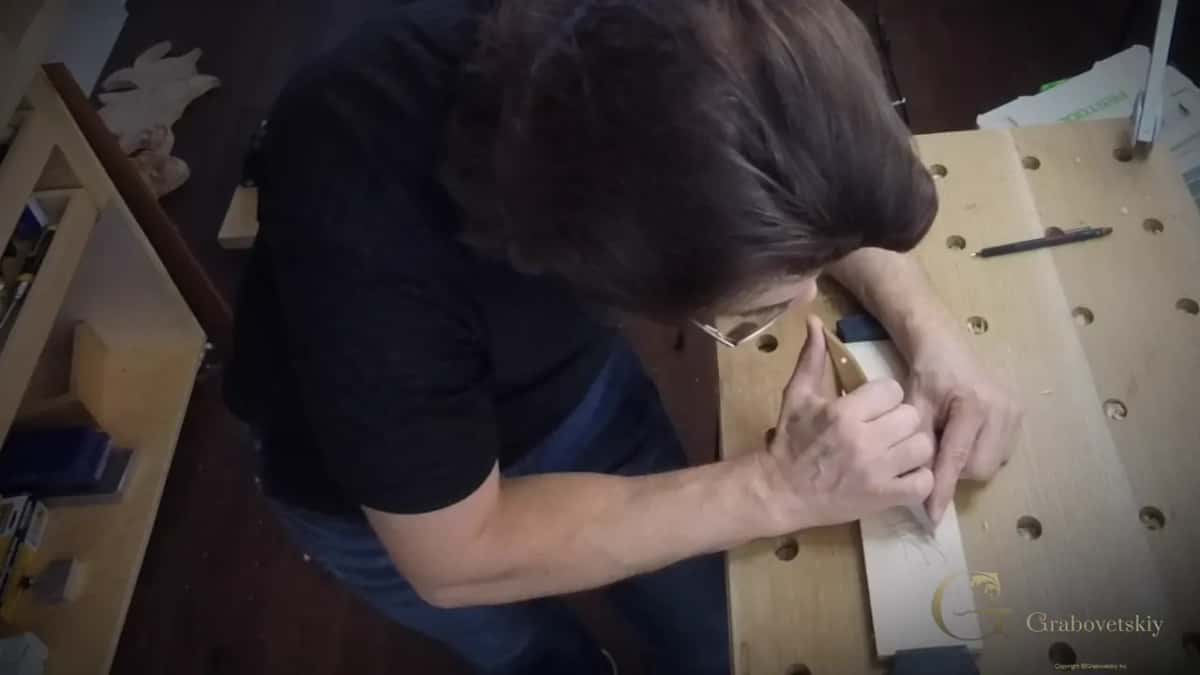
Toward the centre. Angle the knife and go in toward the centre, and when you clean a cut, hold the same angle and feel which way the fibres go.

I missed a side on camera and caught it a moment later. I said so out loud, went straight back, and carved that side too.
What do you draw before any of it?
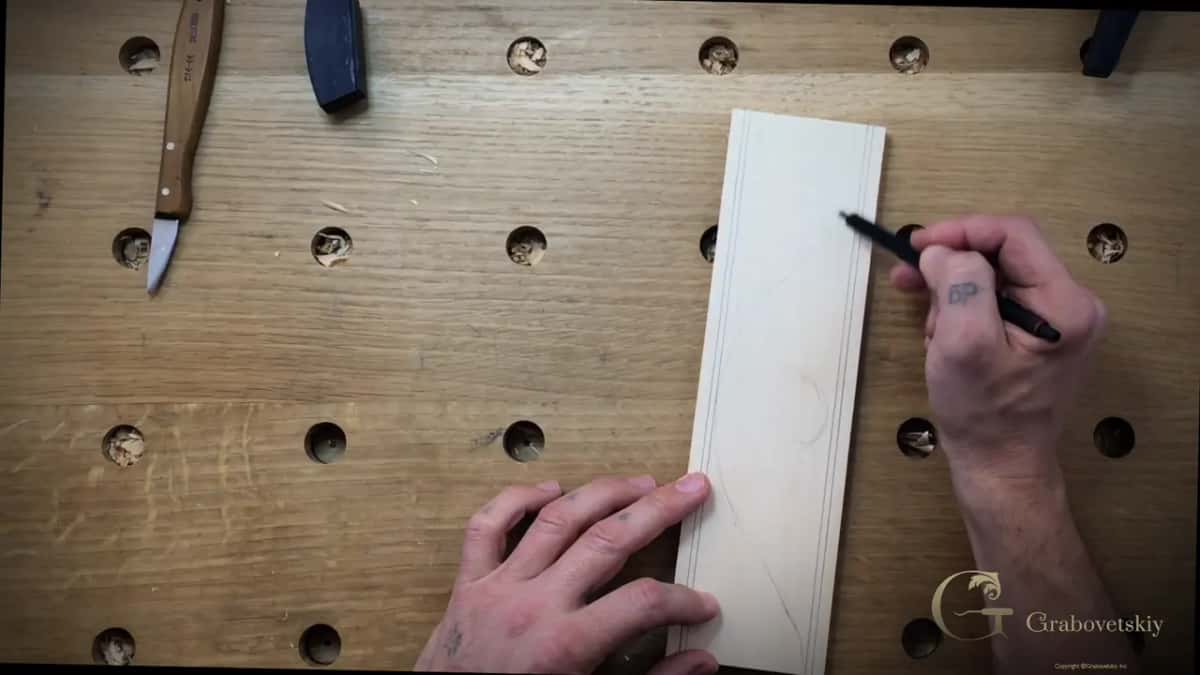
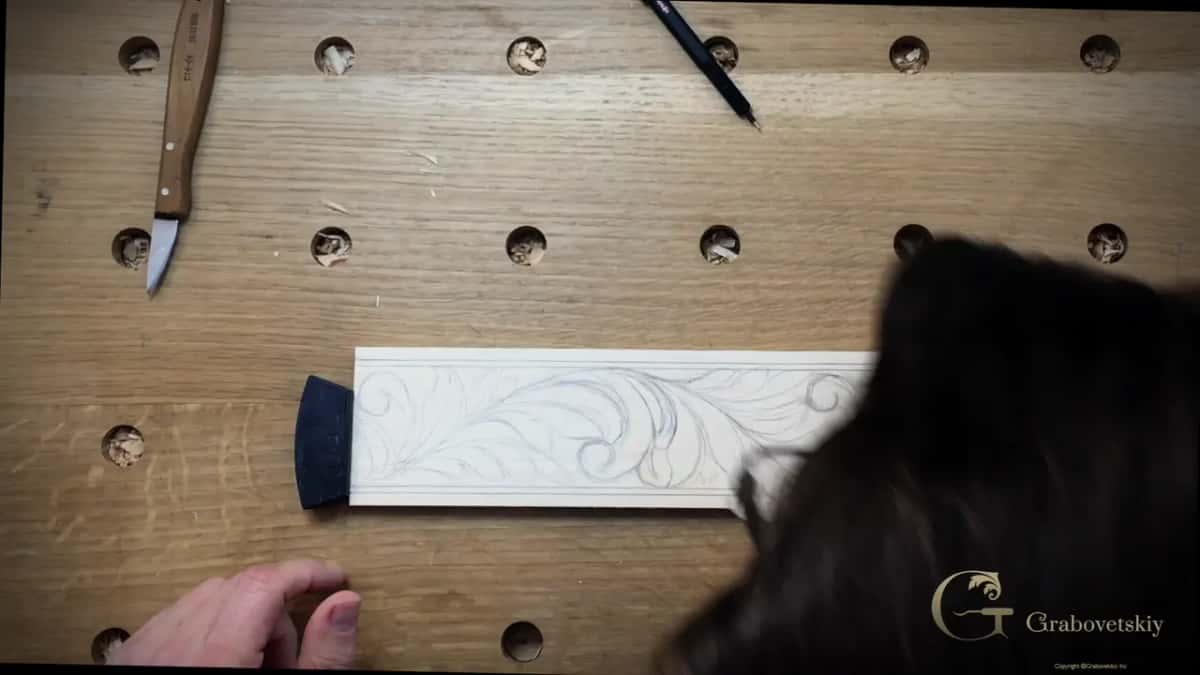
Two lines along the border, and then a rule about them. A quarter inch in from the edge, and a second line an eighth of an inch inside the first.
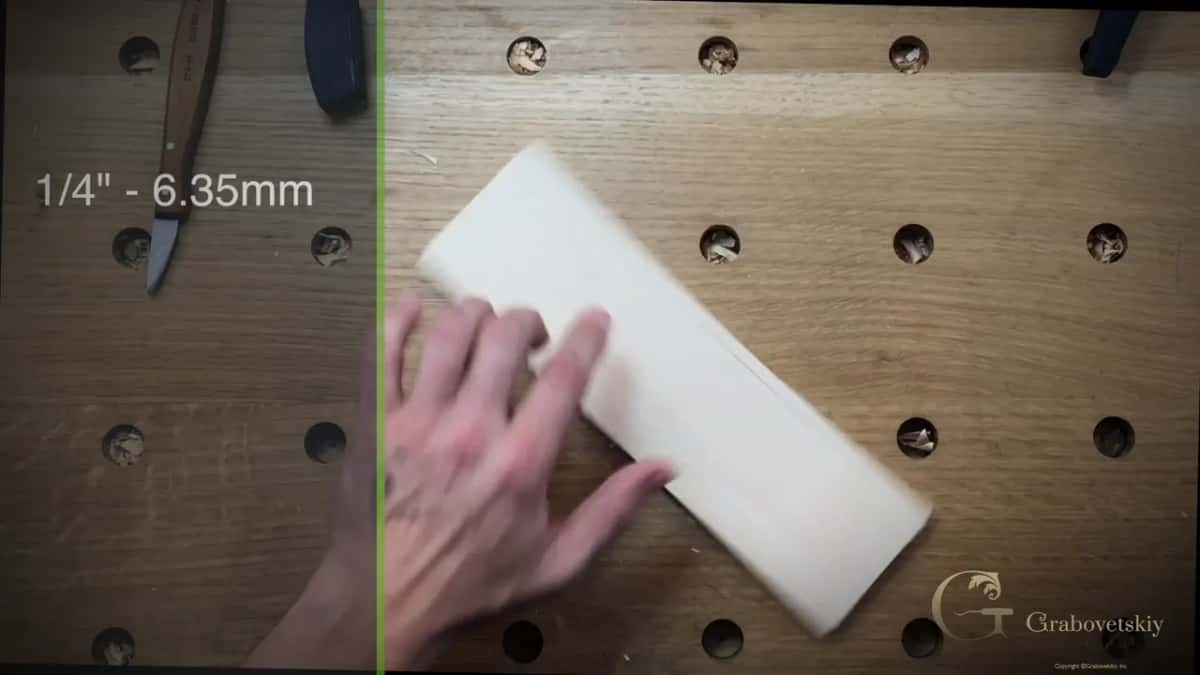
No part of the design crosses my boundary line. My leafage can twist wherever it likes inside that frame, and it never once steps over.
Then I draw. Directly on the wood, inventing as the pencil moves, with no pattern and nothing measured.
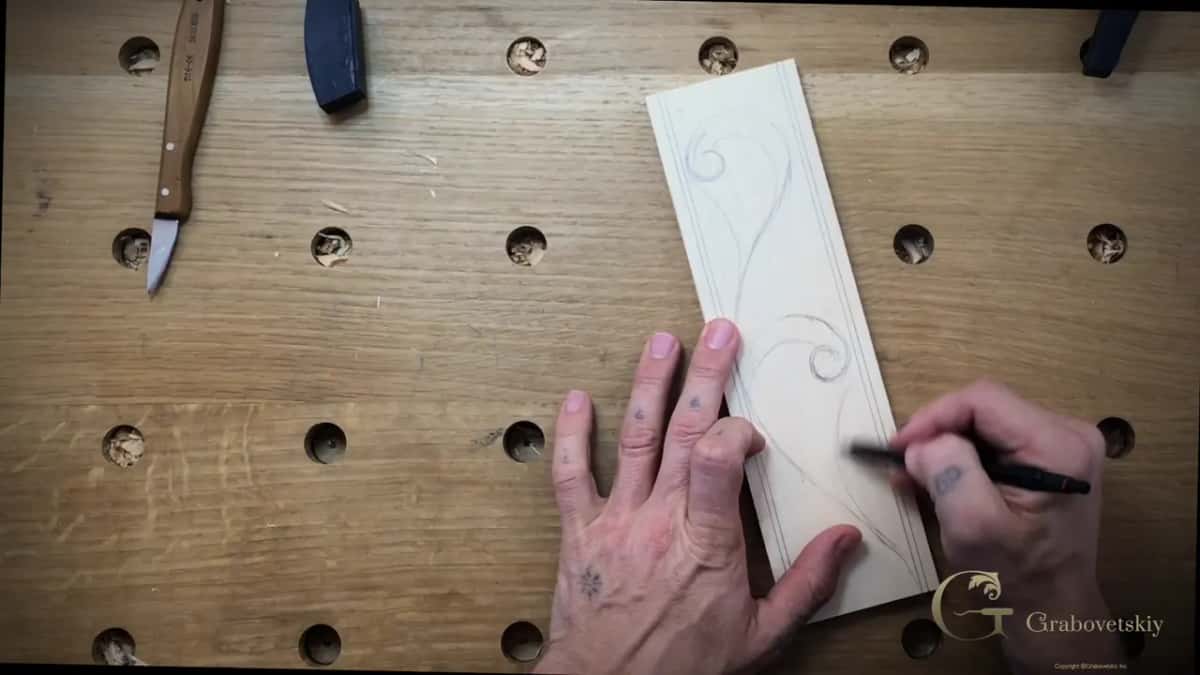
A swirl, a leaf beside it, another swirl. People later called this kind of thing a volute style, though it is not a true volute, and it is certainly not acanthus, which is Greek and Roman before it ever became European.
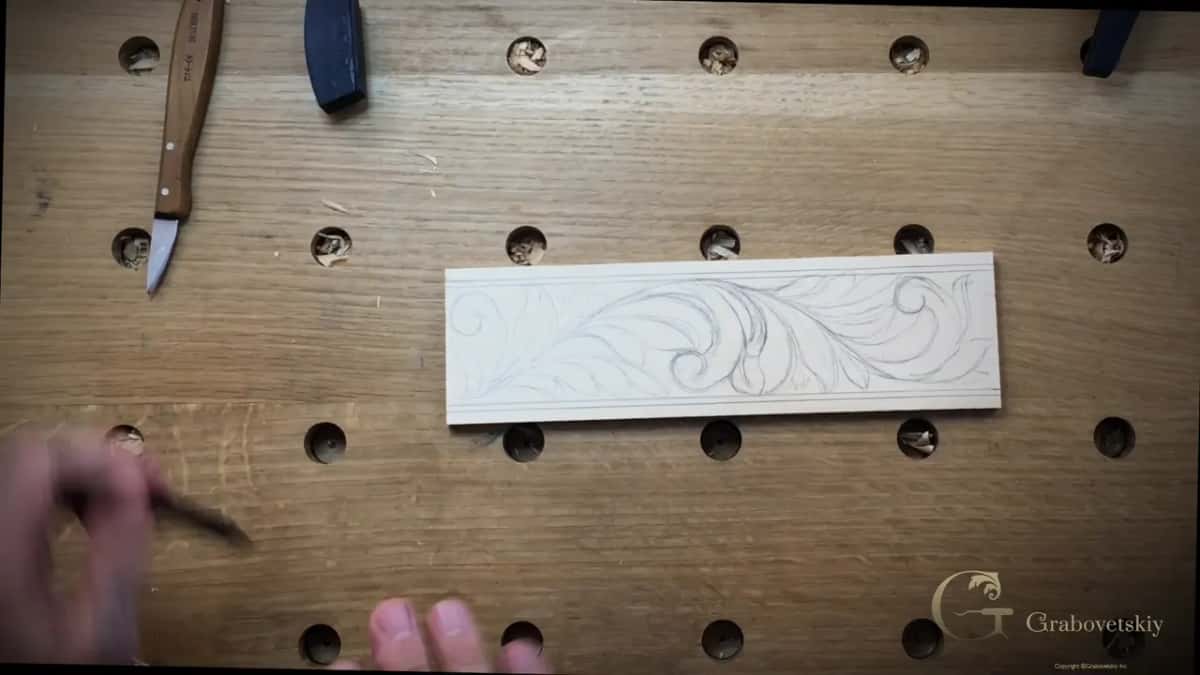
This particular ornament is old and it is common. You find this kind of design in many really old European cultures, way before the more complicated carvings appeared in Europe, when ornaments were still more simple.
Mine owes nothing to a specific example. I am designing on the go, together with you, a free-flowing design with nothing complicated in it, and you will see it looks nice once it is done.
Which way does the knife travel?
Downhill with the grain. I promised this in the first workshop and here it is: if the fibres run one way, start at the top of your line and follow it down.
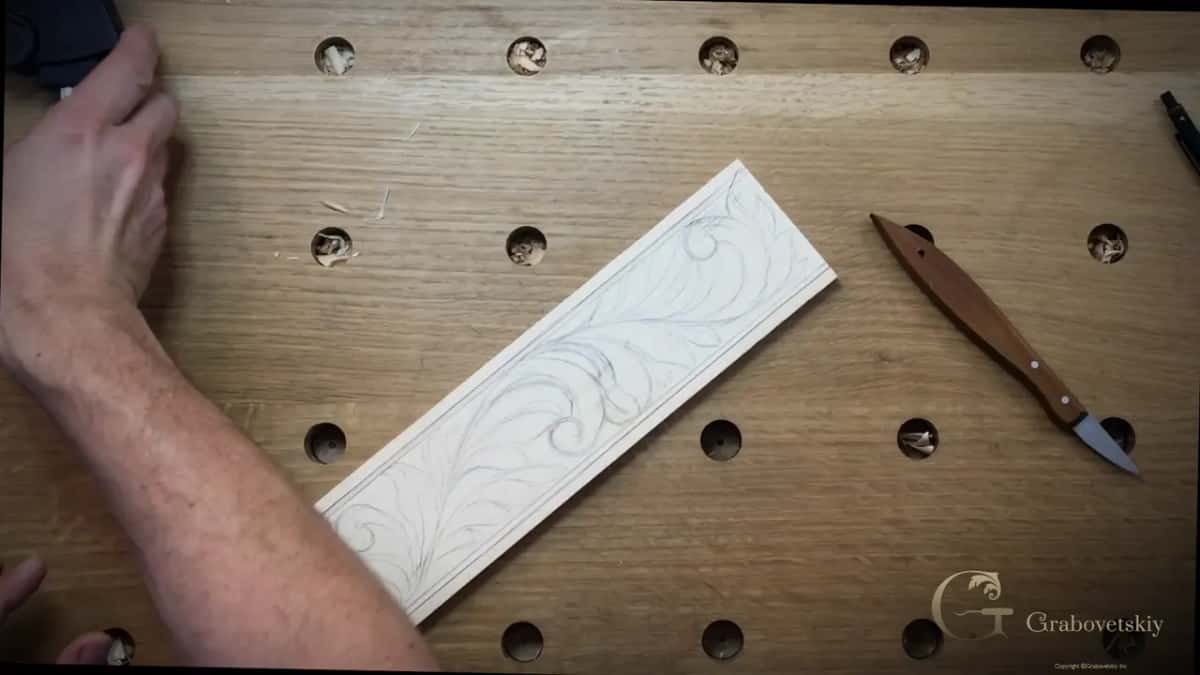
Against the grain is possible, and you could carve that way. It would just be much easier to follow the grain.
Low is the other half of it. Really low, the blade almost lying on the surface, and then along the line.
Where does your other hand go?
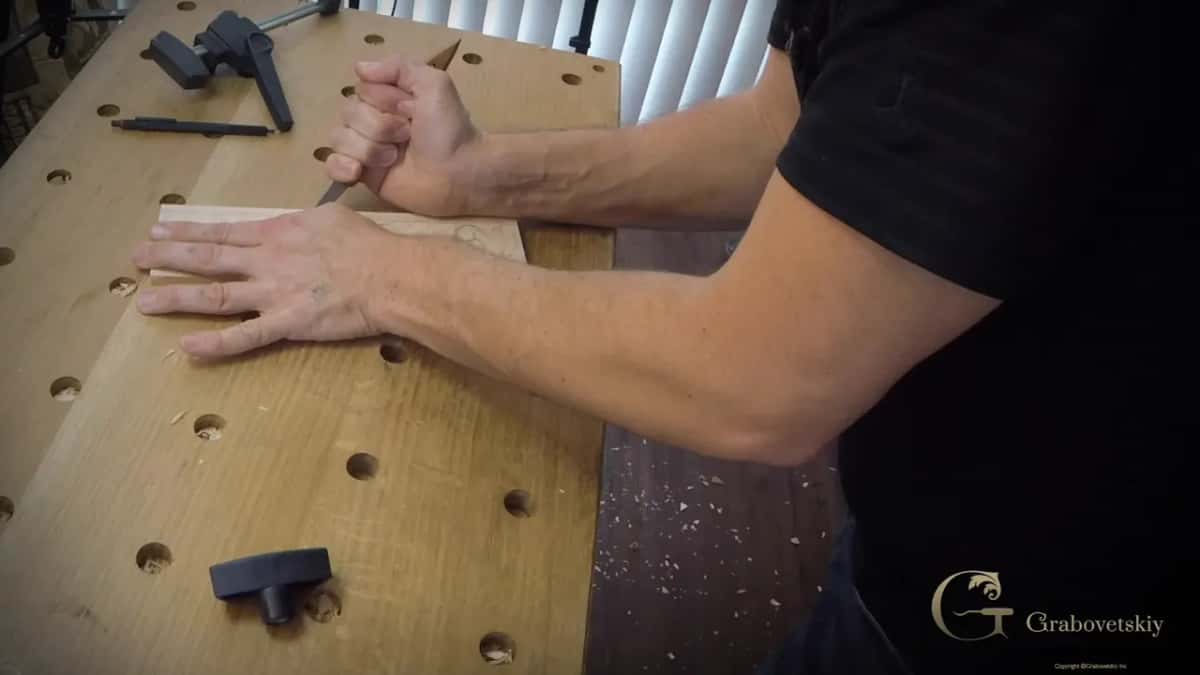
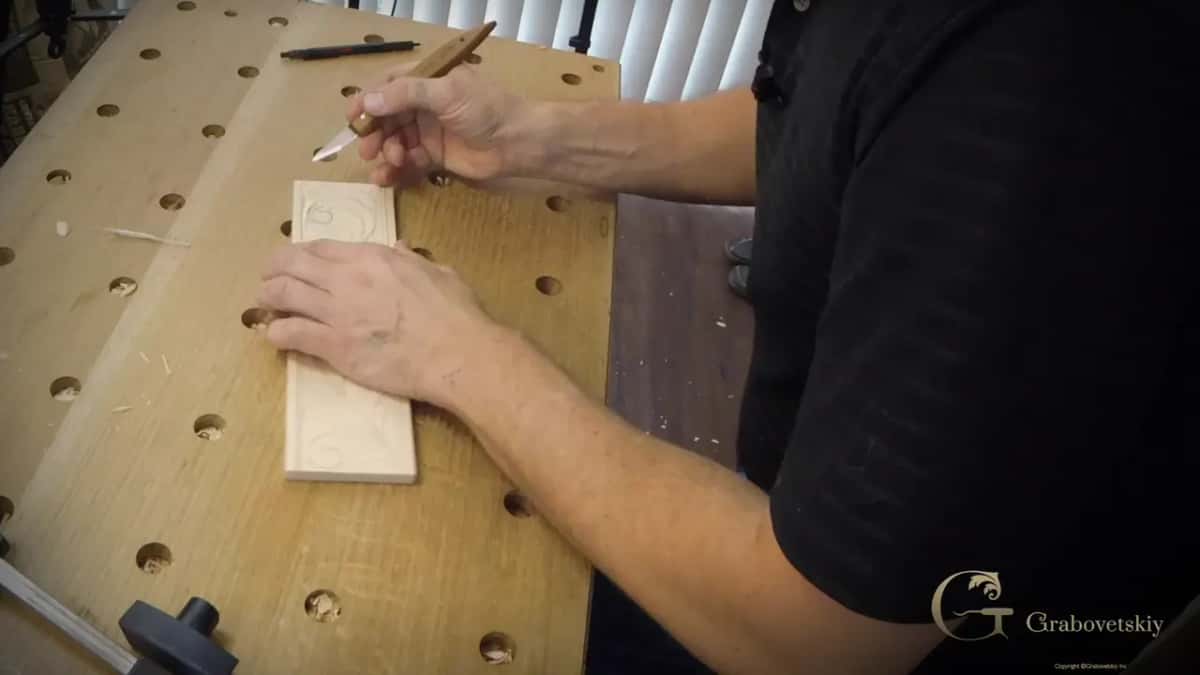
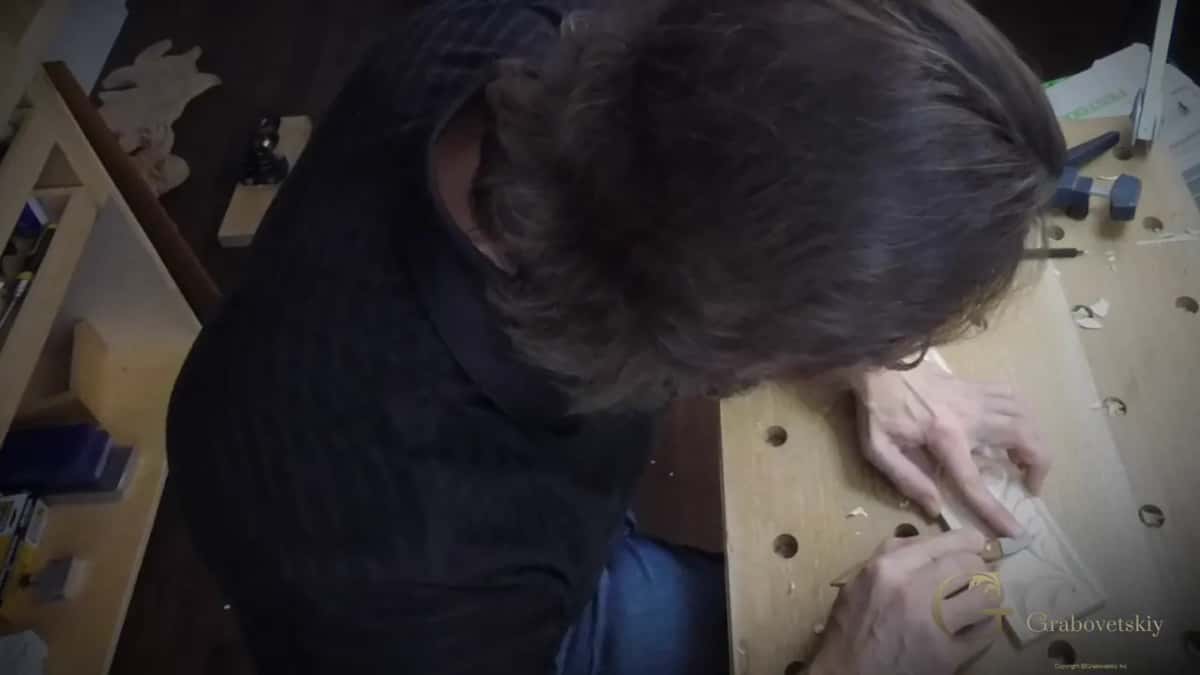
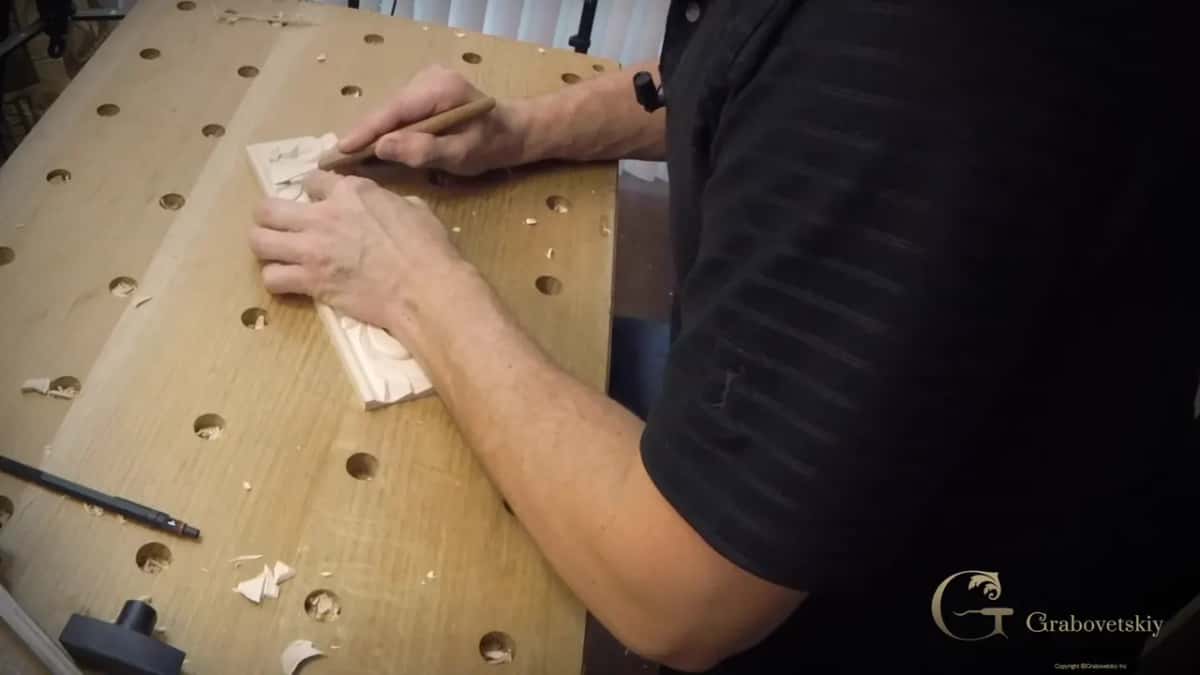
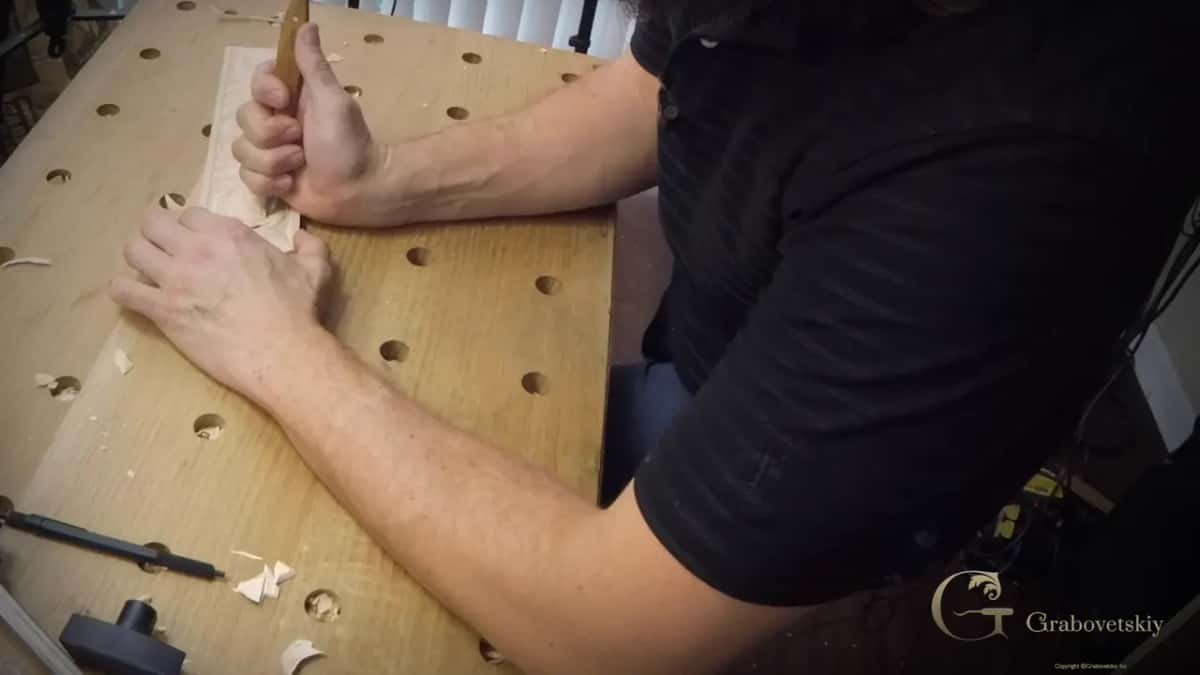
Behind the blade. Never in front of it, not for a second, not even when you are only holding the piece steady.
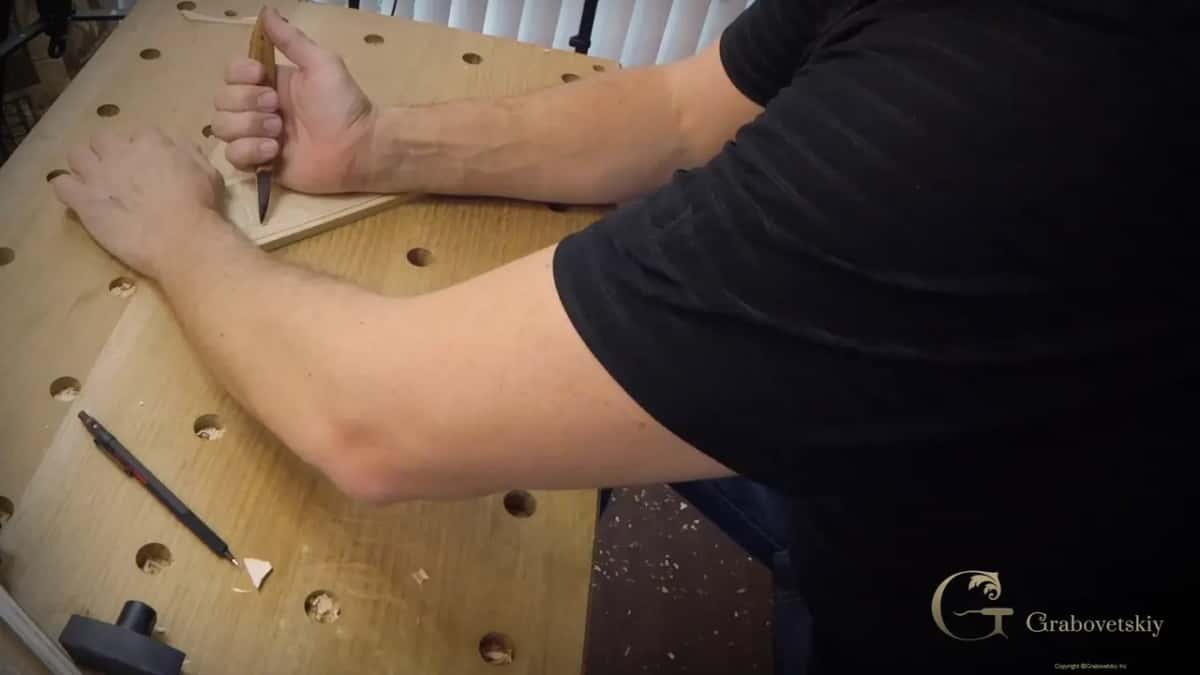
One safety rule gets stated outright in this whole workshop, and it is that one. Otherwise you can cut yourself, and that is not going to be really good.
Fasten the board if you can. I name a simple clamp, say I probably should use one, and then carve the next stretch freehand.
What if the chip will not come out?
Leave it and re-cut. I don't force it out, because if it is not snapping out easily, that means the same cut has to be made again.
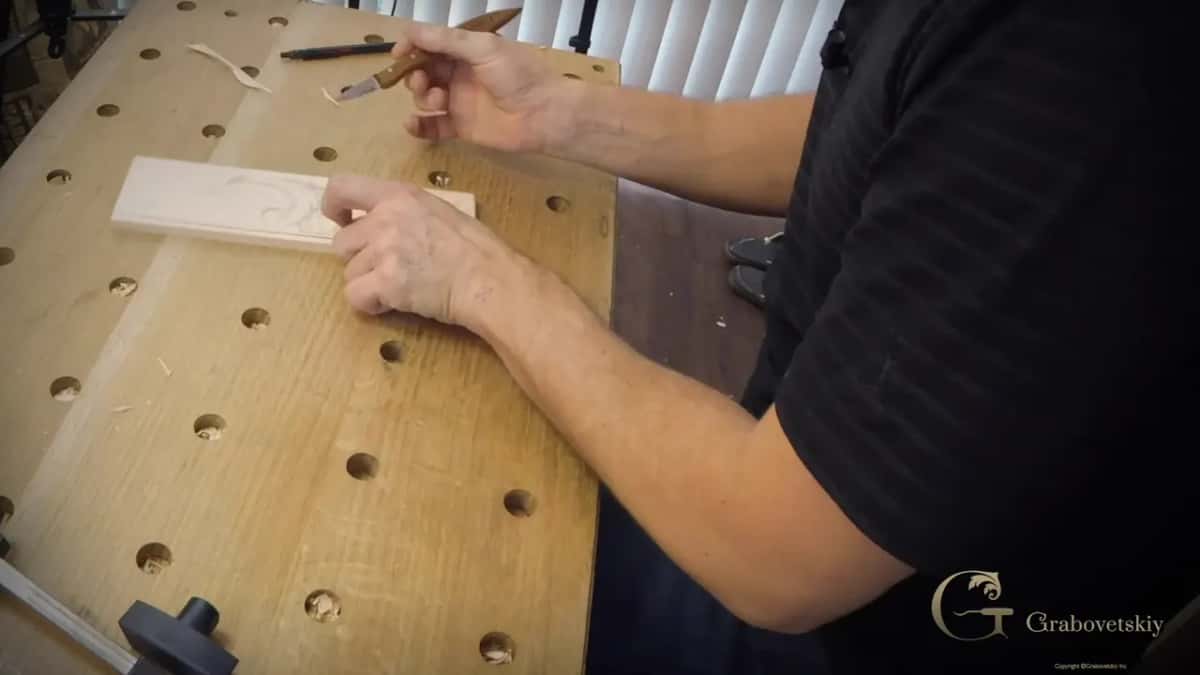
Repeat the same cut you already made. Somewhere along it the blade did not reach the depth of its partner. Some spots take two cuts, three, maybe even more, until the chip just snaps out.
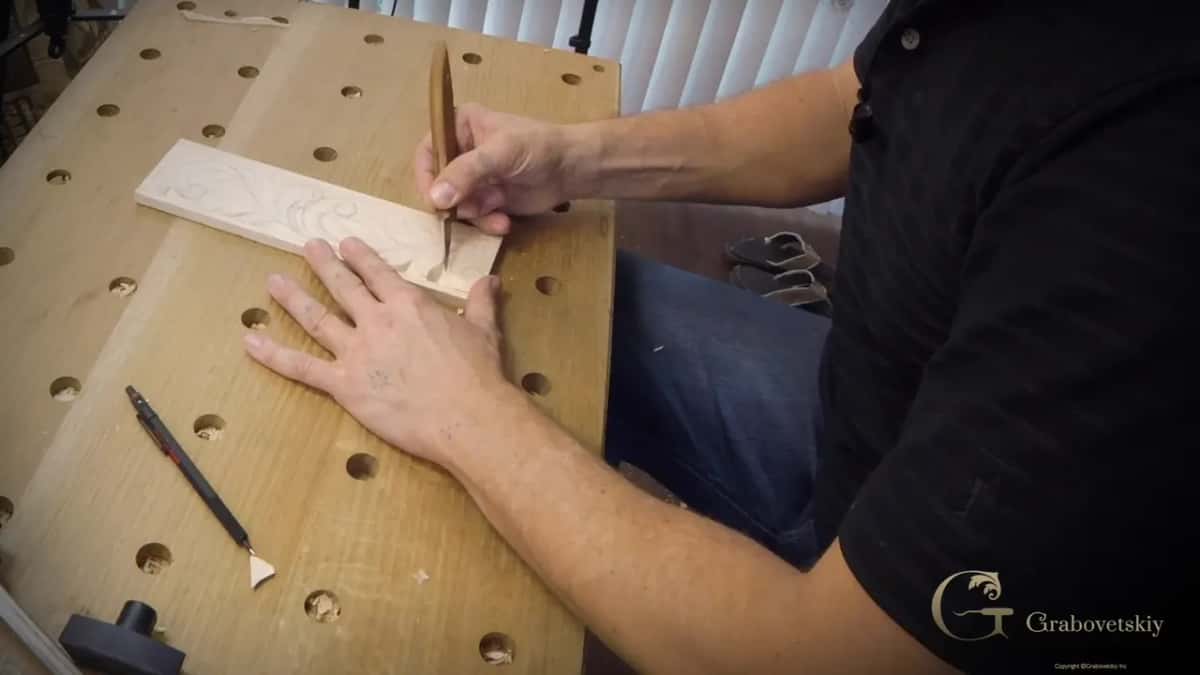
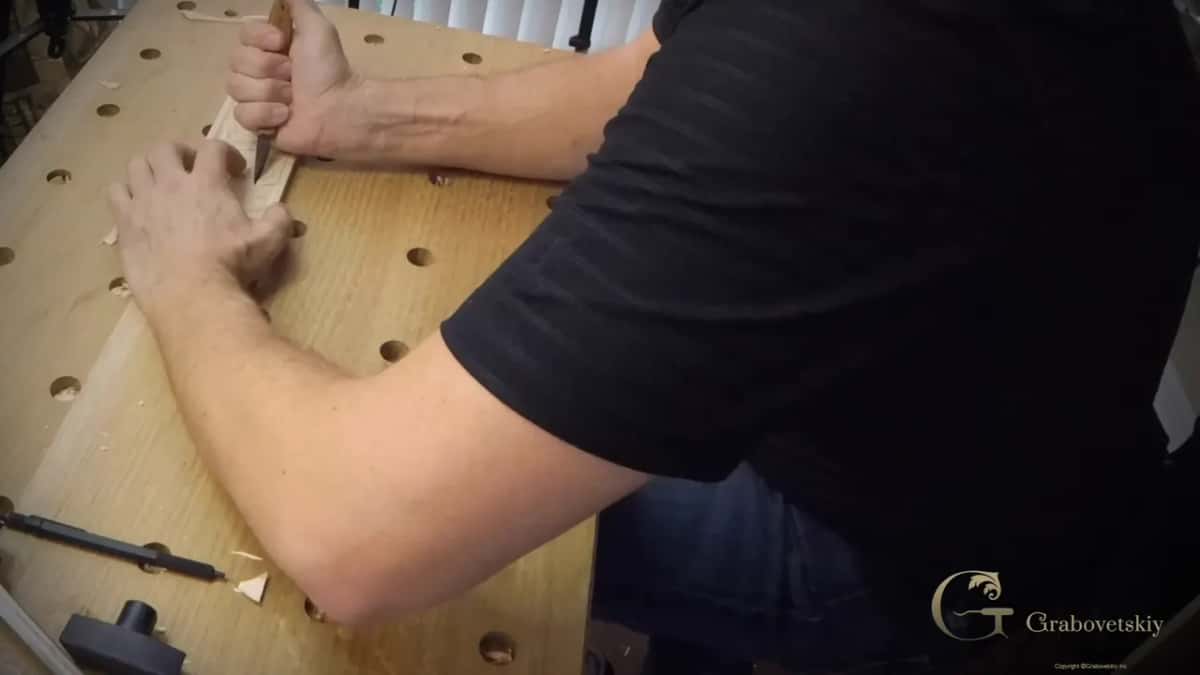
When does the third cut arrive?
Late, and it creates a really beautiful look. Drop a vertical stop cut where two leaves pass one another, then bring a very low cut in against it.
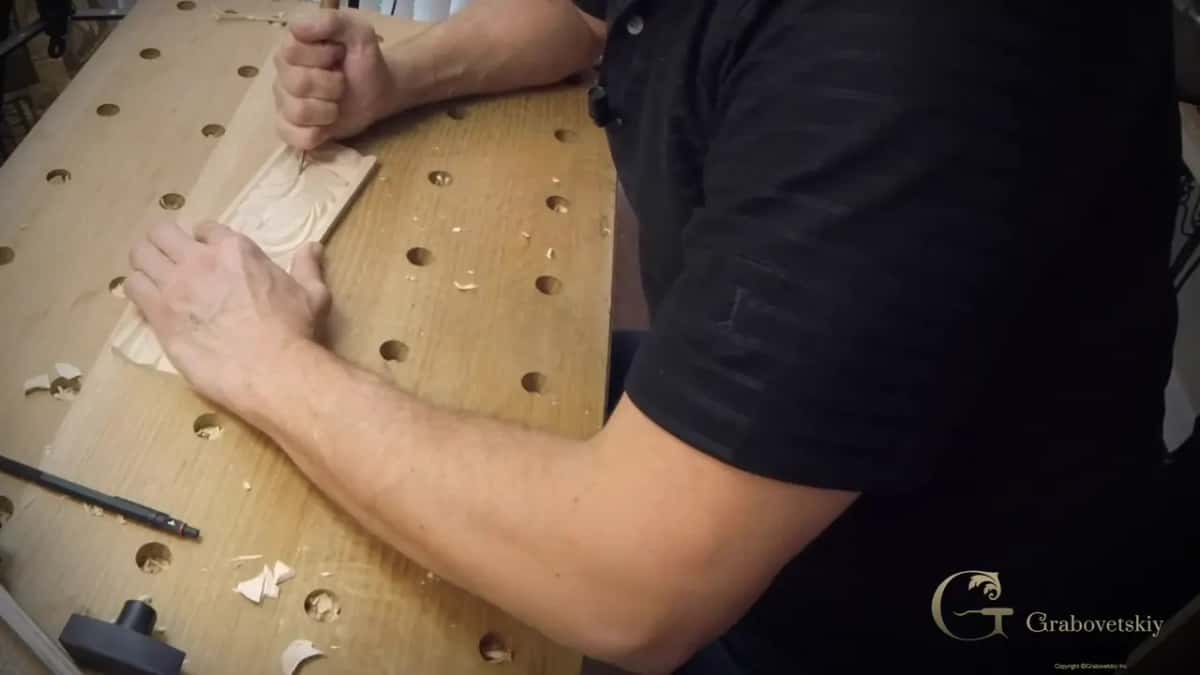
A beautiful effect is what the pairing buys, and right there on camera I ask if you can see it.
Right angle, left angle, straight down. Three cuts, and that is the complete vocabulary of everything on this board. You could spend more time and add a lot more small details, and still use the same knife.


| Cut | What it does to the wood | When |
|---|---|---|
| Right hand angle | Takes one wall of the groove and nothing else | First pass on every single line you have drawn |
| Left angle | Takes the second wall, and the chip comes away on its own | Second pass, working from the far side of the board |
| Straight down | Stops the cut dead where it stands | Where leaves overlap, after the outlines |
| A very low pass brought in against that vertical | Makes a beautiful effect | Straight after the vertical, going toward that straight line |
| Vee groove | Decorates, and nothing more than that | Last of all, once the whole design has been outlined and the chips blown off it |
Is this relief carving or chip carving?
Neither one. People reach for both names, and it does look a bit like relief, but it is not true relief, because a true relief has an absolutely different feel.

Relief carving most of the time has a ground. Look at this board and there is no ground anywhere, nothing lowered flat behind the ornament, nothing textured, nothing punched.
Chip carving is a related discipline with its own geometry. This is older than either, and it is the form a person reaches when a knife is the only thing they own.
Seventh and eighth century work looks like this. Some call it Viking style, which is not really accurate, because Danish, Norwegian, German and Slavic carvers all used exactly the same techniques.
What is the vee for?
To make it look even more beautiful. With the whole design outlined, a small vee groove goes down the middle of each leaf, and old work carries them for the same reason.
No punches. Ancient work has none, and putting a punched texture into a board like this drags it into a century it does not belong to.
Do I have to invent the design myself?
Only if you want to. Mine gets drawn on camera with nothing prepared, and there is absolutely no limit with the design.
A scaled picture goes up with the workshop for anybody who would rather not. You can download it and carve it yourself, because it is drawn to the size.
Either road, you then just follow your pattern with a really low angle until the two cuts meet.
Rotate the work as often as the design asks. I turn mine while I draw, and I turn it back again to make a clean cut from the other side.
Would anybody call this chip carving?
Some people say so, and it is close, but it is not. Chip carving is more geometrical and came later in history, and at the beginning most European cultures did exactly what I am doing here.
I like how it looks. That is my opinion, said plainly, and not a sales line.
For a beginner it is better than good. Manage a clean band of this and you are not going to have any limits on what you can do later.
Where does a band like this go?
Almost anywhere with a straight edge. Furniture skirts, the sides of a coffered ceiling, a jewellery box, window casings, picture frames, and molding by the mile.
Speed is the real surprise here. Those ancient people covered so much carved area that you think it took them a long time. In reality, a running leafage band does not take too long at all, and you can carve a lot of this ornament in a really short time.
Stand in front of old work sometime and count the carved area. Years, you think, looking at a wall of it, and the honest answer is that it did not take them that long, because this technique is quick in the hand.
It is also a workout. Believe me, you are going to sweat while doing this, and I call it a really good workout.
Nobody owns this either. Germans were doing it, so were Slavs, so were the Scandinavians, and what survives is European, multicultural I would say, because many cultures in Europe did this type of carving.
How deep do these cuts go?
It changes from spot to spot. I hold about the same angle everywhere, but some spots go a little deeper and some not as deep, because of the space I left in the design between those leaves.
Nothing measures that for you. The blade finds the depth, the chip confirms it, and your hand files the sensation away for next time.
Blow on the piece when you finish, and all the chips should fly away. If some stay, come back and make a clean cut.
What if the first one is bad?
Buy another board. Don't get frustrated if the first try is not the same; the worst thing that can happen is you just get a new piece of wood, which for this board means basswood, and you keep trying.
Two thousand years ago a knife was the whole of it. No catalogue, no roll of gouges, and people still had to work on a piece of wood to make it beautiful. That constraint is worth sitting inside for an afternoon.
What this exercise builds is a hand that feels the three-dimensional world. There is an invisible line inside the wood where my two cuts have to meet, and you have to guess where it runs.
Some in England would look at a man holding only a knife and tell him he is not a carver at all. You saw what came off this board. We carved it.
The potential is already in you. Whether it comes out is the part nobody else can do on your behalf.
Second workshop of two, and the course is finished. Workshop one buys the knife and cuts the first chips, and the course holds both halves. Carry on into the beginner course, where sixteen more workshops build a cutting board, starting with the board itself and workshop four. A gouge finally arrives in the tools course, chosen here, and no edge cuts like this one without sharpening. Why ornament moves as it does belongs to the design course. The leaf that is NOT in this lesson waits in the Byzantine acanthus and the Greek one, a real order of fifteen rosettes sits in the antique rosette, and who I am takes nine parts to tell.
Three cuts, one knife, and miles of molding ahead of you. Access to the school opens every course above.
How it's done
- Rule two lines down the edge. A quarter inch in, then an eighth inside that. Whatever you draw afterwards stays inside, and I call that my boundary line.
- Draw the leafage straight onto the wood. Swirl, leaf, swirl. No pattern is needed and nothing wants measuring, because I draw it as I go.
- Take the first wall downhill. Blade low, almost flat on the board, travelling with the fibres from the top of a line toward the bottom of it.
- Take the second wall from the other side. Spin the work and cut the matching angle. Where the pair meets below the face of the board, a chip lifts away by itself.
- Don't force a stuck chip. Re-cut instead. If it is not snapping out easily, come back and repeat that same cut.
- Add the stop cut after the outlines. Vertical, dropped where two leaves pass one another, and then a very low pass brought in against it. Then remove the chip and look at the effect.
Frequently asked questions
Do I need new tools for this workshop?
Not one. The same knife from the first session does everything here, and no gouge appears at any point. Reuse the practice board too, just flipped over to its other face.
Which way should I cut along the grain?
Downhill, following the fibres from the top of a line toward the bottom. You could go against them, but it would be much easier to follow them.
Where should my free hand be?
Away from the cutting side of the blade at all times, including when it is only steadying the piece. I call that a really important rule.