
Alexander Grabovetskiy, woodcarver, School of Woodcarving · Published 2018
Do you need a special gouge to hollow out a carved flower?
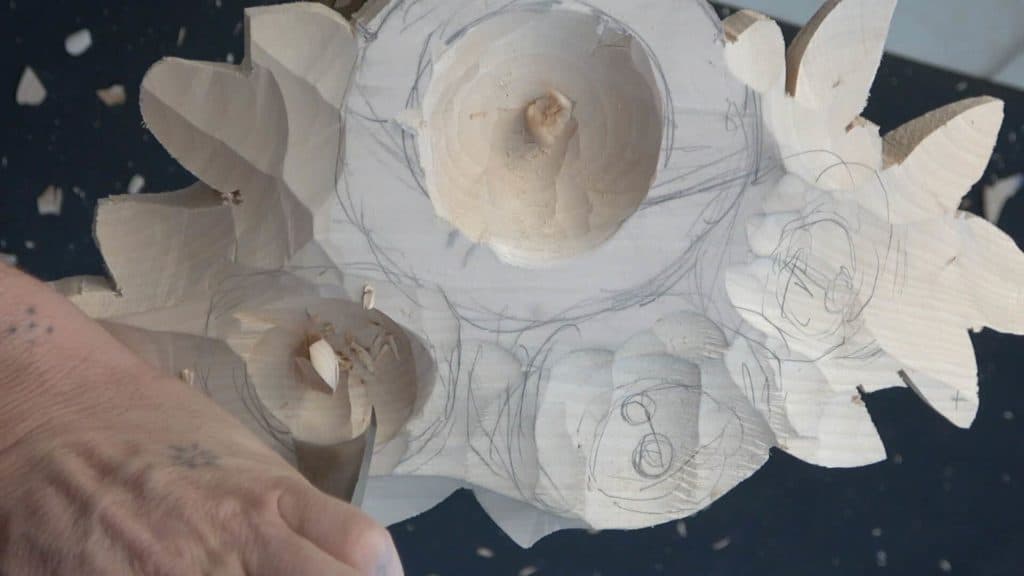
Quick answer: Hollowing out a carved flower is digging a small ball out of its middle, and it takes no special gouge. I own a custom made tool for that exact purpose, I said in lesson 28, but the tools you already probably have will give you the same result. I used number 7s and a number 8.
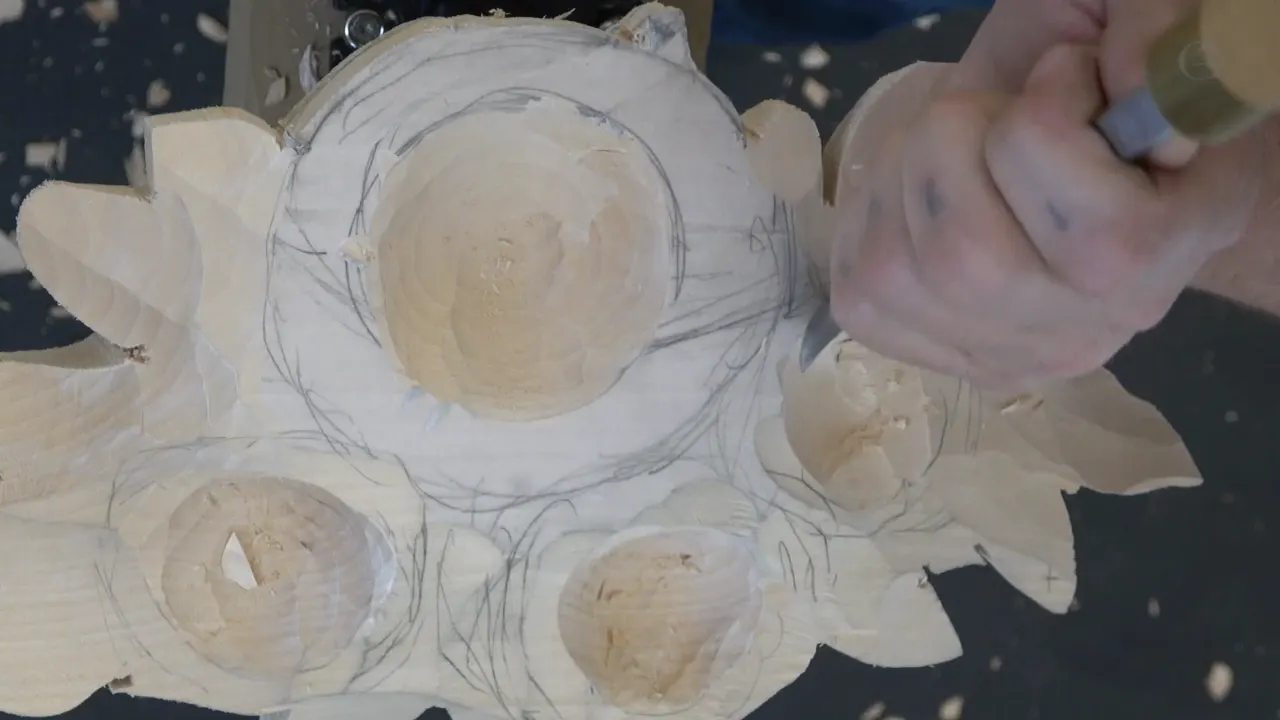
Hollowing a carved flower is digging a small ball out of its middle, and the gouges you probably have will do it. I do have a special tool made for it. It was custom made for me, and I doubt most of you have one. I didn't use it in lesson 28 of the Hashemi course. Ordinary gouges dug all four flowers on the second layer instead, number 7s and a number 8 among them.
Have you ever looked close at a big flower? Seen how its first ring goes downward, while the rest go upward? On my panel that shape started as a bowl, dug on the inside before a single petal. You'll get the gouges I used, in the order I used them, and the two things on the back I kept checking.

Hollowing a carved flower in five lines
- You really don't need to get that specialty tool, I said, since the gouges in your drawer can give you the result you want.
- My first tool was a one inch (25 mm) number 8, and I said a number 9 could work too.
- A bigger tool makes it much quicker.
- Check the back all the time, since I had about a quarter inch (6 mm) left in one spot and screws in the back.
- A bowl that's a little off round is fine, since the piece glued inside won't be perfect either.
Why didn't I use the tool made for this exact job?
Most of you probably don't have it. That was my whole reason, and I said so in part three, digging the second flower. The tool was made for just that exact purpose, so you can dig out the whole thing, the spoon or a ball, and it's an interesting looking tool. Custom made for me.

Then I said it plainly. You really don't need to get that specialty tool, because you can achieve exactly the same result with the tools you already probably have.
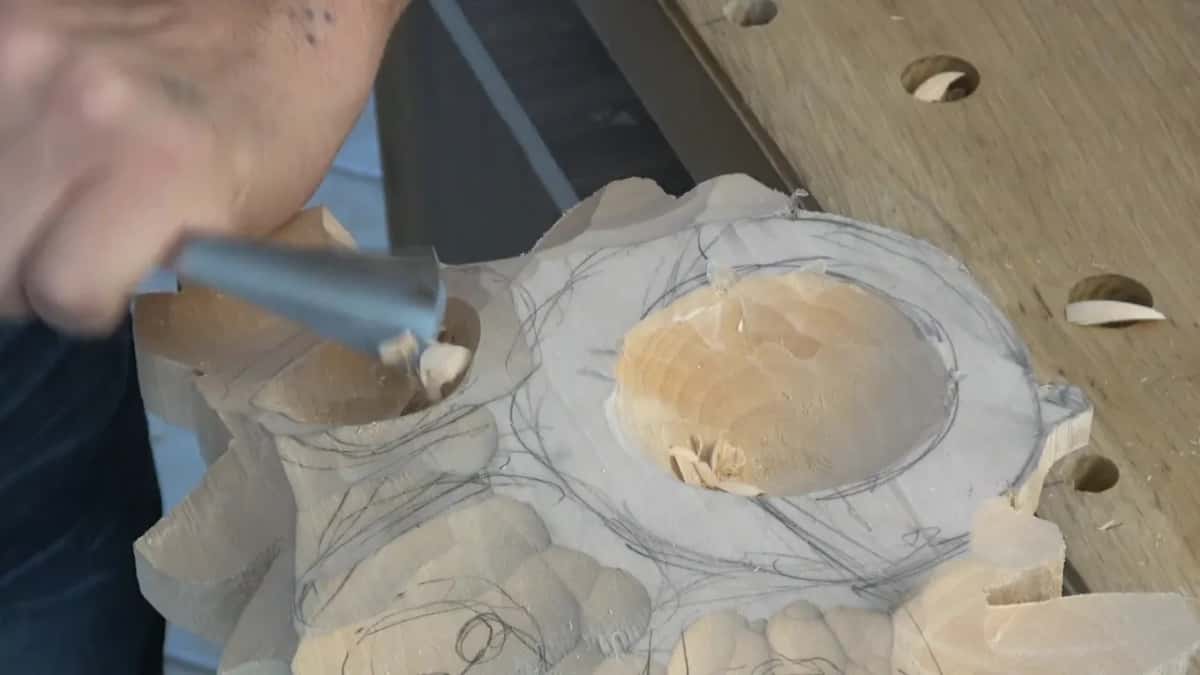
Same story on the furniture panel, with a number 23. If you don't have a No. 23, you're still able to do it with just a veiner. I understand not every one of you will jump and buy a specialty tool which you don't use every day. But if you are a furniture maker working on a reproduction of period furniture, or you dream of making a really nice piece, all hand carved in a true, authentic 18th century manner, that would be a good investment.
On Furniture Panel 20, with small flowers on the bench, I put it another way. More tools and more specialty tools you have, a lot more sophisticated work you can do. Although it's still possible to do it with just the basic tools. Real art is still possible.
Which gouges dug the bowls, and in what order?
The first tool was a number 8, one inch wide (25 mm). Probably a number 9 or a number 8, I said, and I took the 8 and started digging around the leaves. Then I said that if you do have a bigger tool, it would make it much quicker, and I worked on with a number 7 a little over three inches wide (76 mm).

Here is the order as I went, part by part.
| The gouge and its width | What it did on the second layer board | When it came |
|---|---|---|
| Number 8 at one inch | Dug around the leaves first, or a 9 | Early, part one |
| Over three inches, a 7 | Took the leaves down a lot quicker, slicing | Later, part one |
| Ashley Iles 7, two inches | Dug the bowl of the big flower deeper | Opening part three |
| The one inch 8 again | Cleaned that bowl, then dug the small ones | Rest, part three |
Part three opened with a smaller tool, two inches, a number 7 by Ashley Iles, and I dug the big flower even deeper with it. Soon after I said, let me use a smaller tool, put the 7 down and got a number 8 again, one inch. It cleaned the first bowl, clean enough for me. For the second flower and the rest I kept that number 8, because they're much smaller flowers.

Why do the leaves go down before the bowls?
Levels came first. I'm not going to leave them in the same level, I said, so those leaves I want to lower down as much as possible, because the flower itself will sit a little lower. The leaves sit at different levels so the whole thing looks true 3D, three-dimensional.

Not every leaf could go down. One was already at the edge, so I couldn't take it any lower, and I had to keep an eye on it so I didn't hit it. Another one could go all the way. And maybe this one can grow upward, I said about another. I like this movement.
Then the three small flowers. They must sit lower than the big one, and that's why I was digging out so much material in part two. The exact position is not really critical at this moment, I said, for the flowers or for the leafage. Not a big deal at all.
Are bigger gouges really quicker?
Much quicker, I said early on, and even with the big tools I'm still trying to slice it. Later I put it as a question. See how much quicker I can do with the bigger tools?
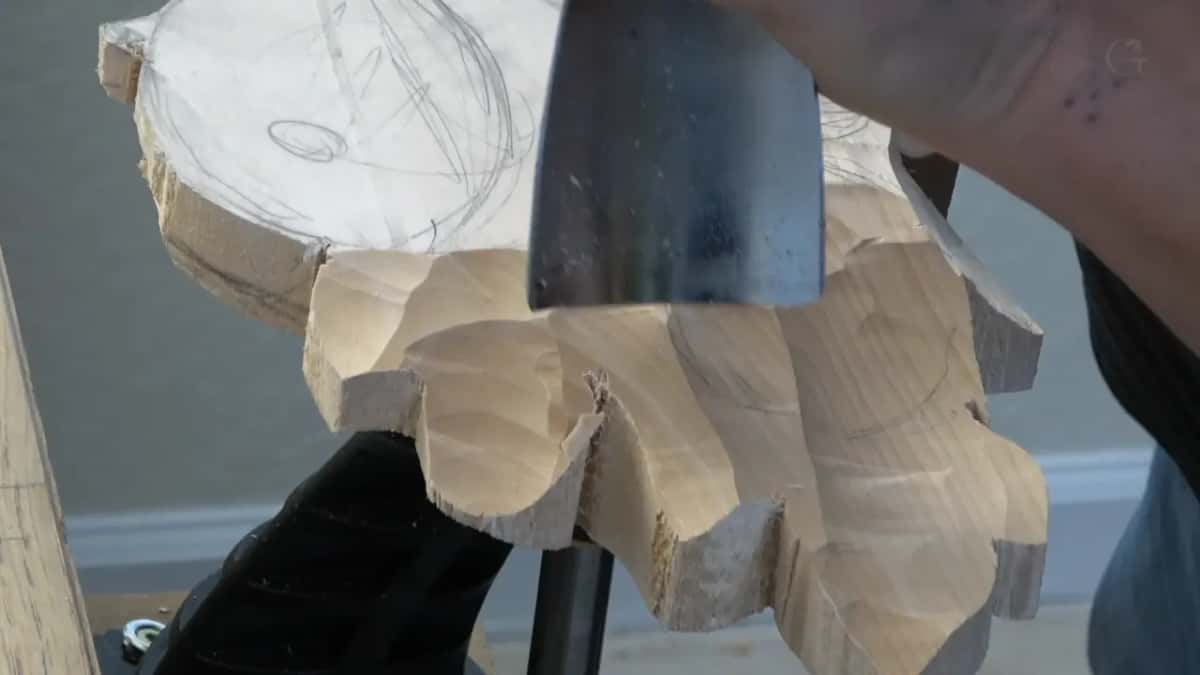
I repeated myself in lesson 12. The bigger tools you use, the cleaner it comes out, so there's much less to clean later. Lesson 21 added the catch. If there is enough strength, the bigger tools are much quicker, but it's not always the safest, and where an area looks weak I'm afraid a bigger tool can break it.

At a class in Maine I compared it to travel. A huge tool is just like an airplane. A medium tool, three-quarters of an inch, is just like driving, and you're still going to get there, but it takes a lot longer. A small tool takes about forever. The whole talk, with the airplane and the long drive, is on big tools vs small.
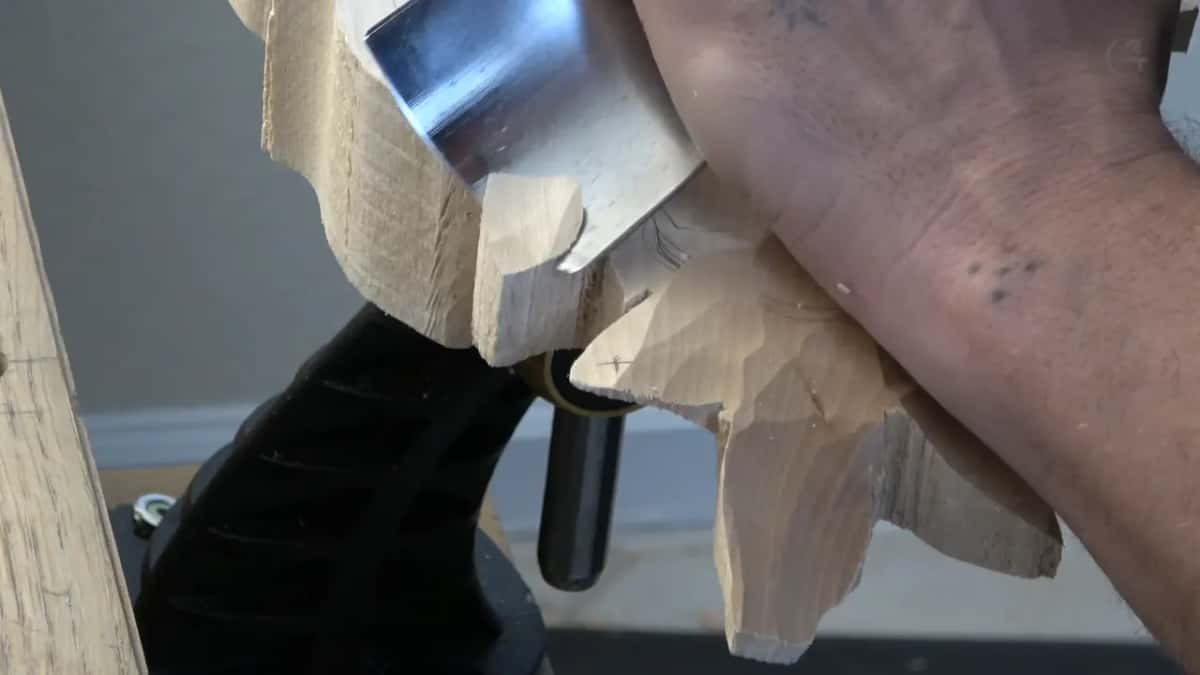
What is the first ring of a flower?
A flower has rings. I call the bowl on the inside the first ring of the flower, or the first layer, if you wish to say. On a flower the first ring is going to go downward, most of the time, and the second one and the rest of them go upward.
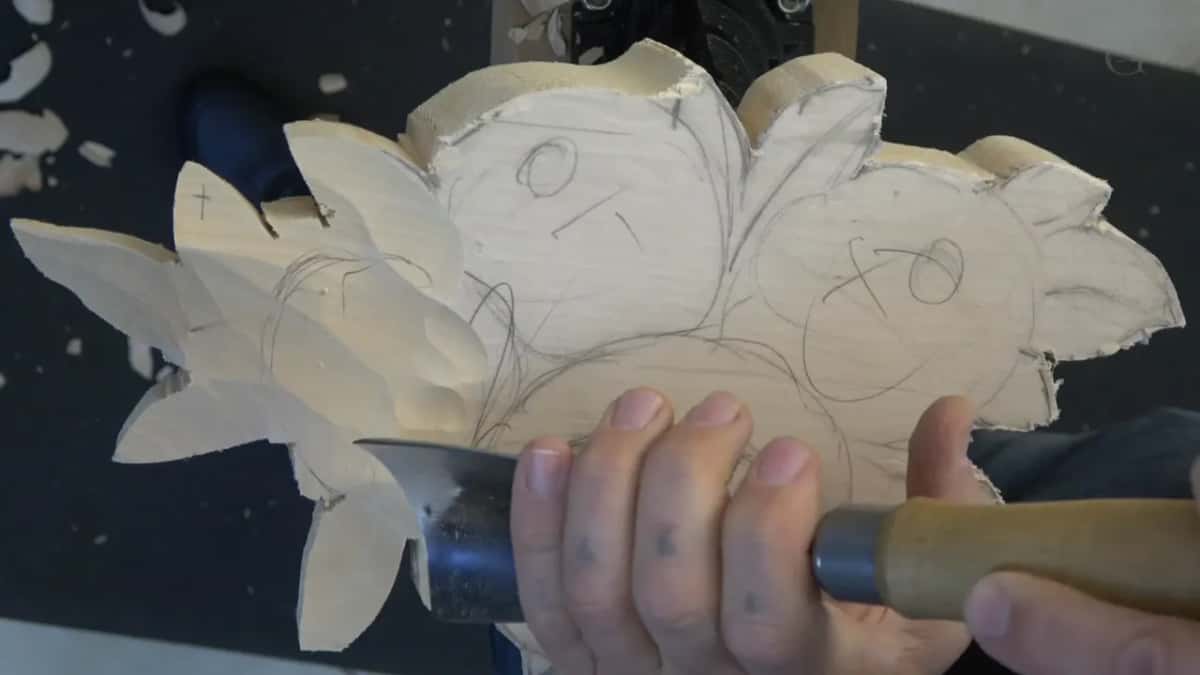
Direction decides where the gouge goes. In part two I named the direction out loud. That is going to be my direction, here too, and right there too. Which means this section I have to dig out, and right there that section, and the same applies on this side.
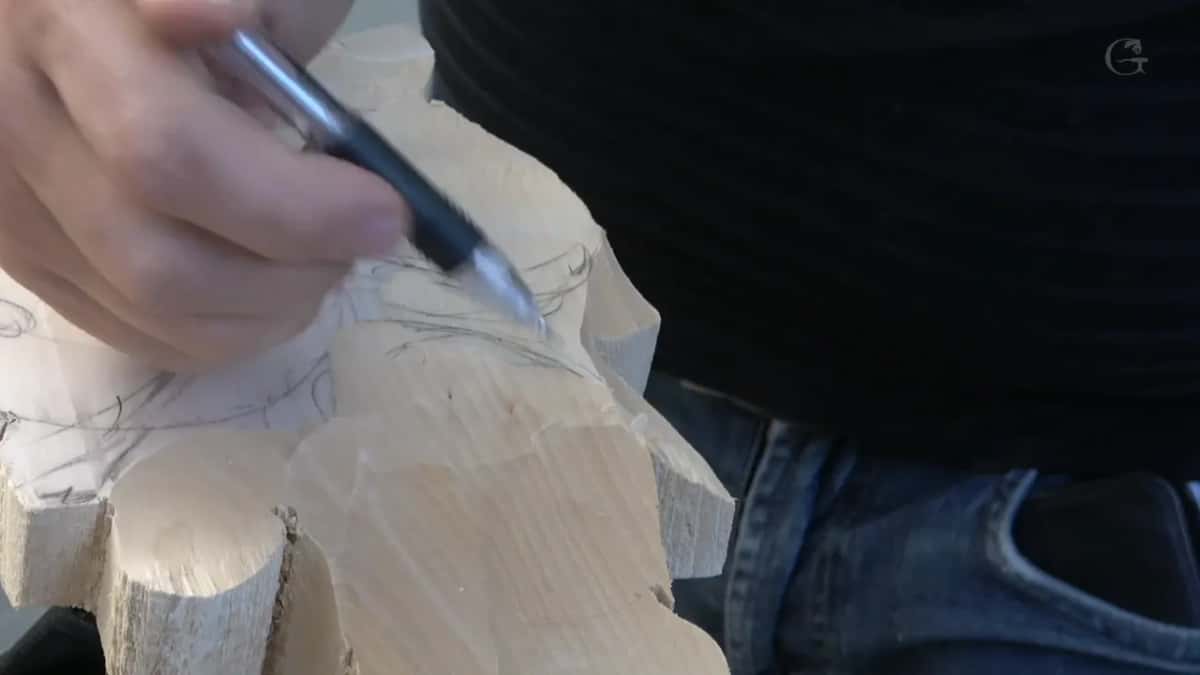
Those directions were already on the wood. At the end of lesson 27 I had indicated the direction of those flowers and their centers, and said that based on that I would dig my hollow spot, like a bowl-looking socket.
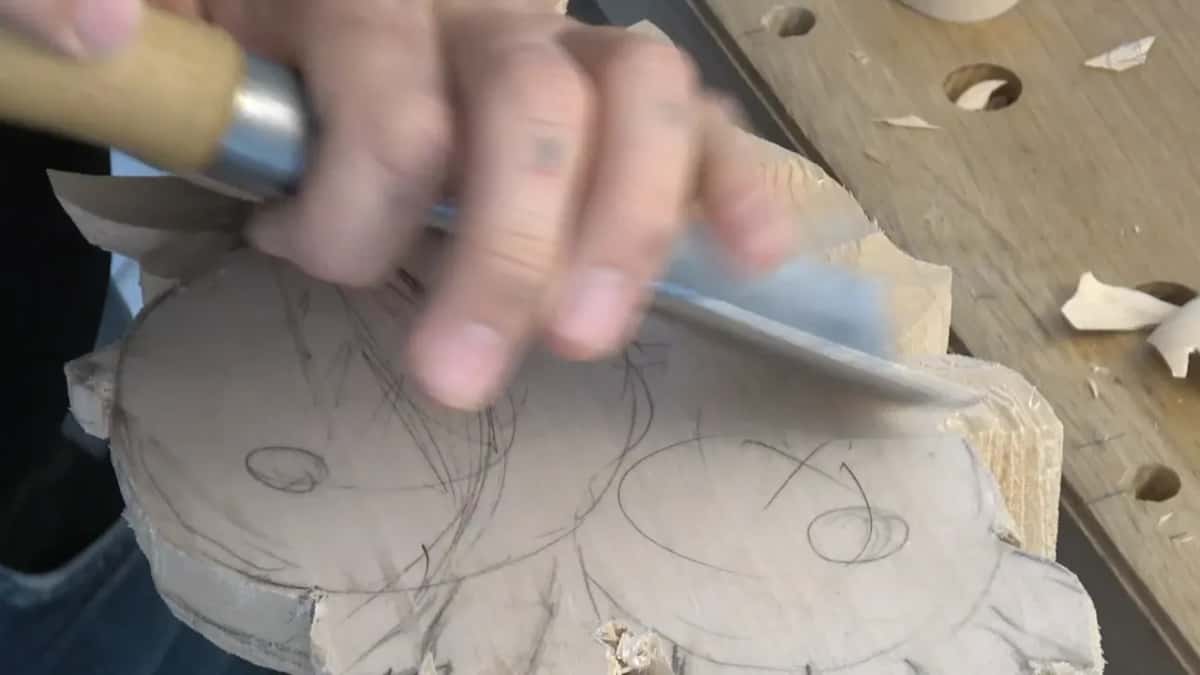
Much later, in lesson 43, I explained it on the peony. The first ring grows from inside and curls downhill, and most of the petals grow uphill. But it would be unnatural to have only one ring going downhill, so some areas grow downhill somewhat too.
How deep can you dig before you hit the back?
About a quarter inch (6 mm) was what I still had in one spot of the big flower. Constantly, I have to check, I said, because I removed the material on the backside. I got to be careful.

The screws were the other danger. Even where I still could use probably a big gouge, I had to make sure I don't hit the screws from the backside.
Lesson 42 puts a number on one of them. When a main flower block went in, I said the socket is kind of deep, so we're talking about one inch (25 mm), approximately one inch, going to go in. On one of the small flowers in lesson 28 I simply said, okay, that's plenty deep.
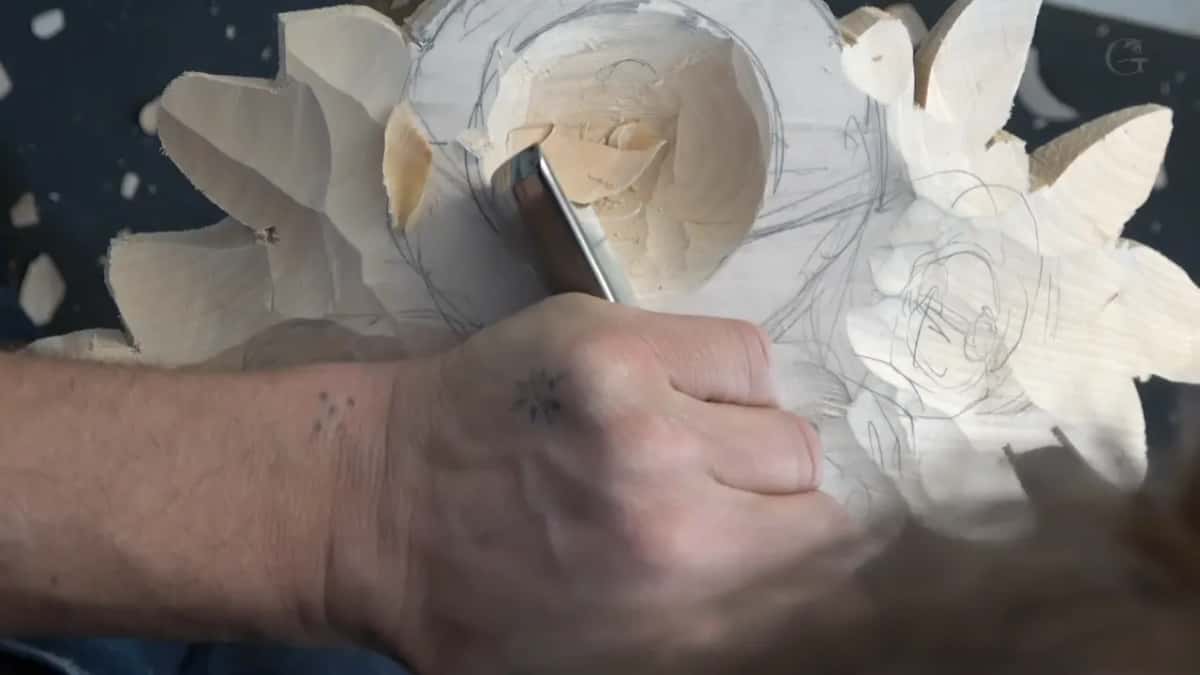
Back in lesson 10 I gave a warning while I took a sphere out on the inside. Just be careful, don't pry your tool. If you're going to pry, you can break your tool. Better to remove less at a time and take your time than to break a really expensive tool.
What is the socket in the flower for?
A connection point. I'll repeat myself, I said, about why I decided to go this route. I could go different routes, make every single flower separately and then apply it to the first layer, or just carve solid.
But inside that socket I'm going to use a dowel, or even a screw, and screw it to the first layer. Besides, I'll use my glue, but glue, in a few years, is going to fail. If I glue a dowel on the inside, even if the glue is going to fail in 100 years, a dowel is going to hold that piece together.
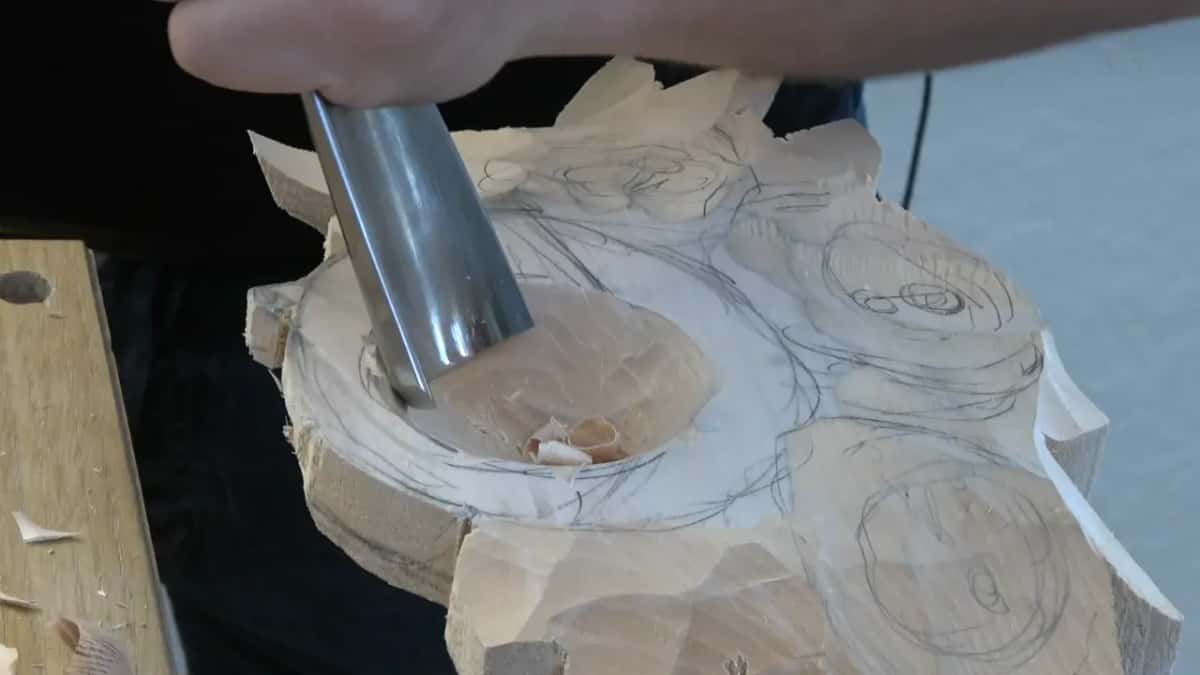
The other half of the plan comes later. I'll take a block of wood, maybe that one, maybe a different one, and make a sphere on the outside, and insert that inside this cavity.
And that's what happened in lesson 42. Just because we created the sockets, I could use plain blocks, an eight quarters board of about two inches (51 mm) and a block about three and five-eighths of an inch (92 mm). Carving that flower from the solid would have meant a six-and-a-half-inch block (165 mm), and there's no reason. Really hard to undercut, too.
Plans move a little. By lesson 49 I said I decided to glue my second layer right away, and later on I'm going to put the dowels right through to reinforce it. Then the first finished flower went into its place. That is the moment of truth, I said, and it fits perfectly from everywhere.
Does the bowl have to be perfectly round?
Clean, but not a perfect ball. It doesn't have to be perfectly rounded, I said in part three, but still, I'll try to make it cleaner. At the last flower I said it again. A ball that's not perfectly rounded is absolutely fine, because the piece we're going to glue inside is not going to be perfect also.
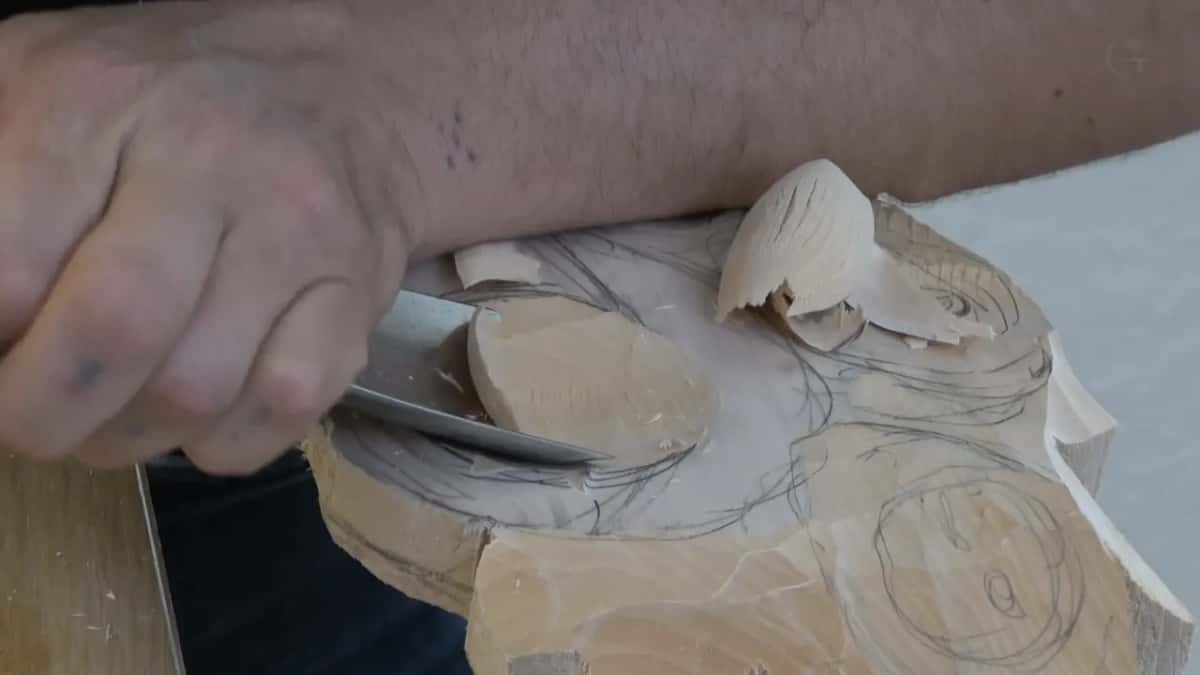
Drawing that piece in lesson 42, I encouraged you not to use any compass to make a perfect round. Just hand-draw it. It's actually better if it's not perfect, because it has to have some kind of waviness.
Then in lesson 43 I rounded it, just like a perfect ball. Not a perfect ball, I said, but a semi-perfect ball, the base for all those petals. A flatter gouge, a number 3, cleaned it a little, and I don't have to take those ridges completely out, just semi-clean.
What does a spoon have to do with a flower?
If you've done spoons before, it's exactly the same technique. Part three is where I said it, digging just a small ball inside one of the small flowers. And the custom tool I told you about digs the same two shapes, the spoon or a ball.

Lesson 10 had the same kind of job. I took a sphere out of the inside there, using a number 9 at three-quarter of an inch (20 mm). Kind of hard, I said, but not impossible, and the trick is just to make those rotation moves. Partway through I said that by that time I already could use a spoon gouge.
Bent gouges have pages of their own. The long bend and the short bend spoon gouges are side by side in lesson 20, sharpening one is on sharpening a spoon gouge, and back bent tools have a lesson too.
What held the blank while I dug?
My Veritas vise, with a plate. Whatever you call it, I call it a plate for this Veritas vise, and it's just so handy for any type of carving. It is stable, I said once it was on. Well, or should I say stable enough.

The sphere block in lesson 43 got a smaller plate, only two inches, on an oak block about an inch and three-quarter square (44 mm), held with a couple of screws. It's my preferred way to work around, I said, and I know it's not completely tight, but it's okay. With a mallet you create too much shakiness and the screws can get looser, so I used just my hands and took my time.
For lesson 42 the block went on the bench under Festool clamps instead, and if you don't have that type, a normal C clamp at the end of your workbench works. My vise setup has its own page in lesson 21.
By the end of part three all four bowls were dug, the big one and the three small ones, and lesson 29 goes on to the separation cuts around the flowers. The whole Hashemi panel, all 49 lessons on the limewood piece, is inside tuition at the school. The last one got the same one inch number 8, like the other two small ones.
How it's done
- Lower the leaves first. Take the leaves down as much as possible with a bigger gouge, since the flower itself sits a little lower, and keep the three small flowers lower than the big one.
- Name the direction of each flower. I named each direction first, which means a section here and a section there had to be dug out.
- Dig the big bowl deeper. A two inch number 7 took it down. I checked the back constantly.
- Mind the screws. Stay clear of the screws in the backside.
- Go down to a number 8. They're much smaller flowers, so I kept the smaller number 8 for all three of them.
- Stop short of perfect. Make the bowl cleaner, then move on to the next flower.
Frequently asked questions
What gouge do you use to hollow a carved flower?
My first tool in lesson 28 was a number 8, one inch wide, and I said a number 9 could work. A wider number 7, just past three inches, took the leaves down quicker. The big bowl went deeper with a two inch number 7 by Ashley Iles, and the small flowers got the one inch number 8.
How deep should the hollow in a carved flower be?
I watched the back of the blank. In one spot on the big flower I still had roughly a quarter inch of wood, so I checked constantly, and on a small one I said that's plenty deep. Lesson 42 put the socket at approximately one inch of the flower block.
Why carve a socket instead of gluing a flower flat?
Glue will fail in a few years, I told you in lesson 28. With a dowel or a screw inside the socket, even if the glue fails in 100 years, the dowel is going to hold that piece together. That was my reason for going this route.
What to carve next