
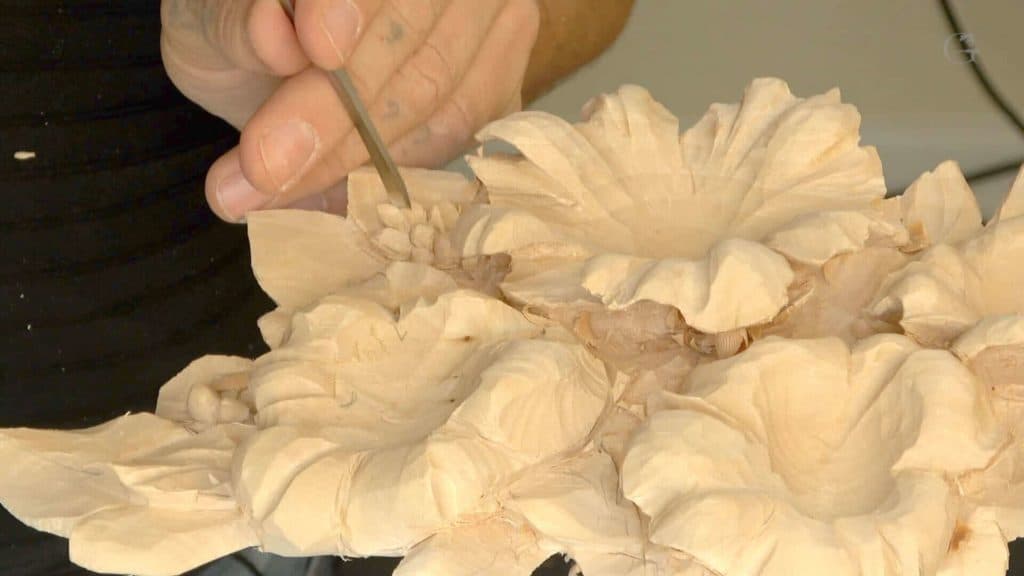
Alexander Grabovetskiy, woodcarver, School of Woodcarving · Published 2018
Is carving really just concaves and convexes?
Quick answer: Concave and convex is my short answer to what carving is about, I would say, and I gave it in part three of lesson 39 of my Hashemi panel, just after a number eight spoon gouge made a concave in limewood. Other times I've named light and shadow, exaggeration, or the smallest details.
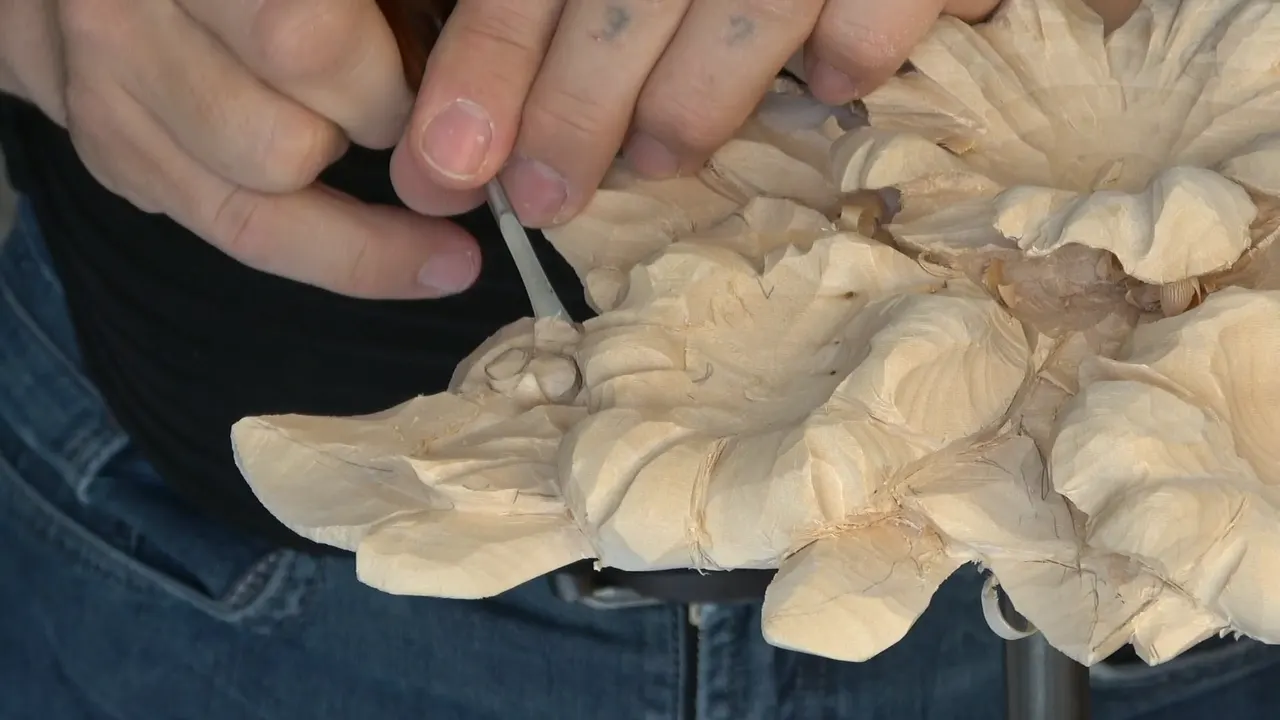
Carving is all about concaves and convexes, I would say. Those are my words in part three of lesson 39 of Carving Hashemi Flowers, said while I worked a spoon gouge into my limewood panel. I've put it other ways too.
Have you looked up close at a carved flower and seen all those small marks? Would it help to hear what I call each one? Then watch one corner with me.
Lesson 39 has four parts, about forty minutes in all. Where they run out, I bring in what I said on other pieces, and I tell you where each line comes from.
What happened on one corner in lesson 39
My number eight spoon, seven millimeters, made the concave in part three.
Berries came from a rotation of a number nine, semi-round, not completely round.
I talked my way from three berries to four.
I added tiny leaves that I didn't plan at the beginning.
A knife did a lot, much quicker.
Near the end, about a 16th of an inch (1.6 mm) was left to the background.
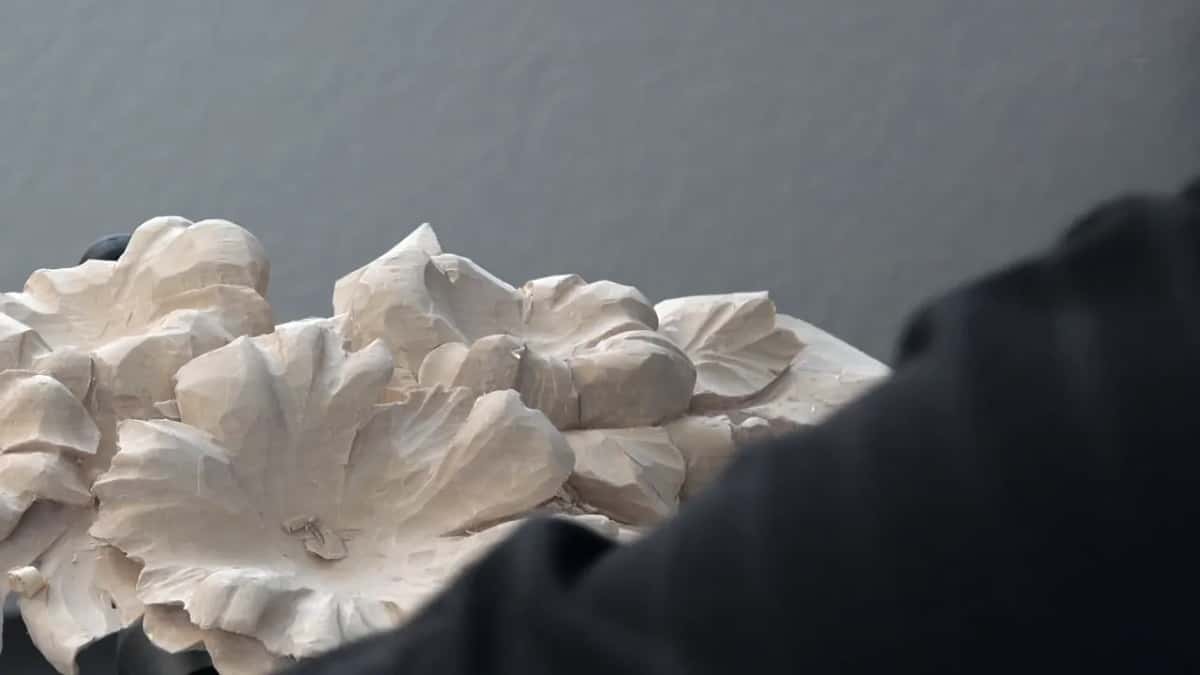
Is every pass a concave or a convex?
Pretty much, in my own words. On my furniture panel I know I've said it a lot of times, and I once started to say that wood carving is actually all about, and I stopped. This particular wood carving, I said instead, is all about those two, pretty much.
Next came what that means for you. You have to decide what the next one will be, concave or convex. It can go sometimes both ways, and you have to make the decision which way is better.
I said it on this same panel too, in lesson 32, with a number five. Like I said before, it's all about concaves and convex cuts.
But a molding can have more than the two. On a Roman acanthus leaf I made a little notch so it would look like part of a Roman ogee. There's a concave and convex, but also there's a step, I said, about a sixteenth of an inch in my case. Roman ogee is a style of a molding. Really common, and most common in router bits, I would say.
Lesson 39 had more than the two as well. In part one I could take one shape a lot more down, I said, and create underneath a really deep undercutting, and I said keep an eye, can't go too extreme. Later I split another one in two, with the same tool, carefully, working from the edge, for a beautiful movement.

What is a concave, and what is a convex?
A convex is always raised up. It's a bulge. That's how I put it on the Modern Acanthus, for those of you who don't know what the convex is.
Markers came out on my Byzantine acanthus. Blue was the concave, deep like an ocean, and orange was the convex, marked right on the board so you could understand. A black one was just to give you a picture, and you don't have to use that one. Use a pencil.
The plan for the first layer of that Byzantine leaf was a concave on the inside, like a bowl almost, with some surface left to glue on the second layer.
If you want both words in a dictionary, here they are, convex first and then concave.

Which gouges made the concaves on this corner?
A spoon gouge and a number nine, the two I named. The one that started my line came in part three, from a spoon gouge number eight at seven millimeters, a little bigger than a quarter inch. And I'll create concave, I said, and a few seconds later came the line at the top of this page.
Part two had the one I talked myself out of. I could use, actually, a spoon, I said, an even bigger spoon, maybe about 5/8 of an inch (16 mm) and number seven, and create some kind of concave. Now, shouldn't do that. A smaller spoon came next, maybe about five millimeters (3/16 in).
Near the end of that part, number nine came out for a concave cut on one piece, and I said it would create a beautiful movement. I was working against the grain there, so I had to be really careful how I approached it. It still doesn't make it impossible.

Which tools did what?
| Tool | What I did with it on this corner | Part |
|---|---|---|
| Small number three spoon, about 5 mm (3/16 in) | Cleaned along the edge | One |
| Number four | Cleaning, and some undercutting also, then the berries cleaned around | One |
| A number nine sized to my drawing | Poked down the berries | One |
| V tool, number 16, three millimeters, or an eighth of an inch | Undercut this direction | Two |
| Number five, quarter inch, 6 mm | Cleaned a little more around those berries | Two |
| Spoon gouge number eight, seven millimeters, a little bigger than a quarter inch | The concave in part three | Three |
| One gouge, number five | Every one of the little leaves, and again in part four | Three |
| Small gouge, like 1/32 of an inch (about 0.8 mm) | An undercut | Four |
| The number seven, marked 6 mm | Pretty much five | Four |
Why do I keep talking about shadow?
Each mark makes some. Carving is actually all about the smallest, tiniest details, I said on my Roman acanthus, because every cut, every move produces some type of shadow. And as you remember, I said, wood carving is all about light and shadow.
Fine arts came next in that lesson. In fine arts it's about the light also, and the color, with a whole philosophy developed about the colors. In wood carving you don't use many colors. Artists have a word for strong contrasts of light and dark, chiaroscuro, and Wikipedia has an article on it.

Working on the Venice Room, I could easily go even deeper with an acanthus movement for an even deeper shadow, I said. That's all about the shadows, by the way, how they look. And all wood carving, I said, is about the light and the shadow.
One shape on the Modern Acanthus was supposed to be like rolling, and I said rolling without undercutting doesn't produce any shadow.

What does exaggeration have to do with it?
It comes back to shadow. In lesson 19 of the same furniture panel course I took a micro tool, one eighth of an inch by Dockyard, three millimeters, and created a little more concave. It has to look natural, I said, but we're actually exaggerating natural movements, because we're really after shadows.
A little later I could probably leave the convex on one side just like it was, I said, and just refine the overall shape.
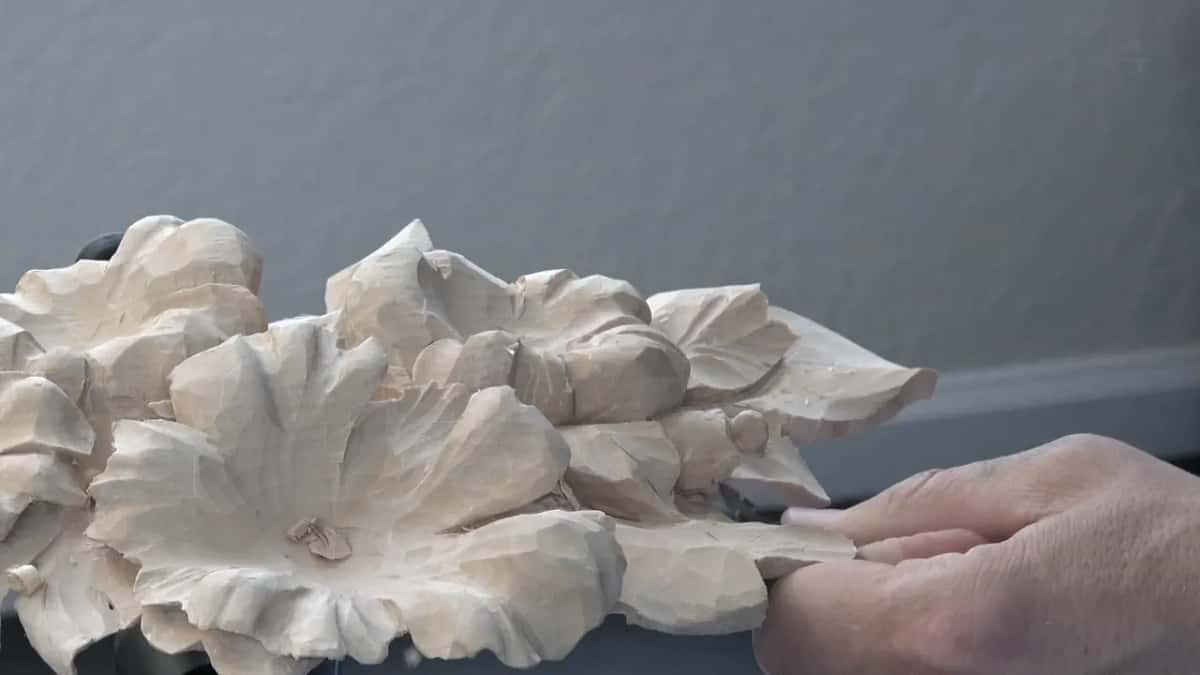
How do you carve a convex with a gouge?
Upside down, at an angle. On the Modern Acanthus I took a number seven, presented it upside down, and started my convex little by little. I presented it at about 45 degrees, and at an angle it becomes a much smaller tool, so I was able to use pretty much just the edge of it.
Just before that, I said it like a law. Every time you see an eye in an acanthus, it's got to have a pipe, and a pipe is always convex.

How round should a carved berry be?
Semi-round. When I'm saying make them round, I said in part one, it doesn't mean they have to be completely round.
Before the berries I said there's going to be a center line somewhere right there, and the overall movement I like. I had enough thickness in that area to add a couple of the same berries we've done on another section, round details, just to make some nicer movement around. For the size I took a number nine and asked myself which is best. That one was about the right size for what I drew.
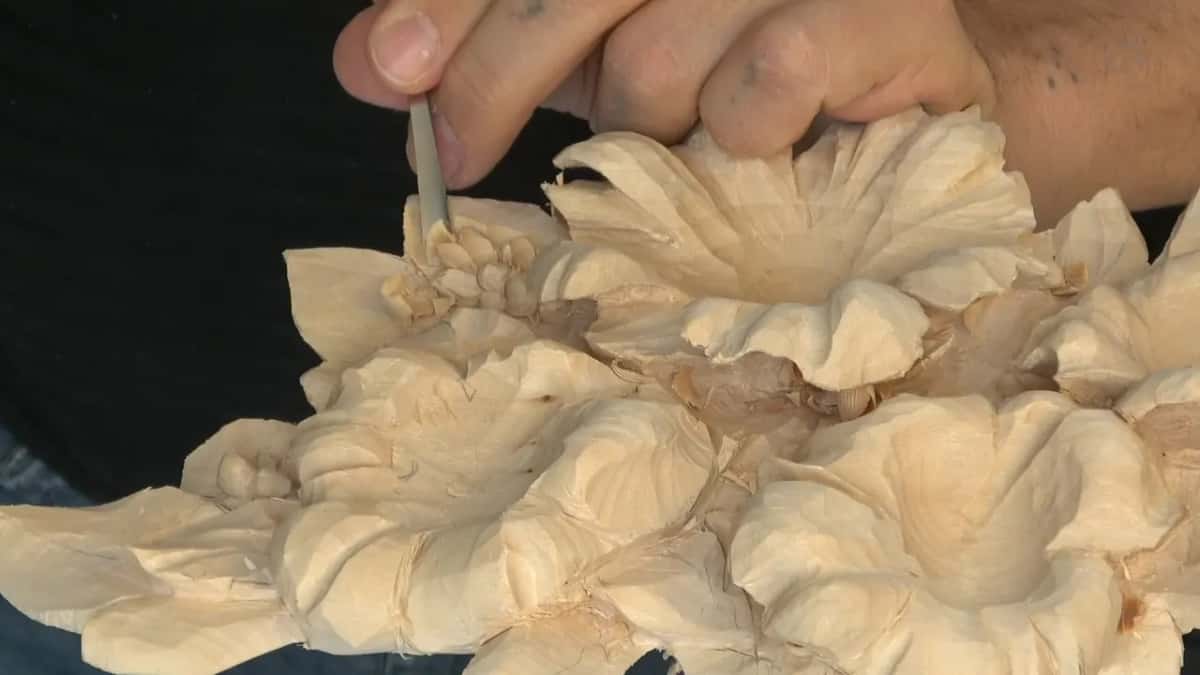
I poked it down, and I said be careful, because it's fragile, so don't create too much pressure. I could definitely have used a V tool at first, but I had enough meat on the other hand, and I said I should be fine. After that I just rotated it. A small number four cleaned each one, and I said just clean around.

Three berries or four?
Four, and you can hear me get there in part three. Maybe I should put a couple more berries, I said, maybe about three. I'm not sure, should I do three? Yeah, let's do three, or even four, and then yeah, let's do four.
Same idea, number nine, just a rotation movement, around like this. Maybe this one I can make a little bigger, I said, and the next would be a really small, tiny one, just a quarter inch (about 6 mm). One, I said, is going to be a little lower than the rest of them. With a small knife I removed a triangle spot, and the last one got number five.

Once more I wasn't sure. Maybe it's a good idea, I said, and I think it is, to make another one right here. It just looks like it's asking.
Do tiny details really count?
They make a world of a difference, I think. Every little, small, tiny detail helps, actually, and it makes it look more complicated, if I can say that.
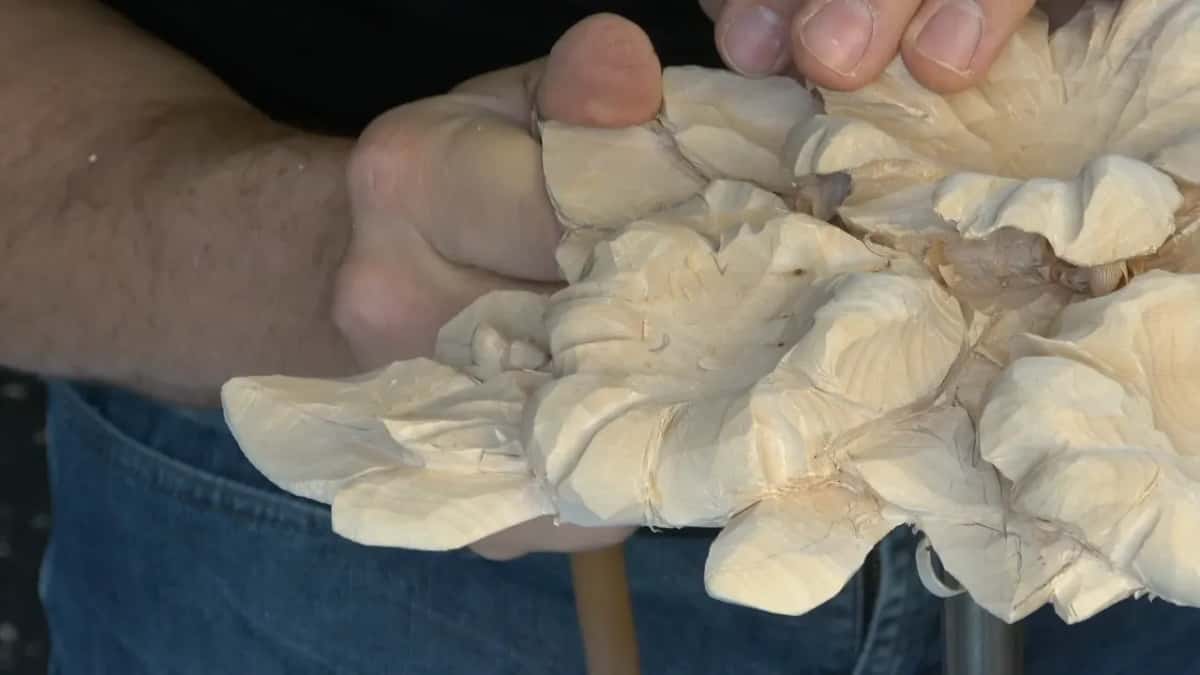
So around the berries I made really tiny leaves, just leafage like that. I didn't plan at the beginning to do that. We do have a lot of material anyway, and every little detail like that creates even more 3D look, more shadows. More design, if you wish.
One gouge did them, pretty much, number five. A few passes, and the section around them came out. By part four I said I think you should get my idea, so every little detail like that creates a beautiful shadow and a light point, and then I excavated even deeper underneath for an even more three-dimensional look.
What can a knife do here?
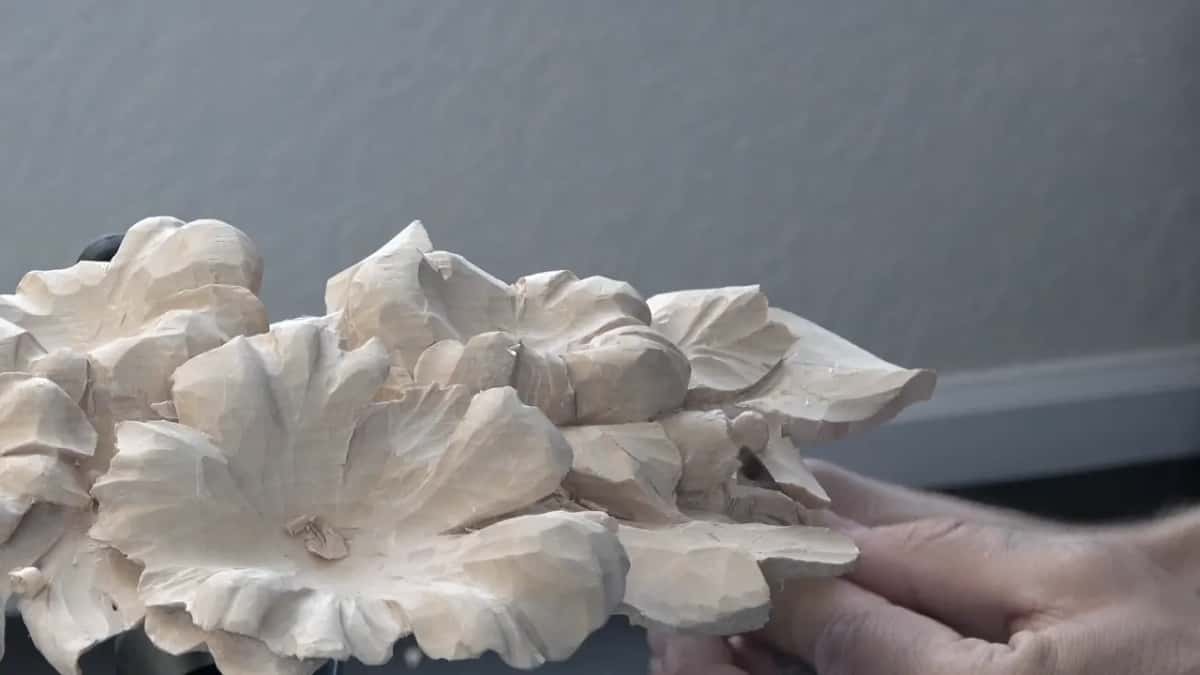
Shapes, separations and undercuts, in this lesson. A knife came out in part two to establish some kind of shape. There was a wall I just didn't like, and I had extra meat on one side, so I made an even smaller leaf under a leaf, with just the knife at first.
You can do a lot with just a knife, I said, and much quicker. That's why, when I at first was trained in carving, my teacher would teach me knife techniques first. The knife was actually the first wood carving tool, I said, and you can do a lot of things with that tool.

One detail from that knife work is almost impossible to see on camera. From the side, when you look from the side, it looks like there is something, I said, and that extra detail would be creating a wow moment.
During part three a knife refined an edge, which is not that hard with it, and made a separation that undercut a detail. And I do like that separation. Toward the end of the lesson a knife made for one style of carving came out, and I said its name is not about the price. It's about the style.

Part one had opened with just a V tool, the same technique as before. Getting all the way down there would be a little challenging, I said, but a knife would make it easier for me. Looks like I'm able to.

Why does a second layer need more care?
Small things there are easy to see. Late in that second part I saw I could make a small separation and a small detail going one way, with my main leaf growing another. Tiny, small detail, but it will make a big difference, especially since that is a second layer, and every little thing will be visible.

What do you do when something goes wrong?
Keep it, and slow down. In part four I went to raise one part completely, though it's not the best area, because the grain runs in that direction. I should be fine, I said. Then, ah, that's unfortunate. That is okay, I said, I'm not going to remove it, I'm going to keep it.
A smaller knife came out. I just should not rush it, I said. The thickness, it's not too much left, but it looks like I'm okay. I got a small gouge, like 1/32 of an inch (about 0.8 mm), and undercut, and I asked you, can you see that shadow?
The number seven I used next was marked six millimeters (about 1/4 in), although it's not six, I said, it's actually pretty much five. The page for lesson 21 puts that next to other stamped sizes.

I wasn't sure if I'd be able to go completely underneath, or if that would be too extreme. Half a minute later I said it looks like I still have about a sixteenth of an inch (about 1.6 mm) to the background.
How does lesson 39 end?
With cleaning. And now it's all about just cleaning, I said, more than once in part four. It looks fine, it looks good, I should say.
Lesson 38 is the one where the cleaning took my center line, and the panel goes on in lesson 40. The four parts of lesson 39 are open to you with tuition at the school.
How it's done
- Size the gouge to the drawing. I picked the number nine that was about the right size for the berries I drew.
- Press it in gently. The wood there is fragile, so don't create too much pressure.
- Rotate around the shape. Just a rotation movement, around like this.
- Clean around each one. The same small number four cleaned them all in part one.
- Stop at semi-round. They don't have to be completely round.
- Add tiny leaves where there is wood. Next to the berries a number five does them, and the wood around them comes out.
Frequently asked questions
When do the concaves go in?
Later on, in my Venice Room work. In workshop 70 I was just blending a ridge with a skew chisel, and I said that later on, of course, I would develop them, but for now it was good. Workshop 84 had a spot where I could do even more, but there were none yet.
Where do the concaves inside a carved petal point?
Toward the center point. For the main bouquet of a furniture panel I gave the inside of those petals real nice movements with different number eights and number 11s, a concave going in. Everything is supposed to go to the center point, I said, otherwise it won't look too nice.
How do you blend a concave into a convex?
With a more straight tool. I needed to blend those two on the Venice Room, so I tried a number four and went from one into the other, and I said I kind of love it. That was workshop 39, the same number as this Hashemi lesson.
What to carve next