
Alexander Grabovetskiy, woodcarver, School of Woodcarving · Published 2018
Why carve the back of a pierced panel?
Quick answer: Carving a pierced panel from behind is how you reach waste that is easier to take from that side, and how the piece gets its shadows. On my Hashemi flowers I screwed the vise to the front, where its holes stay hidden, and worked on the back. A bench clamp would not have allowed it.
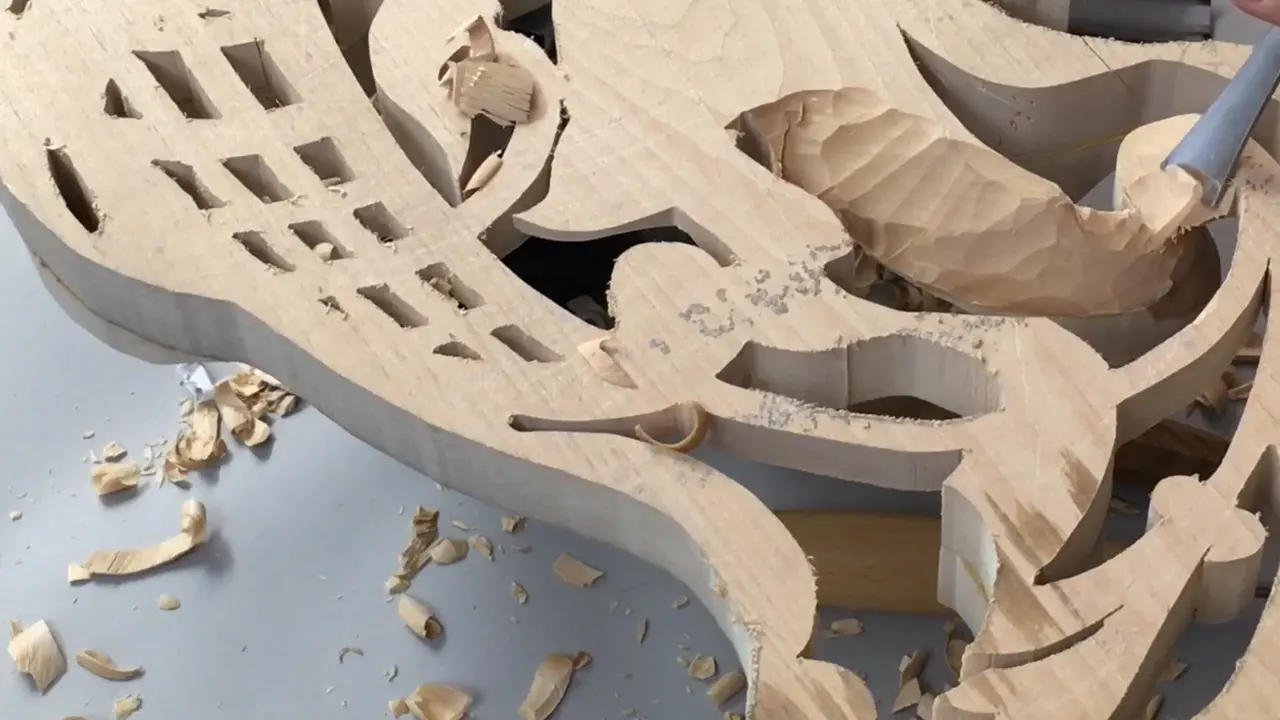
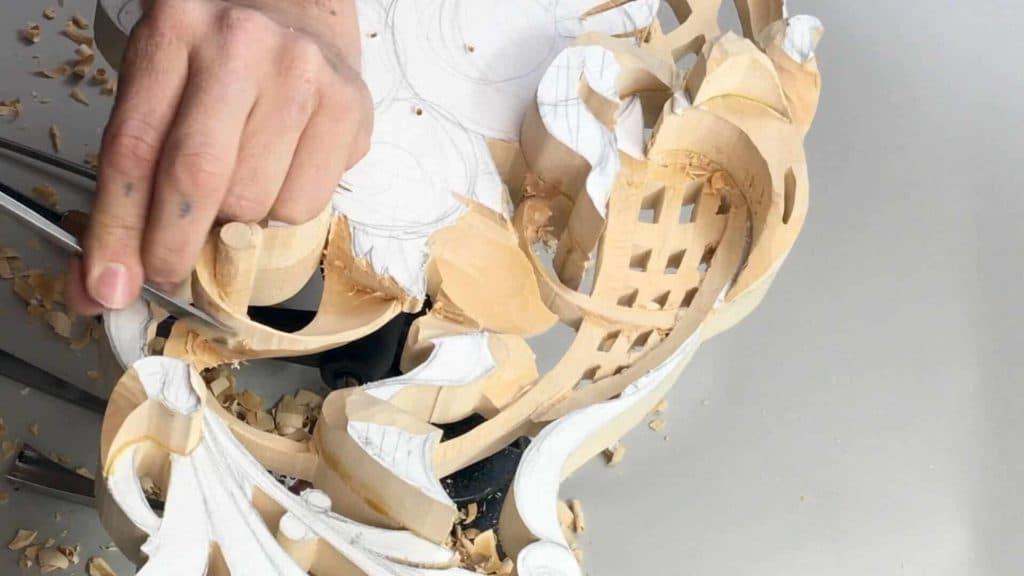
Carving the back of a pierced panel is the work you do from behind its openings, with the piece turned round in the vise. In lesson 4 of my Hashemi flowers I unscrewed the vise, screwed it to the front where its holes stay hidden, and worked from my backside. Fastened with clamps to a workbench, the same piece would not let me do that.
Does a pierced panel have a back? Will a little light get in behind those openings once it hangs on a wall? Then that back is part of the carving too, even the spots no one will look at.
This lesson is short, five parts and fewer than 1,200 words of talk, and more than once I said I wasn't sure you could see it. So beside it I put what I said about the back in other lessons of this course, each one linked, so you can find the moment for yourself.
What I did to the back in lesson 4
The vise came off the back and went onto the front, and its holes can't show there.
A bigger number eight started on the waste.
Pressing too much opened a crack, and some glue will hold it.
Ridges came out of a surface you will never see.
A knife attacked from behind.
The corner stays on until the main form is set.
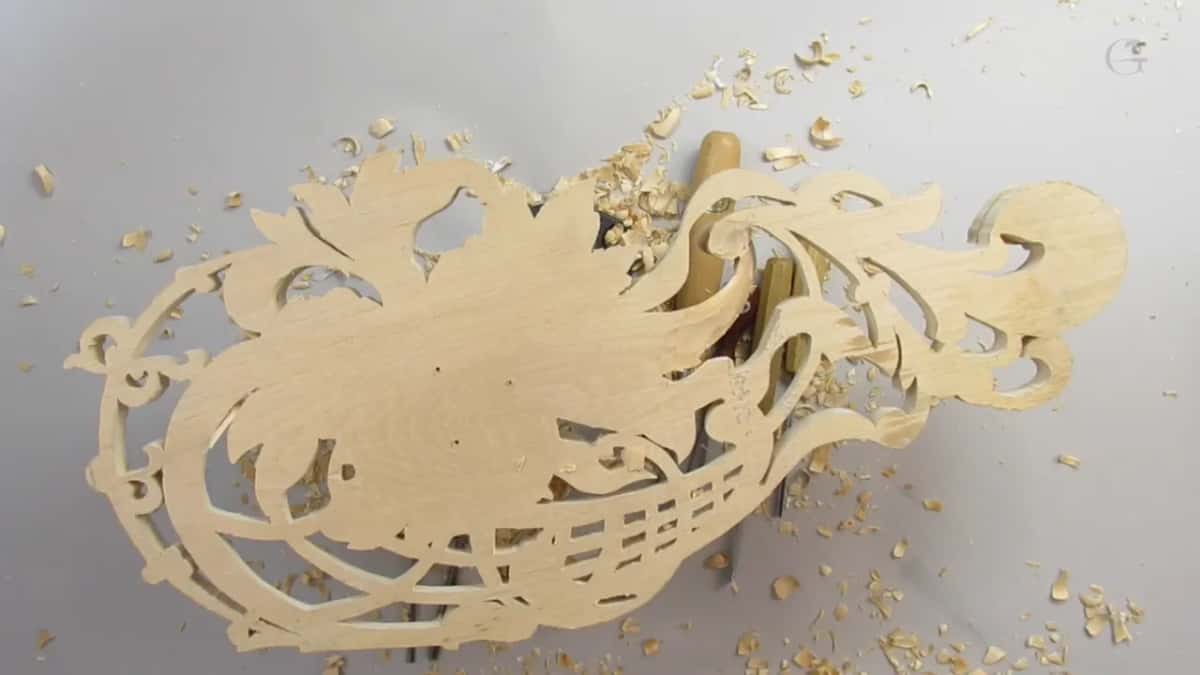
Why does the vise go on the front?
Screwed to the front, the panel let me get at its back, and that is much easier for me. Partway through part two I said the good idea would probably be to take this piece and just refasten it from the front. I unscrewed it and screwed it to the front, where those holes are absolutely hidden and you won't see them.
Like I said, that is what I like about this system. You can attack from different angles. This vise lets me come at my piece in different positions, even from underneath if I have to, and before the refastening I had only loosened it and changed the position. That alone let a bigger gouge, a number eight, start removing the waste on a new side.
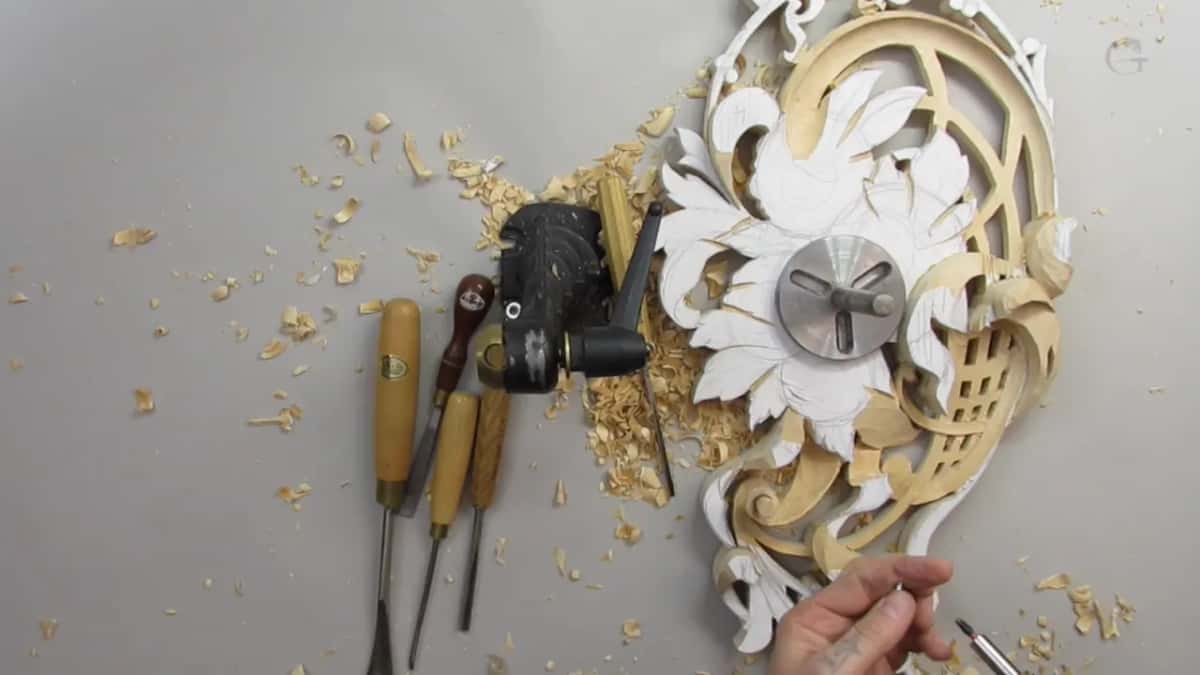
Clamps alone would have stopped me. Fasten that piece with just clamps to the workbench, I said near the end of part two, and you could not do the work I was doing back there.
Twice in that part I also told myself I didn't want to overdo it. Once right after an oops, and once just before I said I could use a bigger number three.
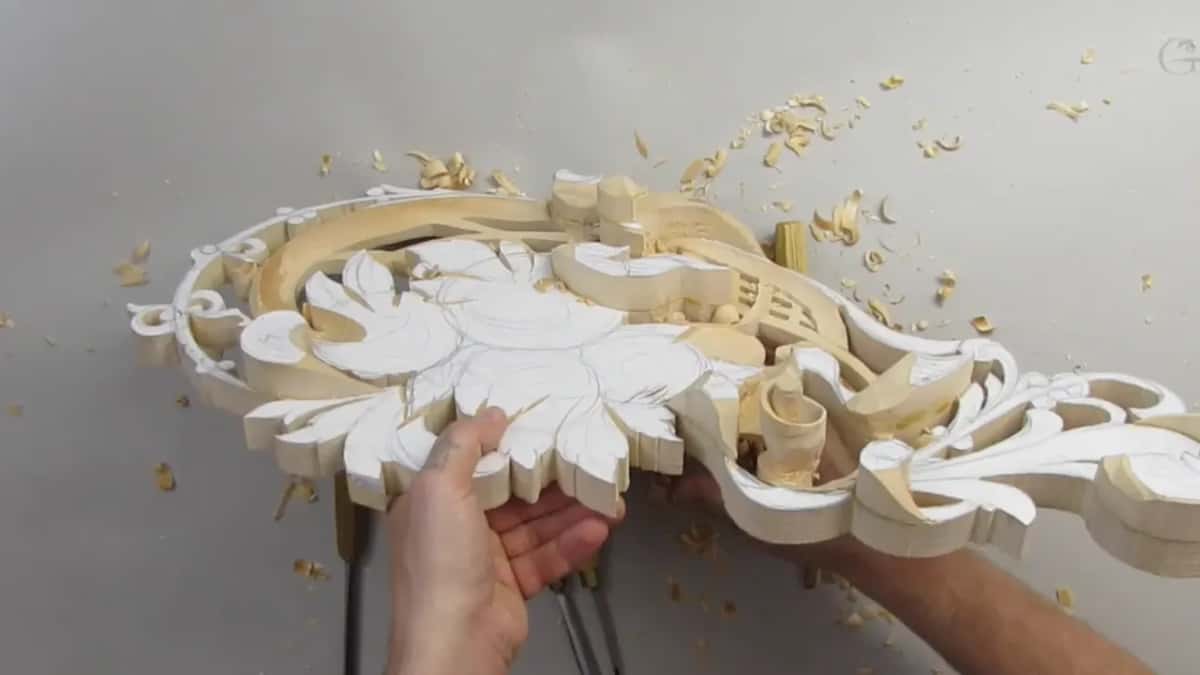
Where was the vise before lesson 4?
On the back, about in the middle. Lesson 1 is where I screwed my Veritas vise onto that side of the piece, approximately in the middle somewhere, which is the reason I left a solid spot there. Later on that spot can take some kind of hanging system.
The wood is about seven-eighths of an inch (22 mm) thick in the middle, so it stays really thick there, and the screws were about one inch (25 mm) long. You could just clamp the piece to the workbench, I told you that day. But I really like this vise and use it on almost all of my projects. It rotates, it gives me different angles, and it's really solid, though you will still see some shakiness.
Then lesson 7 took it out of the vise again. I took my drill and used the same holes, and since this middle part stays solid, I said, all those holes will be hidden.
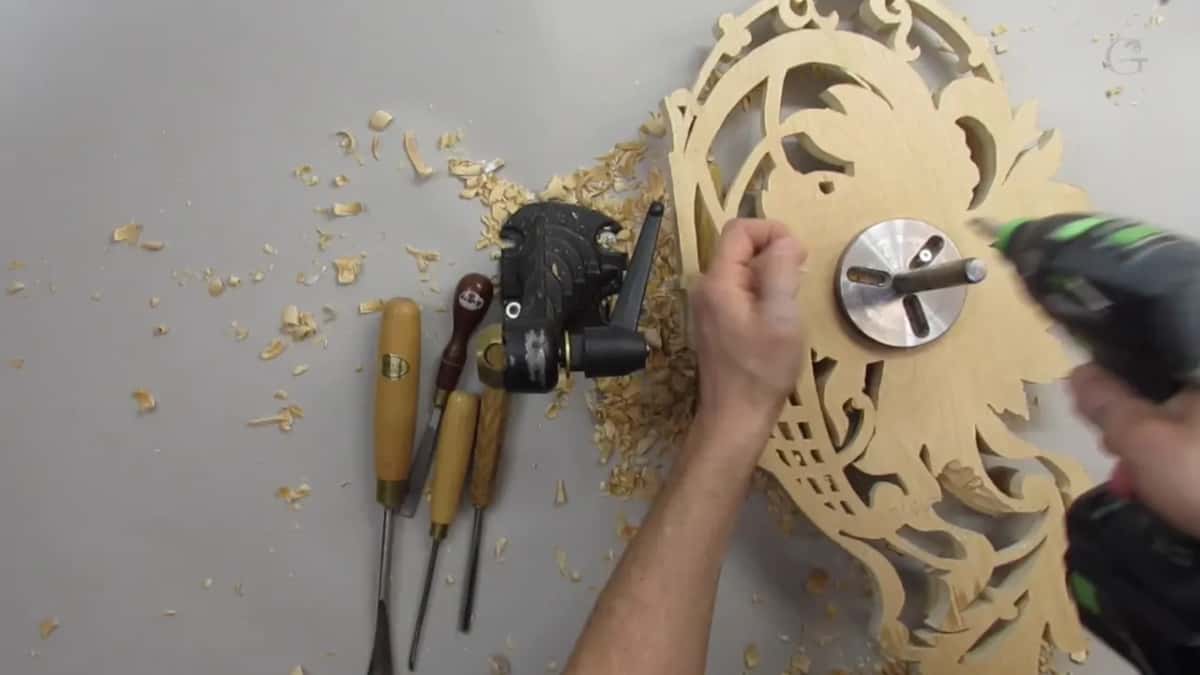
Which tools reach the back?
Short-handled tools reach it, I said at the start of part four, and with them I can work on the reverse. Then came the number five spoon gouge, 8 mm (5/16 in), to clean the start of the movement.
| Tool I picked up | What it did | Where in lesson 4, and how I put it on camera |
|---|---|---|
| A bigger number eight | started on the waste from a new side | Part two, once the vise was loosened and the position changed |
| Number nine | removed what I call waste | Part five, just before I said it is not really waste |
| Spoon gouge, number five | cleaned where the movement has to begin | Early in part four, when the whole movement had to grow from the scroll |
| Knife, plain | attacked waste from behind it | Part one, where all of that had to be gone completely |
| Small V tool | took off waste after I redrew this side | Opening of part five, probably the safest way, I said |
| Number seven spoon | came in once the corner was left for now | Middle of part five, where I went for a different spoon gouge |
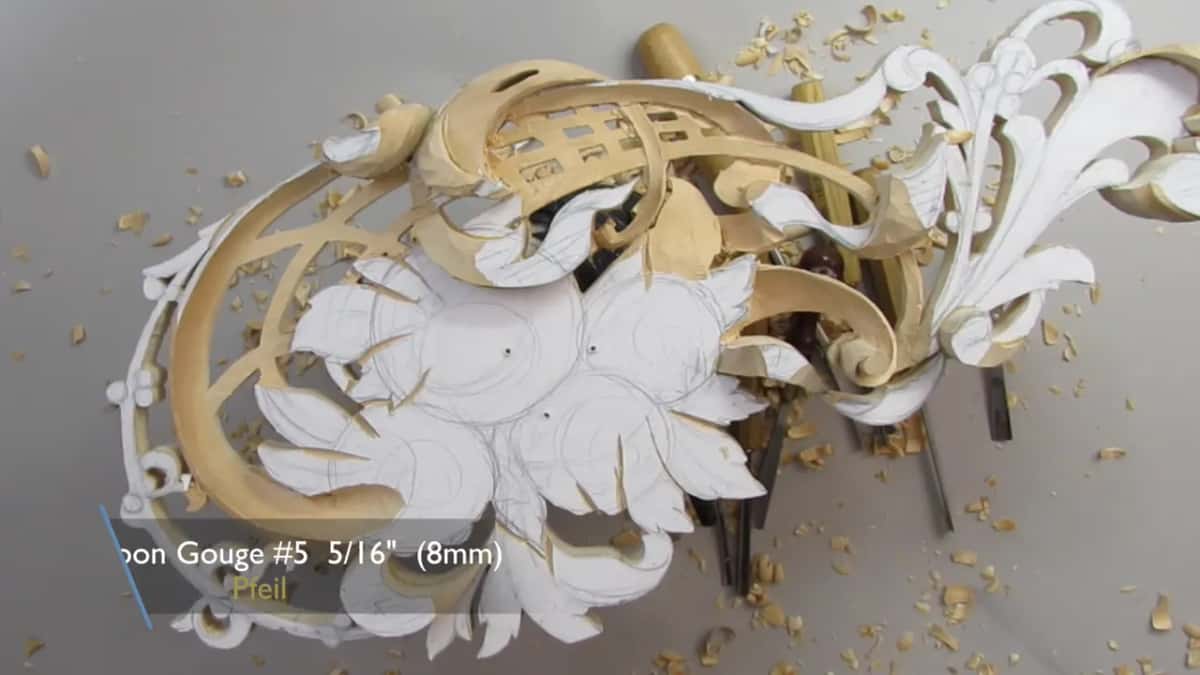
A knife is a really handy tool, I said in part five, and you can do a lot of carving with just a knife. I can bring it round the back whenever I need it.
Other lessons of this course lean on it the same way. On the ribbon in lesson 14 a number 12 knife cleaned the edge, attacking it from behind, and in lesson 7 a small knife helped me a lot, because with it I have much more control.

What does carving behind it do for the front?
Shadow. In lesson 7 I knew you would ask me why I undercut so extremely on a backside, where most of it nobody will ever see, especially once the piece hangs on a wall. All you will see behind it is the background you choose, wood or a bare wall. The easy answer, I said, is that it's all about lights and the shadows.
Even a small amount of light traveling behind will create a shadow, and that tiny detail is really important. Overall, it also makes the piece much, much lighter.
Lightness came up in part one too, when I was working my way in with a number three. It's going to create lightness, I said, and look really light, and it should look beautiful.

Why smooth wood that nobody will see?
You will know what's there. Two and a half minutes into part three I kind of liked what I saw on the back, but I wanted those ridges out, so I made it smooth. Even if you can't see it, it is the backside, and still you will know what is happening back there.
A second reason came in part four. Cleaning the surface lets me recreate my flowing lines, put my marks on it if I need to, and see easily what's going on.
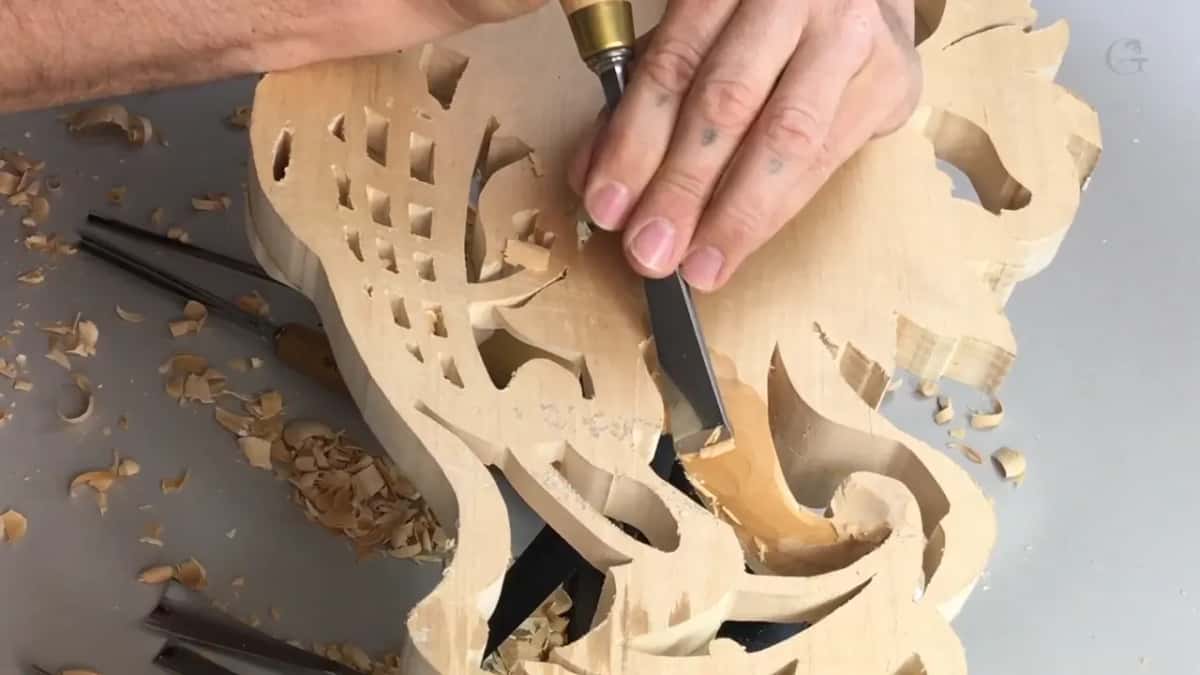
There is an older reason, too, a story from another workshop that I told again in lesson 7. It was about some carvers of the 15th and 16th centuries, especially a German carver, Riemenschneider. He would always make it look nice from the backside, and when people asked him why he worked on a spot no human eye would ever see, he would answer, "Yes, human not going to see that, but God will see it."
That was his answer, and I really like what he would say.

What went wrong on the back?
I cracked it. I already had a crack twenty-five seconds into part three, because I pressed too much right there. The grain runs this direction and it becomes weak there, but it's okay. Some glue will go in, and that will hold it.
But I should not rush it, and that was a no-no. I should not do that, I said. Absolutely shouldn't.
About a minute later I added this. I do have to attack that from different angles, and sometimes even against the grain, but if I've got my tools sharp enough I shouldn't have any problem.
This type of carving, I can't force it, I warned in part five. I can make a big mistake. On camera in lesson 40 you can see I don't force it, because if I force it, that part becomes really fragile and I can easily break it. It's better not to force it and just approach with different tools multiple times.
How hard do you hit the tool back there?
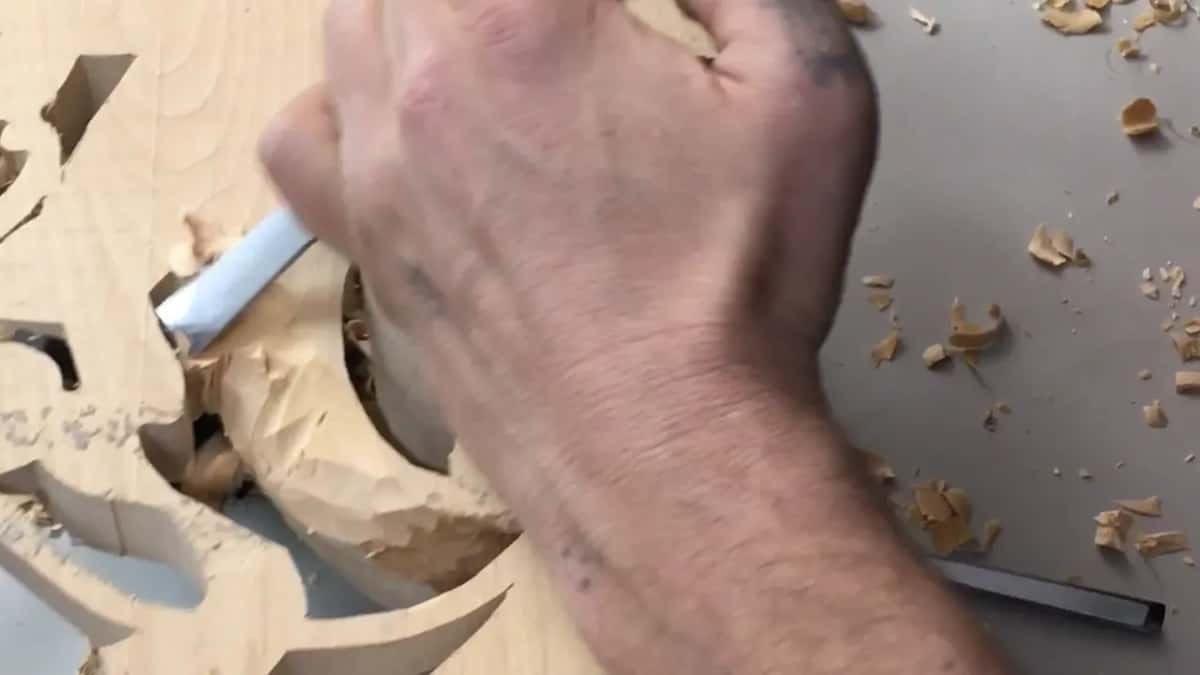
Barely. Late in part five I took a V tool, and I barely hit the tool.
My hands did the same in lesson 41, where I barely created any pressure at all, because I understand that pressing it or twisting to the wrong side can break it easily. For me, many small passes beat one big mistake, and constantly I have to check and double-check how thick the material is on the back.
When does the corner come off?
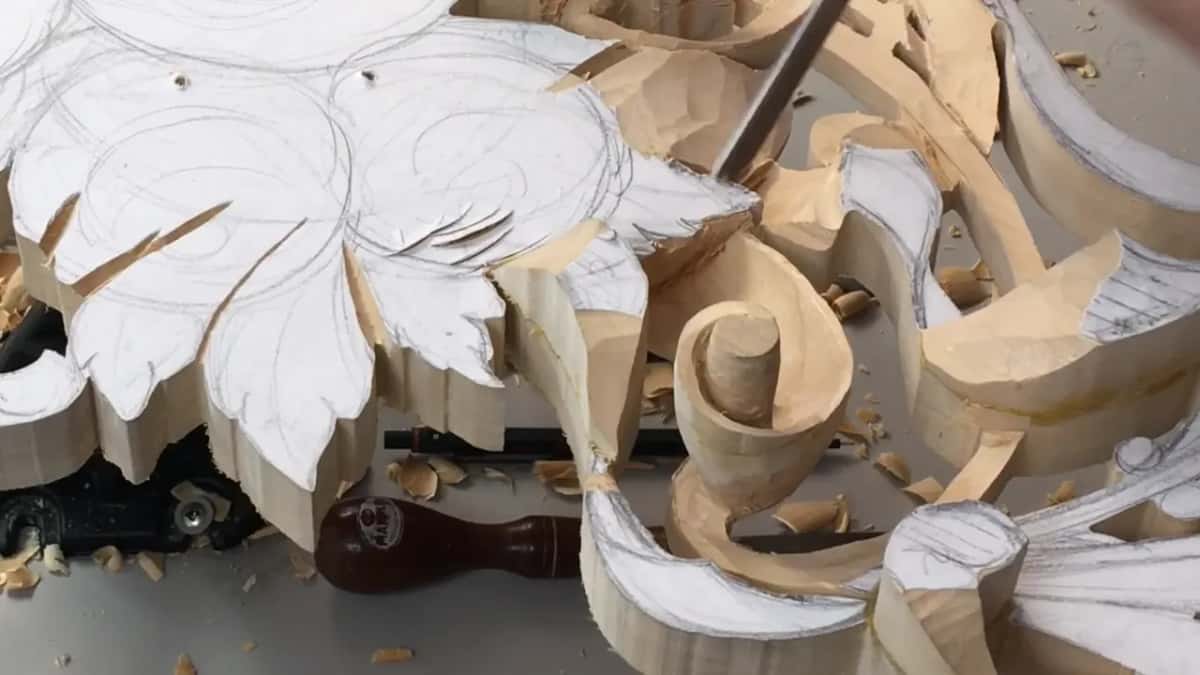
After the main form is set. Well, I can leave it like that for now, I said in part five. Refining it from behind is always possible, but I still have to establish the main form before I completely remove that corner.
Part three had a moment like it. There were a couple of ways I could go. I could make this one even more concave on the inside, but my wood would become really weak, and maybe I didn't want to do that. So I attacked from this side, just to try to make it smooth.
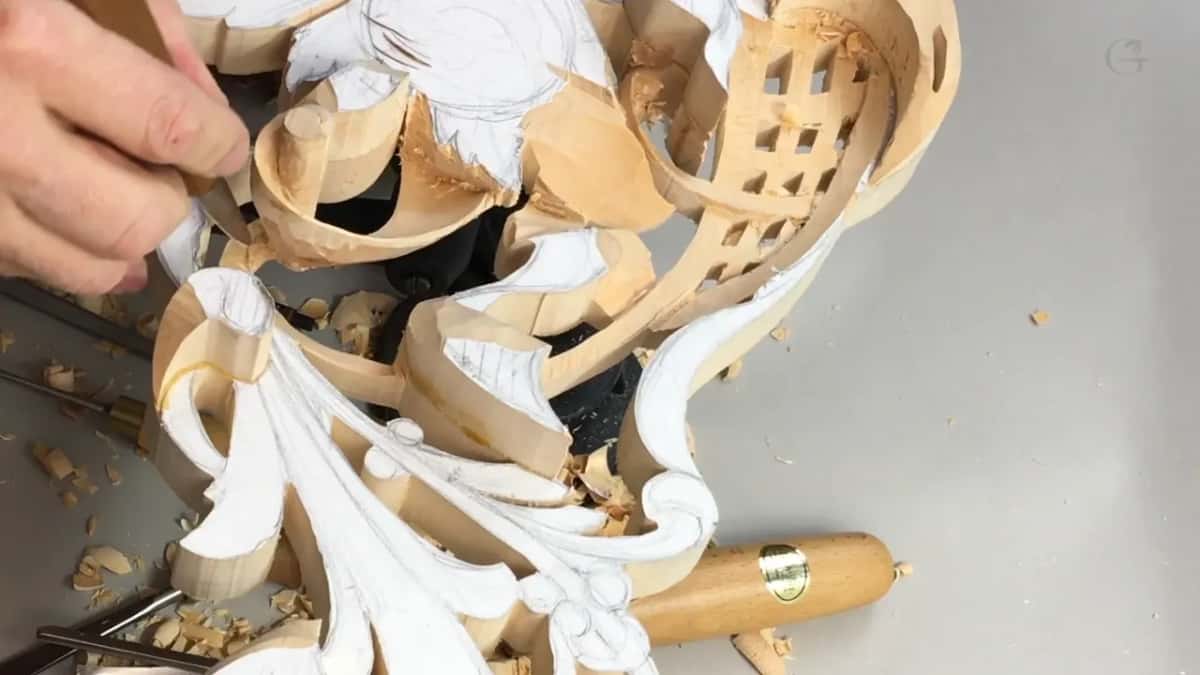
The twisted ribbon in lesson 14 was the same story. I still wanted to keep support there, at least for now. Later I'll flip it and work from the opposite side, and reaching that chunk of wood to remove it will be a lot easier.
Part four ended on a small doubt. I could actually make this one a little smaller, I said, and I wasn't sure if I should. Maybe just slightly. Not much, but slightly, and I took a number one.
Why turn it back to the front?
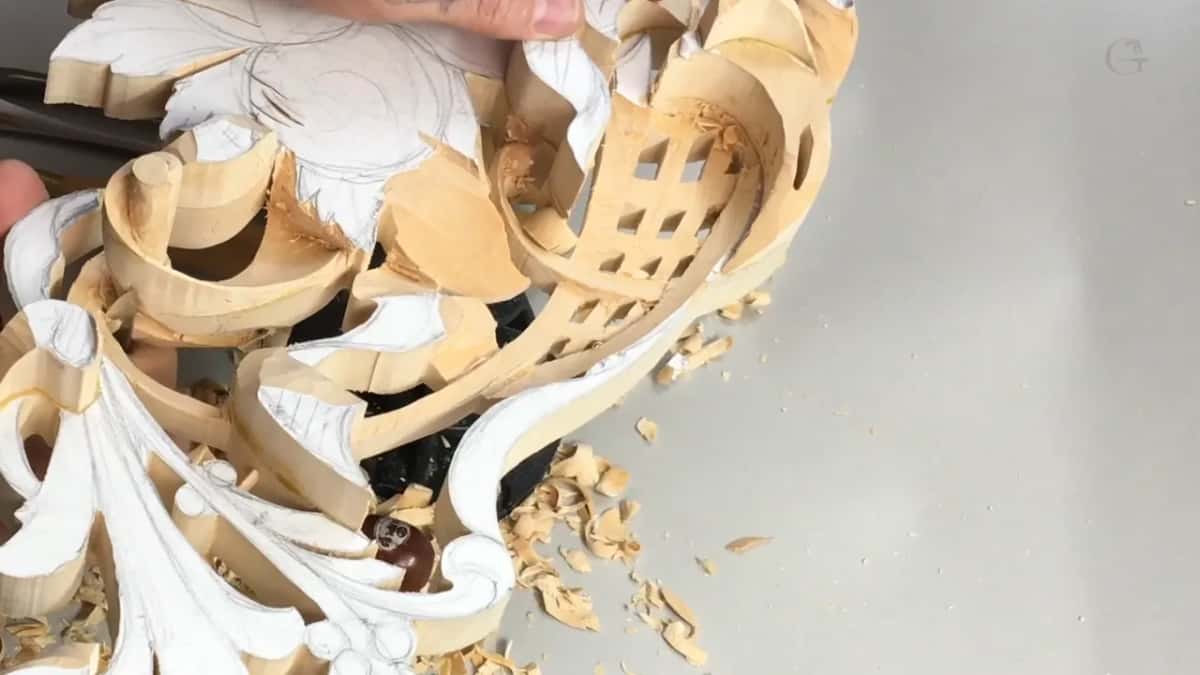
To see what happened there. Just under four minutes into that same part, I thought that was enough on this side, so I took it to the front again to see what would happen on the front. Hopefully you could catch that this part goes down gradually, just like that, and then I fastened it again.
By lesson 15 the piece was fragile, so I took it from the vise and clamped it on my MDF board with 20 mm (about 3/4 in) holes, and the board itself went into the vise. When I need to flip it over and look at the back, I just unclamp it. I like that because it unclamps quickly and I can work behind it, so I don't have to separate my plywood, clean the paper and glue it again.

Can the camera follow you behind the panel?
Not very well. In part two I said I know I can't place my camera there, but hopefully you understand what I'm doing. Twice more, in part one and in part four, I said I wasn't sure if you'd be able to see it or not.
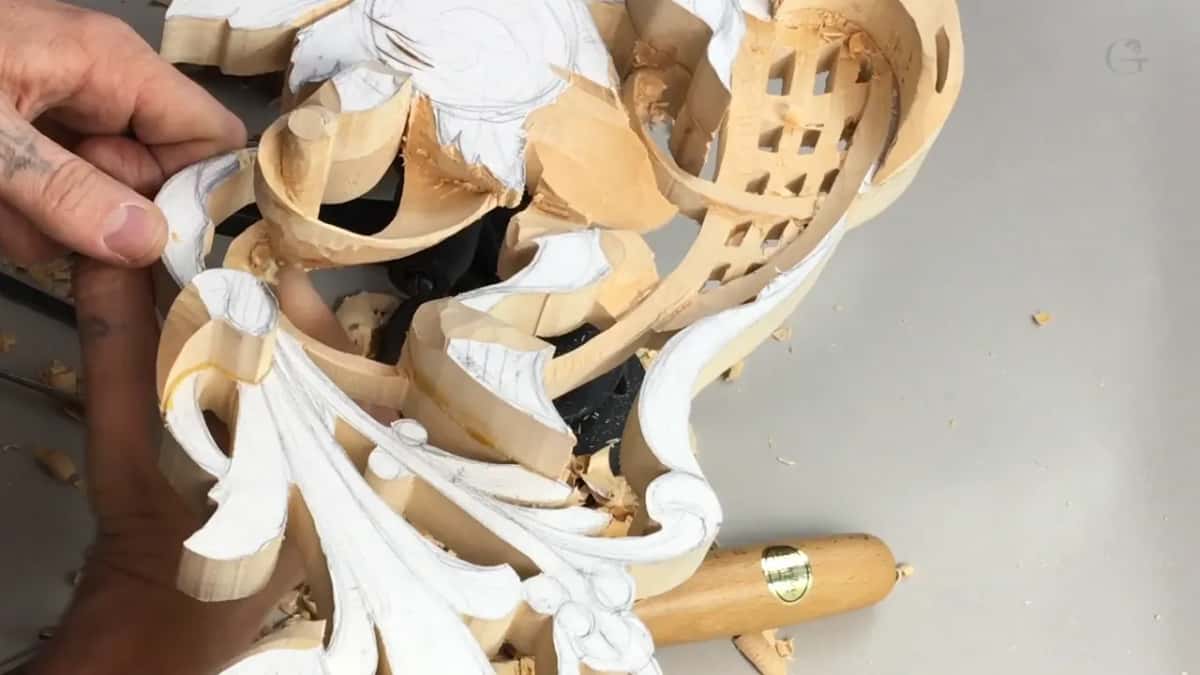
Is the waste really waste?
Not quite, and I corrected myself on camera. A number nine came out in part five to remove the waste. I call it waste, I said, and of course it's not waste, but what I removed was wood I don't need.
Back in lesson 1 I called this a beautiful piece of limewood, with some kind of darker color. I'd had it for a long time, over 10 years I believe, and it had developed a really rich, darker, almost pinkish color.
Where does the movement start?
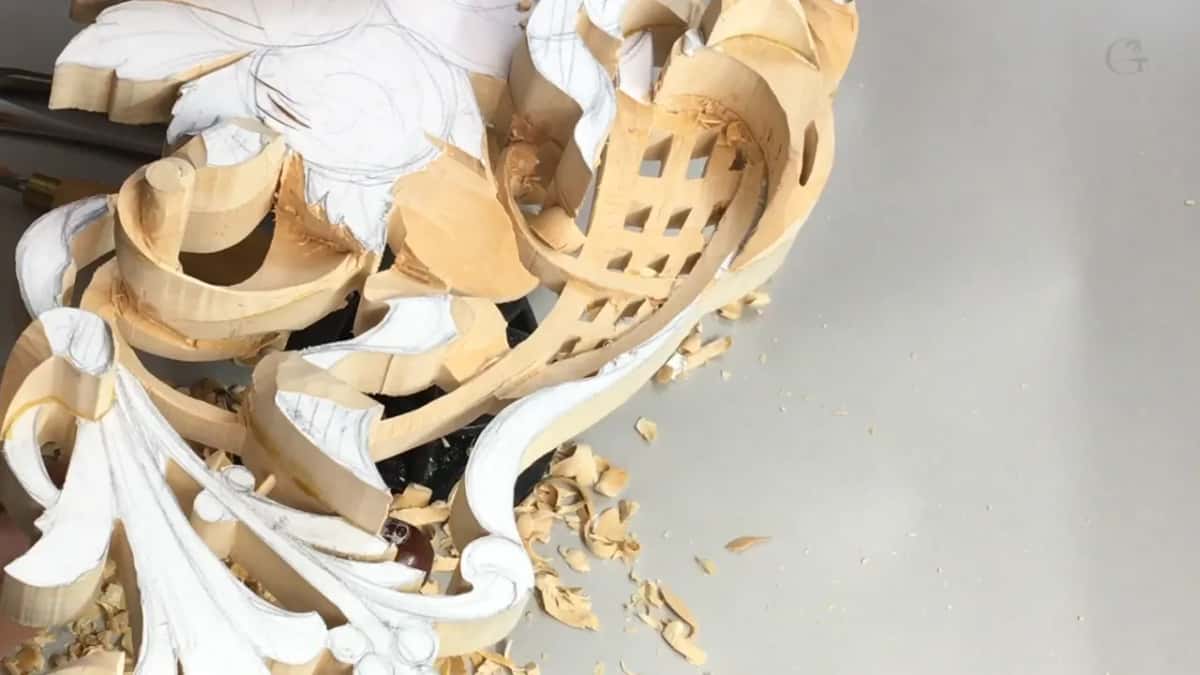
At the scroll. I wanted to create the illusion, in part four, that the whole movement goes from this scroll, so the spoon gouge cleaned that beginning first.
Half a minute before coming round, I said now I really have to be really careful. After that I worked from behind. I wanted to make sure this part of the scroll goes around and actually starts somewhere right there, so a number five of a quarter inch (6 mm) worked that detail nicely and carefully.

There is more on scrolls in lesson 3, which opens with me saying, let's concentrate on this scroll.
Is carving from behind a secret?
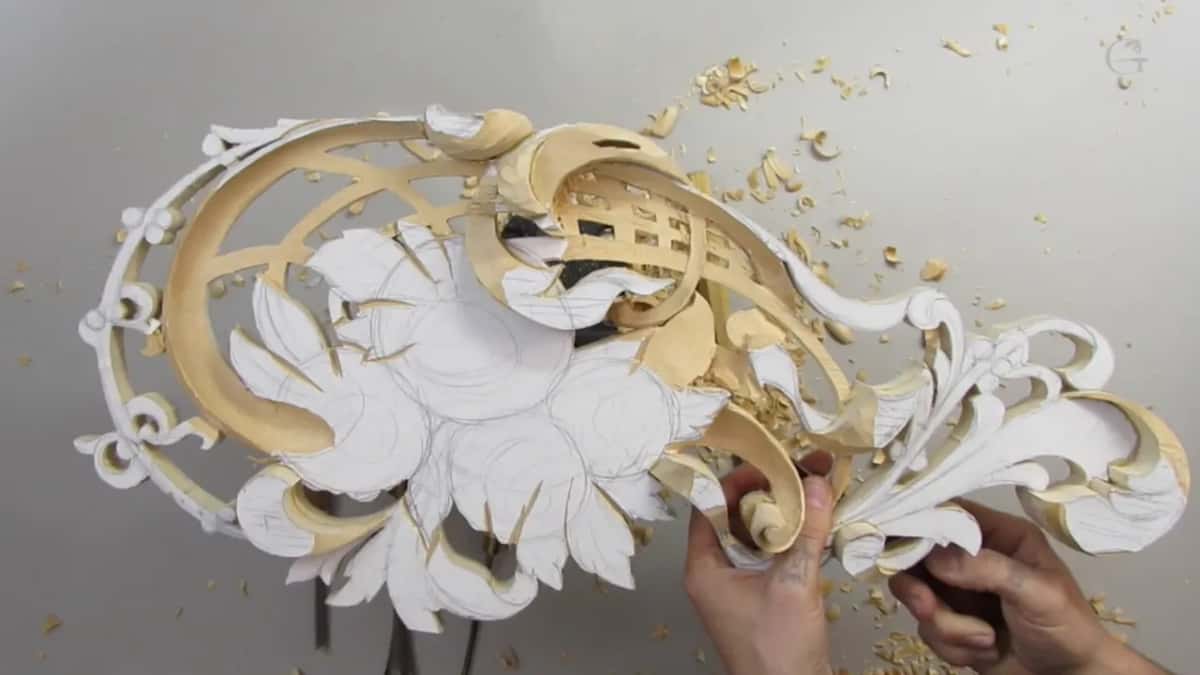
Lesson 7 is also where I called it probably one of the biggest secrets, how I undercut really extremely by working from the backside. Like I promised, I want to take the mystery out of this type of wood carving and prove to you that with the right tools and the right approach, you are able to do it. Work upside down, against the grain.
It is safer, too, as I said in lesson 22. Making my cleaning from the back is much, much safer. And when a piece is too fragile to lie on the bench, my tip for back cutting puts it face down on soft foam.

Part five ends quietly. Near its end I took a knife, and then I said better leave it like that. That's it.
All five parts are part of school access, along with the rest of this course. Next comes lesson 5.

How it's done
- Loosen the vise and change the position. A new angle alone let my number eight start on the waste.
- Unscrew the panel and refasten it from the front. Put the screws where those holes will be hidden later.
- Turn to the back. Short-handled tools reach in there, and a spoon gouge cleans.
- Take the ridges out. Smooth the back, even the parts nobody will look at.
- Look at the front again. Check what the work behind it did, then fasten it once more.
- Leave the corner on for now. Establish the main form before that corner goes completely.
Frequently asked questions
Can I just clamp a pierced panel to the bench?
You could, and lesson 1 says as much. For the back, though, clamps to the workbench would have stopped me in lesson 4. I said so on camera. Screwed to a vise, the panel turns and shows you its other face.
Will the screw holes show on the finished panel?
Not on this one. When the vise went onto the front in lesson 4, I said those holes would be absolutely hidden and nobody would see them. Later, in lesson 7, I reused the same holes, and that middle part stays solid.
Why smooth a surface on the backside that nobody sees?
You still know what's back there, and that was my reason while the ridges came out in part three. A clean surface also lets me redraw my flowing lines, mark it if I need to, and read the shape again.
What to carve next