
Alexander Grabovetskiy, woodcarver, School of Woodcarving · Published 2018
How do you carve a twisted ribbon in relief?
Quick answer: Carving a twisted ribbon in relief is a job of concave cuts and small undercuts. On my Hashemi panel the band goes uphill, downhill, flips on its side, then returns. A #9 gouge at 10 mm dug the inside of the first twist, and one spot of the band came down to under a sixteenth of an inch.
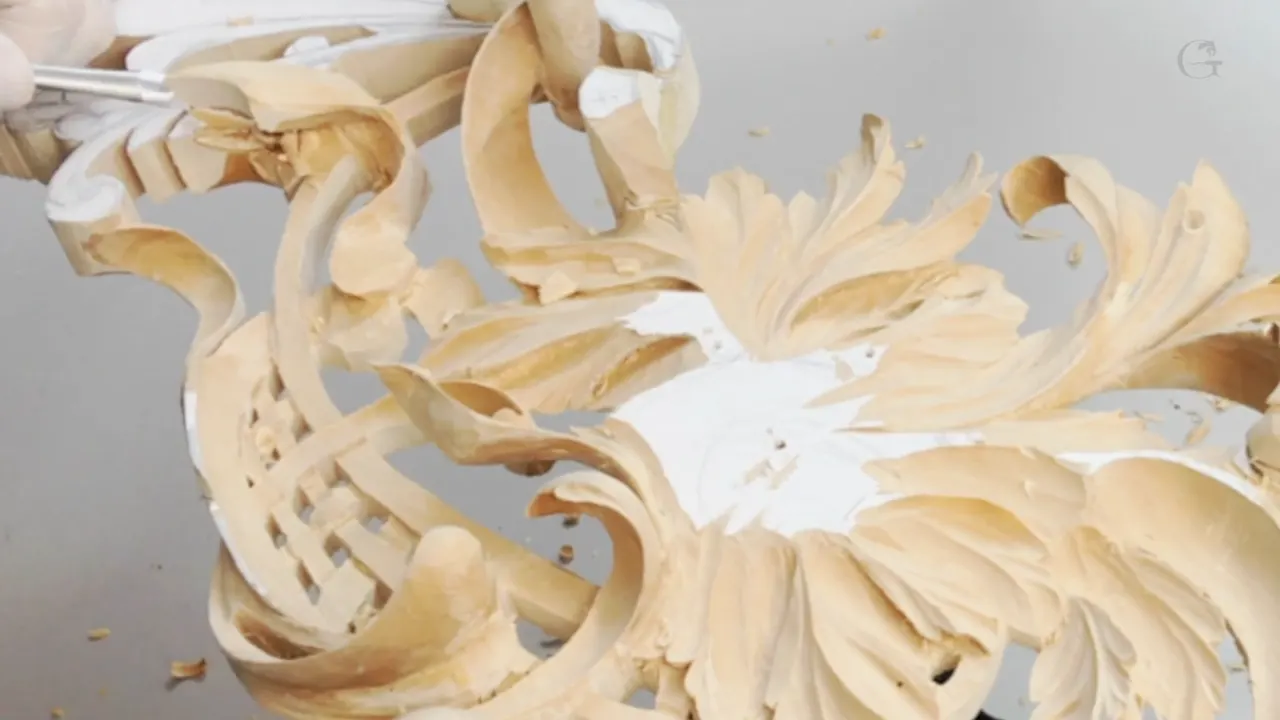
A twisted ribbon carved in relief is a band of wood that goes uphill, downhill, flips on its side and comes back, and you carve it with concave cuts on the inside and a small undercut. That is how I did it in lesson 14 of the Hashemi flowers course, in relief on a limewood panel. The whole idea is a band that seems to flip in and out.
Does a ribbon twist over and come back? Does it slip under a leaf and come out again? Then it looks hard. I said so myself while I carved this one: for some people those ribbons really look complicated, because of the twists they make, but in reality they shouldn't be complicated at all.
Here you get the main tools I picked up, in order, and how thin the band got.

The ribbon lesson in a few lines
Uphill, downhill, flip, and back.
The first twist began from the inside, with a #9 gouge digging a concave almost to the bottom.
Tools changed often.
At its thinnest one spot was under a sixteenth of an inch, and I warned you it is easy to overdo.
Support stays behind the band until the panel is flipped.
How does a carved ribbon move?
It grows from underneath going upward, then makes a flip on its side and flips backward, which is how I put it in lesson 13 when I set out the main movement of these ribbons. Lesson 14 says it shorter. Uphill, downhill, flip it, and return this way, I said about the next ribbon. Part seven called it a full 3D move, from the high point going downhill, then upward.
The ribbon in part one needed a full twist on the inside, then had to go backward and follow the movement. I'm going to be honest with you. I changed my plan on the next one and left out an extra flip, because otherwise it would just be lost to small details. I know it's kind of confusing, I told you right there, but just watch what I'm going to do.
Twists were in the plan long before that. Back in lesson 2 a number eight just happened to fit perfectly in the main outline of my ribbon, and my idea was that this part would have a twist and run to the swirl. And in the first lesson I kept a high spot in the middle for a ribbon and said I would later put the name Hashemi on one. You can always put your own.
Where does the twist on a carved ribbon start?
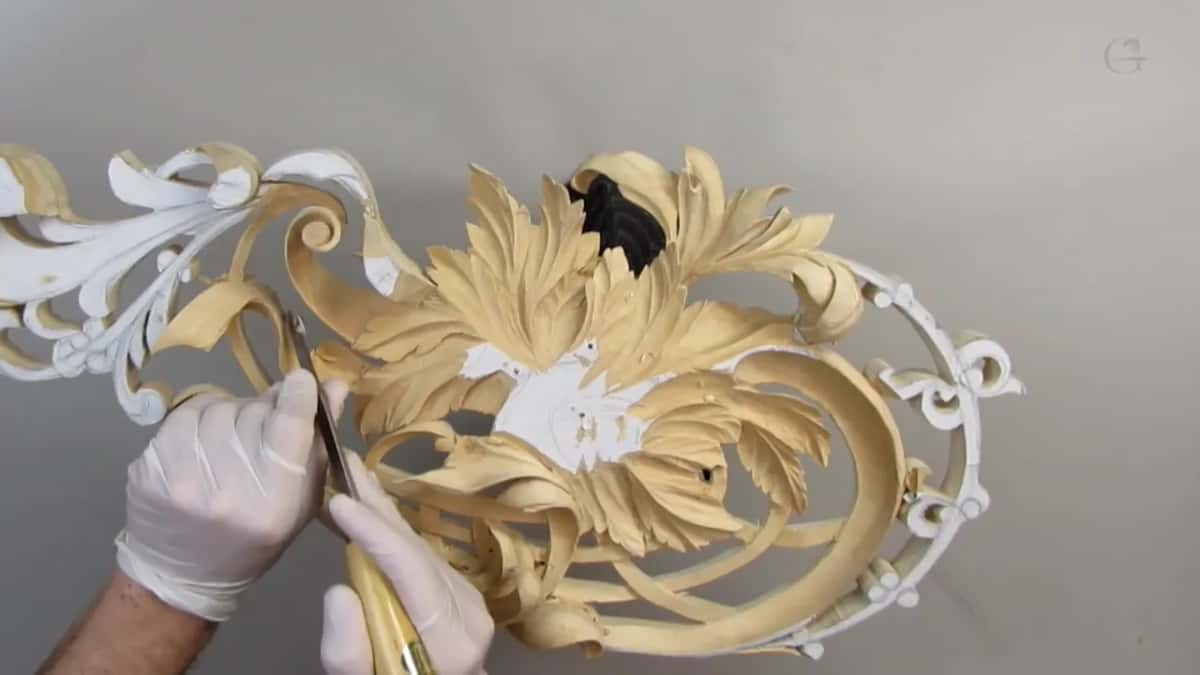
On the inside. A #8 or #9 would work, I told you, and the tool I took was 10 millimeters, 3/8 of an inch. About two minutes later I corrected myself on camera: the same #8, no, I'm sorry, it's #9. It has to make a smooth transition to make a full flip, I said, and a little later, have to be really careful here.
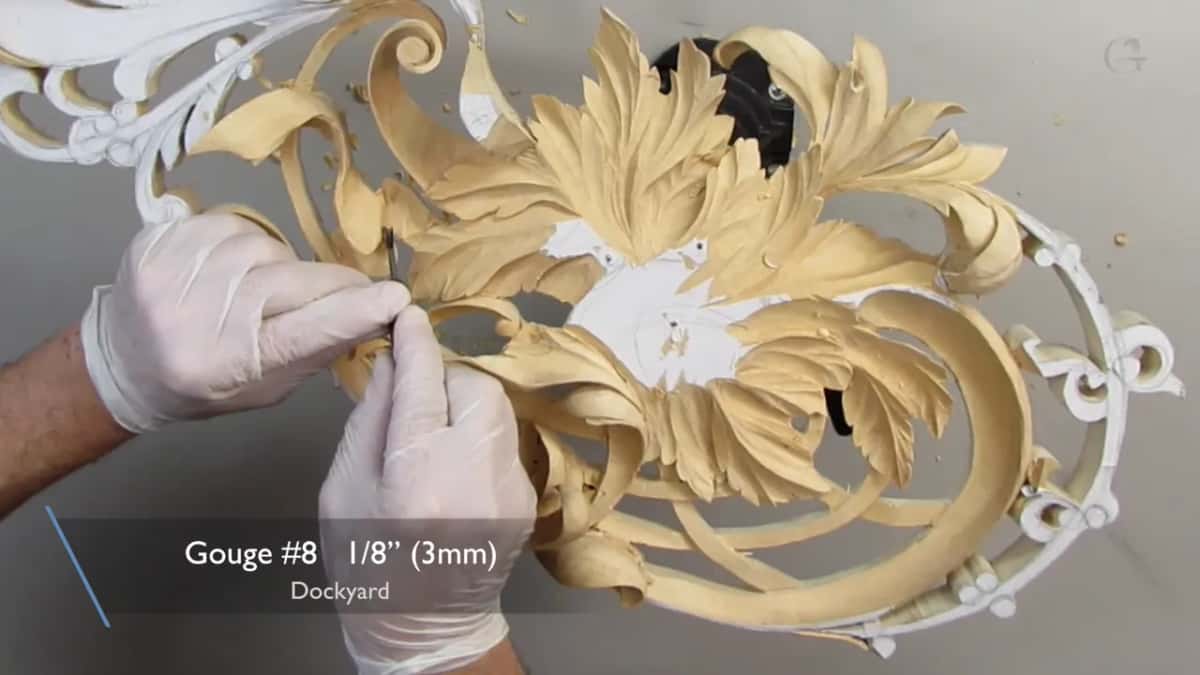
Soon there was a full concave almost all the way down. Then came the inside: I know it's probably impossible to see, I said, but this has to be gone. So I took a #8 spoon gouge, 7 mm (just over 1/4 in), for that second concave. My #3 cleaned it, and here is the catch. I can't overdo it, because I still have to make a full flip. What I mean by that, I said, is this has to flip like this on the side and go out, so I have to create something like an undercut. A small gouge, 1/8 inch (3 mm), worked its way in after that, and once I had checked which tool would be better, a #9 at 3 mm was in my hand.
Why change tools so often on a ribbon?
A ribbon has to be approached from different positions, from different angles. I know I'm changing tools a lot, I told you in part one, but I have to, especially with the ribbons. Part three had a spot that a normal gouge could not reach at all, because something was in my way, so a spoon gouge, number three, went in.
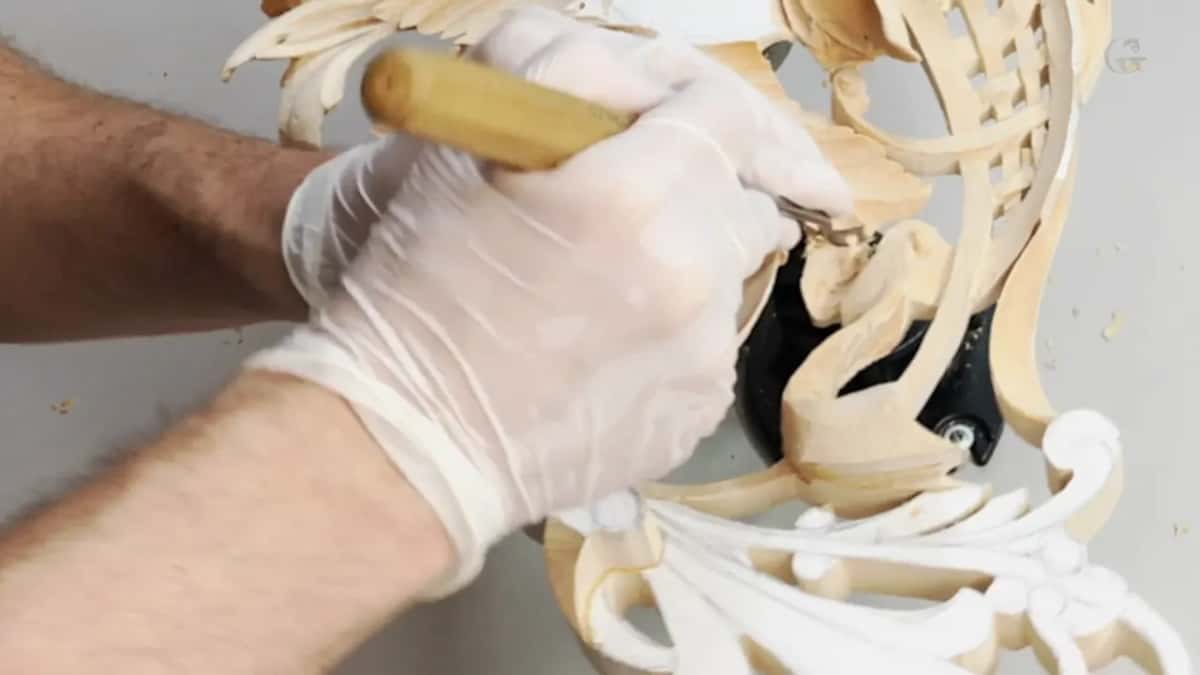
The next ribbon started with a big number nine, 20 millimeters (3/4 in), and in part six I said maybe I have to use smaller tools in this case. Down at a #7, about 10 mm, it worked better. Using smaller tools makes more sense for me here, I explained, because I can control smaller cuts, a lot less pressure. Facets can always be cleaned later with a straight tool or chisel, or even a knife, if I have to, though I don't need that now. Rotation with your tools and slicing cuts, I said at the end of part six, is what it's all about.
Which tools carved the ribbons in lesson 14?
Here are the ribbon tools from the eight videos, in order.
| Tool and size | What it did on the ribbon | Which video |
|---|---|---|
| #9 gouge, 3/8 in (10 mm) | Dug the inside where the first ribbon makes its twist | Video one |
| Spoon gouge #8, 7 mm (9/32 in) | Made the next concave inside the twist | Video one |
| V tool, short bent, #12 | Undercut a little on the inside for the shadow line | Video two |
| Number eight, also 10 mm | Took the waste off with a smooth transition going backwards | Video two |
| A number 12 knife | Cleaned the edge of the ribbon, coming from the backside | Video three |
| Big #9, 20 mm (3/4 in) | Went in first on the next ribbon, before smaller tools | Video five |
| Smaller #7, about 10 mm | Worked better, going uphill to my high point | Video six |
| A #3 at 16 mm (5/8 in) | Removed facets and set the final, or semi-final, form | Video eight |
How thin can the band get?
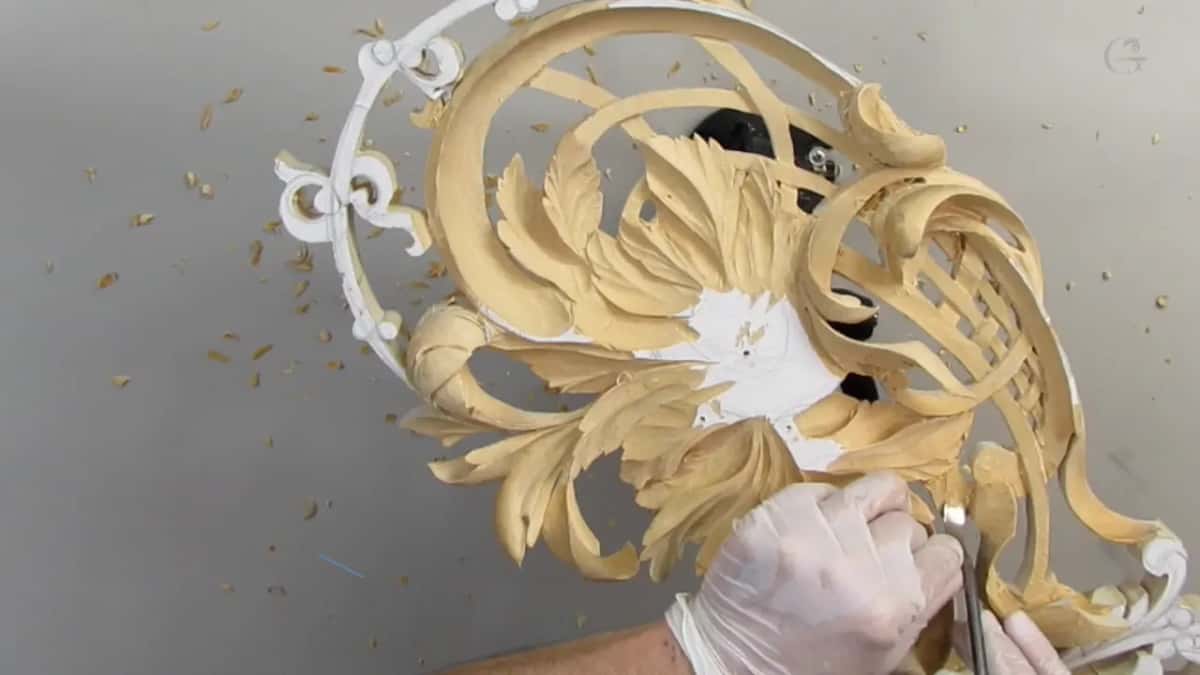
About 1/8 inch (3 mm) overall, while I was still shaping and it was not the final form yet. Then one spot came down to about 1/16 of an inch, and I told you to be careful with the thickness right there. By part seven an area was thinner than that, less than 1/16 inch (1.5 mm), and I still had to make it look like it's flipping in and out. Hopefully it does look like it. Although, not quite.
The last part has the plain warning. Keep an eye on the material thickness, what you've got right there, I said, it's easy to overdo it. A little later I could actually see through, and that was the sign I could take more material. I put it less politely on camera: overdo it and you are screwed. That was part two, where I called it an art of deduction and said you'll be really screwed, especially in tiny spots like that. Lesson 7 asks how thin a carved leaf should be.
What is a short bent V tool?
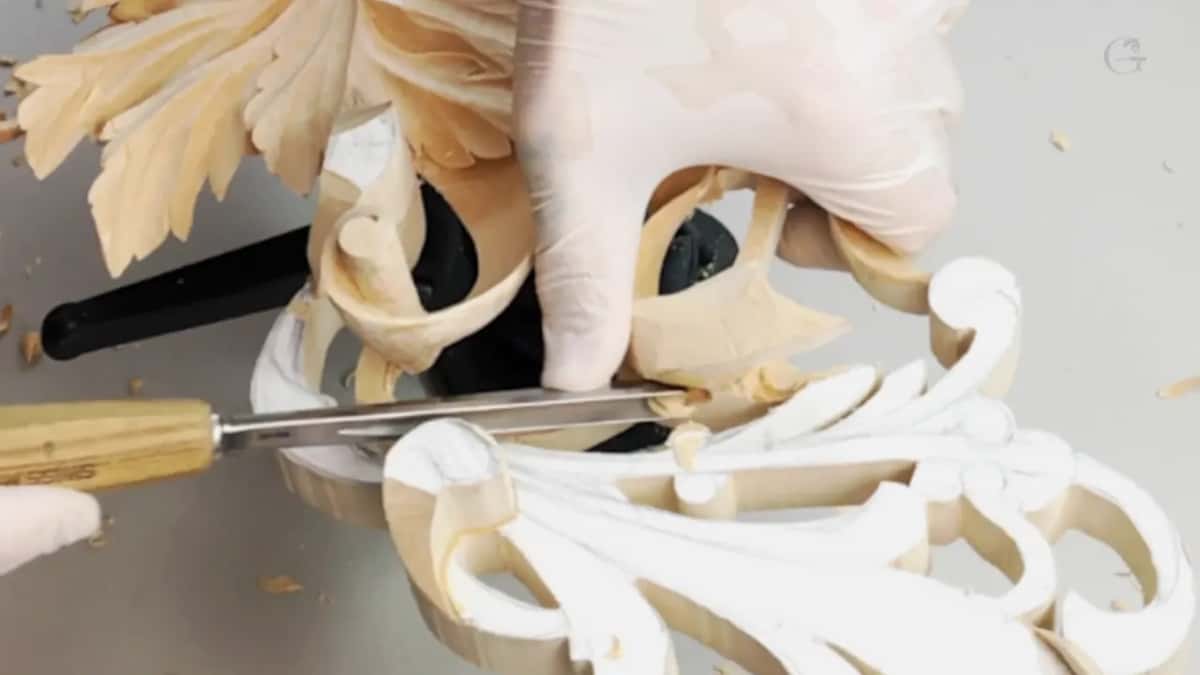
It is the V tool I first called a spoon V tool, before I corrected myself. You can't actually call it a spoon, I said, because that word usually applies to gouges, and short bent is the more common name. Sometimes it's a good idea to use just a V tool at the beginning to make a preliminary cut, and the short bent one did that, although the grain was in the way.
Number 12 was the one I picked in part two, to undercut on the inside a little and create that shadow line. The spoon gouge got the same treatment from me. Spoon gouge is a more proper name, I said, because it's used a lot for spoon making, and then I took it back: well, no, it's not, it just looks like a spoon.
Later in part three, working between those two parts was not too convenient, and I said just make sure you create the leverage against your finger.
How do you know the gouge is sharp enough?
Resistance tells you. Be careful how much pressure you create, I said on video two, and if you do have a resistance, if you feel like the wood is not cutting, that means your tool is not sharp enough. It should really slice the fibers with no problem. Especially on end grain it's kind of hard if the tool isn't sharp, and that can create a big problem. There is a whole course on sharpening in the school, carving tool sharpening.
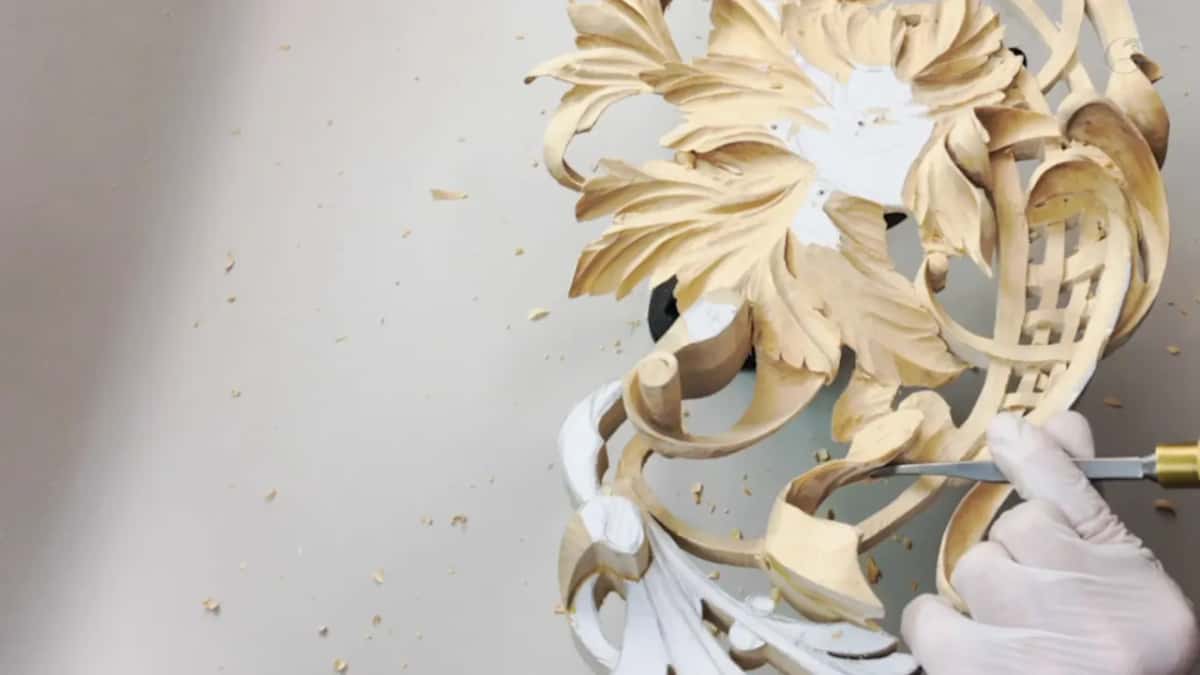
By part seven I was kind of working against the grain, so I carved more delicately. That's why I'm doing actual micro wiggling, I said, and I almost don't create any pressure.

Why leave wood behind the ribbon for now?
For support. When I work on this one, I still would like to maintain support, at least for now, I said in part four. Later on I'll flip it and work from the opposite side, and it's going to be a lot easier to reach that chunk of wood and remove it.
Part eight had a wall that had to go, and still I did not take all of it. I'm not going to remove it completely yet, I said, because I still have to work on this part, and I need some type of support yet. With this system, I said earlier, I can always attack even from the backside. In part three I attacked the waste from that other side, and it was already through. Just because of the grain, it was easier to reach from there. Why I carve the back of a pierced panel at all is the subject of lesson 4.
In lesson 15 I said I could probably stop working on this stage on my ribbons. The piece was becoming really fragile by then, hanging in the air, which is fine, because once it's on the wall it will be stable.
What do you do with the part of a ribbon that goes underneath?
You still connect it. A connection between this part and that part went in during part two. It must be connected too, I said, but almost hidden, because it will be underneath. Maybe logically, I added, I could lower this end a little bit. Back in lesson 2 I said the ribbon part would go from underneath of the leaf and create even more of a three-dimensional look.

The next ribbon went underneath too. From this side, I said on video six, it has to go underneath and make a concave the opposite direction, to make it look like it's flipping. Then a lot of waste had to come out from underneath, and I had to be really careful how I did that. You can see I'm placing my hand underneath, I said, to control my move and still have some grip. It's better to just take the time, carefully.
Once it looked like I had reached the other side, it's all about patience now, I said. Then exactly the same on the second side, little by little, without too much force.
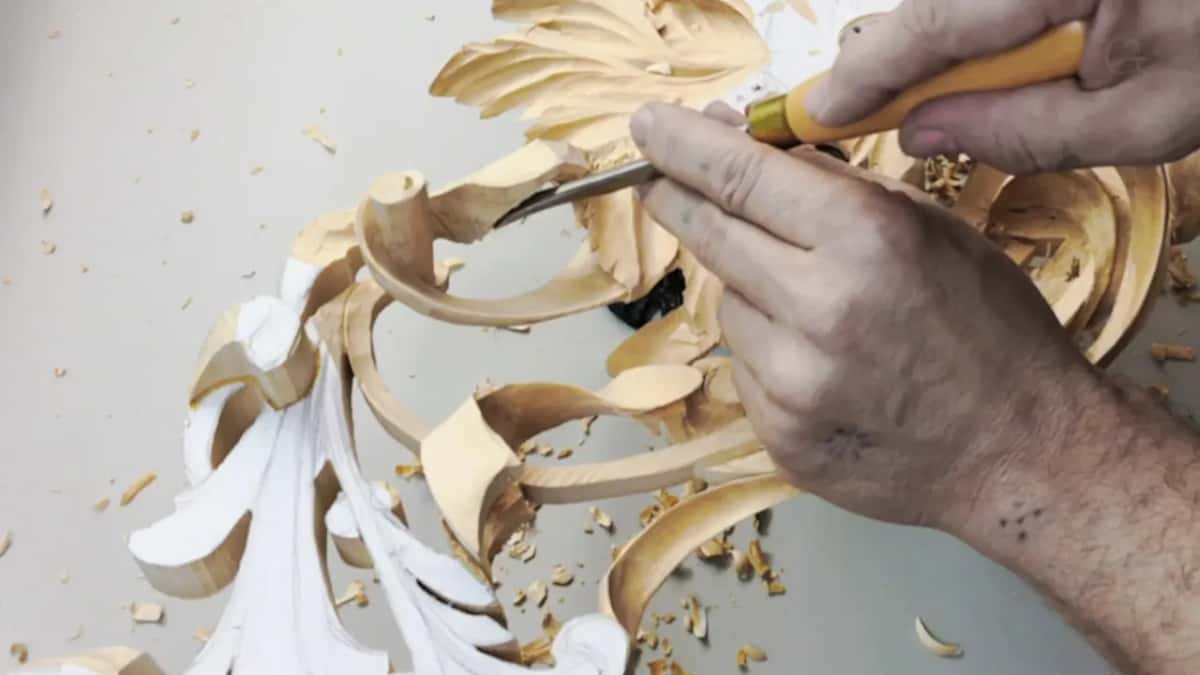
What did I do about the spot that still bugged me?
I carved a volute there, and I still was not sure I liked it. Either a volute, which would repeat this part, or a movement like an acanthus leaf movement could go in that spot in part four, and I thought a volute would look kind of cool there. A V tool, number 12 at 3 mm, went around it first as a preliminary cut. Then I had to decide where to start my twist, the tension twist. My #7 at 10 mm started working its way in.
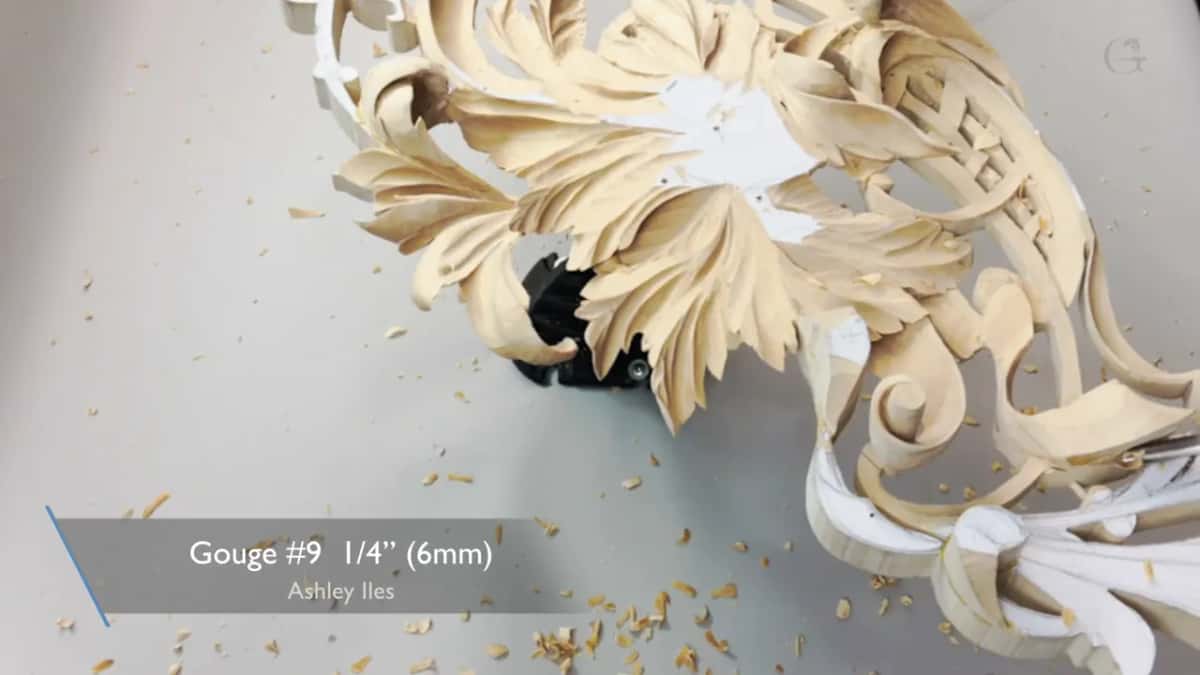
Then came a shortcut I called really important. If you're working on a volute, it's easier to find a matching profile which is matching your picture. Mine matched at 5/8 inch (16 mm), and I thought a smaller one could fit, maybe a 9/16 inch (14 mm) number seven. For cleaning inside I took a really small, tiny gouge, 1/8 in (3 mm) by Ashley Iles, a number three. Watch what I'm doing with this hand, I said, I'm actually supporting.
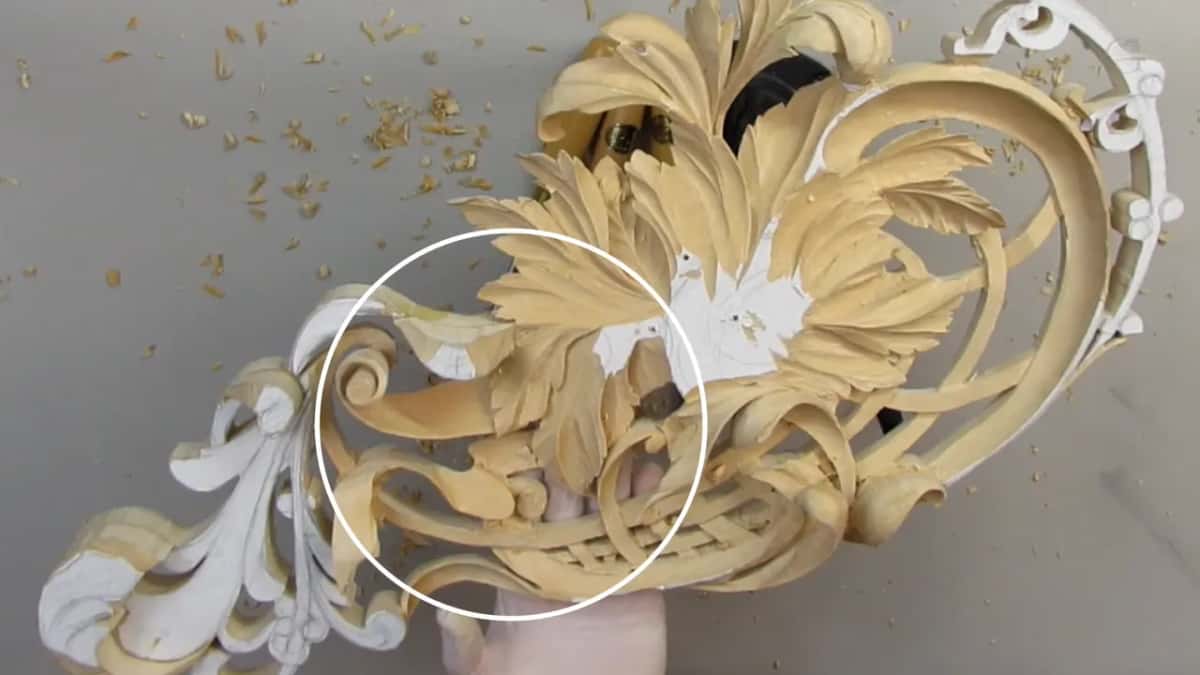
All it took then was hooking out, or, if you are in England, hoiking out. I'm not sure if I like it or not, this movement, I said. Not really. So I left it for now and turned to the pipe, to make a nicer movement in that area, with these words: just something bugs me that I don't like.
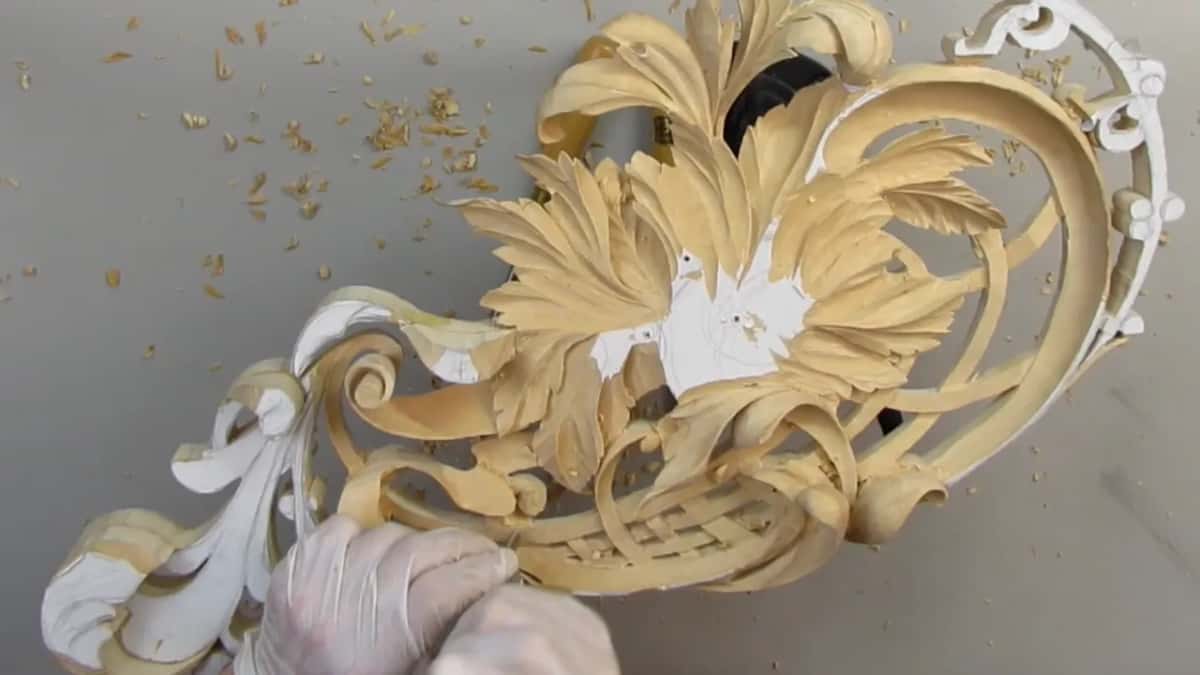
The pipe got a back bend gouge, sweep #8, 6 millimeters or a quarter inch, to make it a little round. It's beautiful, I said. Beautiful thing. Don't force it, I said while I blended in the ridge with a number seven, I'll just undercut it and remove it.

Does the glued-on height matter for a ribbon?
On this panel it gives the ribbon its movement. In part eight I was almost all the way to the backside, and I reminded you that this is a really high glued-on piece, and that gives me really good movement. Part seven ended on a small thing. And logically, this ridge is not supposed to be there.
Ribbon is my word on other work too, for a movement that goes underneath. On the Carving Furniture Panel course, lesson 20, I went in carefully with a number eight, because I wanted it to look like natural movement, almost like a ribbon. A smaller number eight, like a 16th of an inch, went down after that, and when the junk came out from underneath I said it gives me a gorgeous shadow.
What is left to do at this stage of a ribbon?
You clean it and refine it. Part eight began with exactly the same tool as before, and the tool card on screen read #7, 10 mm.
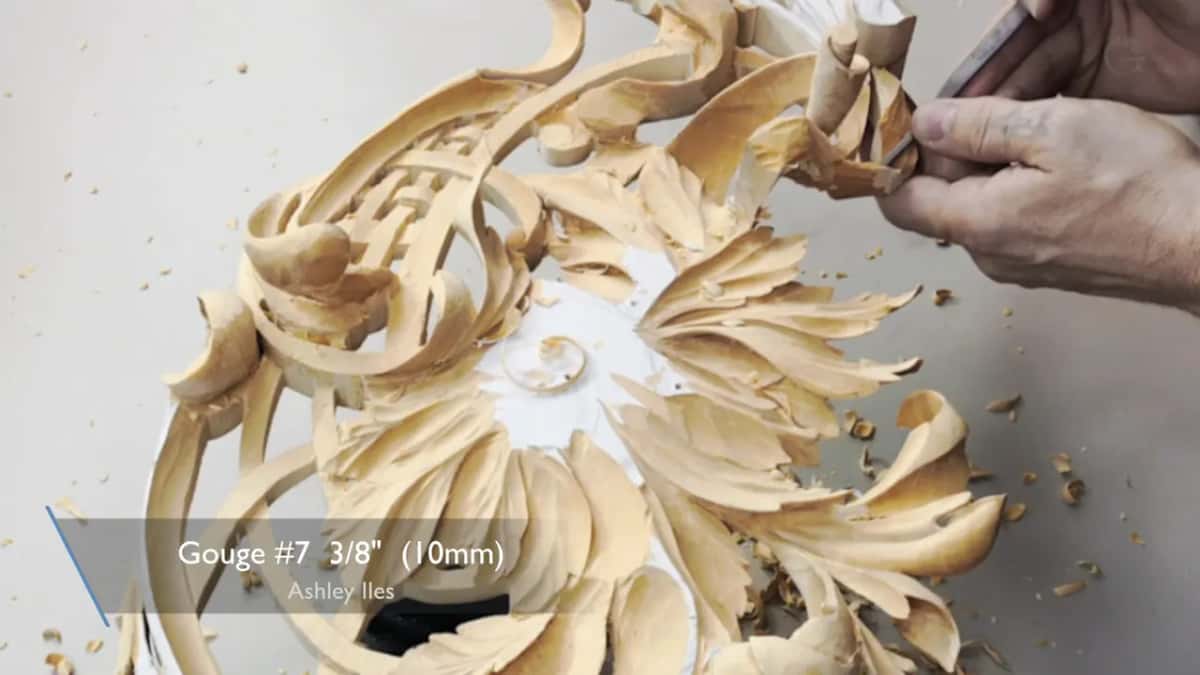
Right now it's just all about cleaning, refining, removing the facets I don't need, and establishing the final form, or semi-final form, of this ribbon, I said. For that I took a number three, 16 millimeters, so 5/8 inch.

I don't like the flow line, I said, and a little later, looks better, so the flow line is good. How you tell that a line flows is what lesson 9 is about. Near the end I clean the facets with a knife rather than a gouge, and the reason I give on camera is simply that the knife is quicker here. Maybe make it more concave right here, I said, and bring that to the edge.

And I'm happy with what I see today. Hopefully, you can see that ribbon, I said at the very end of the lesson. All eight videos of it, and every other lesson on this wood carving panel, are open with your access to the school.
How it's done
- Dig the inside of the twist. Start where the ribbon makes its full twist and dig on the inside. Here a 10 mm #9 (3/8 in) dug a concave almost to the bottom.
- Keep wood for the flip. Clean it, with a #3 here, but do not overdo it. The band still has to flip like this on the side and go out, and that needs a small undercut.
- Come at it from new angles. Change tools and positions as you go. A spoon gouge reached one spot here that a normal gouge could not.
- Undercut for the shadow line. Use the bent #12 V tool for a small undercut on the inside, which makes the shadow line.
- Connect the hidden part. Carve the connection that passes underneath and keep it connected, though almost hidden.
- Watch the thickness. Mine was about an eighth of an inch overall while shaping and under 1.5 mm (1/16 in) in one place. Check it constantly as you go.
- Keep support, then refine. Refine the facets with the 16 mm #3 (5/8 in) and a knife, and leave a wall behind the band while you still need support.
Frequently asked questions
Which gouge starts the twist on a carved ribbon?
A 10 mm #9 did it on my limewood panel. First I said an #8 or #9 would work, then corrected myself on camera to the #9, which is 3/8 inch. Next came a #8 spoon gouge at 7 mm for the second hollow, and a #3 cleaned it up.
How thin can a carved ribbon get?
Mine stayed near 3 mm, or an eighth of an inch, while I was still deciding on the final form. In one spot it went below 1/16 inch. I had to check constantly in part seven that I did not overdo it.
Can you call a short bent V tool a spoon V tool?
I did on camera, and then corrected myself. Spoon is the word for gouges, I said, and short bent is the common name for the V tool. Mine was a number 12, and it made a shadow line with a small undercut.
What to carve next