

Alexander Grabovetskiy, woodcarver, School of Woodcarving · Published 2019
Can you hear when a carved petal is thin enough?
Quick answer: A petal's thickness is something I could hear in lesson 48 of my Hashemi flowers. About a 16th of an inch, I said, no more than that, about 1.6 mm. Then, in part two, I stopped undercutting the moment the walls moved under a wiggled gouge, because that was already too much.
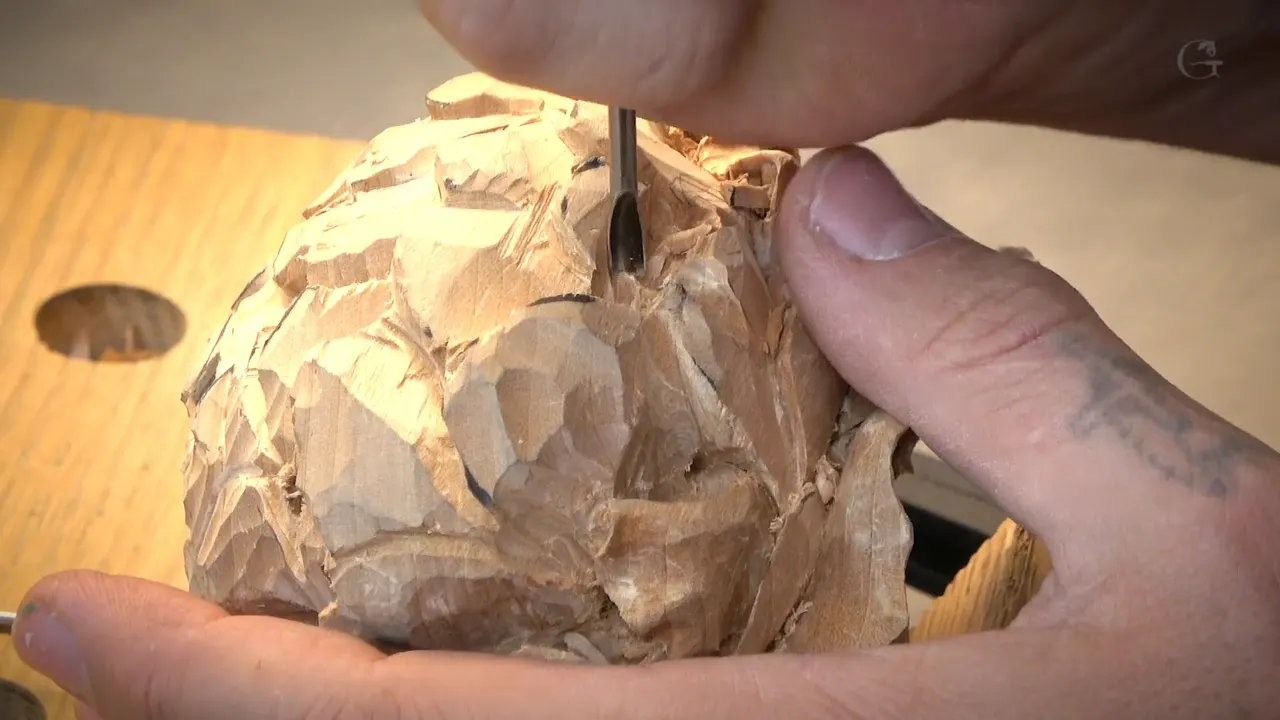
Hearing a petal go thin is what I did in part one of lesson 48 of Carving Hashemi Flowers. I had carved as deep as possible with a number 11, gone back to the number six, and brought it to the groove I just made with the number 11. Then back from the other side also. And then I said it. This petal, you can hear it's about, I would say, no more than a 16th of an inch thick. That's about 1.6 mm.
Ever looked at a carved flower and wondered how thin its petals really are? Would you like to know when to stop, before one breaks? Then come through lesson 48 with me, part by part.
The lesson has six parts. The sound came up once. My eyes and my walls told me the rest, and I show you where. Where this lesson runs short, I bring in what I said about sound, light and thickness on other carvings, and I name each one.
How I knew a carved petal was thin enough
By ear, once, in part one, at about a sixteenth.
By eye, early in part two, watching whether it was becoming too thin.
By the walls. I wiggled the gouge right to left, saw them moving, and stopped there.
By light, on lesson 8 of this same panel, when it was coming through.

Can you really hear a petal getting thin?
You can, I said, though I put no words to the sound itself. What I did say came a minute before. Don't try to force it, I said again. At that moment I was working absolutely not in my favorite way, against the grain. But that's okay.
After the hearing line I just worked my way in. Again a number 11, the one millimeter (about 3/64 in), and I said I can always follow with the half a millimeter (0.02 in) to create that vanishing line. That's the vanishing point cut.
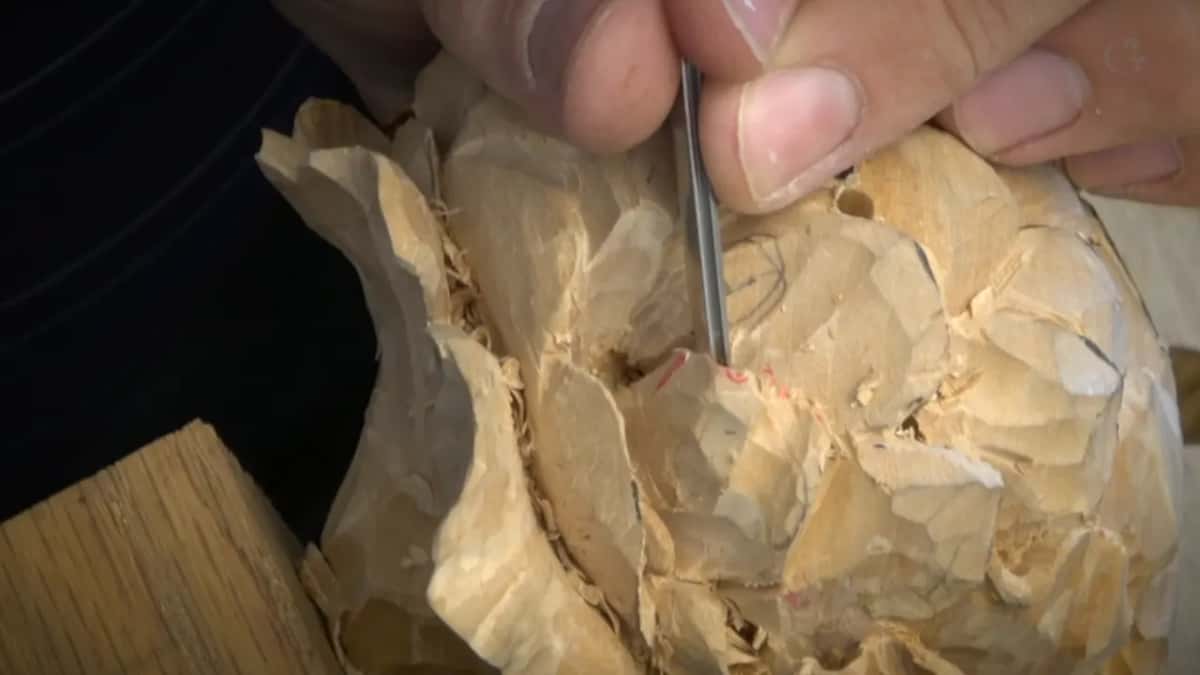
Where else did the sound of a tool help me?
On other carvings the sound told me other things. Back in lesson 12 of this panel I was working against the grain, and I said that's why you can hear that cranky sound. Uphill too, which doesn't help at all.
In workshop 18 of the Venice Room I could use a mallet to get a little more inside. Even I don't see what I'm doing, I said, but I'm listening to my tool, in case I'm doing something wrong.

On my grape onlay I had just excavated, and I said you can be really crazy with that. That way I know it's not a rough finish on the inside, because I can hear by the sound of it. Really good quality.
A sound can be bad news too. In Lily Box 11, on my lily box, I was just sketching some spots, a hint, on a piece I did not want to break, and I could hear it crack. I don't like when it cracks, I said. But that's okay, I'm still stable. Didn't break anything.
And a sound can fool you. On the floral and molding panel I heard one I didn't like, and sometimes that sound tells you the tool broke. It was just the wood itself. In workshop 54 of the same Venice Room I asked if you knew what that sound was. That was my tool struggling, because it had a really low bevel.
Why keep an eye on it, too?
Early in part two I said so. There was too much material right there in that area. I took the number six in there, really carefully, little by little, to remove what I thought should not be there.
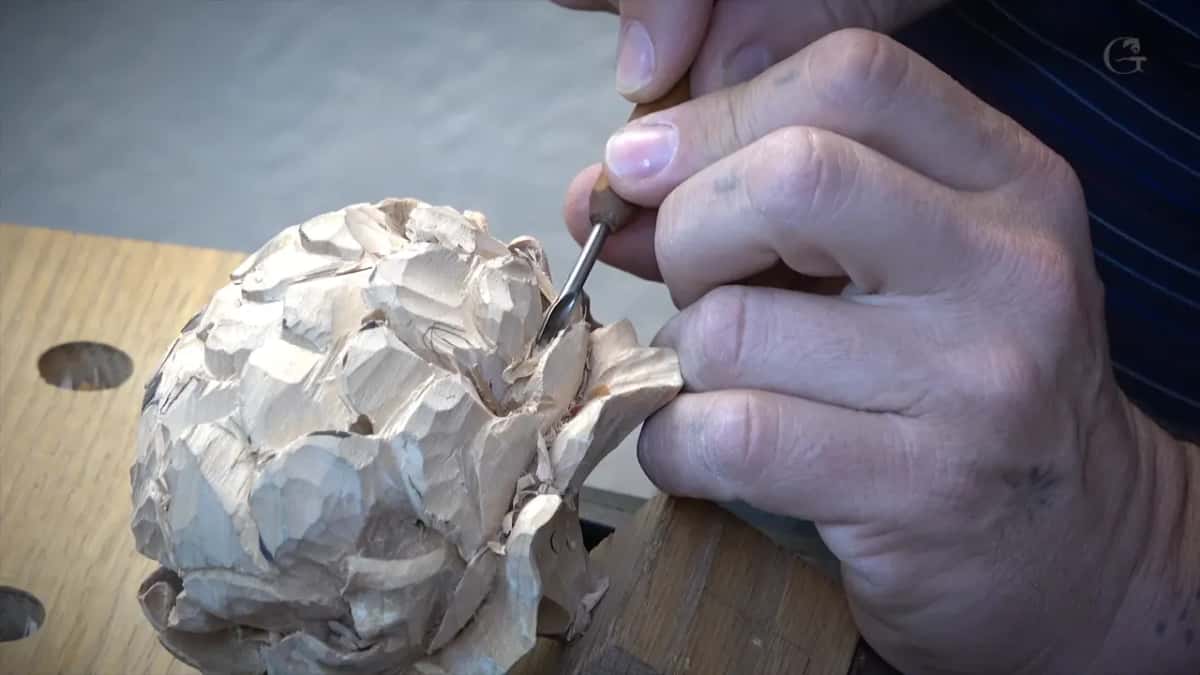
I could overdo it, I said, and I don't want to overdo it. Just keep an eye if it's already becoming too thin. Part one had the same worry. I was using just an eighth of an inch (about 3 mm) to undercut between the upper petal and the lower one, because I wanted to keep that movement on the bottom one. Carefully. Don't want to overdo it.

Light is another way to see it. In lesson 8 I could see the light coming through, and that meant I had less than a 16th. Probably paper-thin right there, but still solid, and I had to be really careful not to overdo it anymore on the inside. Taking a leaf down to that figure is lesson 7.
When should you stop undercutting a petal?
When the walls move. The goal in part two was to repeat what is an outside shape on the inside also, so I had to undercut even more. I placed the same gouge I used before and just wiggled it right to the left.
But it was already really, really close to the edge, and once I moved it, I could see my walls moving also. So I can't do that anymore, I said. That's already too much. A number 11 went in again to excavate all that waste, until I could not go deeper. Whether to wiggle a gouge at all is lesson 41.

Should the inside follow the outside shape?
Yes, and part one says so twice. The one millimeter number 11 went to the same point, to the hole I had drilled. Then I said my job was to follow whatever outside shape I have, remove all the waste inside, and get as close as possible to the outside shape.
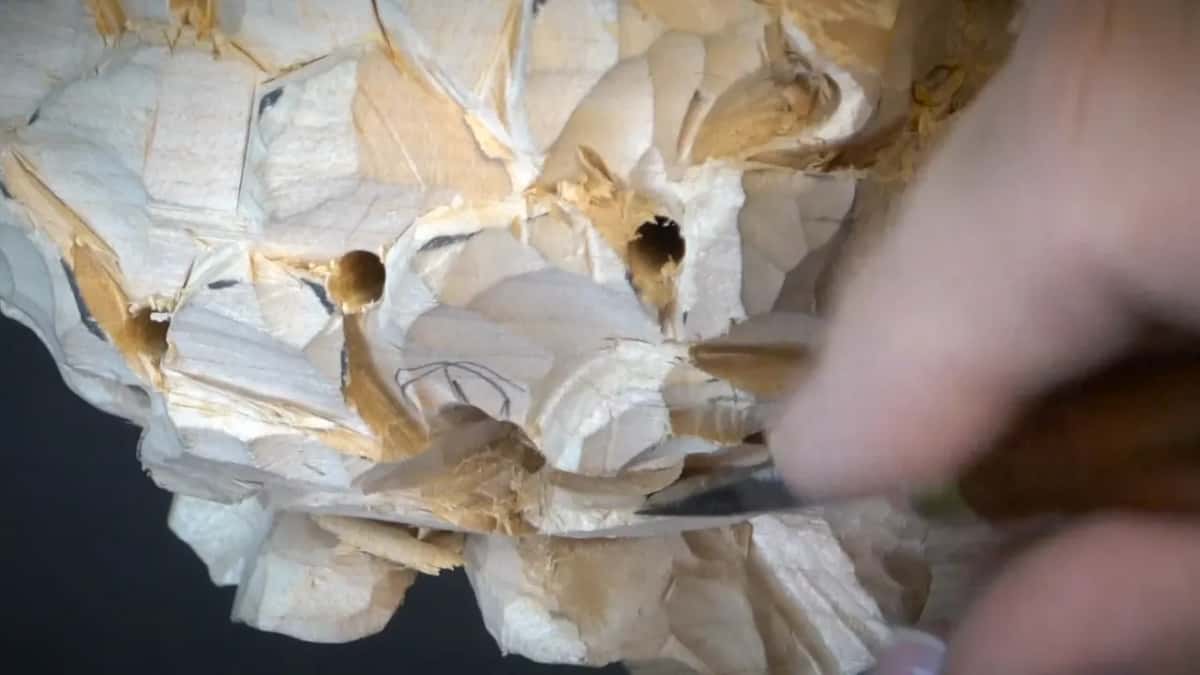
For that I took a number six. It's marked as number six, but it looks more like number seven, and the lesson 21 page mentions that same gouge. It's pretty much just undercutting, I said right after, and yet it is more. You try to follow this shape as much as you can.

What each tool did in lesson 48, part by part
| Tool | What it did on this flower | Part |
|---|---|---|
| Number 11, one millimeter | Went deep, down to the drilled hole | One |
| My number six | Met the number 11 from both sides | One |
| Half a millimeter | Took out small chips clogged in | Two |
| The skew | Cleaned near the vanishing point | Two |
| Number eight | Removed the waste where I saw my wave | Two |
| A knife | Took off the red marks | Three |
| Knife, upside down | Cleaned the inside of those grooves | Four |
| Eighth inch number 8 | Made a big concave toward the center | Five |
| A small gouge | Went right through, joining two sides | Six |
Do you need an opening between every pair of petals?
Part four shows a pair without one. I didn't really think I wanted to create a big excavation there, because, like I said, I don't have to do that everywhere. This one and that one could be really close to each other.
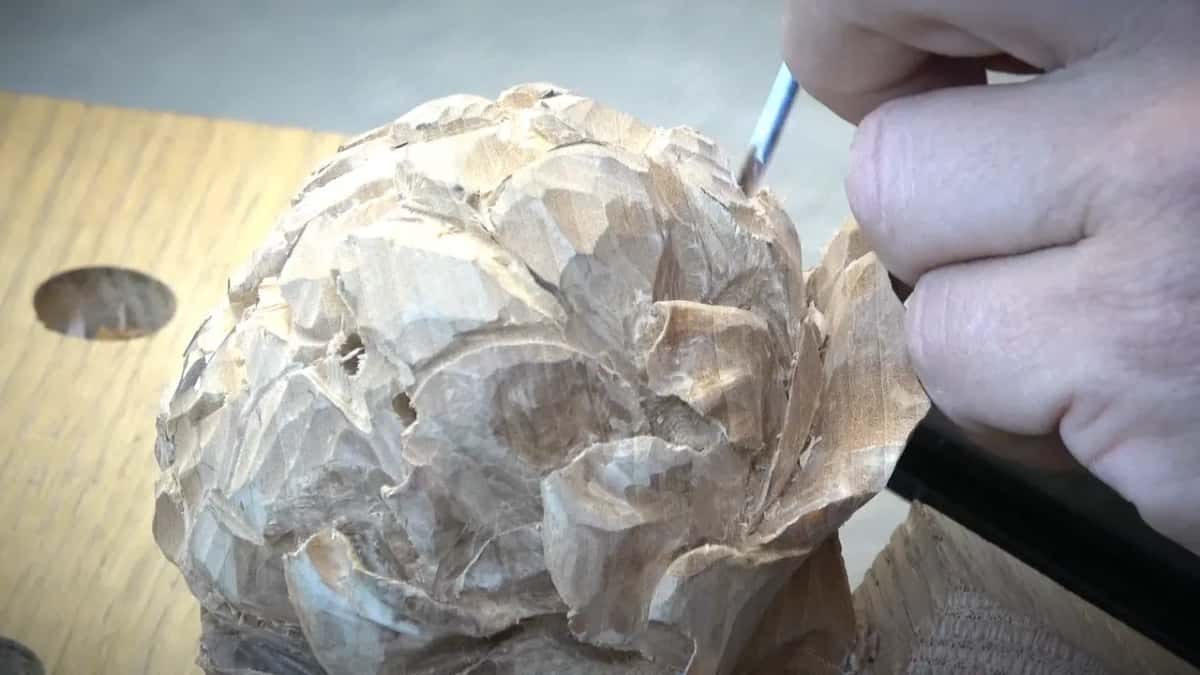
Now it's hard to see, I said, but I was just undercutting underneath of that one, with the 1 mm number 11, and then making the main movement of the upper one.
Part five came back to it. If you remember, we did not do holes everywhere, so we didn't have to. Just randomly some spots. Those holes I could add on the go, I said, and it looked like I didn't really need to add anything. In my opinion, it was looking good. And if I need another hole, I can always use just the gouge, rotate it, and excavate the waste. There's going to be another hole.
What do you do with the junk inside a carved flower?
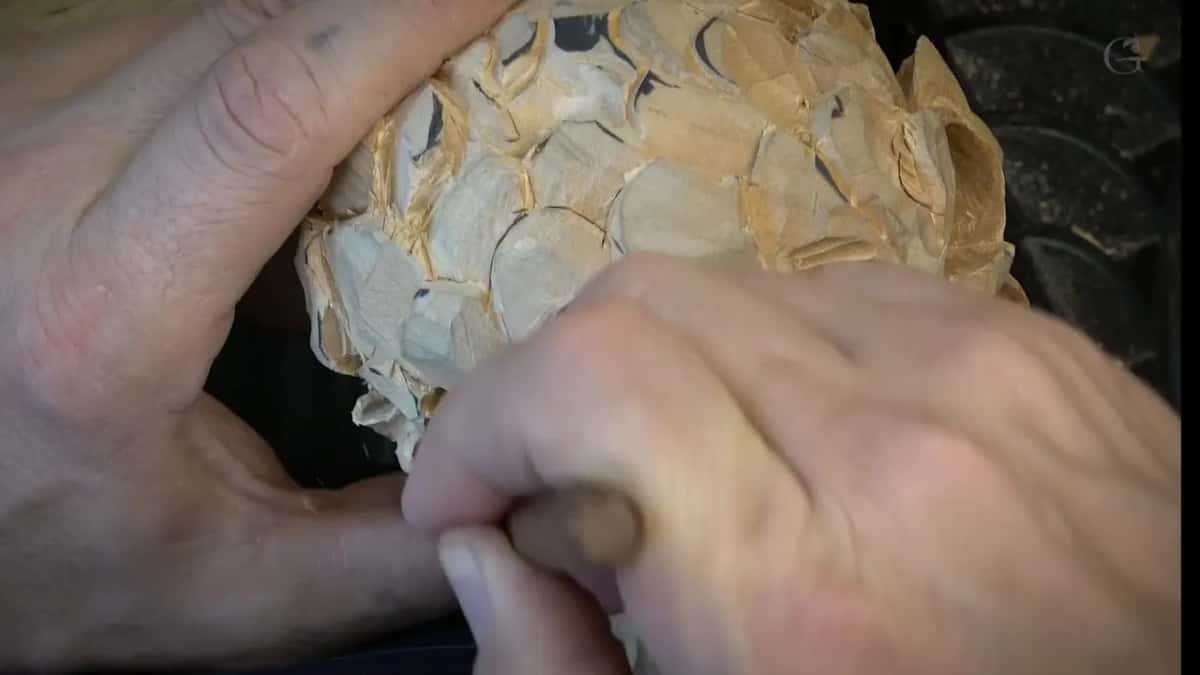
Get it out with the half millimeter. Part two had a lot of waste inside, just small chips clogged in, and I said that's okay. I attacked it with that tool and removed all of it.
Right then I could see it, I said, but once it's glued in place, nobody's going to see that vanishing point ever. I cleaned there with the skew. By part four I called it all junk, and said later on I could just use an air compressor probably, and blow that all out.
Why turn a knife upside down?
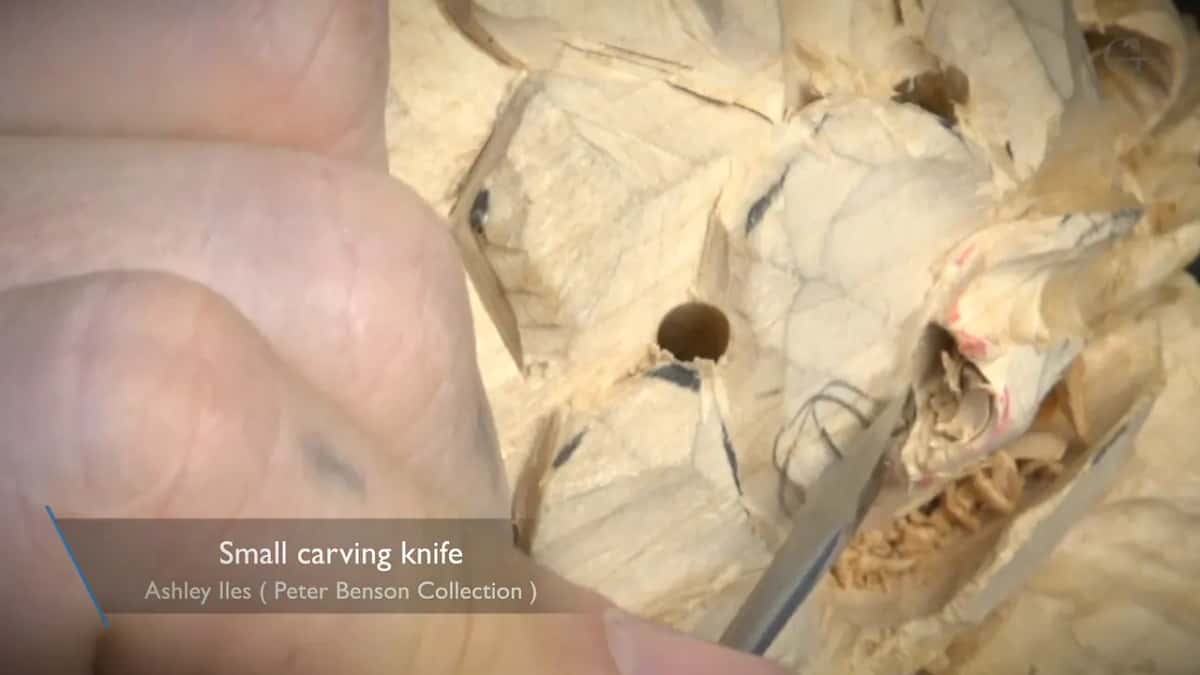
To clean inside the grooves. That is another technique, I told you in part four. You usually use a knife like this, but turn it upside down and just use this edge to clean inside of those cuts. Usually just a really good result.
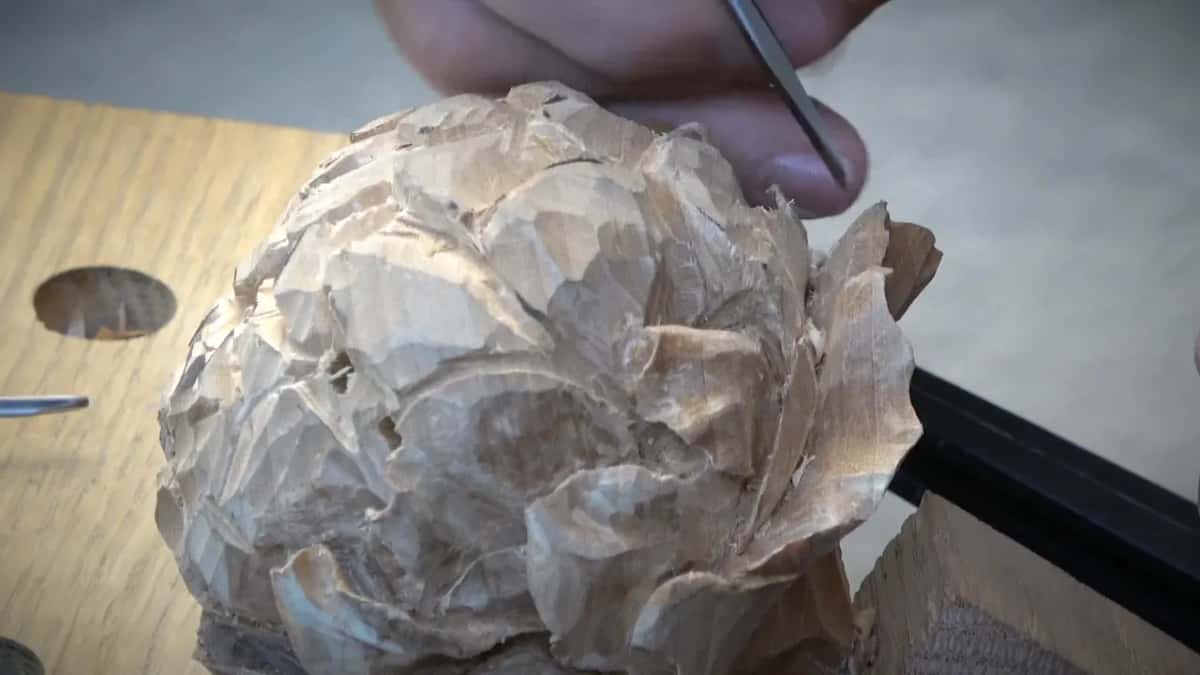
A knife had done the edges in part three, too. You could see my red marks, and I needed to make sure they were gone, so I used just a knife, then did the other side too. I was really happy with that petal. All that pink stuff has to be gone, I said in part six.
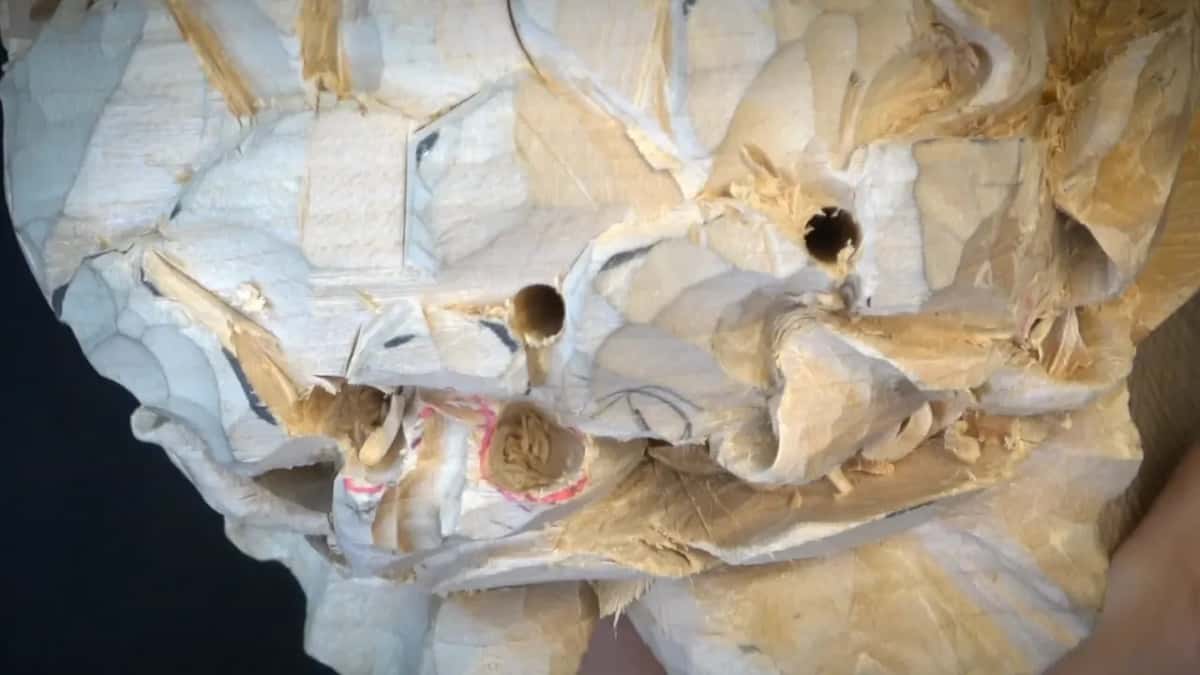
How do you blend rough cuts on a petal?
You soften the shadow line. Part six is where I explained it, because maybe I'm not that clear when I'm saying blending. You could see a lot of rough cuts. I could leave it like that, I said.
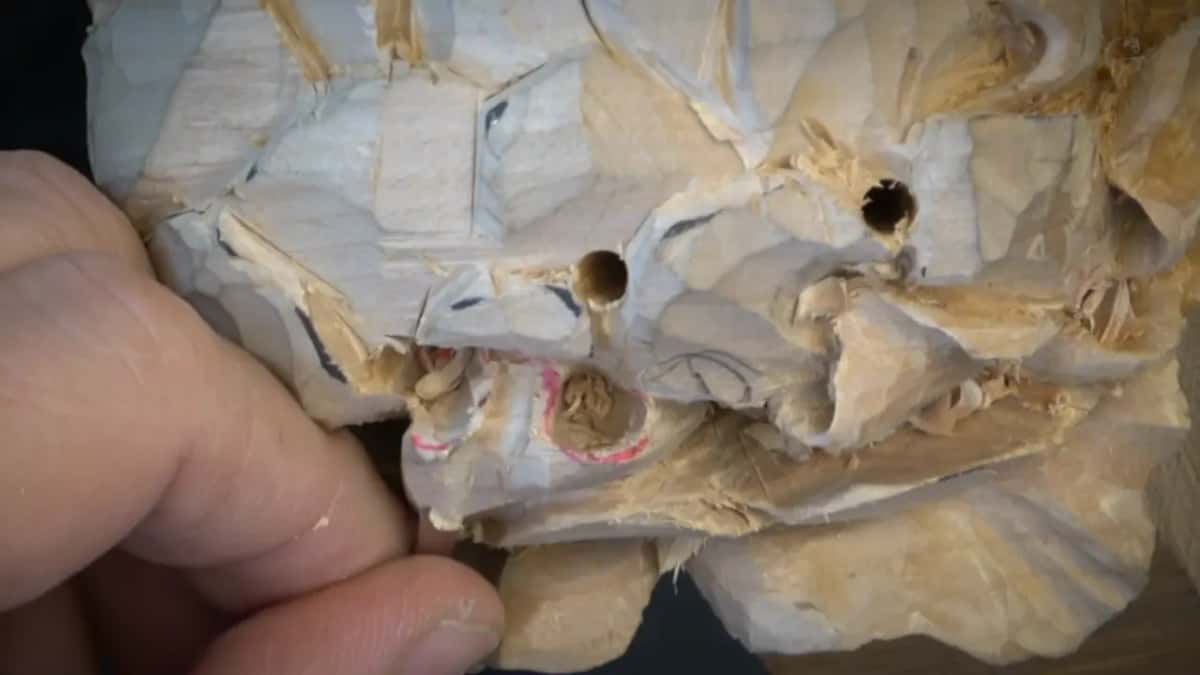
But those rough cuts create too sharp of a shadow, and I don't like that. I blended those cuts and softened the shadow line a little bit, like a soft transition, and I said I would do it everywhere.
Part three had begun the same way. Right now the shape is too rough, I said. I liked the overall movement of that petal, really liked it, but it was not too clean. My plan was to blend all those moves together.

Should two petals side by side be the same?
Same, but not the same. In part one I thought it was a good idea to start one petal also somewhere deeper, from somewhere inside. And exactly the same, maybe, this one, I said. But not as same.
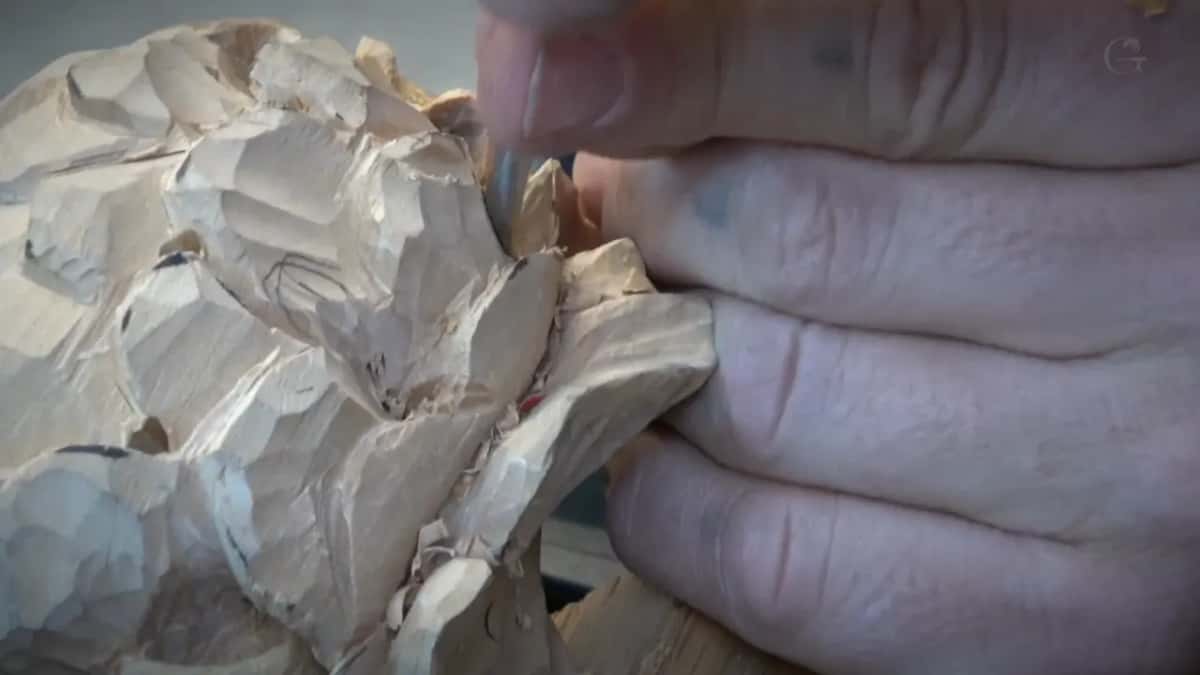
The idea was to make it look like it's growing from inside out, just like that, and the other side got the same. Then I removed some excess right from the middle part of it.
Does every petal get the same treatment?
No. When you're doing a flower like that, every petal is something different, I said in part four, and like I said, I can't say too much. On one of them I could make it really plain on the bottom but give it more curls at the top.
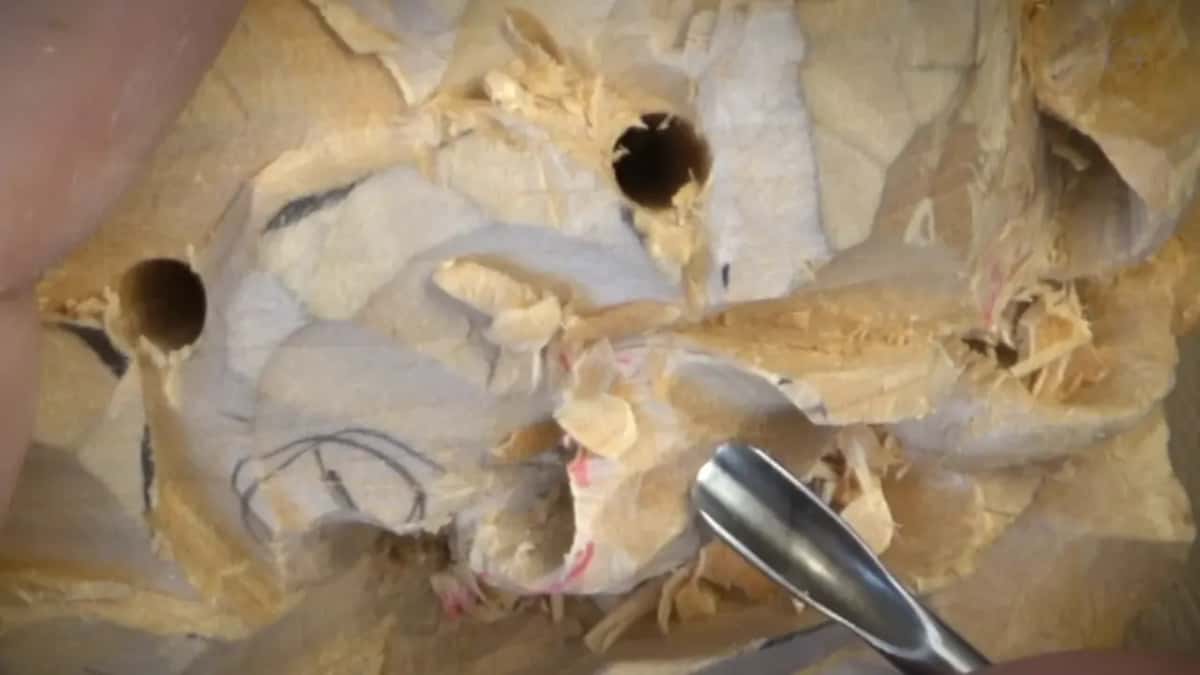
In part five I wanted some kind of concave on top of another petal, something different from the two I had just shown you. But I needed some more real estate at the top to make something really beautiful. So I removed some of the material from the upper petal. I need the material right here, I said, to create the movements. Hope it makes sense.
Then a number 8, eighth inch (about 3 mm), made a big concave toward the center, and I excavated even more around. Later in that part a number 4 curled one a little on the inside, and it worked actually excellent. After that I made a curl go extreme, all the way in, a really, really wavy petal.

One petal seemed to curl on its own. From previous cuts, I guessed in part two, and then I caught myself. We did it actually today, that natural curl. Lesson 46 asks whether the wood decides a curl.

Why connect two sides right through?
For more shadow, and more light. Near the end of part six I saw I could extremely undercut one way and actually connect two sides. I wasn't sure if it was a wise idea or not, but it would give me more shadow again.
With the small gouge, it looked like I was all the way through. I did the same right next to the first one, then brought everything to the same hole I had just created. And then it took just cleaning, cleaning, cleaning, and cleaning.
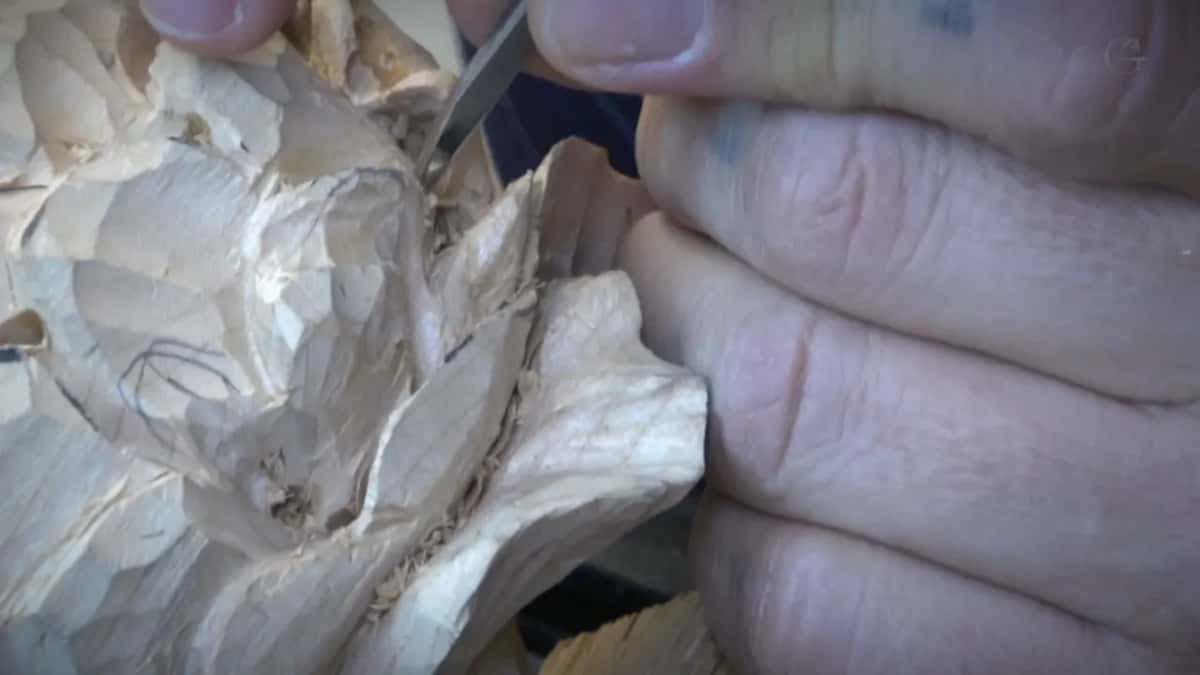
I really don't have to do that, I said. But since I connected those two sides, it gives me a lot more light and a shadow play. Back in lesson 44 I hoped for the same from a tiny spot, if I could connect it, so the light could travel in.
Is there one right tool for each job?
Often not, and I said so in part one. Again, there's a lot of different ways to do the same task. Part two had a number eight removing the waste along my wave. If you have a number nine, a small number nine, I said, it's going to be exactly the same results.
Part six opened on a separation with the number 11. I said that right there even a number 16 V tool could work. Later in that part I was using a skew gouge, and said I could use just a small knife.
Every lesson of this limewood panel comes with Tuition, and what a wall is on a carved petal is the lesson just before this one. Want to hear it for yourself? Pick up a gouge and carve this flower with me.
How it's done
- Take the number 11 deep, to the hole. A 1 mm number 11 reached the hole I drilled, in part one.
- Follow the outside shape inside. Remove the waste inside and get as close to the outside shape as you can.
- Go little by little. Work the number six in slowly, watching whether it is getting too thin.
- Hear it at about 1/16 inch. That was my petal when I said you can hear it.
- Stop when the walls move. Once my walls moved under the wiggled gouge, I quit undercutting there and went in with a number 11 instead.
- Blend the rough cuts. Soften the shadow line, so it reads as a soft transition.
Frequently asked questions
How thin is a petal when you can hear it?
About a sixteenth of an inch, roughly 1.6 millimeters, on this flower. I said so in part one of lesson 48, right after the number six met the groove from the other side. In that lesson I gave no words to the sound itself, only the figure.
When do you stop undercutting a carved petal?
Once the walls move under the gouge. Mine was nearly at the edge already when I wiggled the gouge right to the left to undercut even more. I saw the walls moving also, and stopped. A number 11 then went in to excavate all that waste instead.
Can light show you how thin a petal is?
On this panel it did, in lesson 8. Light coming through meant I was under a 16th, probably paper-thin but still solid. From there I had to be really careful not to overdo it anymore on the inside, though I had got really close.
What to carve next