
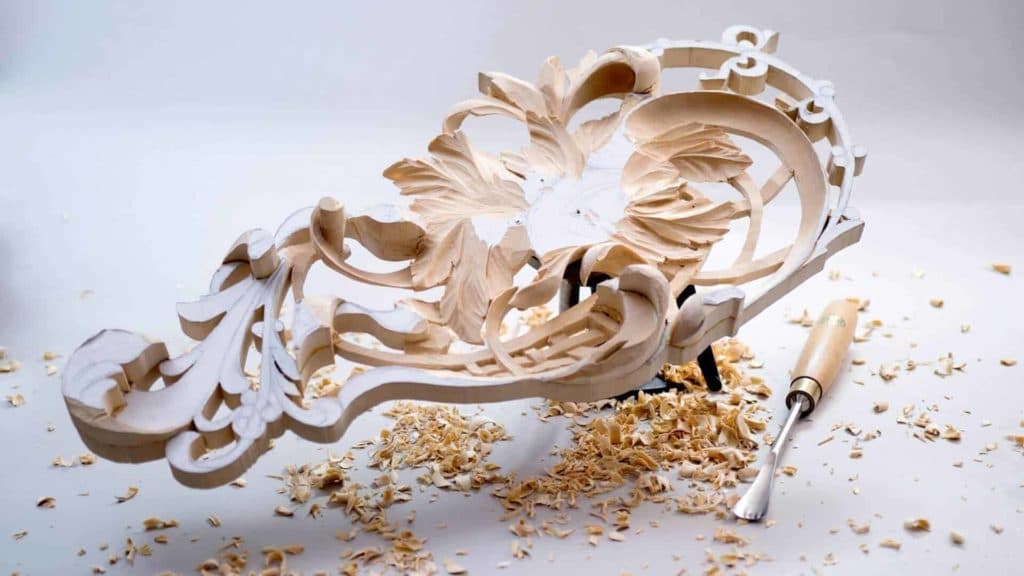
Alexander Grabovetskiy, woodcarver, School of Woodcarving · Published 2018
What do you do when you make a mistake carving?
Quick answer: A carving mistake is something I fix in one of two ways when the wood allows. With meat left under it, I take the whole area deeper. Or I go along with the shape the slip made and add a new subdivision, which is what I chose on my Hashemi panel.
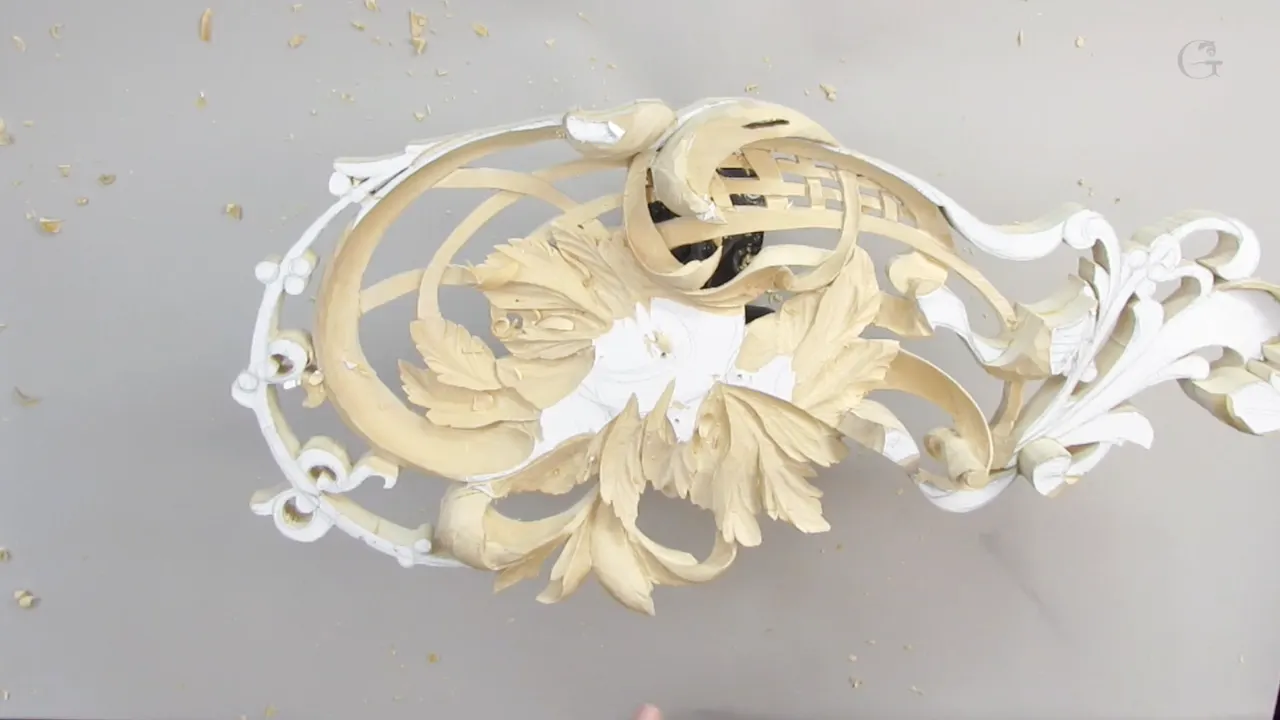
Fixing a carving mistake is, for me, a choice between a couple of ways out. Part seven of this lesson has one I made on camera. I had enough meat to remove everything around it and make it deeper. Or I could follow the nature of what just happened, carve another subdivision, and make a micro detail of it. I took the second way. On the final piece, nobody will know.
Do you want to see a real slip, left in the video? And then each tool I picked up to fix it?
Lesson 11 of Carving Hashemi Flowers keeps mine in, on this limewood panel, with the words I said at the time and the tool I took to fix each one.

What lesson 11 shows about a slip
A ridge I came at the wrong way became a new subdivision.
Rushing a tiny 3/32 inch gouge (about 2.4 mm) gave me a chip, and I said so right away.
End grain made that repair a careful one.
My pressure with a sharp edge was almost nothing, early in the lesson.
Some carvers would not approve of my deep undercutting, but Grinling Gibbons carved that way too.
What did I do after attacking a ridge the wrong way?
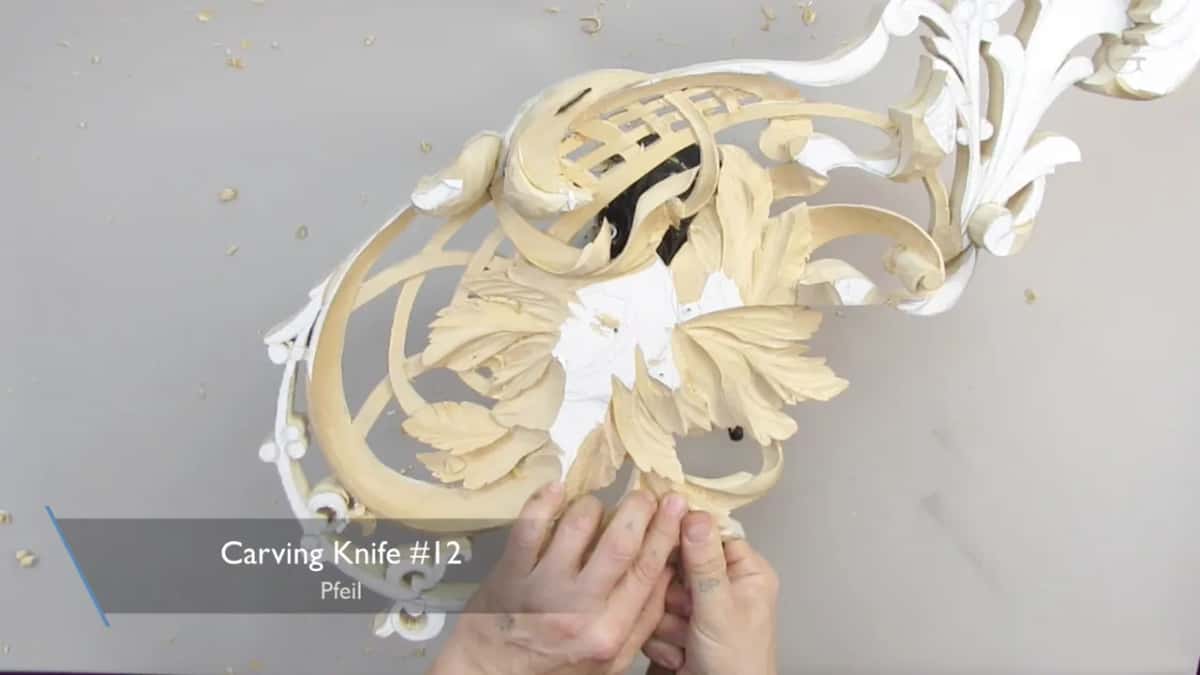
I turned the mistake into a new subdivision. Before that, I had made concave cuts on the sides of my future pipe with a little Dockyard number eight, about 3/16 inch (5 mm). Then a half inch number five (13 mm) came in to take a ridge out.
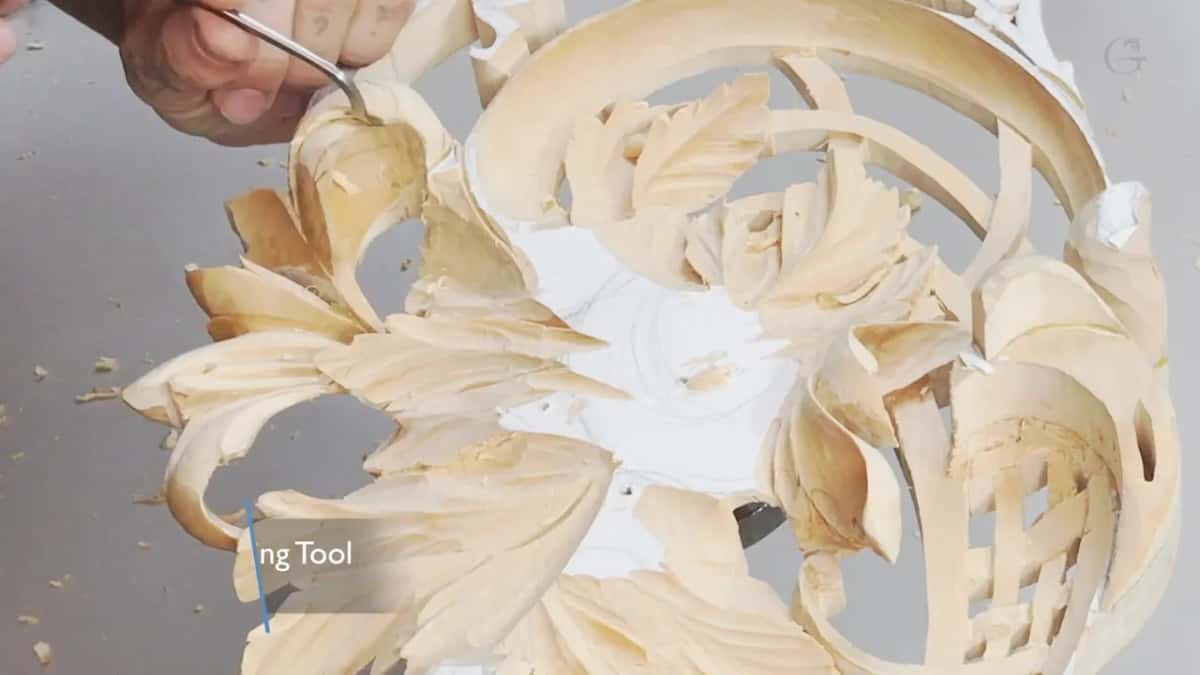
That is where it went wrong. Okay, I made a mistake, I said. I attacked it from a wrong position, and now I had to be really careful how I fixed it. Not a good mistake, but still fixable.
I asked on camera what you do in cases like that. A couple of ways, I said. There was enough meat there to start removing everything and make it deeper. The other way was to go along with what the slip had made and subdivide it right there, so that is the one I took.
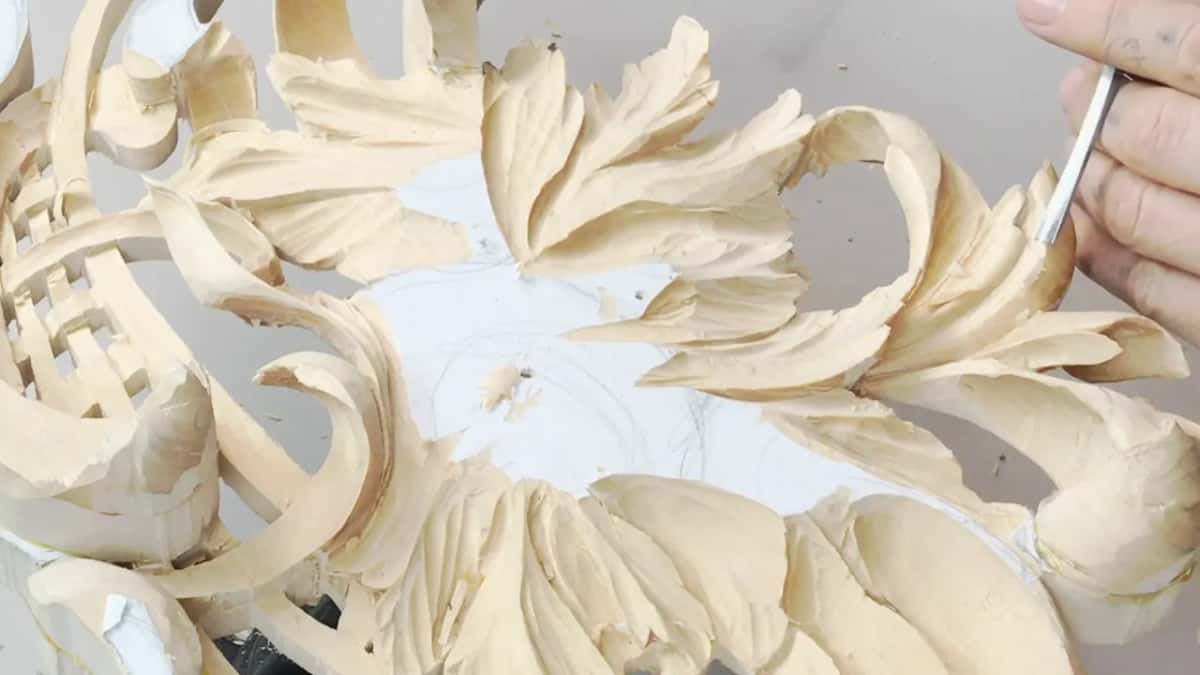
Part eight opens on the result. Because of what happened, I had a small division right there, and it needed a slight concave cut, approached from the right position this time. My first try was a quarter inch tool (6 mm). Oops. That won't work, I said, and then, maybe it will. We'll make it work.
A half millimeter veiner (about 1/50 in) cleaned it, and then the knife. Next, a number five, one inch (25 mm), blended it in and fixed the overall movement. I took my time on that, because right there is the end grain, and sometimes I have to attack from different angles. A quarter inch #5 did some preliminary work after that. With that same tool still in my hands, one more subdivision went in. To me it's a really good area for that, I said, and it's going to look really nice.

Every slip in this lesson and its fix
Here is each moment where I said something went wrong, in the order it happened, with the tool that fixed it.
| The moment | What I said when it went wrong | How I fixed it |
|---|---|---|
| A rushed gouge | I think I just rushed too much, I said | Number five, quarter inch, carefully |
| Chip, end grain | I don't like what is going on right here | Small Dockyard gouge, more patience |
| My V line | And maybe I did too much on that line | Big number seven, taken carefully |
| Clearing a ridge | I attacked it from a wrong position, I said | Another subdivision, a micro detail |
| The new division | Oops, that is not going to work, I said | Tiny veiner, then the knife |
When can you carve deeper to get rid of a mistake?
When there is meat left under it. Part seven had enough, so that way was open, and I still chose the subdivision.
Near the start of the lesson it was the other way round. One spot there was dangerous for me, because I didn't have too much material, and I had to make sure I was not carving through it. So I constantly checked the backside.

The depth fix came up on the furniture panel, in lesson 16 too. There, the mistake would be going lower than the main surface, and that's not a big deal. You can always shave an extra 1/64 or 1/32 inch (about 0.4 or 0.8 mm), so it's still fixable, as long as you're not going all the way through. But you still want to keep some wood. You don't want it too fragile.
How thin a carved leaf should be is its own question, and lesson 7 is where I answer it.
Has a slip become part of the design on other pieces?
In lesson 11 of the Venice Room course I had two separations too close together, and that's not too appealing. It's not unfixable, though, I said there. An extra separation right there, with this movement, and we're going to be good.

Then I got rid of that mess I had just created. And yes, I was double-checking, because I wanted to make sure I was doing the right thing. I wouldn't destroy that line. It would be part of a different movement and give me extra movement on the side, so I was going to keep it.
Why did rushing give me a chip in part three?
I moved a small gouge too fast. It was a 3/32 inch tool (about 2.4 mm), a little smaller than the original 1/8 (3 mm). Oh, that is not so good, I said. That's okay. I think I just rushed too much a little bit, and that is always a mistake, to rush it.
The shadow line came first, from a number 11 at 1 mm (about 1/25 in). Now I had to fix it. A quarter inch number five (6 mm) went in, and I carefully removed the chip.
Part four starts on the same chip. I don't like what is going on right here, I said, just because of that chip, and I had to think how to take care of it. A smaller number five, a quarter inch, came first, then a number nine, though a number eight would work too. Again, this is end grain. It looked like I had to be really careful.

Then the small Dockyard gouge, and I tried to carve it nicer, without breaking fibers. I'll try to be more patient, I said. An even smaller one, maybe about 1/16 inch (1.5 mm), could excavate even deeper, I said. Overall, it looked good.
I know this habit of mine. Back in lesson 3 I said it's important not to rush it, but I am guilty myself, and I do have a tendency to rush it, because I want to make sure I'm done quickly.
On the Greek acroterion the main idea, I said, is not to rush anything, because I can make a mistake if I'm trying to do it too quickly. And in lesson 12, the next one, I said it's much better to do multiple passes and get the result slower than to rush it and make mistakes.
How much pressure does a sharp gouge need?
Almost none, early in the lesson. I almost didn't create any pressure, almost nothing, and the tool was so sharp it felt like it would still go on carving if I let it go. Pretty much shaving, I said, not even carving.
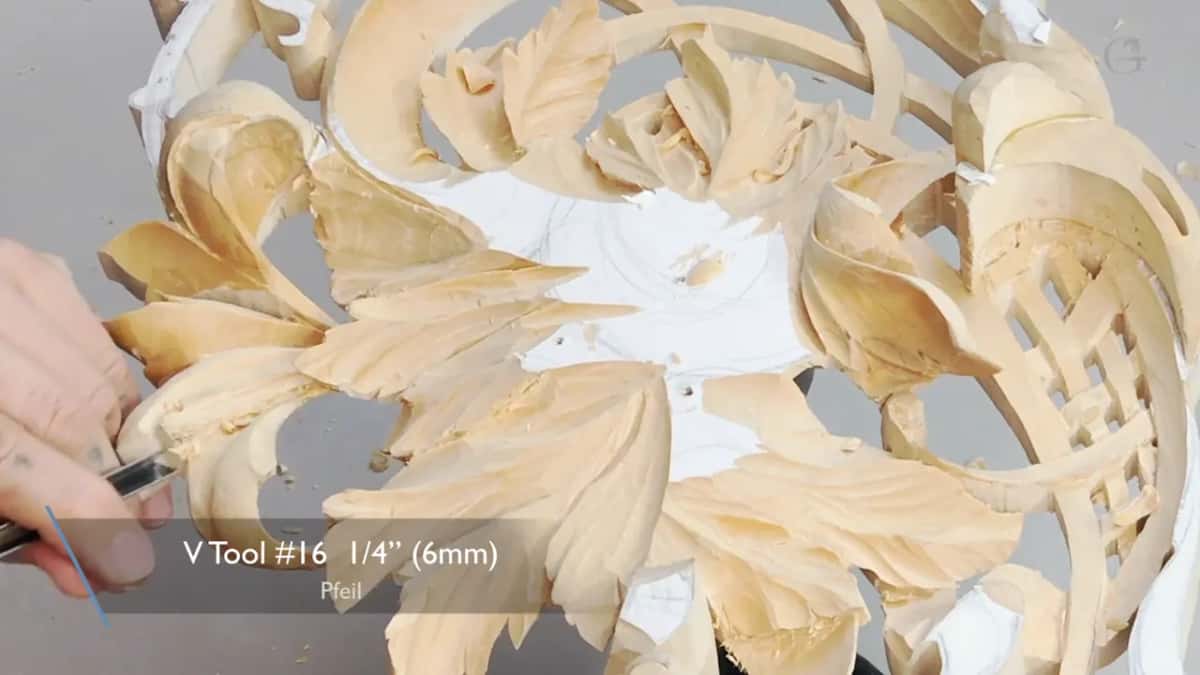
A section had become more fragile in part two. Working against the grain using a number 16 V tool, 6 mm (1/4 in), I said to keep an eye on how much pressure you create. I kept the pressure down, because I could always attack it from the backside as well and remove all that waste.
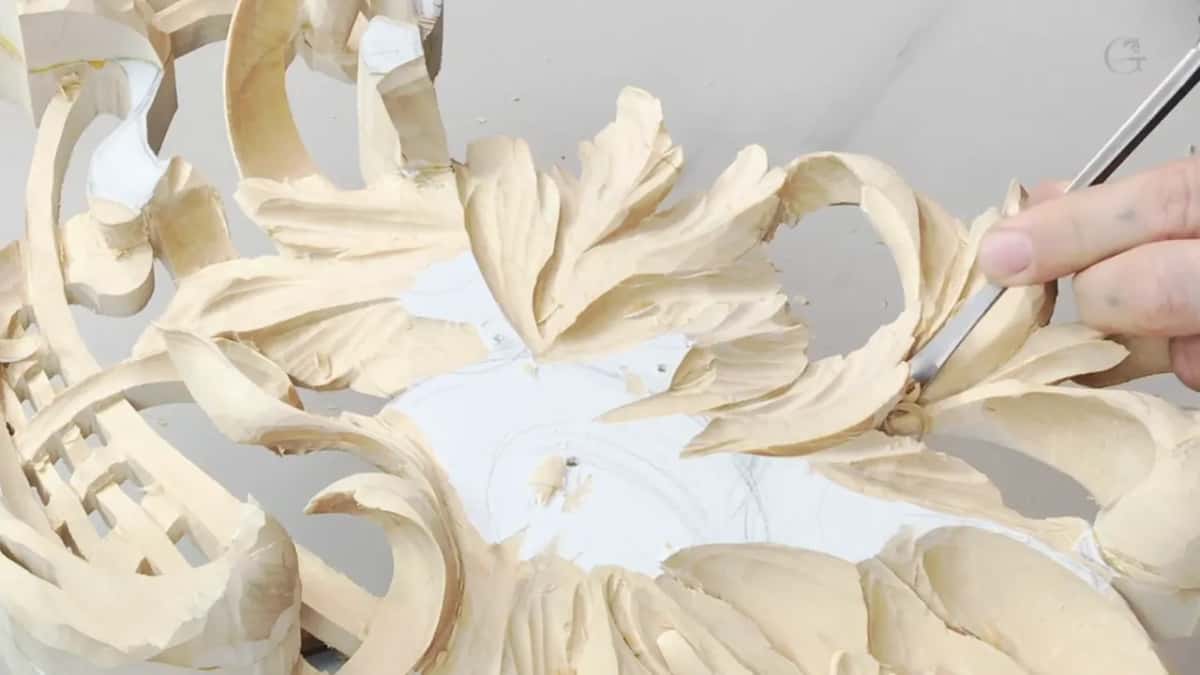
A knife came next, to establish the form roughly. You don't have to force it.
Later, in part three, I was working across the grain, a number five held upside down, and I said it again. The tools must be really sharp. Sharpening is a big subject of its own, and the school has a whole carving tool sharpening course for it.
Why do small tools give you more control?
You are really close to your blade, or to its edge, and you control every pass much better. Well, at least I do. Those were my words in part seven, with a small Dockyard tool in my hand.
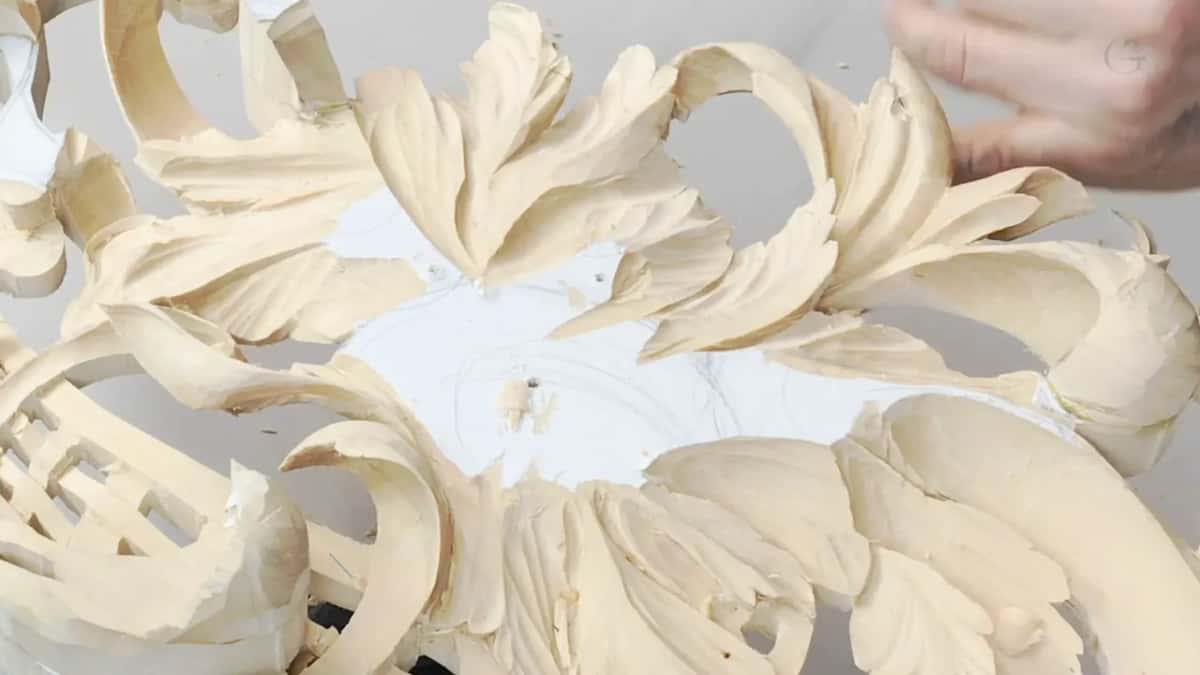
I really like the small, tiny handles of those Dockyard tools, because it feels like I get more control, but it's just me. Any small tools will do if they are sharp. An Ashley Iles number nine, also 1/8 inch (3 mm), did the same job in part one. Tools are tools, I said, just different brands.
Micro tools help too. With a half millimeter gouge, a number 11, I can make a separation cut really deep, almost through. It's nice to have tools like that, really tiny, small micro tools.
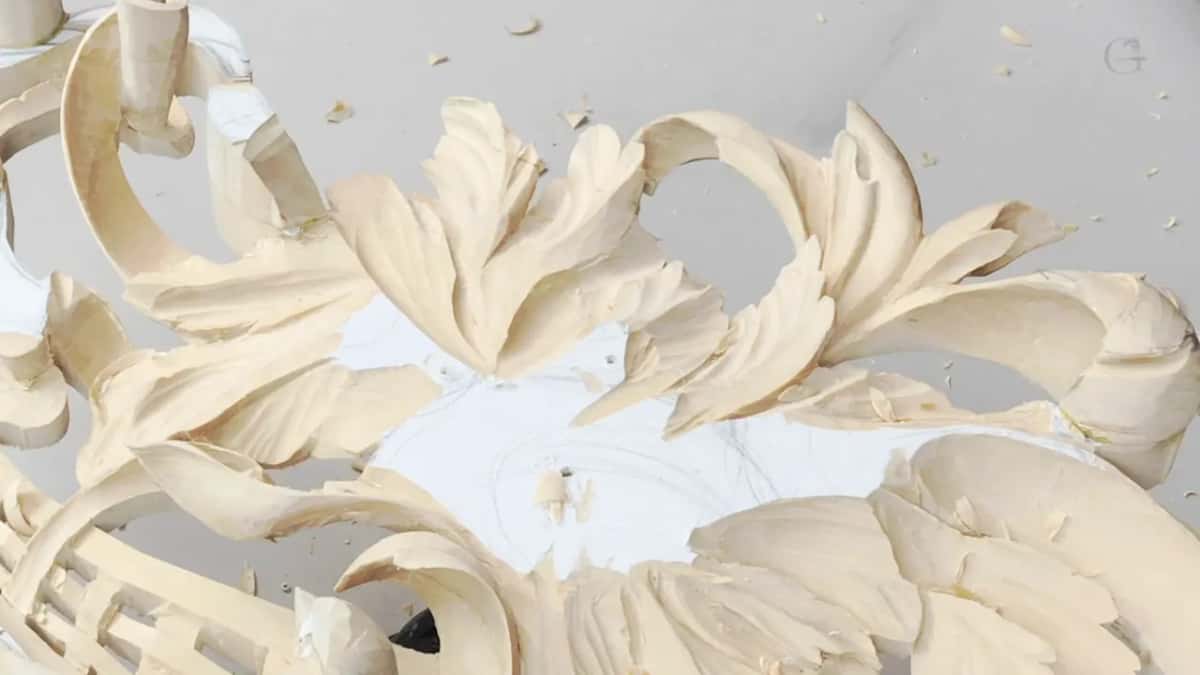
For deep undercutting, a Chris Pye undercutting tool came out in part five. I can go really deep and pull it toward myself to excavate all that I don't need. The half millimeter micro tool does the same task, it just takes a little longer. A drill bit and just a drill could expedite the eye, I said in part six, and that would be much quicker.
And the knife, by the way, is a miracle tool. You can do a lot of things with just a knife. That was actually the first woodcarving tool for the ancient people, just a knife, my words in part eight.

How do you hold a thin piece while you fix it?
I support it from underneath. Early on I held that piece from the bottom, because it was fragile and I could easily break it, and breaking it was absolutely not my goal.
My pinky went below the piece in part three, to create support. In part five I pointed to my left hand, supporting while I was carving, and my pinky, used as leverage.

Is deep undercutting asking for a mistake?
Some carvers would not approve of how far I go, and I know why. I am more on the extreme side of wood carving. Those who carve for ecclesiastical work don't do extreme undercutting. There is a logic. It's going to be used, people can touch it, and you can break it.
But on the other hand there is Grinling Gibbons from Great Britain, who used to carve really extremely when he was alive, with all the undercutting and so on. His wood carving is still there, I said. Some of it is probably broken, but not much.
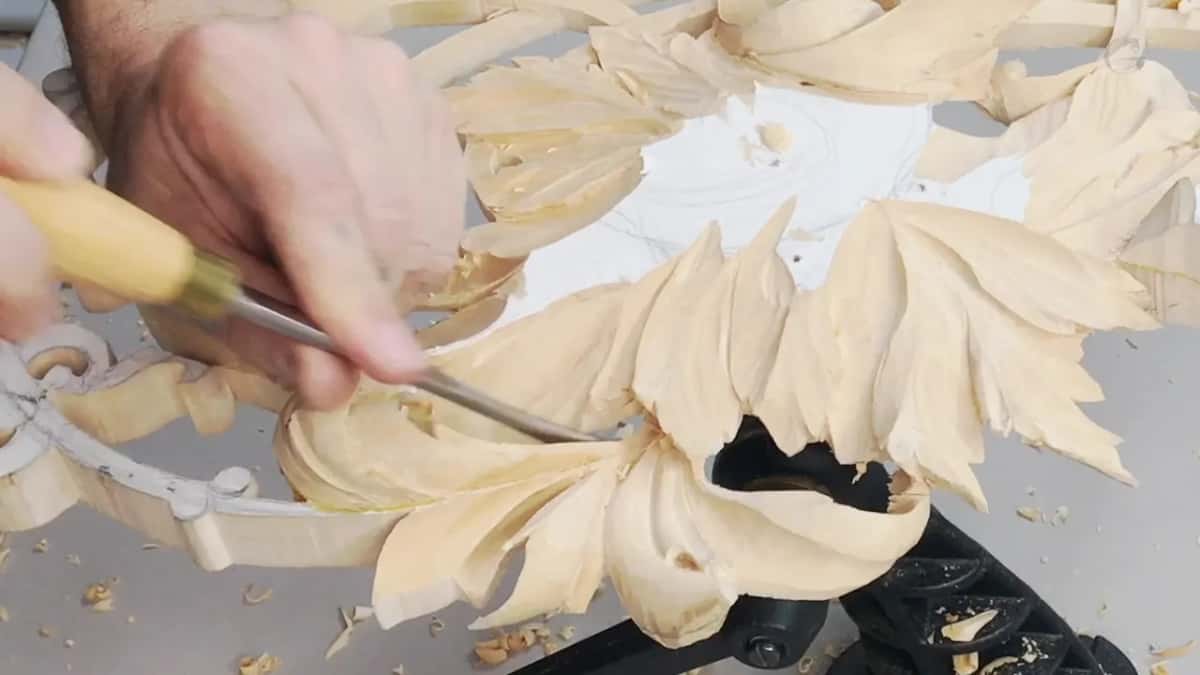
What I wanted from that leaf in part five was a look, a glued-on piece, when it's actually a solid piece. In part six I got about five millimeters (3/16 in) inside, and that is enough for the eye not to see the marriage line, the back line, and it makes a big difference. That is all about the shadows and the light.
Why does this leaf get an eye and a pipe?
Every acanthus leaf has to have an eye and has to have a pipe, and this one is more or less like acanthus. It is a background leaf, below my flowers.
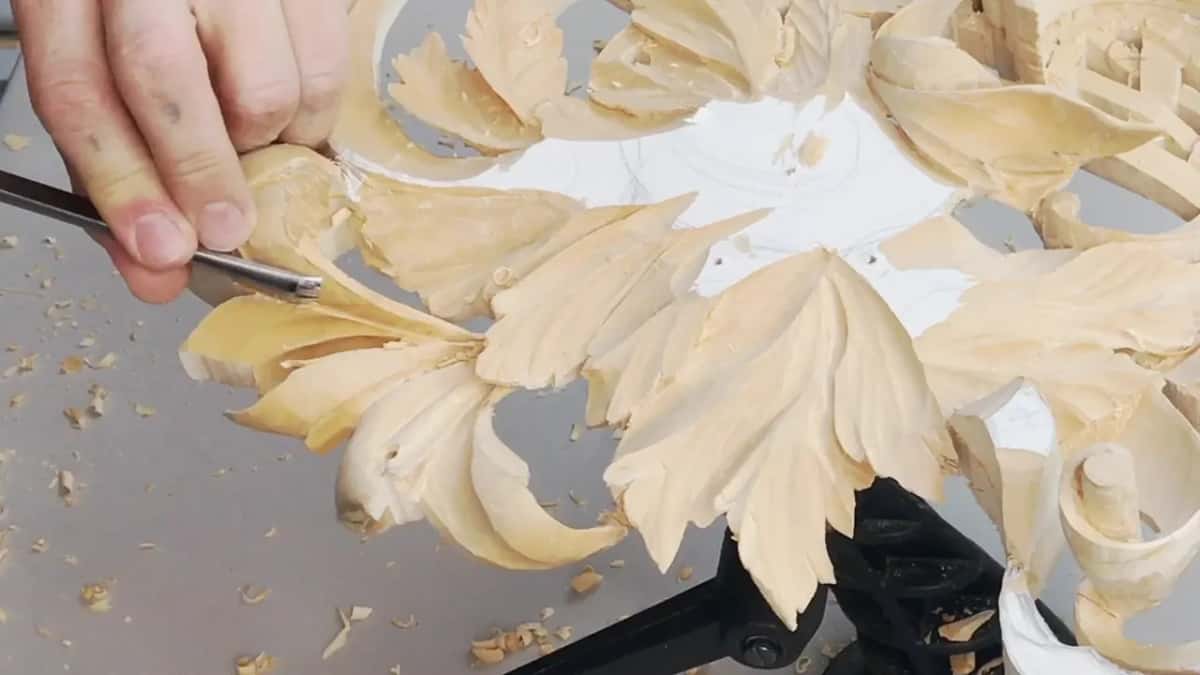
From above, it didn't look too appealing to me, like it was lacking some details. I can always add details, same as you also can. I believed right here was an excellent spot for the eye.
I dug around that eye with a small Dockyard tool, about 1/8 inch (3 mm). It's not marked, but most likely it's a number eight. Later the pipe got rounded with a number eight at 6 mm (1/4 in), and my aim was a really true half-round pipe. I really like distinguished, or exaggerated, pipes.
Another pipe went in during part five, with its eye and the pipe going all the way down. There was plenty of the material for it.
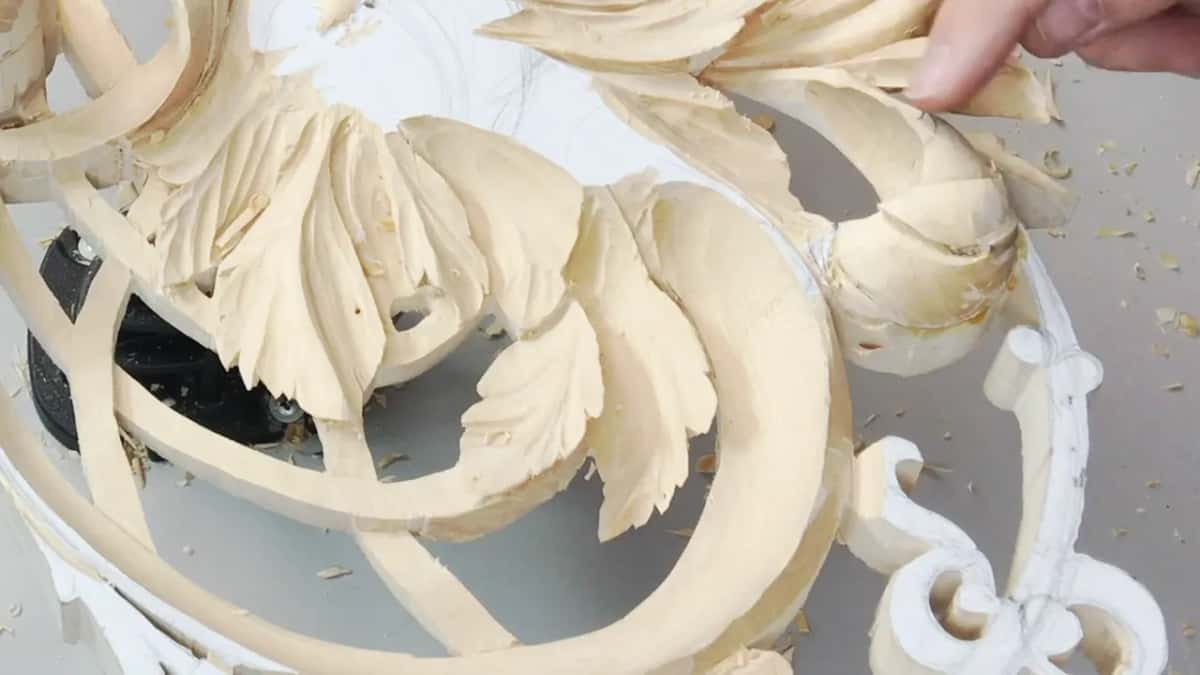
How do you pick the right tool for a fix?
By eye. I look at the piece of wood and guesstimate what tool will work the best in that section, and there's not too much math involved in that, as I said in part nine.
My first pick in part two needed a change. With a one inch number seven (25 mm) I was trying to get rid of extra ridges I had just created, and I could see I had to change to a lesser sweep. A number three, 12 millimeters, a little less than half an inch, blended the two together.
And there are multiple ways. Showing you that there are a lot more ways to achieve exactly the same results was my goal in part five. A V tool would have given me the same undercut as the number 11.
Should you hide your mistakes?
Mine stay in. Like I promised, I'm not going to hide a mistake when I make one, but on the final piece nobody will actually know it was one.
If you have a question about how many mistakes I make, I don't know. I didn't count. I know I should do less. The mastery lesson has more on leaving my slips in the videos.
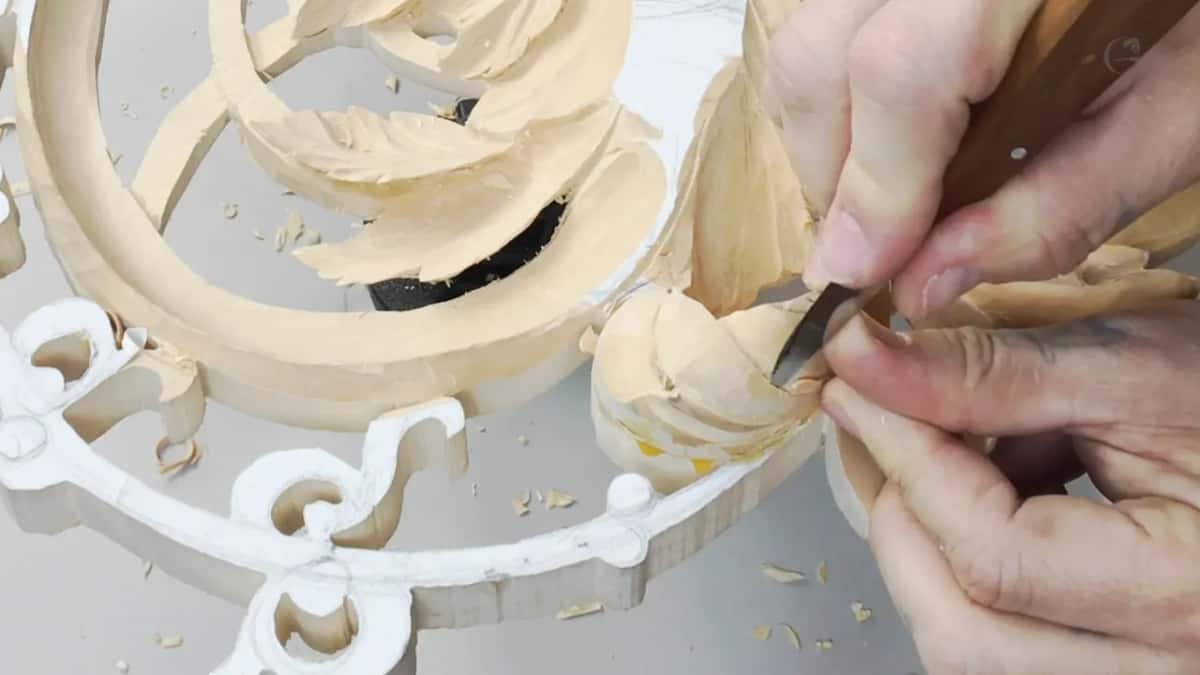
One spot I didn't even call damage. At the end of part four I said it's not a damage, but still doesn't look so good, and a big number seven carefully took it away.
And some waits for later. At the end of part eight I didn't really worry yet about how the edge looked, because I still didn't like the overall flow line. I'll have to look from different points of view and fix it, and lesson 9 is about that.
Part nine ends on a ridge fixed with a number five at about 7/16 inch (11 mm), and a flow line I still didn't like. I guess I could leave it for now like that. But anyway, that is the result of today.
Want to watch that ridge go wrong and come back as a subdivision? All nine parts of this lesson are inside the school, with the slips left in, and tuition and access are on one page.
How it's done
- Check the meat under it. Enough wood left? Then lower all of it around the slip and go deeper.
- Or follow what happened. Let the slip suggest a subdivision, then turn it into micro detail.
- Come at it properly. Give the new division a little concave, approached the right way this time.
- Clean it up. The smallest veiner you have, and then a knife.
- Blend it into the movement. Use a wide number five, slowly. End grain may need attacking from different angles, so take your time there.
- Be patient. Patience is just a must.
- Look from different points of view. Then fix that flow line, as I still had to in part eight.
Frequently asked questions
Can every carving mistake be fixed?
In some cases yes, but sometimes you can't fix it, as I said on the Greek acroterion. Once you minus the wood, it becomes a problem. A surface carved a little too low can always lose another 1/64 or 1/32 inch (about 0.4 or 0.8 mm) and be fine, provided you stay short of going through.
What does following the nature of a mistake mean?
Working with the shape the slip already made, instead of carving it all away. On my Hashemi panel a wrong attack left a small division, so I gave it a gentle concave, cleaned it with a micro veiner and a knife, and blended it in.
How many mistakes do you make in one lesson?
I couldn't tell you, since I didn't count, and I should do less. I promised on camera not to hide them, so in lesson 11 you see the slips happen and then each repair, one tool at a time, and the words I said while it happened.
What to carve next