
Alexander Grabovetskiy, woodcarver, School of Woodcarving · Published 2018
Why carve a flower separately instead of from one thick block?
Quick answer: Carving a flower separately is how a tall flower on my Hashemi panel came out of plain blocks set into sockets. Carved in one piece, it would have needed a block about 165 mm thick, and I said there's no reason. Undercutting inside such a block would have been really hard too.
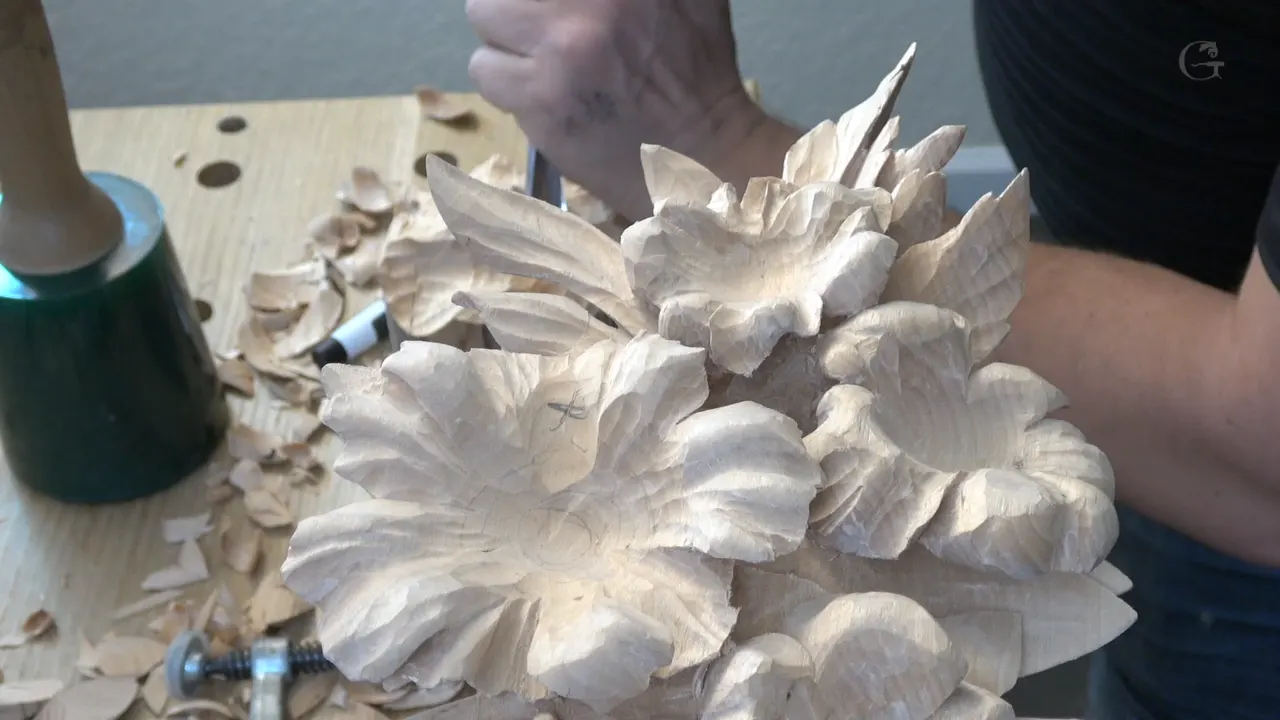
Making the flower as a separate block is what let me use just blocks of wood on my Hashemi panel. One flower there is kind of high, and the limewood panel was already two inches thick (51 mm). To carve it all in one block I would have to have a block of six and a half inches (165 mm). There's no reason, I said.
Would you like a flower that stands high off its panel, with room for a gouge to get under it? Would you like to see the block for it go into its socket, X marks, clamps and all? Then come through lesson 42 with me, one part at a time.
There are three parts. Where they end, I bring in what I said about separate pieces on other carvings, and I name the course each line comes from.
What went on the bench in lesson 42
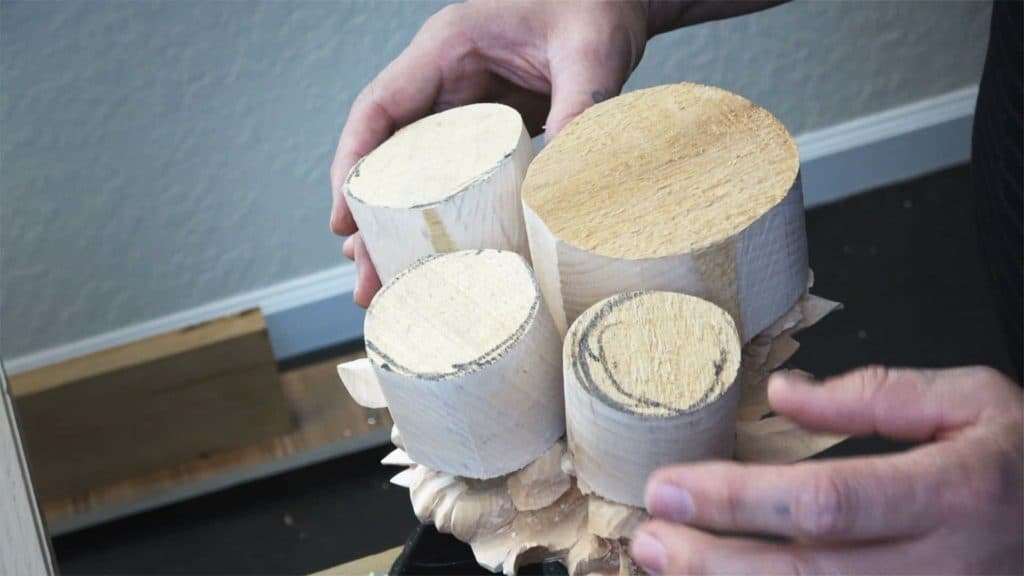
Two blocks, an 8/4 and a 16/4.
About an inch (25 mm) of the peony block goes down into its socket.
Two X marks tell me how the grain runs.
Festool clamps held it, and an ordinary C clamp at the end of a workbench would do the same job.
About seven-eighths of an inch (22 mm) came off first.
A marker showed what to dig out, only because the camera was rolling while I carved the block.
The fitting ended in an absolutely perfect fit.
Why carve a flower separately instead of from one thick block?
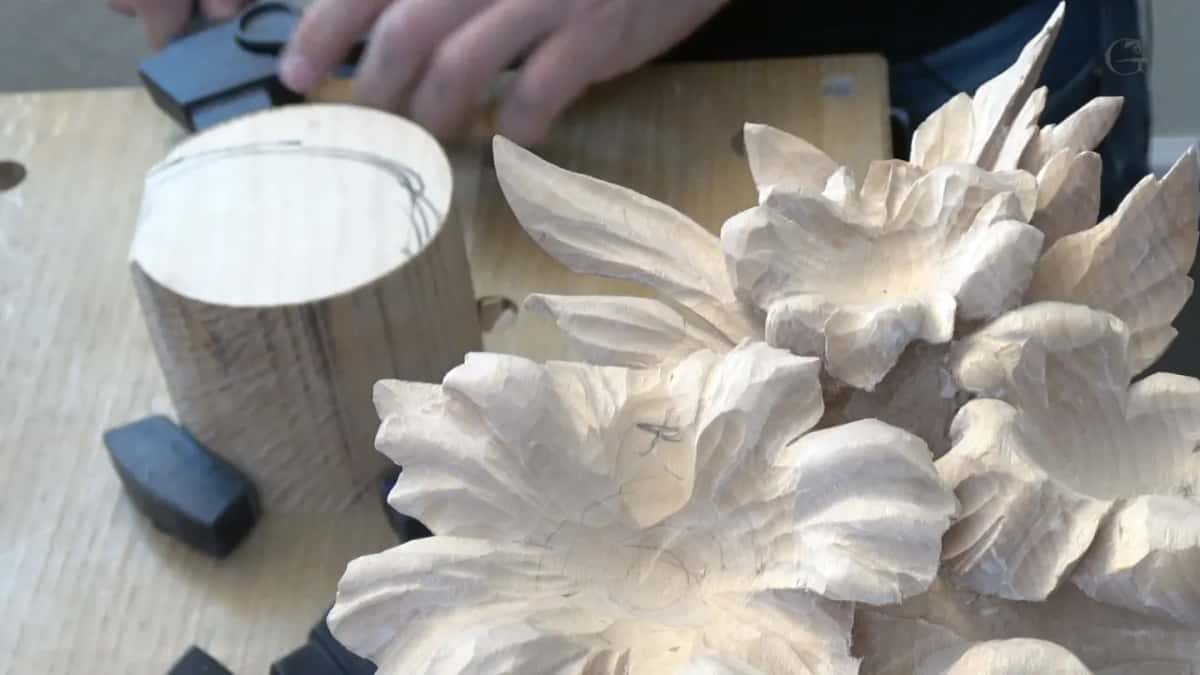
Two reasons, both from part one. That block would be bigger than it needs to be, and it would be really hard for me to reach the areas inside. It would be really hard to undercut.
Like I said, there's a different approach to do that. I could take a really thick piece of wood, like a four-inches, 16 quarters (about 100 mm), and just carve from the solid all the flowers and details. But just because we created this technique, we created the sockets, I can easily use just the blocks of wood.
I laid out the approaches to these flowers back in lesson 27, where I said I would carve sockets. The panel itself starts in the first lesson of the course.

What size blocks go into the sockets?
Two different sizes, about eight quarters and 16 quarters. To be exact, the eight quarters piece is about 1 15/16 of an inch (49 mm), or about two inches. The other block I cut, and it's about 3 5/8 (92 mm), three inches and 5/8 of an inch. So it's not exactly four inches.
Wikipedia's lumber article explains the quarter system. In North America hardwood thickness is counted in quarters of an inch, so 8/4 is a 2 inch board (51 mm).
I got the size as close as possible to the outside, because this one will be the peony flower, or peony, whatever you prefer to call it. It will be kind of rounded.
And yes, I know it sticks above a lot for now. But the socket is kind of deep, so we're talking about one inch (25 mm), approximately one inch, that goes in. Above, we will have just two and a half inches (64 mm). That's it. How those hollows were dug is in lesson 28.
Should you draw the flower round with a compass?
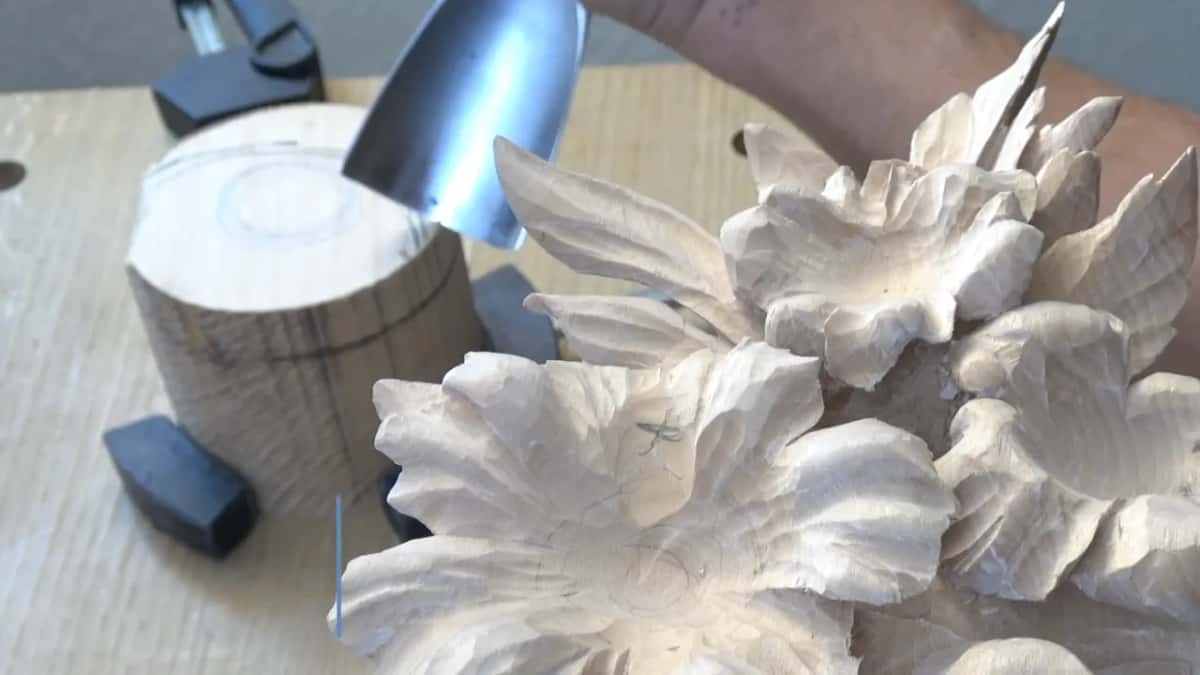
I encourage you not to use just any compass, or anything else, to make a perfect round. Just hand-draw it. You don't have to draw a perfect one, and it's actually better if it's not perfect, because it has to have some kind of waviness.
Those flowers came in different sizes too. Smaller, little bigger, and even bigger, so all four of them are a little different. Waviness on the petals comes up again in lesson 30.
Why mark an X before the first fit?
I want to make sure of the direction of the grain, and where my bottom will be and where my top is. I just need to make sure I do know that, I said.
Two marks. I marked an X, and a second spot is also marked as an X, so that way I can find out exactly the location, how I'm supposed to fit that.
At the first check in part two I reminded you of it. I drew X mark and X mark, so that way I'll know exactly the direction of the grain. And in part three, again, I put that X mark more visible before the block went back in.
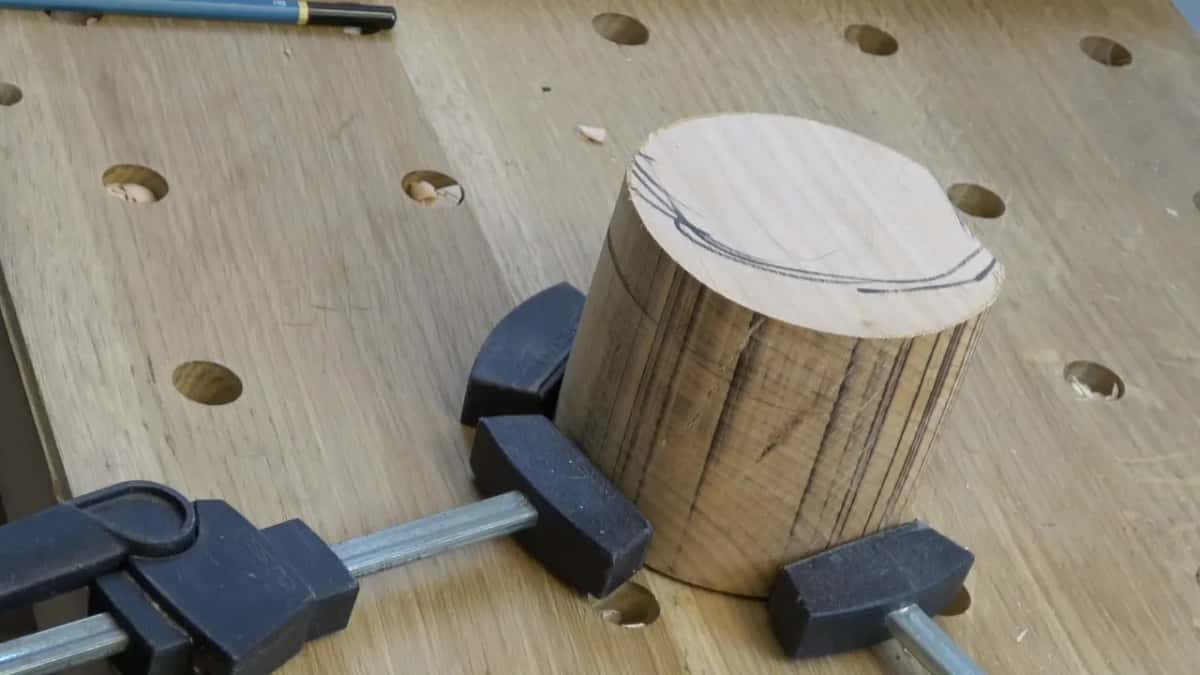
How do you hold a round block on the bench?
With Festool clamps, in my case. I said I could use just one, pretty much, and then, let me see, maybe I'll just reinforce it with two of them. You can clamp any type of shape with those, and it's just really solid, so you can't really move it.
If you don't have that type of clamp, you could probably clamp it to the end of your workbench with just a normal C clamp, whatever you have available, and work that way. In part three you can probably see me using the stops from the clamps as my stopping. That actually creates a good support for me.

In a short clip on the Festool clamp I showed another one I like. Really quickly I can lock it to my workbench, and just work around whatever the areas I need to work.
On my Greek acroterion I said not necessarily just Festool clamps, any bench clamps will do. There is plenty of bench clamps, I said, and I named Veritas, and Lee Valley in Canada, where you can order some made for the benches.
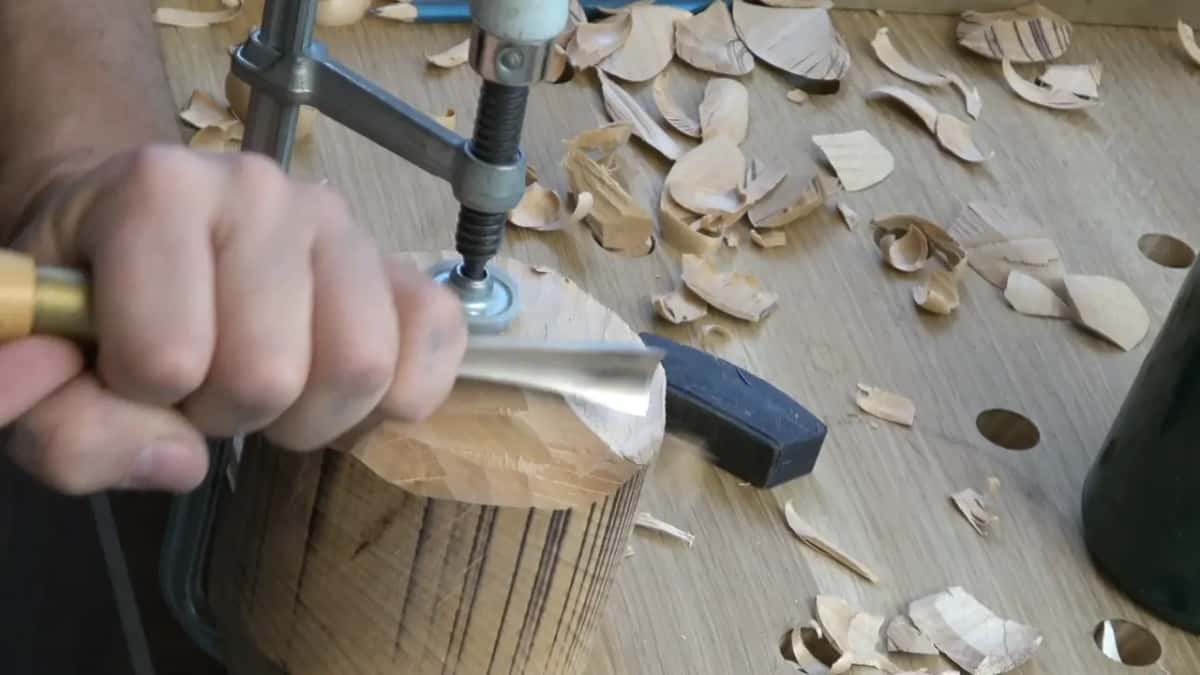
How much wood comes off before the fitting starts?
A little less than an inch. Approximately an inch deep (25 mm) has to come off, I said, but I'll take a little less than an inch, maybe about seven-eighths (22 mm) in the beginning. And then I start the fitting more perfectly.
My goal was to carve around it, just remove a chunk of the material around, and try to fit it as perfect as possible until it touches the bottom of the socket. It doesn't have to, but it makes sense, just that it touches the bottom.

Which tool takes the waste off fastest?
A big gouge did it for me. A couple of ways you can do that, I said. You can actually just take a knife and start removing some of the chunks sideways like this, but it's going to take too long.
So with the block clamped down, I took about a three-inches gouge (76 mm), indicated my center, and started just working my way out.
Part two gave you the other way. If you don't have a big gouge like that, you can always use smaller ones, for example a number seven at three-quarter of an inch, and just work your way in. They just take a little longer, but that's okay. Takes long anyway. That one was number seven and 20 millimeters, I said.
| Moment | What I took and what I said | Part |
|---|---|---|
| Chunks off the block | the three-inches gouge, worked out from my center | one |
| No big gouge | a number seven, three-quarter of an inch or 20 millimeters, a little longer | two |
| Knife instead | it takes too long, I said | one |
| Around the center part | removed a little more, to make it easier to fit | three |
That last row is part three. I took a little more off there, and said I probably could use a number eight, but it's okay.
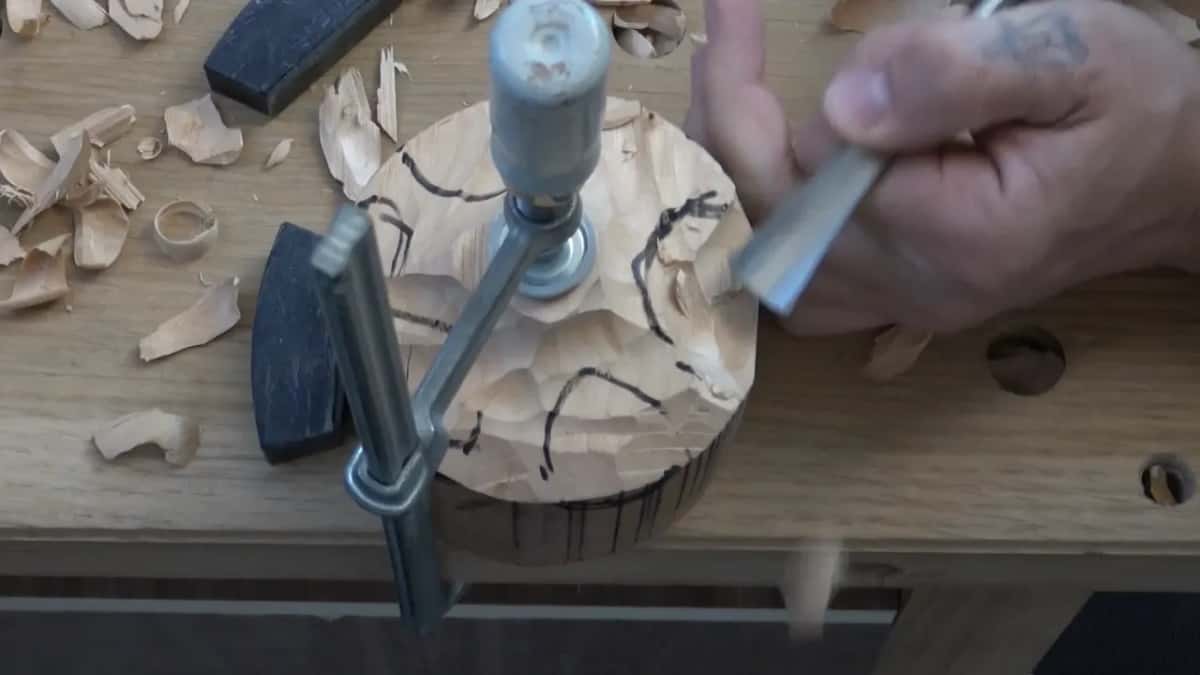
Can you ignore the grain where nobody will see?
I know I'm working against the grain, I said early in part two. I'm not supposed to, but that's okay. This part will be invisible anyway, and it just has to go inside of the socket.
Part three had the same thought. It won't be visible anyway, but it will be easier for me to fit. Later in part two, at one spot, I said I have to be really careful.

Two lessons on, in lesson 44, I was carving petals and told you that by the sound of it you should hear me working against the grain. But it is still really clean, I said. I could actually attack from this side, and it will be cleaner. In that case I was able to, but not always.

Why a marker and not pencil?
Only for the camera. When the block was really, really close, I had to mark the sections around the petals, what I have to dig out, and I did that with the marker. I want to fit as close as possible.
The reason why I use just a marker is just for filming, I said. That's it, for just a video. I probably should not use it, because I don't want to remove too much.
I said it again in lesson 43 while laying out petals. Just because I'm filming, I'll use marker, but I encourage you not to use marker, just to use pencil. I was not sure if it's better or not, though, because your piece becomes really dirty after too much use. What you could use, actually, is just a V tool, as a marking tool.
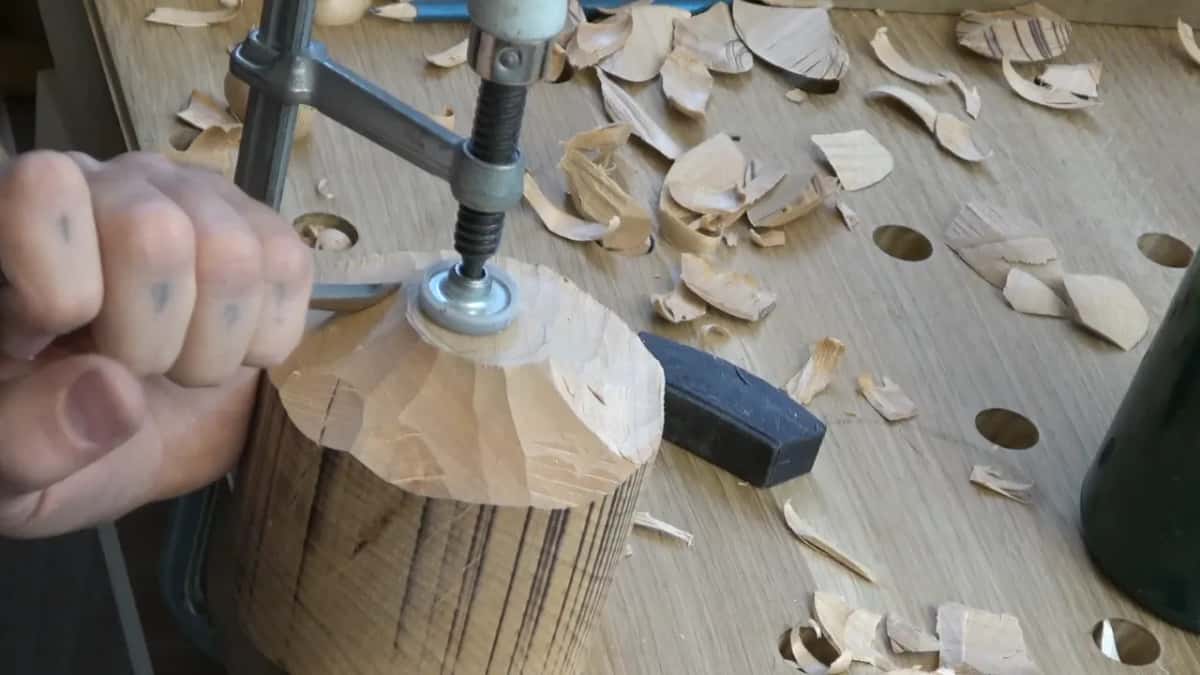
What does a test fit look like?
Part two had the first check. Let's check, I said, and I placed the block inside. Looks like I'm pretty close. Really, really close.
After the marker came the digging. Now I know exactly what I have to take out, so then I'll just work my way in, I said, and then, now do exactly the same, and remove what I don't need. And now work on this side.
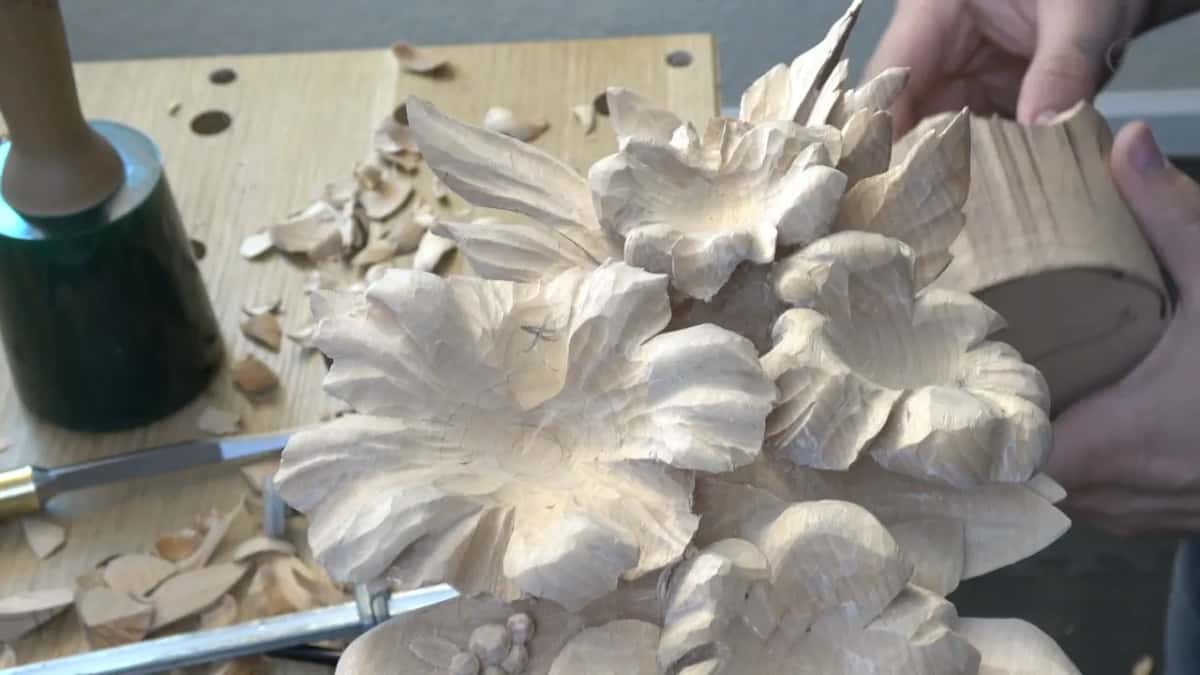
Part three began with let me clean that a little bit. I can see the crack in the wood more clearly, but it's okay.
Let's place it inside of the socket, I said. I'm not sure if I should even say that this part is called socket, but for me, it makes sense. Looks like I'm perfectly in. Then I said I need to work around this part a little more, to make it a little more round.
Let's try that again. Oh, yes. That's absolutely perfect fit, I said, and that's exactly what I want to see.

What comes after the block fits?
The main form. It fits inside, and now we can just establish the main form of it, which will be more like a round, I would say.
Let me figure out where it will be, I said. It will be pointy, so the center line will be right here somewhere, off a little bit.
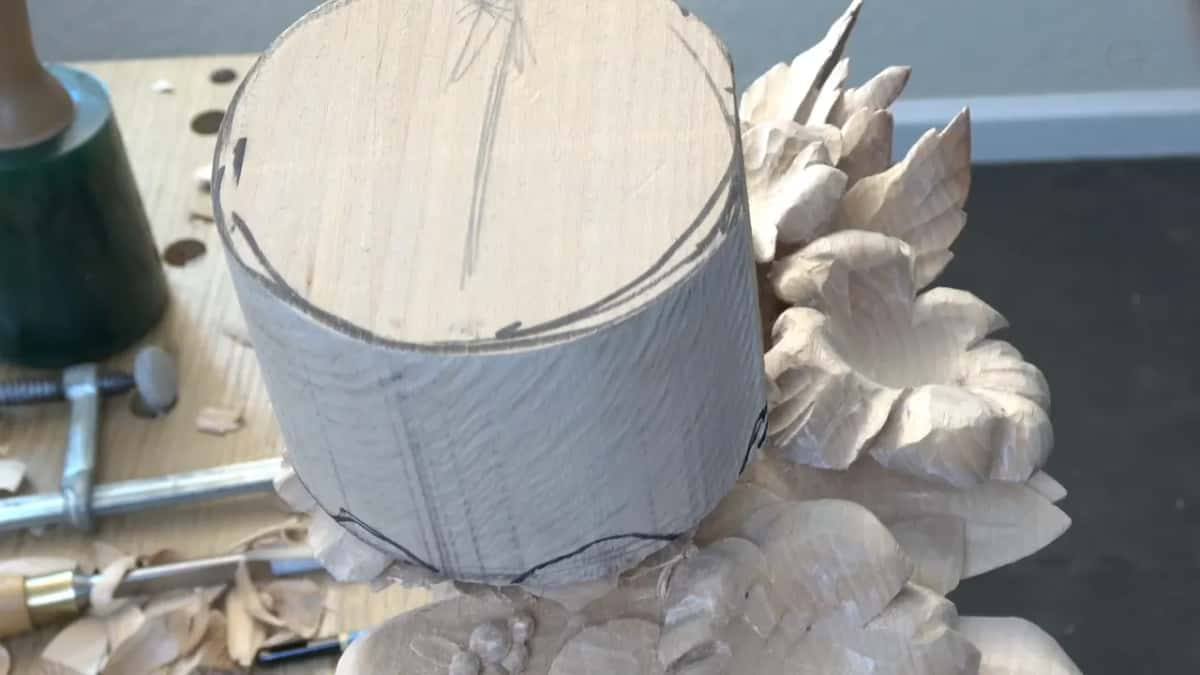
In lesson 44, carving the petals of one of these flowers, I took the line of a number 11 veiner as deep as possible until it disappears. You can't even detect that that piece is not from the solid wood, I said. The outer ring goes all the way in, and it also disappears.
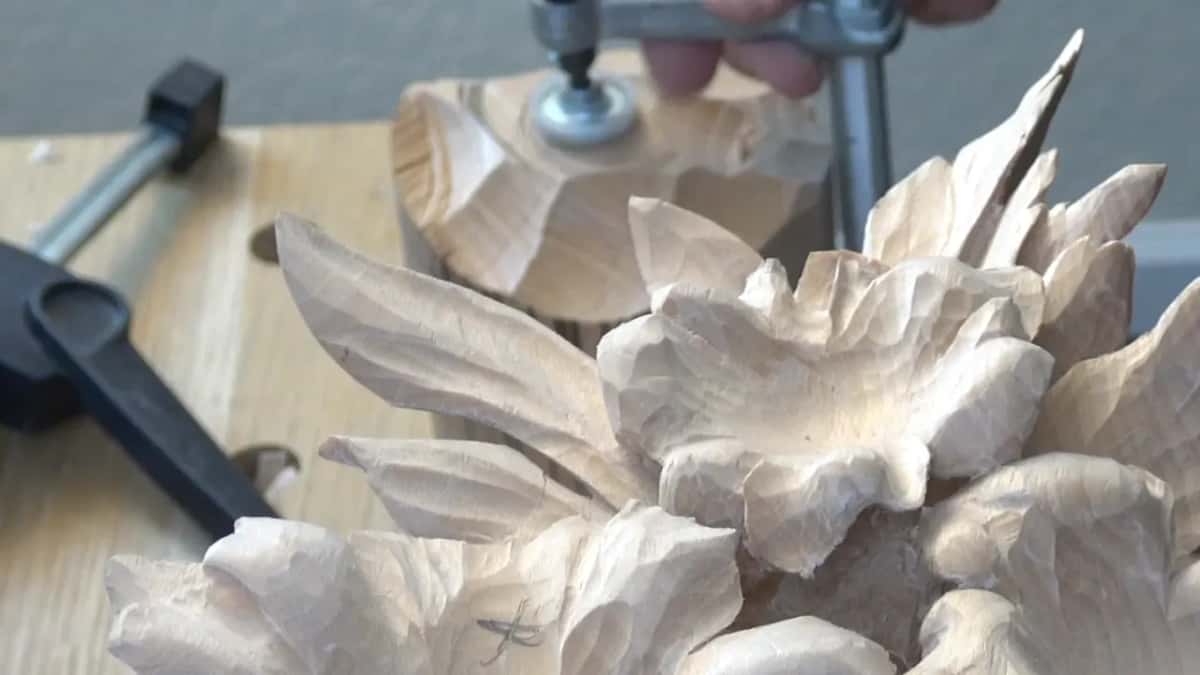
Is a socket the only way to carve a raised flower?
One of many. I mentioned it again in part two, that it's only one of the many techniques to do those flowers. There is many different, I would say, approaches, and you can get probably about the same result. Or you should get about the same result, I should say. Or hopefully you can get the same result.
On this panel the socket is the connection point as well, for a dowel or even a screw, as I said in lesson 28.

On a Venice Room carving I did the same thing off camera. Some flowers there were done just from a solid piece, I said. On this one, I said, I did exactly the same as on the Hashemi flowers project. So I carved from a solid just the first layer and then inserted the middle part of it. That way it is raised a little higher than those, I said. And that just gives me really nice transition.
On the Lily box I carved the central part of the lily separately and glued that in. The reason why, I will need that space later on to drill through and connect it with some kind of dowel to the main surface, and then cover that dowel.
It goes the other way too. A small number eight undercut on a Venice Room flower gave a feel like it's applied separately, and it is still one solid piece. A V channel did the same in lesson 35 of this course, two separate pieces glued together to the eye, and actually one solid piece.
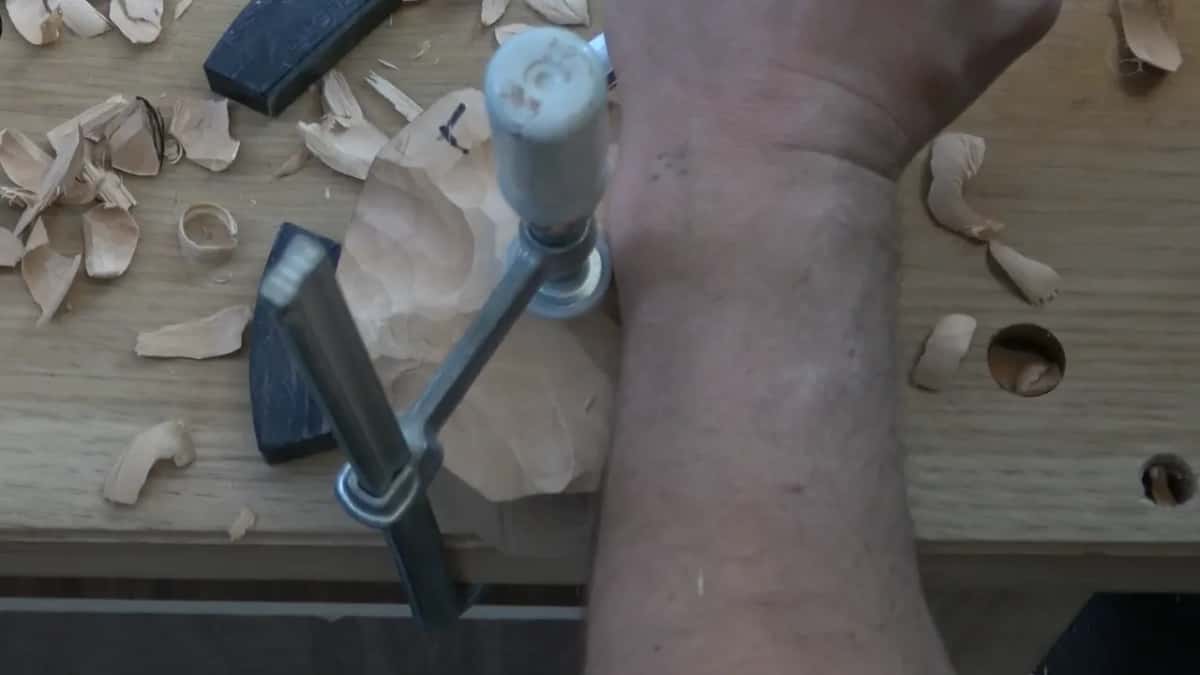
Do you want to watch the big gouge go in, and hear me say perfect fit? The videos of all 49 lessons are part of tuition at the school. Lesson 41 comes before this one, and lesson 43 after it.
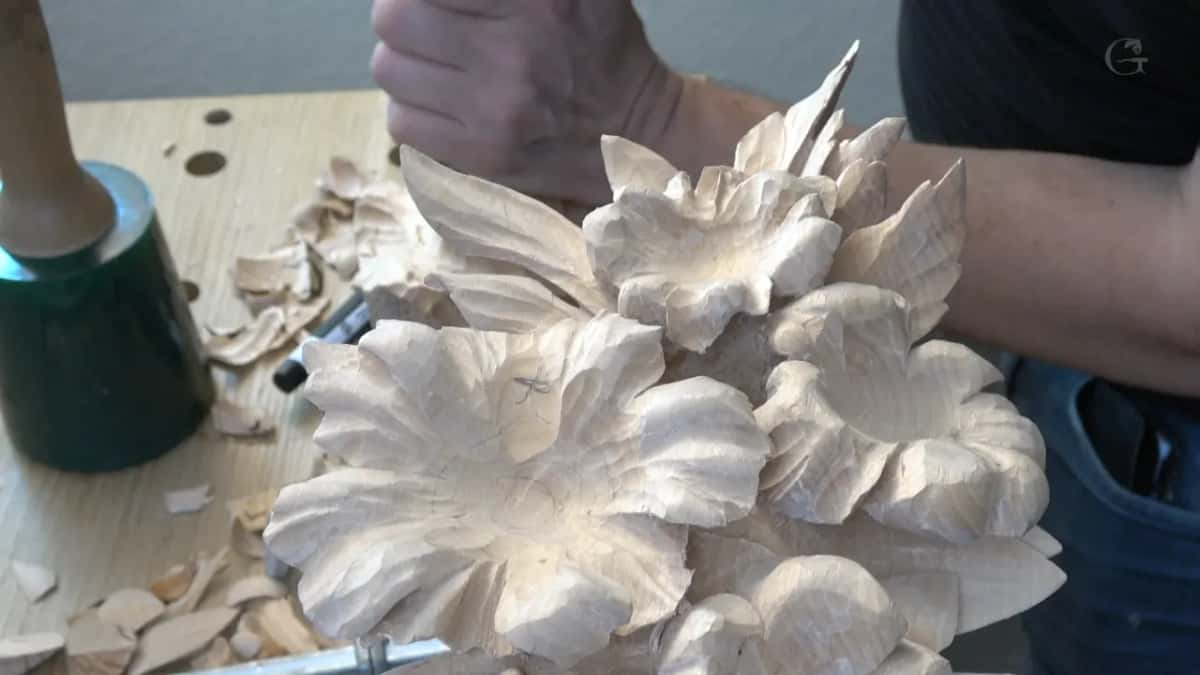
How it's done
- Pick two block sizes. I took an eight quarters board and a 16 quarters board, and kept the peony block close to its outside size, since it will be kind of rounded.
- Draw the outline by hand. Skip the compass. It's actually better if it's not perfect, because the edge has to be wavy.
- Draw the two X marks. That way you know which way the grain goes, and where the bottom and the top go.
- Clamp the block down. Festool clamps held it on my bench. A C clamp at the end of the workbench works too.
- Take off about seven-eighths first. Just short of the inch of socket, with the big gouge working out from the middle, or a number seven of 20 millimeters if you have no big gouge.
- Check, mark, dig out, check again. Place it inside, mark around the petals what has to come out, work your way in, and try again until it fits.
Frequently asked questions
Does a flower insert have to touch the bottom of its socket?
Touching the bottom is what I aimed for in lesson 42, and I said it doesn't have to, but it makes sense. My goal was to remove a chunk of the material around the block and fit it as perfect as possible, after about seven-eighths of an inch (22 mm) came off first.
Can you rough out a flower block with a knife?
A knife works, and I said so in part one: take a knife and start removing some of the chunks sideways. But that takes too long. I put the block in clamps and took a gouge of about three inches (76 mm) instead, working my way out.
What clamp holds a round block of wood for carving?
Mine sat in Festool clamps, and you can clamp any type of shape with them. Without those, clamp the block to the end of your workbench with whatever C clamp you have available, and work that way. For my Greek acroterion I said any bench clamps will do.
What to carve next