

Alexander Grabovetskiy, woodcarver, School of Woodcarving · Published 2018
Who decides how finished a carved commission has to be?
Quick answer: The finish level of a commission is, on my Hashemi panel, something the customer and I agreed on. We agreed I would not go all the way to the details. The time I have to spend, what they expect and the price, of course, are why I left a semi-rough look.
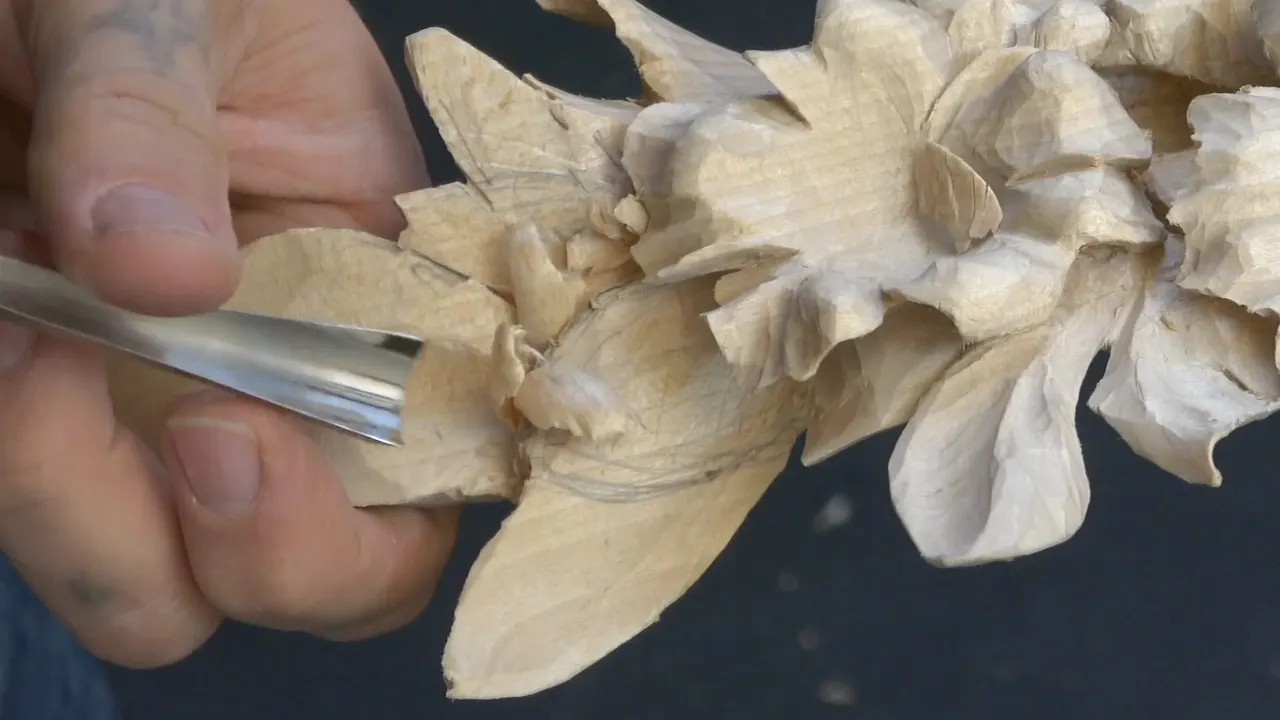
The finish on this commission is what the customer and I agreed on, and we agreed I would not chase every detail. I said so right at the start of lesson 40 of Carving Hashemi Flowers, on my limewood relief panel. A piece like this can go to the extreme, I said, and you can get it as clean as you wish. But I have certain rules for different types of projects. So I left a semi-rough look.
Would you like to know who gets the last word on a carving that someone pays for? And would you like to see how far I take two more leaves on a job like that? Then carve this lesson with me.
The lesson is short, three parts, and most of it is those two leaves. Where it runs out, I bring in what I said about customers on other carvings, and I say where each line comes from.
What lesson 40 settles about the finish and the two leaves
Less detail, by agreement with the buyer.
Time, expectations and price are behind the semi-rough look.
Not rough-rough, I said.
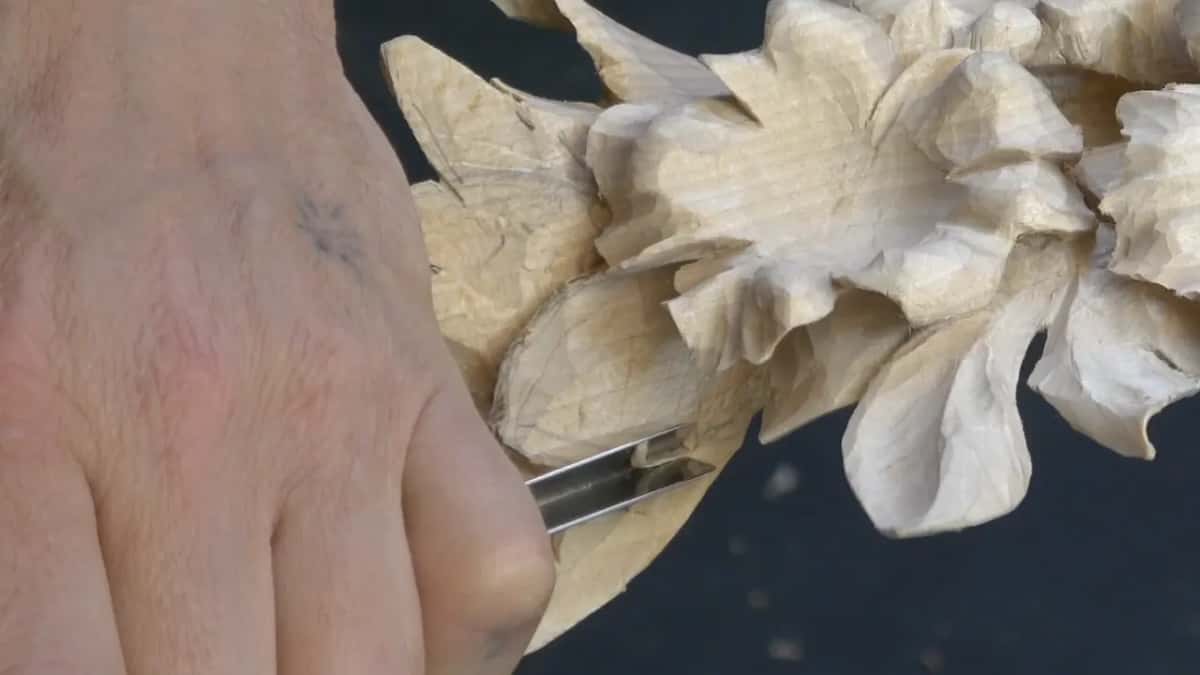
Two new leaves get a V tool, a number 16, and an undercut from the first cut.
A smaller 16 at 3 mm (1/8 in), so the big one would not hit my flower.
Cleaning comes later, off camera.

Who decides how finished a carved commission has to be?
The customer does, together with me. For example, I said, we agreed with the customer of this piece that I'm not going to go all the way to the details. In my opinion, that is also justified by the time frame I have to spend and by what they expect. The price, of course.
In the Venice Room course I said it even more plainly. Hopefully you're going to like this movement, I said, but most important, my client will like it. The client who ordered and pays for it.
Even where the piece goes later is a choice for the person who ordered the commission. In lesson 26 I said the piece gets applied later, either to the wall or to a background, whatever a customer is going to decide. Raised above the background, it creates another shadow.

Where did this commission come from?
An earlier piece. Back in lesson 1 I said I have a customer who really likes what I had done before, and he wanted something smaller. We came to about 12 inches wide by 24 inches (30 by 61 cm), on a board about 7/8 of an inch (22 mm) thick. It was going to look similar, I said, a little simplified version of it.
Simplified. That word was there in lesson 1, long before I talked about the details in lesson 40.
What does a semi-rough look mean on this panel?
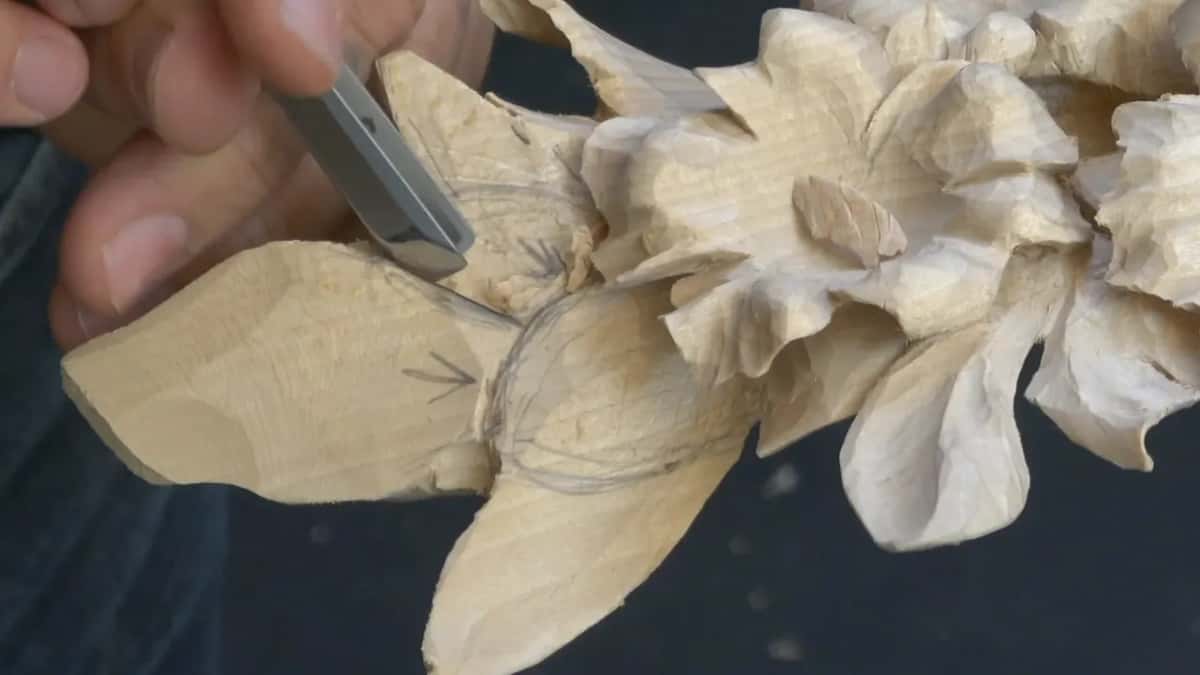
Tool marks stay on it. Not rough-rough, I said in the first part, but semi-rough. And I kind of like it, actually. I think it's already a lot of details I added.
Lesson 49 of the same panel is where I answered why I leave a semi-rough look on those flowers. I try to establish the main form first, I said, and put that together. Once it's all assembled, I can always do my final cleaning, going back to the points that are most eye-catching.
But I'm not going to do extreme cleaning, I said, or use any sandpaper. You could if you wish. I really like the chisel marks, the tool marks, all those facets and side cuts and gouge cuts, because they make the shadow. Even the tiniest shadow makes a big difference, I said.

Can a customer ask for a smooth carving instead?
A customer can. I have to just follow what customers like, in my case. On my modern acanthus I said it is absolutely okay to use sandpaper if you like that look. I have customers from different countries. If the customer is Italian, I said, it's got to look like marble, everything smooth, not even one tool mark. My customers from England or Germany don't want sandpaper touching it at all, because they want to see all the marks.
Before I sign the contract, though, I tell those people what I think. It looks better without the sandpaper, in my opinion.
Some customers go further. As I said in lesson 24, some ask me if I can make it really smooth and sand it, and they even paint over my carving.
Paint changes the depth, too. On the floral and molding panel I said I don't have to be really deep, because that job is paint grade and it is all going to be painted, so don't overcomplicate stuff. Kind of sad, but it is what it is. That's what the client wants.

Why does the time frame matter so much?
Like I said in the first part, you can take this piece to the extreme, like I've done before on similar pieces. But definitely, it took a lot of time. And the cleaning alone, which I do off camera, takes a long time, actually a long time.
On my Corinthian acanthus leaf I said a work of mine took me a few years to finish. A few years. It's in the house of one of my customers, so I don't think I have any photos of it.
I base a price on how much time I spent, I said. I multiply my time by the money I want to get per hour, and it's not much at all.
Does the carver still get a say?
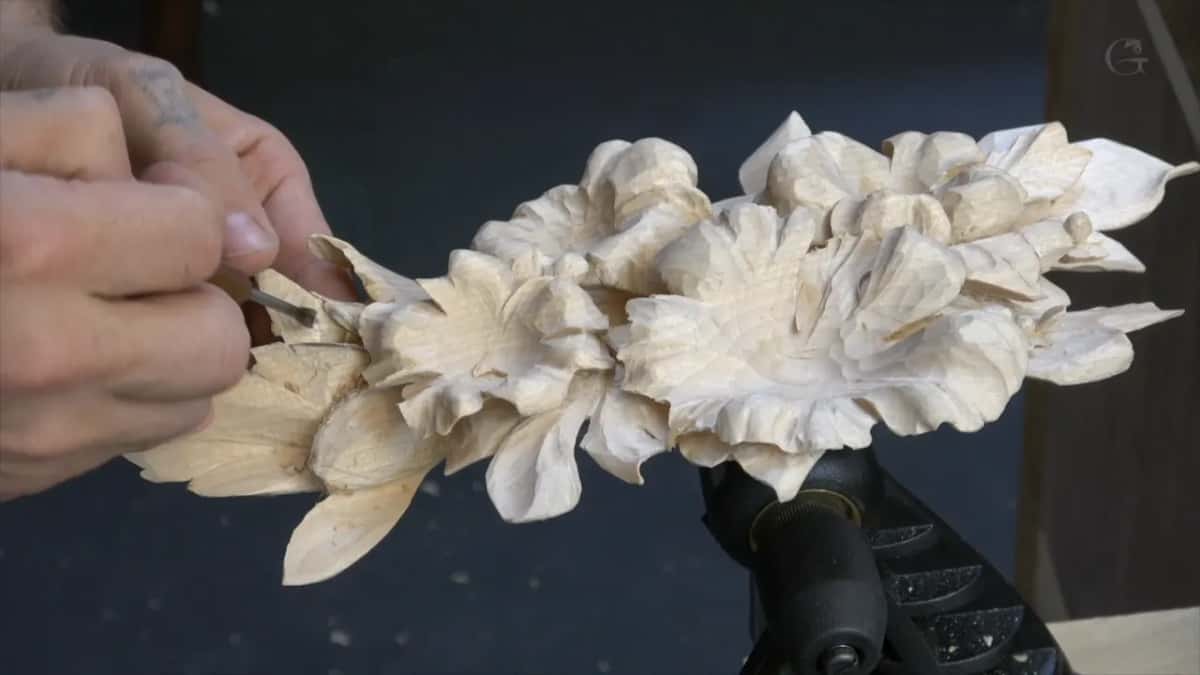
In most of my commission work I have a freedom of designing, I said on the Venice Room. I had a couple of jobs where it was kind of predetermined what I had to design. But most of the time, like 99.9%, I design from scratch and just follow some rules, what they want to see. On that room the rule was to look more authentic to Venice in the Middle Ages.
A client sees the outside of a carving. In another Venice Room lesson I dug a little inside, where you don't see, and I said you actually see what the client is going to see no matter what. Nobody's going to stick their head in there.
And I don't always explain myself. I don't explain to my clients why I've done it that way, I said on the Tray of Blessing. Most of them don't care, and as long as they like it, I'm okay with that.
Some come back. On small projects like my flower rosette I keep one extra as a prototype, because some of my customers are returning customers, and they ask me to do more of what I've done before.
Can you undercut on the very first V tool pass?
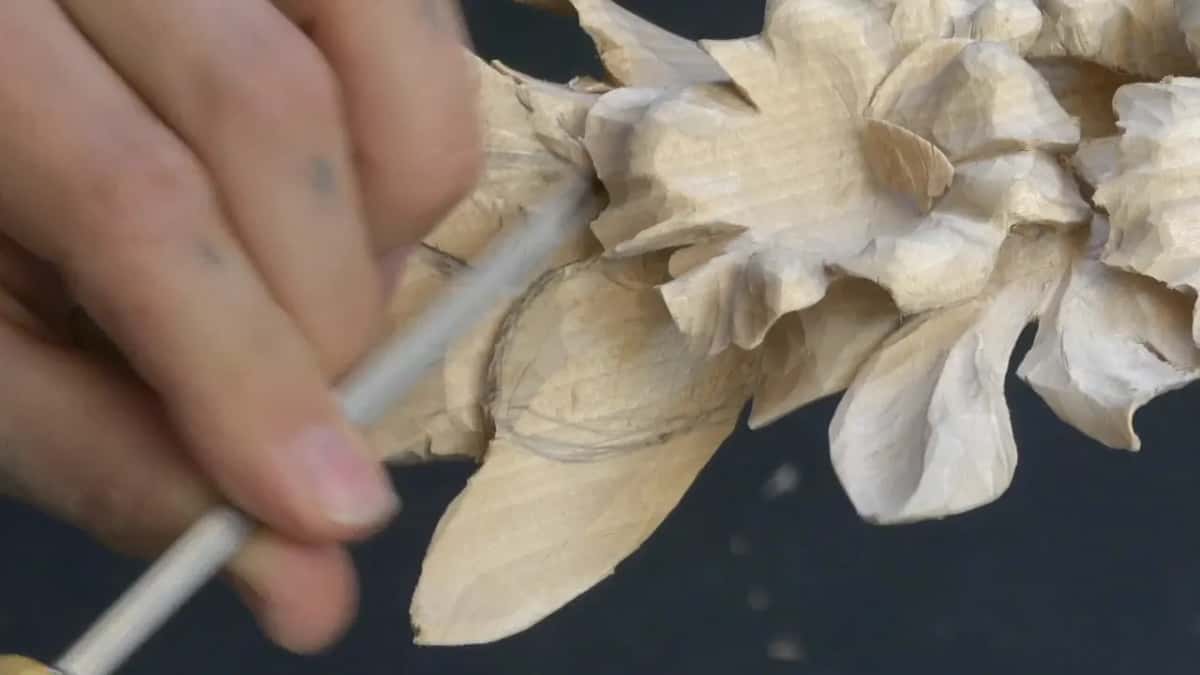
You can, if you lay the tool over a little. On these two leaves a number 16 V tool set the border, the V cut or V groove, if you wish to say it that way. I could just do a normal V cut, straight down like this. Or I can right away semi-undercut, not extremely, and lay the tool slightly on the left-hand side.
From the very first cut, I said, I'm going to undercut it. I cannot put too much pressure on it. That would be a big mistake. And you can see it's already creating the shadow.
Before that I had to think which way the leaves go. This one can grow from underneath that one, I said, that one grows underneath this one, and both of them grow underneath a third.
| Tool | What it did in lesson 40 | Part |
|---|---|---|
| A 16 V tool | The border of each added leaf, with an undercut right away | One |
| The small 16, 3 mm (1/8 in) | Close to my flower | One |
| Number seven, about 20 mm (3/4 in) | Preliminary cuts on a leaf I wanted deeper, without forcing it | One |
| An eight at about 5/16 in (8 mm) | A concave inside the leaf | One |
| A number 12 carving knife | Outside form of one leaf, then a little cleaning | Two |
| Nine, a quarter inch (6 mm) | An even deeper concave, which gives really good depth | Two |
| Skewed spoon gouge, 10 mm (3/8 in) | Blending from the opposite direction, little by little, after a number five took the ridges out | Two |
| Veiner, number 11 at 1 mm | Deeper undercut | Three |
| Small gouge, about 3/16 in (5 mm) | A deeper shadow in the space between two leaves, watching how deep it goes | Three |
When is a V tool too big?
Mine was too big next to the edge of my flower. The job was not to hit it, especially because the tool is big. Maybe it's a good idea to use a different, smaller V tool, I said, and I took another number 16, but 3 mm, an eighth of an inch.

How does end grain fight an undercut?
It fights. I was working on the end grain, so I had to be really careful, and it doesn't help. Sometimes it's almost impossible. It is possible, but I have to put up with a lot of fight.
Later in the same part I came back to it while I undercut and cleaned with the V tool again. It doesn't really help the grain, I said, it's actually end grain. Part two had me working with the grain, and I still went carefully, because if I push too hard I can make a big mistake. This course has a lesson on carving detail in end grain, number 23.

How deep can a new leaf go?
Only as far as the thickness lets me, so I keep an eye on it. At the edge I can't take it lower. Closer to the middle of one leaf I still had another 3/16 of an inch, about 5 mm, so I could excavate a little more and create more depth.
For the other one I took a number seven, maybe about 20 mm (3/4 in), and made preliminary cuts. As you can see, I don't force it, because if I force it, that part becomes really fragile, and I can easily break it. It's better to come back with different tools many times.
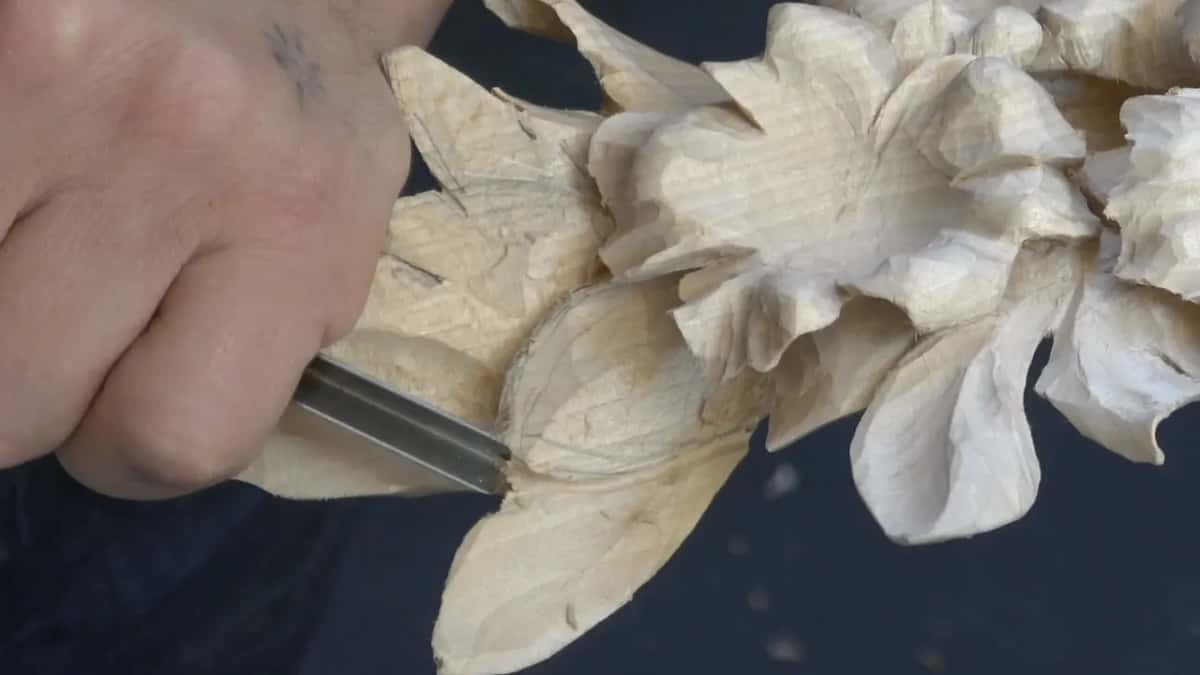
Part two opens with constantly checking and checking. Top to bottom, I had approximately 10 mm (3/8 in) right then, and I was really happy with that.
The concaves took more than one tool. A number eight at about 5/16 of an inch (8 mm) went inside one leaf near the end of part one, and I said I have to constantly check the backside of it. Later in part two I had maybe about 5 mm left, maybe less in the middle, and I took a number nine, a quarter inch (6 mm), for an even deeper concave. It gives me really good depth.
While I undercut in part two I was slightly wiggling the tool, and I know some of you don't like that idea, but it does help.
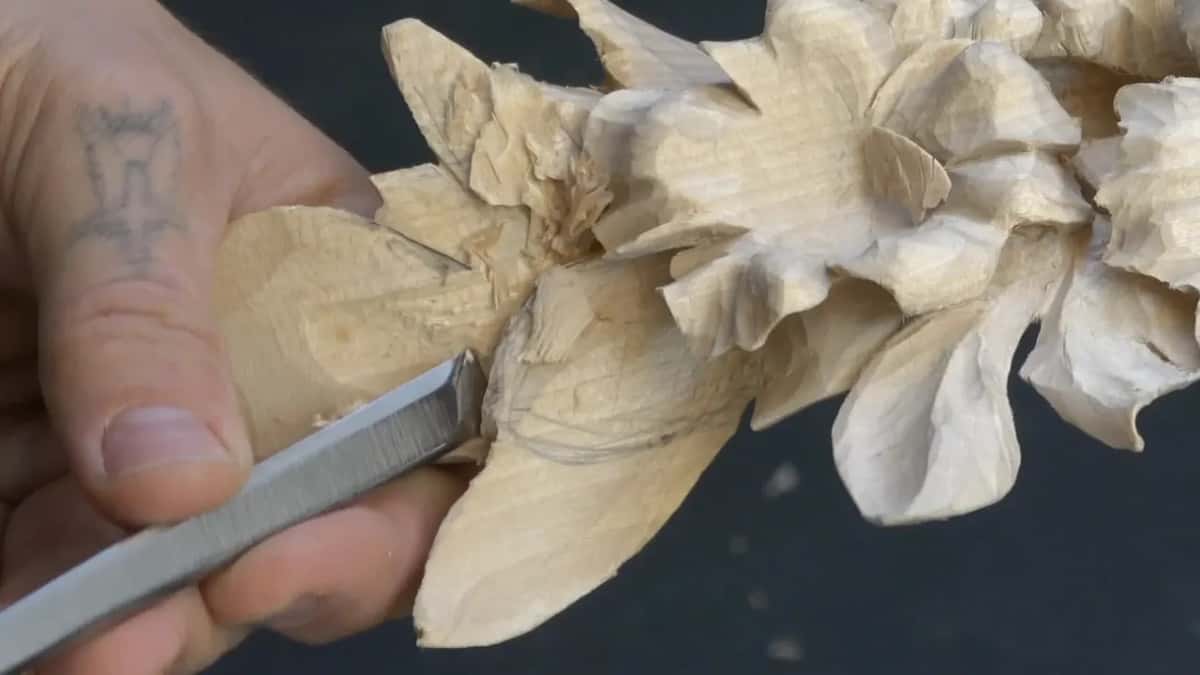
Should an undercut keep one depth around the leaf?
On this leaf the depth changed as I went. This time I didn't have too much material at the edge, but I had a lot more closer to the center. So I went gradually. At the outside it was almost nothing, about 1 mm (0.04 in) of difference, and on the inside it was about 3 mm, an eighth of an inch.
For that I used a number 11 at 1 mm. It's a veiner, not a gouge, but it works for me as a V tool. Still, it's like a gouge, because it has round characteristics. Then I excavated even deeper, for an even deeper shadow.

To separate one leaf from the next, one has to go on top of the other, so I undercut carefully that way, with the V tool and then the 11. In one space a small gouge, like 3/16 in (5 mm), dug out a deeper shadow, and I kept an eye on how deep I went.
What do the knife and the spoon gouge do here?
The knife gave one leaf its outside form. The third part brought it back for a couple of notch cuts, small subdivisions, just to make it look nicer. On one side I had a wall, and with the knife I could take it down.

The spoon gouge blended. First a number five, about 3/8 of an inch (10 mm), to take all the ridges out. One spot was not that easy, so I had to use a spoon or semi-spoon and attack it from the opposite direction, carefully, little by little. It was a skewed 10 mm spoon gouge.

What did I leave for later?
A center channel. I could take a V tool, I said, create a center channel and add even more detail to all of them, pretty much. But I'll do it later.
And the cleaning. The camera doesn't get all of it, because it does take a long time, and there's nothing exciting about cleaning. All you do is take the same tools you used and make clean cuts.
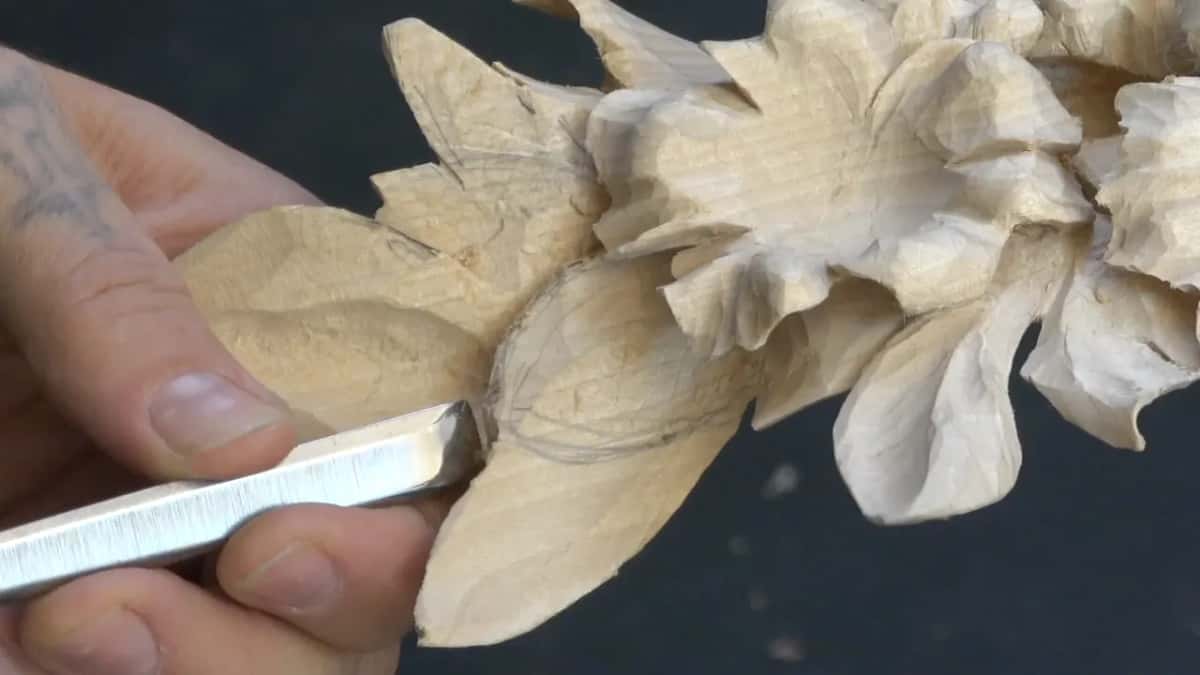
In part three I said I do like what I see, and I hope you also like it. Right at the end, I said hopefully you can see the results.
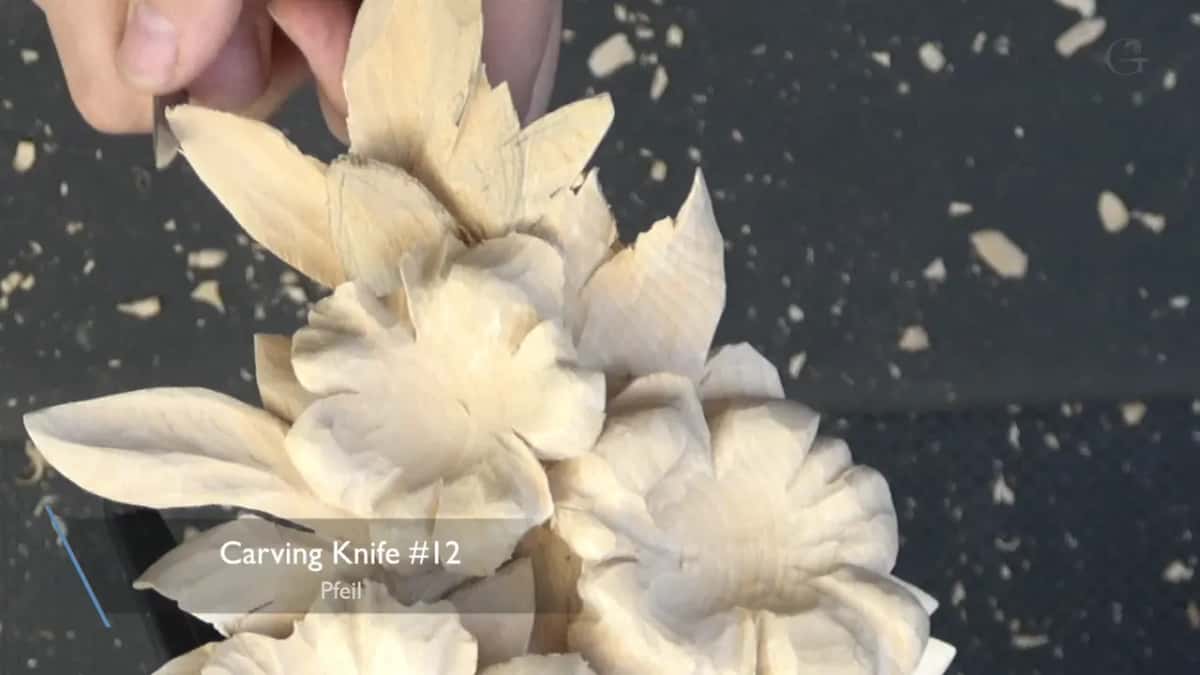
Just before this one, lesson 39 asks whether carving is really just concaves and convexes. The videos of all 49 lessons of this panel are part of tuition at the school. Two leaves, and a semi-rough look.
How it's done
- Agree with the customer how far to go. Here, less detail.
- Decide which leaf grows under which. This one grows from underneath that one, and both of them grow underneath a third.
- Undercut from the first V tool pass. Number 16, laid slightly on its left-hand side, with no big pressure.
- Change down a size near the flower. The same number 16, only smaller, so the big one does not hit the edge.
- Go deeper only where the wood allows. About 1 mm out at the rim, about 3 mm toward the middle, checking the thickness as I go.
- Leave the cleaning for later. Off camera, with the same tools I used, making clean cuts.
Frequently asked questions
Should a carver tell the customer which finish looks best?
I do, before I sign the contract. My modern acanthus lesson is where I said that, in my opinion, it looks better without sandpaper. Customers from England or Germany like seeing all the marks, and an Italian customer may want it smooth, like marble. Then I follow what customers like.
Is a semi-rough look the same as rough?
Semi-rough is not rough-rough, as I said in lesson 40, and I kind of like it. I leave the chisel marks and facets on this panel, because they make shadow. My final cleaning comes once everything is put together, and even then I don't use any sandpaper.
What sets the price of a carving like this?
The hours I spent. I said on my Corinthian acanthus leaf that I base the price on how much time I spent, multiplied by the money I want to get per hour, and it's not much at all. A single piece of mine once took a few years.
What to carve next