
Alexander Grabovetskiy, woodcarver, School of Woodcarving · Published 2019
What is a vanishing point cut in wood carving?
Quick answer: A vanishing point, in carving, is a groove taken so deep that you can't see where it ends. On this flower I made it between petals with a number 11, then the half mil, from both sides. At a few spots I drilled a tapered hole first and carved everything toward it.
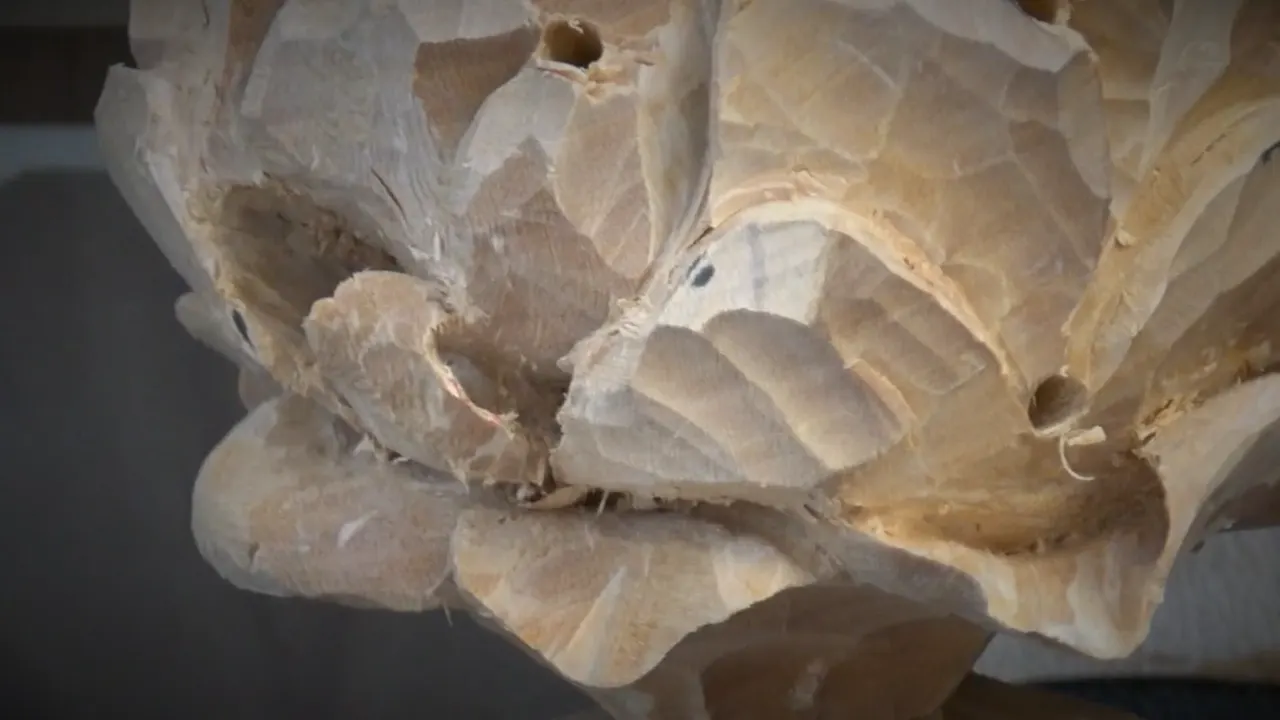
A vanishing point, the way I use the words, is a cut taken so deep that you can't see where it ends. It's almost invisible, completely invisible at the end. I said that in the first part of lesson 45 of the Hashemi flowers panel, on a petal that naturally grows from underneath of its neighbor.
Have you ever looked into a narrow gap and not seen the bottom? Did it seem to get darker, the deeper you looked? That dark between petals is what I carve for, deep enough to create shadow.
Seven parts make up this lesson. You will watch a knife and two number 11s go in, then a tapered bit going really deep, a toothpick, two back bent gouges, and one spot where I chose not to drill at all.
Lesson 45 in seven lines
Vanishing point means a groove so deep you lose sight of its bottom.
A knife can get there in some spots, though the grain direction won't allow it everywhere.
An 11 at 1 mm, then the half mil, attacking it from each side.
Where a spot needs to be really deep, I drill a tapered hole toward the middle and carve everything to it.
Once the hole gets deep, a toothpick shows me where it is.
I skip the drill at joins where petals sit close together.
Sandpaper never touches it, so the tool marks stay and make a light play.
What is a vanishing point cut in wood carving?
A groove you keep taking deeper until you lose sight of its end. During part two I needed to connect two petals, and I thought maybe this one can go underneath of that one. It didn't look too good. But it was okay, and then the deep line had to go in.
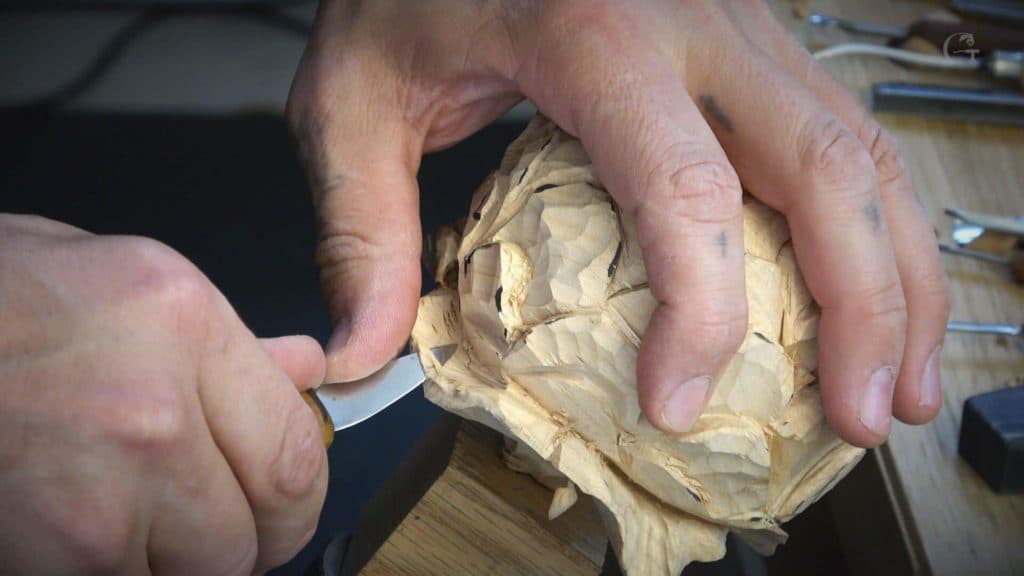
I guessed a knife would do in that area. We'll see, I said. Maybe it's a good idea to use number 11. So I attacked from one side, then from the other, and said I don't want to break it. A smaller 11 came next, half a mil, 0.5 mm (about 0.02 in), and again I came at it from the opposite side and went in until I couldn't even see my vanishing point.
Painters use the same two words for something else. Wikipedia's page on the vanishing point describes a point in a perspective drawing where parallel lines seem to meet. Mine is the carver's meaning, the bottom of a groove you can no longer see.
Later in this course it got a second name. In lesson 47 I took a half mil and went even deeper, until I almost couldn't see the vanishing point, or vanishing line, I should say. Then in lesson 48 I said that once it's glued in place, nobody will see that vanishing point ever.
Can a knife carve a vanishing point?
In some spots it can. Part one started with just a knife to set the main form, then number 11 again. Or sometimes, it all depends on the area, I could use a knife and carve right to the vanishing point.
With the knife it's not always convenient. Still possible, though. The grain direction rules it out in places, but some spots I probably could.
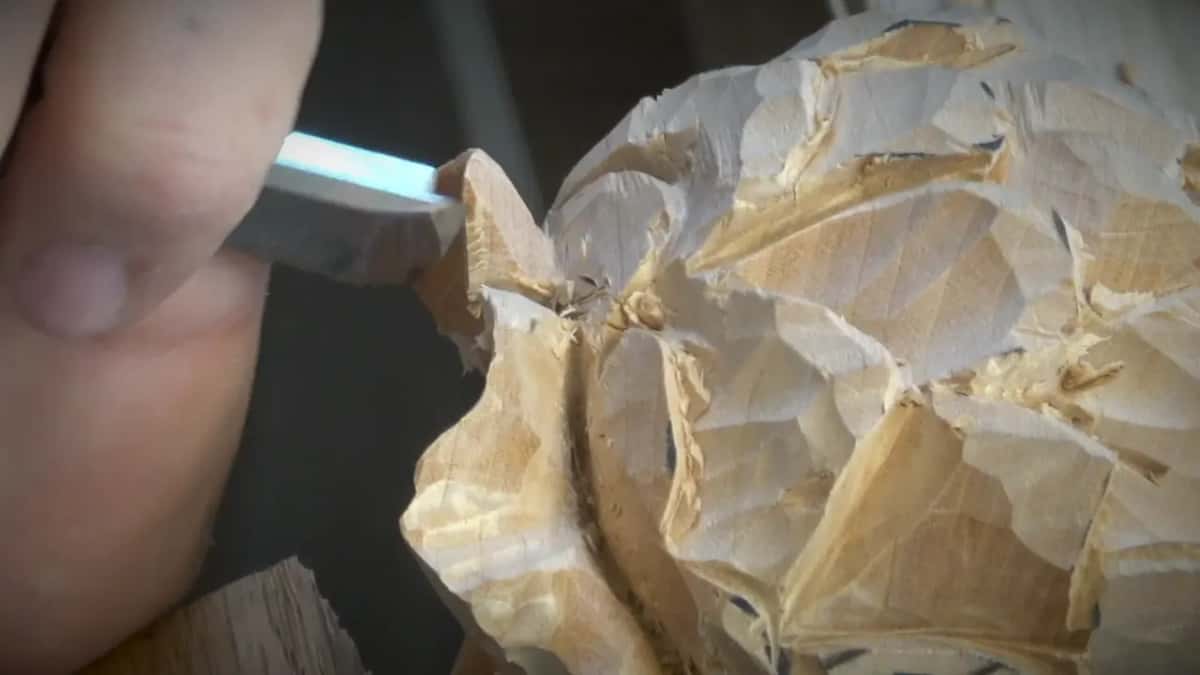
Later in part two a smaller knife made the right shape in one place. Again, don't want to force it, I said. It's better to go back with number 11 in this case, half a millimeter, and remove all that fuzz.
Why drill a hole in a carved flower?
To get the area between two petals excavated really deep, so it reads as an illusion coming from inside. That was part three. I had just planned to take off all the walls with my 11s, at 1 mm (about 0.04 in) and 0.5 mm.
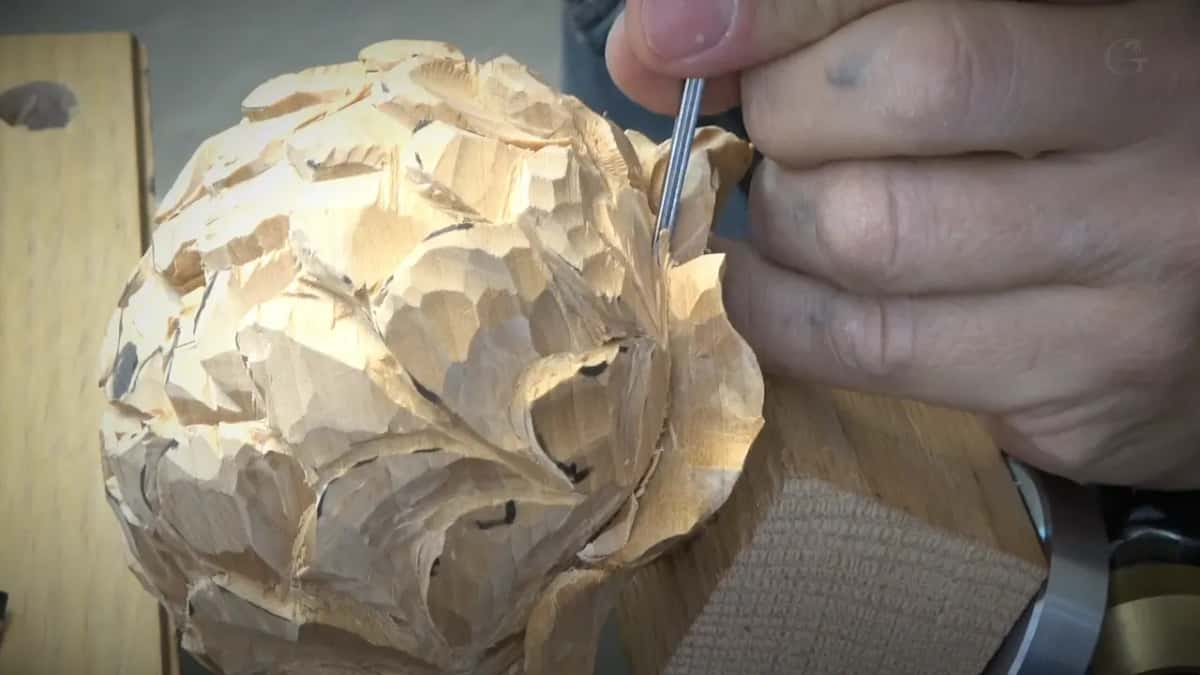
A couple ways I could do the deep part. One of the ways, sometimes I do, I just take a drill and a tapered bit, and I drill that inside. I drilled one really deep and said I could do the same right here. And if you would ask me why, it creates a beautiful vanishing point.

Some spots only. Just make sure you drill toward the center, like you know how the flower grows, and each one had to move a different direction. And I go deep. I really go deep, and that's going to help me with the carving.
Two parts later I said the other half of it. I know it's kind of scary to drill those holes, and you really don't have to. But I really like the idea, really 3D look inside, and that's the only way, well, at least in my opinion, to do that.
How deep should the drilled hole go?
Less deep than mine is fine. There's no need to drill as deep as I do, I told you in part five. You can drill less, but I kind of like it.
No rush, either. Later on, you will see exactly where it's supposed to be. At the close of part three it looked like I was okay right then with certain spots, I said.

Partway through part five it looked like my hole was disappearing, so I needed to recreate it. Then I went as far in as my gouge would allow me. A small spoon gouge could go there too. If you do have one, it's a good idea to use it and excavate even deeper.
How do you make a drilled hole disappear?
Bring every pass to that hole from all the sides, with a small gouge. Part four had that goal, to make the hole disappear, because right then you could still detect a kind of round hole.
It began with a pass to the center. A small gouge brought it in, to make it grow from inside out. Then a number 3, carefully, because right there I was working just along the grain, and I easily could destroy that. Maybe I can use an even smaller gouge, I said. Just bring all of it to the same hole.
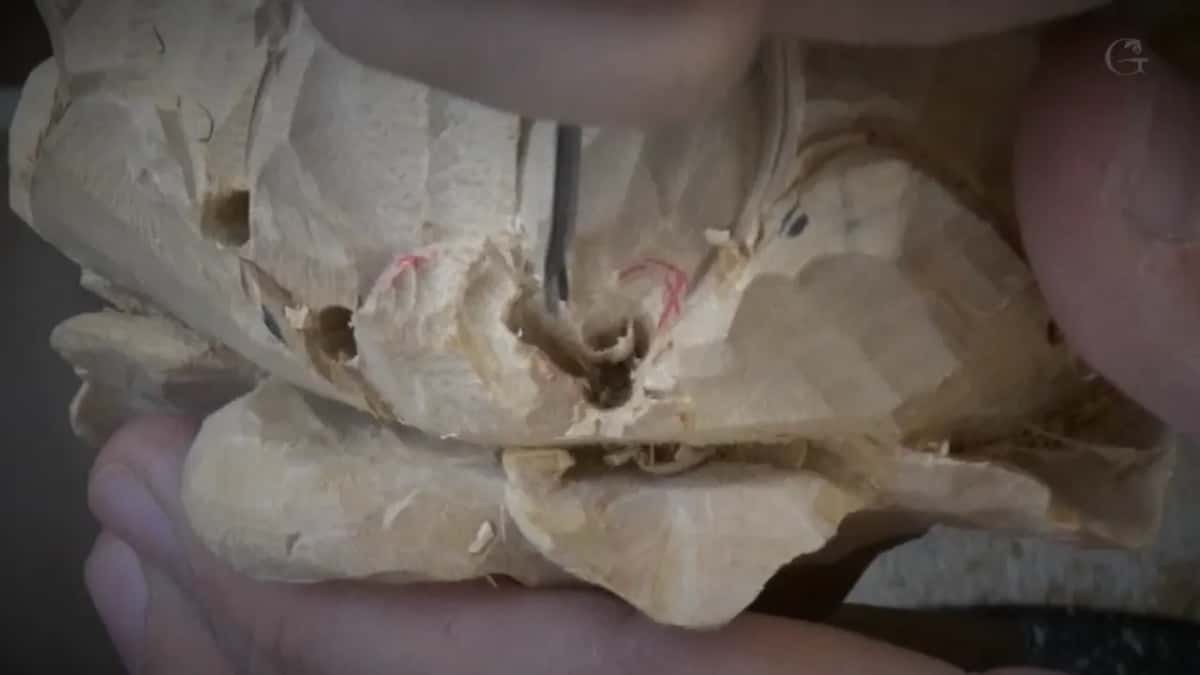
The number 11 went in, maybe a knife, then a small gouge to clean it again. That actually creates the really 3D look, depthness.
Part five kept the same idea on the other side, using a small gouge, an eighth of an inch (about 3 mm). A lot of excavation with the small, tiny gouges. After that came an even smaller one, worked from underneath of the petal. From above, you'll never see that hole, but it will give a beautiful 3D look.
What do you do when you can't find the hole?
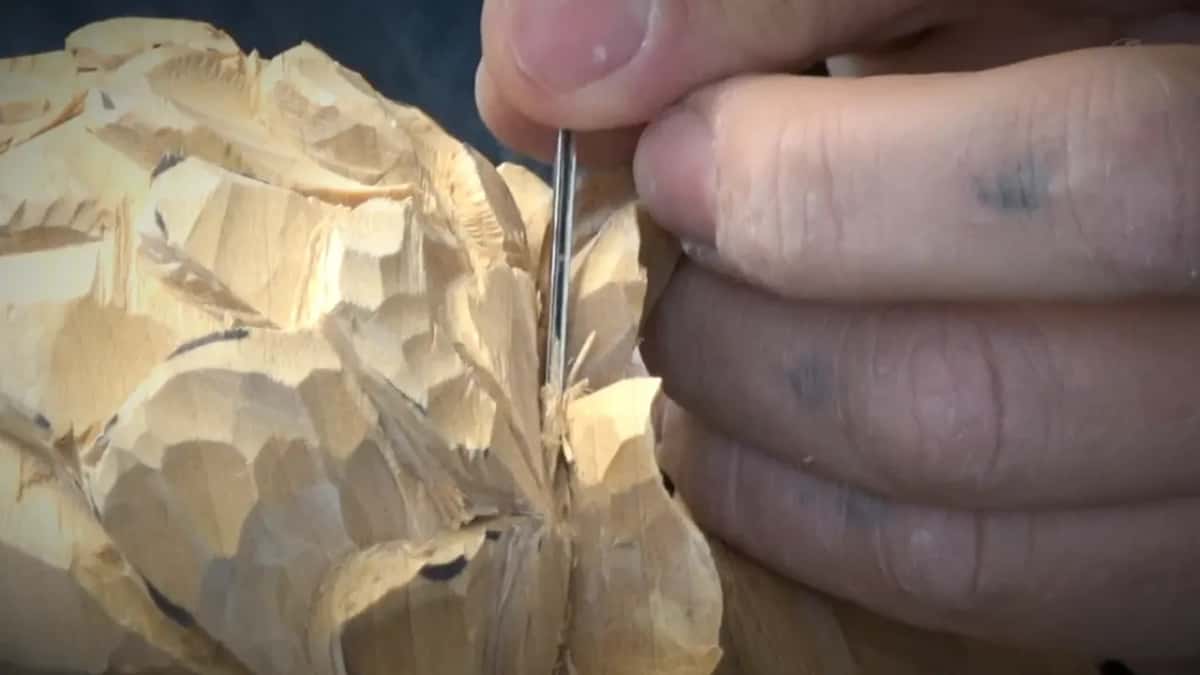
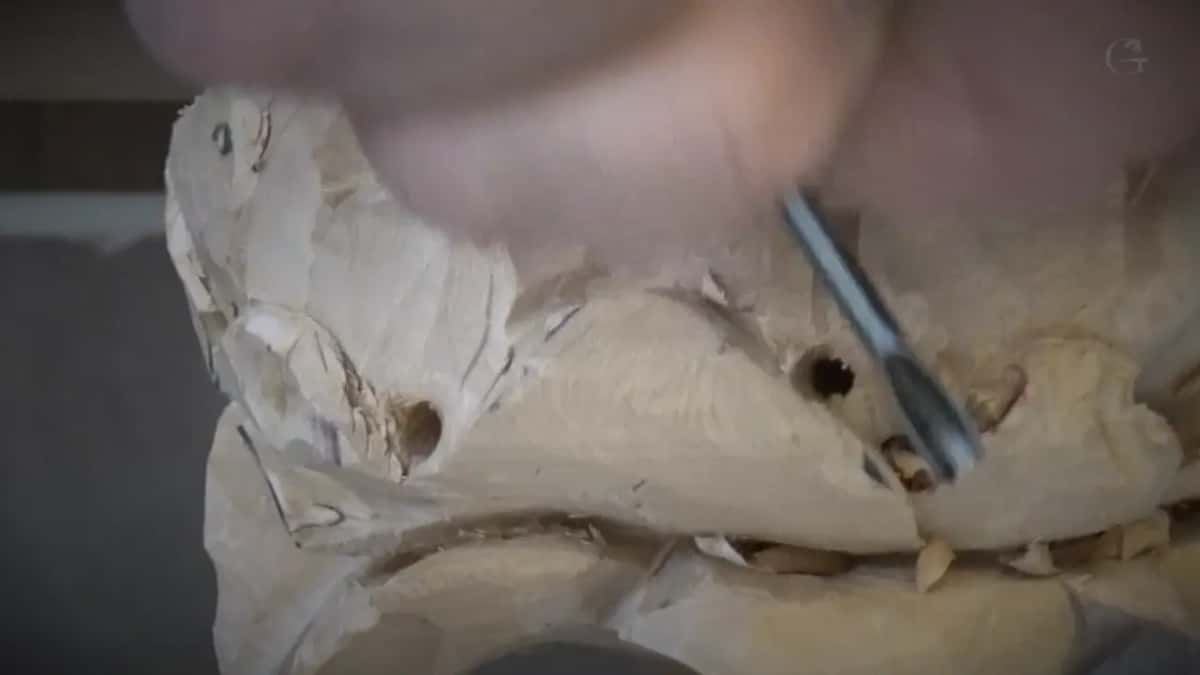
Put a toothpick in it. First I attacked from one more side and told you I doubt you're able to see that on the camera, but just believe me.
By then my hole was much deeper. What I could do is use just a toothpick and get inside of this hole. That way I'll see where the hole is, and keep bringing my passes to it until it disappears.

The junk has to come out too. Now I need to take all the junk out, I said in part two. It's already loose, it just has to be removed from inside. Sometimes that's not easy. Kind of hard, but I have to.
There was junk in lesson 48 too. After I took the half mil in until I made my vanishing line, I called all of it junk, and said later on I could just use an air compressor probably, and blow that all out.
Do you drill between every pair of petals?
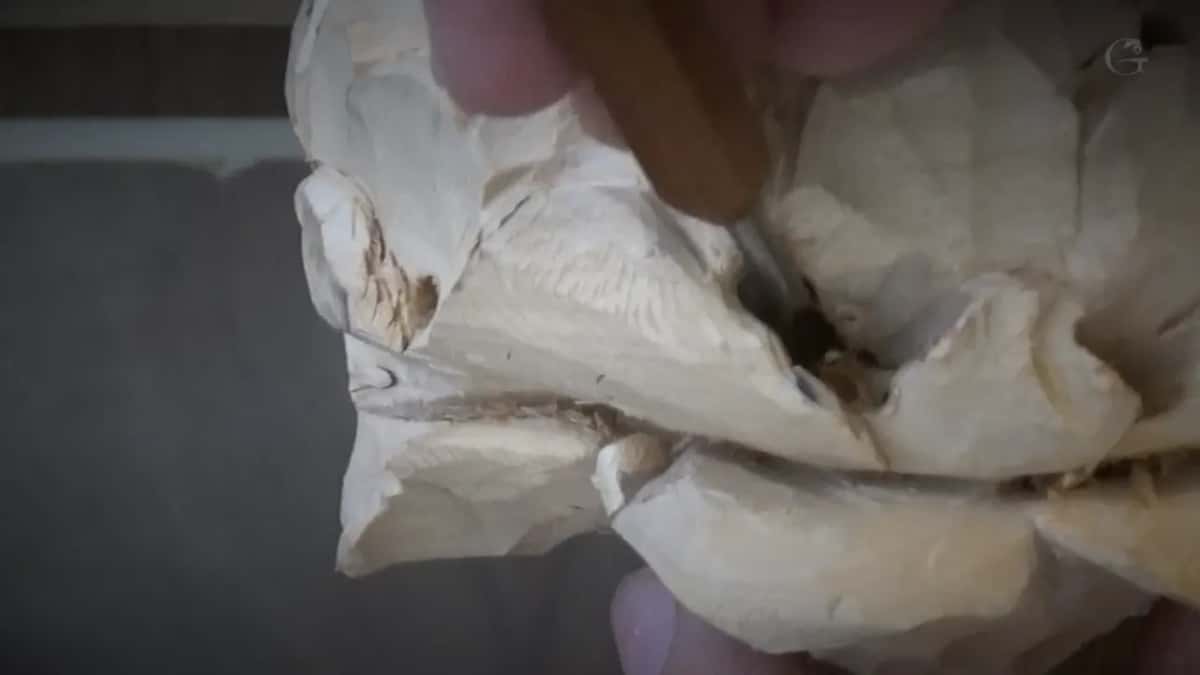
Only some spots. Part seven had the same idea, except I didn't drill a hole there. I don't have to drill everywhere, I said, but I still had to work and undercut under that petal.
The reason, because I still want to connect this one to that one. A hole means bringing all things to the hole, and I'd lose my connection point.
Like I said, those holes aren't needed everywhere. Do them all over and it won't look as nice. It won't look natural, because some petals are actually closer to each other and some are farther, and when you do the hole, it creates really big spaces. That's not always looking good.
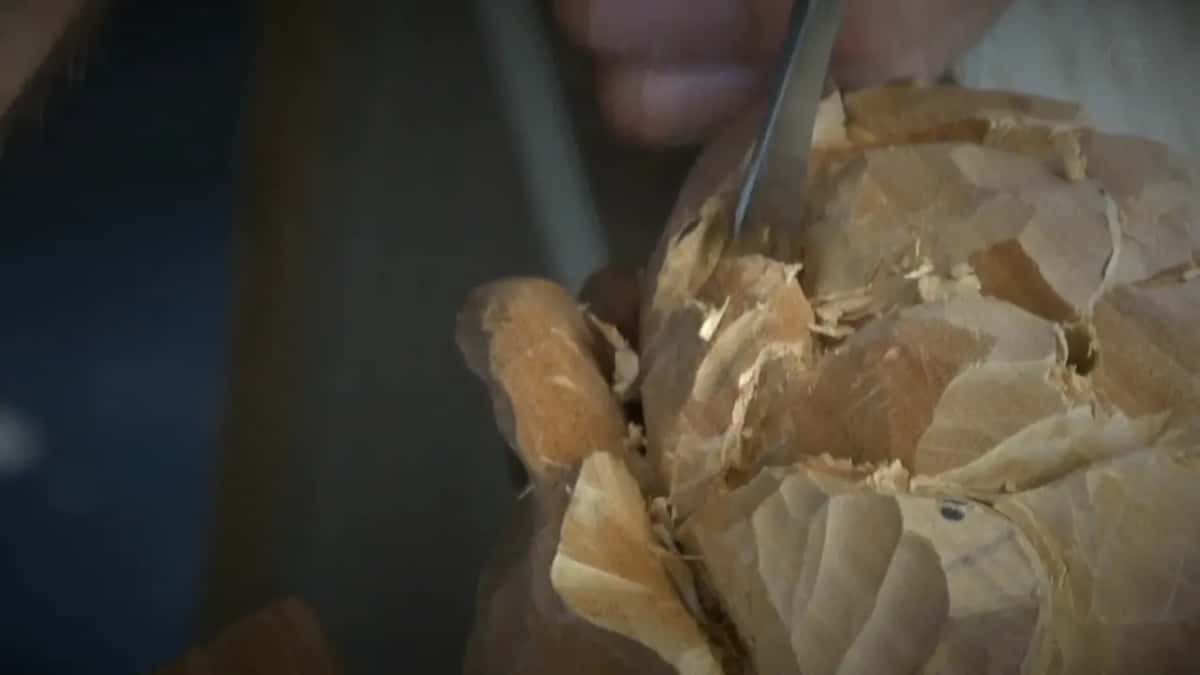
At one join the 11 at 1 millimeter was enough. I like how deep it is right now, I said. Let me keep it. It does create enough shadow.
The tools I picked up in lesson 45, part by part
Each tool below is one I named on camera, with a size where I gave one, and the part where it shows up.
| Tool, with the size I gave it | What it did | Part |
|---|---|---|
| Knife, in a few places | Can reach a vanishing point where the grain allows | First |
| Number 11, half a millimeter | Went deeper, attacked from the opposite side | Second |
| Tapered drill bit | Went really deep, aimed at the center, in certain spots | Third |
| Small gouge, then an even smaller one | Brought everything to the same hole | Fourth |
| Just a toothpick | Showed me where the hole was once it got much deeper than before | Fifth |
| Back bent number 25 or 7, 3 mm | Undercut where a straight tool was in my way | Sixth |
| Number 4, about a quarter inch | Worked inside | Sixth |
Whether carvers have a favorite gouge is what lesson 33 asks.
What keeps a fragile petal from breaking?
A connecting point, and no pressure on it. In part four I said I could completely separate one petal from the rest, or I could keep a connecting point, which is sometimes a smart idea, to make it more solid. Otherwise, it will become fragile, which you can break. I'm not sure. Should I? We'll see how it goes.
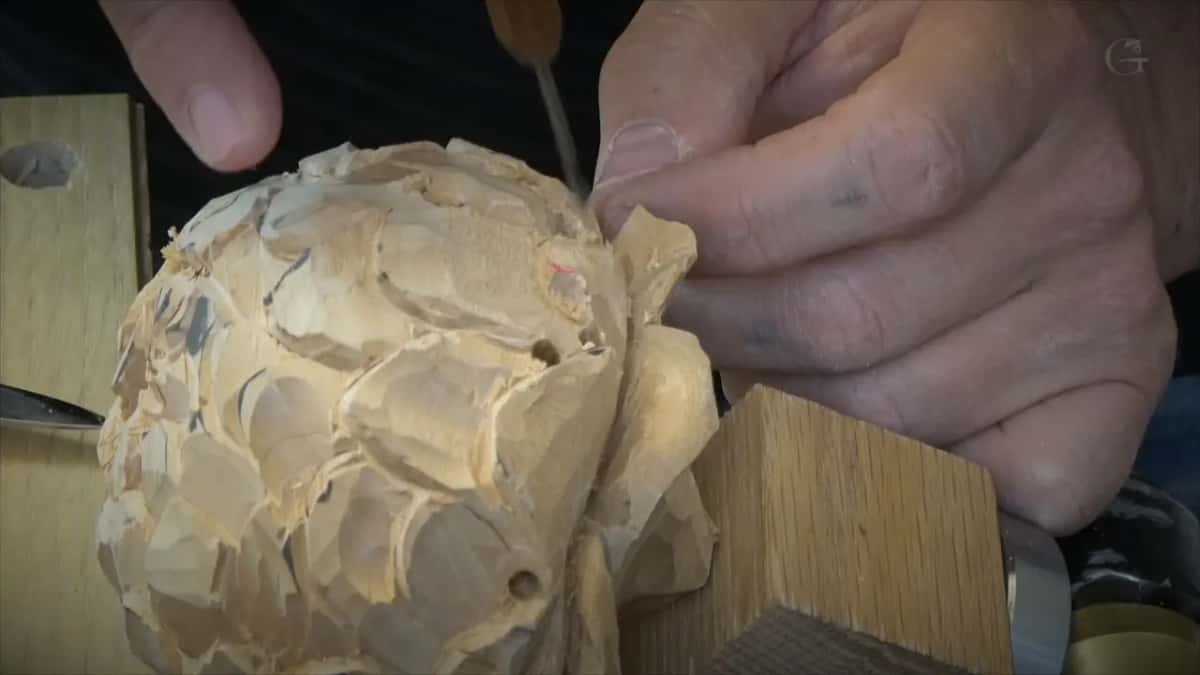
The sixth part had me trying to keep my connecting point, and I still had to clean around it with just a tiny number 3. If I'm not able to keep it, I'm okay with that. That should not be a problem.
By part seven one petal was already fragile, and I said I can't crank it against this one. No pressure. I can't put too much pressure at all.
I owned up to that habit in lesson 47. I found myself guilty also, when I'm working like that, and I have a tendency to crank.
For how thin a carved leaf should be, see lesson 7.
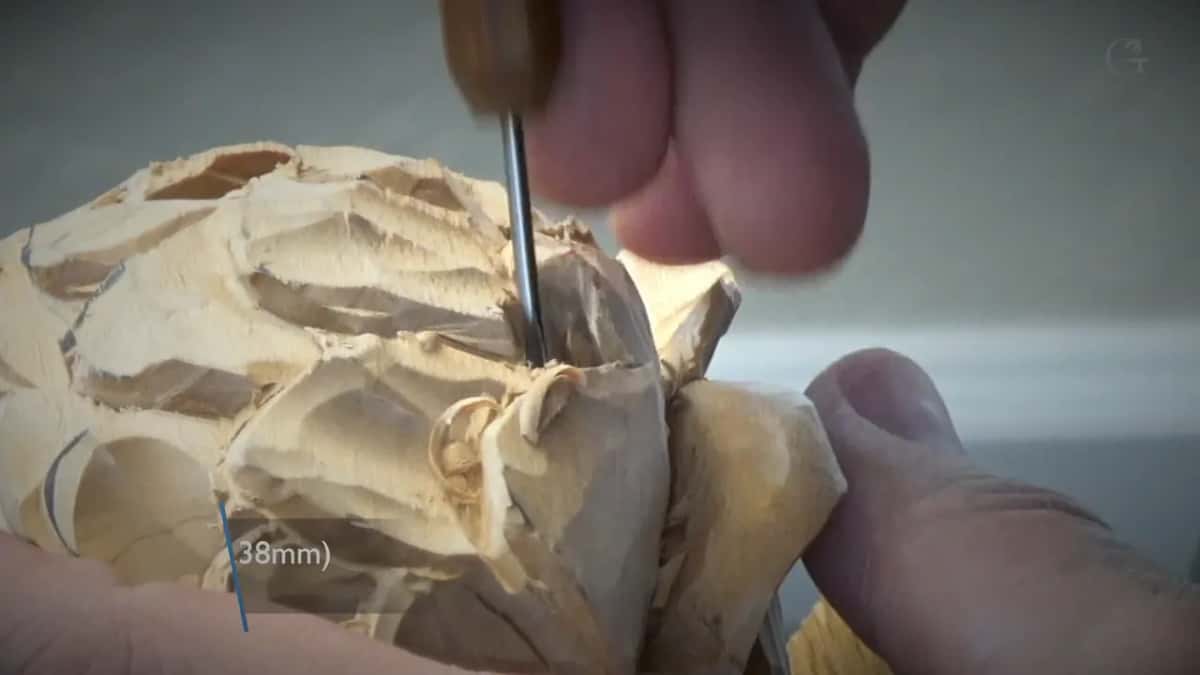
Does the gouge ever go all the way through?
In one place it did. Part six is where I said I'm really happy I am all the way through to another side, even if it won't be visible. Well, maybe it will be visible. But you can see now I can easily place my gouge or veiner inside, and the light will travel there.
Then my goal was to remove as much of the material as possible and make those petals as fragile as possible. And they will be fragile, of course. One area still had too much material on one side, and I had to kind of undercut it.

Why use a back bent gouge for the undercut?
A straight tool gets in my way. For the undercutting I could use a back bent, and this one is a number 25, 3 millimeters (about 1/8 in). Probably a number eight or seven would do also, the seven at 3 millimeters too.
I gave the reason right after. A straight tool will be on my way on this side, so it won't be possible for me. Although maybe with the small one, I'm still able to. But some areas I just absolutely can't. With the back bent, I can actually go even deeper inside.

If you don't have back bents, small tools like the Dockyard brand are excellent tools for the flowers too. Part five is where I said that with flower carving I use small tools a lot of times, like this one, for example. It's by Ashley Iles, Peter Benson. Detail tools or micro tools, but it's actually an excellent tool just to work around in areas like that.
The leftover wood between carved petals gets its own page in lesson 35.
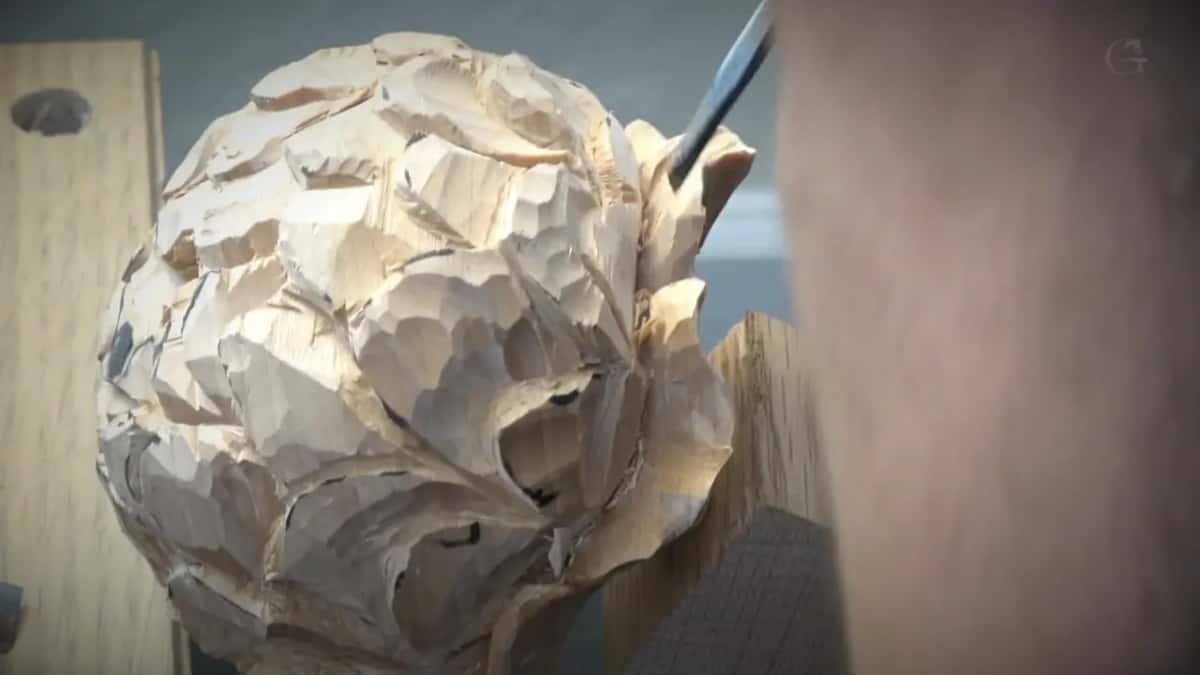
Why no sandpaper on a carved flower?
The tool marks stay, and they make the light play. Like I mentioned before, I'm not going to use any sandpaper. So the passes have to be clean.
When I'm saying clean, just make sure your tools are sharp and you're going the right direction with the tool, especially when you're blending. And all of those ridges, the tool marks left on the petals, will create a light play too.
Earlier in the same part I put it plainly. Tools absolutely must be sharp, or you won't get the same results I have.
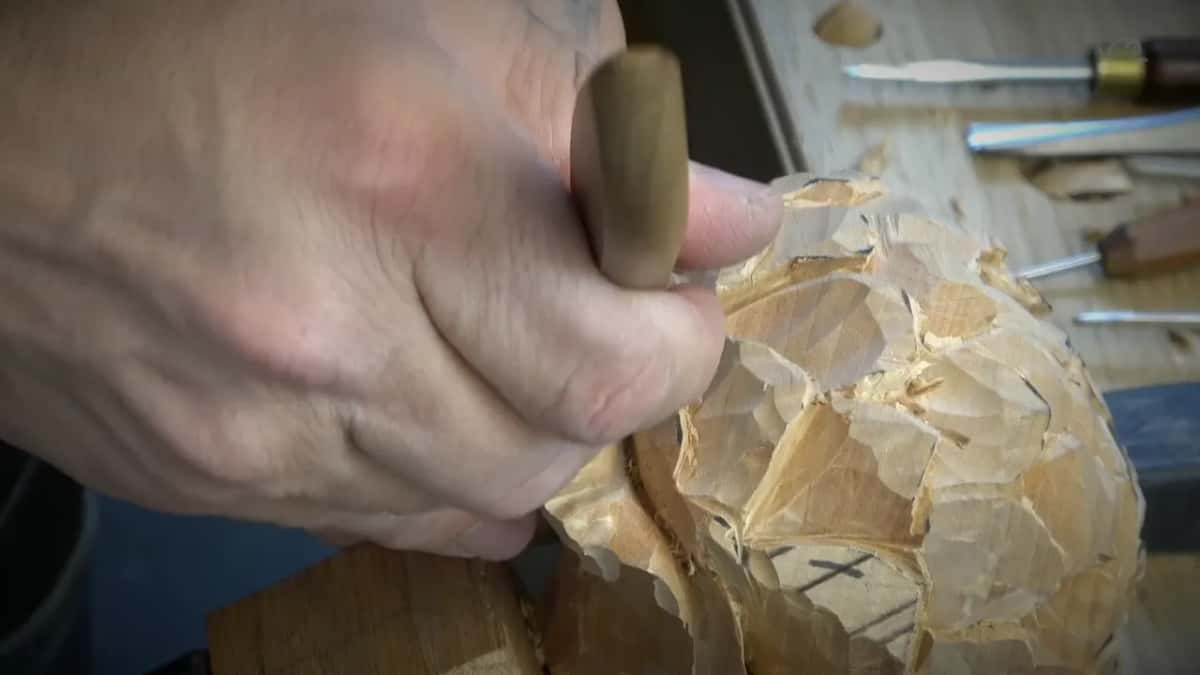
Artists have their own word for strong light set against dark. Wikipedia's page on chiaroscuro says they also use the term for contrast that gives a sense of volume. On this flower the dark comes from digging. You can see how deep the excavation is right here, I said in part six, and believe me, it will create a lot of shadow.
Are flowers harder to carve than wildlife?
For most of the people, I said, flowers are the most complicated type of wood carving. I know if you never tried that, you probably don't believe me. And you could say no, wildlife is much more complicated.
I've done wildlife. Flowers are a different type of complication. With wildlife you have to be accurate in how the animal is looking. But how deep you excavate with the flowers, that's the hardest part of it. So it's not as easy as it looks.

I repeated myself in part six. The reason flowers are most complicated is the amount of undercutting you have to do, and you have to train to do the undercutting the right way. Of course, not every flower is complicated, and you can do one the easy way without too much undercutting. I'm talking about the more realistic-looking one. That's the goal.
Lesson 36 asks whether a carved flower has to look realistic, and lesson 43 which flower is the hardest to carve in wood.
Does the flower stay round with all those curls?
The outline does. Part seven had a curl outward and then inside, then a small gouge, an eighth of an inch, for a concave cut. I still keep my overall shape. Shape is still the same, round, because visually you still catch that edge. But all those crazy movements on the petals, they just create a beautiful thing.
Which way a petal should curl, and whether the wood tells you, is what lesson 46 asks, and lesson 39 asks whether carving is really just concaves and convexes.
Where lesson 45 ends
With a ridge. Near the end of part seven I created a ridge, then used just a number 8 to blend it nicely. Not sure if you're able to see the result, I said. Definitely it's not the end yet.
Just before this one, lesson 44 asks whether you can break a wood carving tool. The videos of all seven parts, and of every lesson on this panel, come with tuition at the school.
How it's done
- Start the groove with a number 11. Use the 1 mm 11 between the two petals, attacking from one side and then the other. Here and there a knife can do it, where the grain direction lets it.
- Follow with the half mil. Switch to the half millimeter 11 and go in until you can't even see where the groove ends.
- Take the junk out. Everything in there is already carved loose. It just has to be removed from inside, even when that is kind of hard.
- Drill only the spots that need real depth. With a tapered bit, drill to the center, the way the flower grows. Skip the joins where petals sit close, because a hole makes a big space.
- Bring every pass to the hole. Small gouges, 1/8 in and smaller, from every side, until the round hole disappears.
- Find it with a toothpick. Once the hole is deep, put a toothpick inside so you can find it, and keep carving toward it.
- Undercut with a back bent. If a straight tool is in your way, a back bent goes deeper inside. Leave a connecting point where a petal would get too fragile.
Frequently asked questions
Is the carver's vanishing point the same as the painter's?
Only the name is shared. A perspective drawing has a point where parallel lines seem to meet, as Wikipedia puts it. Between two carved petals, mine is the bottom of a groove taken so far down that its end drops out of sight, done by a number 11 or, in places, a knife.
Can you carve one without drilling a hole?
The first ones in lesson 45 had no hole at all. A number 11 went in from both sides, then a smaller one at half a mil, as far as I could go. In places a knife can do it too. The drill only came out in part three, for a few spots.
Why does the drilled hole have to vanish?
A round hole would show. Right after drilling you can still detect a kind of round hole, so every pass from all the sides goes to it with a small gouge until it disappears. Seen from above, you never see that hole, only the 3D look it gives.
What to carve next