
Alexander Grabovetskiy, woodcarver, School of Woodcarving · Published 2018
Which flower is the hardest to carve in wood?
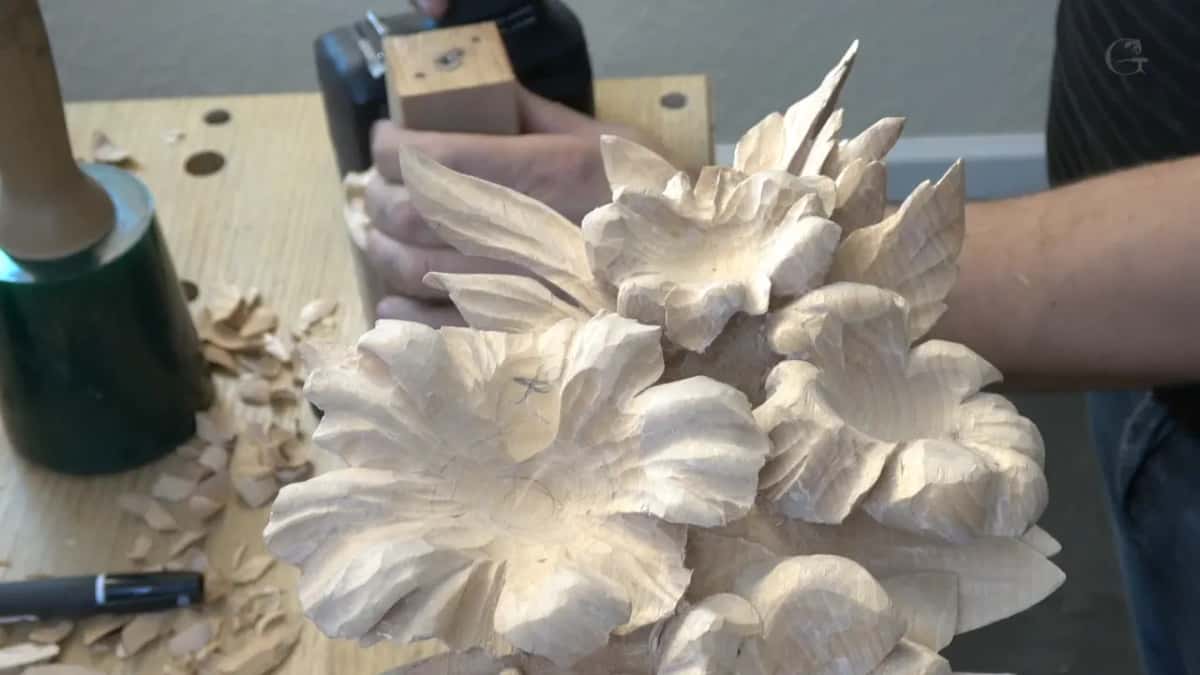
Quick answer: The peony is the flower I called the most complicated to carve, a lot more complicated than roses. Lesson 43 of my Hashemi course is where I said it, while that flower was still a rough ball on an oak block. The undercuts and movements that make it hard were still to come.
The hardest flower to carve is a peony, the one I called the most complicated flower on camera. It's a lot more complicated than a rose, actually. I said that in lesson 43 of my Hashemi flowers course, with the first V tool lines going round its petals. And I do love flowers.
I love carving roses, and I love carving different types of flowers. But the peony is complicated, I said, and that's why I really love carving this flower.
Do you want to see a flower like that come out of a plain lump of wood? Would you like to watch the first petal lines go on? Then come with me through all seven parts of lesson 43, one at a time.
At the end of it the peony still isn't the final flower. Where a point needs more, I bring in what I said in other courses, and I name each one.
What lesson 43 puts on the bench
A round shape first, a semi-perfect ball.
An oak block screwed on, and a small plate under it for the vise.
Hand pressure and time, and no mallet, since a mallet can work two screws even more loose.
Petals in many sizes, with a lot of waviness.
One slip that is okay now and a big mistake later on.
Which flower is hardest to carve?
The peony, by my own words in part four. The ball in front of me was covered in marker lines and shallow V cuts, and I said I know it doesn't look complicated now. But once we get all the undercuts, all the movements on this flower, it will be complicated. You'll see it, I promise you.
Then I caught myself. Well, I shouldn't say complicated, it's going to be beautiful. Complicated in a good way, okay?
Six lessons on, in lesson 49, I said something that sounds the other way round. There is nothing complicated about carving somewhat complicated flowers, because it's pretty much just repeating the same cuts over and over again. For me, the most challenging part is how nice I want to see my final look. You can go as extreme as you wish, and there won't even be an end of it.

Is a peony harder to carve than a rose?
More complicated, by my words, and I love carving roses too. Four lessons later, in lesson 47, I made a petal curl outward and said you don't usually see too many curl outs on that type of flower, on a peony. It's mostly on roses. When you carve roses, you can see that movement outward.
I did it anyway. I think it creates a beautiful effect, and it gives a three-dimensional look.
Why does a carved peony start as a ball?
My goal in part one was to establish the form outside and make it round. Just like a perfect ball. Not a perfect ball, I said, but a semi-perfect ball, and that's going to be the base for all those petals.
It doesn't have to be perfect round. Small chunks of wood. Work your way from inside out, and just don't force it too much.
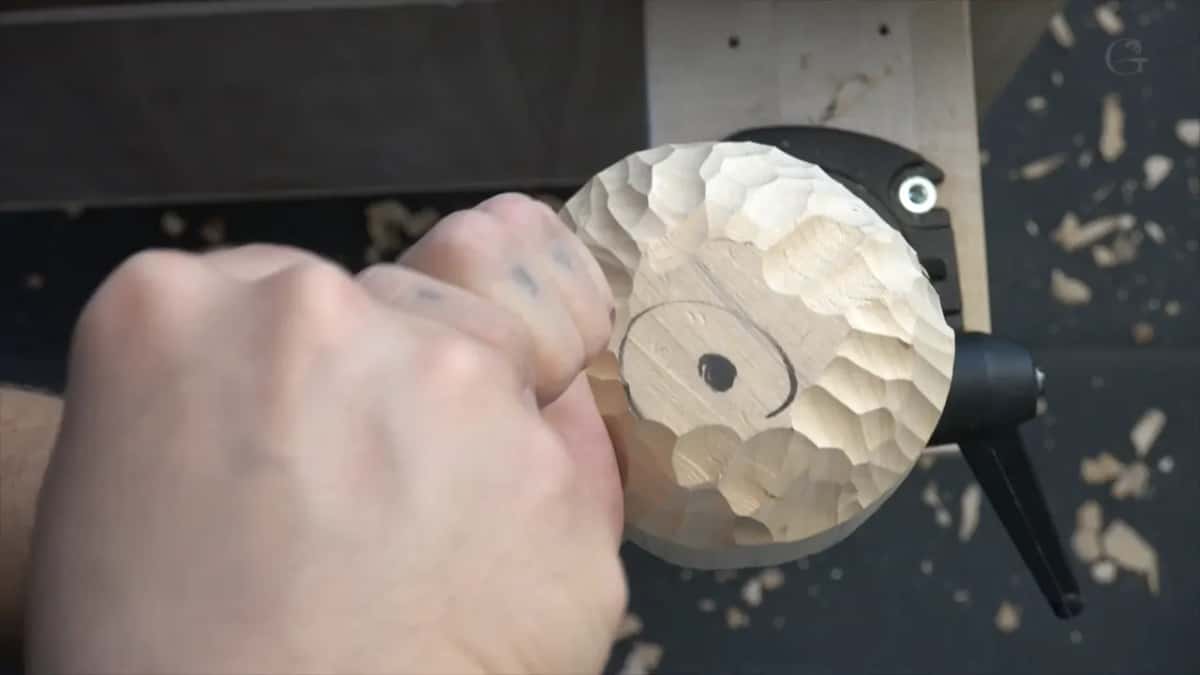
I could take it to the band saw and take some of the chunks off on an angle. I don't have to, but definitely I could, and if you wish, you can do that. I feel okay just with the gouges.
The block came from lesson 42. I cut it from a solid block about 3 5/8 inches thick (92 mm), as close as possible to the outside, because this one would be the peony, and it would be kind of rounded. About an inch (25 mm) goes down into its socket, and only two and a half inches (64 mm) stand above.
How do you hold a round flower blank for carving?
On screws, on a block of oak. I cut myself an oak block about an inch and three-quarters square (44 mm), with a couple of screws in the middle, because you really need to make sure it's not wiggling inside.
Mine started at two and a half inches long (64 mm). If that's not long enough, I said, I'll use three-inch screws (76 mm), or even four (102 mm), and it looked like I did have to use a long one. Right in the middle went a thicker screw.
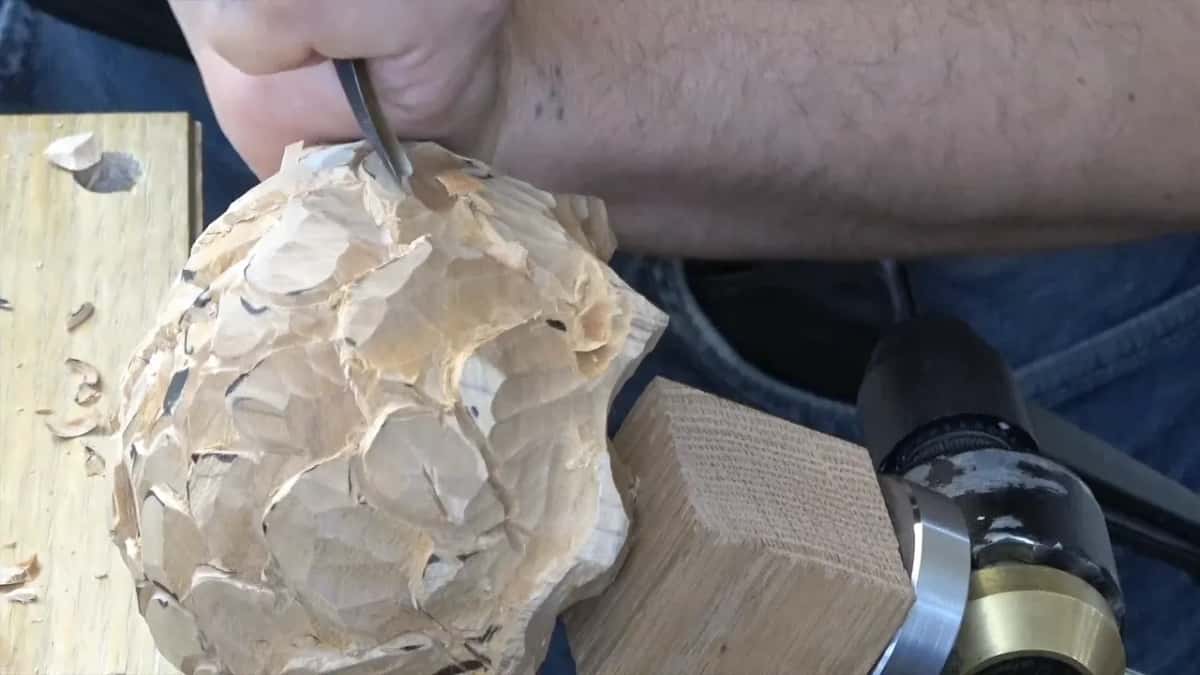
It's still kind of wiggling, but it's okay. Next I mounted my plate for the vise, the smaller plate, only two inches (51 mm). It's my preferred way. I know it's not completely tight. How the hollows for these flowers were dug is in lesson 28.
Can you use a mallet on a blank held by screws?
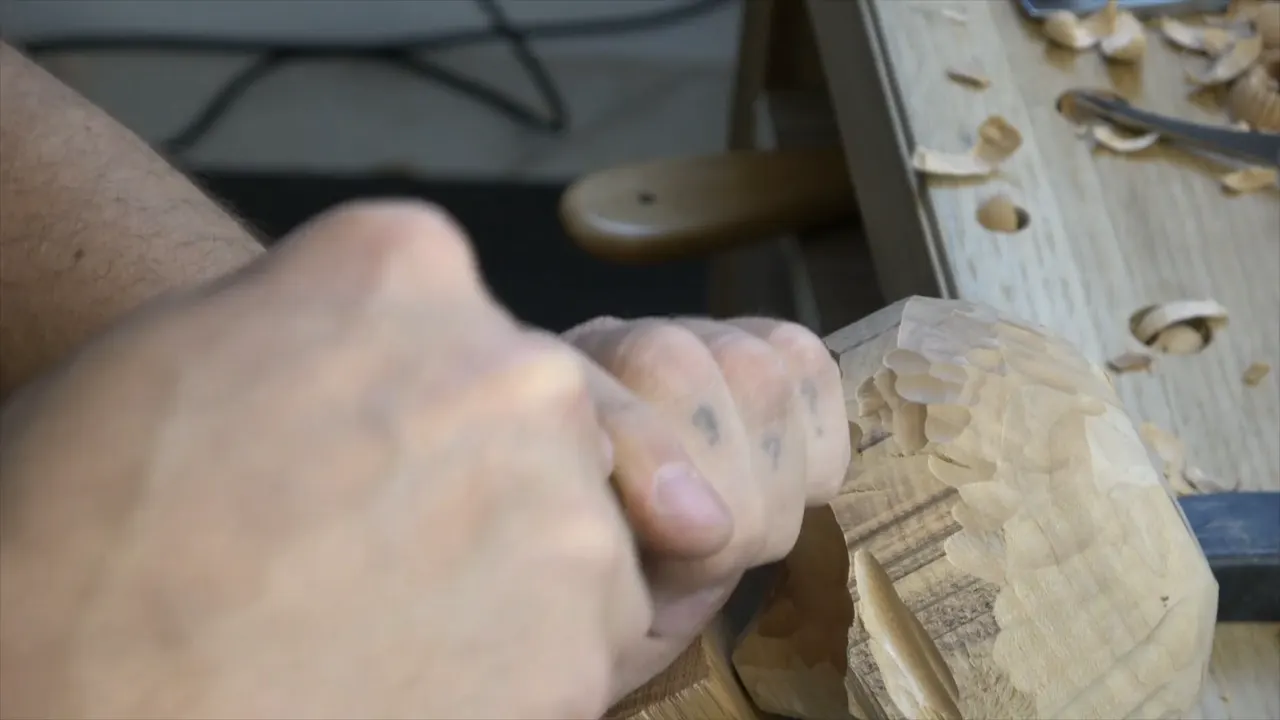
You still could. But with the mallet you create too much shakiness, and even with two screws they can become even more loose. That's why I was using just my hand, and taking my time.
Try not to force it too much, even with two screws in there, because it's not that solid. It was still moving in part three.
In my Roman acanthus course I said to always find the support for one of your hands, and never hold your tool in the air. Sometimes, when you're working on really complicated flowers, you won't be able to find any support. But whenever you can, find it.
Which gouge do you round a flower blank with?
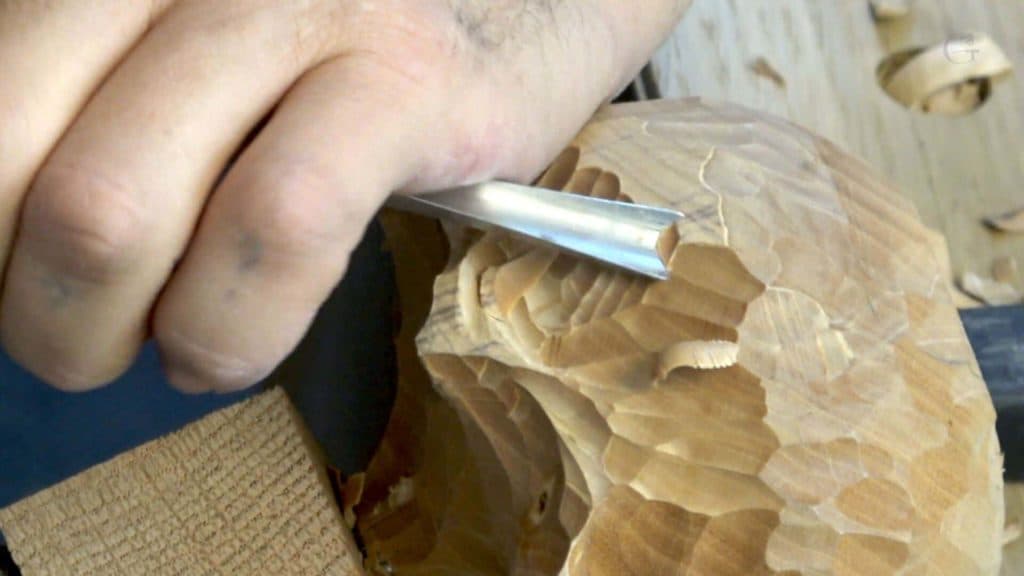
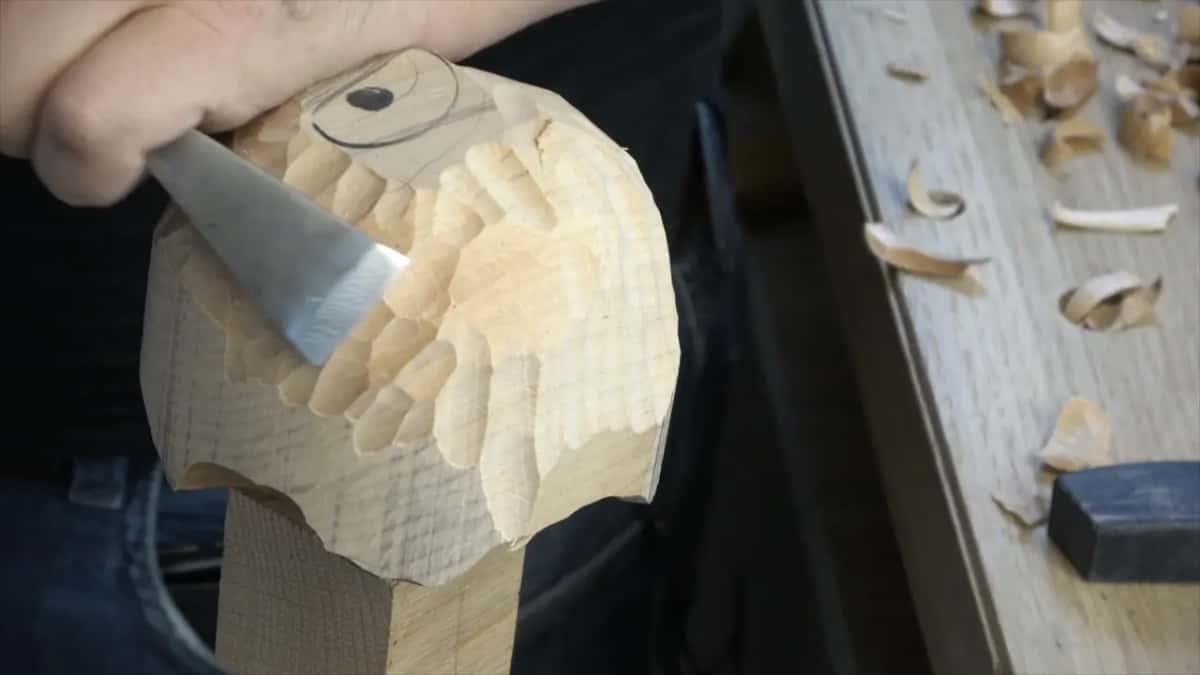
A number seven, and then a smaller one. I had the 3/4 inch (19 mm) in my hands, and if you feel too much resistance with it, just try to use a smaller one. Sometimes smaller tools are less resistance, and you can actually do a better job.
I went to about 5/8 of an inch (16 mm). A flatter gouge, a number three, cleaned the shape a little, and I don't have to take those ridges completely out, I said, just semi-clean. And I said I'm not sure if I even make sense sometimes when I'm saying something.
| Stage | Tool and what I said | Part |
|---|---|---|
| Rounding the ball | Number seven at 3/4 inch (19 mm), then about 5/8 (16 mm), less resistance | two |
| Semi-clean ridges | A flatter number three, ridges not completely out | two |
| Opening the downward petals | Quarter-inch or six millimeters number nine, because of the end grain | three |
| Wavy lines | V tool, number 16, as wavy as possible, and not the final cut | four |
| Corners in | Skew gouge, or a number 12 knife I really like | five |
Where is the center of a carved peony?
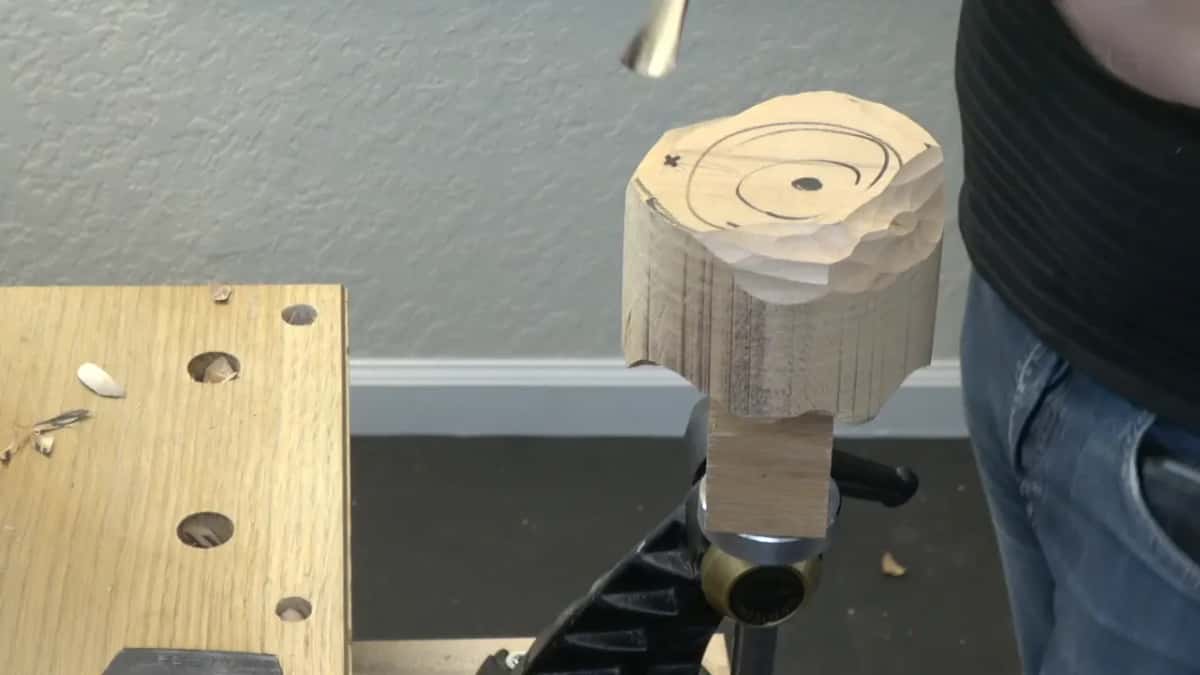
Right here. Please note, I said in part two, that is not a perfect sphere, because my center point is right here, and that means my rings will go that direction.
In part four I chopped a little more to shape one side, because my center will be somewhere right there. I can't have too much space between the wall and the point on this side. So it's more sphere right here, and sharper on this side.
Which way do the petals on a peony grow?
Both ways. The first ring of the flower grows from inside and curls downhill, and most of the peony petals grow uphill. But it would be unnatural to have only one ring going downhill, so some areas, here and on the other side, grow downhill somewhat too, and I excavate the area inside them.
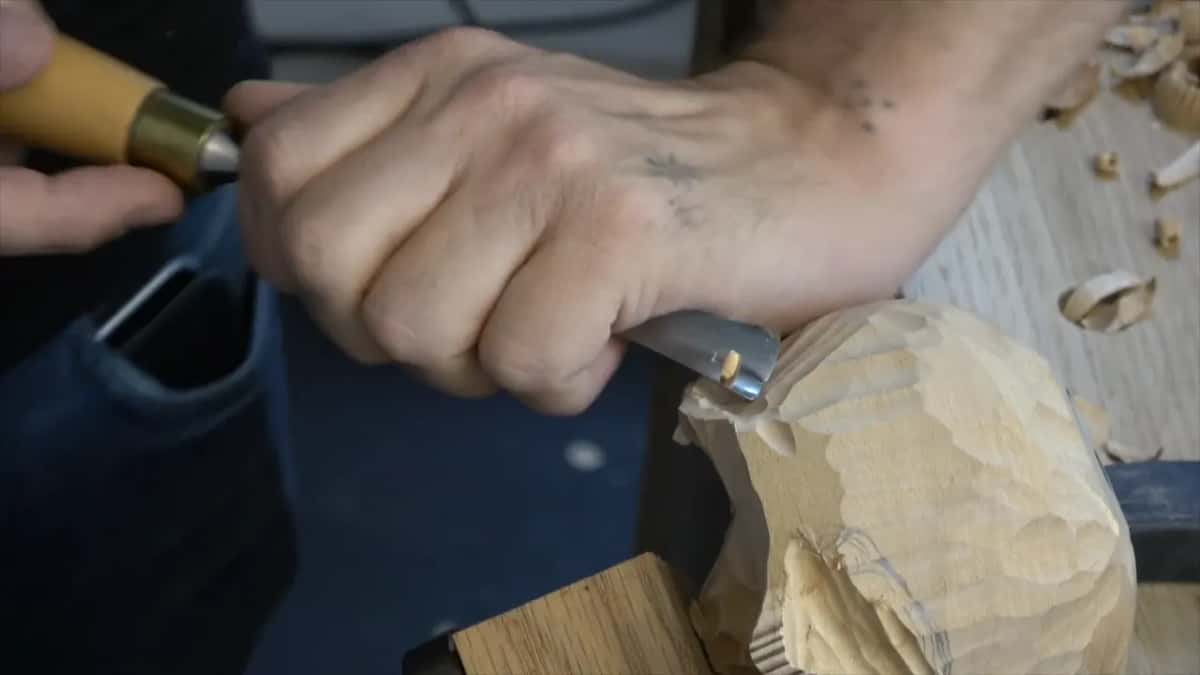
It'll look more natural, I said back in part three, with the quarter-inch number nine on the end grain. This one will grow downhill, and the next one uphill.
Oh, by the way, I forgot something in part four. Closer to the bottom you have lower petals, which also grow from inside, and to forget them is a big mistake. If my arc up here is high, the low one is about half of it. Lesson 29 asks why a carved flower starts out as a donut.
What should you mark the petal lines with?
I used a marker, just because I'm filming. I encourage you not to use a marker, just a pencil. Well, I'm not sure if it's better or not.
Actually, pencil is also not the best idea, because your piece becomes really dirty after too much use. What you could use is just a V tool, as a marking tool, and make some cuts that determine all the divisions. A center line that cleaning rubbed out is the subject of lesson 38.

Should carved petals all be the same size?
Never all the same. Make sure you're not creating every petal the same size, because there's got to be some variation. Some of them bigger, some of them smaller, and don't do the perfect form.
The closer to the center I get, the more petals there are. Later in part four I saw too big a space I left, and I said maybe I have to make a subdivision somewhere right there.

I teach the same rule in my design course. I showed a picture where the peony is the main guy, and said what surrounds that flower cannot be the same size. You shouldn't do the same size leaves or flowers.
In another lesson of that course I said that if you take golden ratio calipers to a picture of my flowers, the peony falls exactly on 1.62. That peony is my main hero.
How wavy should the first V tool lines be?
As wavy as possible. I took a number 16 V tool and started my separation cuts, and even when you draw, don't create a really true arc. Some of mine don't even look like arcs.

If that is almost impossible for you, that's okay. Try your best, and you can always fix all the movements later. Still, if you can do that from the first cut, preliminary waviness, why not do that?
Any V tool will work, because it's just to make your divisions visible. Earlier on this panel, in lesson 30, I said the edge of the flower also has to be kind of wavy, because I want to do a complicated flower.
You can see in part four that I slipped with the tool a little bit and cut through. That is absolutely okay at this stage, I said, but later on it will be a big mistake. Absolutely a no-no.
Why is a skew gouge good for carving petals?
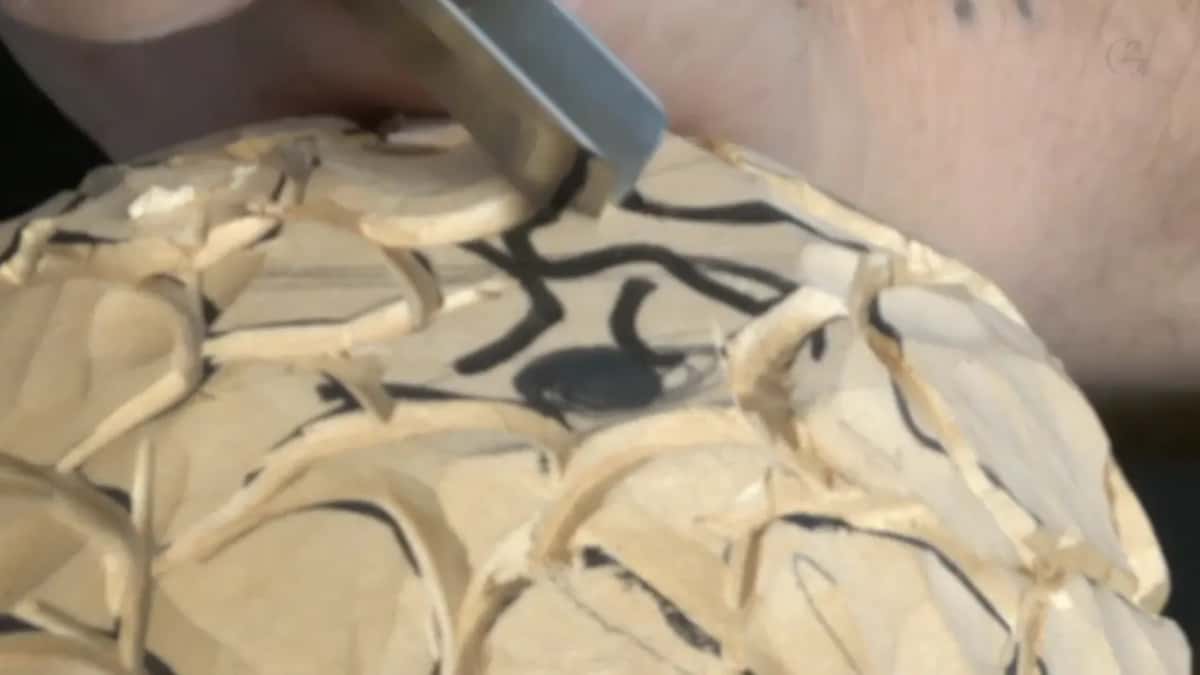
Pushed straight, it slices on its own. The next step in part five was to take those corners in, and I said one of the best tools for that would be a skewed gouge. Mine is a number seven.
If you ask me why I really like it, it goes back to slicing cuts, when you move your tool to the right or to the left and that creates the slicing in the fibers. On a skew, you don't even have to move it. You just push, and because it's already skewed, it creates that slicing on its own. It especially helps on the end grain. Lesson 23 goes into detail there.

If you don't have one, you could use just a normal wood carving knife. I really like this number 12. As you see, a knife is a really quick way to work, or, if you are blessed like me, you can use a skewed gouge.

Which petal goes over which?
You decide. You just have to make the decisions which petal goes where, which one goes above and which below. The petals grow from inside out, and the upper part is always above the inner part.
But between themselves, this one I went this way, and on another side I could go the opposite direction with just a knife. With the knife we're just taking down each layer, down and down. Don't worry if it looks a little chunky at this point.
Can you carve a peony the simpler way?
There is a simpler way. You could make it not as complicated, and the way to do that is just take those corners in, and it's still going to look nice. Or, as I'm going to do later on, excavate really deep, give the petals all different waviness, and work each petal separately.
If I missed something, I said in part seven, I can always catch it, because I'm going to work on every petal separately. We're going to design every petal separately.
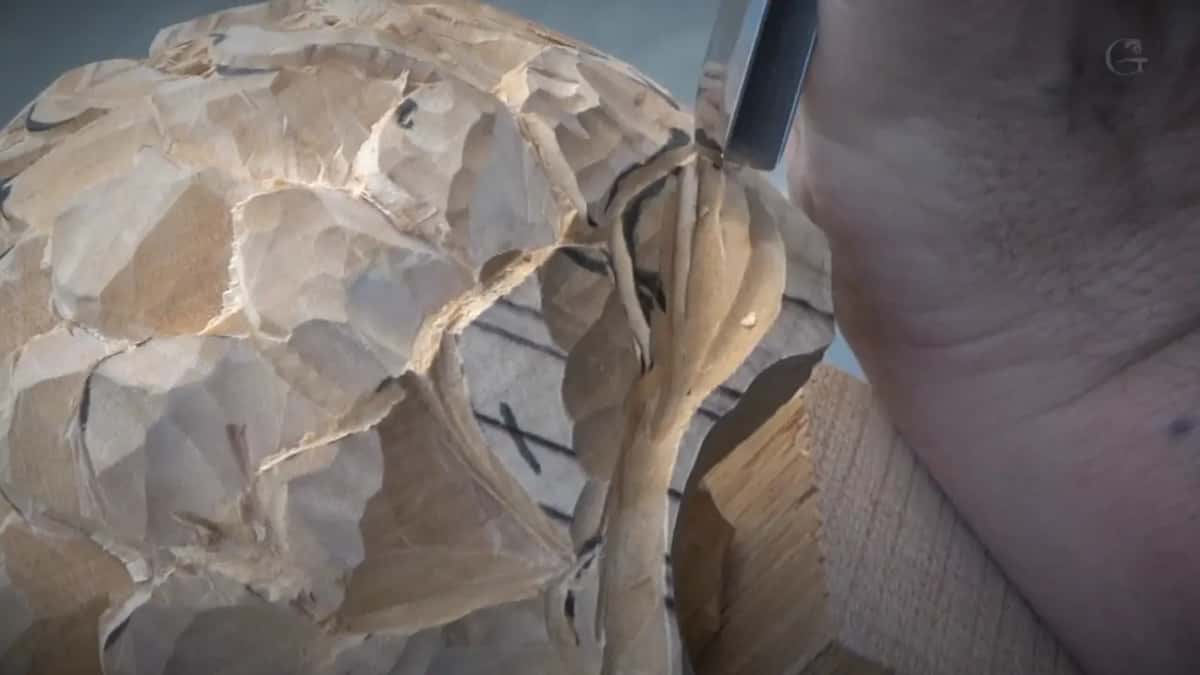
This type of carving is kind of challenging, I agreed in lesson 47. But if you'll be able to do a complicated flower like that, all other carving projects will be really, really easy. So I really encourage you to try the realistic flower.
How deep do you carve a peony at this stage?
Two answers, at two moments. Back in part three, opening the downward petals with the number nine, I was not going too deep, because it would be a big mistake if I did. Right now, I said, my goal is to establish the semi-round form.
By part six it was the other way. Don't be afraid to excavate that deep, because later on we'll still excavate really deep.
By part seven I started on the lower one with a V tool, step number one. Go as deep as you can, just as much as you can, because the deeper you go, the more shadow it creates, and the nicer it's going to look. Then I saw a natural split inside the wood. That will be my separation between the petals, I said, and I'll blend that in.
Where lesson 43 leaves the peony
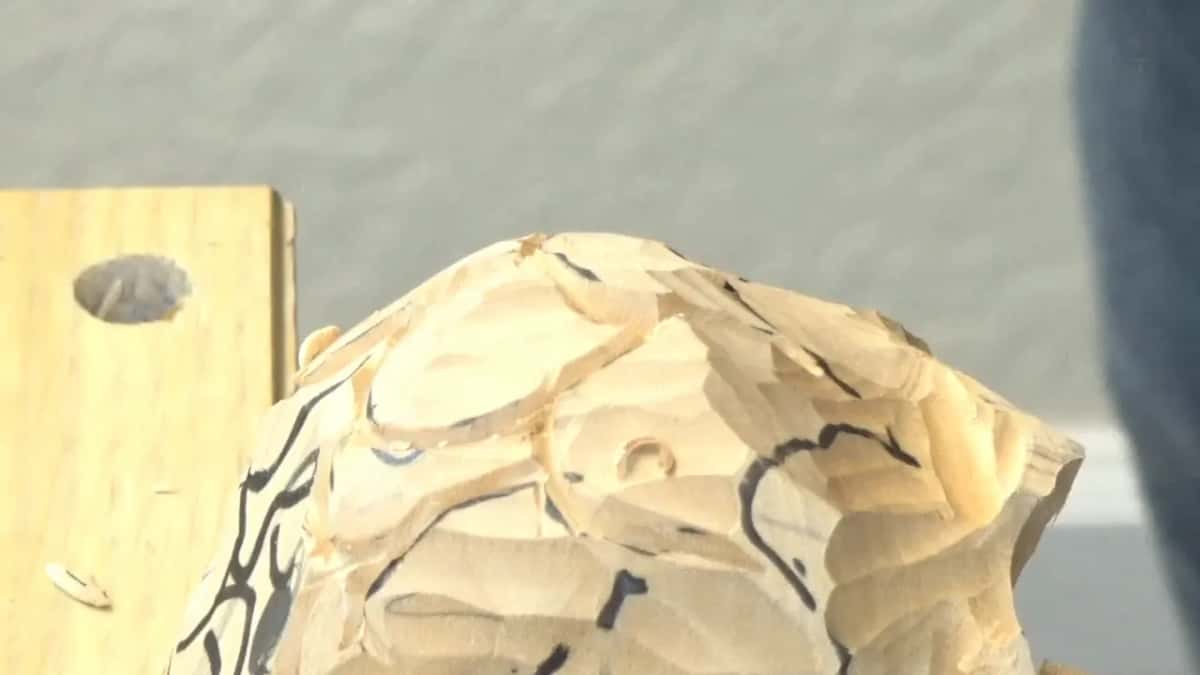
It's not the final flower yet, of course. I'm happy with what I see, and hopefully you can see the result too. I know it doesn't look appealing yet, but once we get this flower done, it will be really beautiful.
Would you like the undercuts next? The videos of all 49 lessons are part of tuition at the school, and lesson 44 comes next.
How it's done
- Mount the blank on oak. A small oak block, screwed on, with a thicker screw at the center and a small plate under it for the vise.
- Round it into a semi-perfect ball. Number seven gouge, small chunks, by hand. If the 3/4 (19 mm) gives too much resistance, go down to a smaller one, like 5/8 (16 mm).
- Shape around your center. More sphere on one side and sharper on the other, so there is not too much space between the wall and the point.
- Open the downward petals. A quarter-inch, six millimeter number nine on the end grain, and not too deep yet.
- Draw petals of mixed sizes. Some bigger, some smaller, with more of them close to the center. Subdivide a space that came out too big.
- Make wavy separation cuts. I used a number 16, and these lines only make the divisions visible, so a different V tool works too.
- Take the corners in. A skew gouge or a knife, deciding what goes above and what goes below, layer by layer, down and down.
Frequently asked questions
Why round a peony blank before drawing the petals?
Rounding comes first, because that semi-perfect ball is the base for every petal I drew. In lesson 43 it did not have to be a perfect round. I worked my way out from the inside with a number seven gouge and took small chunks of wood, with a band saw as an option I skipped.
How do you mount a round flower blank in a vise?
Mine went on an oak block close to an inch and three-quarters square (44 mm). A couple of screws held it, and right in the middle I used a thicker screw. A smaller plate, only two inches (51 mm), went on for the vise. Still a little loose, and okay.
Should you hit a screwed-on flower blank with a mallet?
Hand pressure is what I used there. A mallet still could be used, I said in lesson 43, but it creates too much shakiness, and even two screws can work more loose. So I used just my hand and took my time.
What to carve next