
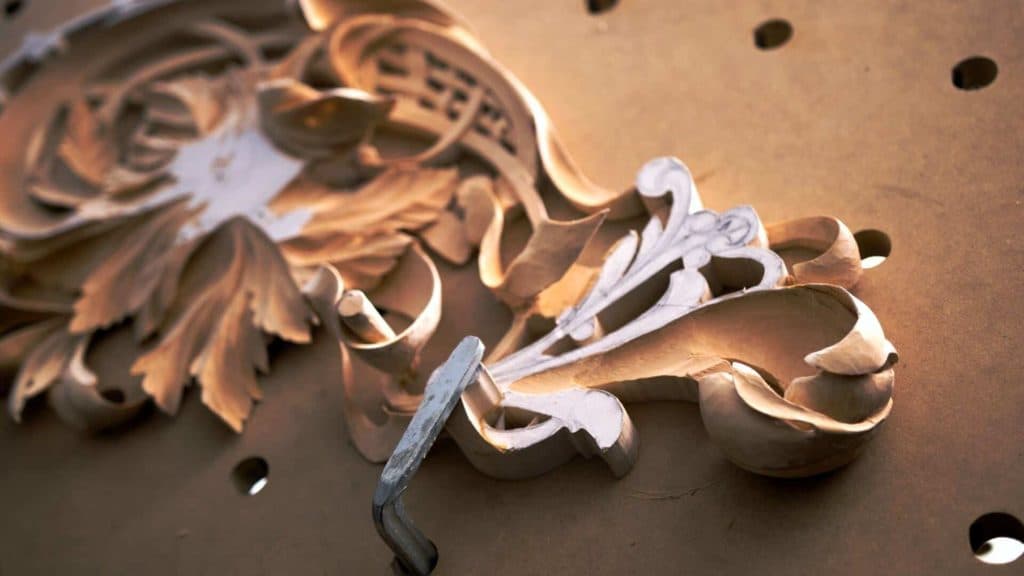
Alexander Grabovetskiy, woodcarver, School of Woodcarving · Published 2018
How do you carve an acanthus claw?
Quick answer: An acanthus claw is the head of an acanthus movement, so called because it looks like one. On this limewood panel it got three main divisions, a big eye and pipe, concave cuts for shadow, and a second leaf carved inside it, so the claw became double-layered.
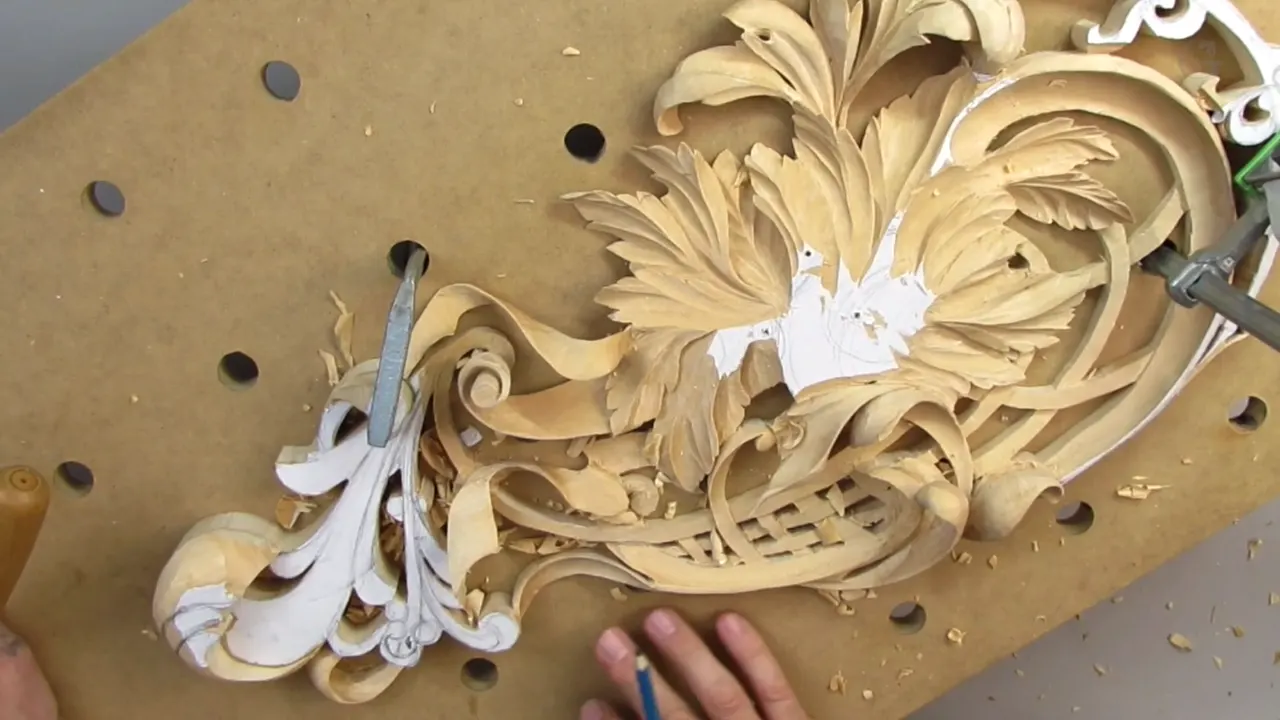
An acanthus claw is what I call the head of an acanthus movement, because it looks like a claw. On my limewood Hashemi panel this one got three main divisions, two big eyes and a smaller leaf carved inside the big one.
Look at the tip of the leaf in these photos. Does it curl over at the end? Does that curl have smaller parts of its own? Then you have seen a claw. This lesson carves one in four videos, and I said the tool and the size for most of the moves.
How I carve an acanthus claw, in six lines
Three divisions, marked by a number 16 V tool, 6 millimeters, a quarter inch.
One part goes underneath, really deep.
The eye is about 5 mm (3/16 in), because the claw is big.
Concave cuts beside the pipe make shadow play when the light hits.
Small tools fight the wood less, and small here is 10 mm, about 3/8 inch.
A leaf inside the leaf makes the claw double-layered.
Why do I call it a claw?
It looks like one. I opened this lesson by saying I would work on the beak. Then I said how I call it, claw. By the way, I added, acanthus itself is called like a bear's claw. Wikipedia's page on the plant gives its common names as bear's breeches and bear's foot plant, among others.
The Lily Box got a second reason. I call it a claw, I said there, because it has some subdivisions, and in the Venice Room I was more careful with the word. That's my name for it, but not everyone calls it a claw. To be more accurate, it's the head of the acanthus.
The ornament is old. Wikipedia calls acanthus one of the most common plant forms in ornament from the Greek and Roman tradition, and it shows up again and again on the capitals of the Corinthian order.
How many divisions does the claw get?
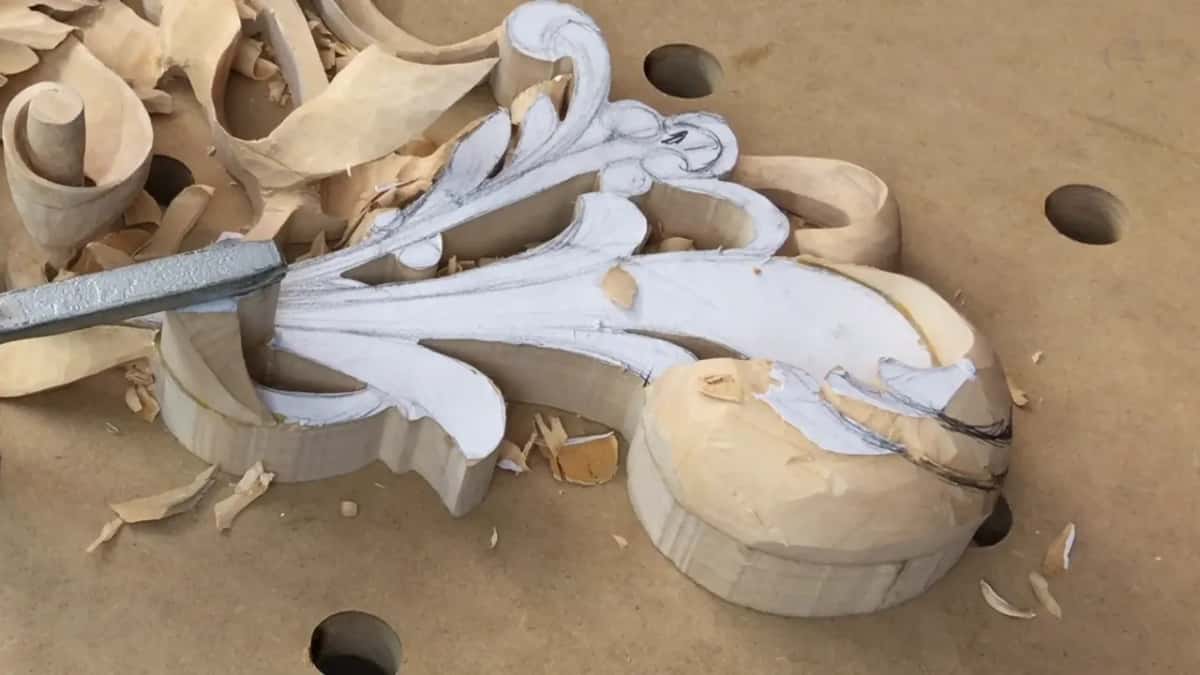
Three main ones. Before I marked them I refined the movements, and I said we can do all kinds of beautiful things in this area, believe me. But the main divisions would be those three. Maybe I can place an eye and the pipe right here, I said. And this can go underneath.
For the lines I took the same V tool, number 16, 6 millimeters, a quarter inch, and I just started. Just a V tool, at least for now. Let's make it deep, I said, and a little later, let me attack from this side.

Why take one division underneath?
For whoever comes close. We could do a really fun and really complicated thing here, I said, and bring this one down underneath, really deep. From far away it won't be visible too much. But once you get closer to it, you're going to see the beauty.
A hidden claw is not new on this relief. Back in lesson 1 I left a space of about 3 mm, an eighth of an inch, in one spot, and a little more, maybe a quarter of an inch (6 mm), in another. That was to make the illusion of a return claw on the inside, although, as I said there, it won't be visible.
What did I take to get underneath?
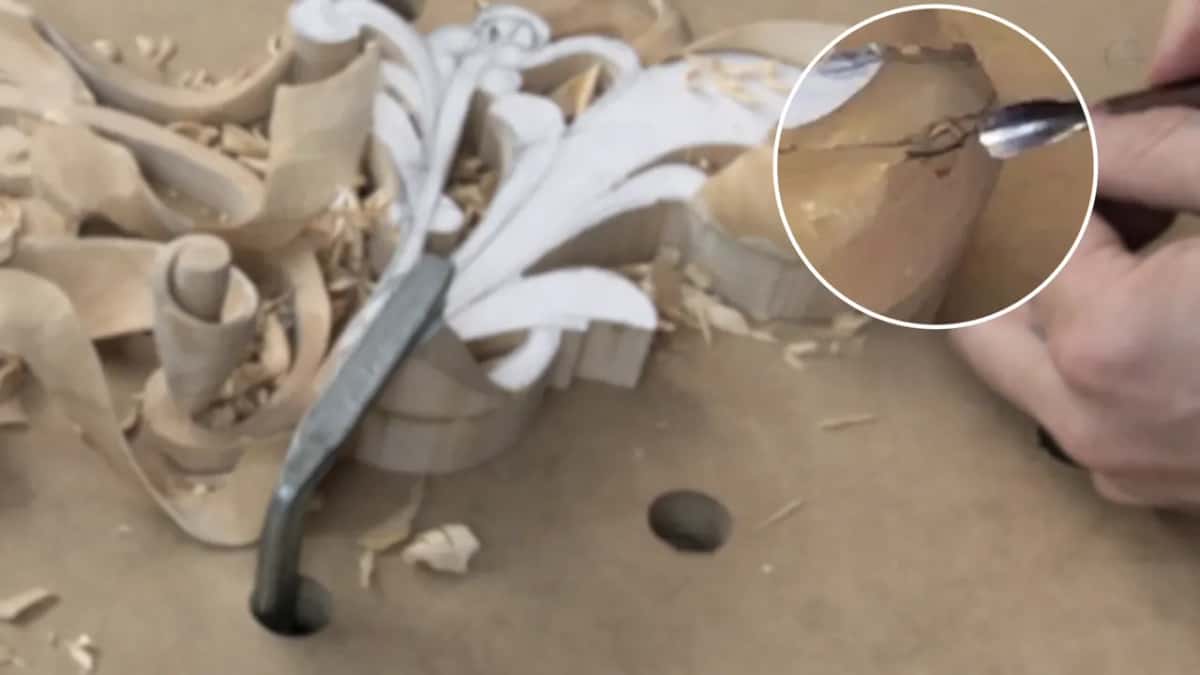
A quarter inch number five gouge, 6 mm. I needed some kind of gouge to get underneath, and I started zig and zipper. Even on the inside, you can see, I'm still making my slicing movements, and I undercut it a little more with the same number five. Then a small number nine could clean that, I said, or a short bent V tool will work also in this case.
I didn't stop to explain zig and zipper in this video. The Lily Box claw is where I did explain zigging, with a bigger tool so you would understand. Start straight, start rotation, and inward. Don't just push. Especially on those tiny details, you can make a big mistake, and it's almost impossible to fix it.

When the claw looks messy
Right after that excavation I said it on camera. I know it looks messy. But I believe I can make it look really beautiful.
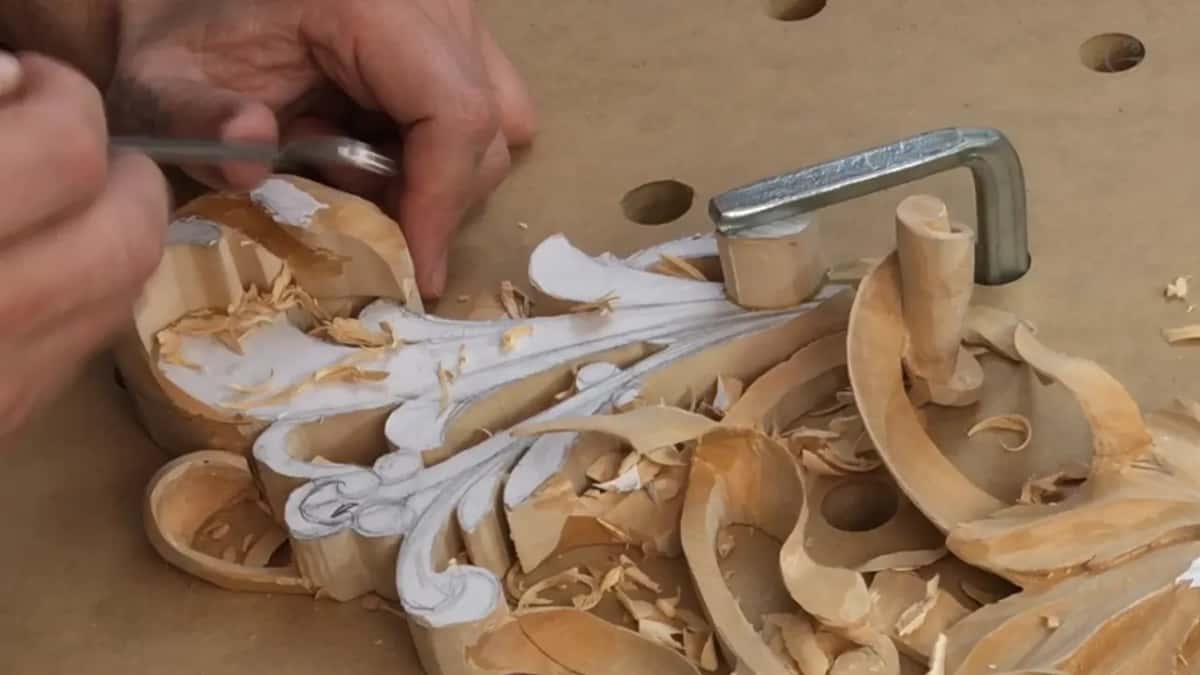
So the big number five came next, one inch (25 mm), to establish the main movement. I know it's almost impossible to see on a camera what I'm doing, I said. And I know sometimes you just have to believe it will look good, and wait until it's done.
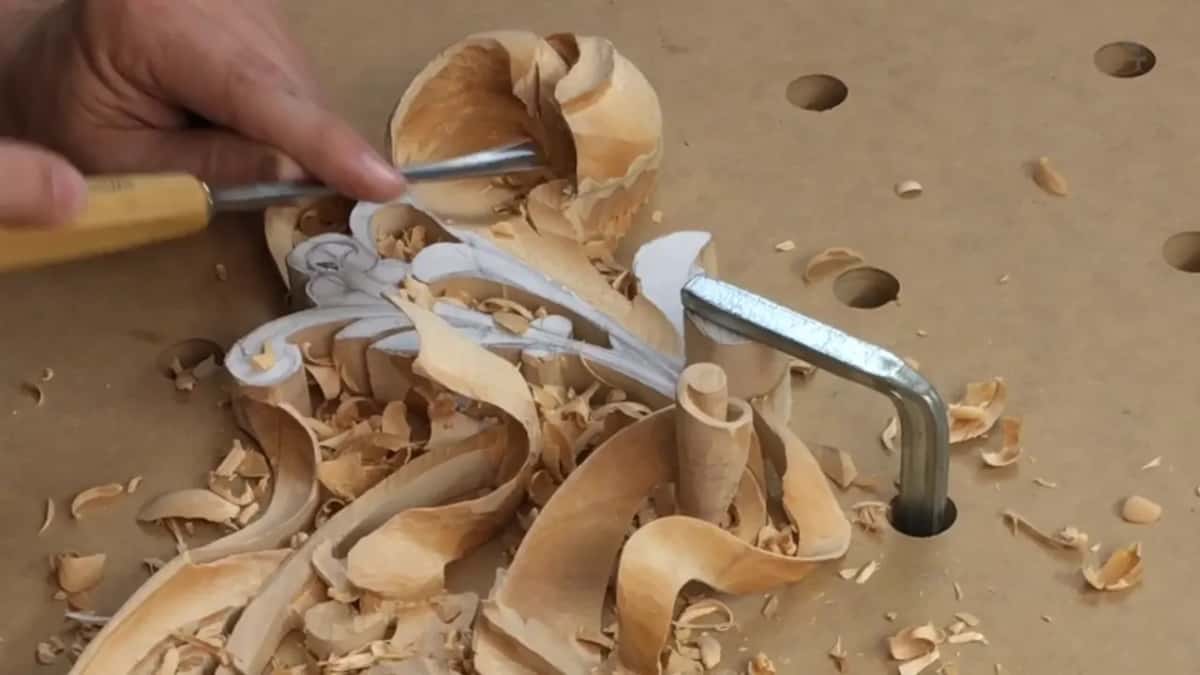
What is my finger doing under the spoon?
My finger is the leverage. A small spoon came out again, 3 millimeters, one-eighth of an inch, and with the spoon I used my finger as a leverage, so I can just place my tool against it and pry. I'm not sure if that is actually the right word I'm using, leverage, I added. I came back to it in the third video. I'm creating the leverage point, or a support point you can crank against. Or pry, is probably a more proper word for this.
Lesson 13 on this panel puts it another way. I'm placing my finger and creating a leverage point where I can crank against my finger, but not against the piece of wood. Wikipedia lists the parts of a lever as a fulcrum or pivot, a load and an effort. Prying against the wood is another thing. In lesson 10 I said if you're going to pry, you can break your tool.
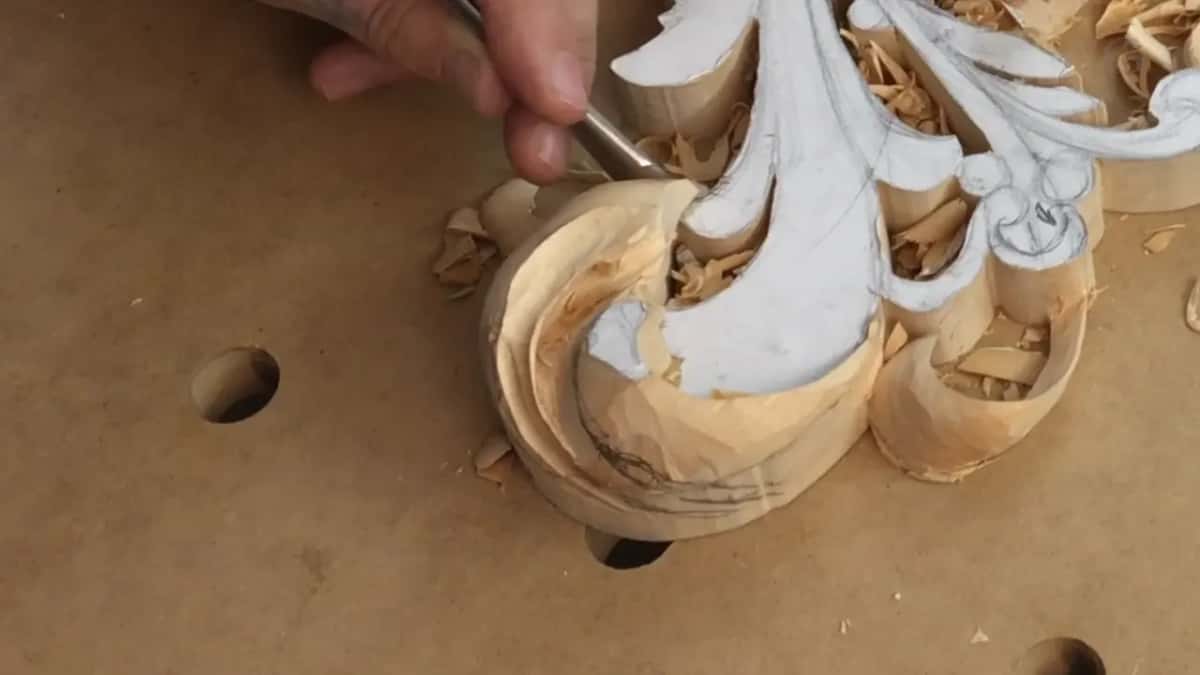
How big should the eye be on a big claw?
Bigger than usual. My pick was 3/16 of an inch (5 mm), number eight. Let's make it big. I usually use 1/8 of an inch (3 mm) for those eyes, but here is a big claw, and I think it will look good. Then a V tool again, to connect this part.

The claw had a second eye, and I made it big too, 3/16 of an inch, about 5 millimeters, with exactly the same tool, by Dockyard. Step number two was again just the V tool, the same number 16. You can see I'm wiggling a little bit, because I am working with the end grain in some of the areas, and it just helps me. Yes, it doesn't leave the cleanest surface.
Why a tiny handle?
It lets me get the tool low. Next to the first eye I had to make concave cuts right on the sides, and I took the same small gouge, about five millimeters. The good thing about this tool is that it's small. I needed to attack from the bottom going uphill, and with a different big one I would not be able to place it that low. Just because it's a really small handle, that actually helps me.
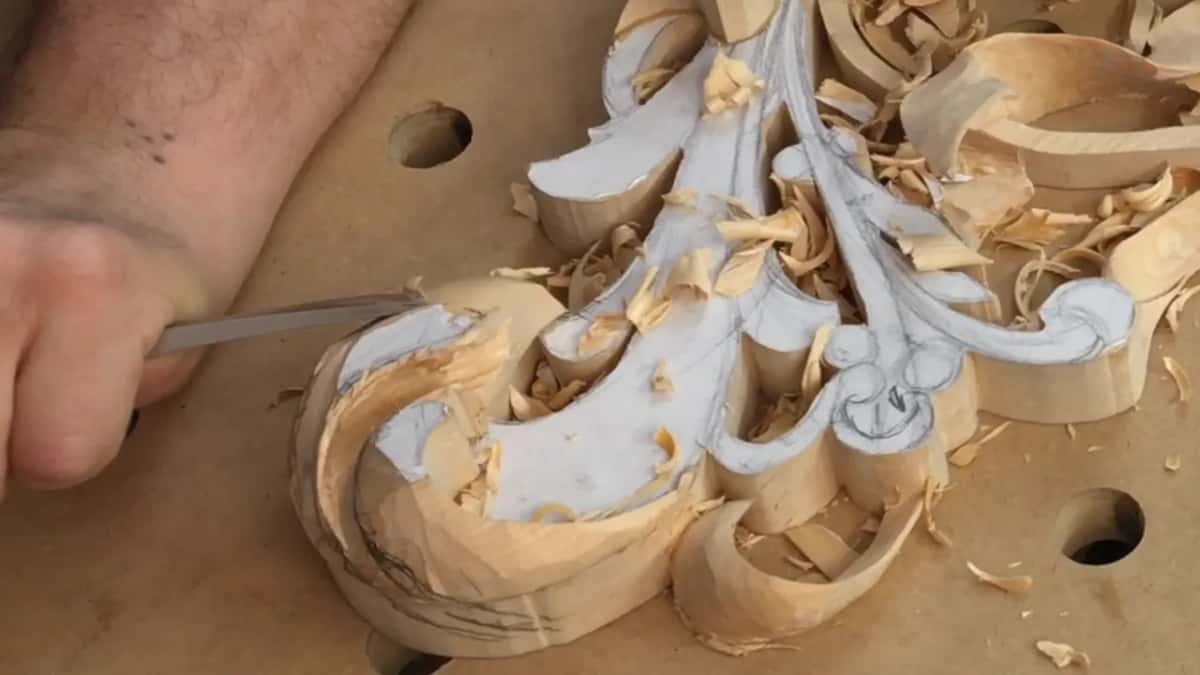
That's why I like those tiny, small handles. They give me more flexibility in the angle I can attack.
What do the concave cuts beside the pipe do?
They make the shadow. There are two concave cuts on the sides of that pipe, and one more concave cut on the other side. Again, that is just preliminary, I said.

Then came a number seven, maybe about 10 millimeters (3/8 in), and I blended it in, starting my concave cut from here. While I was cleaning I said what those cuts do. Those concave cuts on acanthus leaves, and especially on those claws, create beautiful shadow play when the light hits.

Why switch to a smaller tool on end grain?
Less fight with the wood. Near the bottom I had to remove some material. It has to be kind of undercut, although I've got to be careful. Like I said, I could hit the MDF. But I don't want to abuse it.
So I took a number seven, this one about 10 mm, and started undercutting in this direction. I took the smaller tool because the smaller the material I take, the less fight I have with the wood. Sometimes it's better to have big tools, sometimes it's better to have small tools. And especially right here, it's the end grain, and it's not that easy sometimes.
The grain came three ways on this claw. In one spot I said I've got to be careful, because it's against the grain. In another I attacked from the right position, with the grain. And around the second eye I was working with the end grain, which is why I wiggled.
How small is a smaller tool?
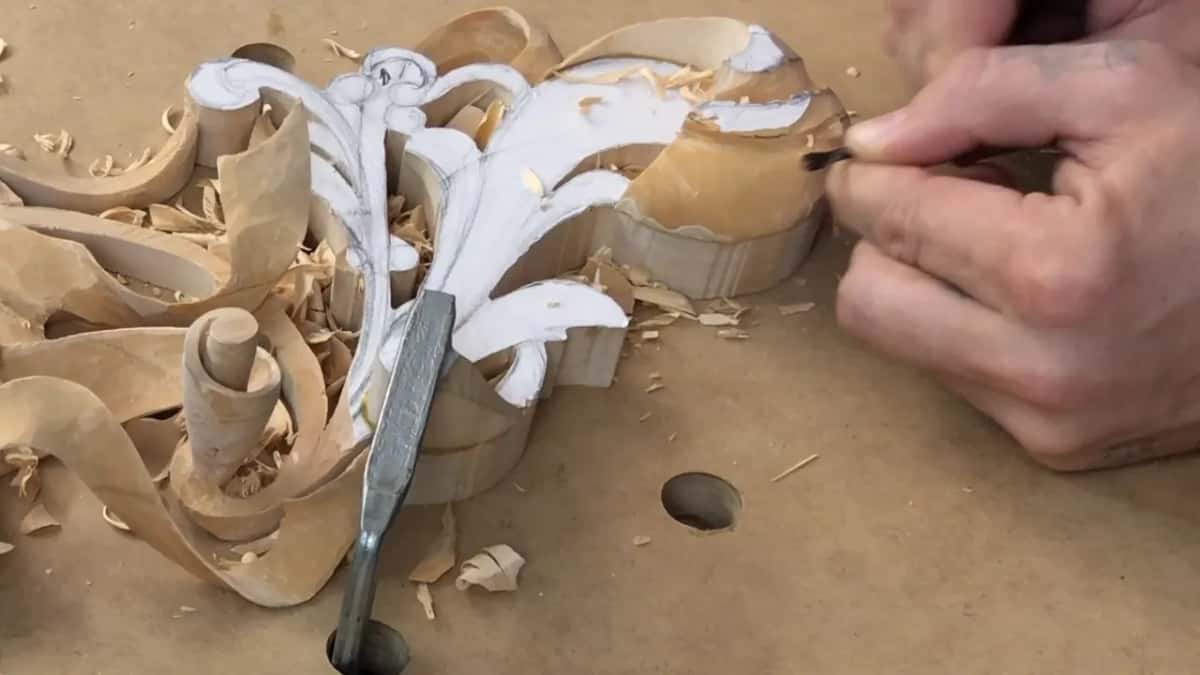
Around 10 millimeters (3/8 in), on a claw this size. When I'm saying smaller tools, it doesn't mean too small. If I were to take 1/8 of an inch, that would take me forever. Just too long. But when I say small, like I was doing right then with the 10 millimeters, that's already small. That was a number eight, removing material on the inside.
The same video had the big spoon in it, a number nine, 20 millimeters (3/4 in). I'm not always using it right away, I said. This time it looked like I'm safe, and I could use a big one. Before that my tool needed to be sharpened, or honed, I should say, and the stropping, honing and buffing lesson covers that part of the job.
| Tool | Job | Video |
|---|---|---|
| The V tool | Marked out the divisions and went deep | Video one |
| A #5 gouge | Got underneath with slicing movements, even inside | Video one |
| Dockyard #8 gouge | Opened both eyes, bigger than my usual | Video two |
| A #7 gouge | Blended concaves, then undercut the end grain | Video two |
| Big spoon gouge | Went in big, since it looked safe | Video three |
| Small spoon gouge | Hollowed the leaf inside the outer leaf | Video four |
What is a double-layered claw?
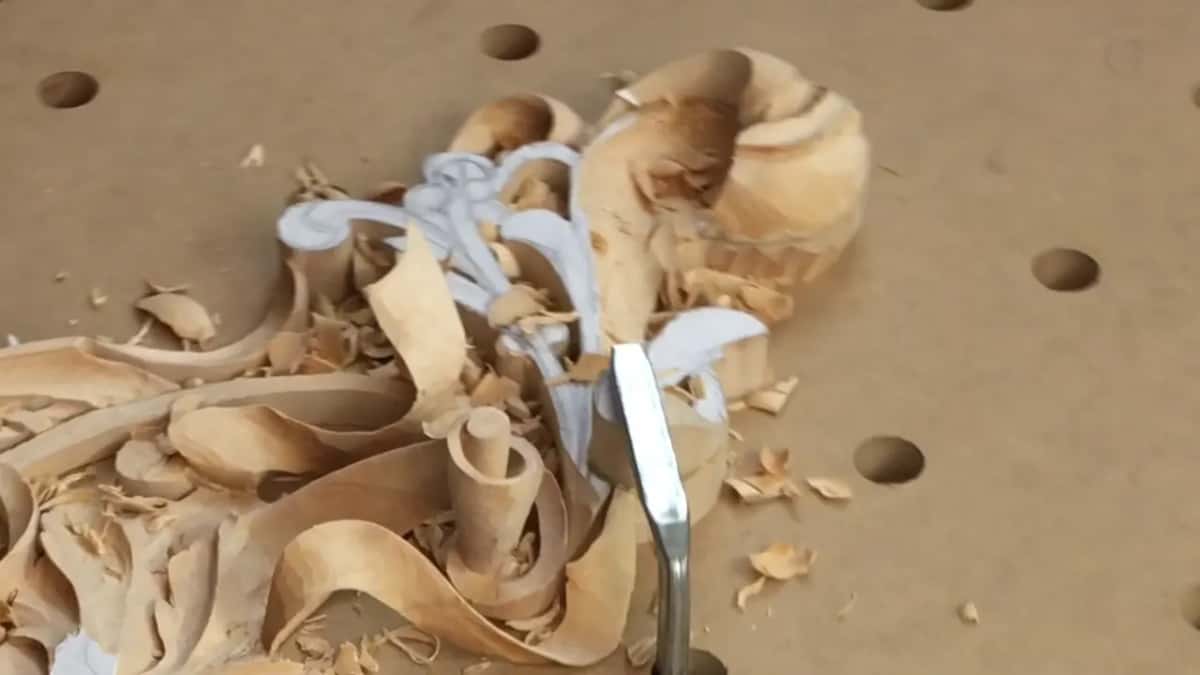
A claw with a second leaf inside it. The third video opened on a part of this openwork panel where I said I'm not going to do too much. I don't have anything underneath, so I really can't. Well, actually I could, I guess, but I don't have to. Sorry for mumbling, I said.
Then came a lot of waste, with a number seven one inch wide (25 mm), but not too much, because later on I'll add the detail on the inside, and I need some meat. A spoon gouge of about seven millimeters looked too big, so I took a five millimeter one, a little under a quarter inch, and it fits perfectly.
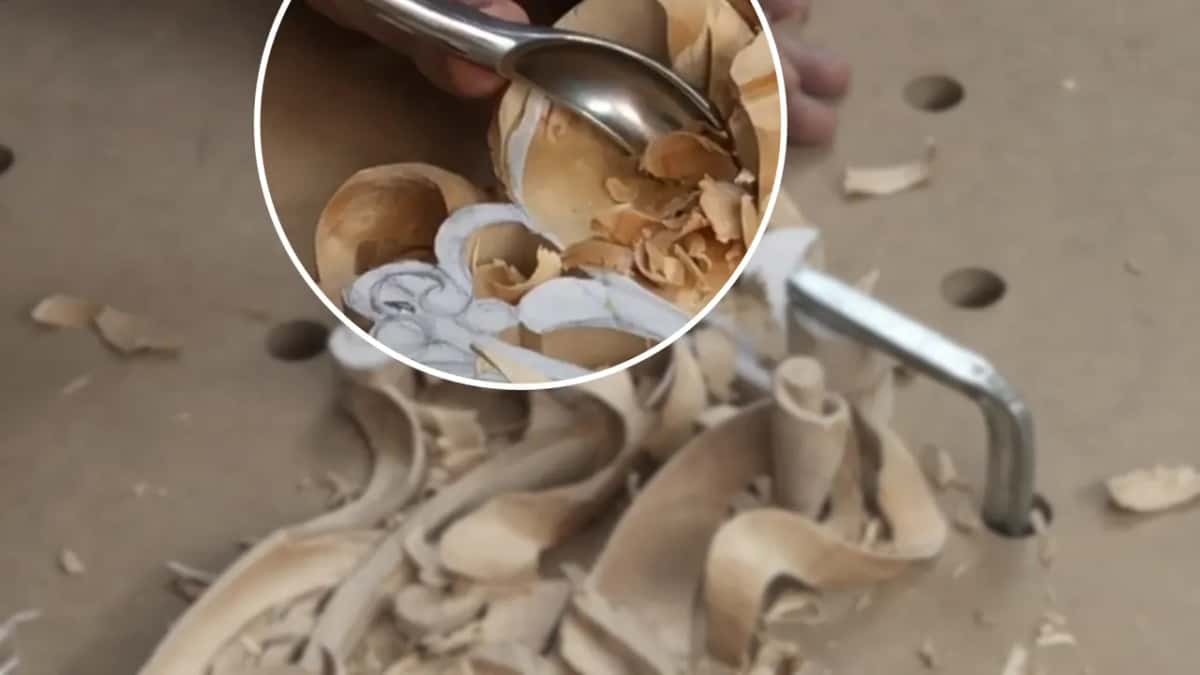
Then the wall had to come out, so the claw would look like a full flip. But on the other hand I wanted to create a movement on the inside also. It's going to be like a double-layered claw, I said. That means I remove from this point down, but I still keep this part high. For that I took a number seven of about 5/16 (8 mm), with exactly the same slicing movements. Just don't force it. Little by little.
How do you carve a leaf inside a leaf?
With a small spoon first, and a thin wall in mind. In the last video I took a spoon gouge again and tried 5 millimeters first. I'm going to make a leaf inside of the leaf, I said. Hope that makes sense.
I did the actual excavation underneath it right away, carefully, with a quarter inch number nine (6 mm). Let's blend those two, this one and the inner one, I said. I have to keep an eye on how thick a wall I have. I don't have too much. So I have to be really careful how I approach it.
How far do you take the undercut?
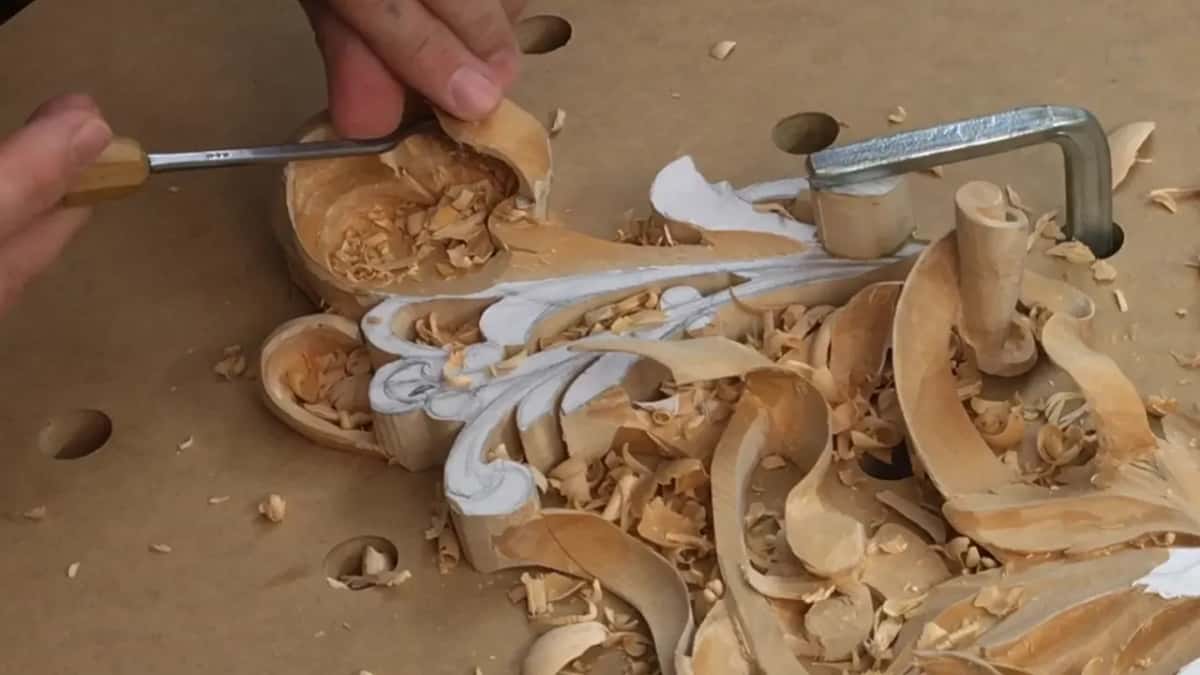
Short of overdoing it. Now I'm going to undercut, I said, so I need to remove this wall right here. A smaller tool again, maybe again a number seven. About 10 millimeters, and I undercut this way.
And I have to keep an eye on how deep I go, because I don't want to overdo it. That would be a really bad idea.
Near the end it's just all about cleaning inside, and that's up to you how extreme you want to go. I really like to go extreme. The last tool was a different spoon, five millimeters, number nine. And that's it, I said, I think it looks gorgeous.
Does the claw sit above its neighbor?
Slightly, on this panel. When I subdivided one part for another eye and pipe, I took a V tool again and made a preliminary separation cut. The idea was that this part would be slightly on the top of the part next to it. Not much, but still slightly at the top.
The Venice Room has it more than once. In one video, this claw is supposed to be higher than this part, but on the other hand this part is supposed to go a little bit underneath, so I need a separation cut. Later in that workshop, this claw has to be higher anyway, which means I could go ahead and just chop this side, and I can go really low if I need to.
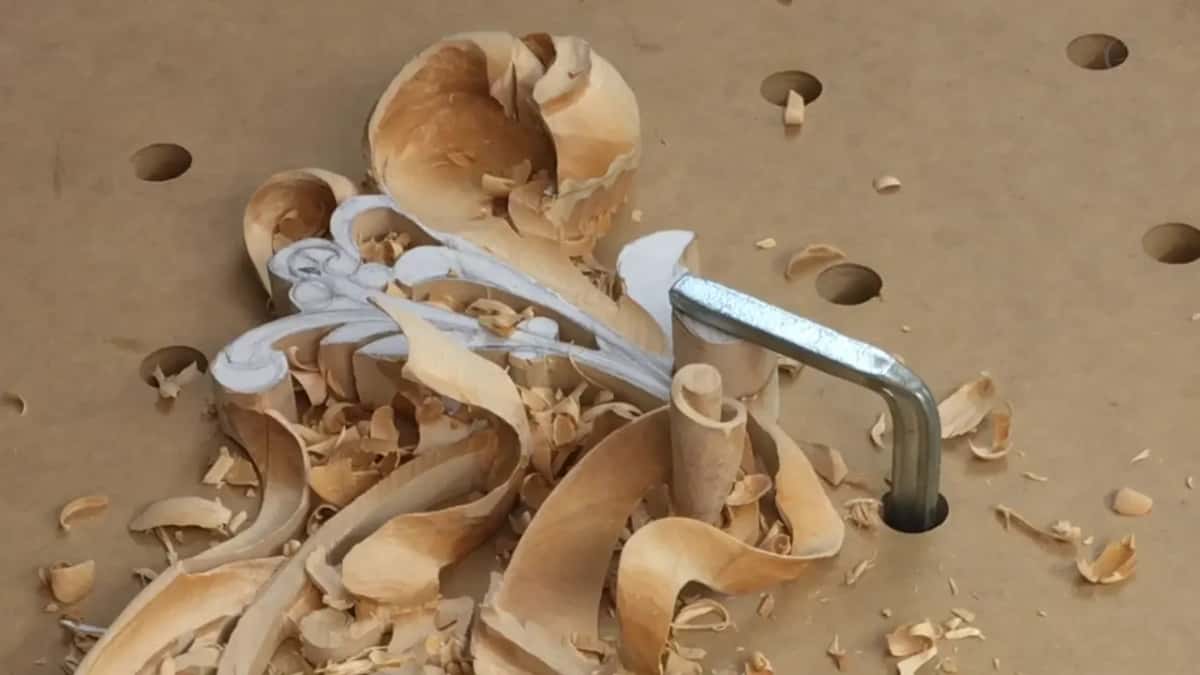
The detail that waits for later
Some meat stayed on this claw on purpose, for the detail on the inside, as I said in the third video. In lesson 17 I picked it up on the very first line. Like I said before, there's going to be some more details on inside.
A lesson earlier, in lesson 15, I talked about leaving some material on the side that would look like a claw.
All four videos of this lesson, and the rest of the limewood panel, are in Carving Hashemi Flowers, with tuition at the school. You don't really have to have a huge collection of tools, I said on the Lily Box. You can do amazing stuff having just a couple.
How it's done
- Refine, then divide. Refine the movements of the claw, then mark the three divisions with the number 16 V tool, a quarter inch (6 mm), and take them deep.
- Go underneath. Work under one division using a number 5 of 6 mm (1/4 in), slicing even on the inside, then clean with a small number 9 or a short bent V tool.
- Set the main movement. Establish it with the big number 5, even while the area looks messy.
- Open the eye. A 3/16 inch number 8 makes a big eye for a big claw.
- Make the concave cuts. Two on the sides of the pipe and one more on the other side, then blend them in using a number 7.
- Keep some meat. Remove the waste with the big number 7, but leave material for the detail that goes inside later.
- Carve the inner leaf. With 5 mm spoon gouges and a number 9 at 6 mm (1/4 in), excavate under it and blend it into the outer leaf while you watch the wall.
- Undercut and clean. Undercut with a smaller number 7, mind the depth, then clean the inside as far as you want.
Frequently asked questions
Is there another name for the claw?
Head, or head of the acanthus. In the Venice Room I said that is the more accurate name, and that not everyone uses the word claw. Some people call it head as well, I said on the Lily Box, while I carved the head of a claw there.
What tool marks the divisions of a claw?
A V tool, the same number 16 I had been using on this panel, and I made the lines deep. Later, when I subdivided one part of the claw, the V tool came back for a preliminary separation cut, so it did both jobs.
Why make the eye bigger on a big claw?
My usual eye is an eighth of an inch, about 3 mm. Here the claw was big, so I went to a 3/16 inch number 8, about 5 mm, by Dockyard, and thought it would look good. Both eyes in this claw got that same tool.
What to carve next