
Alexander Grabovetskiy, woodcarver, School of Woodcarving · Published 2026
When can you break a wood carving rule?
Quick answer: Breaking a carving rule is a choice made at one spot, for one reason, and slowly. On my oak table apron I took the background along the grain at a spot where across was impossible, ran the V tool near the line on shallow flowers, and went deeper only where the antique did.
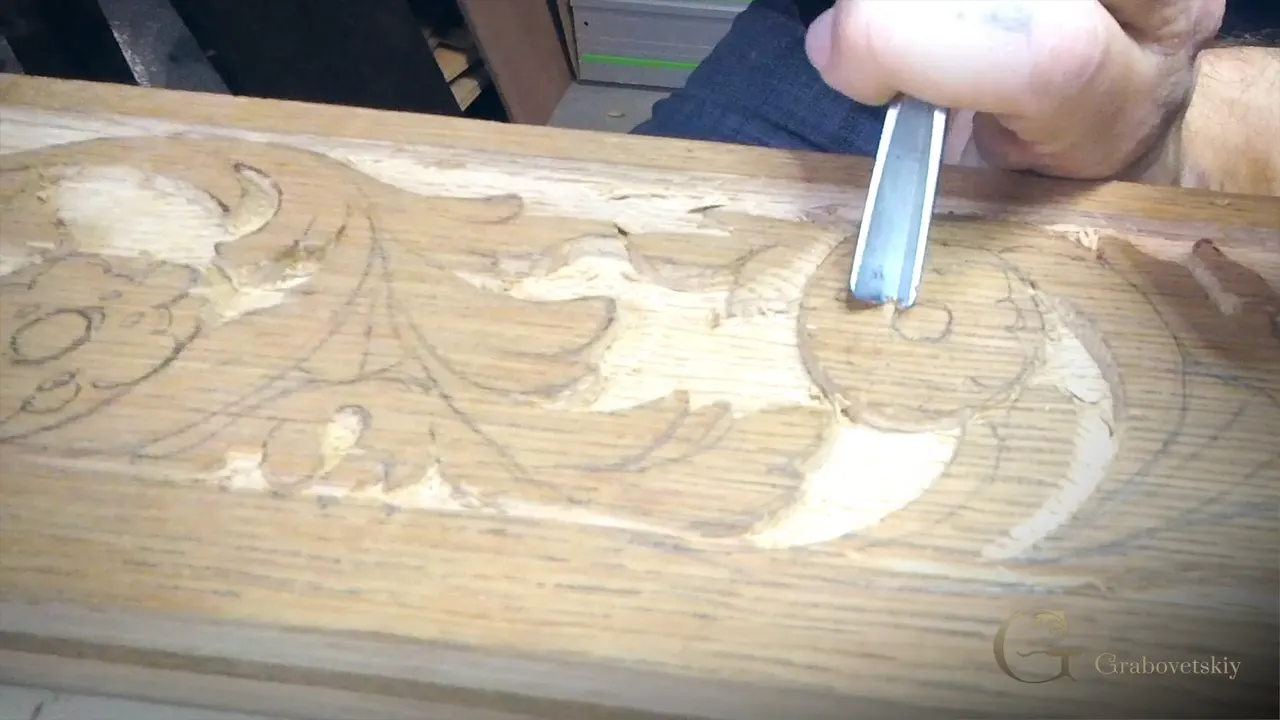
Sometimes you have to just kind of break the rule. Just be really careful when you're breaking it. I said that in workshop 11 of Carving Dining Table Apron, holding a number 6 gouge over a half carved white oak flower, about a minute after I explained the grain rule. The wood carving rules on this page are ones I teach in that same lesson. Then I break them on camera, out loud, at one spot and for one reason each time.
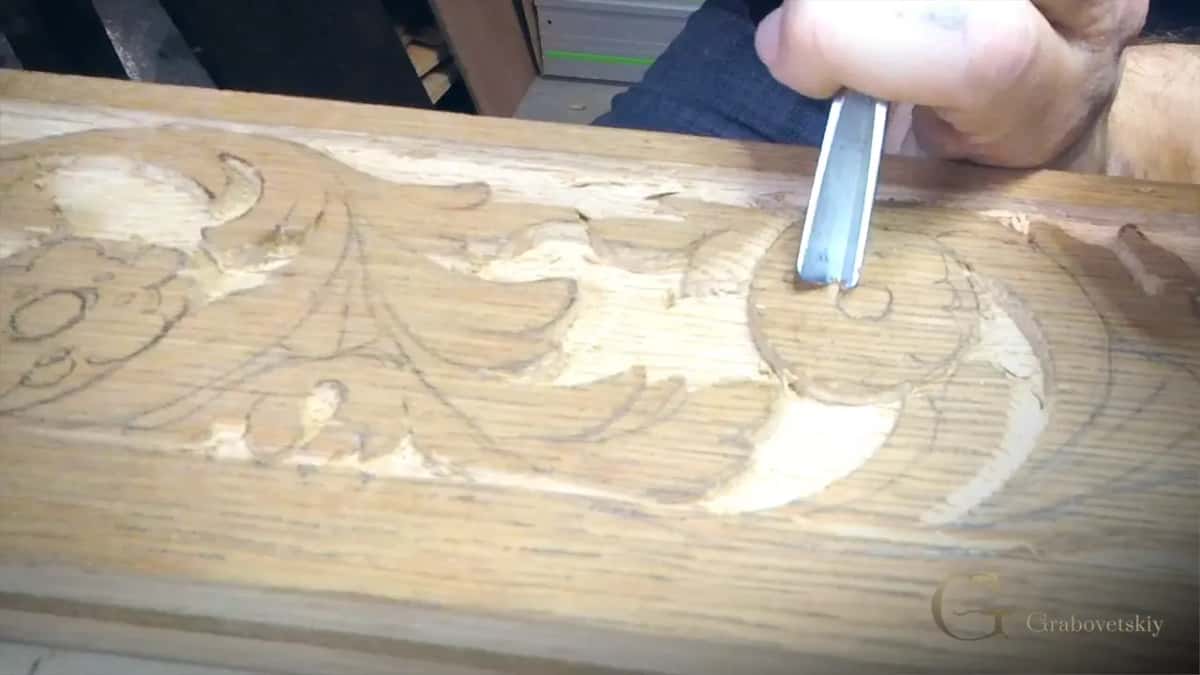
You know some of these rules already, or you will soon. Keep the V tool outside the drawing, stop at an eighth, and take the background across the fibers. Below is where I bent each one on a real table apron for a family's antique table, what I said in that second, and how slow my hands got while I did it.
The rules that bent on this apron
The background goes crossways to the grain, until one spot made that impossible. A small grounding tool followed the fibers there, slowly.
About 3 mm (1/8 in) outside the line for the V tool, wider or narrower to suit the space.
No deeper than 3 mm at first. Deeper later, in the spots where the antique went deeper.
Match the old carver, apart from one slight undercut I added for a better look and a shadow.
Edges toward you on the bench, until detail work covered it in tools.
What rule was I talking about in workshop 11?
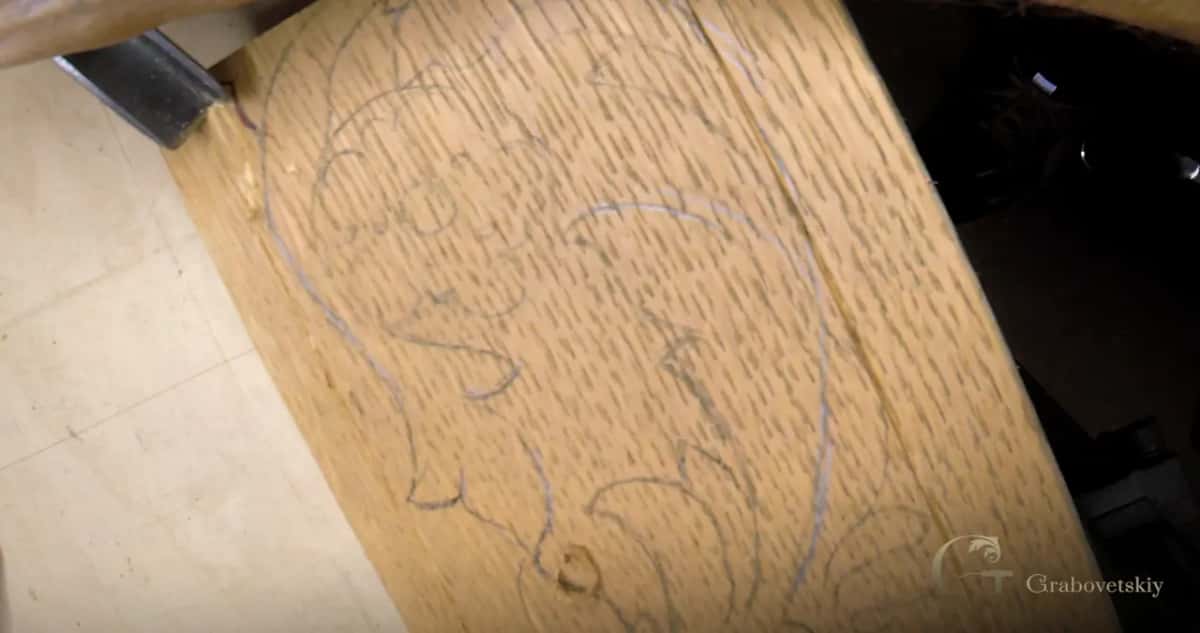
The grain rule. You start from the upper point and go downhill, and you never go the opposite way. Across the grain, it doesn't really matter, you can approach from both sides. I had just shown it working around the round part of a flower, switching the direction of my V tool partway so the edge kept traveling down.
Then came the line about breaking it, and a joke right behind it. I was talking about breaking a rule, I said, not breaking the law. That would be a bad idea.
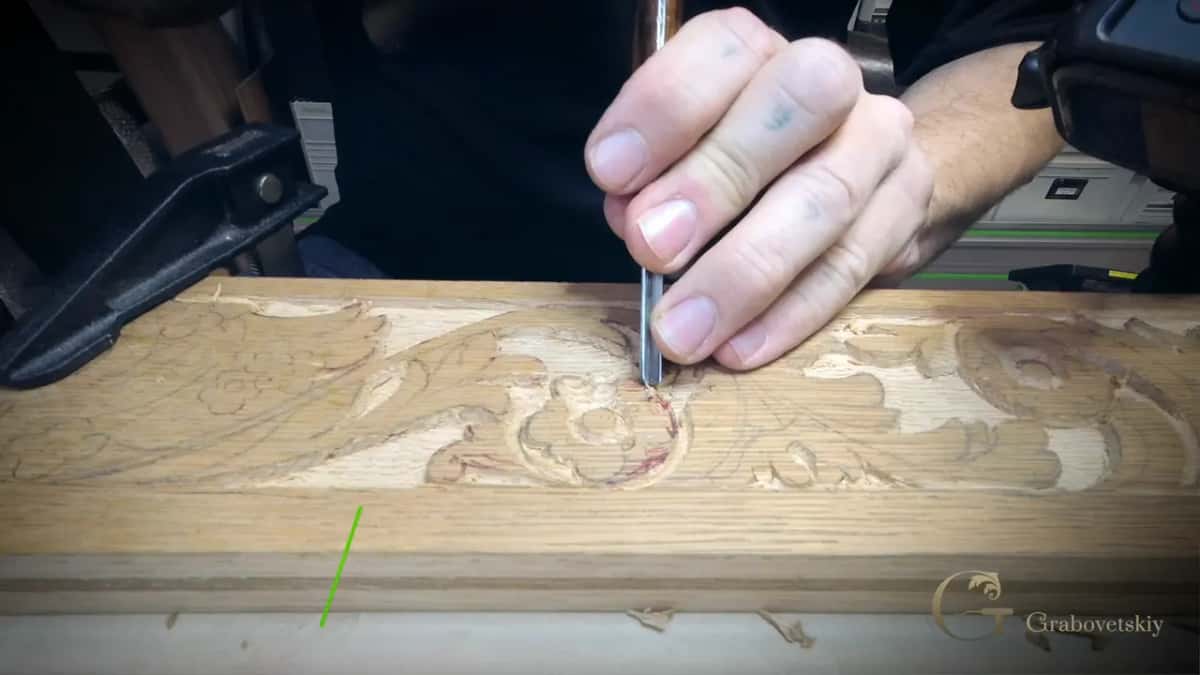
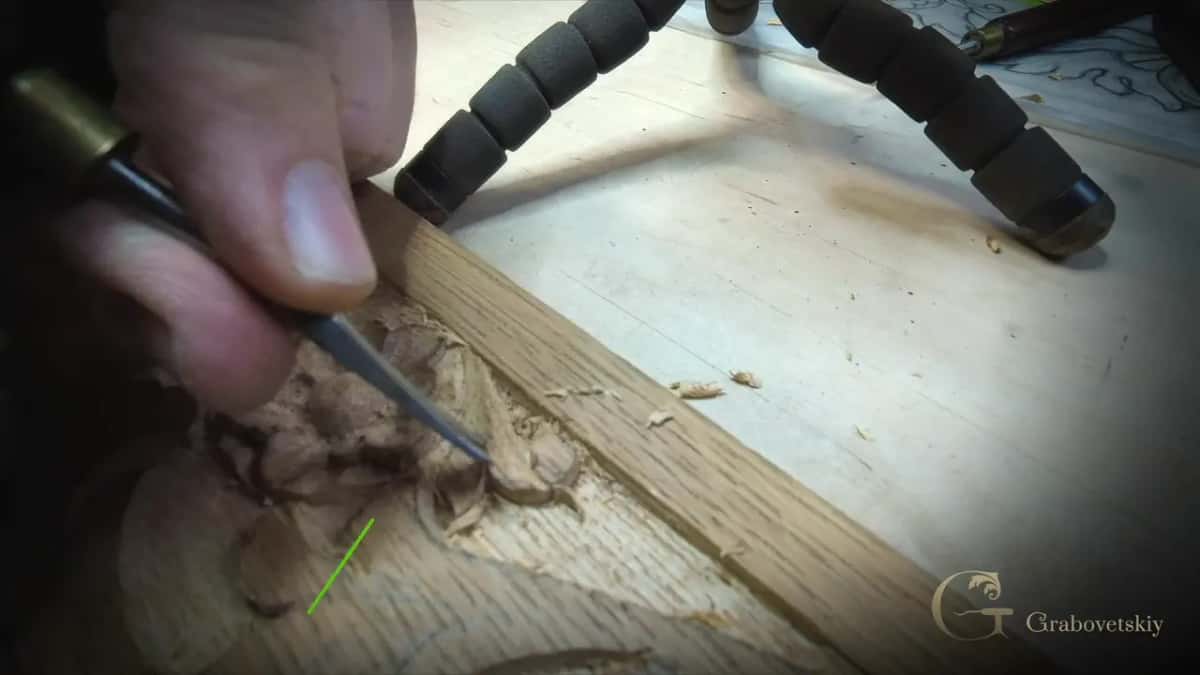
The background has its own version. Whenever you can, it's better to clean it across, and it's not always possible, I told you in workshop 9. A spot in workshop 8 was a place where going across simply wasn't going to happen. In this case, I can't do across the grain, so I have to carefully remove with the grain, I said, and a small grounding tool came off the bench for it.
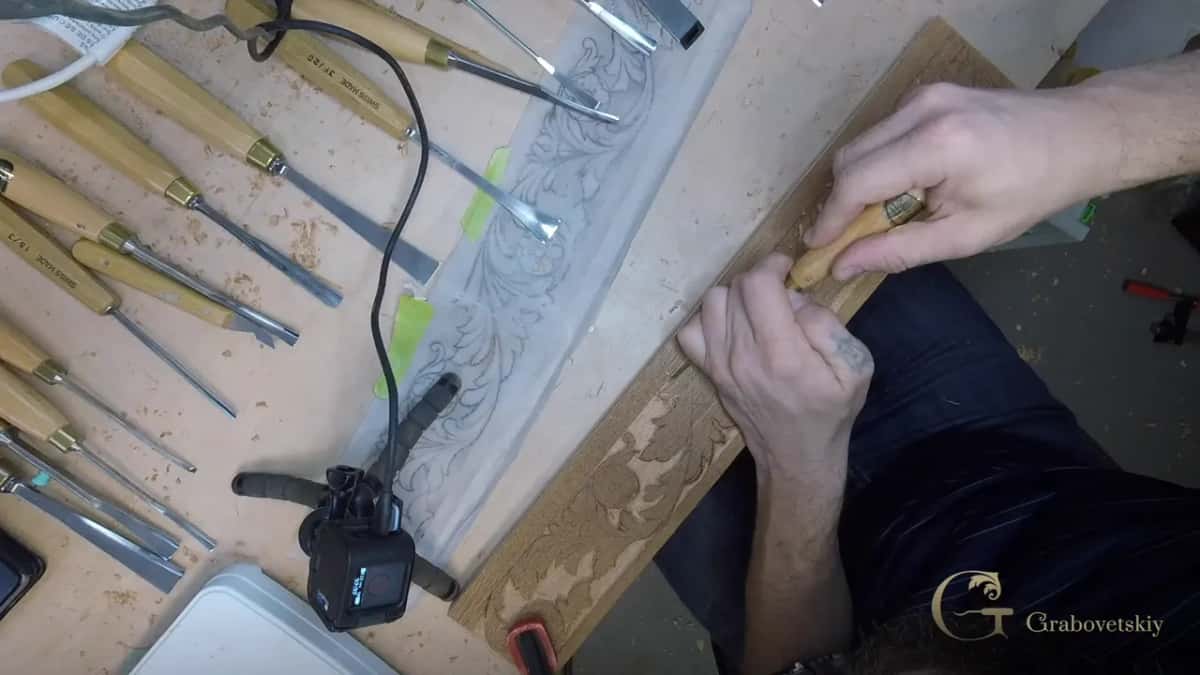
The filler flower workshop, number 15, met the same thing beside a leaf. In some spots you really can't, and you still have to make some movements following it. Why go so slow there? Following the grain, you can hook the fiber and snap the piece really easy, as I warned on the flowers. I'll be honest about one more. While filming I sometimes went against the grain, since I didn't want to turn the piece all the time, and oak forgave it, though not every wood is that forgiving.
Do I explain a rule before I break it?
On this apron I did, and more than once. Before the first outline in workshop 6, I said I would explain why I stay away from the main picture, and I did. Workshop 11 has me stopping to explain the grain one more time. It's really important how you work with your tool, I said, and that oak was a really good wood for explaining it.
The rule keeps coming back while I work, too. My upper point is right here, so my gouge has to travel this direction, I said on the swirl (workshop 12). The same thought came back in workshop 13 in a different spot, the grain going this direction there, so I go from the high point downhill. The grain comes up in workshops 6, 7, 9, 11, 12 and 13, each time with the wood right there under the tool.
Which wood carving rules did I bend on the apron?
Five that I teach in this lesson, listed in the order the workshops reach them. The last column is what I said while I was breaking it, word for word.
Rule | Break | Words |
|---|---|---|
Outline stays outside | came close to the line on shallow flowers | and I feel safe |
Eighth inch deep | went deeper later where the original carver did | not in this stage |
Background across grain | followed the grain there, where across was impossible | I can't do across |
Match the original | added a slight undercut for a better shadow | going to look better |
Edges facing you | tools piled up on the bench during details | which is all right |
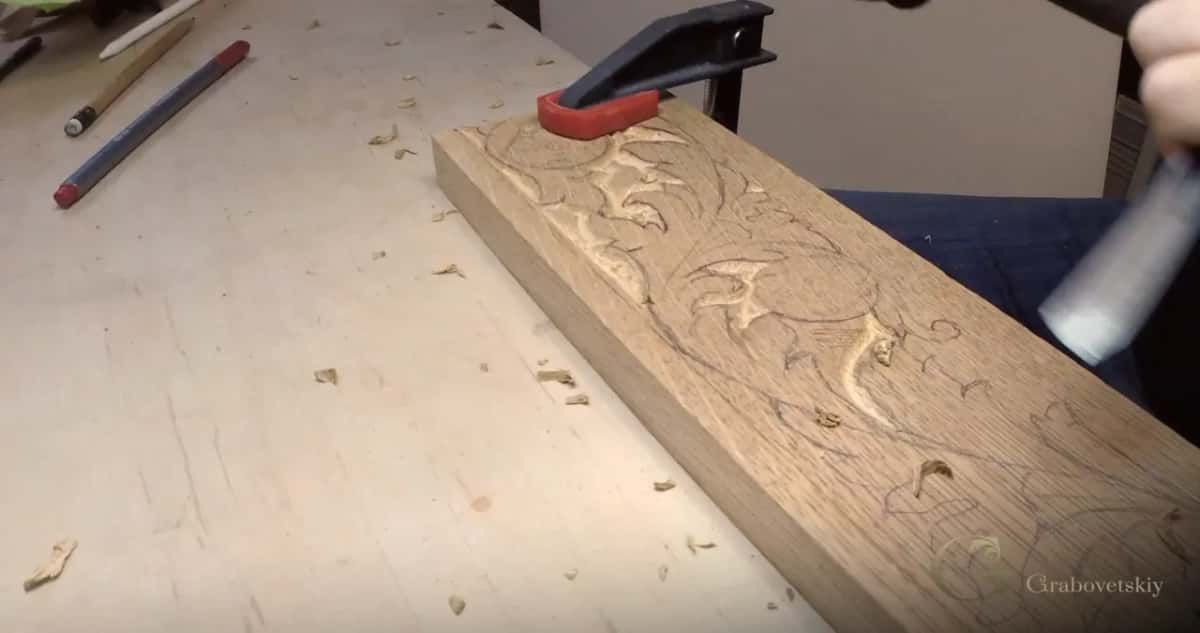
A sixth one is smaller. Even the palm V tool in workshop 11 got the mallet, which you're not supposed to do, but I was barely touching it, and I told that part in Is denser wood stronger?.
How far off the line does the V tool go?
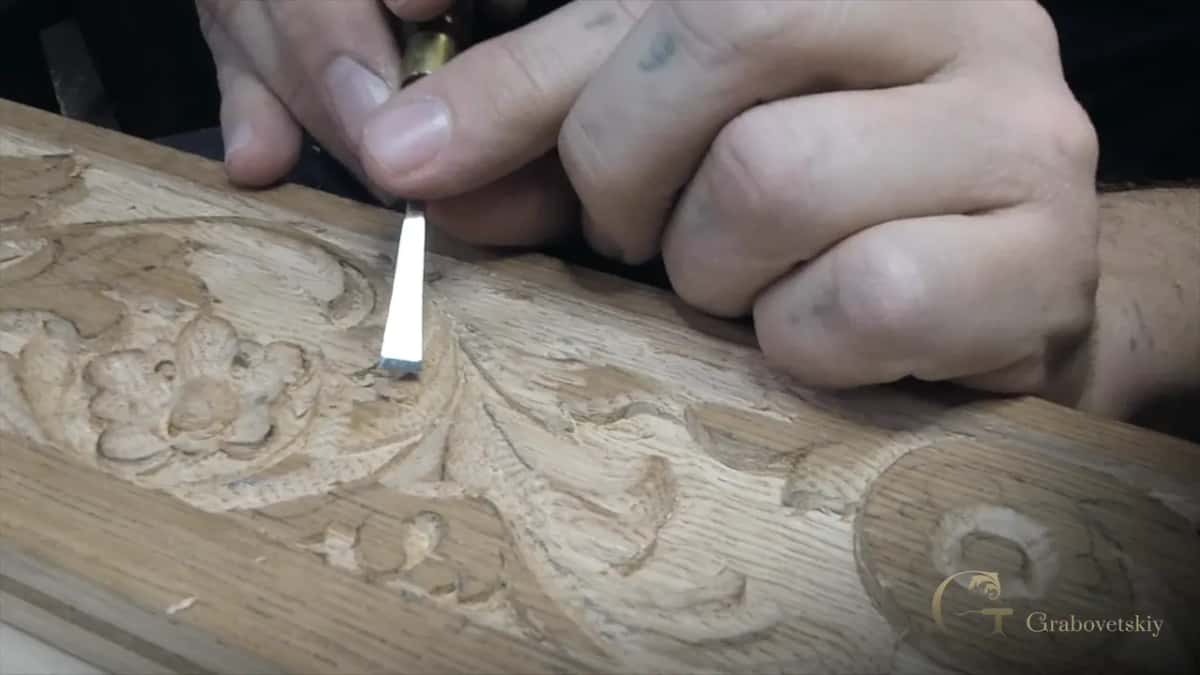
About an eighth, 3 mm, on the waste side. That is step one of shallow carving on this apron, and in workshop 6 I gave the reason, the tension a tool meets from both sides when you place it right on the line. After that I added the part people skip. You can stay more, or a little less, depending on the space where you're working it.
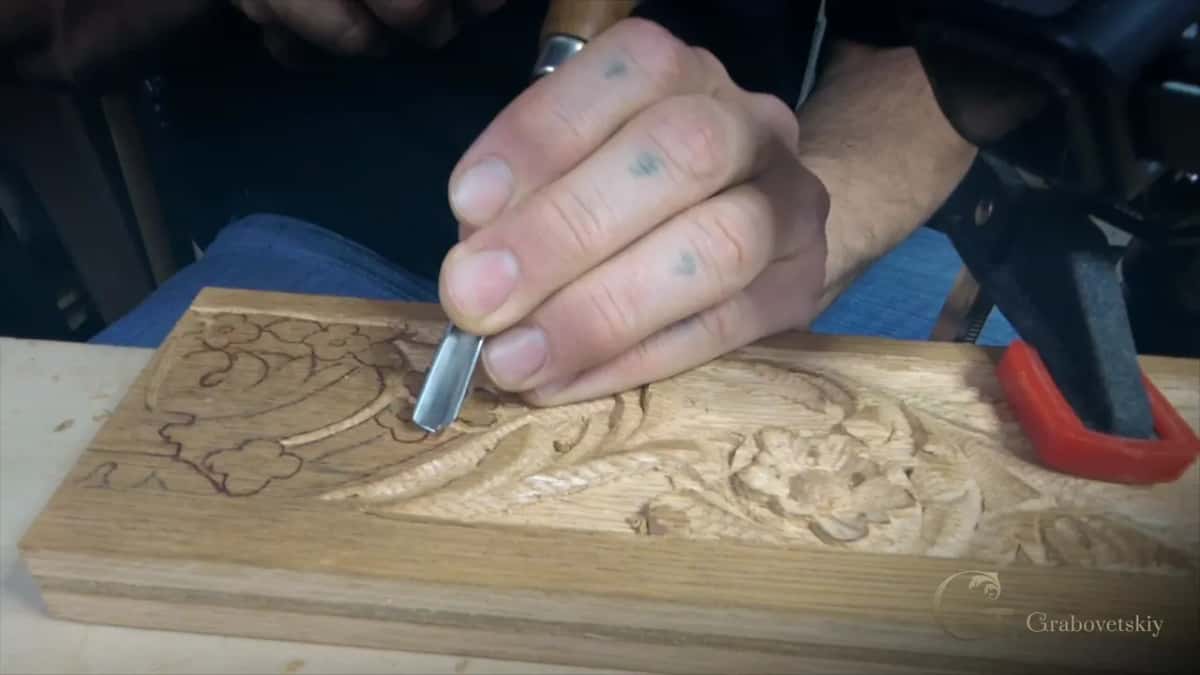
The filler flowers in workshop 15 were not deep, so I went right up near the actual line and felt safe there, a moment I also told in Venice Room lesson 140. Later in that workshop the V tool came in closer again until I was almost on my line, and then a number 6 fit the true design perfectly.
The walk back happened along the board edge too. My V tool went a little closer to the edge in workshop 10, then a flat chisel again, and a few minutes later the V tool went really close to the edge once more. Little by little, I said, and at the end of that workshop the background was done.
Does the eighth of an inch limit ever bend?
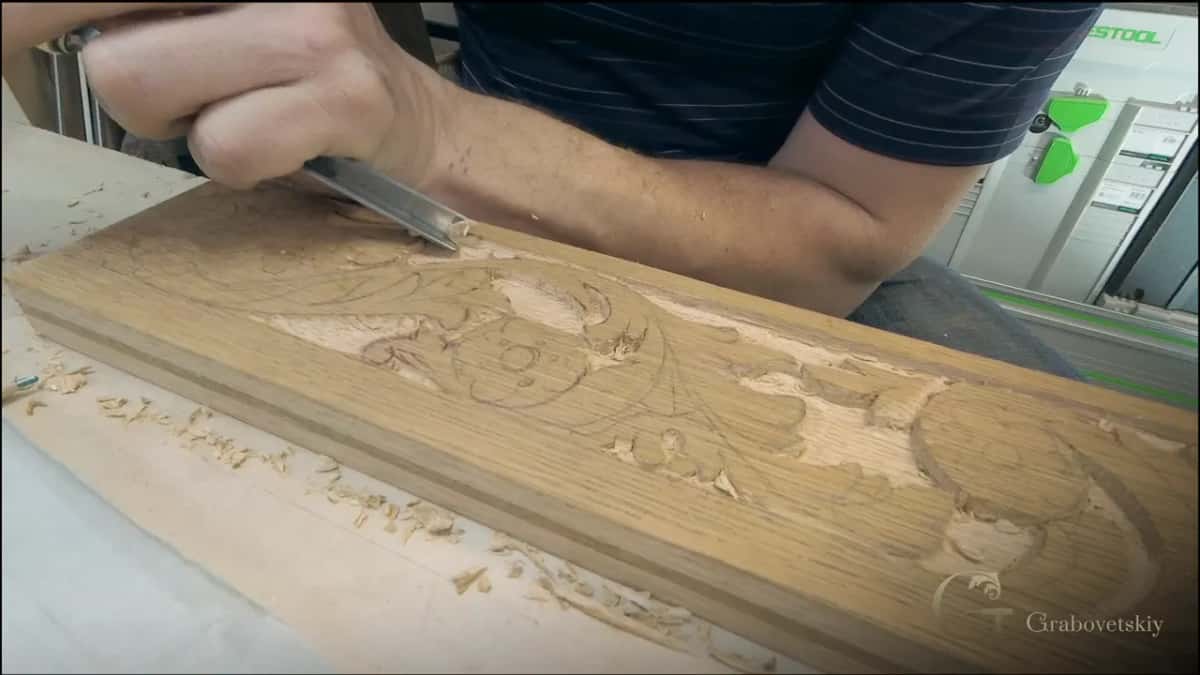
Later it does, at the spots the antique asked for. Don't go more than an eighth of an inch, I said in workshop 7. You can always take it a little deeper later, but not in this stage. Back in workshop 6 that same eighth was the depth of the V groove itself, and my words were simple. That is the idea. No deeper than that.
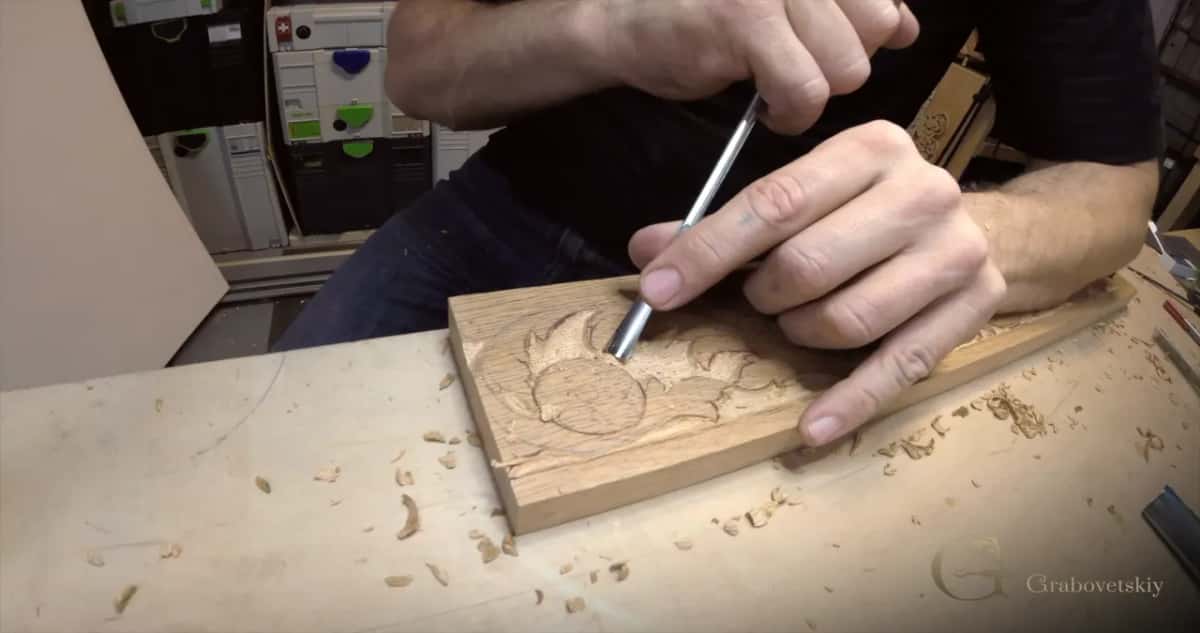
Workshop 11 is where that later finally arrived for the flowers. The old carver sank his flower centers below the background, so mine went to about 3.5 mm (a little over 1/8 in), and when I checked against his I said it was exactly the same. A leaf in workshop 14 goes a little deeper in one section on the original, and one side of it goes really deep. I went deeper there, went underneath, and only then rounded it.
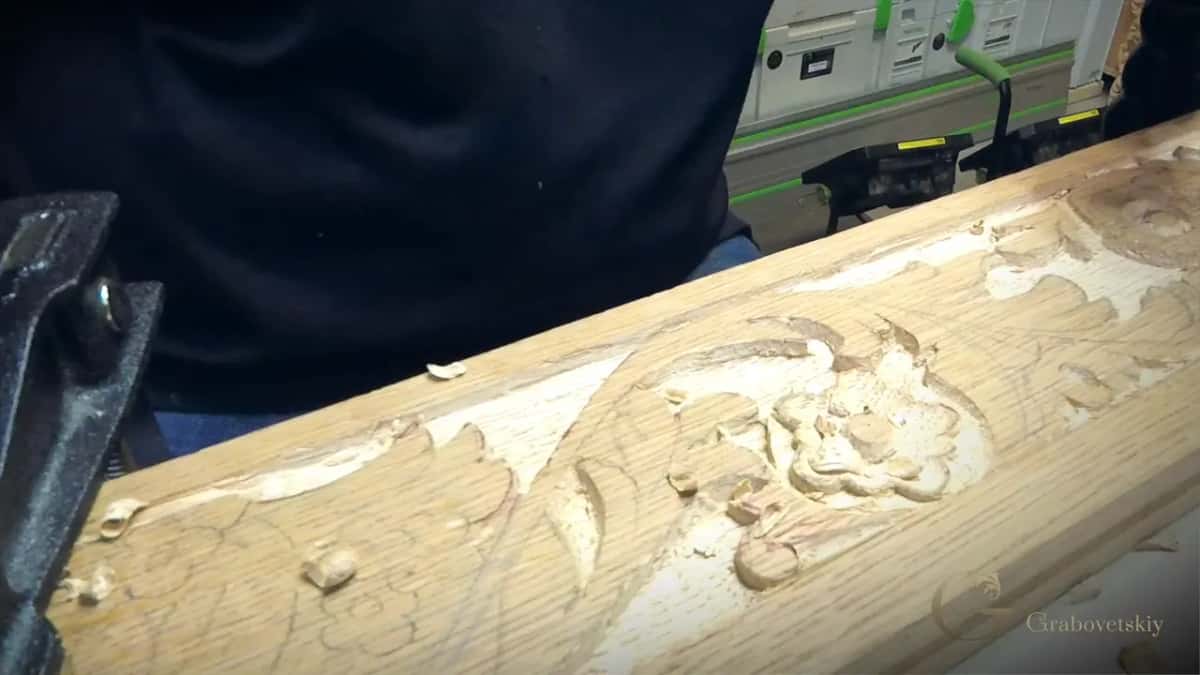
So the eighth held while the whole design was coming up out of the oak, and the deep spots waited their turn. The opposite mistake, going deep too early, has its own page from Venice Room lesson 70.
Do you need a tiny gouge for a tiny spot?
My answer in workshop 12 was to show the opposite. The swirl on the apron is small. I outlined it with the V tool, carved downhill from its top with a number 6, then took a slightly bigger gouge on purpose, carefully.
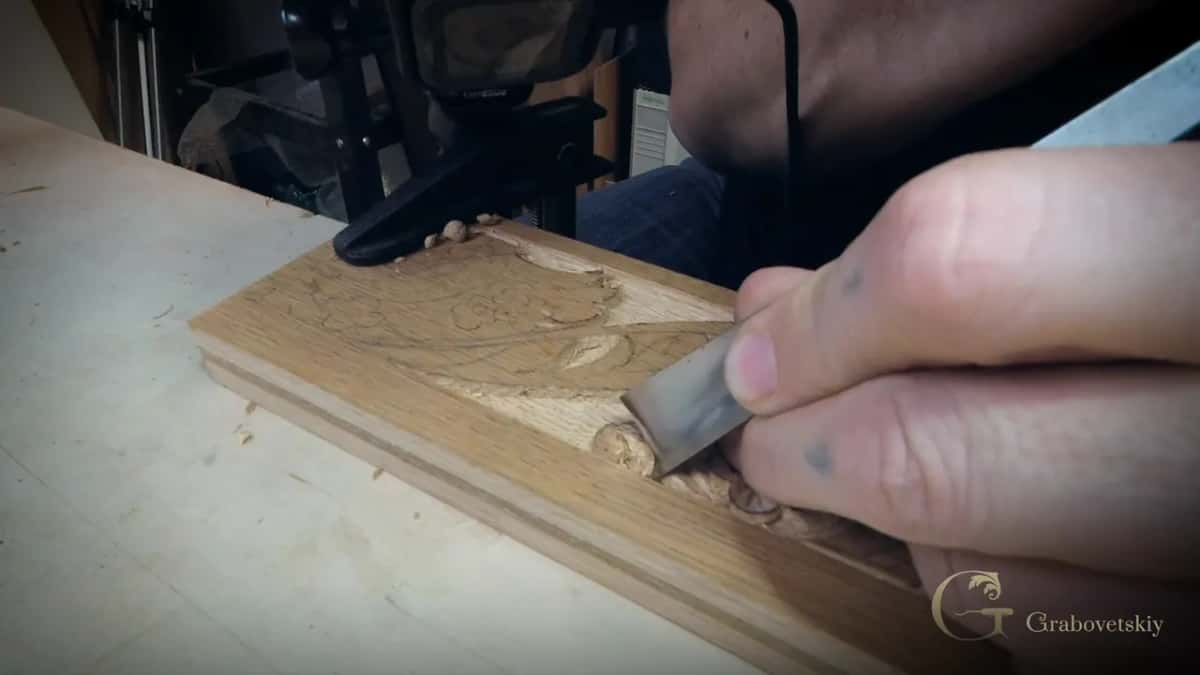
I could use a really small gouge in this case, I said, but I want to make a point that even with bigger gouges, you still can do spots like this. My tiny one came out after, to clean up. Both are true at once. The bigger tool did the shape, the tiny one cleaned up after it, and the swirl came out looking like the original.
I didn't call this one a rule on camera. Most of the time I do hunt for the fit. That's too big, that's too small, and that one is perfect, I said in workshop 15, three gouges tried for one curve. On the swirl I skipped the hunt on purpose, to show you the other road.
Why add an undercut on a job about matching?
The rule on this job was to match. The idea is that you make this piece exactly like the original piece, I told you in workshop 16, and in workshop 15 it had to look as if the same carver, the same furniture maker, did it. One part in workshop 13 got no undercut from me, because the original is not undercut there, and later his flower in workshop 16 got only a separation.
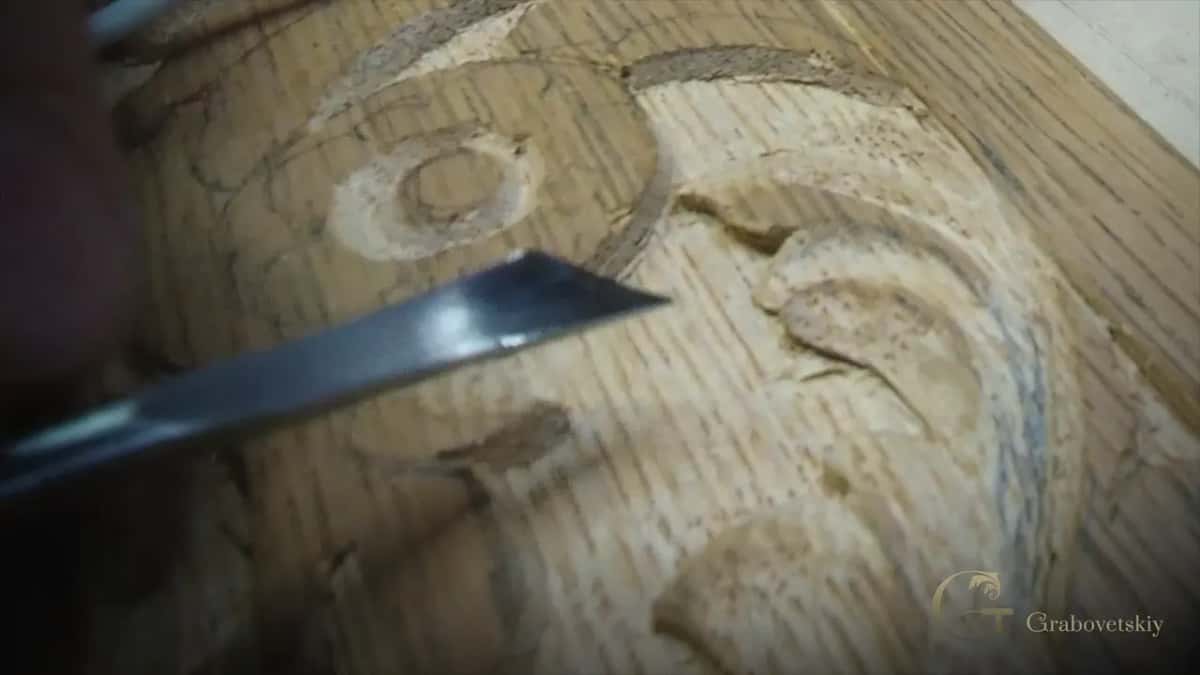
Then workshop 14 opens with me changing my mind. I'm still going to probably just slightly undercut, just slightly, I said. It's just going to look better. It's not going to be noticeable, and it gives me my shadow. A back bent gouge did it.
The full story of copying that antique, from the rubbing to the last leaf, is in How to carve a replacement that matches an antique.
When did I keep a rule I could have skipped?
Filler flowers in workshop 15 gave me the chance. I could have stuck the right diameter gouge straight in, but I feel more safe, I said, if I outline it first with the V tool, and so I did. Working a flower in workshop 11 I began toward its center, then stopped and said it's better to do the outside first.
And workshop 16 had me making sure I was not going deeper than the original carver did. The breaks on this page are the spots where I said out loud why I was not keeping one.
What happens to your tool layout during small details?
The tools gather on the bench, and in this case that is all right. Early on, in workshop 7, I called it really important to lay your tools in front of you with the edge facing you, so you grab the right one without wasting time.
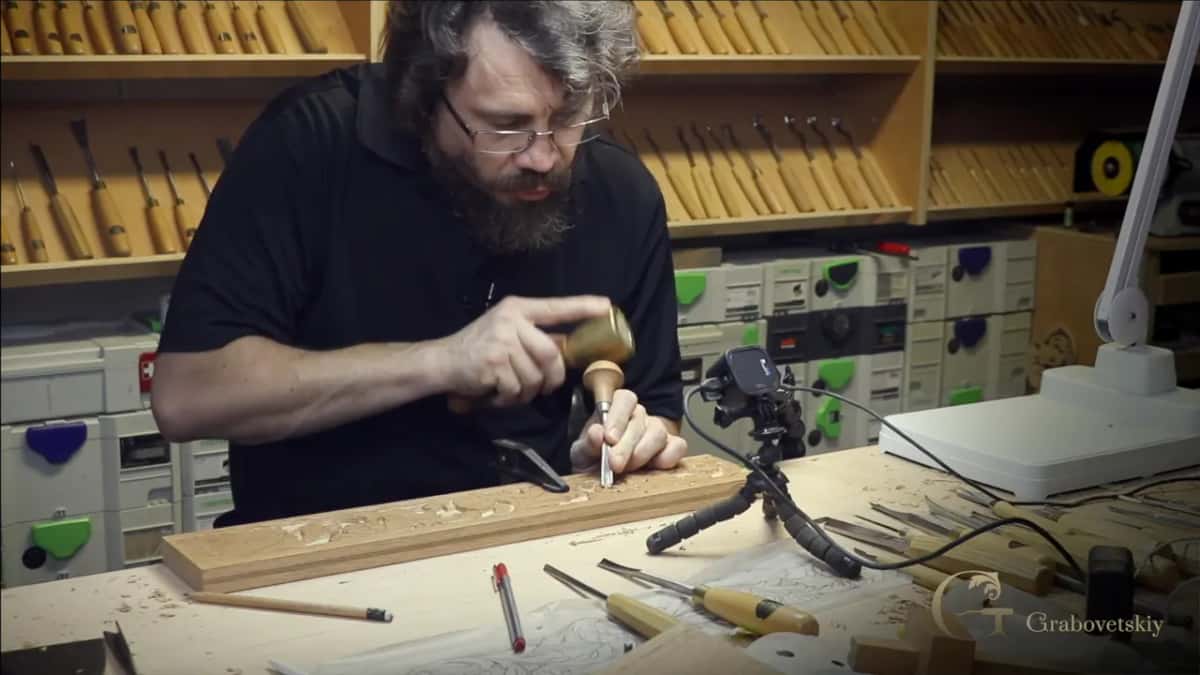
By the ninth minute of workshop 15 there were, I don't know, 30 tools on my bench. That's what usually happens when you gather your tools at your bench, I said later in that workshop, and it's all right in this case, since I was sitting and working on more or less details. By workshop 16 it was hard to find anything on my table, I admitted, and I stopped to reorganize.
How careful is careful when you break a rule?
Careful has a shape on this apron. Out on one leaf in workshop 13 I warned myself out loud to take real care right there, since I was working along the grain. With the bigger tool on the swirl the word was carefully. After the background spot in workshop 15 it was just as plain, really important not to rush it.
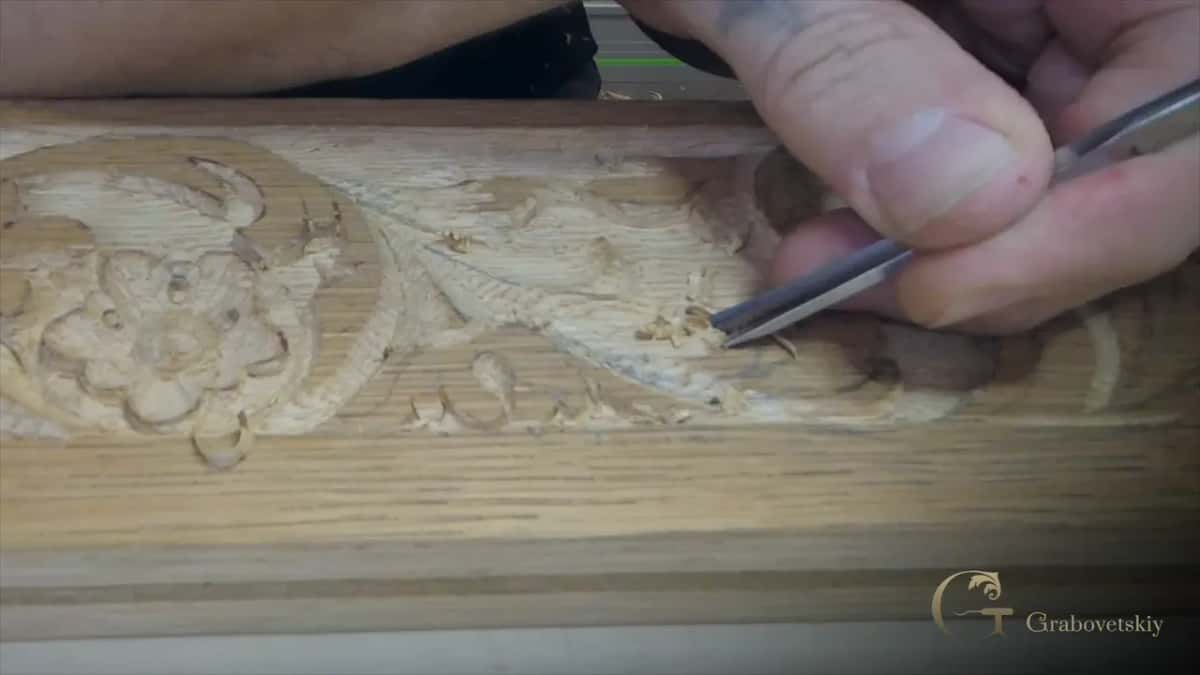
Pressure is part of it. The main idea is not to rush in a case like this, I said on a tiny petal in workshop 11, and you barely create any pressure. My hands got named in workshop 16 too. I'm making slipping movements, not forcing, controlling my hand so it doesn't go too deep, because it's easy to make a mistake in an area like that. If you don't want to make a mistake, you have to be really careful.
Careful does not mean nothing ever snaps. In workshop 9 a small piece came off near a flower. Just a snapped piece, I said. It's all right. It still has to be lower anyway.
The wood matters to every break. Tiny details would be much easier on less grainy woods, like basswood and cherry, was how I put it in workshop 11. Oak this dry is crunchy, and you can hear it on the video.
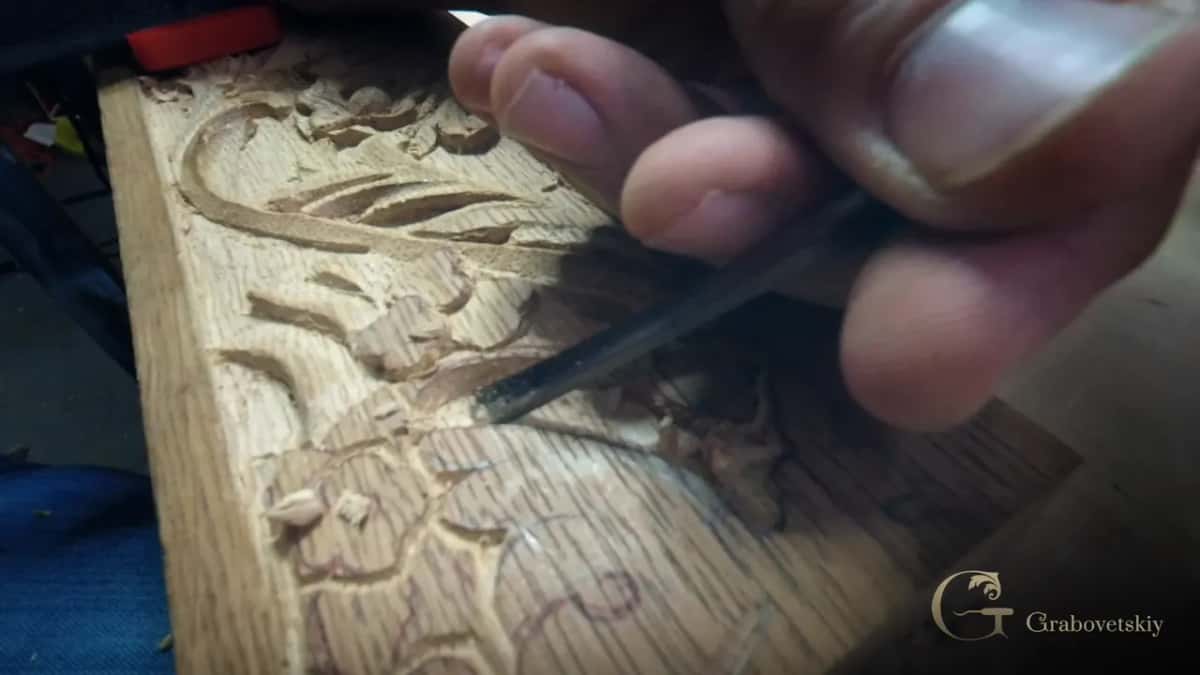
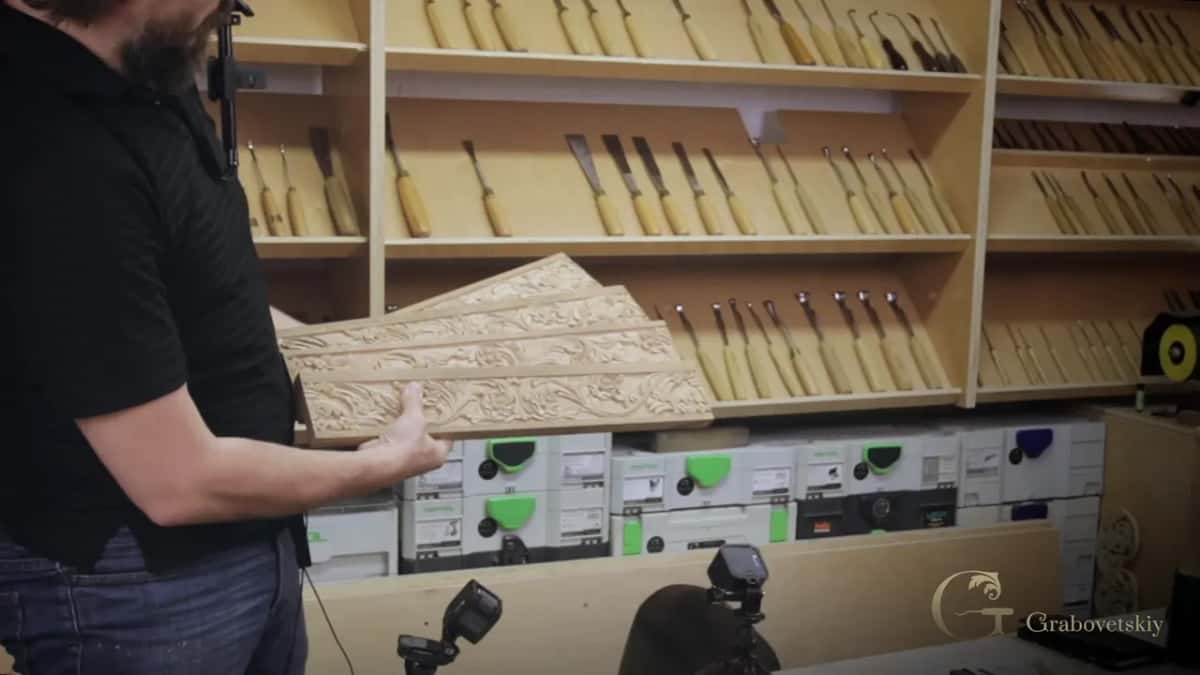
Did the breaks cost the match? At the end of workshop 18 I held up the pieces and said it plainly. There is my four pieces, and they all match.
Where do these breaks fit with the rest of what I teach?
Carving toward yourself is another rule question, answered in Acanthus over Moldings, lesson 6. Why the V tool goes in first at all is told in Carving Hashemi Flowers, lesson 17, and the article on common carving mistakes has a short part on breaking rules too. The thinking behind where a gouge will stop sits in Principles of Design in Wood Carving.
Got a V tool and a mallet on your bench? Can you stop at an eighth and wait? Then you can learn these carving rules the way the apron teaches them, first the rule and then the one spot where it bends, over eighteen workshops of shallow relief on antique oak with acanthus and flowers.
First Cuts for Beginners is where the school starts, with Carving Tool Sharpening and All About Tools for Wood Carving beside it. The whole apron, every workshop with the tools in my hands, comes with tuition to the school, and the Carving Dining Table Apron course page has the full list.
How it's done
- Set the outline outside the drawing. Run the V tool roughly 3 mm outside the pencil, on the waste side, a little further or nearer as the space allows.
- Hold the first depth. Keep the ground at 3 mm for now. Deeper waits.
- Clean the ground crossways. Work the background across the fibers wherever you can. In a spot where that will not happen, take a narrow grounding tool along the fibers, carefully.
- Walk back to the drawn line. Bring the V tool nearer, then let a flat chisel or a gouge that fits the drawing finish the edge.
- Try a larger gouge in a tight spot. Shape it with a slightly bigger gouge, downhill from the top, then clean up with a tiny gouge.
- Go deeper where the old carving does. Check the antique, take only those spots down, then round them.
Frequently asked questions
Is carving with the grain always wrong?
On this apron's background I went crossways whenever I could, and a few spots refused. There a narrow grounding tool took the wood along the fibers, slowly, since an edge can hook a fiber there and snap a piece off very easily.
How far outside the drawn line should a V tool run?
About 3 mm on the waste side, a bit more or a bit less, whatever the room you have allows. Where the carving was shallow I went much nearer, almost onto the line, and came back to it later with a gouge that fit the drawing.
Why would you carve a small spot with a big gouge?
To show it can be done. On one small swirl I chose a slightly larger tool on purpose and kept working downhill from its top. The larger tool did the shape, and a tiny gouge only tidied one corner last.
What to carve next