
Alexander Grabovetskiy, woodcarver, School of Woodcarving · Published 2017
Can a new table leaf match the carved apron on an antique table?
Quick answer: A carved apron for a new table leaf is matched by numbers and by checking. On one oak table I sized each length to the 21 inch leaf, started the pattern in the middle, held flower depth and size up to the original, and kept one spot shallow for an edge to edge test.
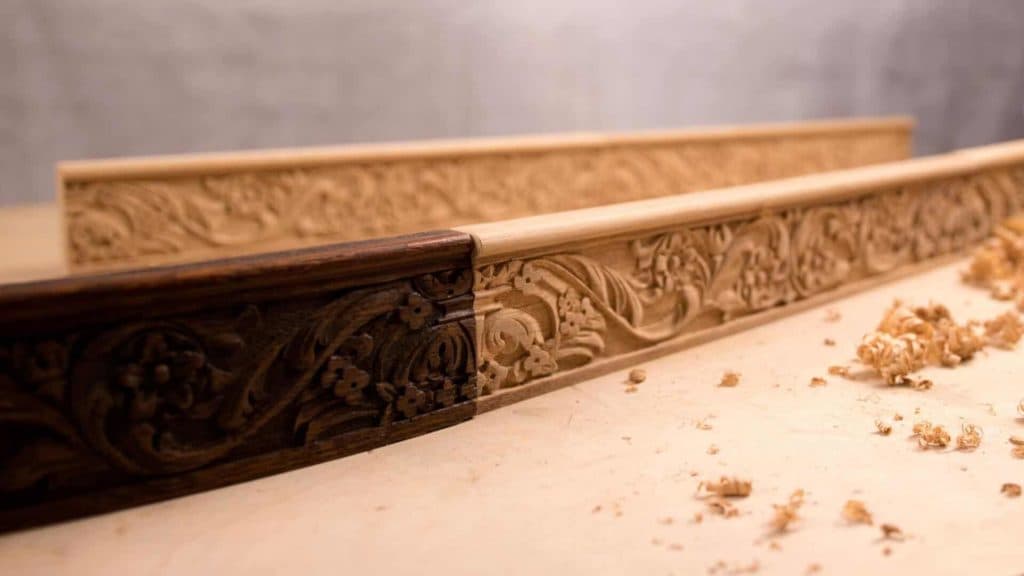
A matching apron for antique table leaves is one carved to the old apron's numbers and checked against the old section the whole way through, so yes, a new leaf can match. On the white oak table in my dining table apron course, the owner was making new leaves, and the carving on their aprons was my job. Four lengths. In the last workshop I could say they all matched the original.
Do leaves go inside a table to make it longer? Does every leaf have two long sides? Then each new leaf needs a carved length on both of them, and two leaves need four.
The table's own sizes are all here, and every check below is filmed. The table further down names the workshop for each one, so you can go and watch my hands do it.
What the new apron lengths had to pass
Each length ran 21 inches (533 mm), the width of one new leaf.
My section of the pattern started at the middle.
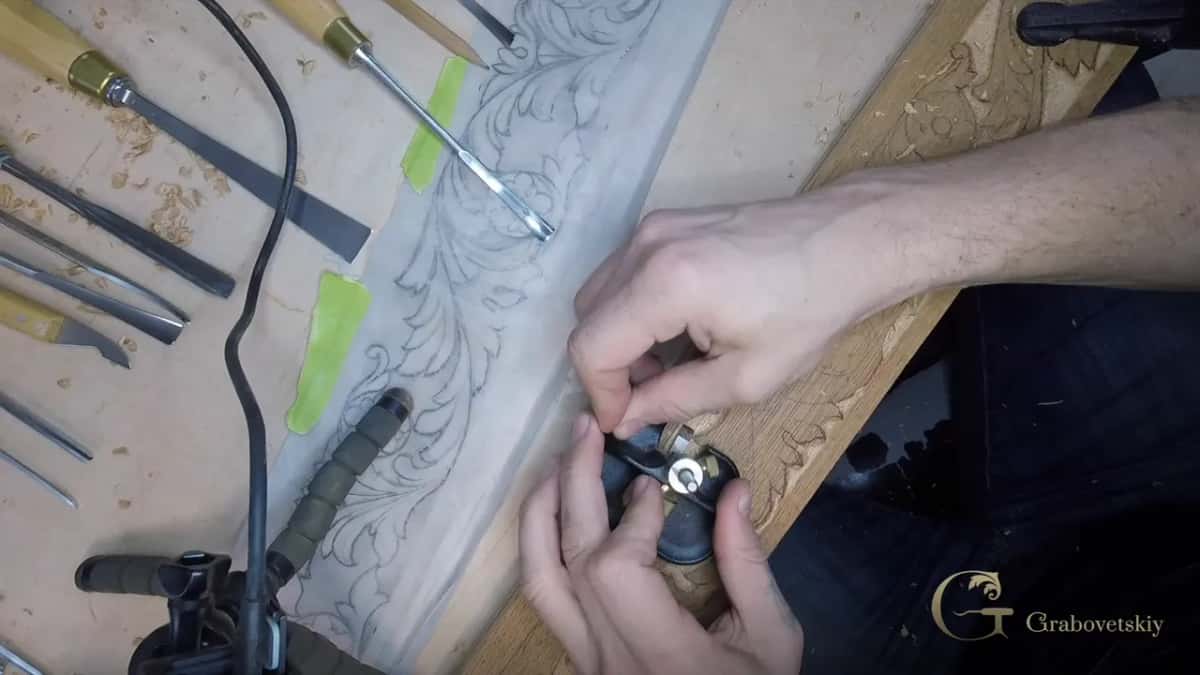
Before tracing, I trimmed the paper at the top, where the molding goes on later.
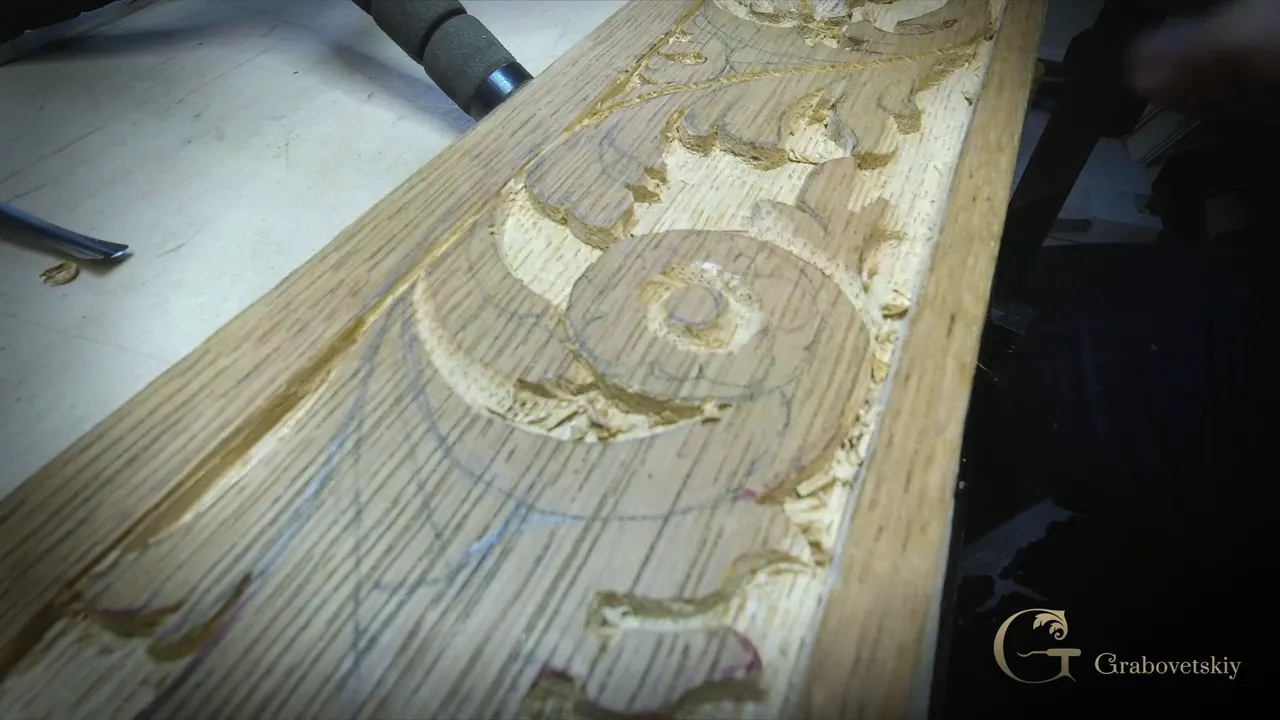
A router plane on the ground said I was really close.
Flower depth, flower diameter and the little round holes were all held beside the old carving, one at a time, until they looked the same.
One spot stayed shallow for a while, saved for a test beside the old piece.
How long is the apron on antique table leaves?
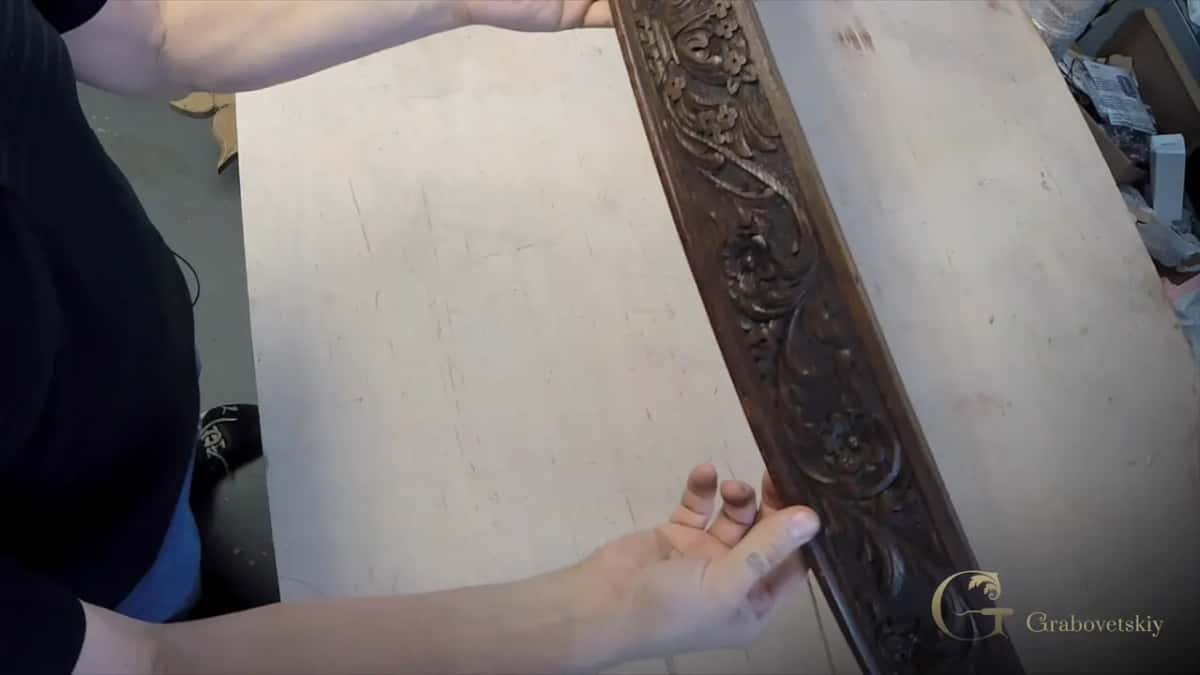
As long as the leaf is wide. The owner's old table leaves were about 10 and a half inches (267 mm), and the new ones would be 21 inches (533 mm), two of them going inside the table. With a table that much bigger, the old skirt wouldn't work. First, I measured the old section. Its carving looked only an eighth of an inch deep, about 3 mm, and its width was about three and a half, not exactly, but close. Two leaves at 21 inches meant 42 inches (1,067 mm) of new carving on each side, so four pieces, each about 89 mm wide (3 1/2 in).
Then came the pattern. I set my section to start right in the middle, and it had to come out at exactly 21 inches. Exactly that. I left the new strip a little long first, maybe 43 inches (1,092 mm), then brought it to 21 exactly.
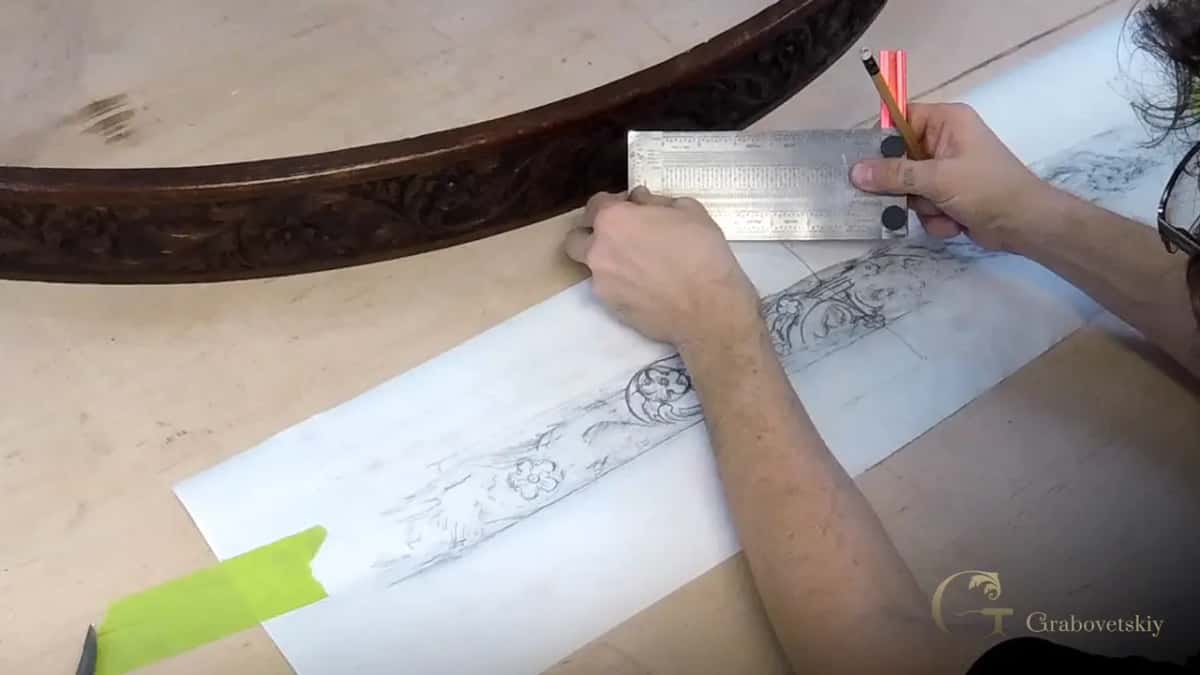
While I drew I thought I might have to scale it somewhat. About a minute later I decided I probably didn't, because the old leaves were 10 and a half and the new ones 21, so the drawing should come out pretty much accurate. I worked one side of a big flower and the acanthus wrapped around it first, then planned to flip it and see where we'd end up. The big flowers sit inside circles, like a row of rosettes, and the distance between one part and the next had to come out equal. I really like to work on antique furniture. It has some history attached, and you can see the original woodworker's choices in it.
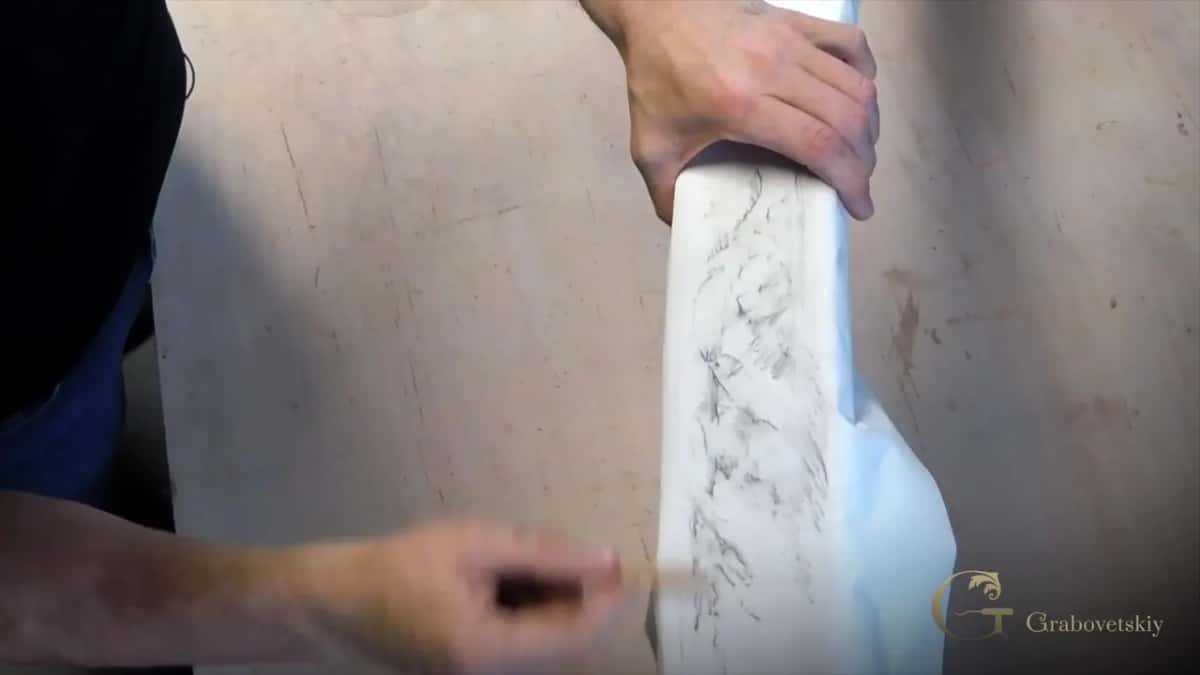
How thick is a table apron with a molding on top?
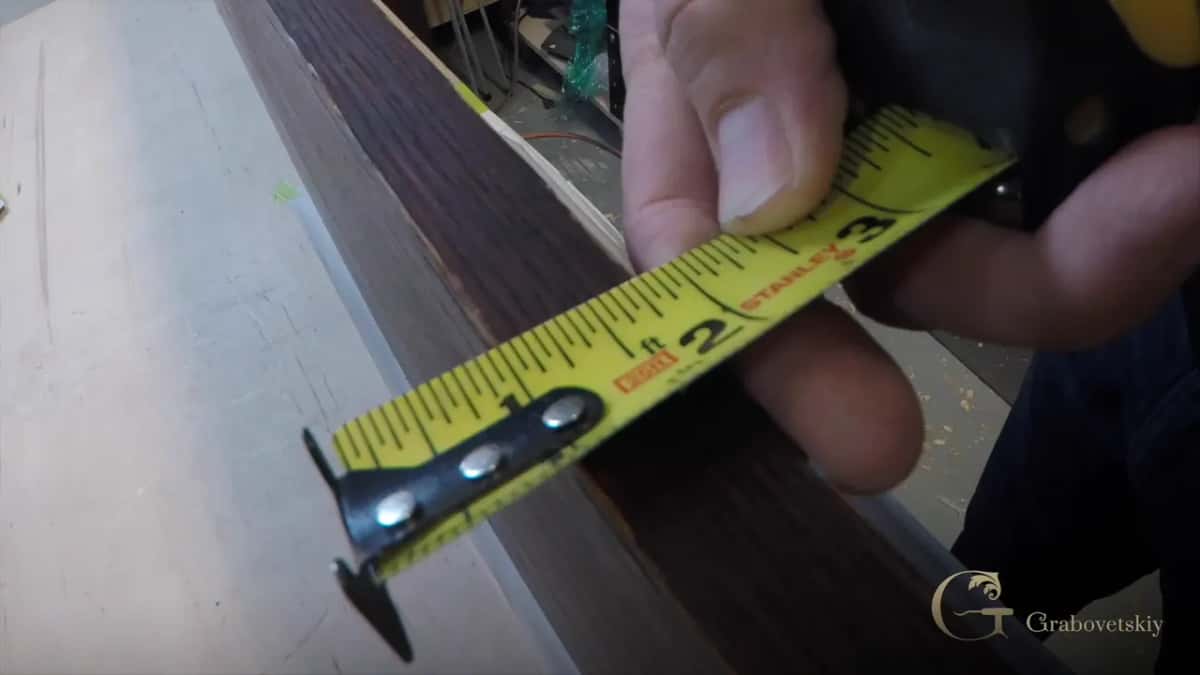
The old one was three-quarter inch (19 mm) at its main piece, with a molding on top and a thicker bottom. Its upper molding was applied right on top of that main piece. That piece was laminated wood, about 19 or 20 millimeters.
At the top I got 11/16 (17.5 mm) plus the molding, and the molding by itself was 3/16, five millimeters. Then I flipped it. The bottom was much thicker, 15/16 (24 mm), laminated from four pieces.
So when my pattern went onto the new board, I trimmed the paper along the top first, because that edge is the upper part, and the molding would be applied later on. Acanthus carved over a molding is its own subject, in Acanthus over Moldings. Even before that, I ran my Festool Rotex sander on the board. A scraper or a plane would have done it too, but the sander was much quicker. Then I wiped it really good, until no dust was left. I should have used my vacuum, and I didn't.
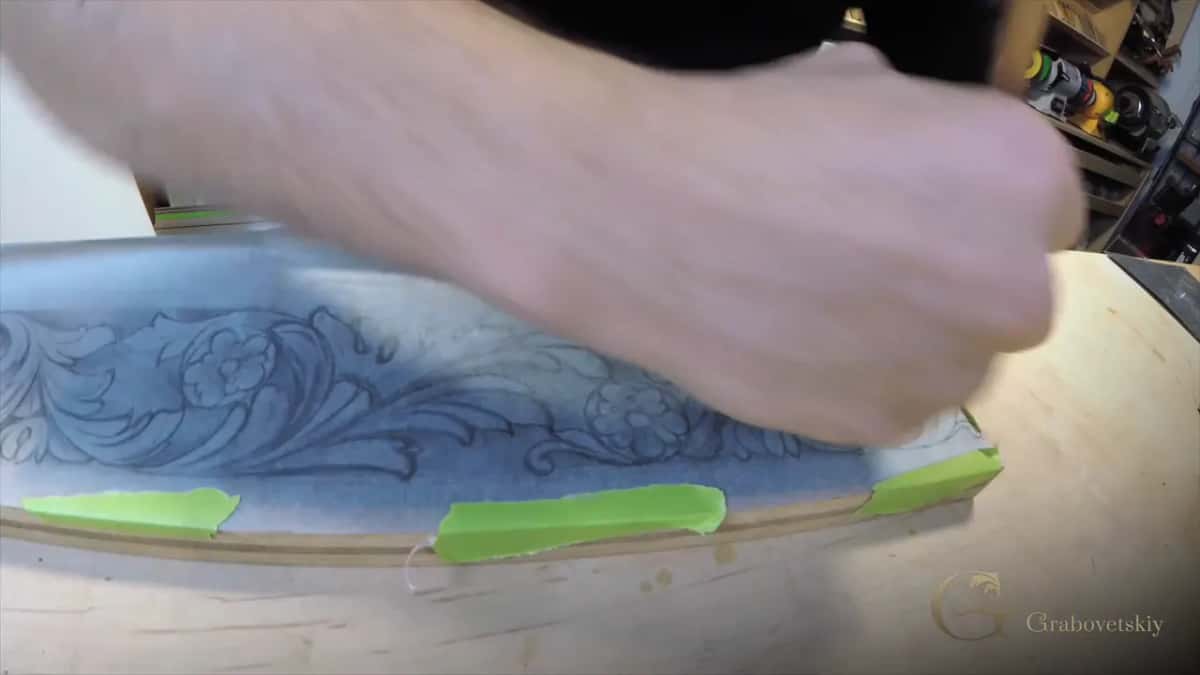
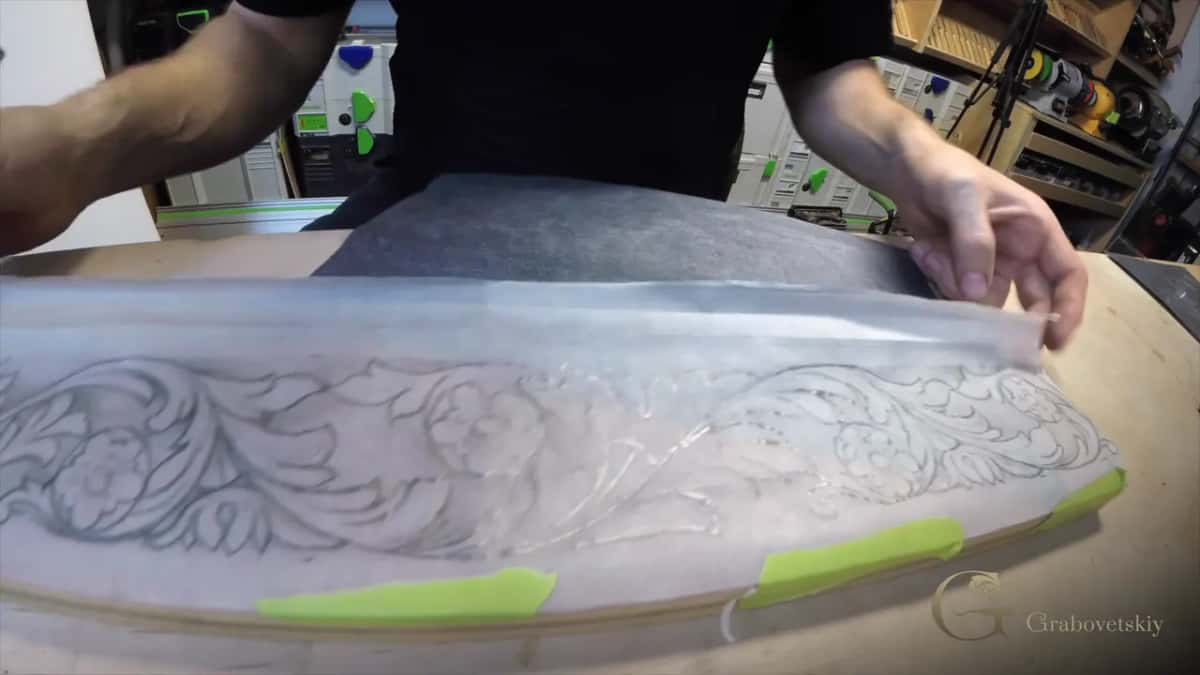
With the carbon paper down, I made sure my edges were lining up and marked more points.
Which checks use the old section?
All of them, at every stage. I kept checking the original carving all the time, and even with the pattern drawn in pencil I still had to do that, to check for accuracy. It's always important to go back to your original piece, and to the drawings too. If you carve a piece from scratch and you're not matching anything, it is less of a problem. But when you match an existing piece, you replicate the original carver exactly. On this table I could not use my imagination. I had to do what the original furniture maker did, whoever built that table. I follow the main idea, whatever the original carver did. The main idea is the big idea.
The ground came first. After a stretch of background work I took a small router plane over it, and it showed me I was really close to where I was supposed to be. That was the long workshop, almost an hour of background, flat chisel and gouges, mostly across the grain. Two workshops later the background was done. I said I'd refine it later, but the main idea was completely done.
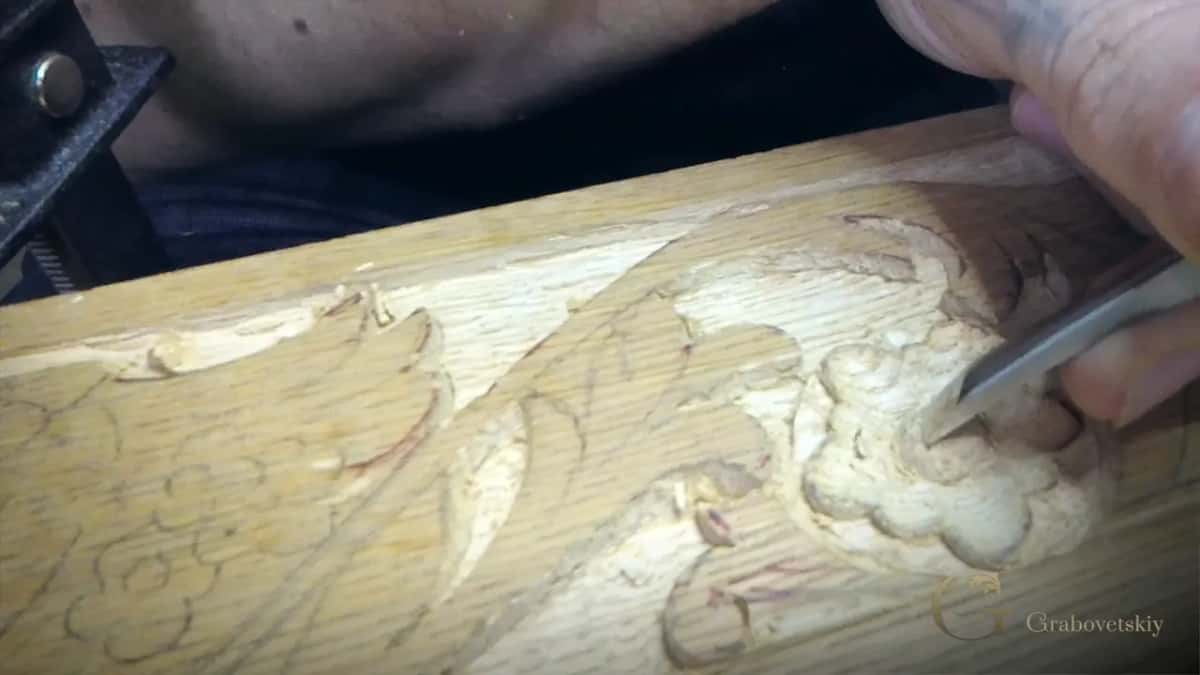
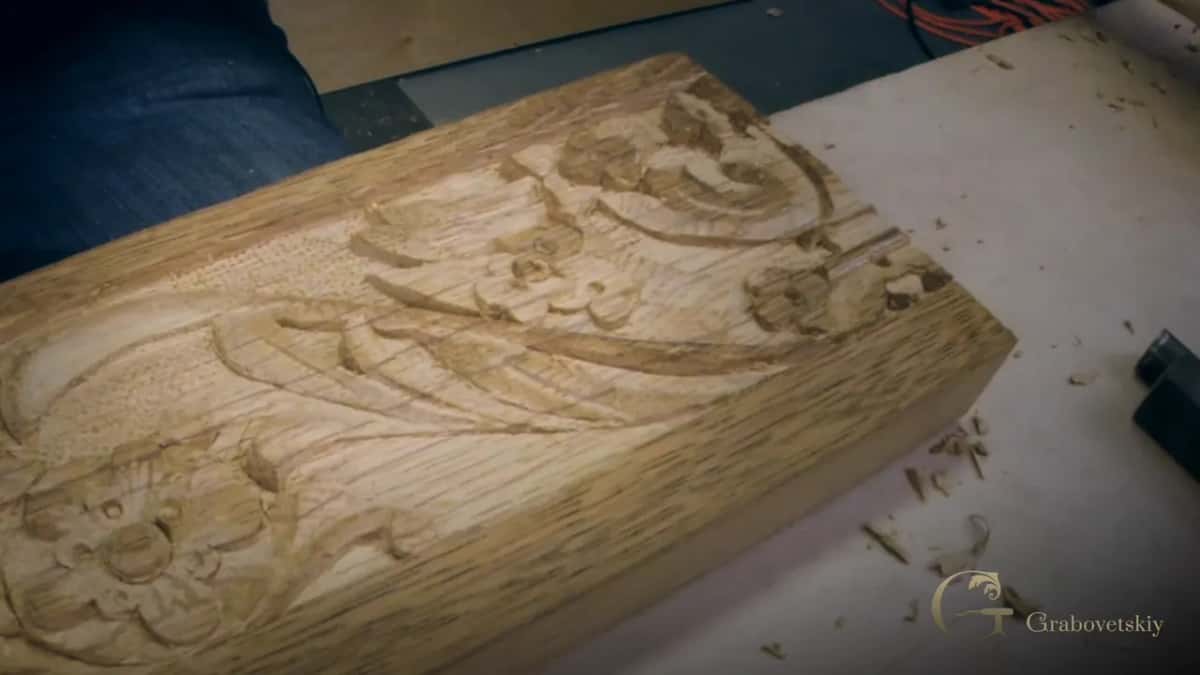
The big flowers came next. Around the middle, the original had a hollow, and mine needed to go deeper, just like his, about three millimeters, maybe three and a half (about 1/8 in). Comparing them, I said it definitely looks exactly the same as far as how deep it goes, and the diameter looks the same as the original. It was getting hot in Florida that day, the middle of May, and oak this dry makes a crunchy sound under the gouge.
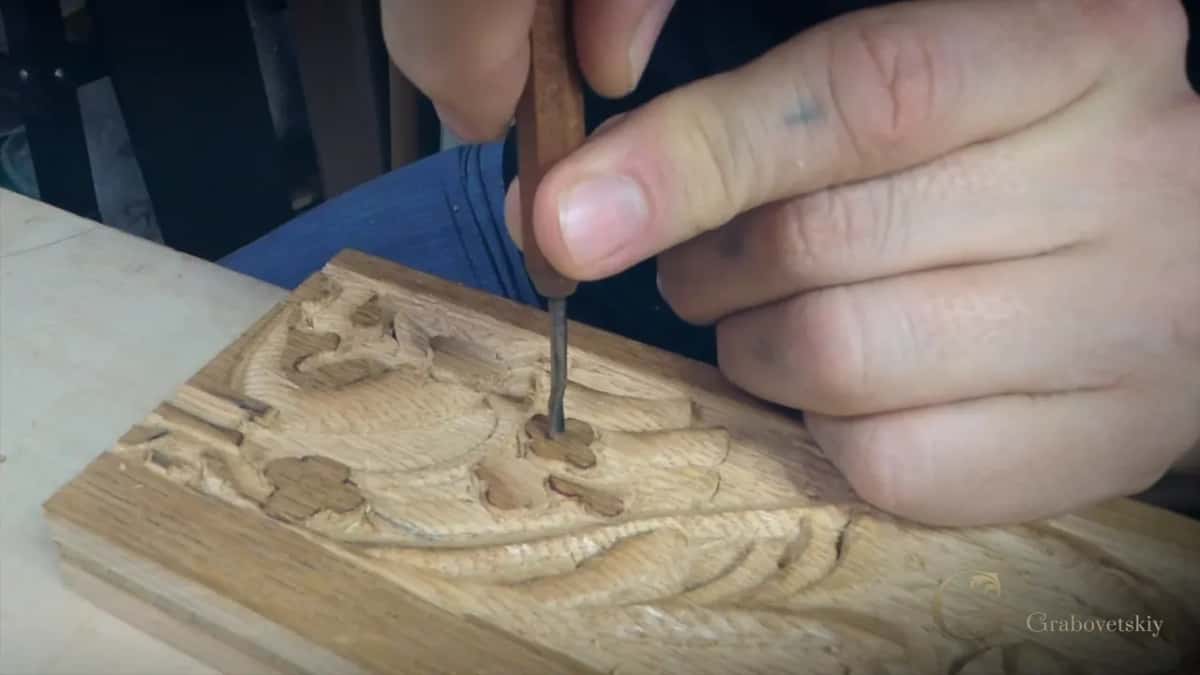
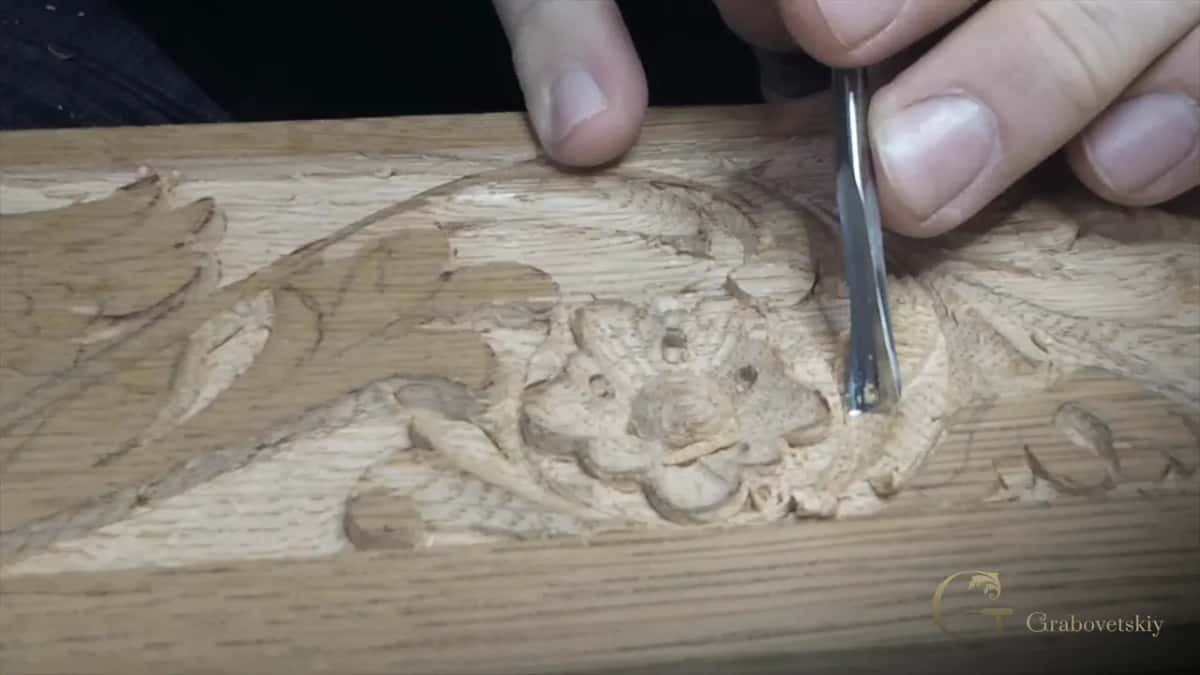
Then the small round holes in those flowers. I made them, and for a moment I thought I could use an even slightly bigger tool. I checked the original. Exactly the same. A workshop later, after the swirls, I could say it does look like the original now.
For the filler flowers, the small ones Grinling Gibbons used a lot, the centers had to match diameters too. I used my little Dockyard gouge again, the same small tool from the big flowers, stuck it in, rotated it and took it out.
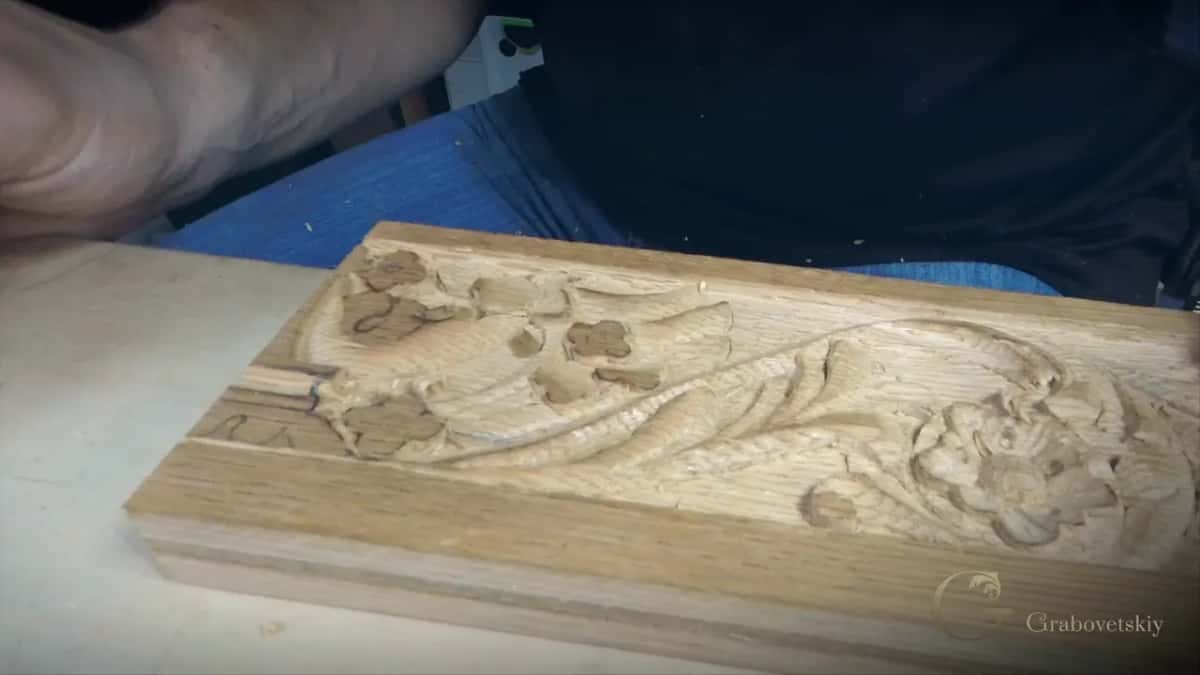
One spot I left shallow on purpose. Later on I was going to compare that piece to the original, put them edge to edge and make sure it fit perfectly, so I wasn't going as deep there yet.
What keeps four apron pieces alike?
The same tool on the same curve, and one section done before the rest. A Pfeil number 5, 35 mm wide (about 1 3/8 in), fit almost perfectly to the original line on the filler flowers. On my last section it came out again. Keep consistent, I said.
I try not to change tools much, and I keep to the same radiuses, or pretty close. That's what they would do back then. The details repeat themselves along the board, so I did one section first and then sped up the process. Taking as much as you can in one pass is one of the biggest mistakes carvers make. Well, I shouldn't say mistake. I know some carvers who really rely on speed. I rely on speed too, but quality can't suffer. You can be Speedy Gonzalez and do choppy work, or make really nice pieces that are still fairly quick, because you have to make money. Which gouges belong in a drawer like mine is its own subject, in All About Tools for Wood Carving.
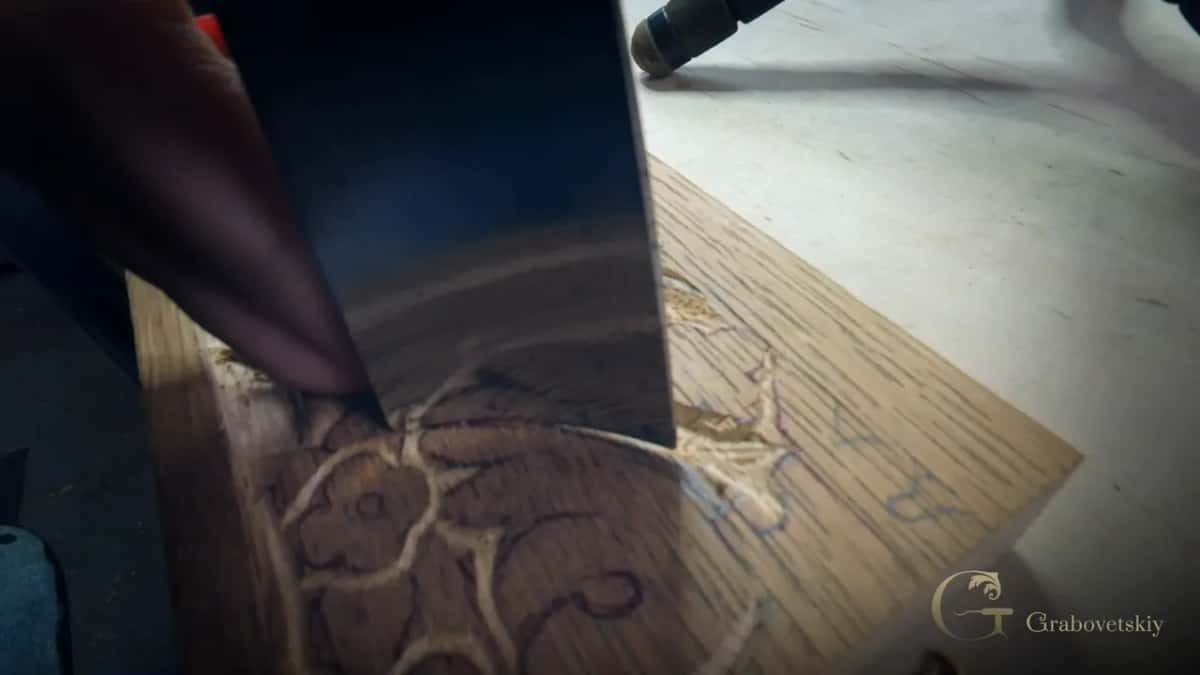
Texture had to agree too. The original had a punched ground, and by the time I filmed the last one I had already done it on all my previous pieces. I was blessed there. The set I have matches the original exactly.
And there were five lengths, not four. After the first one was done, the client and I changed the design a little, so I finished five to have four.
What I checked | What I found or thought at first | Where filmed | What each new length then got |
|---|---|---|---|
Length per leaf | Old leaves were ten and a half | Workshop 1 | Two new leaves at 21 inches |
Start of pattern | My section begins right in the middle | Third workshop | Middle start, and 21 inches long |
Room for molding | The molding gets applied later, on top | Fifth workshop | Paper trimmed along that upper edge |
Height of ground | A target near one eighth inch deep | Workshop 8 | Router plane said really close there |
Big flower hollows | About three millimeters, maybe a little more | Eleventh workshop | Depth and diameter looked the same |
Small round holes | I thought a bigger tool might fit | Same workshop | Checked his, and they matched exactly |
Filler flower centers | Each center has to match its diameter | Sixteenth workshop | Matched with my little Dockyard gouge |
Which faults did the last passes catch?
Small ones, and each of them is on camera in the apron workshops. I'm going to be honest with you, a few spots needed a second look before those pieces were done.
One acanthus curve was not as nice as I would like, so I fixed it, and after that it looked like the original. On another part of that acanthus, for me, one piece had to be longer, and the one beside it had to go all the way. Once I stopped because something seemed wrong. I checked, and that section was background. That meant going deeper there, and the part next to it a little higher.
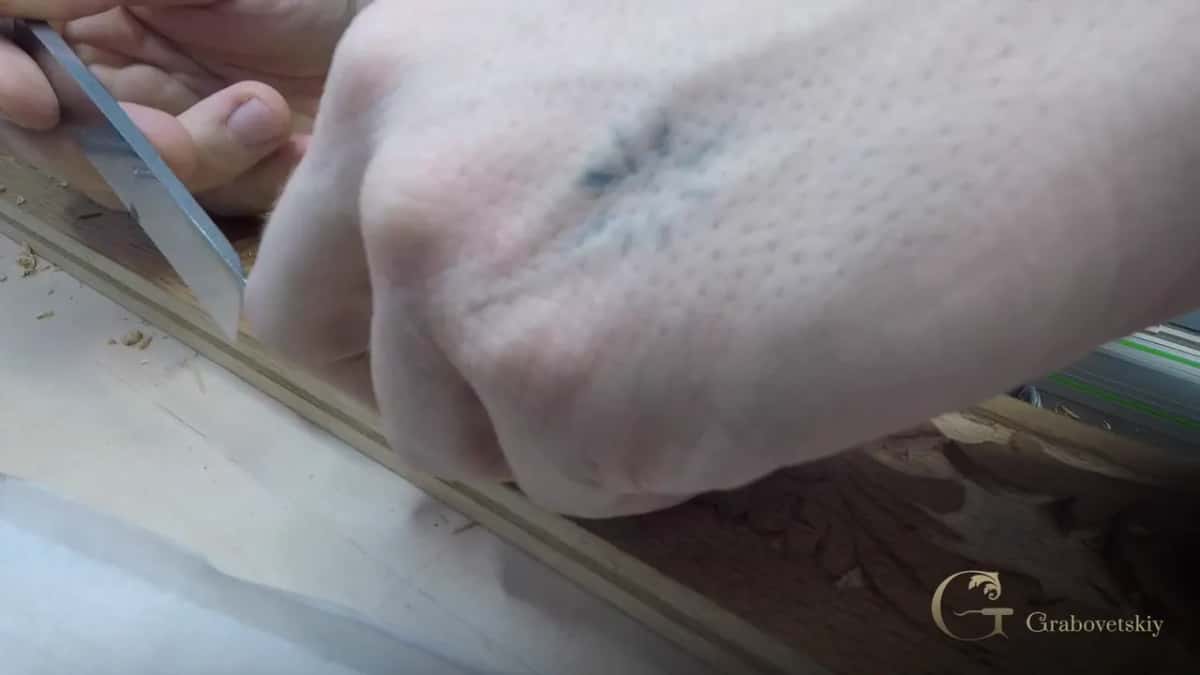
A piece snapped off near a flower. It's all right, I said, it still had to be lower anyway. Near the end a little bit of a flower snapped, and I cleaned it with a flat chisel and made it look on purpose.
One section of mine didn't look too good, and the original didn't look good right there either. There I wanted mine a little better, but the old one has no ridge at that place, so mine needed a smooth transition. Pencil marks came out. And when I punched the ground, it showed me more spots to clean that I had missed before.
How do you charge for carving like this?
By time and material, in most cases. People have asked me online how I estimate what to charge a client, and in most cases it's almost impossible to figure out exactly what's involved. In wood carving, one day you can carve only one inch, and another day you could finish one foot. So you really can't go by the foot or the inch. Some carving you probably could, like egg and dart on a molding, where you know pretty much how long it takes. For most jobs I talk to the customer about time and material. Whatever time I spend, they cover my time, and whatever I spend on materials, they cover that.
Where do the final details show on an apron?
In the little things, like the notch at one spot of my last section. It's all about the final details, I said right there, and that notch was a really important one. About ten minutes later it was one flower on the original that slopes a little from the center down all the way, on this side and on that side, so mine got the same. After that I said the carving part was done, and it looked really good straight out of the chisel. Furniture carving sits close to the eye, and these pieces were going under a dining table.
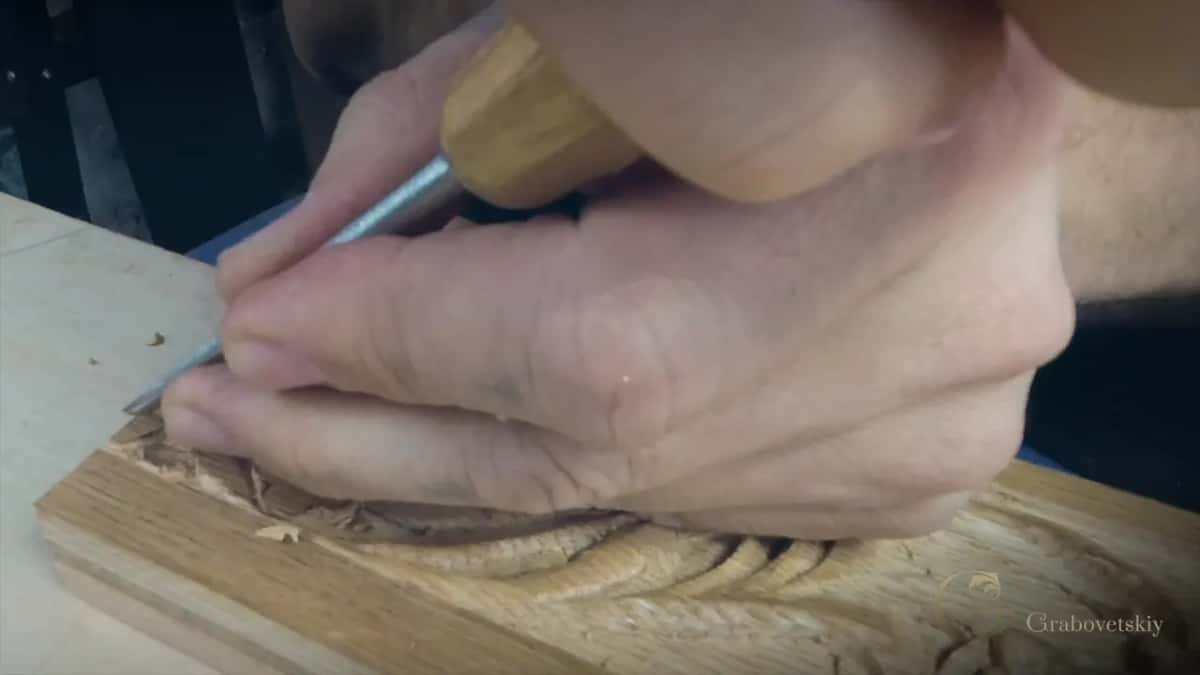
With all four carved, I cleaned them. While carving I hadn't, so chips from roughing out still sat in the corners. A tiny number 16 V tool, one millimeter (under 1/16 in), went into those spots, and I didn't go crazy about it.
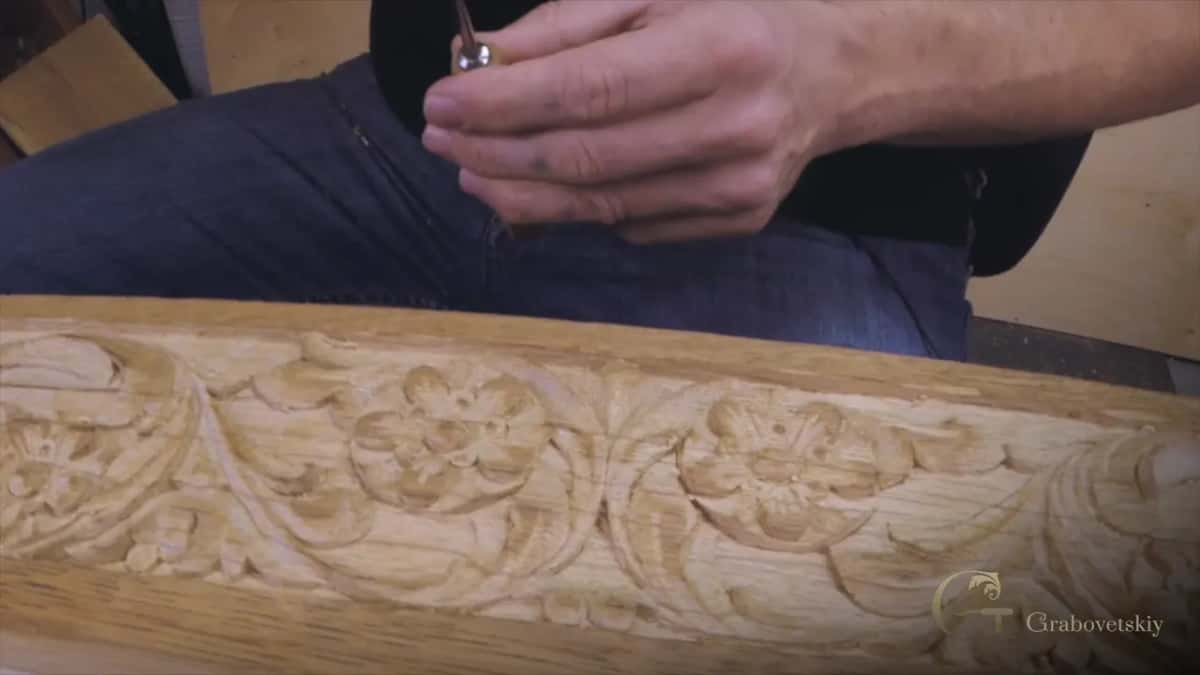
Then the ground got its texture, and after that, I said, the tiny V tool goes around again. Even so, at the very end I found a couple more spots I'd missed. It doesn't have to be perfect, because a human being did it, but that doesn't mean you make it sloppy or childish.
When I showed you the finished work, I said it would be upside down, I guess. There were my four pieces. They all matched the original.
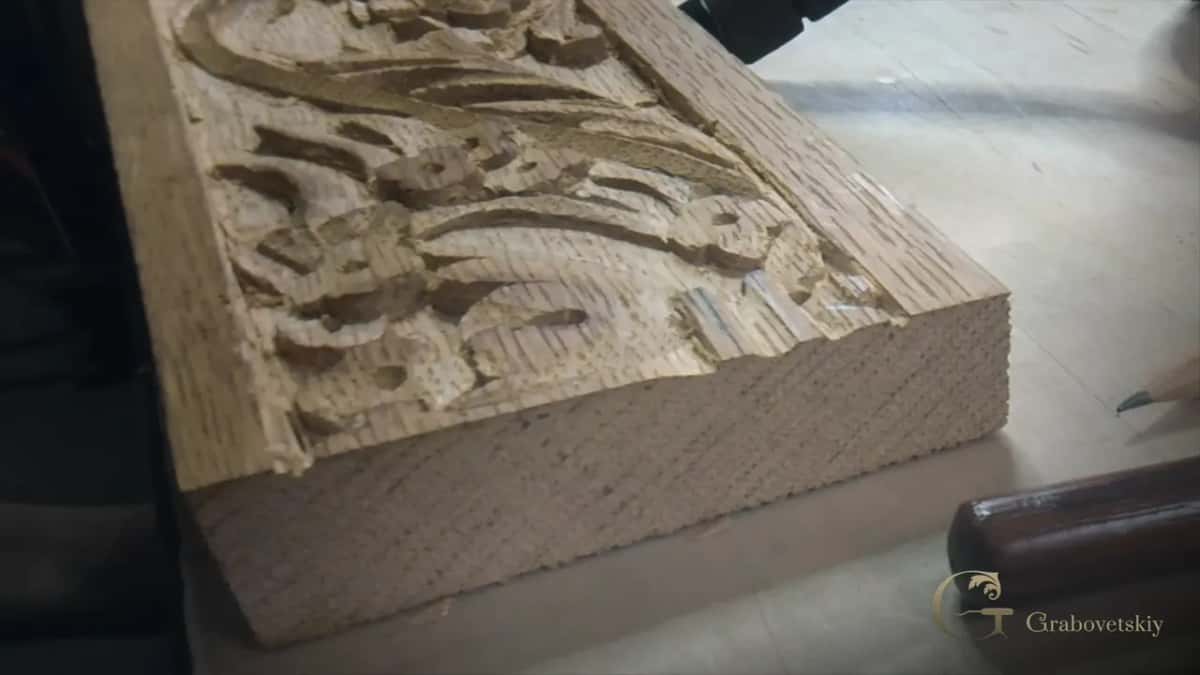
So there's an old table with carving on it, and dining table extension leaves on the way that need theirs. Would you rather check every flower against the old one than hope it works out? Then learn it at the bench, one check at a time, in the eighteen apron workshops and the rest of the school. If you've never held a gouge, First Cuts for Beginners comes before any of this.
How it's done
- Size the lengths to the new leaves. Two 21 inch (533 mm) leaves with carving on both long sides meant four pieces, and old leaves of ten and a half meant the pattern most likely needed no scaling.
- Start each section in the middle. Set the rubbing so a section begins at its center and comes out at the full 21 inches.
- Leave room for the molding. Trim the paper along its upper edge first.
- Mark extra points on the transfer. Make sure every edge lines up, and mark more points.
- Hold each stage up to the old section. Router plane on the ground. Then depth and diameter of each flower against the original, and one spot kept shallow until the final comparison.
- Clean, add texture, clean again. Clean corners with the smallest V tool, punch the ground, then clean once more wherever the punch showed a spot.
Frequently asked questions
What can you do with old table leaves?
On this table, the old leaves gave me the wood for the new apron. The owner sent them along with one section, and I used that antique oak to match the carving. One leaf looked like enough for all four pieces, and its thickness meant ripping only, with no planing.
Why carve five apron pieces for a table that needs four?
After I finished the first one, I spoke with my client, and we decided to change the design a little. The main idea stayed the same, just slightly different. So I needed four and finished five.
What does a router plane tell you on a carved apron?
How close your ground sits to where it should be. Mine ran over the background on the oak, and I was nearly there. After that, a grounding tool took over for the rest of that spot.
What to carve next