

Alexander Grabovetskiy, woodcarver, School of Woodcarving · Published 2022
What is a #2 gouge used for?
Quick answer: A #2 gouge is a shallow carving gouge, nearly flat across the edge. In one Venice Room workshop I set a pencil line with a 16 mm #2, then took a 35 mm #2 over the surface and stopped 1 mm short of the line, leaving that strip for later cleanup.
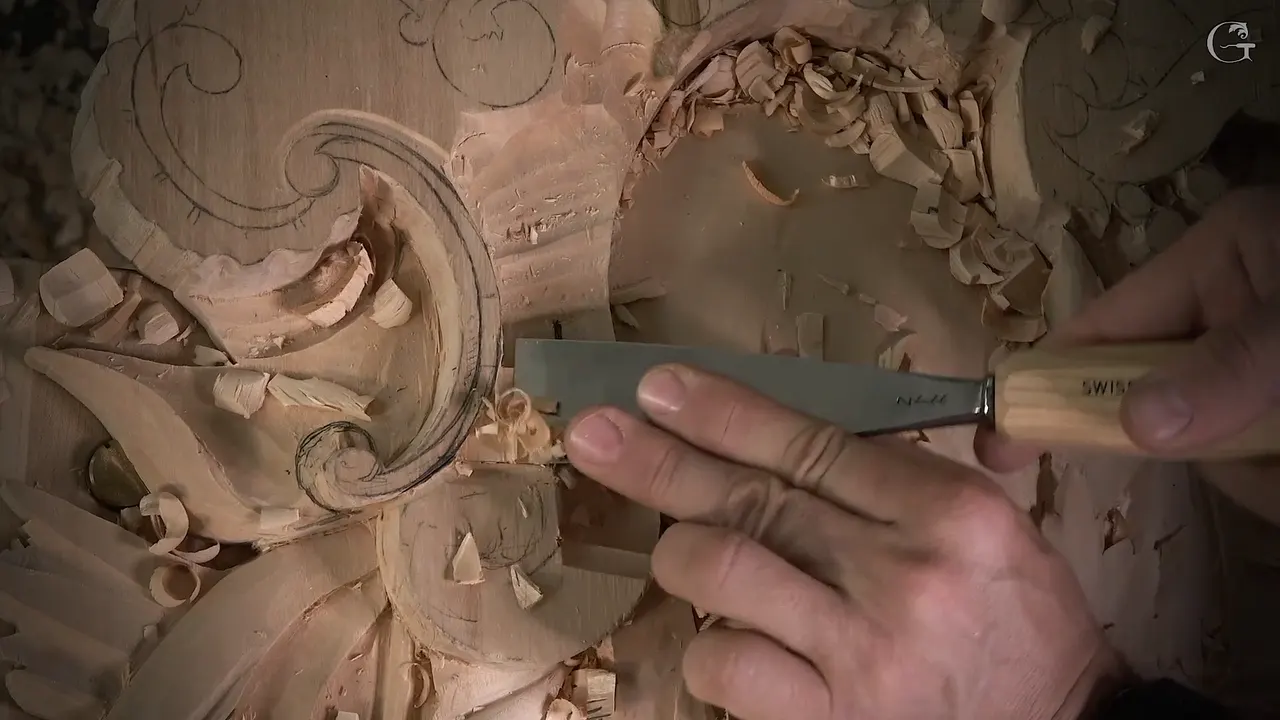
A #2 gouge is a shallow carving gouge with only a slight curve across its edge. It is not quite a flat gouge, and it is not a chisel either. In lesson 149 of the Venice Room it did two jobs on a panel for a room: it went straight down on a pencil line, and then it cleaned a surface to just above a line.
Want to know how close a #2 really comes to flat? And would it help to see it at work on a real panel, right beside a #3 and a #7? Lesson 149 shows all three, one pass at a time.
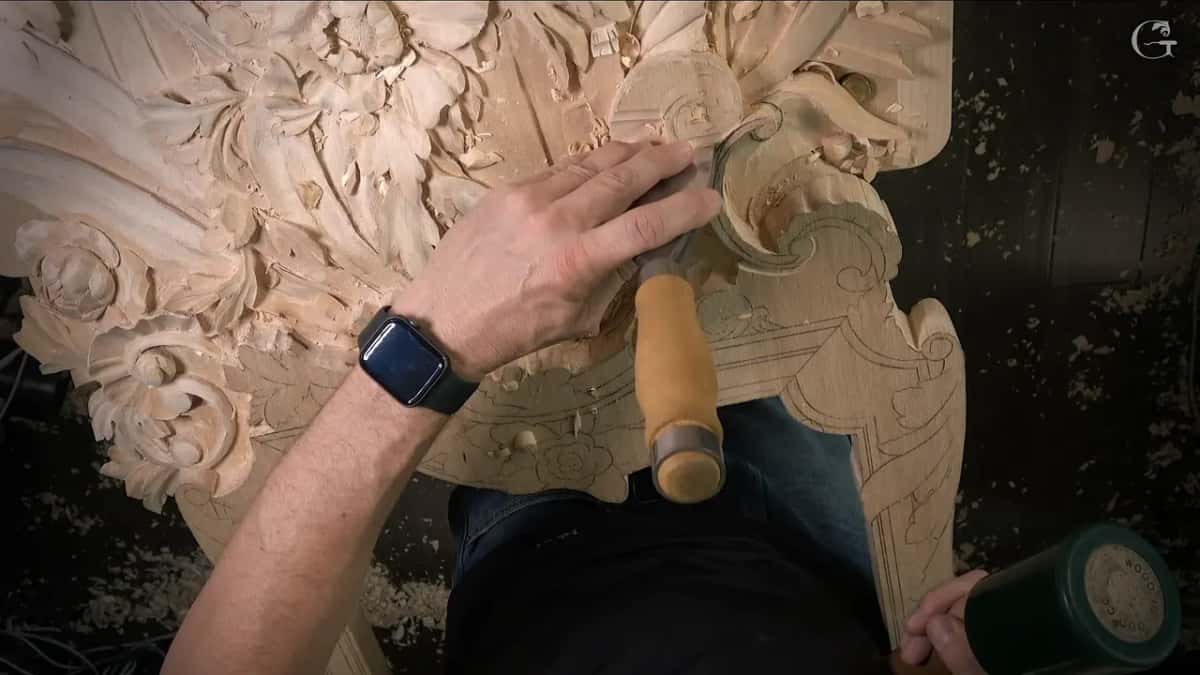
I will keep this plain. The lesson is three short parts, and the #2 is in my hands for only a few minutes of them. So lesson 149 leads this page and gets told first and in full. After it come my words from other lessons where I picked up a #2: two livestreams from April 2020, the Tray of Blessing (the Cabernet Sauvignon one), the rosette with a bow and chamomile flowers, and two short lines from other panels. Each one is named and linked right where I use it.
The #2 in lesson 149, in six lines
Almost flat, with a slight curve, and I said a #3 would do its first job too.
The 16 mm one (5/8 in) kept a pencil line in place.
Then a wide one, 35 mm (near 1 3/8 in), gave the lowered surface its first cleanup, down toward its line, and stopped short of it.
About 1 mm (1/32 in) was left, with the line in view.
Once the acanthus head had to roll, a #3, a #7 and two small #11 veiners took over.
On other pieces a #2 worked at 12 mm and at 6 mm, and once I warned people off using it too early.
Is a #2 a flat gouge?
Nearly, and nearly is the honest word. Partway through lesson 149 I stopped to say so out loud: "number two, by the way, almost flat. Really close to being flat." In a livestream on sharpening a #11 veiner I called the European number two "a slight curvature, almost flat," and said that in the UK a number two is usually a skew, which the page on what gouge numbers mean goes into.
So every #2 on this page is the gouge with that slight curve. None of them is a skew.

Does it matter if you use a #2 or a #3?
Hardly at all, in lesson 149. The first tool I reached for there was a flatter one, "maybe number two or number three. It all depends what you have. You can use any," and I took the #2.
I made the same call on the second lesson of the chamomile rosette. There I wanted my high spots to stay high, because some parts of that rosette stand really tall, and I wanted to keep the overall picture. "Number 3 will work, but I'll get number 2," I said, and the #2 chopped down in one spot.

Once, though, the gap between the two numbers decided it. For the Grape Onlay I took a #2 at 8 mm and said "not number three, because number three is gonna give me too much sweep." The #3 has its own page, with the jobs it did on a Venetian ceiling.
How does a #2 hold a pencil line?
Mine chopped down on it, first thing. I set it on a line I had just drawn and took it down, and I told you why while I did it: "That way, I'm not going to lose the position of that line I just placed."
Is that the only way? I said plainly it is not. "I'm pretty sure there's more ways, but that is one of the ways I like to do if I don't want to lose the line." Then I added that losing the line is not a big deal, since I can always redraw it, "but still, why not do it that way if it's easier?"
Between that first line and the next one, a number one chisel, a #11 and a #9 did the rest of the work. The chisel at 20 mm I said I could run "right away without too much outlining," and the #9 probably needed a mallet, as I said then. The course page tells that side of it.
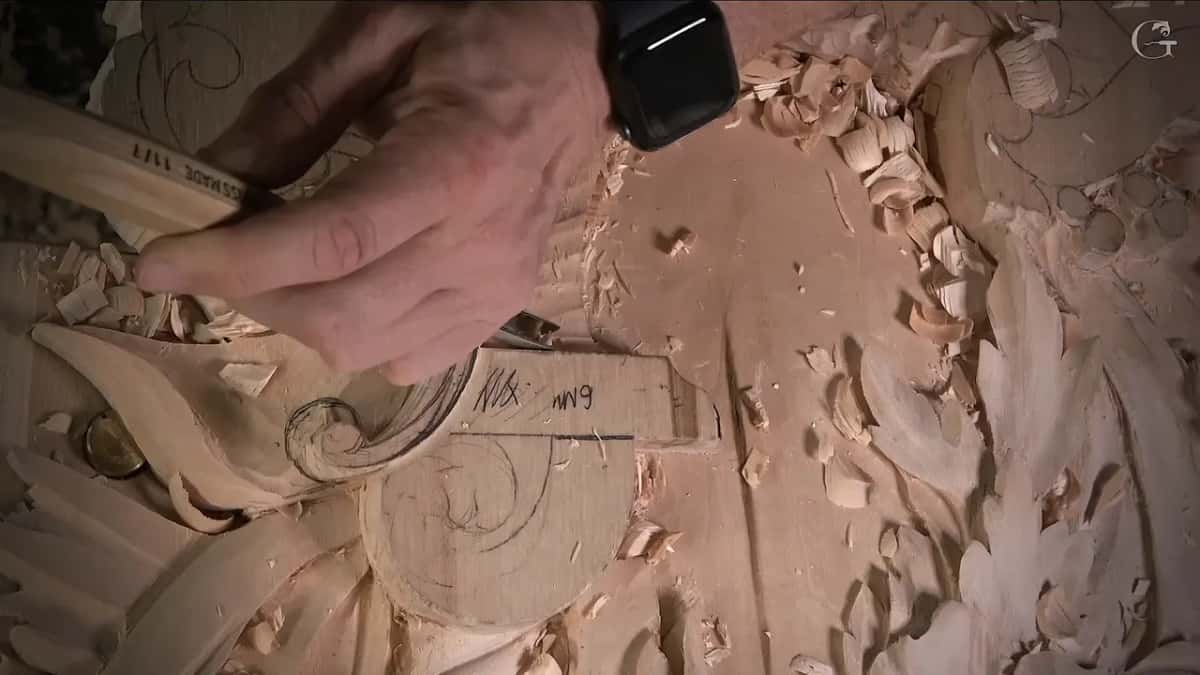
Those lines were not all at one height. The next part had to come down to "about six millimeters higher than the first line," and that first line itself changed along its length: 6 mm, about 1/4 inch, at one point and about 10 mm, "three eighths of an inch," at another. At one spot the line was already at 5 mm, three sixteenths of an inch, so I could take it down pretty much to the bottom. Halfway through I stopped myself. "Oh, maybe it's not okay. Let me put the line right here for I just remember exactly where we at."
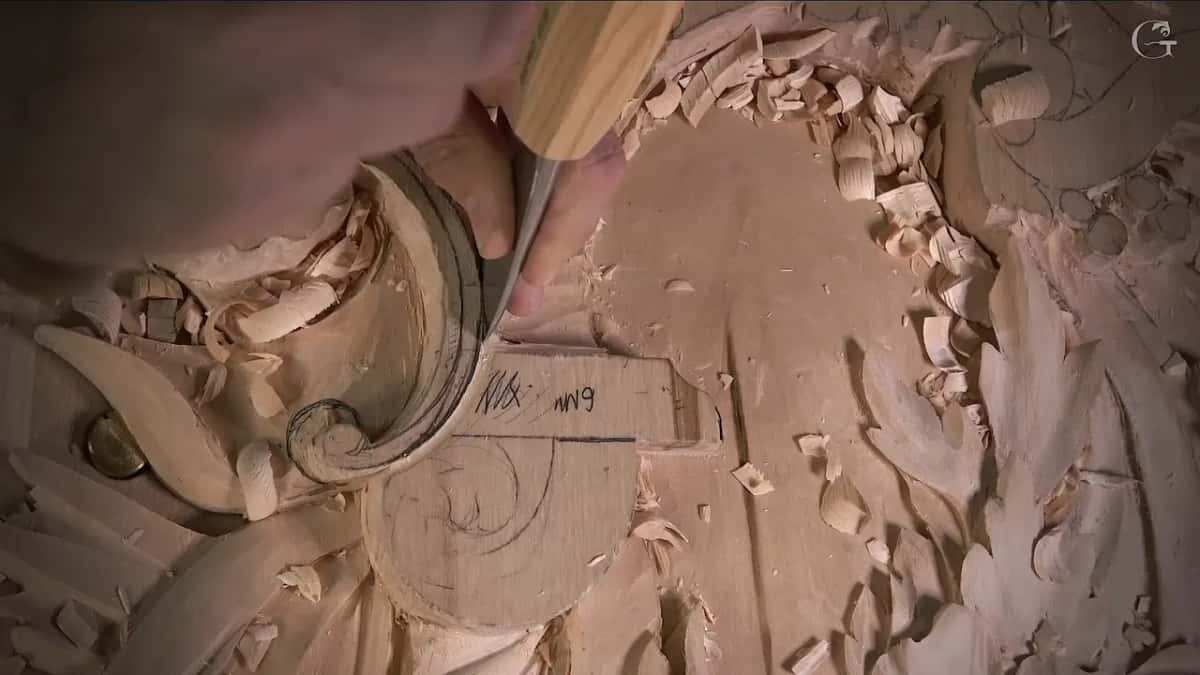
The #9 had left me "a little above my six-millimeter line," and I told you I could get closer. Then the #2 came back. I took a smaller one, "5/8 of an inch, 16 millimeters," and hit the second line the same way.

Not every line gets the #2, though. Working on the floral and molding panel, I reached for one to set a line, then said even the #2 was no good there, and used a skew.
How close to the line does the #2 go?
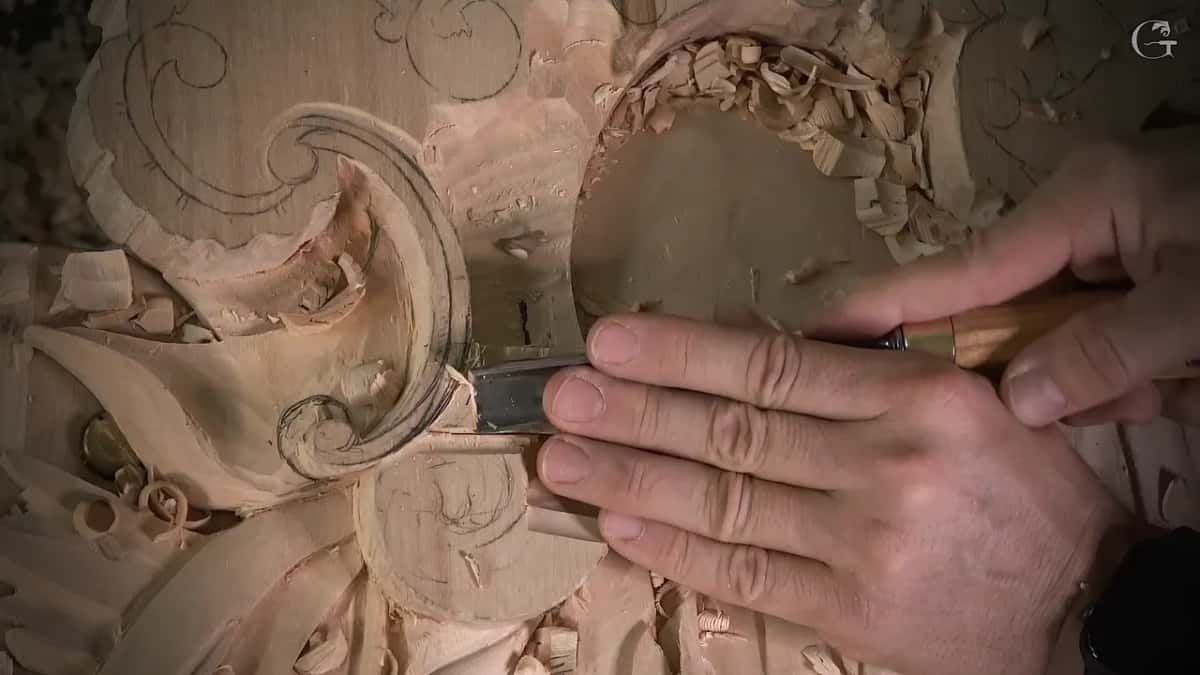
About a millimeter above it, in lesson 149. After the second line I still had to lower the wood and make "a more beautiful volute." I was about to do that with the same #2, then changed my mind: "actually, no, I can use bigger one, maybe 35 millimeters." The wide #2 gave that section its first cleanup.
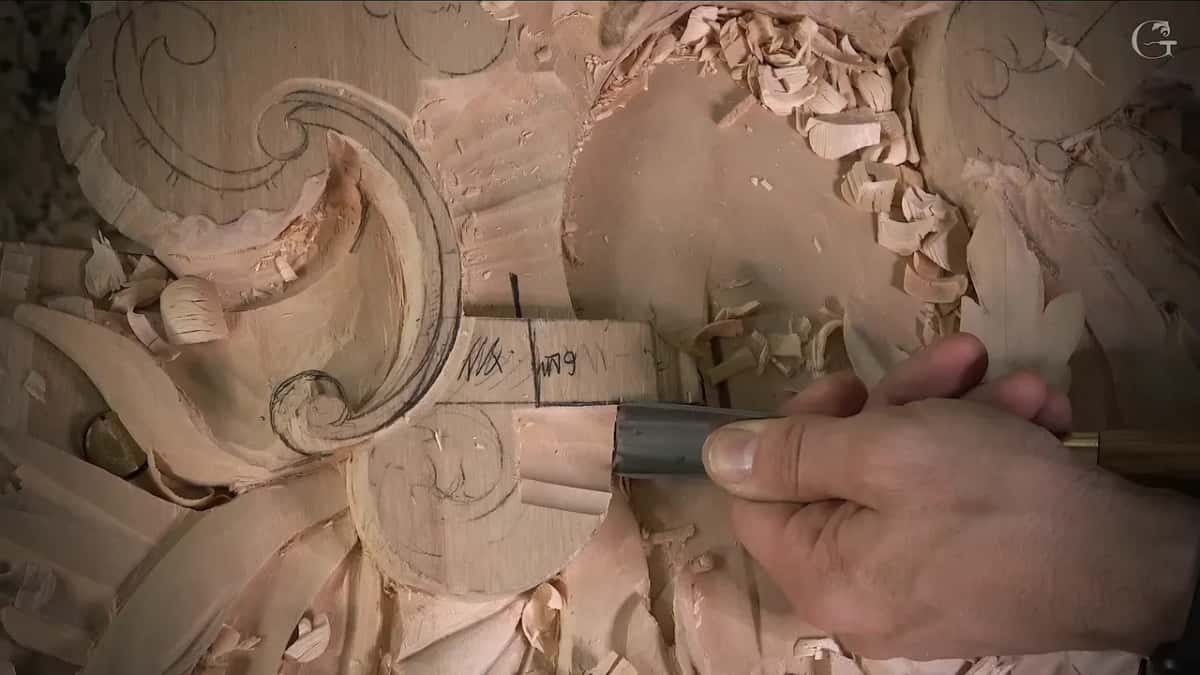
Here is where I stopped. "I am about maybe one millimeter or so above my line." I could have gone right down to it and been fine, and I said that too. But I kept it slightly high. Look from the side and the line is still there, and that little strip is my cleanup for later.
One mm is roughly 1/32 inch, and that was all the cleanup I kept. Earlier in the lesson I had left about three millimeters (1/8 in) in one spot and said, "for now, I'm good, so I'm not going to force it anymore." In another spot it came out nearer one and a half, "just because I cleaned right now, which is okay."
"I'm happy with the highest spot," I said, and then I put the line back. "I already see this line, and I can connect. That way, I'll know exactly what is going on." And I redrew the head of the acanthus before any rounder tool came near it.

The same kind of cleanup shows up on the tray. In the fourth lesson of the tray a ball on it was not flat yet, and I said the cleanup would come later "with a flatter two, like number two or number one," until it sat at the same level. Lesson 3 left me with a raised pipe that was not clean yet, "but it's not a big deal." I blended it in from two sides with a #2 and told you I was not worried about digging in, because the tool I had used before could clean it later. "That's it with the number two. Just a blend."

Which sizes of #2 did I use, and for what?
Five of them are in this table, and two come from lesson 149 itself.
| The gouge | Where it was working, and on what piece | What it did there |
|---|---|---|
| A 16 mm one | Lesson 149, at the second pencil line on the panel | Went down on the line |
| The wide 35 mm | Same lesson, over the part lowered for a volute | First cleanup, stopped one millimeter high |
| Half inch, 12 mm | Chamomile and Bow Rosette lesson 3, along both sides | Lowered those sides a little |
| Another 12 mm one | Tray lesson 6, with its width checked on camera | Rounded it into overall shape |
| Back bent 6 mm | A livestream of questions and answers, April of 2020 | Went under one section there |
The rosette needed its sides lowered "slightly," so I grabbed "some kind of flat tool," my 12 mm #2, and I called them "Beautiful tools." On the tray the 12 mm #2 did the rounding. "Half an inch," I said, then looked again: "yeah, it is 12 millimeters." During the April 2020 questions livestream I said a straight tool would not work underneath that section, and I took a back bent "number two sweep and six millimeters" instead. "For those of you who don't know the name of this tool," I said, "it's actually back bent." I called it a bended tool, and then a backward bent one, in the same breath.
When is a #2 the wrong tool?
On a thin curl, for one. In lesson 6 of the tray I was opening up a curl a little more with a #9. A #11 would probably do it too, I said, "just a small bites," and then I stopped to warn you: "don't use, uh, like number two, like most of the people try to do right away." Go in with it and you break the curl. "So just a relief first."
The grain is the other one. In that same lesson I picked up the #2, saw it catching the grain, and said, "that means I can't force it." I had to change the position. Earlier in that lesson I had my #2 out again and had to attack from one side, where the grain supported my previous pass. "So I really have to start from this point."

And sometimes the #2 was simply slower. Later in lesson 6 I said "you could use just number two, but it saves me a lot of time," talking about the skew in my hand, and I added that the more professional you become, the more you use tools like that. Lesson 7 had me using my #11 "as a number three," then going to my #2, and I admitted, "It's better to attack from another side, but, you know, I don't wanna reposition it."
And in lesson 8 the order was the outline first, then a #2 "or whatever the flatter tool" you own, with the blending left for later, from the back.

Where do the rounder gouges take over?
The moment the shape has to roll. Back in lesson 149, once the #2 had done its cleanup, the acanthus head next to the molding still had to rise and fall. "If you look from the side, it's also going to arch," I said, and then, "Or arc, whatever you say, arc or arch."
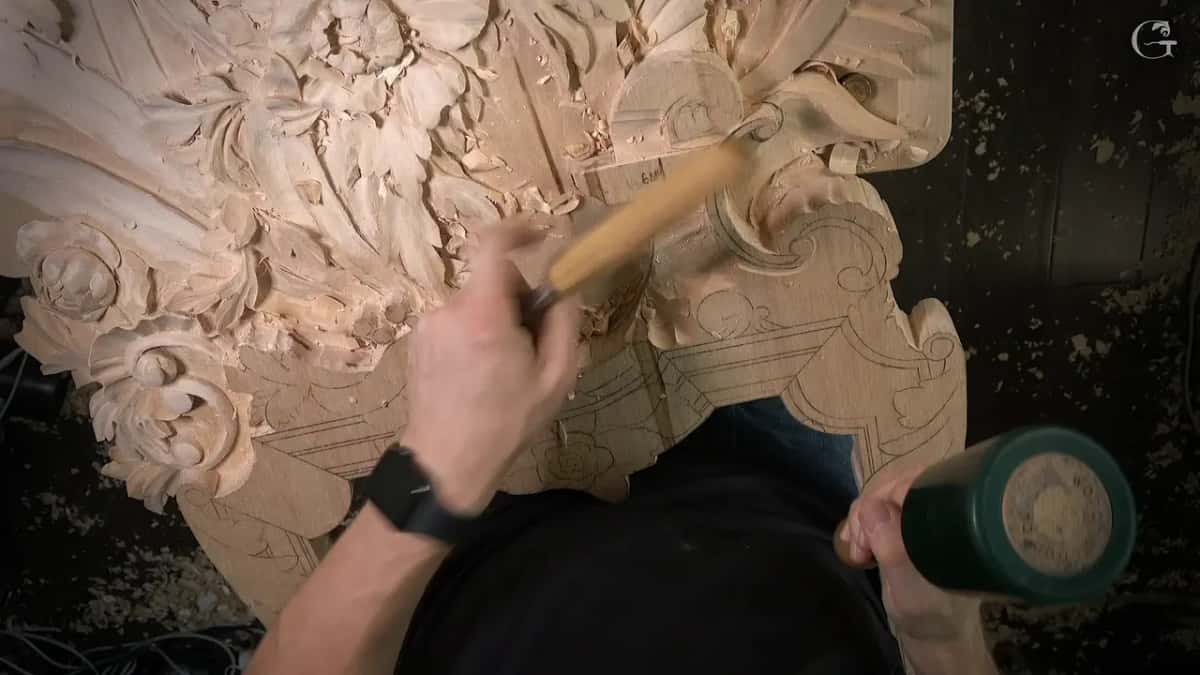
So the tools got rounder. A #3 started lowering that part, and "it still has to be above my molding," I said. I stopped to say, "I don't know if you're able to catch what I'm doing or not," and a moment later, "You don't really see it." Then a #11 at 7 mm (just over 1/4 in) blended and outlined the middle, and a smaller #11 at 5 mm went in "without damaging too much the main movement." A #7 followed ("I can take this out. It's in my way anyway"), and then a #7 at 14 mm, about half an inch, took material off the sides, because this side had to roll down too.

I was glad of one thing there. "I'm happy that I do have plenty of material I left on that detail." And here is the truth about the start of part three. "I still don't know if I'm making a mistake or I'm doing the right thing." I said that right before I picked up a 7 mm #11, with the relief still far from done.
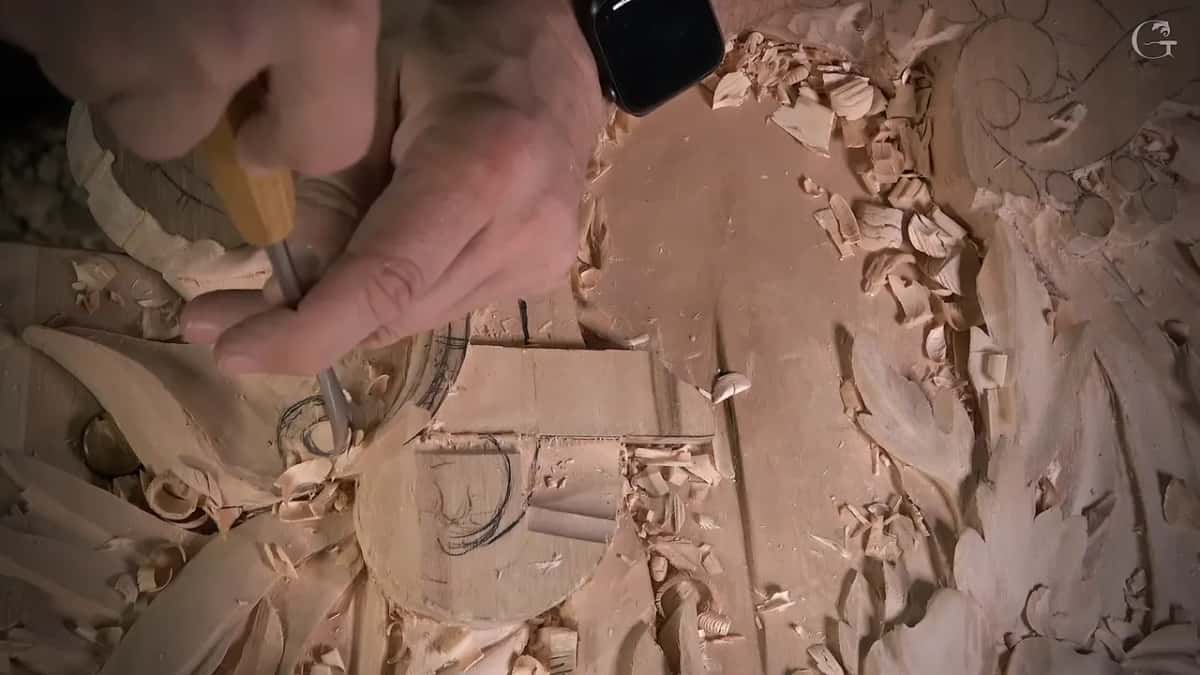
The last minutes go to a huge tool. A chunk of waste was in my way, so I chopped it out to open up the section, and it will stand only "about quarter inch high at this side," sloping down from there. The whole thing will go much lower, but not yet, "because I don't want to lose lines."
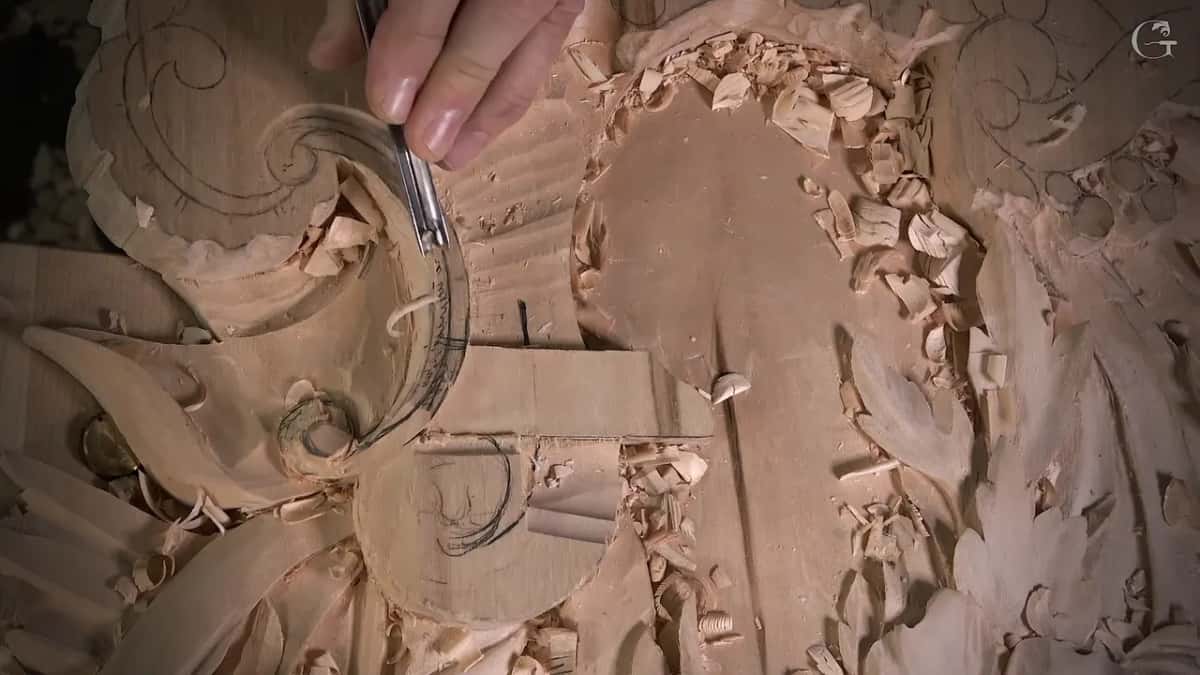
That is lesson 149. It sits between lesson 148 and lesson 150, in the part of the room where carving ornament meets architecture, for a room in the style of Venice. Every workshop opens with tuition to the school, monthly or yearly, and it renews automatically until you stop it.
Would you like to watch the #2 hold that line in real time? And see the rounder tools take the leaf from there? Lesson 149 has both, start to finish.
How it's done
- Pick the shallow gouge. A #2 or a #3 will do the first job. I took the #2 for mine.
- Set the line. Place the #2 on the pencil line, 16 mm wide in my case, and take it down so the line keeps its position.
- Go wide for the cleanup. Change to the wide #2, 35 mm, and take the surface down toward the line.
- Leave a millimeter. Stop about 1 mm above the line. Check side on that the pencil still shows.
- Hand over to rounder tools. When the shape needs to roll, go to a #3, then #11 veiners at 7 mm and 5 mm, then a #7 at 14 mm.
Frequently asked questions
Why use a #2 to go down on a pencil line?
To keep that line where it is. When I did it on the Venice panel, I said this was one of the ways I like, not the only one, and that a lost line can always be redrawn, though holding it is easier.
Can a #3 do the job of a #2?
Often. For that first job on the Venice panel I said either shallow tool would do. With the chamomile rosette I said the number 3 would work and still took my #2 for the spot where I chopped down, to keep the high spots high.
Why stop the #2 just above the line?
Mine stayed about one millimeter high, a thirty-second of an inch, though I said I could have gone right down to it. Viewed side on, the pencil was still visible, and that thin strip gave me a millimeter or so for cleanup later on.
What to carve next