

Alexander Grabovetskiy, woodcarver, School of Woodcarving · Published 2022
Do you need a big gouge to carve wood?
Quick answer: A big gouge is the quick way to move wood, not a tool you must own before you start. In lesson 151 of the Venice Room I sloped a panel with a three inch number 7, then told the camera it was not needed and carried on with a narrower number 9.
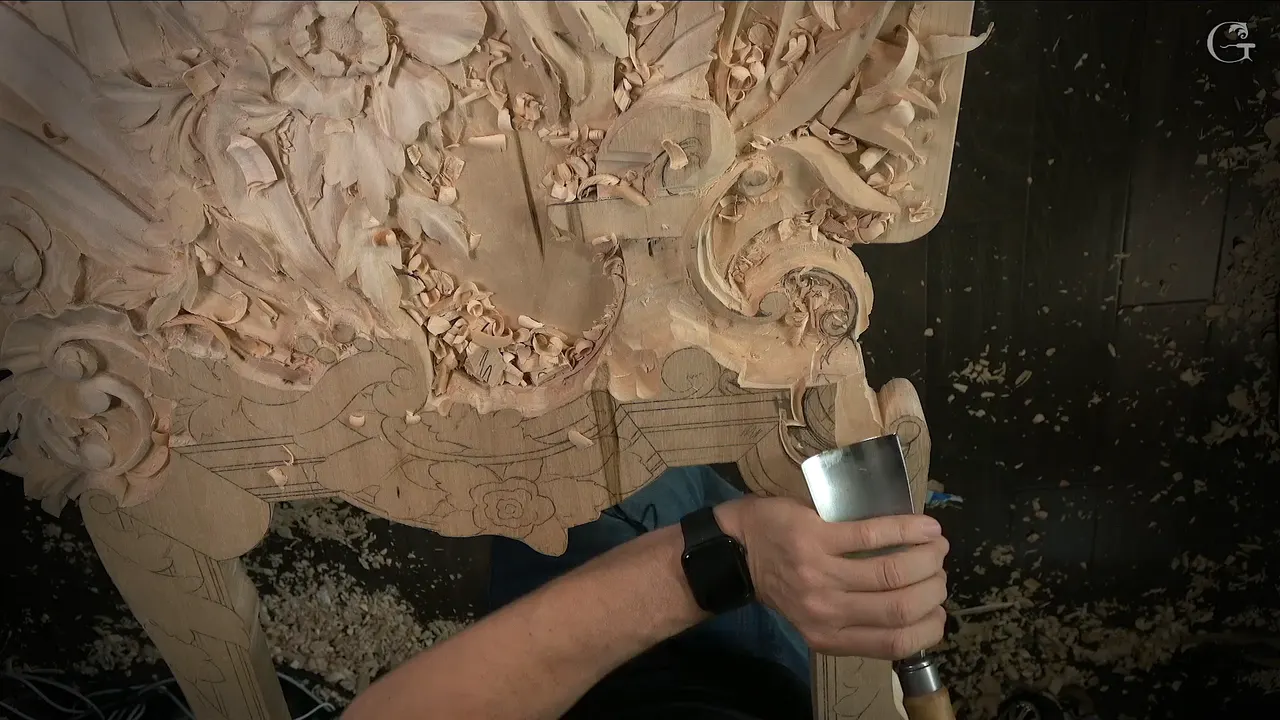
A wide gouge is the fast way through a job, and the same shape can be carved with a smaller one. In lesson 151 of the Venice Room I sloped part of a Venetian panel with a number 7 three inches wide, about 76 mm. A minute later I told the camera you really don't need the big tool, picked up a #9 of three-quarters of an inch, roughly 19 mm, and showed it.
Have you ever watched a carver reach for a gouge almost as wide as his hand? Did you wonder if the tools in your own roll could do that job? Part three of lesson 151 gives you my answer on camera, and five other courses give it again, each one linked where I use it.

I'm going to be honest with you about how this page is built. This lesson is three short parts, about 22 minutes, and most of it is me taking wood down near an acanthus head and a volute, with a molding still to come. Tool size is a small slice of that. So 151 leads here, and the second half of the page is what I said about the big tool and the small one while carving a vase, hazelnuts, two rosettes and a modern acanthus.
Part one is about seven minutes of lowering around the scroll of the volute. The molding outline and a decision about the leaf fill the second part. And the third holds the slope, a pencil line, and last of all the outline of the acanthus head, which is where tool size comes up.
Gouge sizes in one lesson and five courses
During lesson 151 a #7 three inches across sloped the wood, and then I said you don't need the big tool.
A #9 at 19 mm did that slope too, with a slicing pass that starts and then rotates.
Where the ground had to go deeper, I dropped to a 5 mm (3/16 in) number 11 veiner.
For the vase with grape leaves I said the big tool gives the faster, cleaner result, and that micro tools can do the same operation.
The hazelnuts got a shorter version. That big #7 is not a must, I just like how fast I can do it.
Any small tool will work there, I said on the chamomile rosette.
What did the three inch gouge do in lesson 151?
Part three opens with me thinking about where the molding is going to sit on this panel. My words were that I really cannot go too much there, although it's going to be low enough, and I am probably safe. Then I wanted to slope the area really nicely, and I took the wide #7 again.
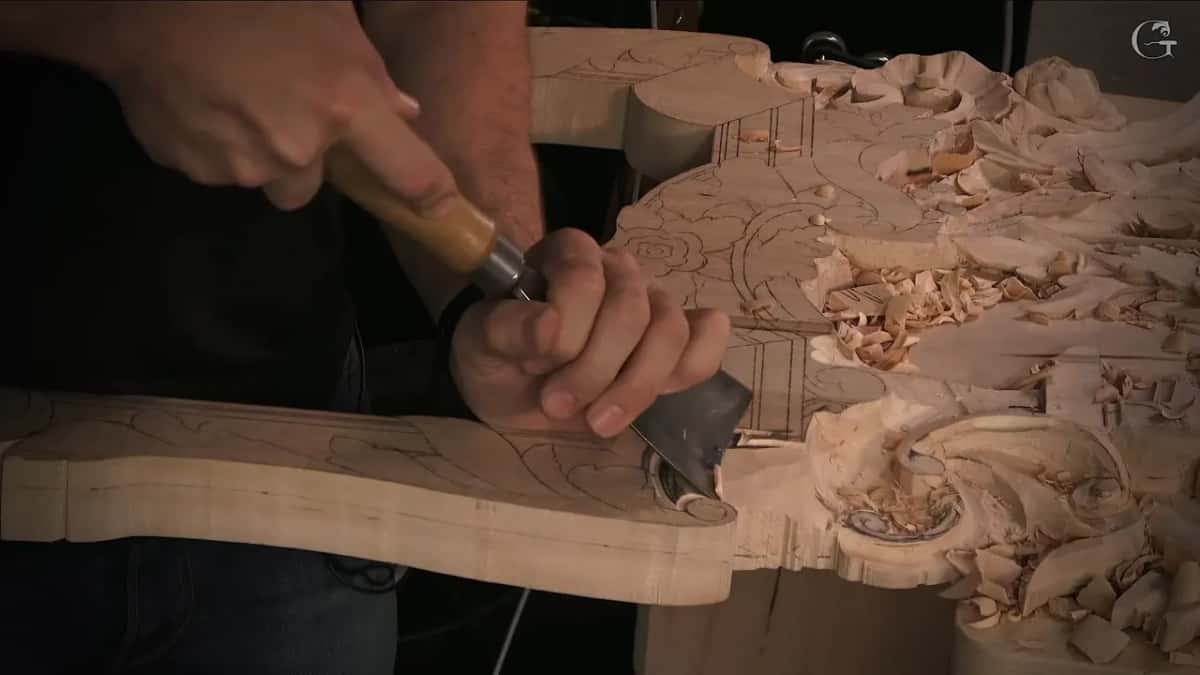
A slope like that is a blend. I carried the wood toward one point that stays a little higher and took the other side much lower, almost all the way, so the surface raises up as it goes. Kind of interesting movement, I called it.
The panel is one piece of a Venetian room. Here I was lowering the wood around the head of an acanthus leaf and a volute, and the molding beside them stands about an inch high at its highest spot, roughly 25 mm. During part two I outlined that part safely at the one inch height, and part three came back to the slope.

Can a smaller gouge carve the same slope?
Right after the big #7 had done its part, I said it plainly. You don't need a big tool to do that, I can do that with a smaller tool. One warning came with it. Be careful where it meets that spot.
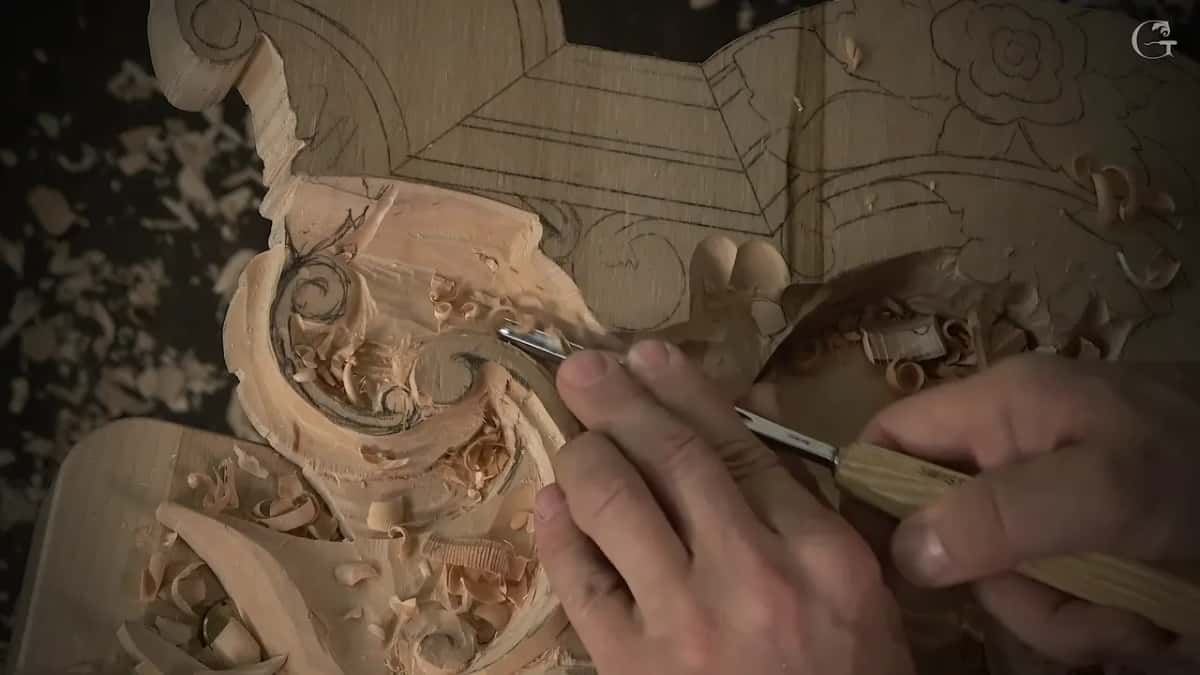
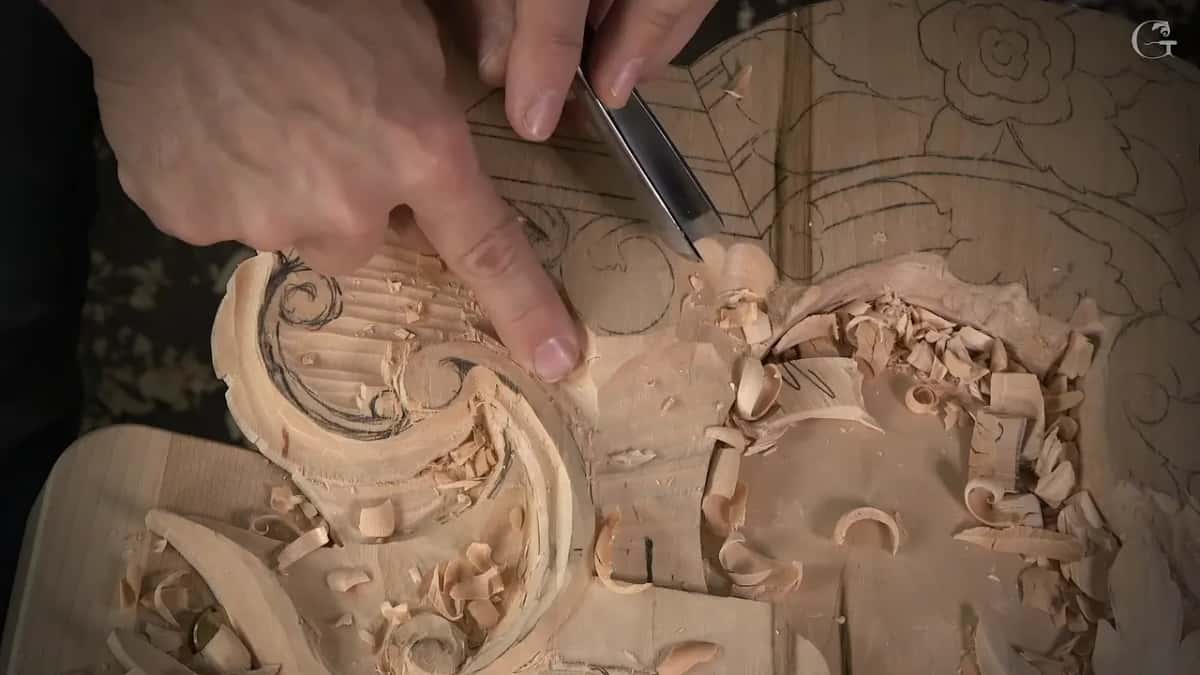
Just to prove the point, I took a #9, the one I had used before. Three-quarters of an inch wide. I should be okay with that, I said, and the narrower gouge went to work right away with both of my hands on it.
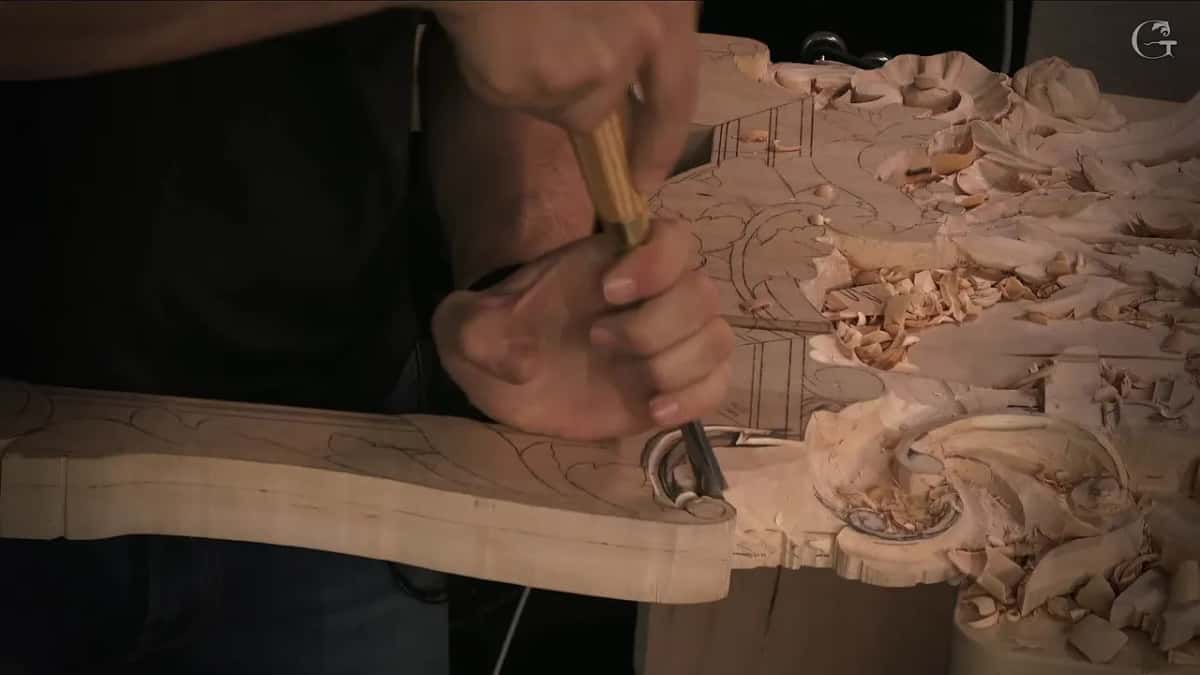
With that tool I asked for one thing. Make sure you are making a slicing pass, which means you start and then rotate the tool. Slicing has a page of its own on this site, and so does what rotating a gouge changes.

Why go smaller where the ground goes deeper?
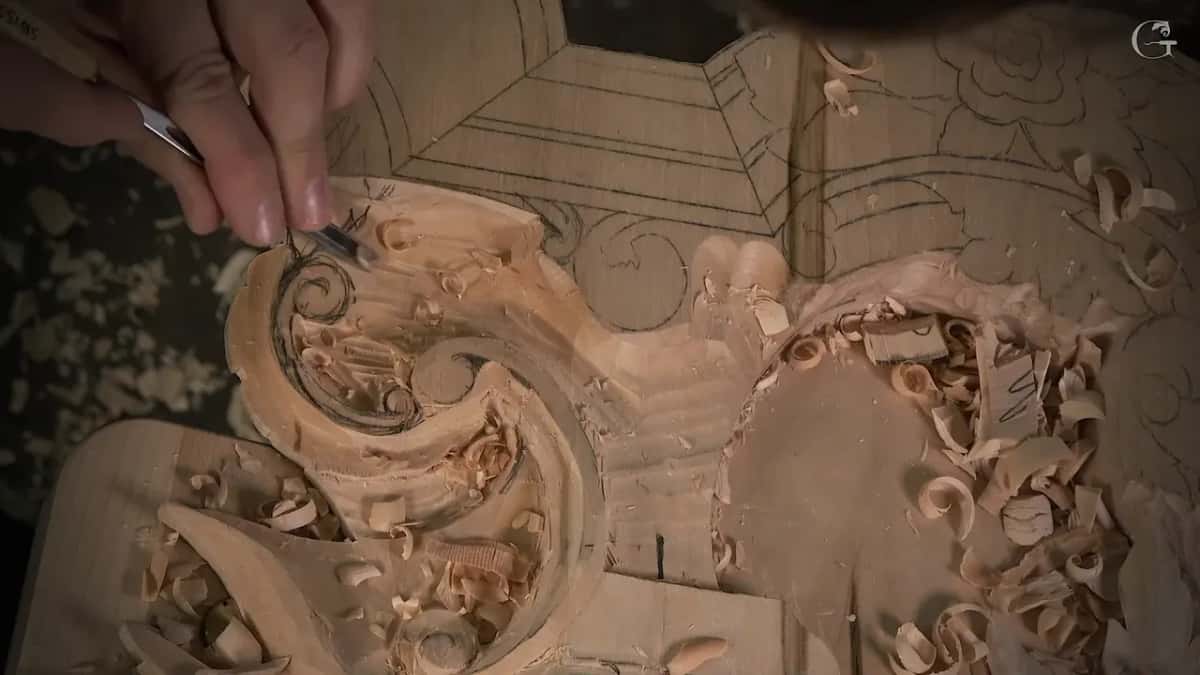
The ground by the scroll sits deeper than the rest. Right there in part one, about three minutes in, I put it this way. The closer to the volute I get, a little deeper I have to be. For that deeper channel I needed a smaller tool, and I picked a 5 mm number 11 veiner, about 3/16 of an inch.
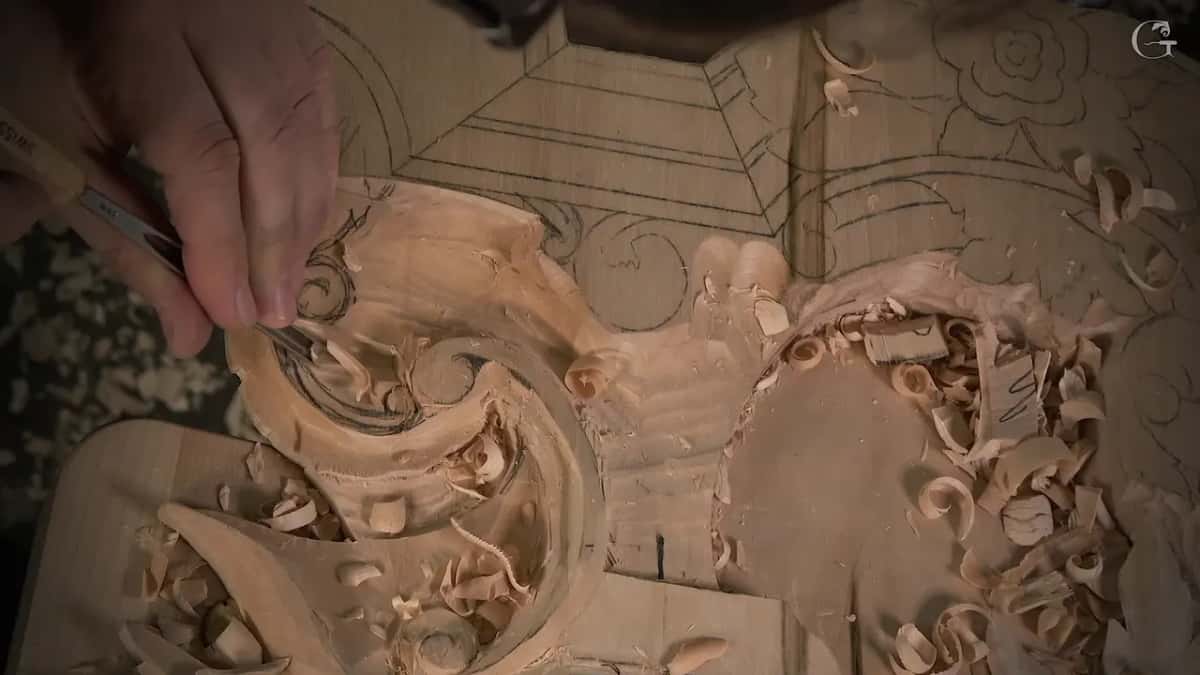
I worked it across the grain again and stayed careful around the volute itself. In a few spots that pass ran against the grain. My tool was really sharp, so I was okay, and if my tool is sharp, I should be okay.
Next I said I can walk around my volute and around my acanthus. A kind of acanthus movement runs right along there, and the molding itself will sit much lower. I did not need to clean that area right away, because I still had the molding to do, and that way I'll know exactly what is going on.
How many gouges did one short lesson take?
Part one starts with a spot where I stopped. That's probably my limit, I said, and going lower would be a mistake. The inside of that area came down crosswise next, since that is much easier for me to clean up, and with the same tool I connected a flat area, the same level for now.
The 5 mm veiner followed. After it I said I'm going to need a number 2, although I could probably take some kind of spoon, maybe a number 6 or so. Six or seven doesn't really matter, I said, it still gives me about the same result.
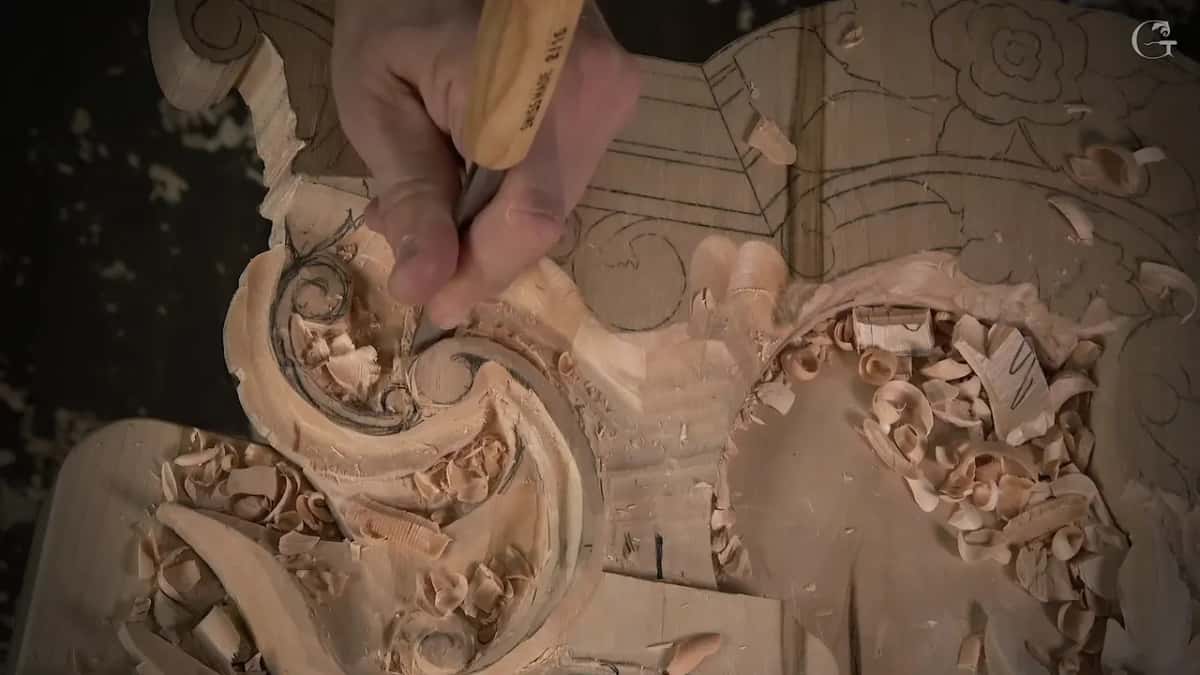
I took the #7 to check one spot, and I said a number 2 will probably work better there. What a number 2 is for has its own page from lesson 149. In part two the #7 went around another part, and part three brought the wide one, the 19 mm #9, and a #9 once more for a pass just like we did previously. A pencil measured the one inch high spot.
The number on a gouge names its sweep, how curved the edge is, and the width is a second figure in millimeters or inches. Here they are side by side with the courses below.
Lesson | Gouge | Job | Said |
|---|---|---|---|
Venice Room 151 | about 76 mm across, three inches, #7 | the slope | then I said it wasn't needed |
Lesson 151 again | 3/4 in across, roughly 19 mm, #9 | same slope | start the pass and rotate it |
Grape leaves vase | a quarter inch number 8 or 9 | one operation | the micro tools manage it too |
Carving Hazelnuts 2 | number 5, about 5/8 of an inch | hazelnut work | the big #7 is just faster |
Chamomile Bow Rosette | Dockyard tools, a number 9 or 8 | going around | small tools work there, I said |
Modern Acanthus 7 | 20 mm, near 0.8 in, number 9 | big chunk | one of the approaches I named |
When is the big tool worth it?
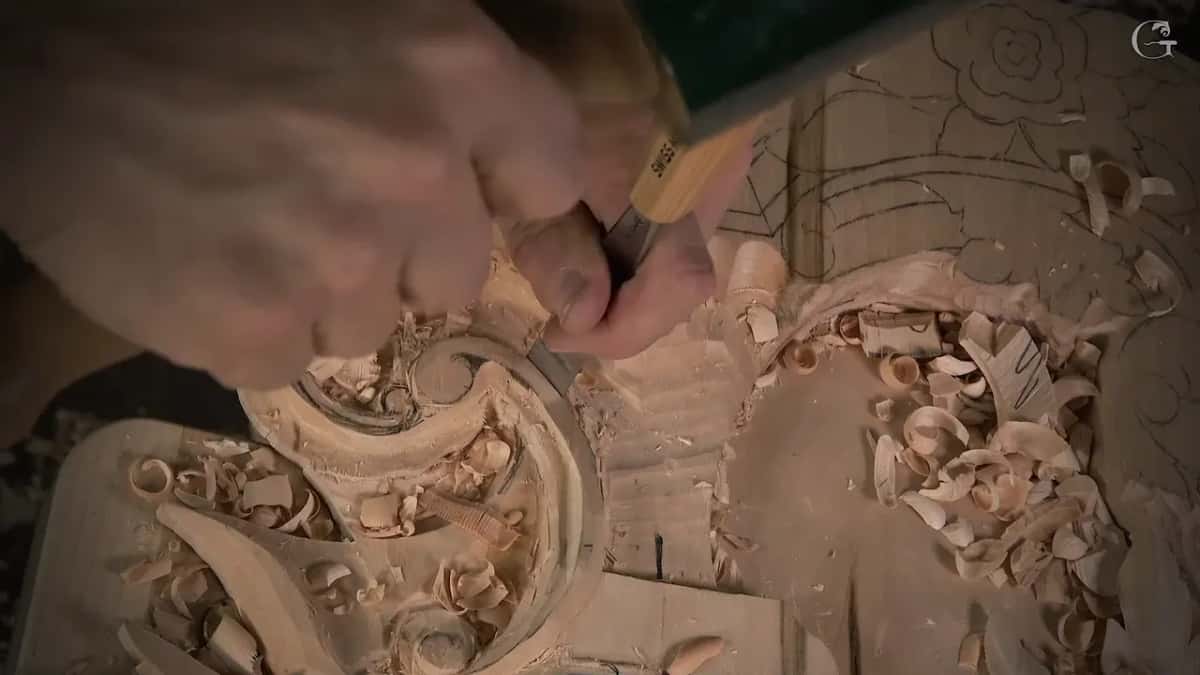
The wide gouge has a real place, and I say so. Back in lesson 3 of the vase with grape leaves I said I really like the big tool, because it gives me much quicker and cleaner result. That's the speed half of the answer. In the same minute I gave the other half too, and you will find it further down this page.
The hazelnuts got fewer words. It doesn't have to be that big number 7, I just like how fast I can do it. That was in Carving Hazelnuts 2, and in the same breath I said you can always do it with the smaller tools, a number 5 or a number 7.
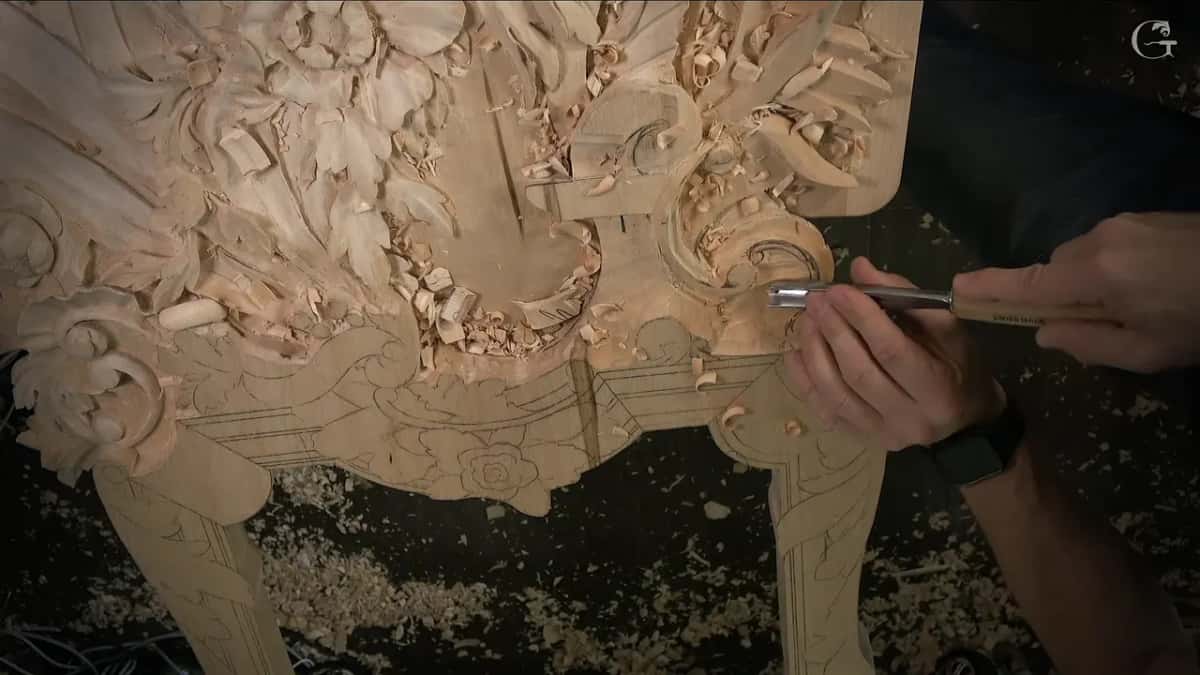
Carving Modern Acanthus 7 had a big area, a chunk, and I said even a big tool works there, a #9 at 20 mm, a bit over 3/4 in. One of the approaches, I called it. During the flower rosette lesson I stopped and said I could use a little bigger gouge, and maybe it's a better idea to do that one with a bigger gouge.
Other pages here agree. One shows that the size of a gouge decides how many passes a shape needs. Lesson 107 has a page on what a large carving gouge is used for, with a number 7 about 80 mm wide at work on a slope. And the Part 11 course page asks why big gouges make you faster, not sloppier. If you follow a lesson with a different set of tools, lesson 21 of the Venice Room goes through the stand-ins one job at a time.

Which small wood carving gouges show up in these lessons?
Small is relative. The #9 from this lesson is 19 mm, which is small only next to a #7 of 76 mm. That 5 mm veiner is small by any measure, and it took the deeper channel by the volute. If your own roll has a #9 near 19 mm and a small veiner, those two did real work in this lesson.
The vase lesson named a number 8, or a #9 a quarter inch wide, about 6 mm, and I said you can do the same operation with them. Carving Modern Acanthus 5 has me taking care of some waviness by a smaller tool, like a number 11, let's say 3 mm, about 1/8 in. With that one, I said, I can just ride and remove some of that.
On the chamomile and bow rosette I said any small tool will work, and that if you do have Dockyard tools, like a #9 or a #8, it's also going to work. Those were the tools I named on camera for going around that part of the chamomile flower.
Is a V tool a stand-in for a small gouge?
I brought that up myself in the second hazelnuts lesson, right after naming the number 5 and the number 7. Or you can also do it with some kind of V tool, I said. But the V tool, in this case, it's not the best idea. So the gouges stayed in my hand for that job, and I mentioned I was using a number 5 by the way, about 5/8 of an inch, roughly 16 mm.
Where does the narrow tool need care?
The warnings repeat from course to course. Here in 151 it was be careful where it meets that spot, and make the pass slice. Showing the number 8 on the vase, my words were we're going to start, and we're going to rotate and go up, the same two moves again.
On the chamomile rosette it was just be careful when you go around, and just slightly lower, not much. For the grape leaves in lesson 2 of the vase I said you could use a little smaller tool if you wish, then straight down, then rotate, or position the tool a little bit on an angle.
Carving Hazelnuts 4 found me keeping the same tool pretty much, and I said I like that tool because I can work even against the grain with it if I wanted to. That reason is about the grain, not the width.

What else did I keep an eye on in lesson 151?
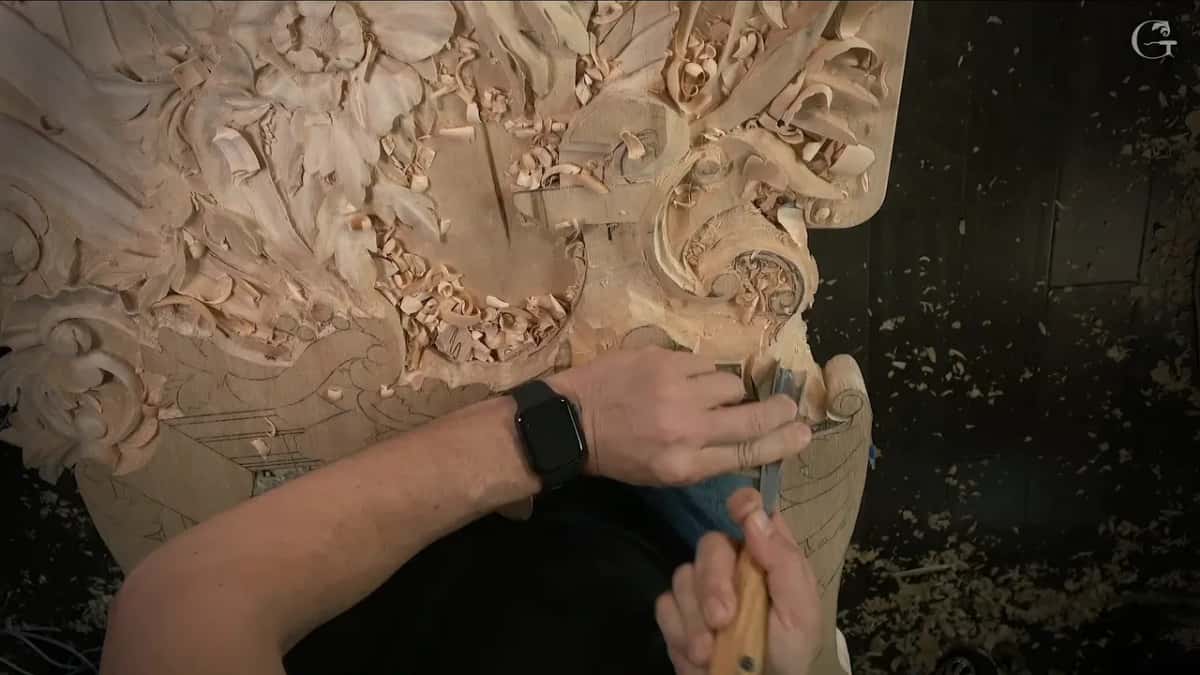
Depth, mostly, with whatever tool was in my hand at the time, wide or narrow. In part three I said I have to leave some space for concave and convexes. I don't want to create the problem, I said. Everything there ends up lower anyway, so I'm pretty safe to remove, to the inch.
Let me do that, actually, why not, I said, and I took a sharp pencil to measure one inch exactly. That line is the highest spot. I did not go too close to my acanthus movement after that. In some spots I could probably go closer, but I want to be safe, and I said so.
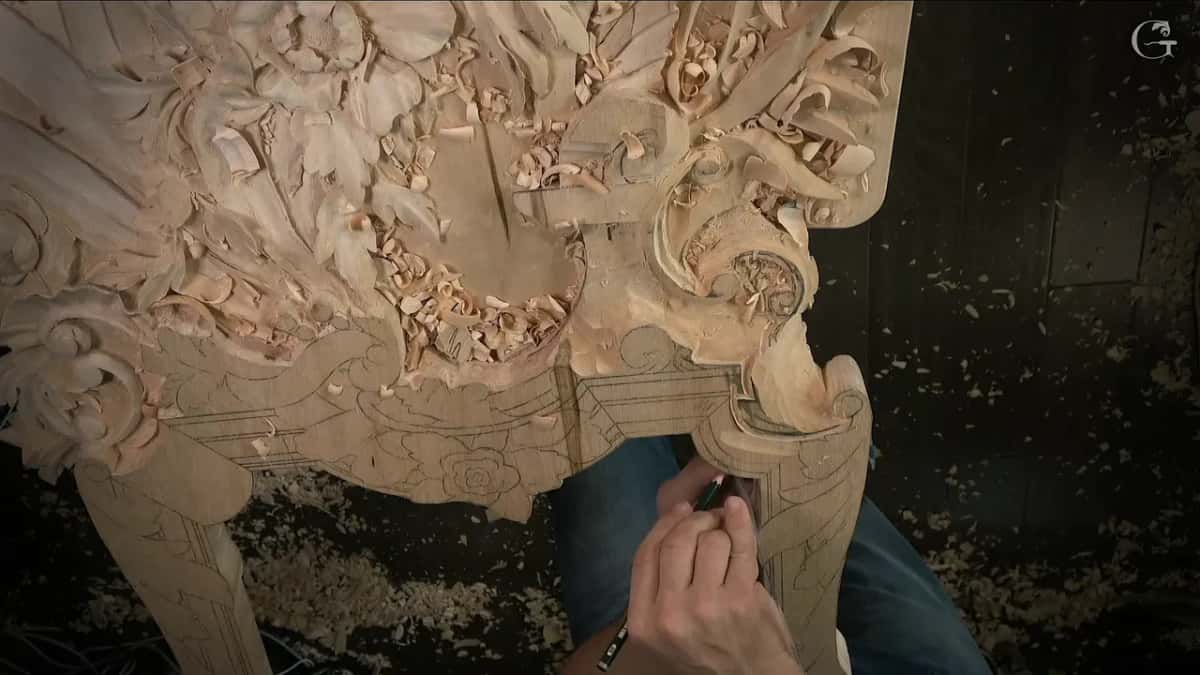
Last came the head of the acanthus. There is an outline there, so I outlined it first, and I said I don't want to lose this line. I kept that line for now and stayed away from it slightly.
Where does lesson 151 sit in the room?
It comes after lesson 150, where I lowered one section of this panel so it still flows, and before lesson 152. The course page for Part 13 tells how I copied the molding profile of this room off a photograph of an old building, which is the bigger story around these twelve workshops.
This is wood carving on a real room, one tool at a time, three inches wide down to 5 mm. Every pass of lesson 151 is in its three parts, and it all opens with tuition to the school, monthly or yearly, renewing automatically until you stop it.
How it's done
- Check where the molding goes. Before the slope, I looked at where my molding would sit, and I said that I really cannot go too much there.
- Slope with the wide gouge. A #7 of 76 mm, three inches. Blend toward one point that stays a little higher and take the other side much lower, almost all the way.
- Try the narrower gouge. A #9 at 19 mm carries on the same slope. Start the pass, then rotate the tool so it slices.
- Leave room for the shapes. Keep some space for the concaves and convexes still to come.
- Mark the high spot. With a sharp pencil I measured one inch exactly, about 25 mm, and that line became the highest spot.
- Outline before you go lower. The head of the acanthus has an outline. Outline it first, keep that line for now and stay slightly away from it.
Frequently asked questions
Is a bigger gouge faster than a small one?
The grape leaves vase is where I said I really like the big tool because it gives me a much quicker and cleaner result. A big #7 on the hazelnuts got the same praise for its speed. Both lines sit right beside the small tool advice.
Can a smaller gouge carve a slope?
My Venice Room lesson 151 had a #9 about 19 mm wide carry on the slope my wide #7 had started. I asked on camera for one thing with it, a slicing pass, where the edge goes in and then rotates as it travels.
Which gouge did lesson 151 use beside the volute?
A #11 veiner of 5 mm, about 3/16 in, for the deeper channel. Close to the scroll the ground had to sit a little deeper, and I said I needed a smaller tool for that, so I switched down and kept the passes crosswise.
What to carve next