

Alexander Grabovetskiy, woodcarver, School of Woodcarving · Published 2022
What do you do with the little triangles left between carving cuts?
Quick answer: A triangle between carving lines is the small wedge of wood left where two of them meet, and I take it out. Lesson 155 of the Venice Room had me relieve those triangles first, ahead of the leaf work, and once more after I subdivided it.
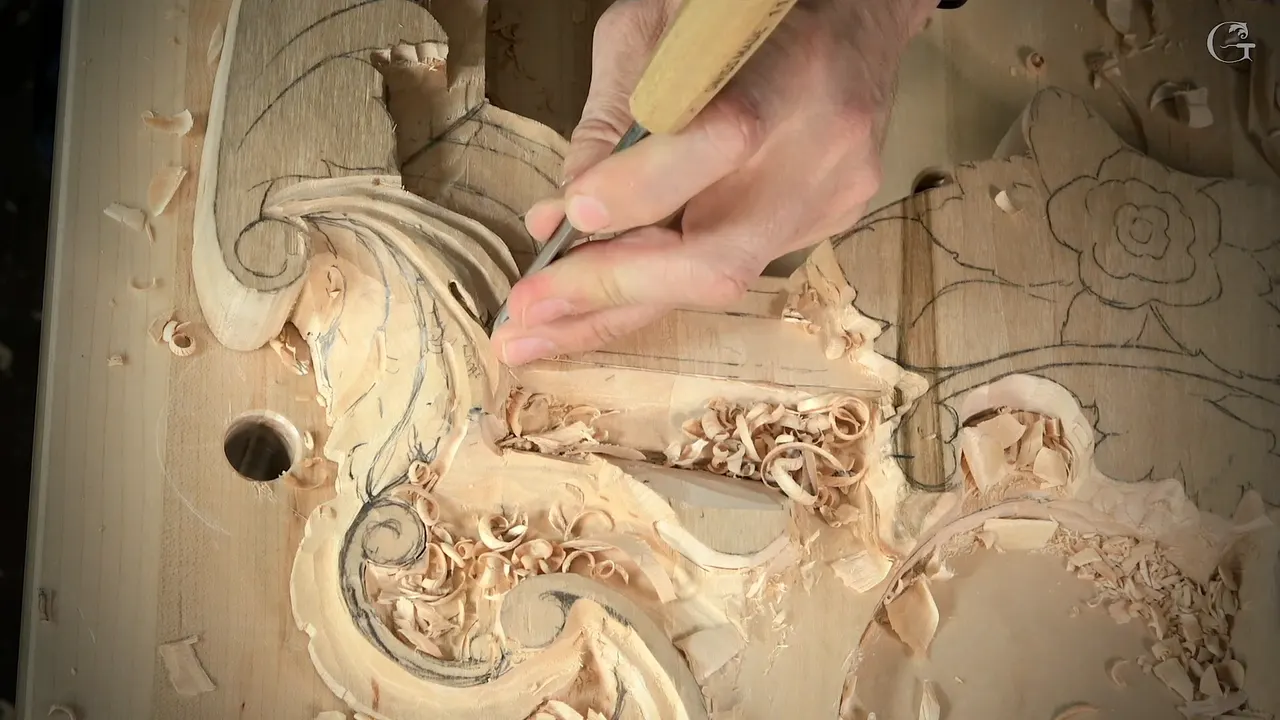
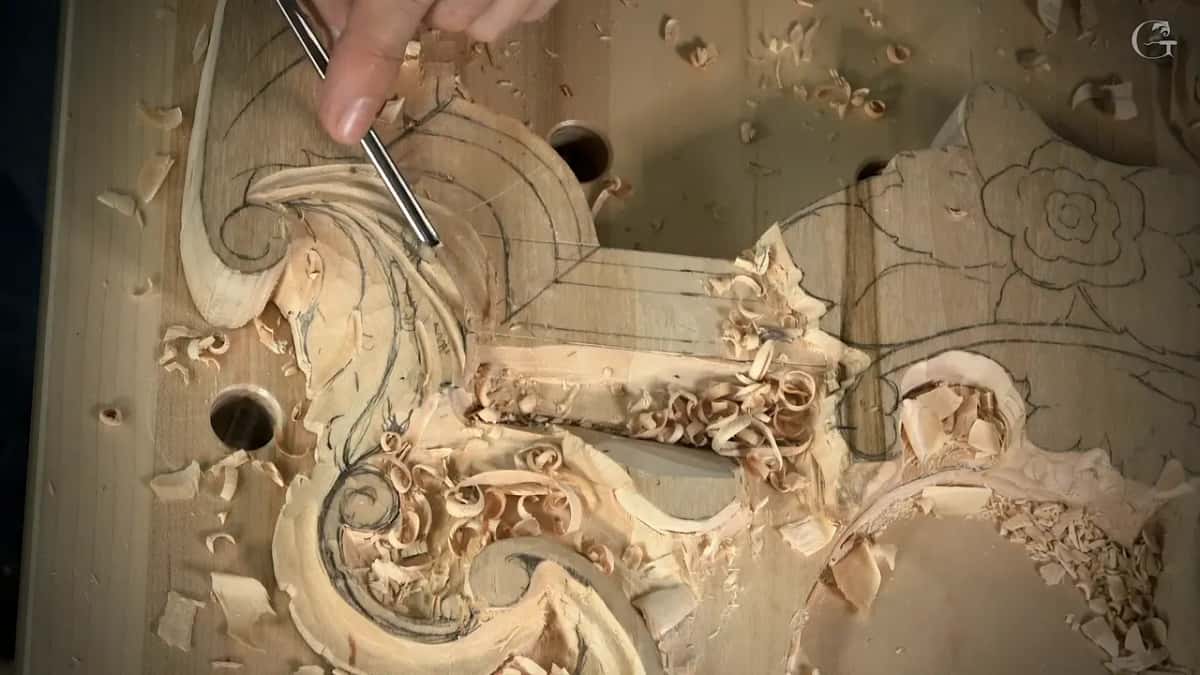
The little triangles left between my lines are wood I take out, and in lesson 155 they were the first thing I carved on a small acanthus leaf. I drew the main divisions, relieved those triangles, and only then went on to the leaf itself. Later in the same lesson I split the leaf again into smaller parts and relieved its new triangles too.
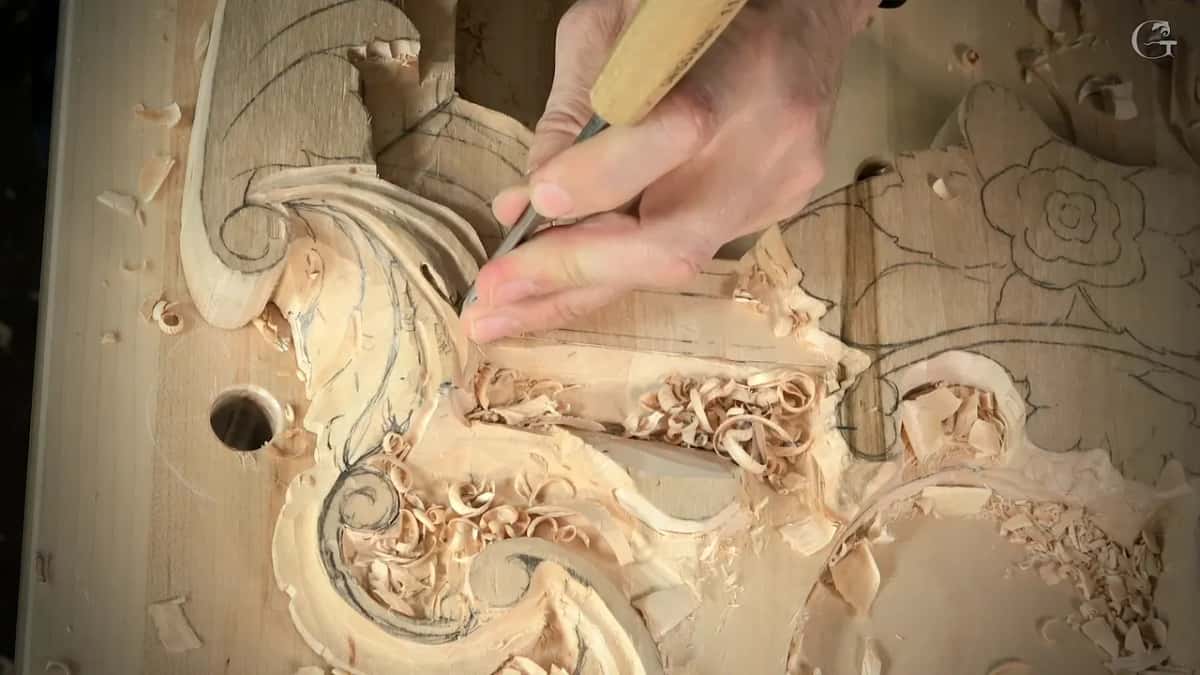
Have you drawn the lines of a leaf on a board? Did you find tiny wedges of wood where two of those lines meet? Then you have met the spot this page is about. Lesson 155 shows me taking them out twice, and seven of my other lessons show the rest, each one linked where I use it. By the end you will know when I took them out on each piece, what did the job, and which reasons I said out loud.
I'm going to be honest with you about how the page is built. My lesson runs three short parts, about 22 minutes, the last workshop of Part 13 of the Venetian room. The triangles take a few seconds of it. Most of the time I am raising a big pipe on that leaf, and that story lives on the course page. So the back half shows me in those other lessons, on three rosettes, a vase with grape leaves and a modern acanthus.
What the triangle lessons show me doing
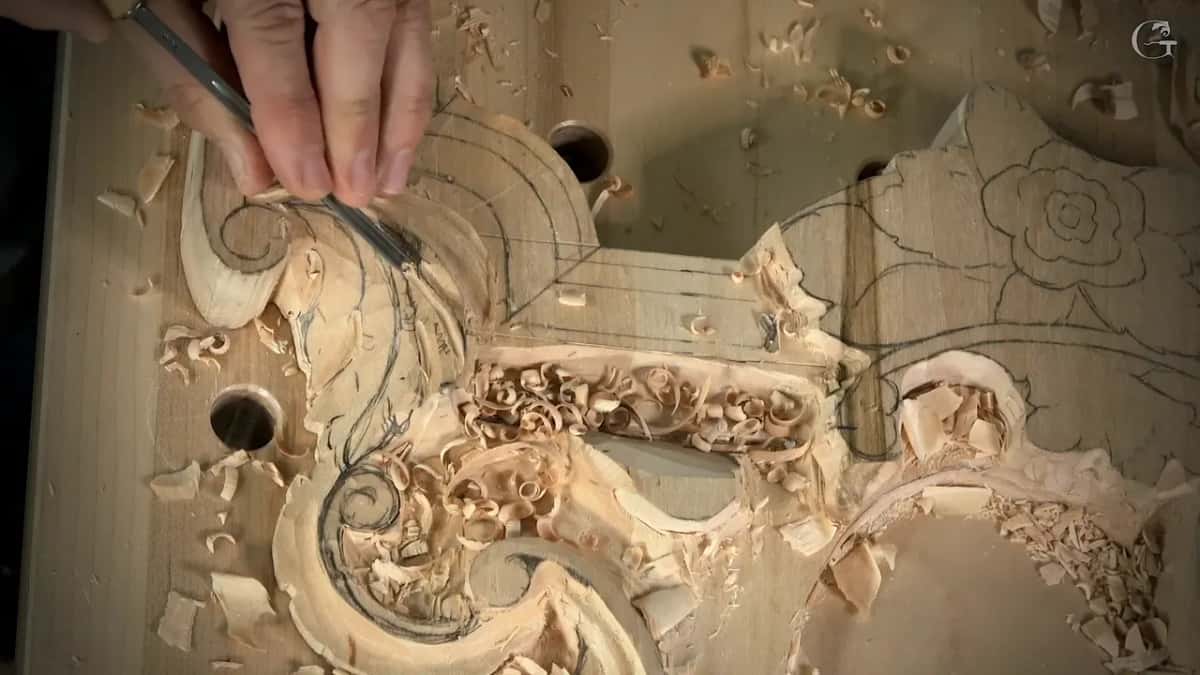
During lesson 155 the triangles came out first, ahead of everything on the leaf, and again once I had subdivided it.
Right after, I said my lowest spot sets the limit.
A chamomile rosette went the other way round, the bead carved from one side and then the other first, and its small triangles taken out only after that.
One knife pop in the center was not enough.
The vase got micro-notches from a smaller tool first, and I wanted its triangle exaggerated.
A number one chisel took a couple of triangles out of a Venetian rosette.
What counts as a triangle on a carving?
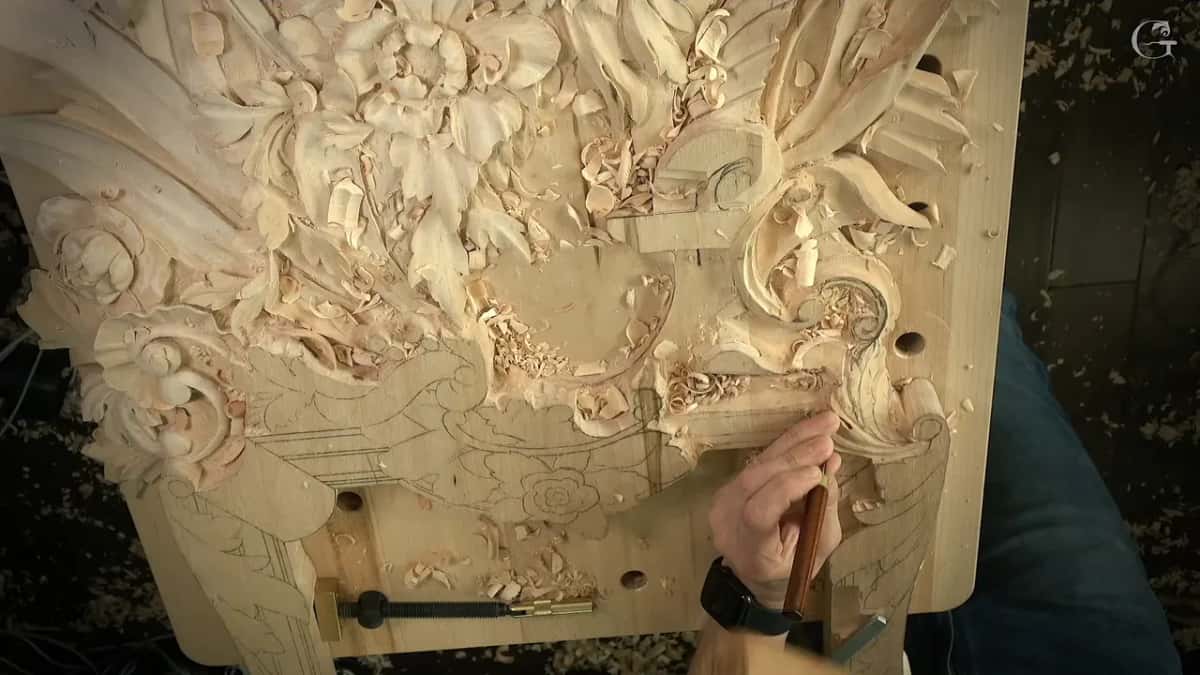
Any small three-cornered spot of wood that my lines or my concaves leave behind, and I have carved them in many lessons. On this panel they sat between the main divisions of a leaf. On the vase they come from the concaves themselves. On a chamomile rosette they kept waiting between the passes on both sides of a bead. Once, on a Venetian rosette, a whole shape looked almost like a triangle to me, and I said it needed to go a little lower because it was not naturally flowing.
Same word, a few different spots. Each time I dealt with it, and what changes on each piece is when, with which tool, and what I say about it while I do it. The rest of this page follows that, lesson by lesson, starting with the one it belongs to.
When did I take the triangles out in lesson 155?
Right after the main divisions were drawn, before any eye or concave went in. The first minutes of part one finish the lines of the molding on this panel. After that I turned to the acanthus and said we would put some concaves and convexes into it, and the first job was to draw the main divisions.

One division was already there, running one way, and I copied it on the opposite side. I added an extra movement too, a part that answers another part when you look from above, and I said I liked it. Then came one short sentence that is the whole reason for this page. I'm going to relieve those triangles first, I said, and then we work on this small acanthus movement.

Look at what came straight after. Obviously, I said, I cannot go lower than whatever the lowest spot I have. I have to be careful how I do it. It is a limit on depth, the one thing I said about those first triangles while I was relieving them.
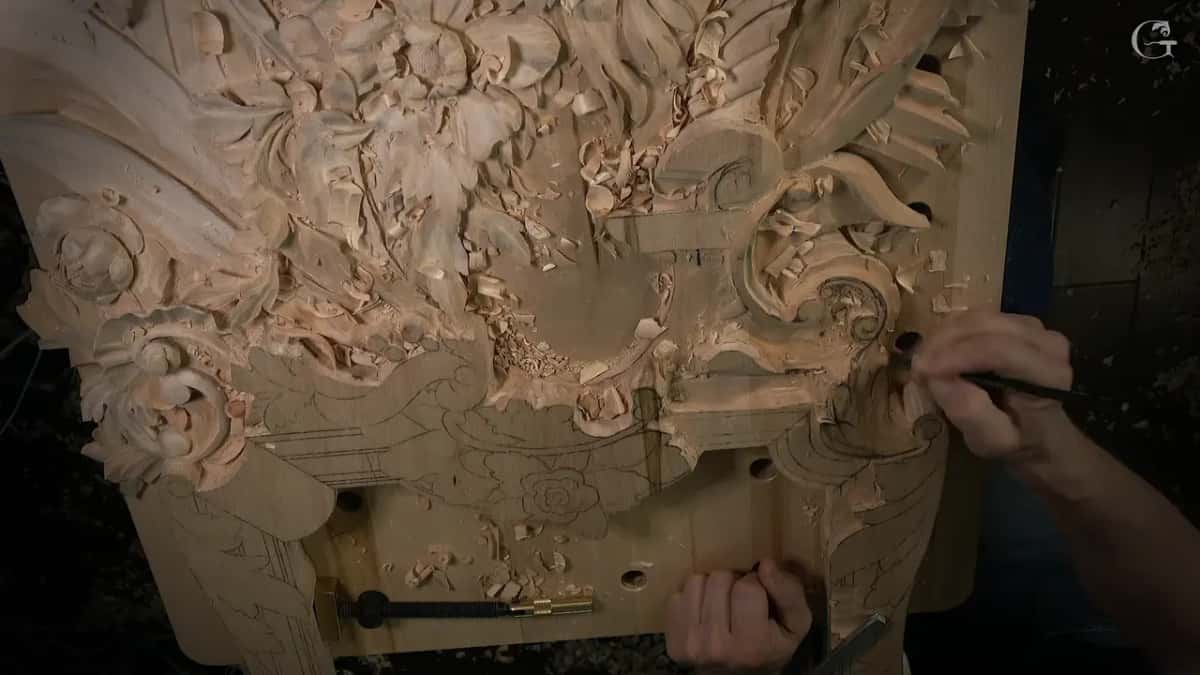
The lesson moves on fast after that. By the time part two starts, they are already out of the way, the first chips off this wood carving leaf.
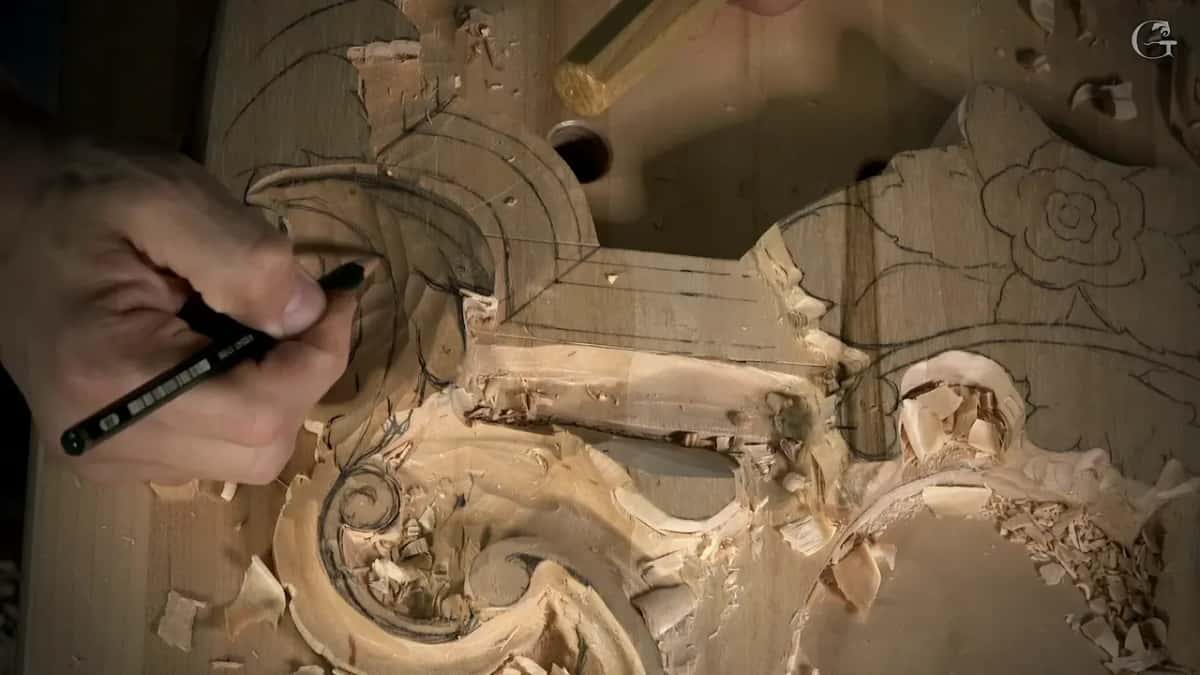
What did the leaf get once the first triangles were out?
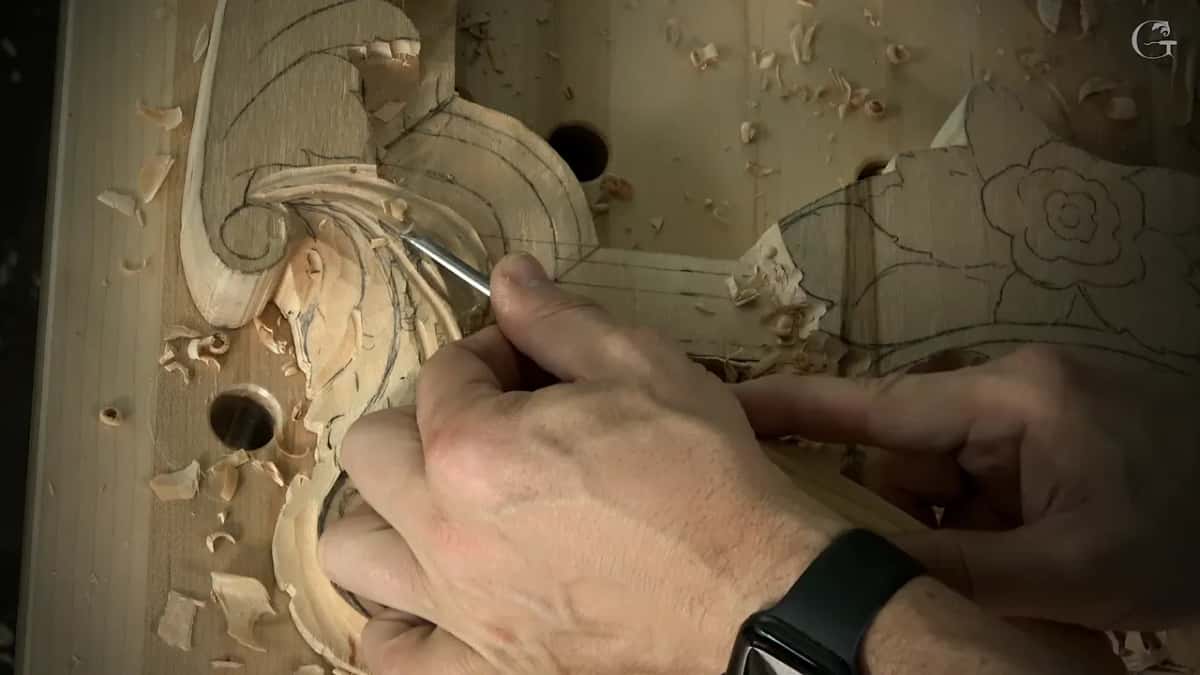
Eyes first, same like we do always, as I said on camera, and then a pipe. I found my middle line and made sure it looked good. I also said I could make a twist like this even more, and it would give me some more interest. Part two opens with a number 11 gouge of 3 mm (1/8 in). I excavated one eye with it and asked, why don't I do that everywhere? A #2 or something like it would blend them in, I said, and inside one area I wanted the shape of a water drop.
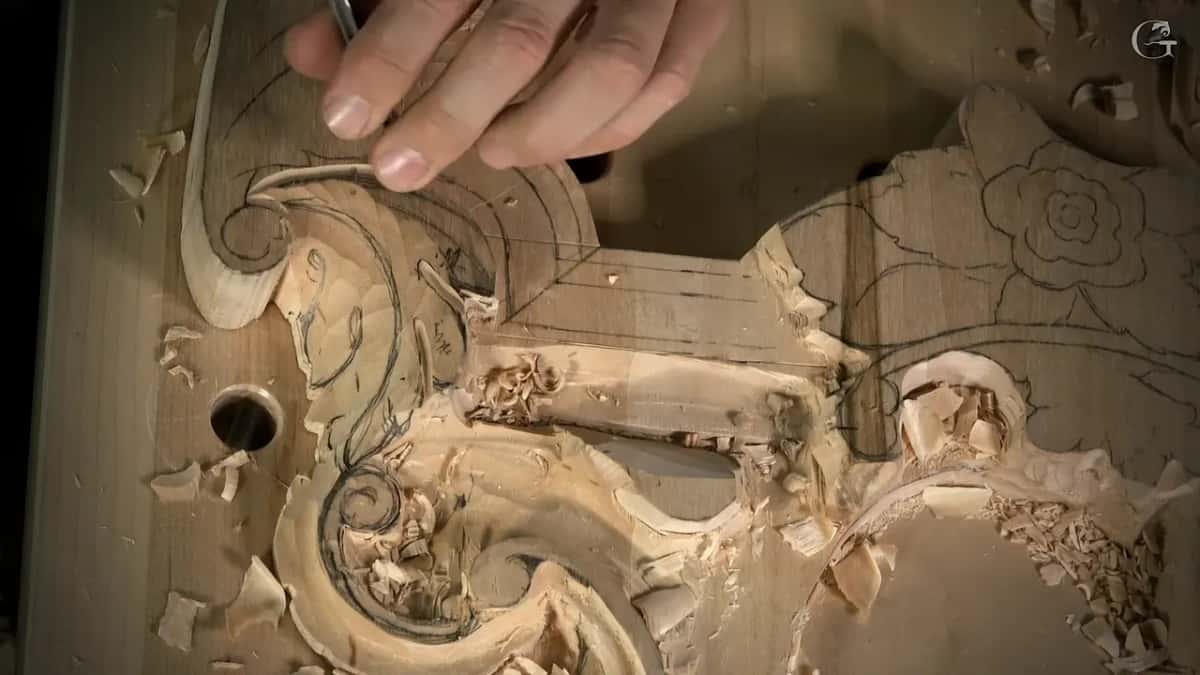
Then the pipe. We are doing the Italian one, Venetian, I said, so the pipe is going to be huge, and all of the pipes have to go to the same middle line. To raise one I took a #11 of 7 mm (0.28 in) and brought a concave low along its side, then put a second concave on the other side. With the side of that #11 I lowered a little more, and I noticed the grain was working in my favor.
Deeper still, a 2 mm veiner (0.08 in) went in to exaggerate the pipe. Two millimeters was a little too small, I would say, so the 3 mm followed it. I didn't need a sharp middle line. A bigger number 11 blended it. Near the end of part two I was really close to two parts at once, this part and that part, so I went backward, because I can easily lose it.
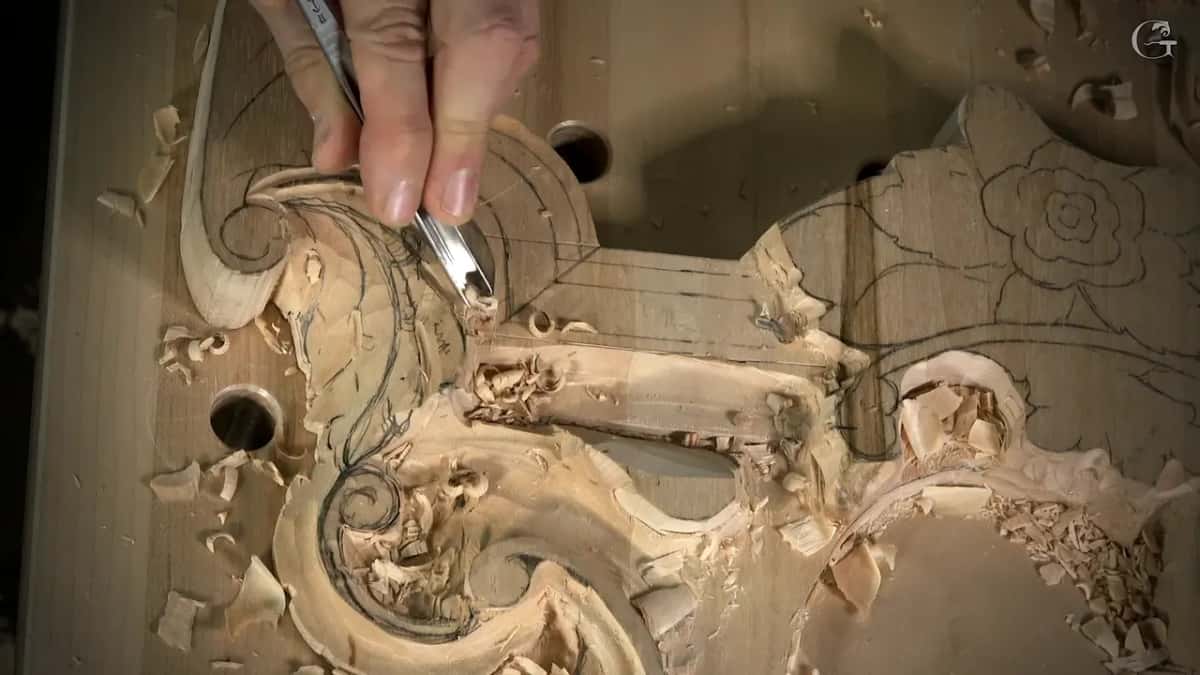
Part three starts with a small #2, about 5 mm (0.2 in), upside down. I walked around and came at the wood from the opposite side, lowered one side a little more, and said I was super happy with it. Perfecto. Inside the eyes a number 11 of about 1 mm made shadow, and even from afar the leaf was already creating some dark shadow. Soon after, I split the leaf again.
Why did new triangles show up later in the lesson?
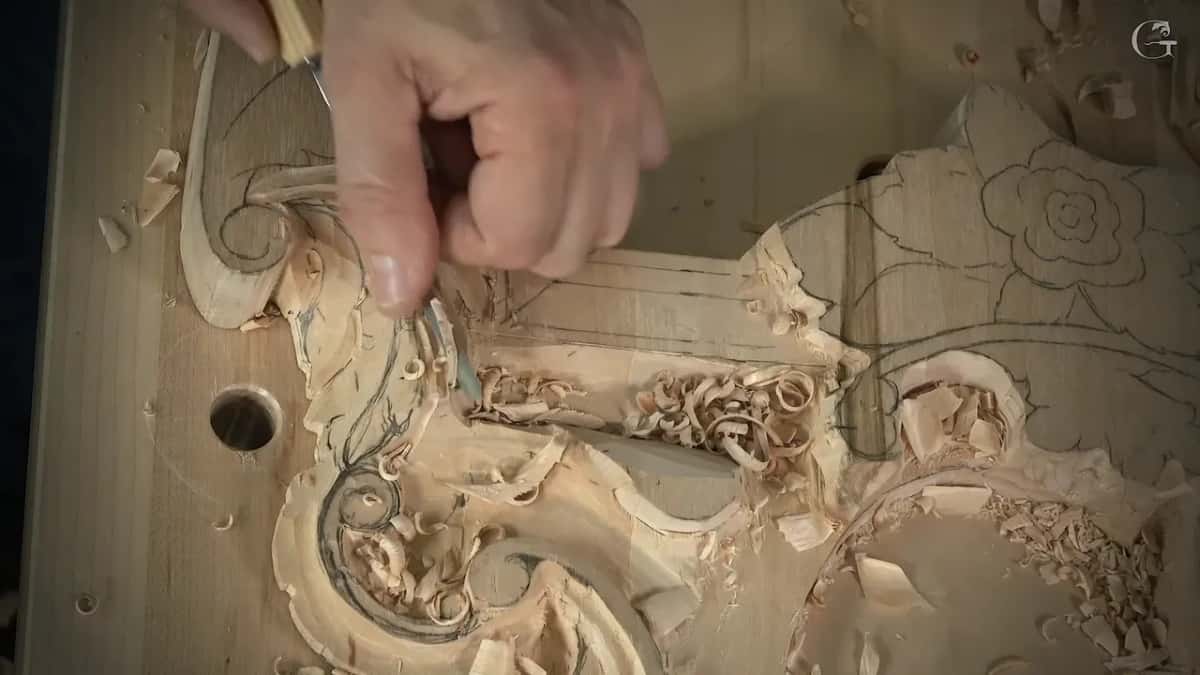
I split the main movement into smaller sections, and the new lines made new triangles. Near the middle of part three I said, let's do right away some divisions here. That was the main movement, and I subdivided it. I hope you see the result, I told the camera, and I went straight into relieving those triangles.
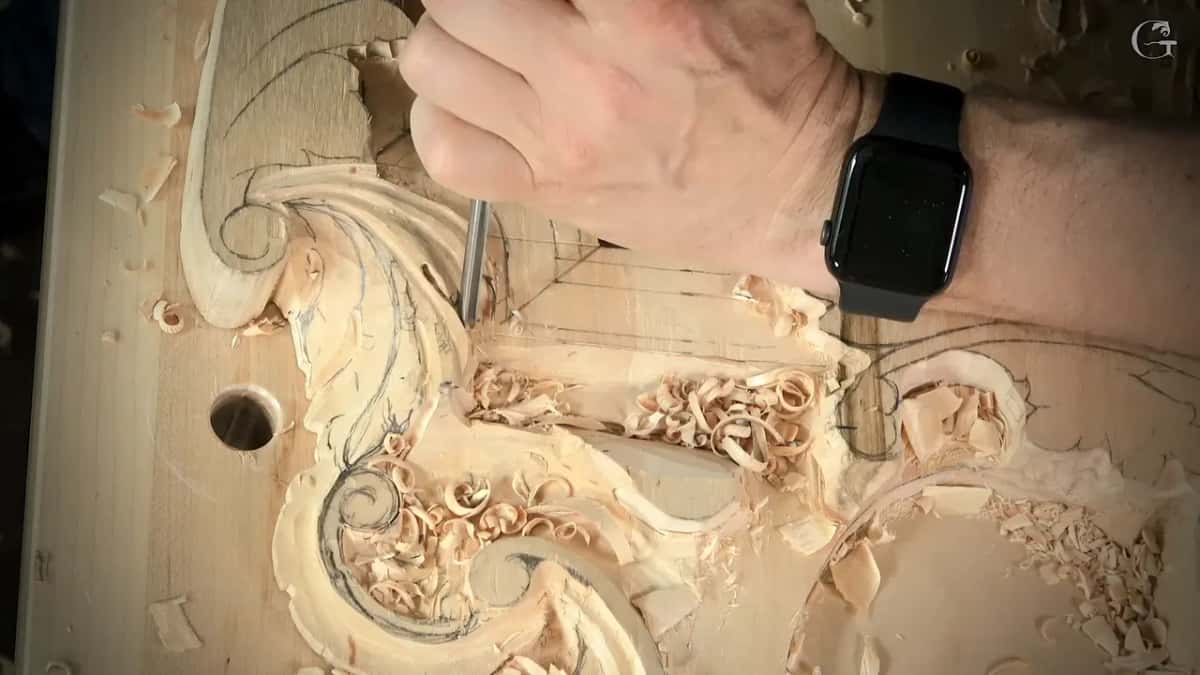
The light gave me trouble right after. It was a little too bright, and I said I needed to fix it, but from above the leaf already looked really beautiful. That is my opinion, of course, and I said so. Then I picked up a small #3, an eighth of an inch, 3 mm, and something happened that should not happen. Oops, no bueno. I carved around the leaf only a little after that, because I still had to get the molding done. It was just an indication of where my boundary would be, and I did not need to overdo it.

Next came the second pipe. It would have an eye of its own, and that pipe needed exaggerating too, but my middle line sat pretty close to it, so I took a smaller tool and went around. It had to go much deeper, I said, or it was not going to look good, and that section of the leaf had to go down as well. I reached for a #2 to knock it down a little. The first pipe I could have taken to the extreme if I wanted to, but I was really, really happy with it.
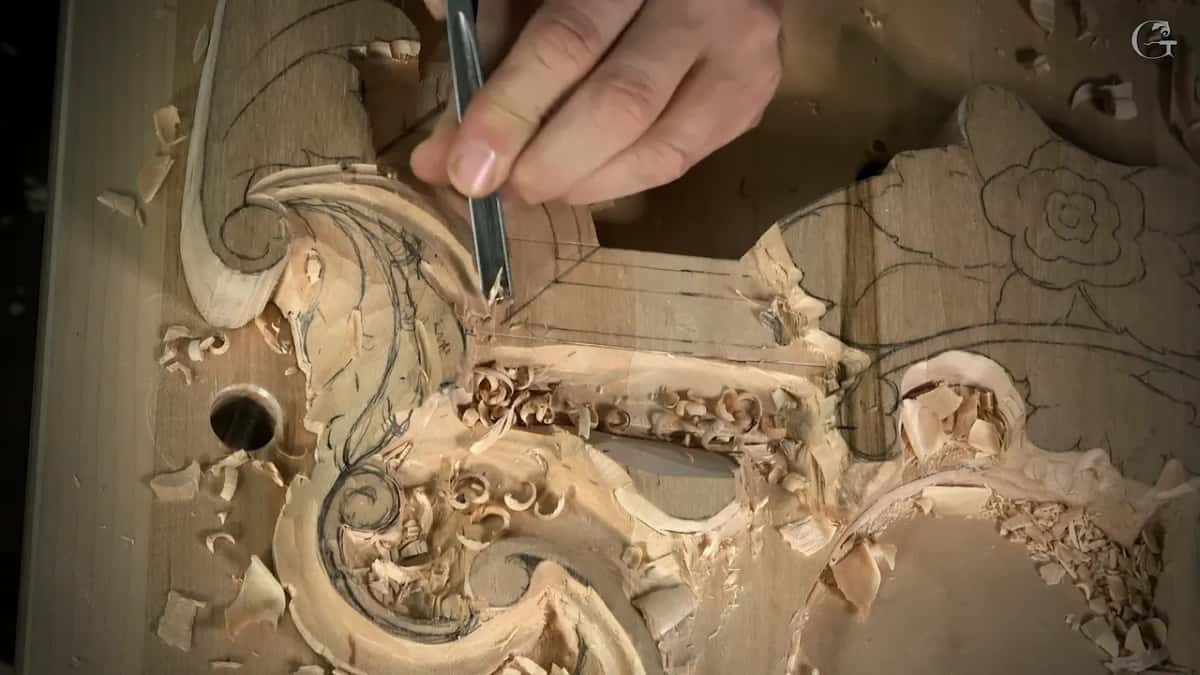
In lesson 3 of the vase with grape leaves I put the source of triangles in one line. Every concave creates some kind of triangle, and we want to exaggerate the triangle. I took a smaller tool there and made micro-notches, which I also called micro-separations. After the notches came the triangle itself, and I looked at it and said it doesn't look too good, but that is what we are after.
Look at the order on that vase. Notches first with the smaller tool, then the triangle out, and a rough look I accepted because it was what I was after.
Do the triangles always come out first?
I waited, though, on the chamomile and bow rosette, lesson 3. I was knocking down one side of a future bead, and I pointed out that I was not removing those small triangles yet. There is a reason why, I said. I carved the same pass on the opposite side next, and in that stretch I did not say what the reason was. I won't make one up for you.
A few minutes later the order is plain to see. I set my knife slightly to the right and said I would remove those triangles.
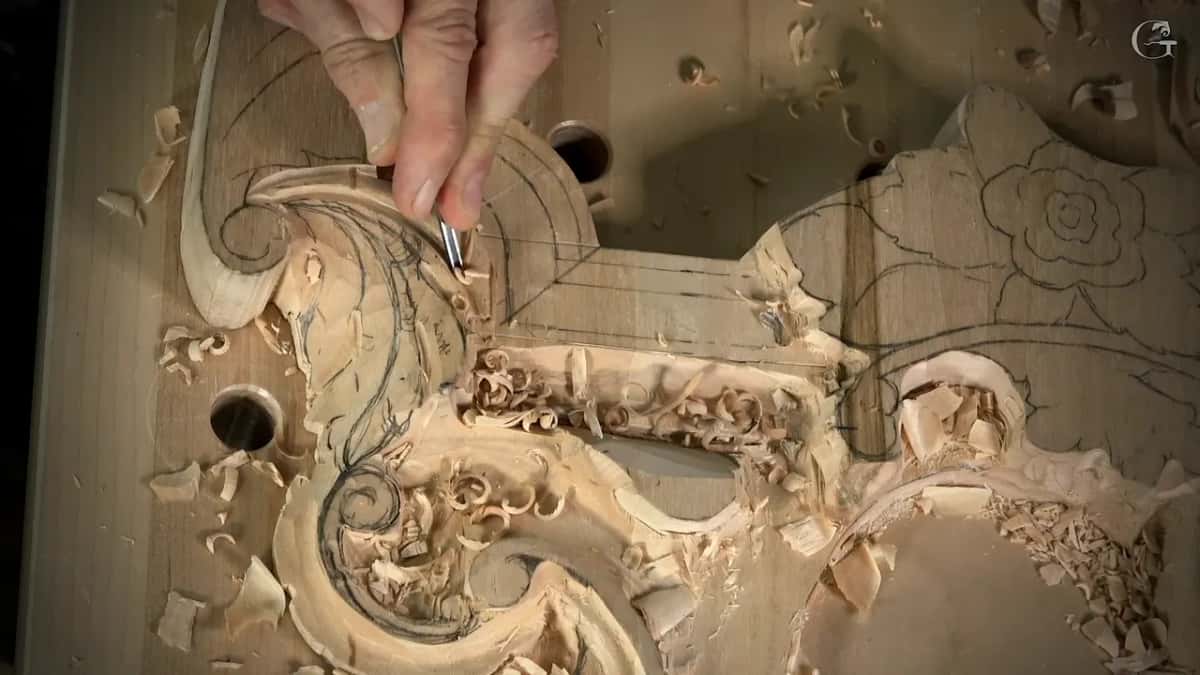
So lesson 155 and the chamomile rosette disagree on timing. The Venetian leaf lost its triangles before its first eye, while the bead kept them until I had passes in on both sides of it. Two pieces, two orders.
What do I take a triangle out with?
In these lessons a knife does it most often. Later on the same chamomile rosette I spoke about all that mess inside and those triangles, and I said you can take a knife again, go in once more, and attack it from different points. It gave me a pretty clean result.
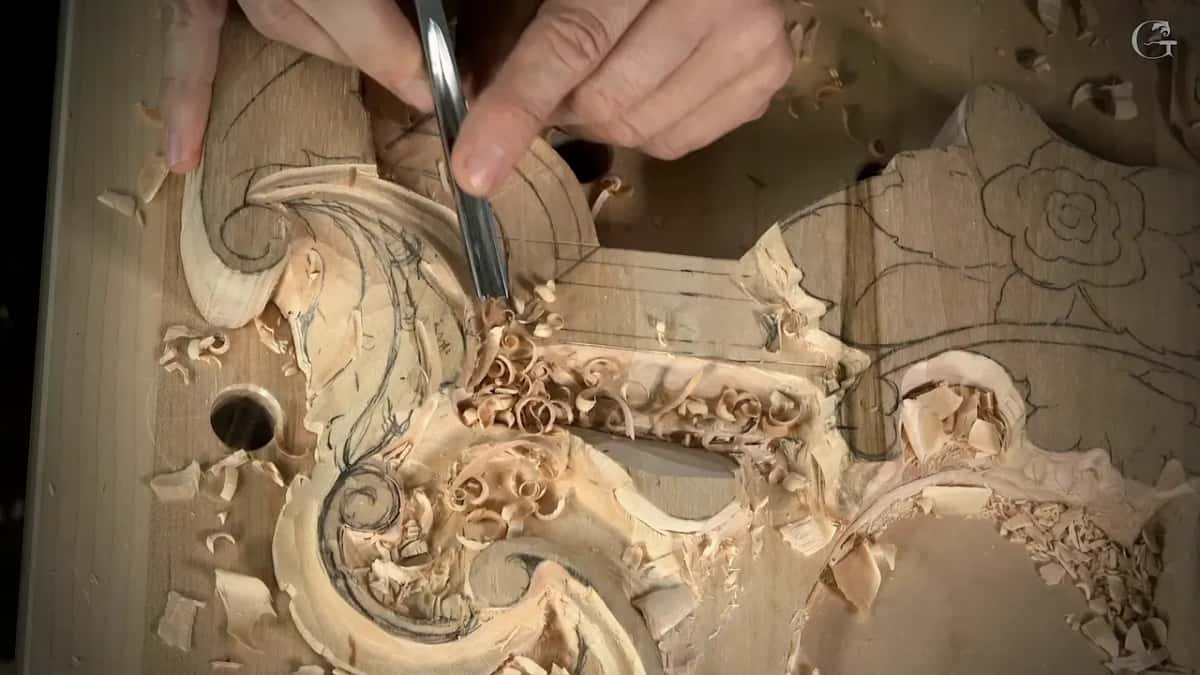
The knife has a limit, and I said that too. Back on the chamomile rosette, in its lesson 4, I had gone all around a shape and needed the triangles out. I could start with the knife just to pop the center part of it, I said, but it would not be sufficient for me. I needed to remove material all around, because starting that way was not the best.
A chisel works too. My Venetian flowers rosette, lesson 5, needed extra separations, and I took a couple of those triangles out with a chisel, a number one in that case. Over on the flower rosette, lesson 6, the triangle parts came out as I angled the tool on the inside and moved it out.
| Where it happened | What I did with the triangles there | Which tool | What I said on camera then |
|---|---|---|---|
| Venice Room 155 | Relieved them first, then again after subdividing | Tool unnamed | Never lower than my lowest spot |
| Chamomile rosette three | Waited until both sides were carved first | A knife | I said there is a reason |
| Vase lesson three | Made micro notches, then took it out | Smaller tool | Every concave makes a triangle there |
| Modern acanthus seven | Wanted everything brought to the rolling motion | Not named | I see a huge wall there |
| Venetian flowers five | Removed a couple for the extra separations | Number one | I can see where it lands |
What reasons did I give on camera?
A different one in almost every lesson, each of them small and plain. The modern acanthus, lesson 7, is where I looked at one area in that triangle and said I see a huge wall. My goal was to bring everything to the edge or to the rolling motion.
A triangle in lesson 5 of that same Venetian rosette came out, and I said I could right away clean up my boundaries and see exactly where it was supposed to land. One lesson earlier, a shape on that rosette looked almost like a triangle, with some curve in it, and it was not naturally flowing. That part needed to go slightly lower, I said, and I did not want to overdo it.
A fourth reason has two pages of its own already. My floral and molding panel, lesson 10, is where I said that pushing my tool closer to that meeting point would split the wood and crack it. In Venice Room lesson 4 it really happened: the wood broke under a #3 because I rushed and did not relieve the triangle.
Where does lesson 155 sit in the room?
It is the last workshop of Part 13, after lesson 154. The course page for Part 13 tells how I copied the molding profile of this room off a photograph of an old building, which is the bigger story around these twelve workshops. Here a little acanthus leaf starts to grow beside that molding. It gets its eyes, two concaves and a big pipe, and a #2 that I said doesn't have to be upside down. Part one also finishes the miter of the molding, where I eyeballed the spacing and laid my number one right on the line to carry it both ways.
This is relief carving on a real room, an ornament at a time, with veiners as wide as 7 mm and as small as about 1 mm (0.04 in) inside the eyes. Every pass of lesson 155 is in its three parts, and it all opens with tuition to the school, monthly or yearly, renewing automatically until you stop it.
How it's done
- Draw the main divisions. On lesson 155 I drew the main divisions of the small acanthus first and copied one of them on the opposite side.
- Relieve the triangles. Relieve the triangles between those lines before the leaf gets its eyes, and stay above the lowest spot you already have.
- Subdivide, then relieve again. Subdivide the main movement. Those new lines leave new triangles, so relieve them too.
- Finish with a knife. Go back in with a knife and attack each one from different points until it comes out clean.
Frequently asked questions
Do the triangles come out before the eyes of a leaf?
On my lesson 155 leaf they did. I took the triangles out, then began on the eyes, same like we do always, as I put it on camera. The chamomile rosette went the other way, with a bead carved on both sides before its triangles came out.
What tool takes a little triangle out?
A knife did it most often in these lessons. One rosette had a couple taken out with a number one chisel, and a vase got micro-notches from a smaller tool first. Popping only the center with my knife was not enough once, and I said I needed to remove material all around.
How deep can you take a triangle?
Lesson 155 gave me one limit, and I said it out loud: I cannot go lower than whatever the lowest spot I have. I said I had to be careful how I did it. That came right after I relieved the first triangles, before the small acanthus movement got its eyes.
What to carve next