
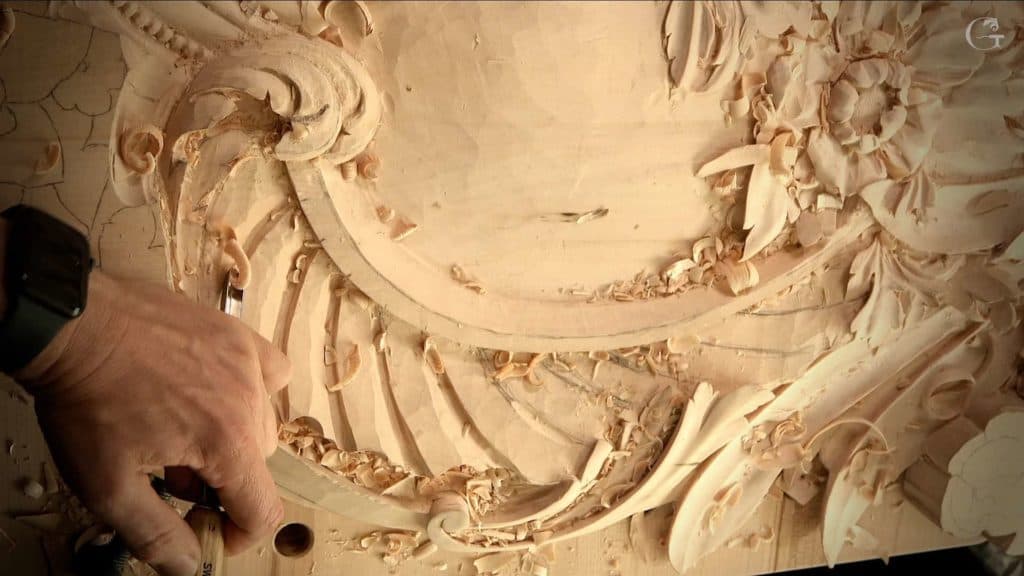
Alexander Grabovetskiy, woodcarver, School of Woodcarving · Published 2021
Should the edges of a wood carving be sharp?
Quick answer: A sharp edge on a carving is my choice, made one spot at a time. In workshop 145 of the Venice Room I went back with a #3 and worked an edge because I wanted it sharp. A chamomile rosette went the other way, blended with the tool upside down because I did not want any sharp edge showing.
A sharp edge on a wood carving is something I decide spot by spot, on the piece in front of me. In workshop 145 of the Venice Room I went back to one edge with a #3, because I really wanted to see a sharp edge there. A chamomile rosette got the opposite treatment. I blended there, because I did not want sharp edges on it.
Look at any wood carving you like. Can you see where one surface meets the next? And is that meeting line crisp, or is it soft and rounded? Somebody decided each of those lines with a tool in hand.
One rule would be easier, I know. My own lessons don't give one. What they give is this lesson, edge by edge, in the order I carved it. Each move names the tool I held for it. After that comes the rosette where I did the reverse, and a handful of lines from other lessons where I said the same things out loud.

Lesson 145 in six short lines
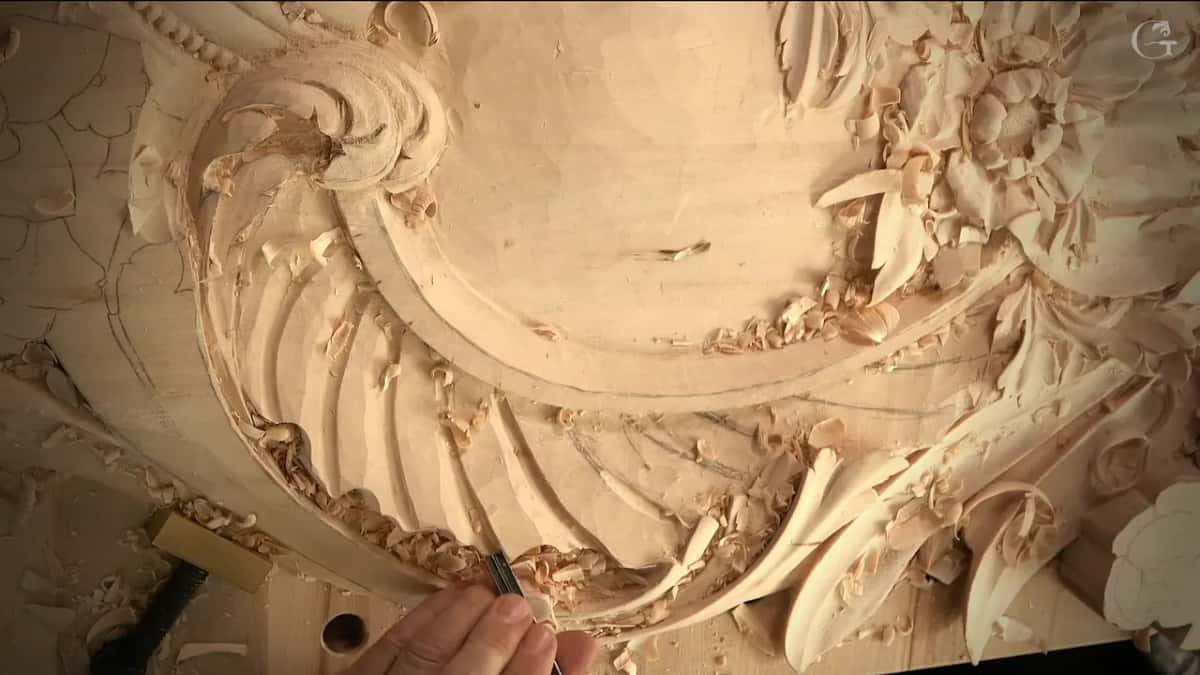
On the Venice panel the #3 came back for one edge, and I said I really wanted a sharp edge.
A little piece broke away right there. I said it was okay and that I would fix it.
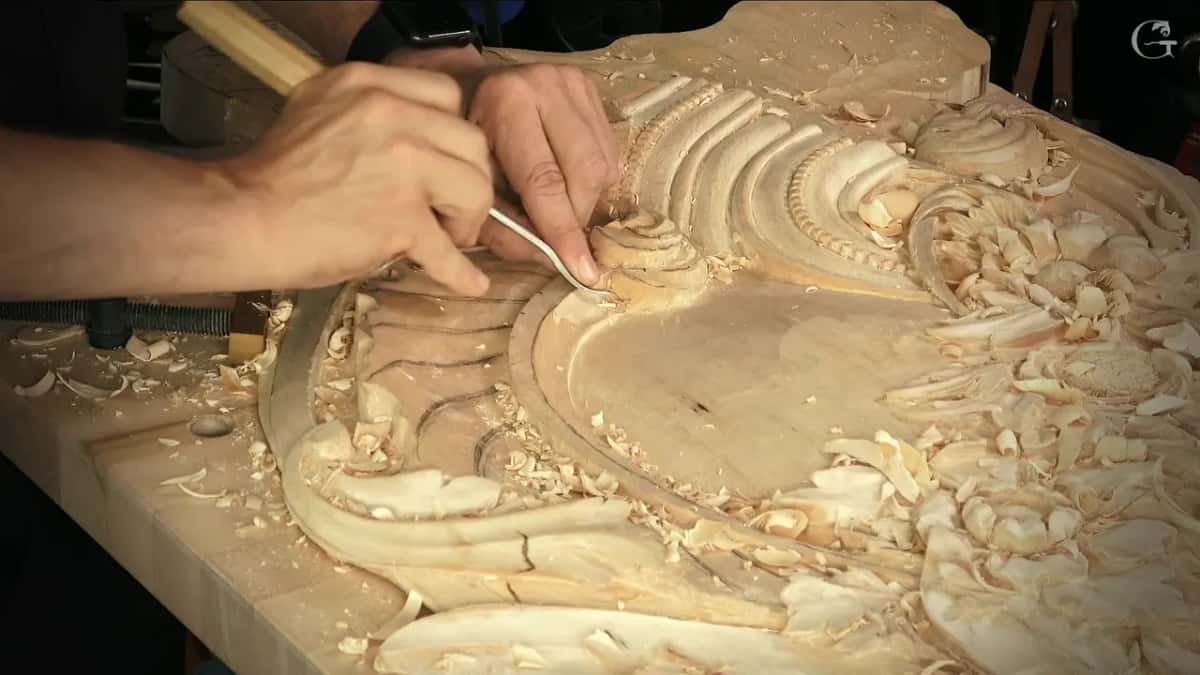
Next to the molding I was careful to keep wood, since taking it would be detectable.
Cleanup toward the edge called for 2 mm, or even 1 mm.
For a chamomile rosette the tool went upside down, a #3 or a #4, and I blended so no sharp edge would show.
Furniture is a separate case, covered on a separate page.
What came before the sharp edge in workshop 145?
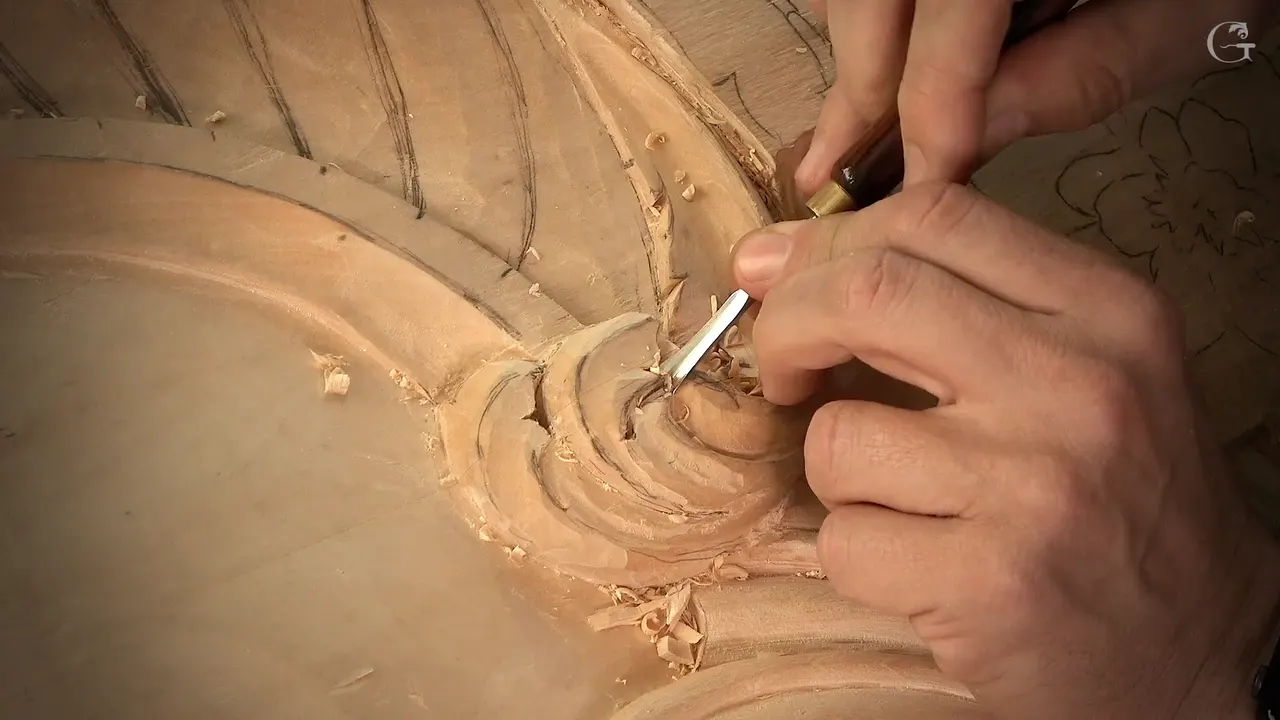
A letter S curve on the upper part came first, then a separation, then some wood from underneath. I started on the upper part and said I could take the detailing tool right away and make that letter S curvature.
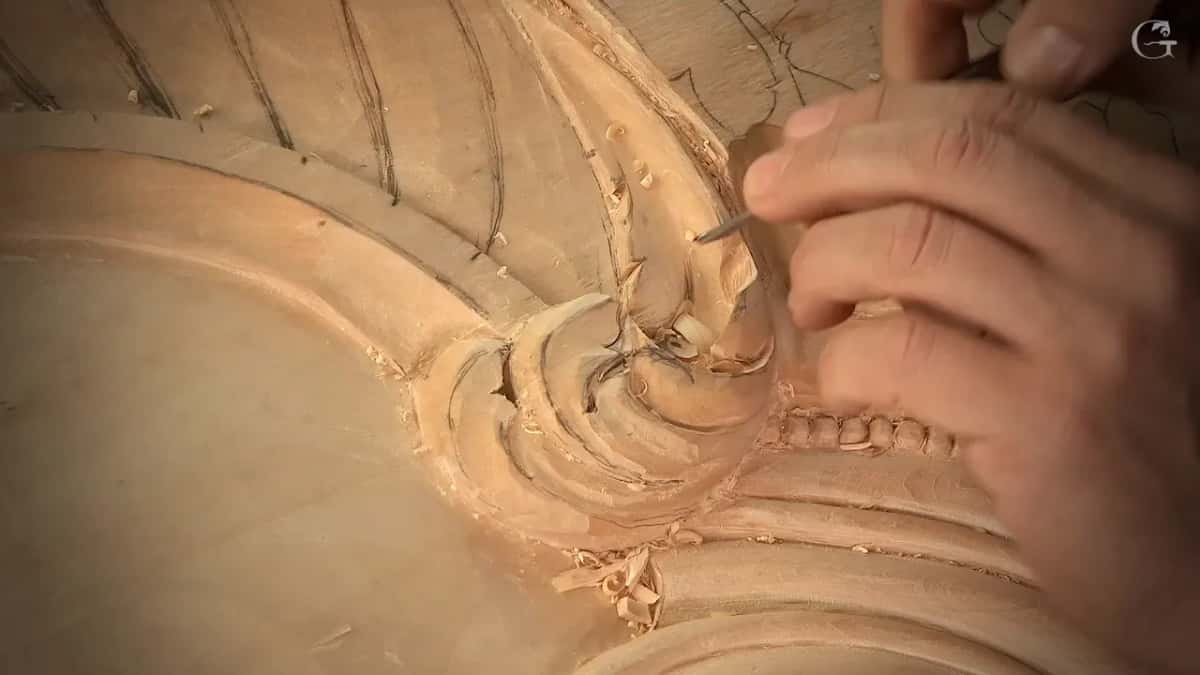
One spot could also use that half a millimeter (about 0.02 in), and I left it for later.
Another separation went in on that side, running pretty much all the way to the molding. For now I only indicated it. Once the molding is done, I said, there will be a lot more excavations for me there.
The gouge in my hand was a number 7, 14 mm (9/16 in) wide. The same tool, I said, could carefully get rid of some of that material too.
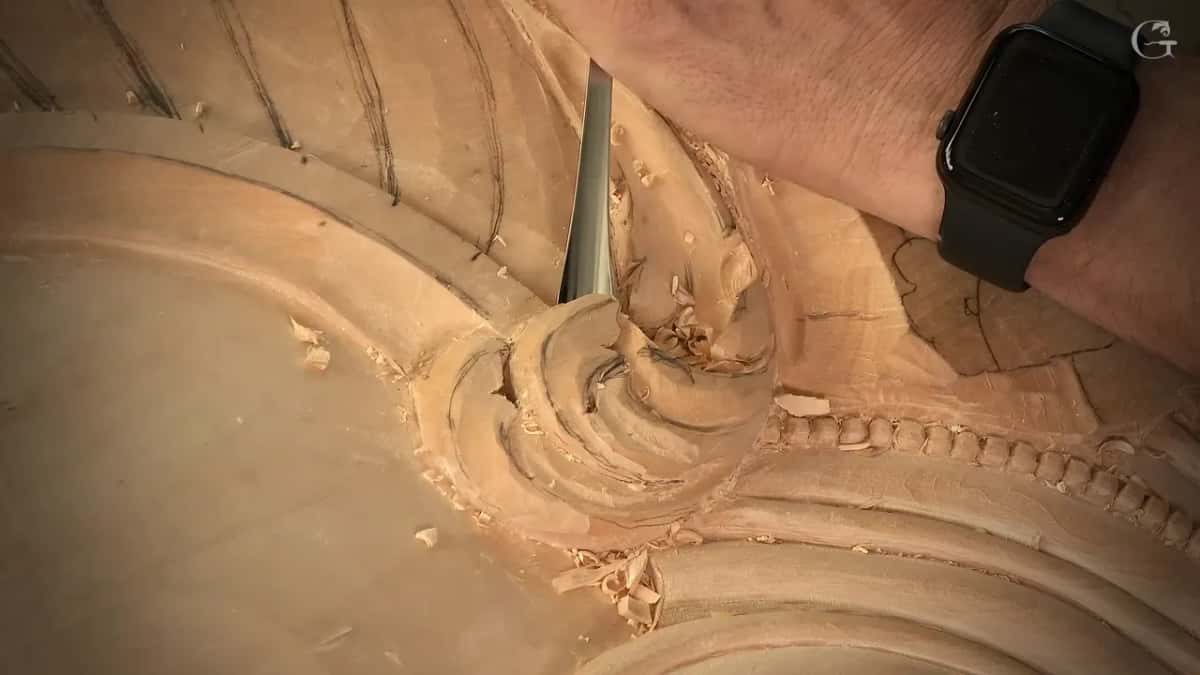
Next came an undercut with that small tool, this way, and then something flatter, a number 1 chisel, which goes right underneath. This part was still not done and still had to get some shape. But at least I knew, on my part, that the canvas would end up right there.

A #6 followed, about half an inch (13 mm), and it removed whatever I no longer needed from underneath. It also makes a shadow. A beautiful shadow, I said, twice over on camera.
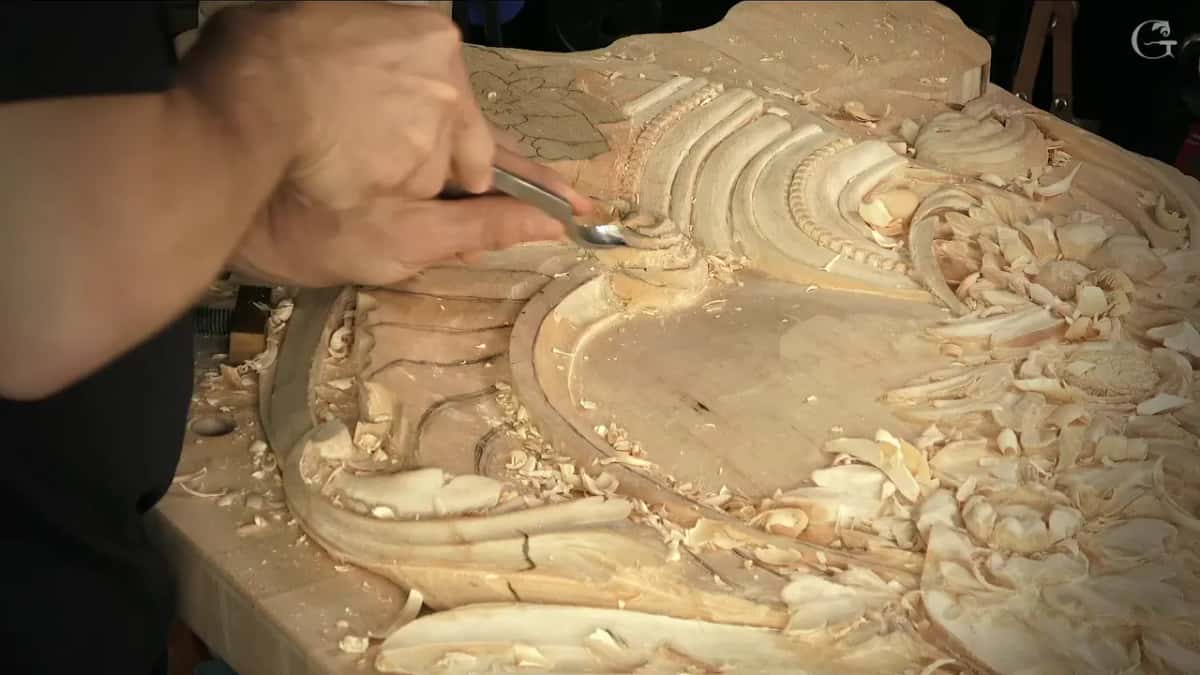
Which tool took the edge sharp?
A #3 did it, the same number 3 I had used before.
Back I went with it to hit the edge. I really wanted to see a sharp edge, and I said exactly that. One small tool, one edge. Nothing more to it.
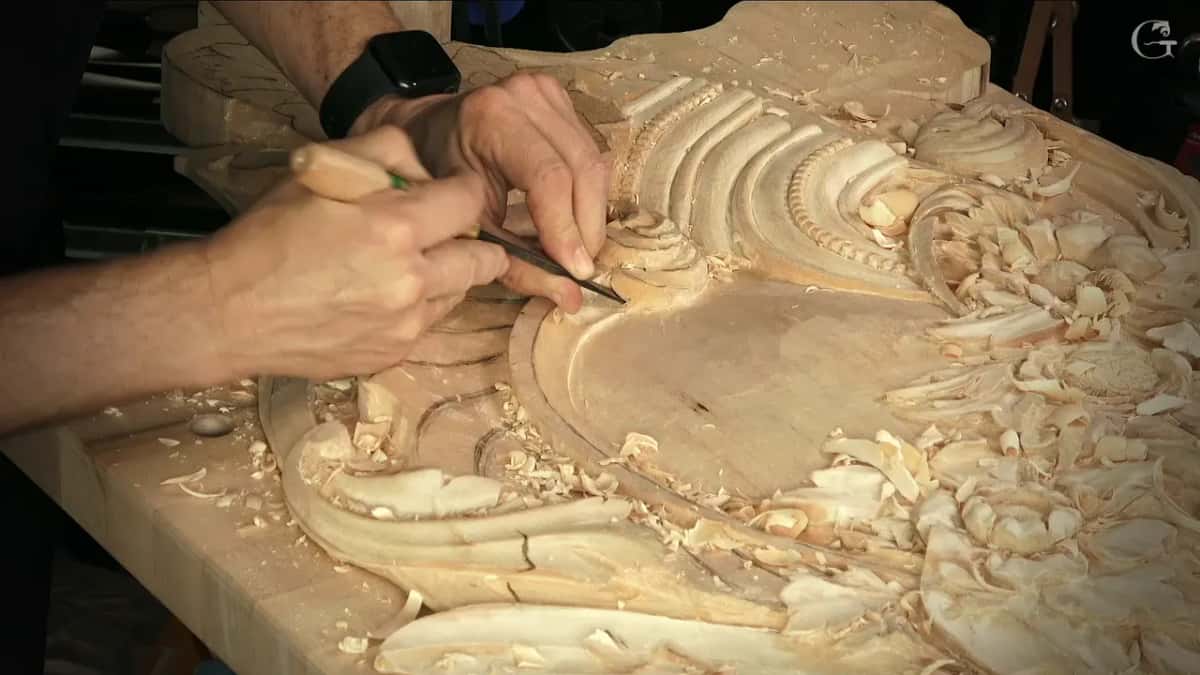
Next I undercut the other side too and finished the movement on top, where the S shows again. It goes right underneath, and I thought that part had to be open, so an 11 of 3 mm (1/8 in) chopped some of that material out.
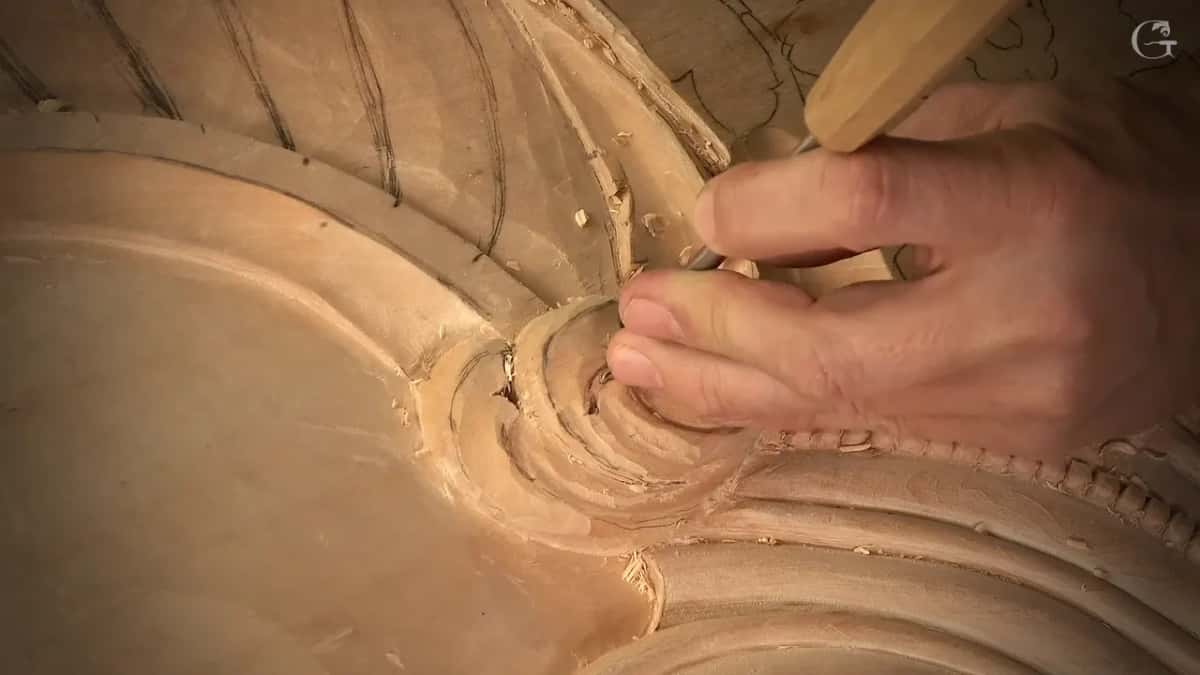
Here there would be a separation, and it needed relief as well. So the #7 came back to give the S somewhat of a final shape, and I said the same tool could hit the separation too. Looking at it, I said I think I like what I see.
Digging beside a line is also how an edge gets raised, and workshop 127 got a page for exactly that.

What did I mean by bringing it all to the edge?
In lesson 145 it was the plan for the rest of that section, said out loud. All it was going to take, I said, was to refine everything, undercut everything, and bring it to the edge. Just bring everything to the sharp edge.
That was the finishing idea. Right after it I showed you a spot you could not really see, some kind of mess, and gave you a better view. It needed excavating on the inside, otherwise it would not look as nice. That digging belongs to the lesson video, not this page.
Look at the order. Refine, undercut, and only then the edge. Later, in the second part of the lesson, the same words came back for the cleanup, which is further down this page.
Sharp edge comes up again and again in these Venetian lessons, and three of them are quoted further down.
What happened when the edge chipped?
A little piece broke off there. It was okay, I told you, and I would fix it. Here you go, were my words. I just destroyed a little piece.
I said it on camera and went straight on to undercut the next side, since that side needed it too.
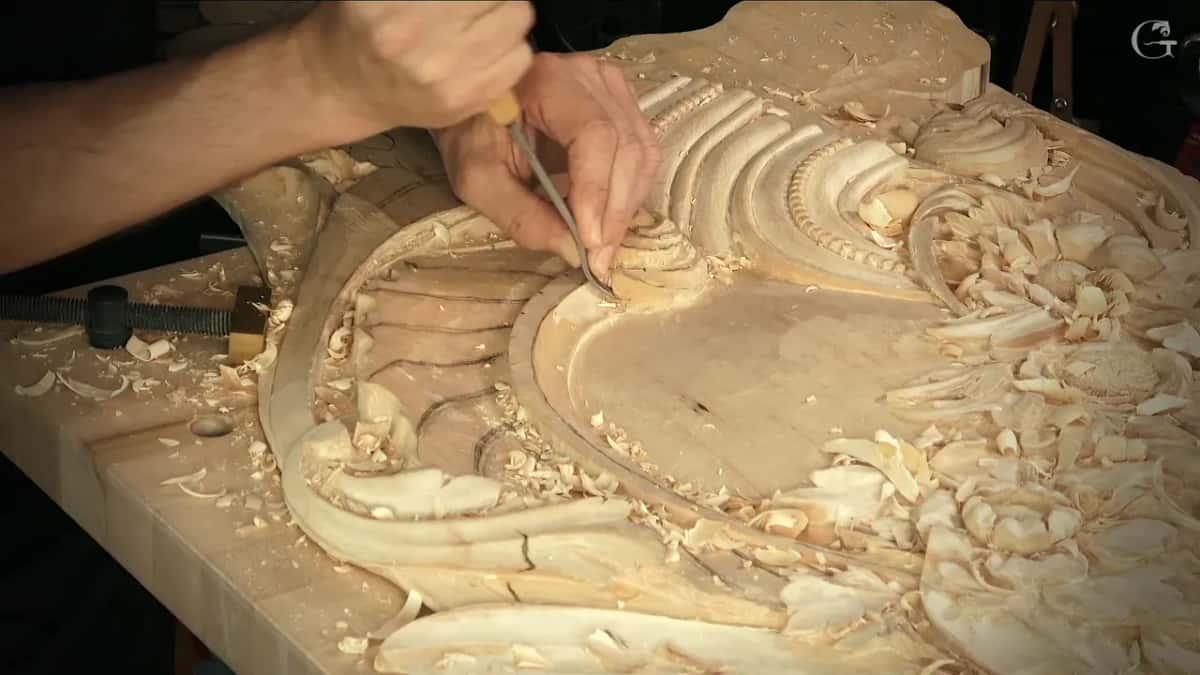
Twice more in the lesson something came out that I didn't want to see. The first one was okay, I said, since it wasn't that critical. The second one I had made myself a moment before, but I didn't lose it completely.
So all I had to do was blend it in and not tell anybody. Except you.
All three moments are in the lesson video, and you can watch each one. If a thin edge keeps breaking on you, stiffening it with glue thinned right down is on the Roman acanthus page.
Why was I careful next to the molding?
Taking wood there that did not have to go would have been detectable. I have to be careful with the molding, I said, and I don't want to remove what I don't need to remove. Visible-ish was the word I used.
That molding was not done yet, and it still needed extra material. It's always easy to take what you don't have to take. My first try at that sentence came out wrong and I corrected it, and the corrected one is what I meant.
How that molding was worked out and carved is in the course overview for Part 13.
How small does the last cleanup tool get?
Down to 2 mm (5/64 in), or even 1 mm (0.04 in). My plan, I said, was just to clean it and bring everything to the edge.
I needed 2 millimeters, or 1 millimeter even. With the 1 millimeter I'd attack that area until everything was clean and nice and smooth. Most of that cleanup can always happen off camera, so it doesn't have to be boring for you.

Then I first looked at it from above. To me it looked good, like a double movement.
After that I cheated, or maybe not, since I don't know if it counts as cheating, and took some rasps to make everything smoother and speed up my process. At least I hoped it would. The rest of that rasping I did off camera, which you probably would not care to watch anyway.

Sandpaper is a different question, and the cutting board workshop says plainly what paper does to crisp edges. Blending ridges between gouge passes with a razor blade is a furniture panel job. Low light for seeing tool marks is on the Greek acanthus page.
What happened on the shells after the edge?
The shells came last, and I said that in this case they would not be as complicated. Wherever I had placed my lines, deep concave passes went in with an 11 of 10 mm (3/8 in), leaned over so they fold.
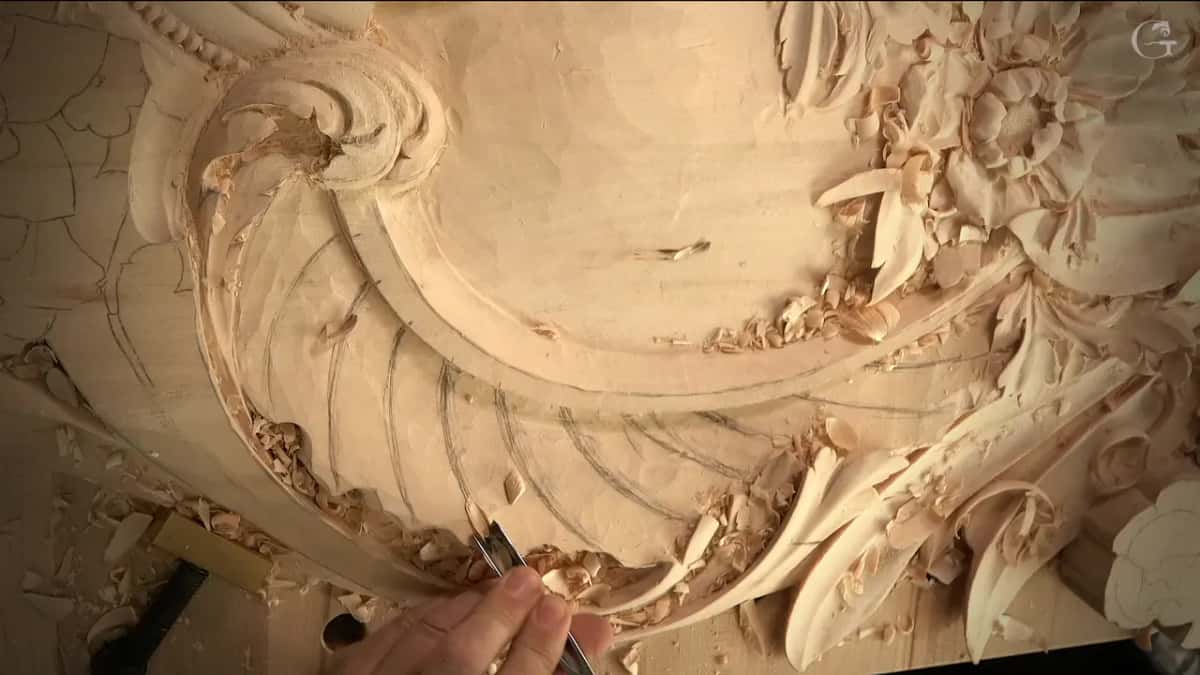
Closer to the molding they got a lot less concave. At one point it felt like it was fighting me. I didn't want them too deep at the end, but on one side they would go much deeper. It would go all the way just like that, I said, but on camera I only wanted to show you the idea.
Going deeper with that tool meant chopping one of the sides first, so I took the #3 upside down, then said I could even use it the normal way. Attacking from that side was better because of the grain, how it goes. Except I would have covered the camera, and I didn't want that.
I needed much more depth for that folding effect. A smaller 11, this one 7 mm (9/32 in), went in after that, and I said I would probably persuade it with the mallet. You should already see that shadow casting, I told you, really, really nice shadow casting.
Then came a back bend. A flat was not what I wanted right there, since the aim was to blend even deeper, so I took something like a sweep number two and thought about which side to attack from. And I told you why the pass wasn't straight, because a convex was already what I wanted on that side. Starting to convex was that important to me.
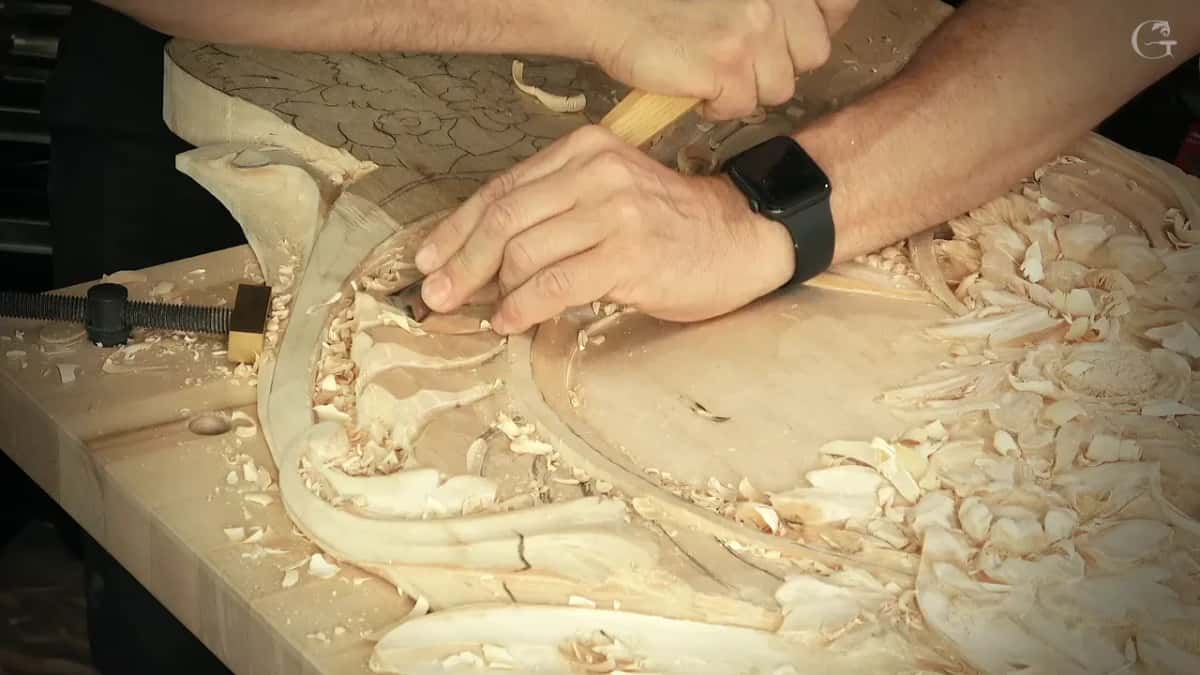
It was not the final shape yet, I said, but you should still get the idea.
Where did I blend the edges away instead?
The chamomile and bow rosette, in lesson 2 of that course, is where I went the other way. Both sides got smoothed out first, and then the blending was done with the upside-down tool. Maybe a three, maybe a four.
Blending was all I wanted to do there. I really don't want to see any sharp edges, I said. I want it to look really natural.
In that case I really like back bends too, and some small back bends help a lot.
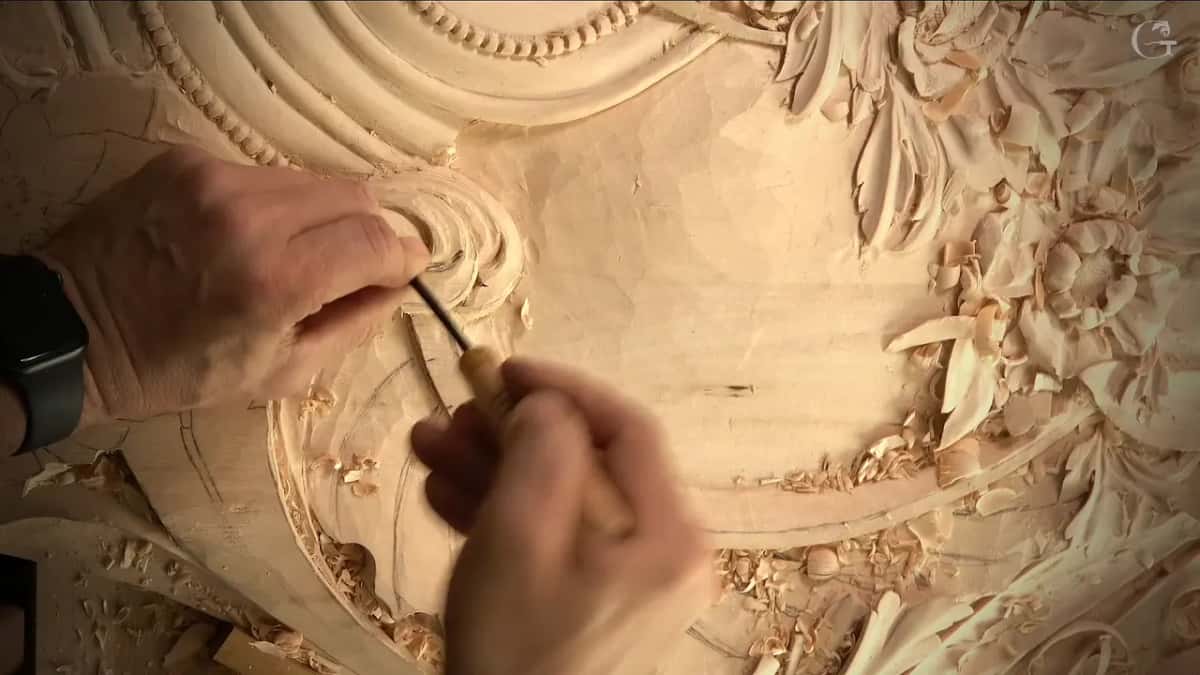
The whole rosette, bow and leaves and berries, is the chamomile and bow rosette course. So the two jobs pull opposite ways. On the Venice panel the goal was a sharp edge you can see, and on the chamomile it was a natural look, and the tool was turned upside down to get it.
The Venice Room has me saying it more than once. Workshop 91 needed a little nicer blending, because there were too many sharp edges and we don't want those, and a number three upside down did it. Back in workshop 22 an upside-down number seven blended it all together, because right then there were a little too many sharp edges.
Back bends turn up on both jobs, the rosette and the shells of lesson 145, both times while blending.
Where else did I keep an edge sharp?
Four other lessons at least, and in each I say so on camera.
Workshop 93 is where I said again that I was really after crisp edges. Back in 63 a long bent took the line continuous and clean and gave me a really sharp edge, while another part would still get undercut later to give me a shadow.
A couple of passes in workshop 60, made with a number five on an angle toward the others, left a really, really sharp edge. And on the Hashemi flowers, lesson 47 shows a number seven making a wall of about one millimeter disappear, bringing it to the complete sharp edge.
What about furniture and rounded edges?
Furniture has its own reasons, and my furniture panel page explains why a carved panel people touch every day gets its sharp edges softened.
Sometimes a rounded edge is the shape itself, a fillet, which I wrote about from workshop 103.
Every tool on that edge, in order
Here is that whole section of lesson 145 as a list of moves, and the tool for each, and what I said at the time. Sizes are in the text above.
Step | Move | Tool | Said |
|---|---|---|---|
Upper part first | the letter S curvature on the upper part | detailing tool | I could take it right away |
A separation next | a line that goes to the molding | #7 gouge | just going to indicate for now |
Wood from underneath | whatever I no longer needed came out | half-inch #6 | it also makes a beautiful shadow |
Back to edge | the same number 3 from before | #3 gouge | I just destroyed a little piece |
Opening that part | chopping some of the material out there | narrow #11 | that part has to be open |
Final letter S | the shape of the S, closer to final | #7 again | I think I like what I see |
Cleanup comes last | everything brought to the edge until clean | tiny tool | until everything is clean and smooth |
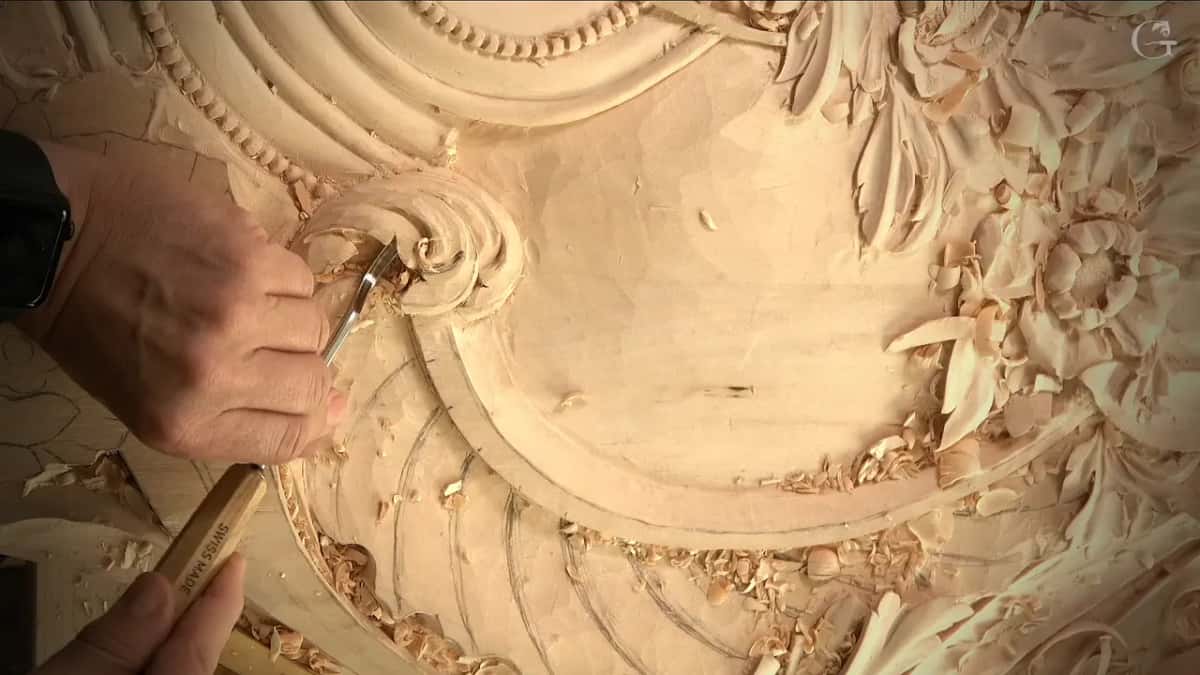
The lesson shows each of these edges at the bench, pass by pass, and tuition to the school opens it along with lesson 144 before it and lesson 146 after it. Every one of them was carved by hand, one tool at a time.
How it's done
- Indicate the separation. Mark the separation lightly with a #7 of 14 mm (9/16 in) and leave the rest until the molding is finished.
- Keep wood near an unfinished molding. Leave the wood beside it alone unless it has to go. Removing it would be detectable.
- Clear what sits underneath. Use a #6 of about half an inch (13 mm) to take out what you no longer need below.
- Take the #3 back to the edge. Go back with the same #3 and work the edge where it should be sharp. If a small piece breaks away, just blend.
- Clean to the edge. Finish with 2 mm, or 1 mm even, until the whole area is clean.
- Blend where you want it soft. Where you want the edge soft, turn a #3 or #4 upside down and blend, with a few little back bends to help.
Frequently asked questions
Do you always carve the edges sharp?
Only where I want one. On lesson 145 a #3 returned to one edge of the Venice panel because I wanted that edge sharp. On a chamomile rosette I blended with an upside-down tool, since I didn't want any showing.
Which gouge took the edge sharp in lesson 145?
A #3, the one I had already used earlier. A small piece came off as I worked there, and I said it was okay. Final cleanup toward the edge called for 2 mm (5/64 in), or even a single millimeter.
What do you do if a sharp edge chips?
In lesson 145 one slip was not critical, I said. For another, which did not cost me the part completely, all I had to do was blend and tell nobody, except you, the person watching the video. A thin edge that keeps breaking is a different problem.
What to carve next