
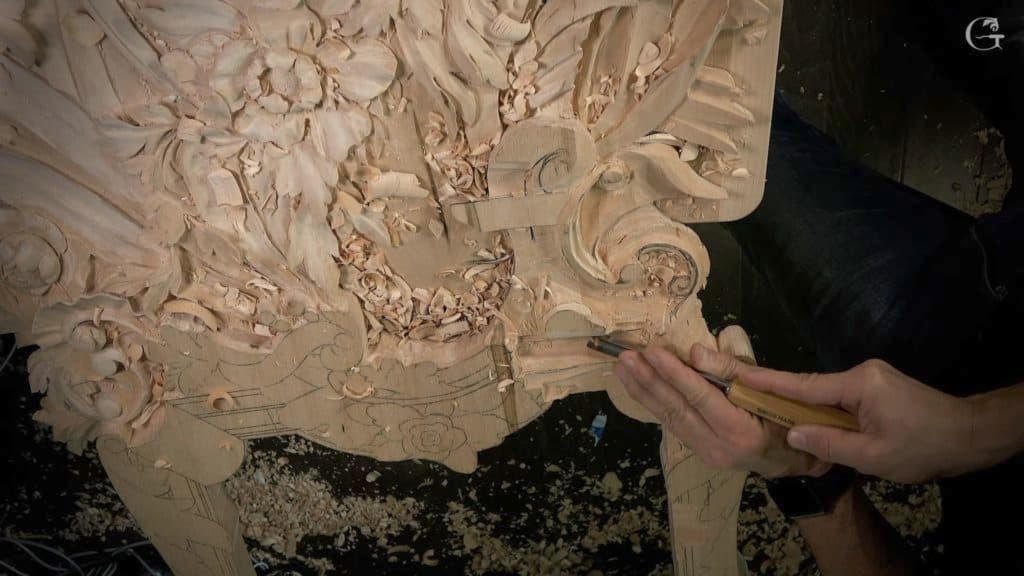
Alexander Grabovetskiy, woodcarver, School of Woodcarving · Published 2022
Do you need specialty tools for wood carving?
Quick answer: Specialty tools are carving tools shaped for one narrow job, like the macaroni and the fluteroni that were made for furniture makers. Lesson 153 of my Venice Room was carved with ordinary gouges and flat chisels, and the fluteroni came out only in its last half minute. The school projects don't expect you to buy them.
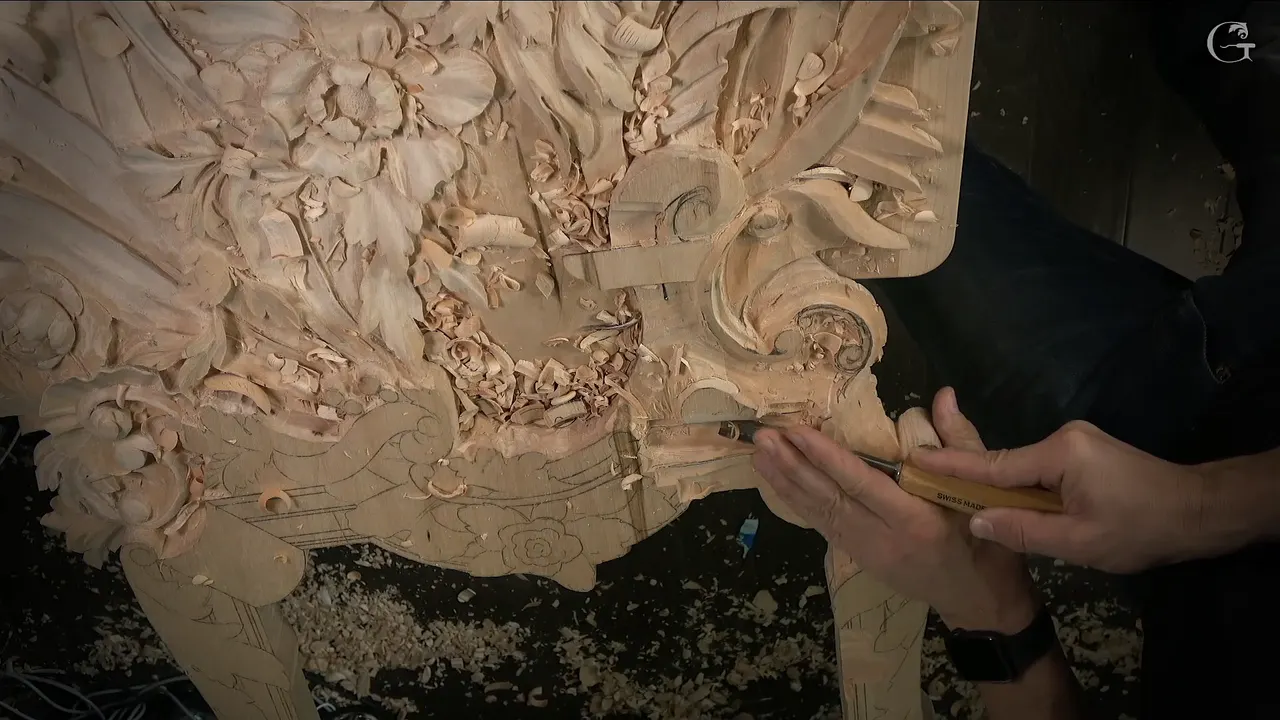
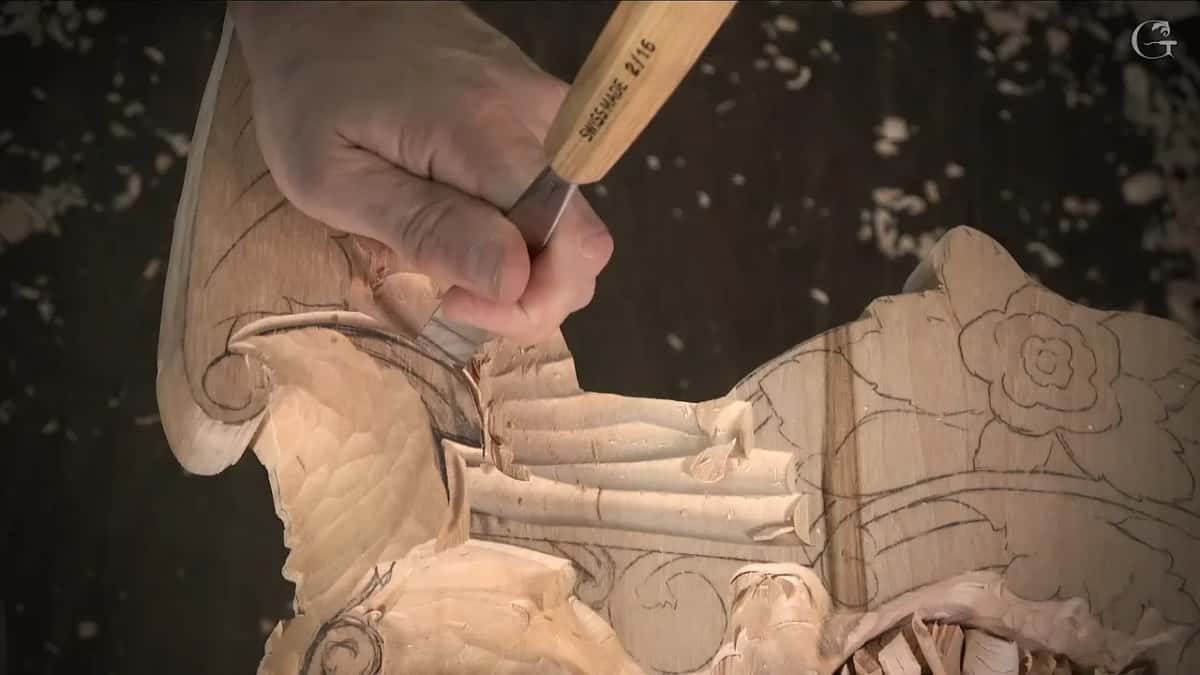
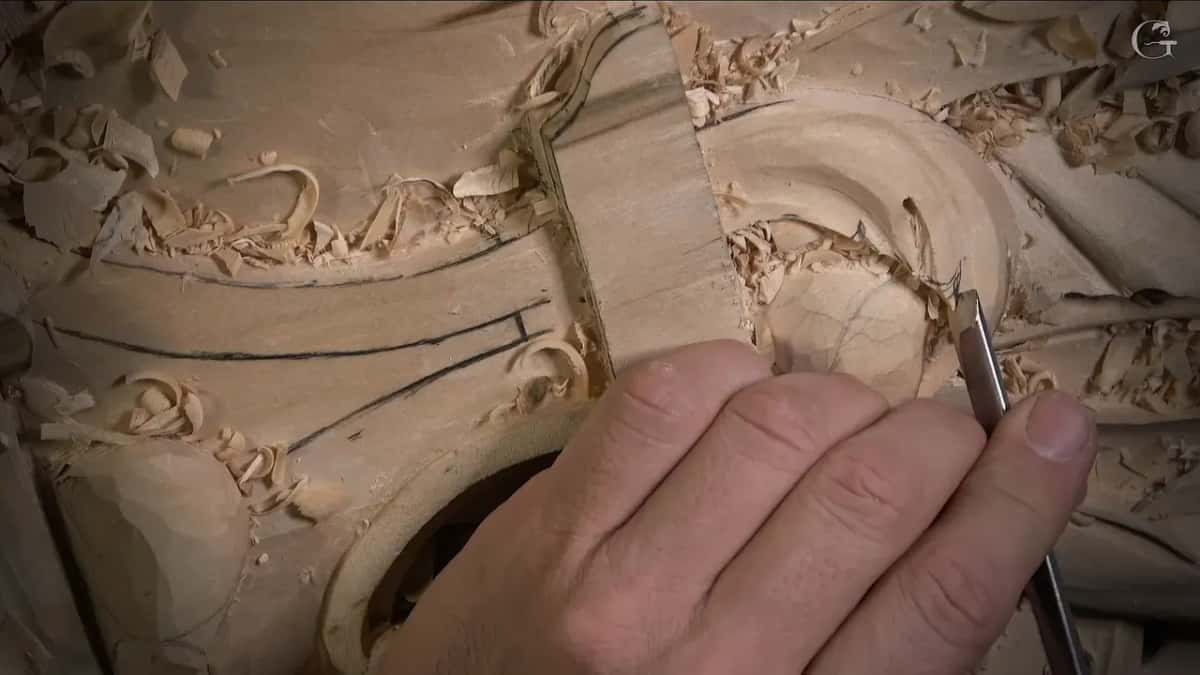
Specialty wood carving tools are odd shapes made for one small job, and most of my own carving is done with plain #11 veiners instead. My lesson 153 shows that well. I lowered one section of a Venetian relief panel beside a drawn line, and every carving tool in it was a regular gouge or a flat chisel. Then, in the final twenty seconds or so, I picked up a fluteroni. I said maybe I should cheat and use a more modern tool. "Just going to cheat slightly."
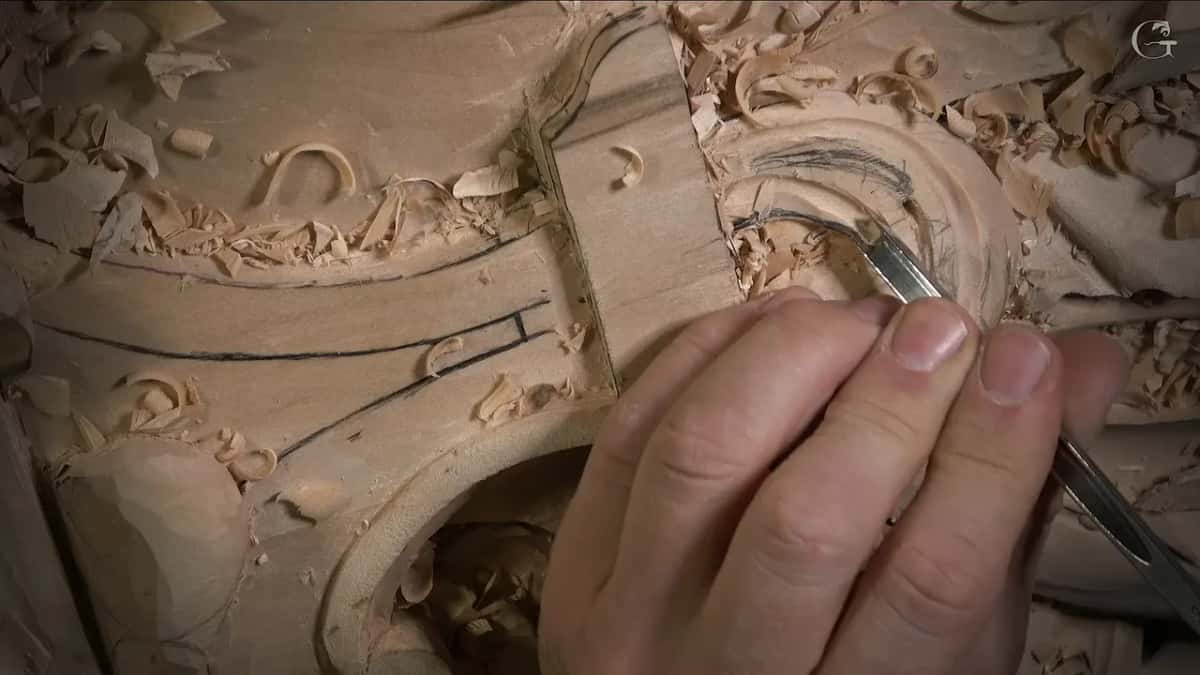
Have you ever opened a tool catalog and found shapes you could not name? Did a few of them make you wonder if your own set is missing something? A whole lesson of mine went by before one of those shapes came out, and that is worth seeing before you buy anything.
I'm going to be honest with you. That feeling is normal. Below you get every tool that lesson used, what I said about the odd ones on three live sessions in April 2020, and the places in my other lessons where one of them came up.
Five plain facts about the odd shapes
Workshop 153 ran on a #2, #11 veiners in four widths, two flat #1 chisels and a #9, and the fluteroni showed up only at the end.
A macaroni and a fluteroni are a pair of specialty tools built for furniture makers, and the fluteroni is for flutes.
There is a number 17, part U and part V, and there are number 19 shellers too.
One shape meant for spoon carvers sits in my shop. I don't use it at all.
Skew gouges and their kind are really helpful, but not cheap, so I don't build the school projects around them.
Number 11 veiners do the bulk of a complicated project, as I put it on camera.
What did lesson 153 carve with?
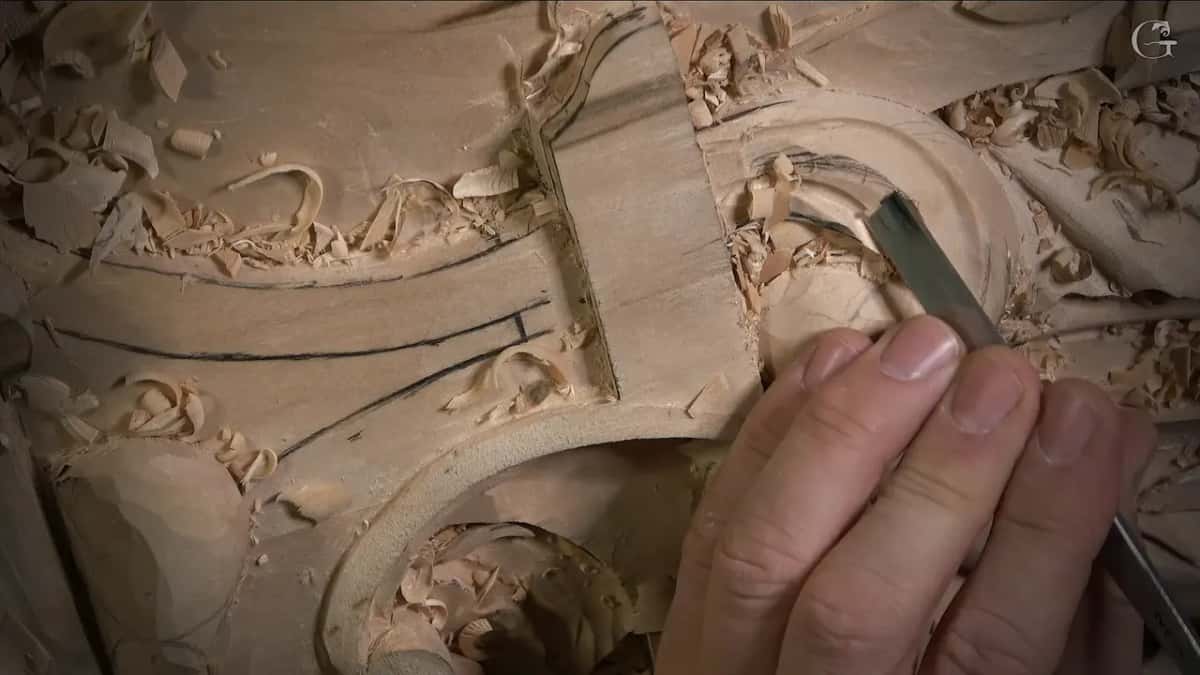
Ordinary gouges carved almost all of it. The lesson opens with me going a little deeper in one section, and then saying okay, I am happy. Early on I blended an area with a #2 of about 10 mm (3/8 in), rounding it from both sides, and a #3 was my other choice. That was okay for a preliminary pass, I said, though I could blend it a lot more.
A slightly bigger veiner took a ridge out after that. More divisions were coming, I told you, maybe a subdivision right here and one in this section too. It would look actually awesome, I said. Some spots I just took straight down with a 16 mm #2, five-eighths of an inch, to relieve them.
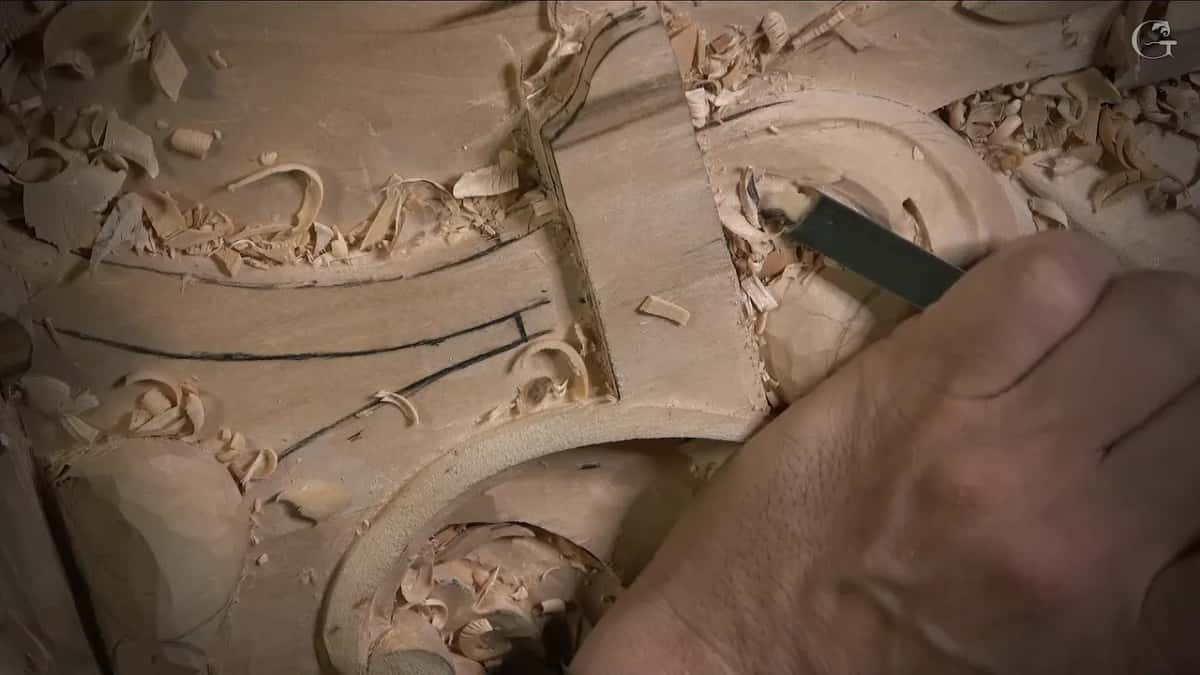
Setting the line came next. I put a #11 of about 7 mm, a little bigger than a quarter inch, right on it, and then switched down to a 5 mm. I gave the reason right there on camera. Even if I have to take it lower later, I don't want to lose that line. Lesson 149 gets a whole page on not losing a line, so I won't build on it here.
The straight edge followed. A #1 chisel of 80 mm, three and an eighth inches, went right on the line, then a 20 mm #1 in the same place to go a little deeper. And there it was, a corner and an edge. The course page for Part 13 already tells that part, along with the depth checks. Between those two chisels, a small #11 of 3 mm or so excavated even deeper.

Lowering fills the middle of the lesson. The depth itself I set with my pointing machine, a tool I really love, one of my favorites, and once it was set I said I was safe to start removing. Then I took the machine out and double checked that I hadn't moved anything. I needed that section about five-eighths of an inch down, 16 mm, and I took the waste with a #9, checking all the time. Half an inch to go. Then a quarter. Then an eighth, around 3 mm, some spots more and some less, and I said I probably wasn't going all the way yet.
I went at it from one side and then attacked the opposite side with the same #9. When the big gouge got hard to use, I turned to narrower tools, a #11 again, and stopped with about a sixteenth of an inch left, a millimeter and a half. Right then I wanted to take it no farther. Later the 7 mm excavated a little at the side of my acanthus, and I said that part had to go lower too. I could safely remove some of it.
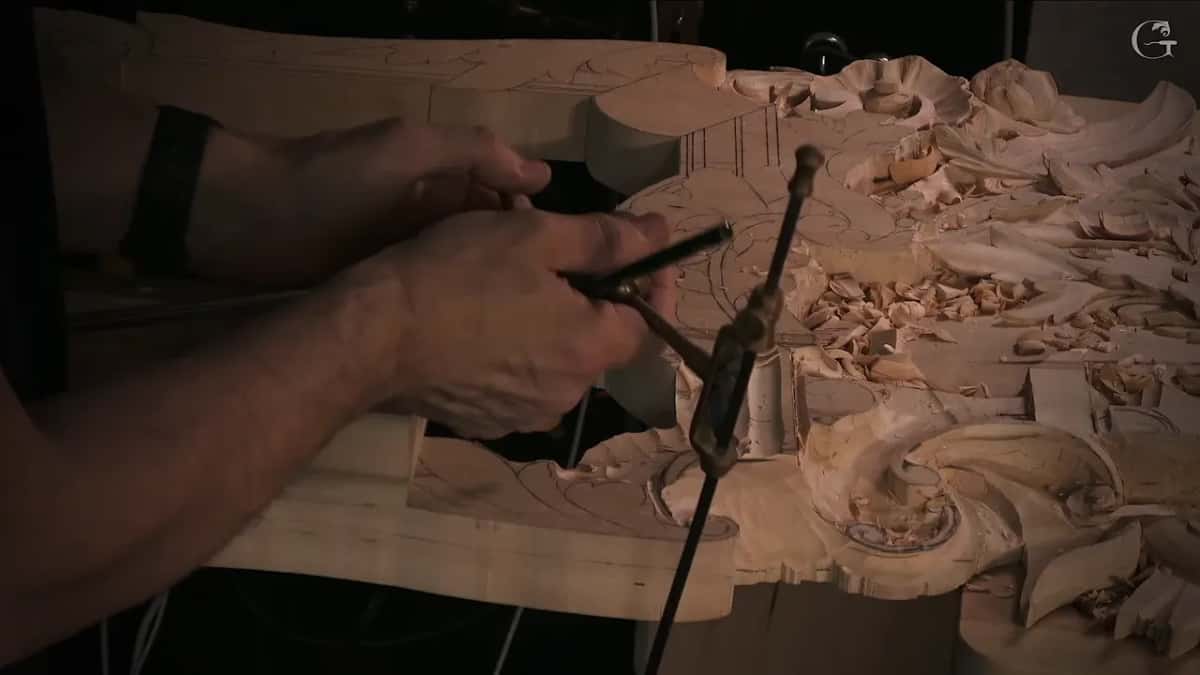
Two marks on the wood still had to be joined. Eyeballing it was one way, I said, or measuring with calipers, and the easiest calipers were the piece of paper I drew that molding on. In part two I also laid my drawing over the spot, to make sure I was only removing that part. Near the end I took out all that mess, both sides.
There was one small piece in part two that I called this little guy. I stopped to think about what I wanted from it. Rolling it, like that, would keep it out of my way as much, I said, and I outlined it right away.
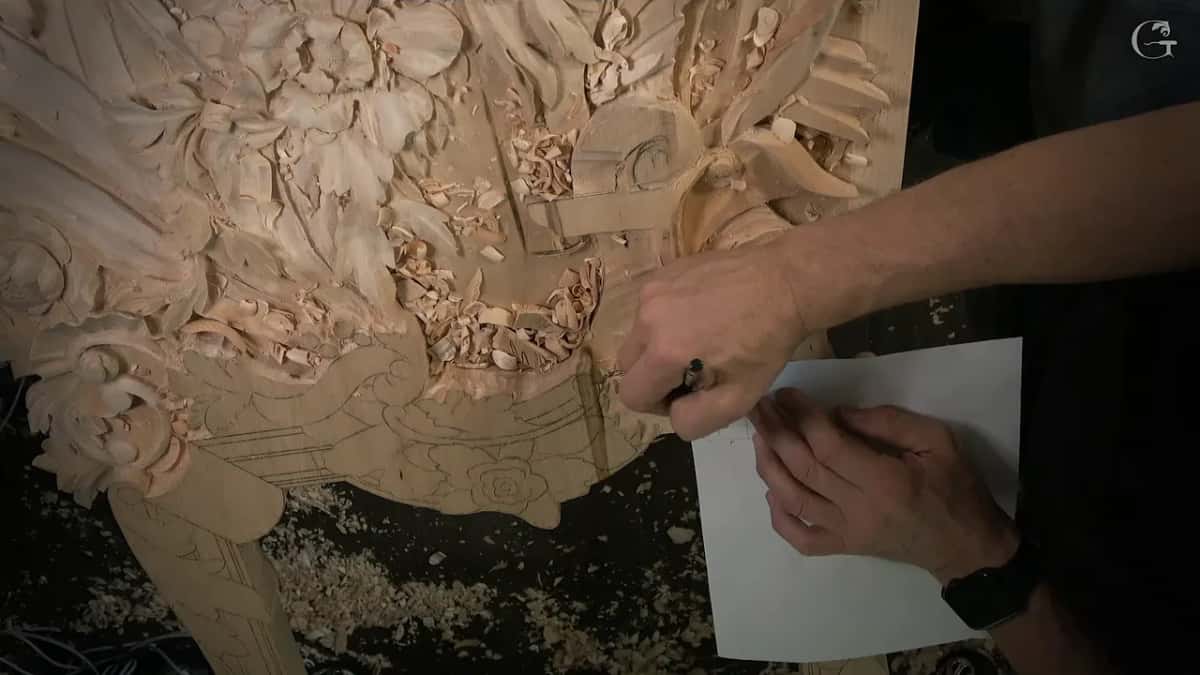
Let me tell you a story. My granddaughter was visiting that day, and you can hear her in the background of part one. She's visiting me today, I said, and then I fixed it to us. I said sorry if it was distracting. I didn't stop recording, though, because I really needed to do my work.
Why did I reach for a fluteroni at the very end?
One line had to come back. Back in part two I had said I could reestablish a line later and hit it with the #1, and I should be safe. At the end of part three I said I could clean a part a little lower and reestablish that line again, and showed where it was going to be, this line and that line.
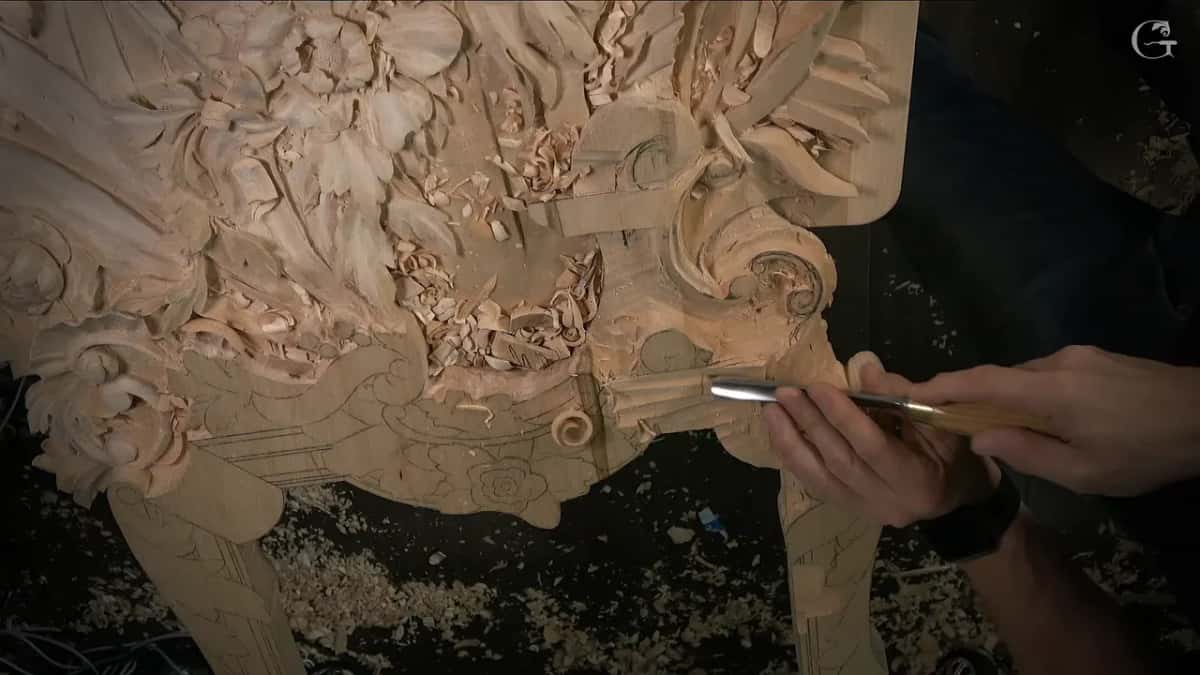
Here is where I said maybe I should cheat and use a more modern tool, the fluteroni. I made my pass with it and said I was just going to cheat slightly. The recording ends there, right after those two short lines.
Cheat was my own word for that one pass. What I want you to see is the order of things, because it is plain on the video. Plain gouges and chisels did the digging for more than twenty minutes, and the special shape came out only for the finish.
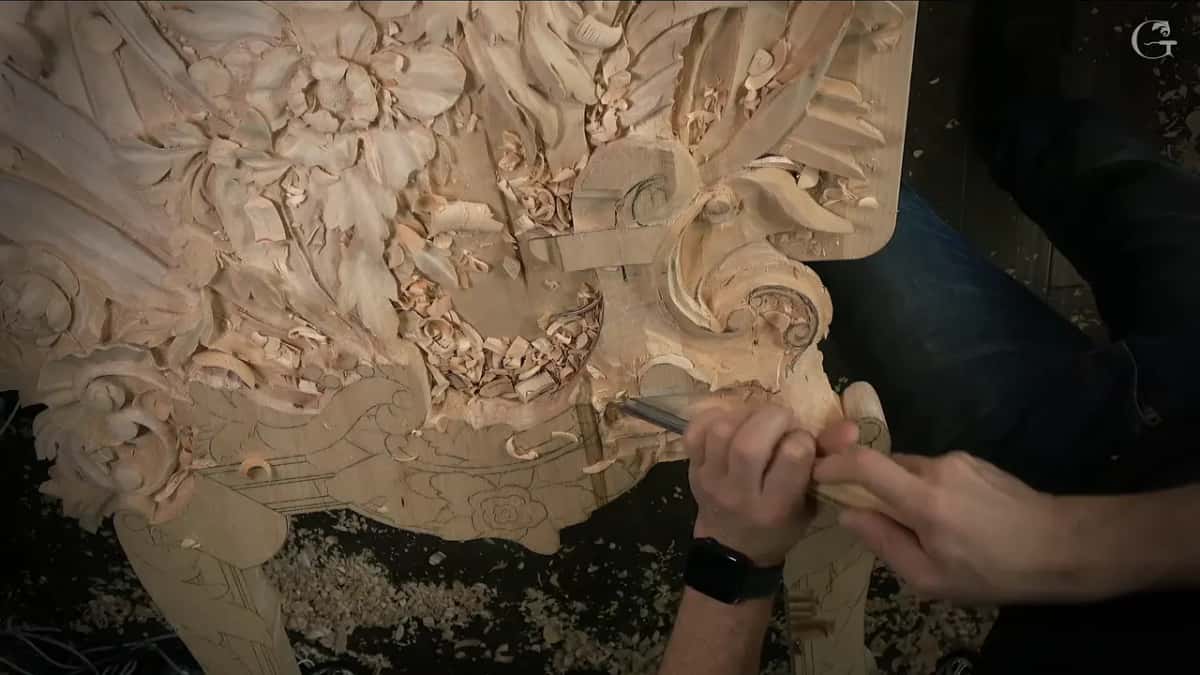
What are specialty wood carving tools?
Carving tools shaped for one kind of job are what I call specialty tools. On a live session in April 2020 I was sharpening a U veiner, a #11, and I named a few shapes while I talked. One was a number 17, a specialty shape somewhere between a U and a V.
And there are more. Number 19 shellers, I said, and so on, and so on, and I hoped it made sense.
That day I only named the shellers and moved on, so I won't describe one for you here.

How is a macaroni different from a fluteroni?
I described the two by their profile on that same April 2020 session. A macaroni is not a veiner, I said. Macaroni is different. Its profile is not really 90 degrees, it is actually a little sloped, and the fluteroni is really similar but more pronounced. It's for the flutes.
Flutes are the long hollow grooves running down a column or a pilaster, and furniture carries them too. I almost brought out a macaroni to show, and then decided against it, because I'd get distracted.
My Part 8 course page covers what a macaroni is for.
Who are these two tools built for?
Furniture makers, and I said it twice in that one answer. Two specialty tools for furniture makers, macaroni and the fluteroni, and then once more, it's for furniture makers.
In lesson 16 of my furniture panel course I said those specialty tools do help, even if you won't use them every day, when you do reproduction furniture or restoration work. Workshop 90 of the Venice Room has me telling furniture makers that tool was a really good one to have, and that a 90 degree V tool could do the job too.
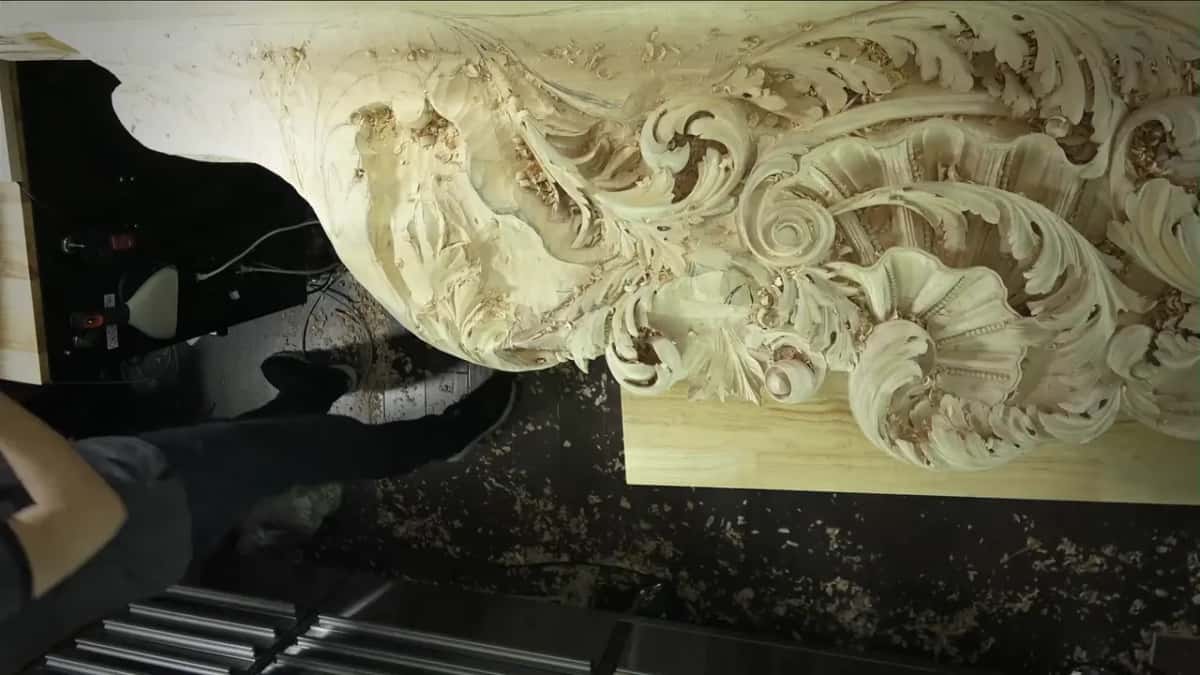
Workshop 153 is a Venetian panel with acanthus on it. It went the whole way on ordinary steel until that last line.
Which specialty tool sits unused in my shop?
A tool for spoon carvers. On another live session that April, the day after someone asked me about specialty tools, I held one up and showed it a little closer. Specialty tools come in different kinds, I said, and this was one.
It's for excavating the inside of a spoon. I don't use it too much, I told them, and then I corrected myself. Not at all, actually, to be exact.
A piece with a lot of excavations inside was right there, and the tool wasn't comfortable for me. I couldn't get inside and carve with it. At one point I couldn't even get it out! It's okay for a spoon, but I did not find it too useful.
Why don't the school projects ask you to buy them?
Money is part of it. On my April 5, 2020 session I talked about specialty tools with the skew gouge and things like that, and I called them really helpful tools to use. I'm not using them for the school projects, I went on, because I'm not expecting anybody to buy those tools, since they're not cheap.
Right after that I asked how many tools you really need to carve. My answer was that it all depends on the project.
In lesson 28 of the Hashemi flowers I left a custom made tool aside, because most of you probably don't have it, and said you can get exactly the same result with the tools you probably already have.
What does the bulk of the carving, then?
Number 11 veiners do. On that April 5 session I said most of a complicated project is done with the 11s, and those are what I'm using most of the time.
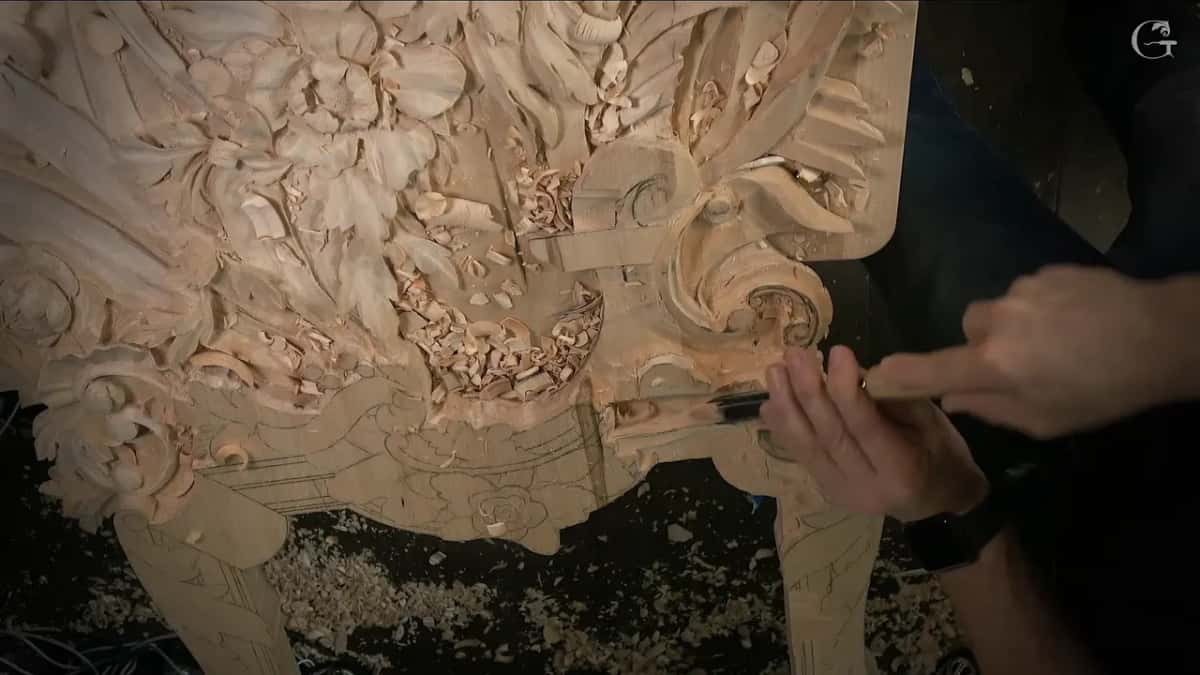
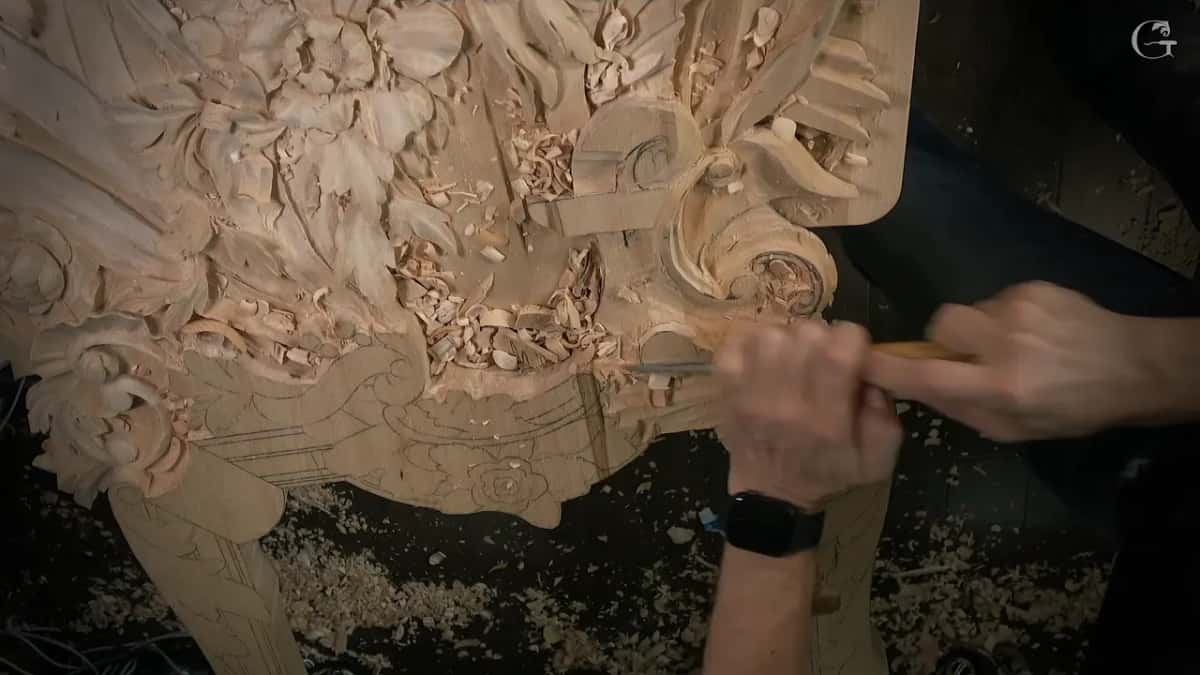
Workshop 153 fits that. Four widths of #11 went through my hands in it, a slightly bigger one for a ridge, 7 mm and 5 mm on the line, and 3 mm to excavate. The two flat chisels and the #9 did the rest, with the #2 blending. None of those is a specialty shape.
My workshop 50 page goes tool by tool through a relief kit, for that list. And beginner workshop 16 explains what the numbers on a gouge mean.

Where else do odd tools come up in my lessons?
Roman acanthus lesson 16 has me pointing out a specialty tool made just for one operation, removing marks, the grounding tool by Ashley Iles. Holding a skew number 7 gouge in lesson 10 of Acanthus over Moldings, I said I do have specialty tools I doubt you have.
In workshop 100 of the Venice Room I cleaned a fillet again with the side of a fluteroni, and that lesson is about making a volute stand out. If you want to see the fluteroni pass for yourself, it is in the final seconds of part three of lesson 153.
Two more pages ask nearly the same thing for one project each. Furniture panel lesson 15 looks at the tools a furniture panel needs that other carving does not, and the chamomile rosette course asks it about a small rosette.
The odd tools and the plain ones, side by side
Tool | Job | Where | Verdict |
|---|---|---|---|
The fluteroni gouge | like the macaroni, but made for flutes | April 2020 | made for furniture makers, I said |
The macaroni tool | a profile not quite 90 degrees, sloped | same stream | the second of that furniture pair |
A number 17 | a shape between a U and V | same session | listed with the shellers as specialty |
Spoon carver's tool | excavates the inside when you carve spoons | another livestream | okay for spoons, not for me |
Skew gouge kinds | really helpful, though left out of school | April 5 | not cheap, so nobody is expected |
My #11 veiners | the tools doing most of big projects | both places | four sizes went through lesson 153 |

Workshop 153 is one short stretch of a long room, and lesson 150 sits right before it, lowering part of a relief so it still flows. These workshops are on video, pass by pass, and the molding half of the room is on the course page. It all opens with tuition to the school, monthly or yearly, and it renews automatically until you stop it.
How it's done
- Blend with a shallow gouge. Round the area from both sides with a #2 of about 10 mm (3/8 in). A #3 could do it too, I said.
- Set the line with a veiner. Place a #11 of about 7 mm right on the drawn line. Follow with a 5 mm, so the line is still there when the wood goes lower.
- Go straight down on the edge. Set a wide flat #1 on the line and follow with a 20 mm #1 in the same spot to go a little deeper.
- Take the waste with a #9. Lower the section in passes and check what is left each time, half an inch, a quarter, then about 3 mm.
- Change to a narrow #11 when the big one gets hard. Keep going with the narrower tool and stop with about a sixteenth of an inch, 1.5 mm, left for now.
- Bring the line back last. Clean a little lower and reestablish the line. That final pass is where I took the fluteroni, and I called it a slight cheat.
Frequently asked questions
Do beginners need a macaroni or a fluteroni?
Furniture makers are who I said these two were made for, on a live session in April 2020. None of the school projects expects you to buy specialty tools. Lesson 153 of the Venice Room only brought a fluteroni out for its last half minute, after plain gouges had done the work.
Are specialty carving tools expensive?
My own words were that they're not cheap. That was the reason I gave for leaving them out of the school projects, even though I called the skew gouge kind really helpful tools to use. My plain gouges carried lesson 153 until its very last pass.
Which tool does a professional carver use most?
U shaped veiners, the #11, in my case. On a live session that April I said most of a complicated project gets done with them, and that's what I'm using most of the time. Four sizes of them went through lesson 153 alone, the smallest about 3 mm (1/8 in), the biggest taking a ridge down.
What to carve next