

Alexander Grabovetskiy, woodcarver, School of Woodcarving · Published 2022
How do you lower part of a relief carving so it still flows?
Quick answer: Lowering a section of a relief is taking it down a little at a time while the surface keeps its movement. My lesson 150 of the Venice Room took one piece of a Venetian panel down slowly, and I looked at it side on, where it rose to its highest point and swirled down again.
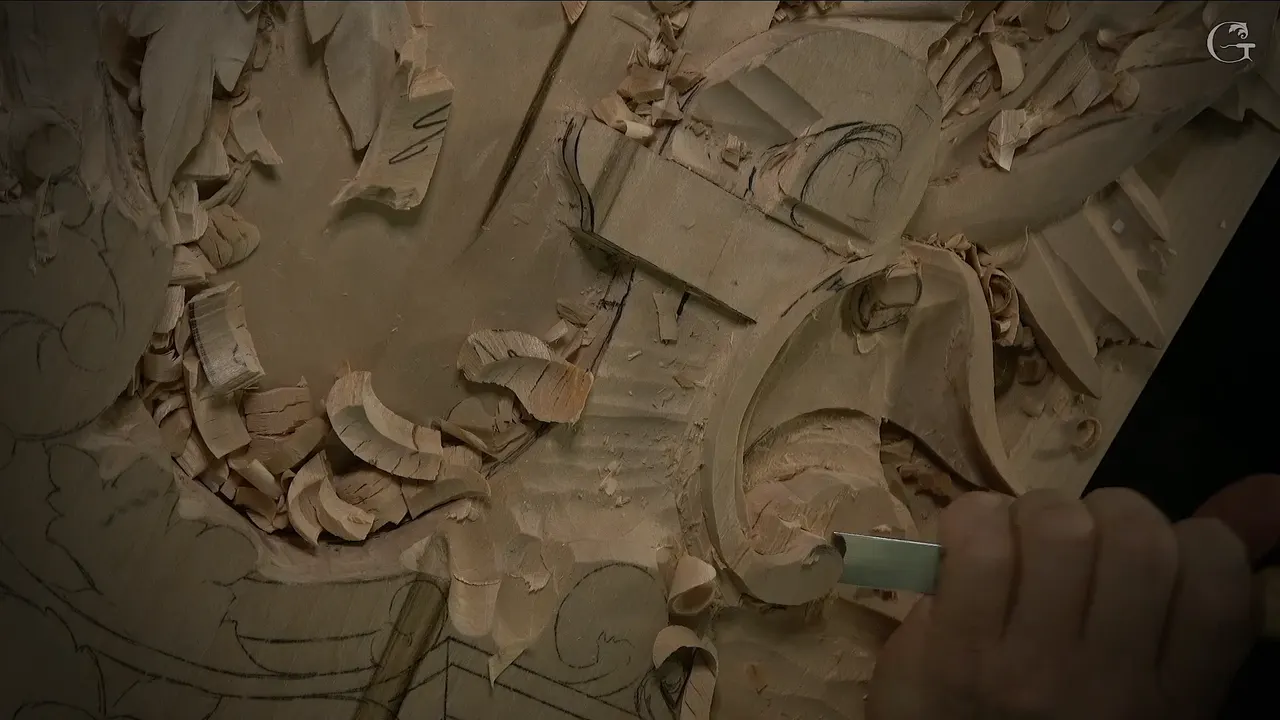
Lowering part of a relief carving is taking one section of the panel down while its surface keeps moving, so the eye rides over it smoothly, without a hard step. I did that in lesson 150 of the Venice Room on a Venetian panel, right beside a volute and the start of a shell. I kept it slow. And before I trusted it, I looked at the side view.
Have you ever taken a piece of your carving lower and found a hard step where you wanted a slope? Did it look fine from above and odd at the edge of the bench? Lesson 150 is a single spot going down slowly, with every check I made on camera while it happened.

I'm going to be honest with you about how this page is built. Lesson 150 is three short parts, about 22 minutes of video, and all of it stays on one small area. So the bigger half of this page is that lesson. The rest is what I said in other courses about a slope seen side on, and each of those lessons is named and linked where I use it. Five lines on this page come from four other courses.
Six things lesson 150 shows about lowering
Take the bulk off first and leave some meat, about three-quarters of an inch of wood for now.
Chop round the outline so the original drawing comes back.
Lower it slowly from one spot, gradual and nice even in three-dimensional space, and check it side on so it doesn't look really dumb.
Take down what does not look organic.
Next to the volute the space stayed near a quarter inch, around 6 mm.
The slope there ran down, down, down, then up, up, up.
Where did the lowering start?
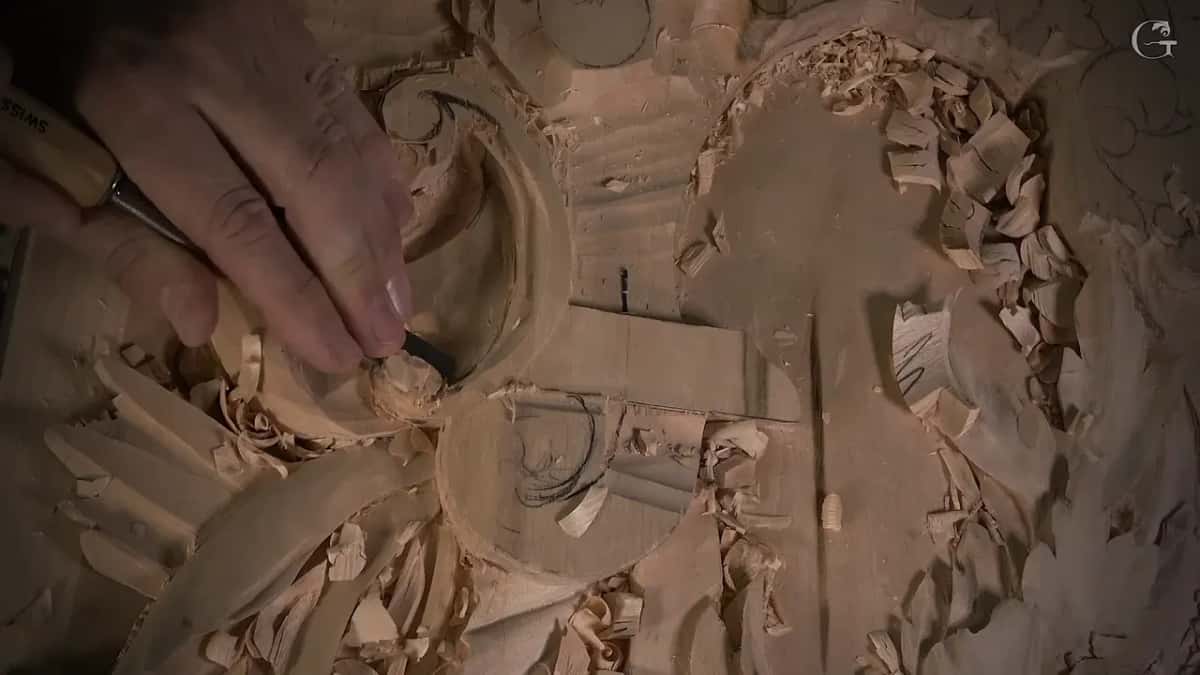
Right where a molding meets the ornament on this panel. At the start of the lesson I said I didn't like one part. I kept a detail I liked and made it bigger, so it would look like it grows from underneath the molding, and the section beside it I simply removed. Below it, the lower half of the panel was still only pencil lines.

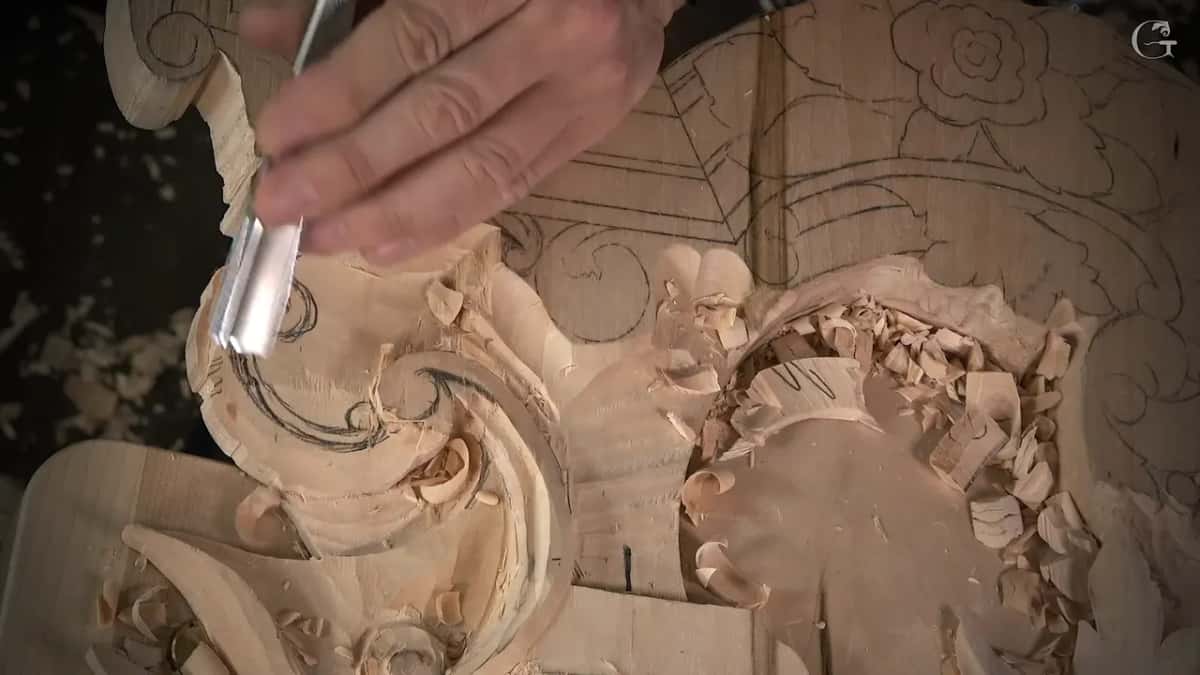
For the bulk I picked up a number 9 at 20 mm, roughly 3/4 in wide, and just started zigging. I really didn't need all that material. Where it ended I left maybe three-quarters of an inch for now. Once it's finished, that area is going to be much lower, but I still needed some meat, and that's a good starting point. Later in the lesson I gave the numbers, about 19, 20 mm, some spots 18. Pretty close.
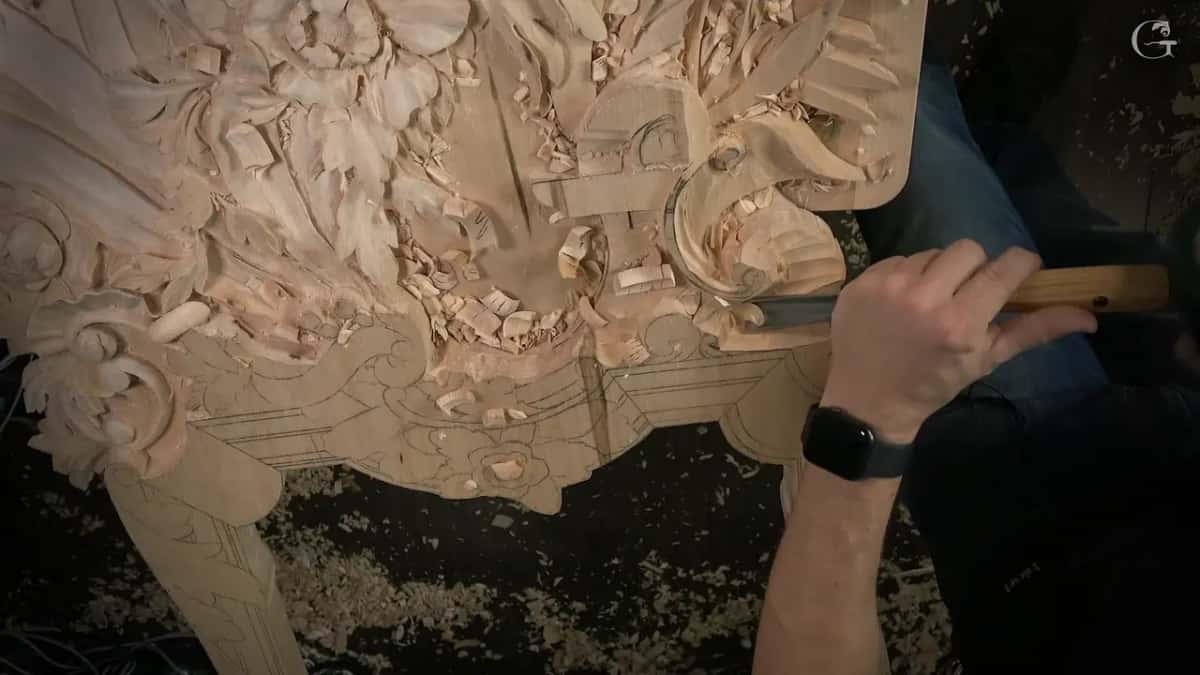
Why chop around the outline before you lower it?
Redrawing everything was the thing I didn't want. I could have chopped that whole section away right there, and I said so on camera. Chopping round it instead made it a lot easier to bring back the original drawing.
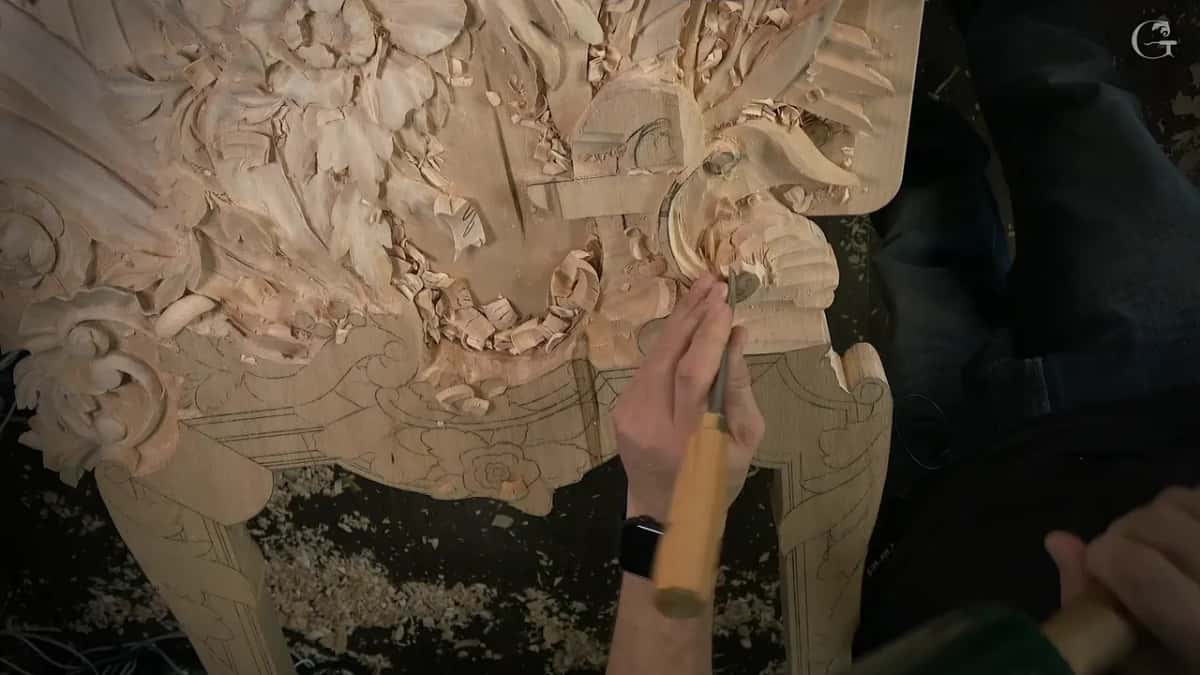
Then I needed something flatter. I picked up a number 2, five-eighths of an inch or about 16 mm, and went down right on the line. That side needed a little more relief. I checked, and yes, it did. So a number 11 at 5 mm, about 3/16 in, went around it first, and after that I went straight down again to follow the outline, at 90 degrees and not going inside. On that edge I made sure I was not undercutting, just straight down. I cleaned it with the same tool.

How gradual does the slope have to be?
Really gradual, and I said it more than once while I worked. From that point I could take it down all the way, just to that section. I told myself to be mindful how I did it, and the number 2 did pretty much all of it. Mindful was my word for it.
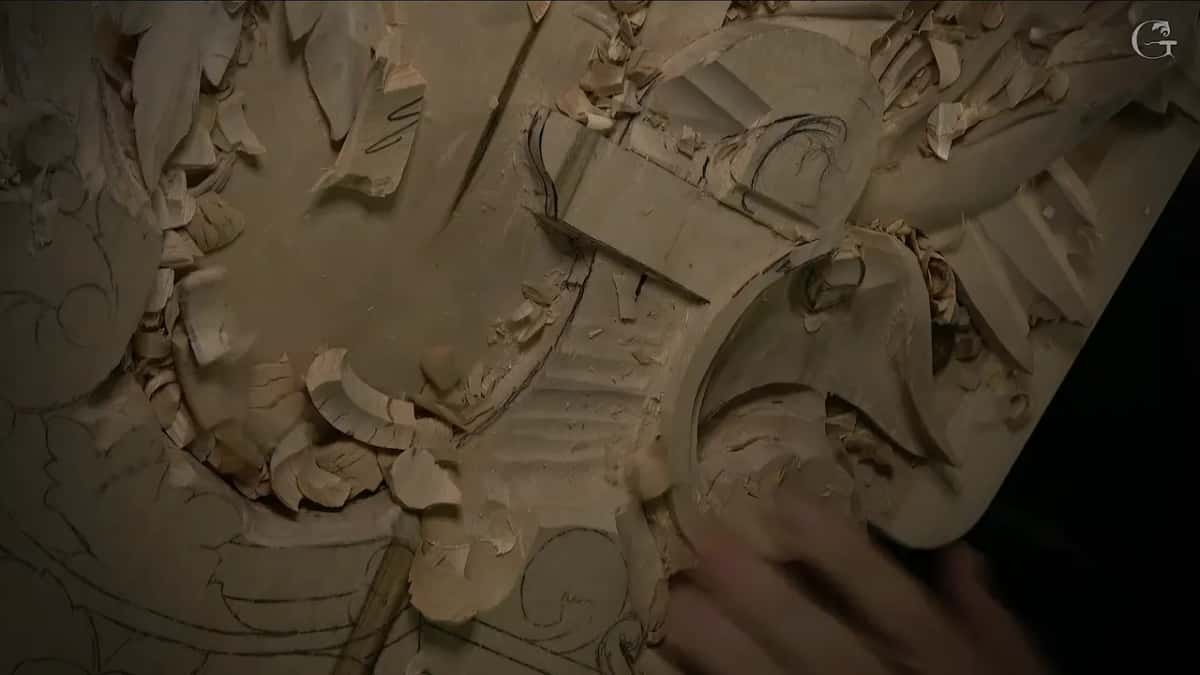
It has to be really gradual and nice, even in three-dimensional space. You don't want to make it look really dumb. When I checked it side on, it looked good as far as I could see, not bad at all.
And the shape had a direction to it. It rises from that point, rising up, rising up, and that is the highest, and then it goes and swirls down. Refining all that movement would come a little later, I said. As of that moment it did look good.
Before the part ended I redrew the volute. That spot is the starting point of the shell, and it sits in the concave I had made. Carving that concave opened space for me to work on the detail, so the detail got a lot easier. Whether you could see it on camera, I didn't know.

Why check a lowered slope side on?
The side view tells me whether a slope keeps its flow. In part two of lesson 150 I double-checked the sides, and I said that is really important, to see if it flows all the way like this. Not sure if the camera shows it, I told you in part two, but that was my goal, to slope it like that.
I've said the same in other courses. Over in lesson 2 of Carving Hazelnuts, on a hazelnut cluster, I repeated what I had tried to explain that day. You look from the side, not from above in that case, and from above the spacing doesn't show anything at all.
My Modern Acanthus course has it too. In its third lesson I said you really have to look at a part sideways to see if it's really rolling or not. That was a modern acanthus from a 1903 design, not a panel like this one. Judging one long line by turning the whole piece is a different job, and it has its own page from the Hashemi flowers.
What do you do with a part that doesn't look organic?
I take it down again. Part two of lesson 150 has me looking at a piece I had already shaped, and I said maybe I'm actually going to take this down, because it just does not look too organic. The tool on my workbench was the one I had been using, and it made the job a lot easier. I told the camera I hoped you could follow, and that you probably see even better than me what is going on.
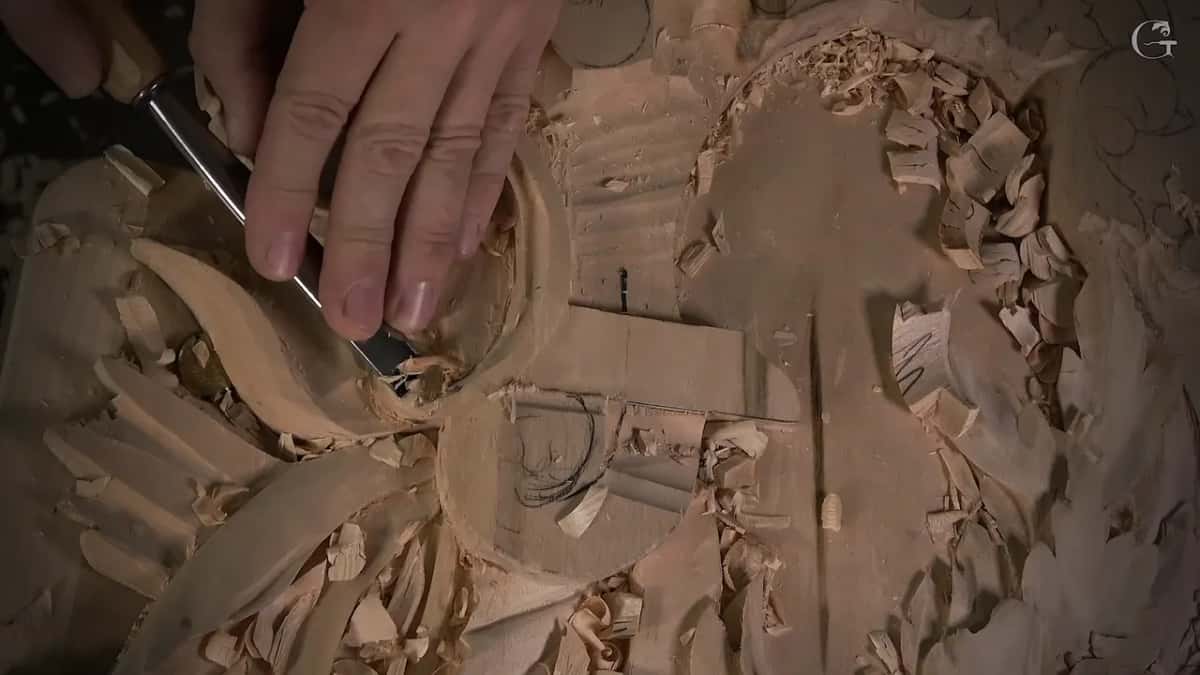
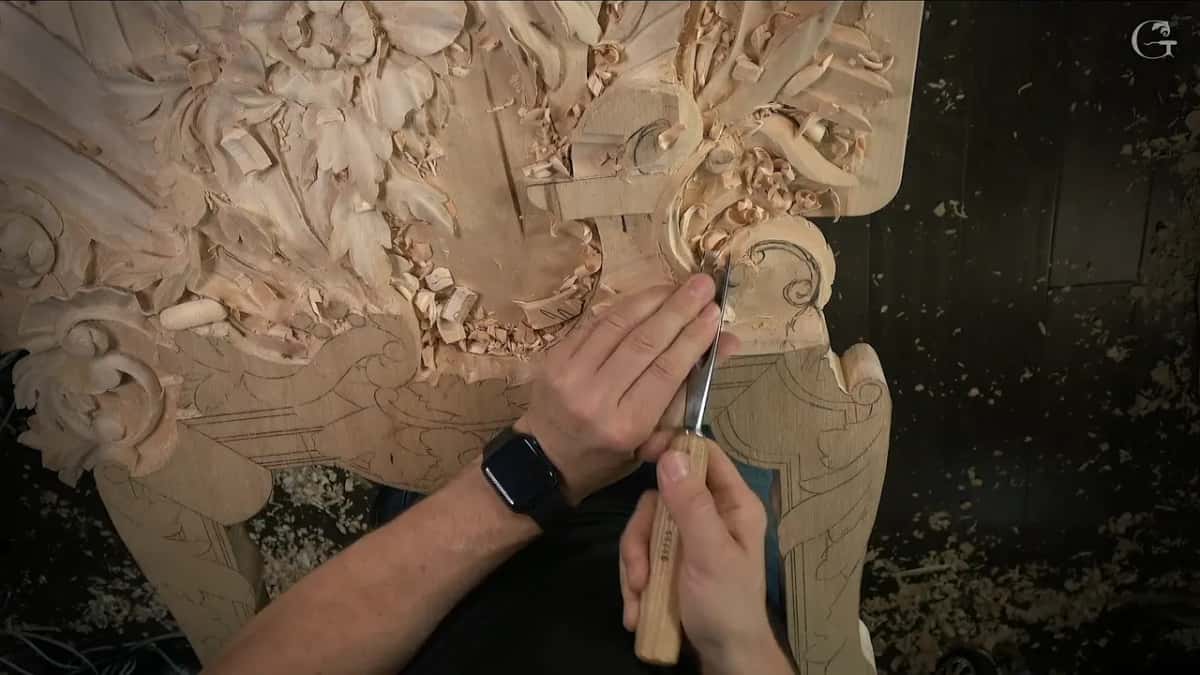
After that it goes around, up, up, up, and I was happy. Some wood around it still wasn't too appealing. It had to come off, so first I relieved around the volute with maybe a number 6 or so. The small number 11 took out all that mess. The same 5 mm went round the curl itself, carefully.
I was glad I had left extra wood on that part, a story the course page already tells in full.

I didn't finish that volute right away, though. Its final look from above still had to be settled, and leaving it unfinished kept me safe in case something did not work out. At one point I stopped and said oops, that is not interesting, what happened? My number 7 took the excess off that side. For now I left it like that, with the idea in place and a little bigger movement. I said it twice, too, I've got the idea what I want to do.
How do you test a slope before you commit to it?
I sloped it roughly first and looked. In lesson 150 I said I could slope one part in one direction, just to make a convex that way, and that way I'd also see how the development would look. First that part needed outlining, and I said I needed to remove a little deeper right there. Remove some of the material, that's what I was trying to say.
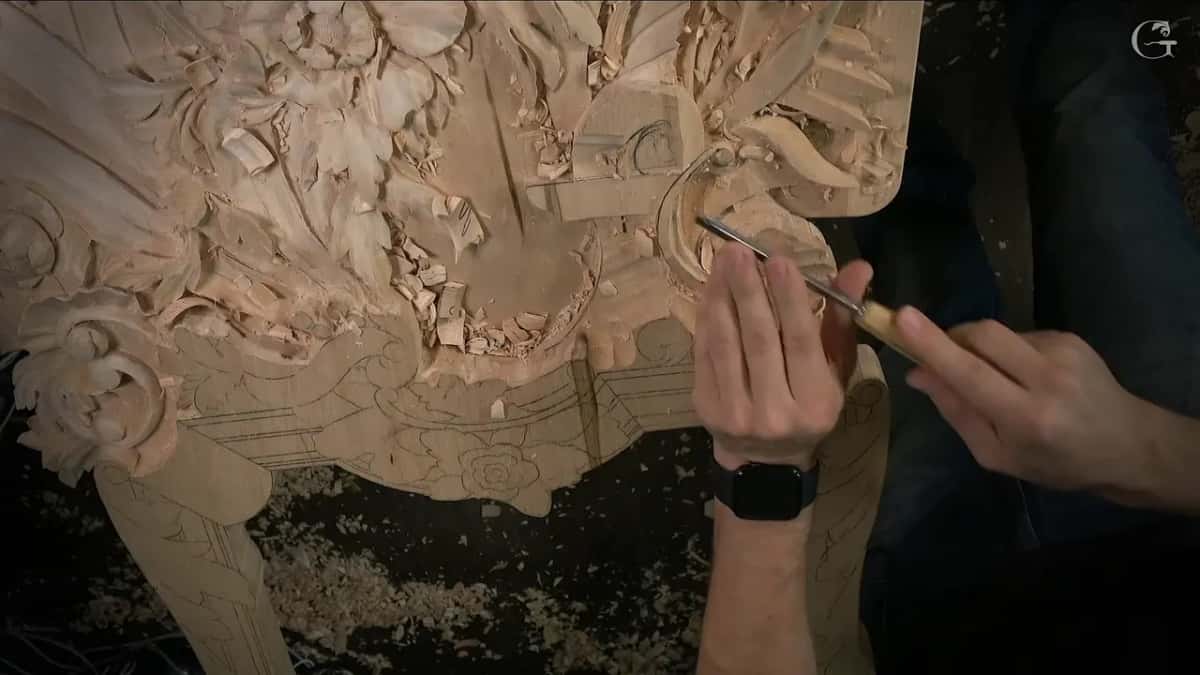
For the part I said would obviously be the head of the acanthus, I turned a number 3 upside down. A little later I did slope that part the way I wanted. Maybe the camera didn't show it. But that was my goal. The acanthus head had to keep some meat, and I can't make a mistake there, it would be dumb. Dumb came up twice in this lesson, once for a slope and once for a mistake on that head.
How low can you go next to a volute?
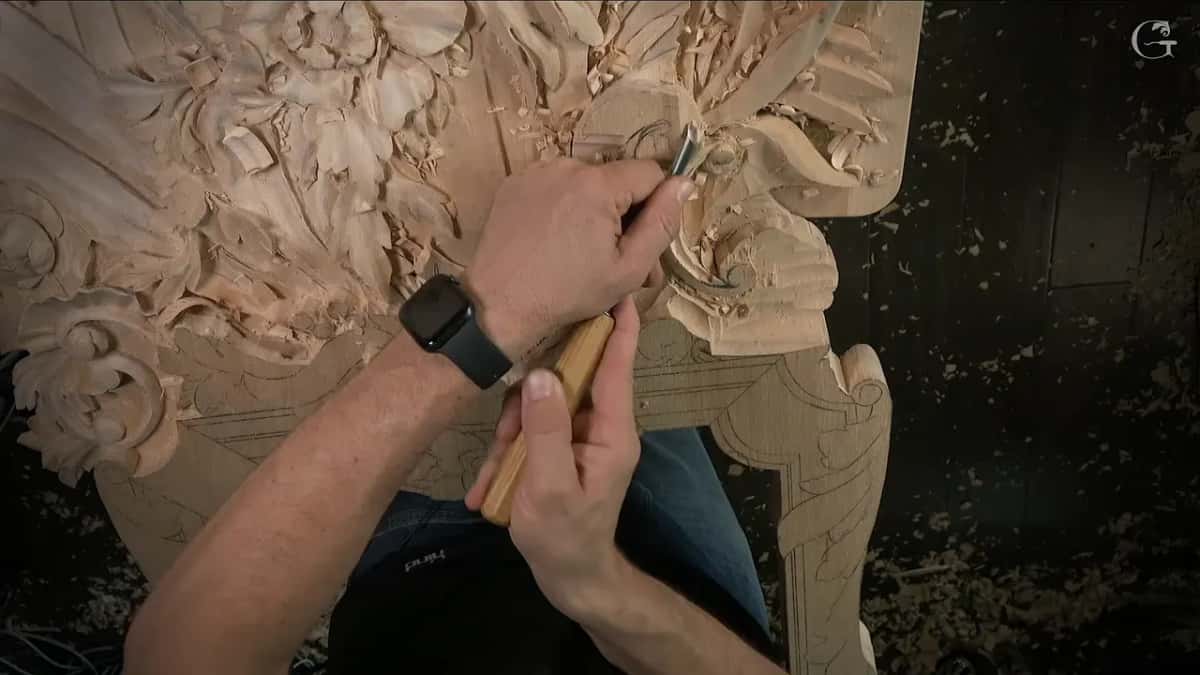
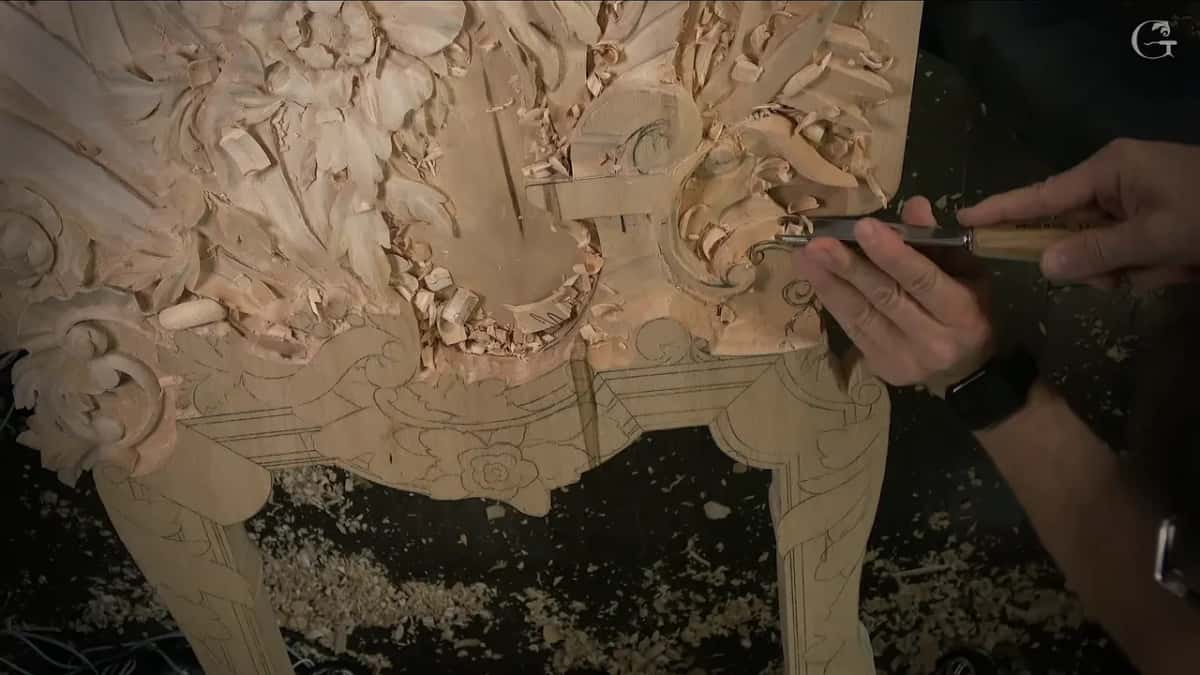
About a quarter inch on that side, around 6 mm, on this panel. The other part I left alone until I was ready for that movement, and I jumped to this side to clean it and set the movements inside again. Before any pencil went on, I blended the area with the same tool, so I could draw better on it. Then I went looking for my drawing to put it back. Where was it? I asked that twice, and then I had to check again what I'd drawn before. I had forgotten to place a couple of movements. At least I knew roughly where it was going to go, something like that.

With the drawing back on, I still didn't like something. I added a starting point for one detail and curled it round, a repeat of a detail I had done right there. I hoped it made sense. A leaf will also leave the molding and climb toward the upper point of that part, and the part itself will sit much lower. I wasn't sure I had plenty of space left. Maybe I'd have to move it a little.

I started with a number 11 at 15 mm, about five-eighths of an inch, and excavated around first. On that side the space is no more than a quarter inch, and I took it right down to that quarter inch. It will sit higher on one side, because it runs down, down, down and then up, up, up, and it dies inside the volute. I carved it from one point and thought that was close enough.
And that is a shell. It's obviously going to have some kind of concave on the inside anyway. Chips from the whole job were still lying on the panel near the end of part three.
The lowering in lesson 150, stage by stage
Seven tools went into that little area in about 22 minutes. Number 9 first, then number 2, number 11 in two sizes, number 6, number 7, and number 3 turned upside down.
Stage | What happened on the wood | Size |
|---|---|---|
Taking the bulk | a 20 mm number 9 zigged out what I did not need | about 3/4 in of wood left |
Keeping the drawing | I chopped along the drawn shape so nothing had to be redrawn | the original lines came back |
The long slope | lowered slowly from one spot and checked side on | rising, highest, then swirling down |
A second look | one piece taken down again for not looking organic enough | around, up, up, up |
Round the volute | relieved first with a number 6, then the mess taken out | a 5 mm number 11 |
Next to it | excavated around first, then brought down to the level | no more than a quarter inch |
Read the table top to bottom and you have the order I worked in, part one through part three.
What other lessons say about a slope seen side on
Lesson 4 of the Venetian Flowers Rosette has a section that is a little higher, and I said it goes gradually downhill, downhill, downhill, and then uphill, uphill, uphill. What I was after there was to keep that section as a raised part. Same words, near enough, as mine in lesson 150.
The first lesson of that rosette course has a piece I said looked good, looked okay. If you look at it from the side it just has a curvature, a really nice curvature, and the crown molding was going to go right behind it. That one came from a rosette course, not the room.
My Greek Acroterion course, lesson 4, has me finishing a spot and saying I think it's good, I took it gradually down. The very next job was to recreate my line. An acroterion is a Greek ornament, and the order there matches lesson 150, where I lowered slowly and then put my drawing back.
A panel can look like a mess while a section is halfway down, and lesson 53 of the Venice Room has its own page about that stage. The lesson right before this one, lesson 149, and the one right after it, lesson 151, sit on either side of it in the course.
This is wood carving done slowly, on one piece of a Venetian room. In lesson 150 you can watch that lowering pass by pass, in three parts. It all opens with tuition to the school, monthly or yearly, and it renews automatically until you stop it.
How it's done
- Clear the bulk. Zig out the waste with a big round gouge and keep some meat on, roughly 19 mm on this panel.
- Keep the drawing by chopping. Go round the drawn shape so the original drawing survives and nothing needs redrawing.
- Bring the section down slowly. Start at one spot and take the surface lower bit by bit, mindful the whole time.
- Check the side view. Look along the panel from its edge and see whether the surface rises, peaks and swirls down without a break.
- Put the drawing back. Blend first, place the drawing back on, and look for any movements you forgot.
- Excavate at the volute. Relieve around it with a wide number 11 and keep the space on that side to roughly a quarter inch.
Frequently asked questions
Should you take a whole section down at once?
I could have, and I said so, since that whole area ends up much lower anyway. Instead the waste came off first and some meat stayed on, around 18 to 20 mm, while chopping round its outline brought the drawing back.
Where do you look to check a lowered slope?
Side on. I double-checked the sides in lesson 150 to see if the surface flows right through. My hazelnut lesson says the same thing plainly, because from above the spacing shows nothing at all. My Modern Acanthus lesson checks a roll sideways too.
How much space did you keep on that side of the volute?
About 6 mm, a quarter inch at most. I excavated around it first with the big number 11, 15 mm wide, and the slope is higher on one side before it dies inside the volute. Before that the leaf's space worried me, and I said I might have to move it a little.
What to carve next