
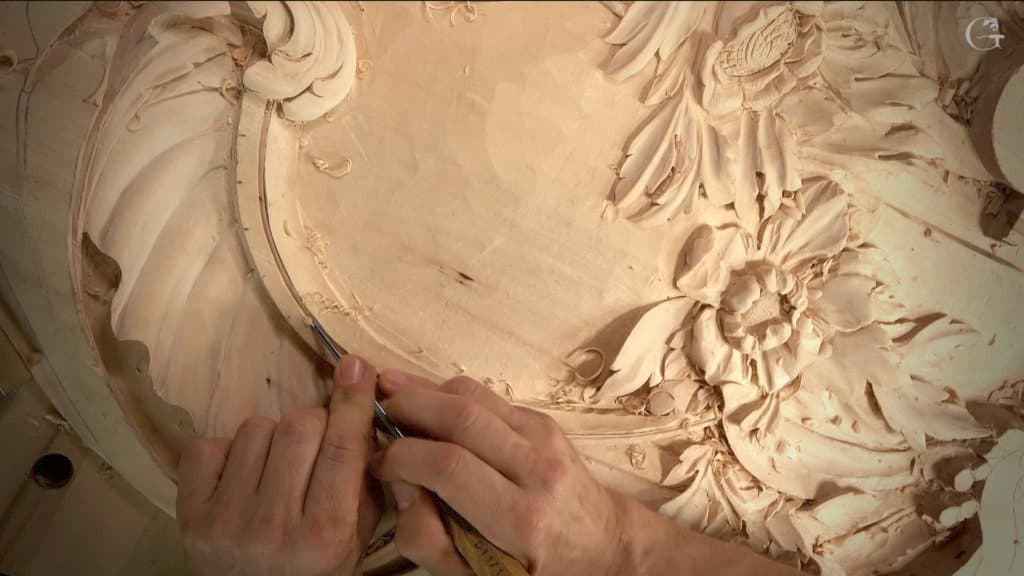
Alexander Grabovetskiy, woodcarver, School of Woodcarving · Published 2021
What is a French curve used for in wood carving?
Quick answer: A French curve is a flat template with many curves along its edges. You slide it against your pencil line and draw along whichever part fits. In lesson 146 of the Venice Room I held one to an arch before carving it, and maybe a small section fit my line.
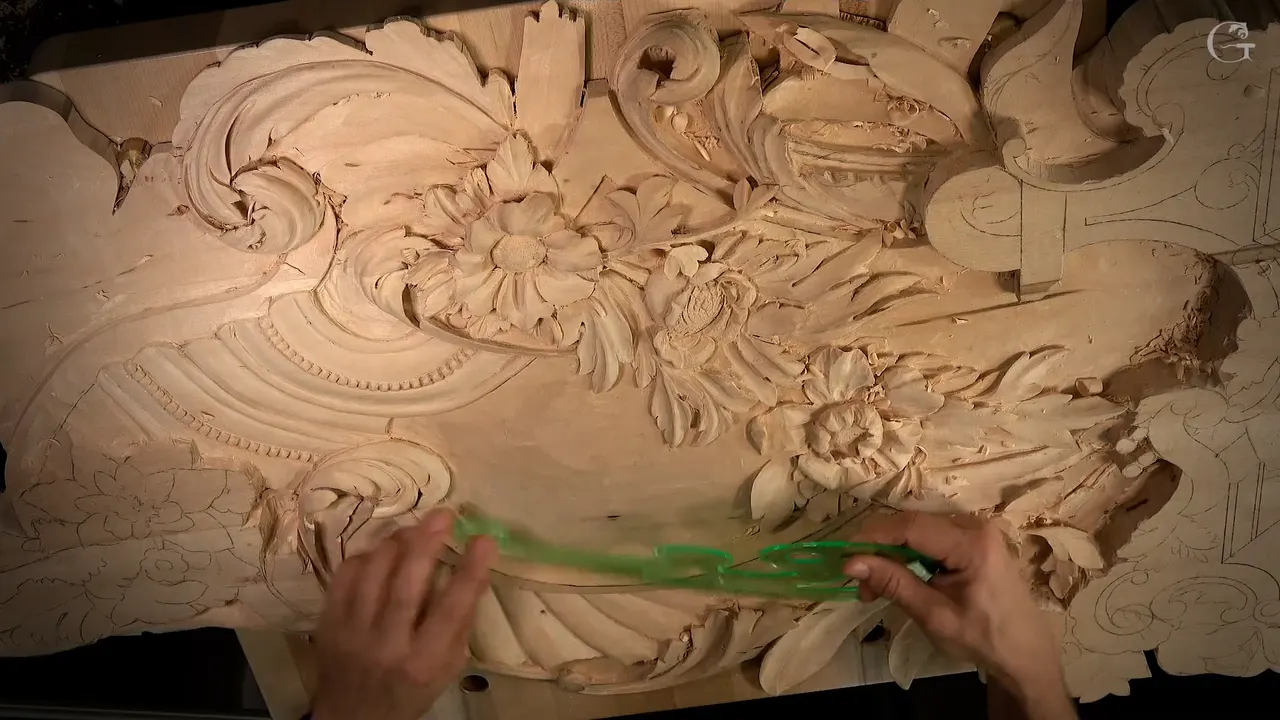
A French curve is a drawing aid that helps you make a curved pencil line smooth before you carve along it. You hold its edge against the line and look for whatever part of it fits the shape you want, then draw along that part. I did that on an arch in lesson 146 of the Venice Room, a Venetian panel, and maybe one small section of the tool matched my line. I have French curves, and I rarely use them.
Have you ever drawn a long curve on a board and found a flat spot? Did you rub it out, draw it again, and find a new flat spot a little further along? That is the moment a French curve can help, and this lesson has the spot where I picked mine up, on an arch that had to keep a convex apart from a concave.
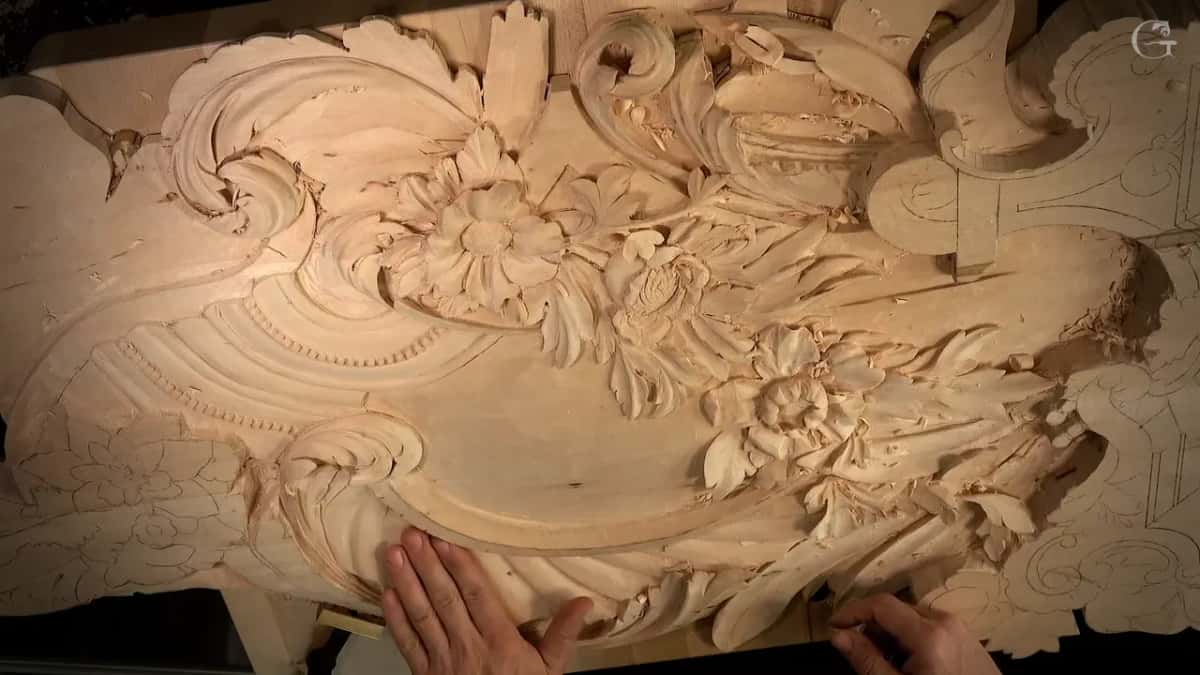
I'm going to be honest with you about how this page is built. The lesson is three short parts, and French curves take up a minute or so of them. So most of this page is that lesson, with the line on the arch, the tool I held against it, and the little #11 veiners that carved the line afterwards. The rest is my words from other lessons where I used the same small tools, or drew without an aid, and each of those lessons is named and linked where I use it.
French curves in five lines
It is a drawing aid. You slide it along a pencil line until one part of its edge agrees with the shape you want.
I own them, and I use them really rarely.
They are handy when your hand is not steady, or when eyeballing a curve feels uncomfortable.
The French curve sat about 1 mm (roughly 1/32 in) off my first line on the arch, and I went with it.
That line keeps the convex apart from the concave, so a narrow #11 carved it before any rounding started.
What is the point of a French curve?
The point of one is a smooth line when your own hand won't give you one. My words on camera were plain. Sometimes it is handy if your hand is not steady, and if you do not feel comfortable just eyeballing it. I usually do not use one.
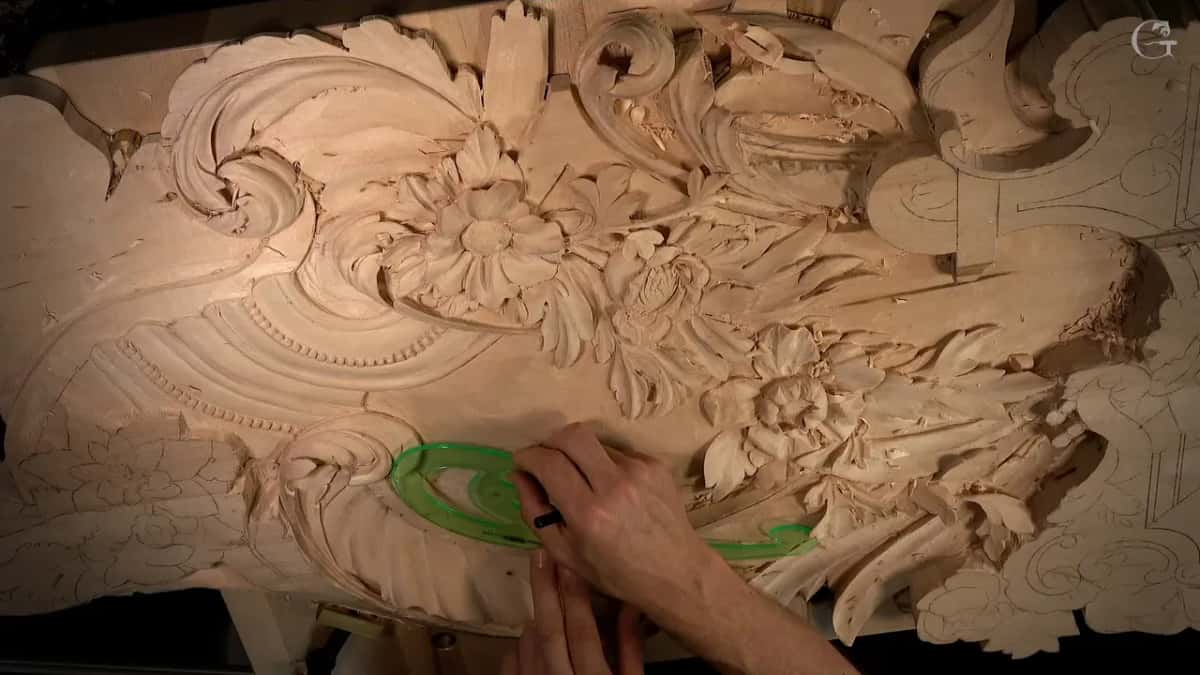
Here is how it went on the panel. A convex was coming on one side of the arch, and before any tool touched it I wanted to refine that line and redraw it a little nicer. Some kind of tool could do that, I said. So I held the French curve against the drawing and looked for whatever fit the profile. Most of it did not fit at all, except maybe one small section.
As for where the line sits, take one point and then the other, and it falls about six parts out of 10 along, which is the golden ratio position. The template came in after that, a drafting tool shaping the line between those points.
Do carvers still use French curves?
This one does, now and then. I have them. Absolutely, I do. But it is really rare that I use them, and on camera I even said I did not need one for this arch. Two minutes later I was carving along a line the French curve had given me. So much for not needing it.
In workshop 96 I called French curves really cheap and limited, found a compass no good there without a center, and used a roll of green tape for the curve, and that lesson has the whole story. Measuring is a separate question, and lesson 131 has a page of its own on calipers.
Why does that line matter so much?
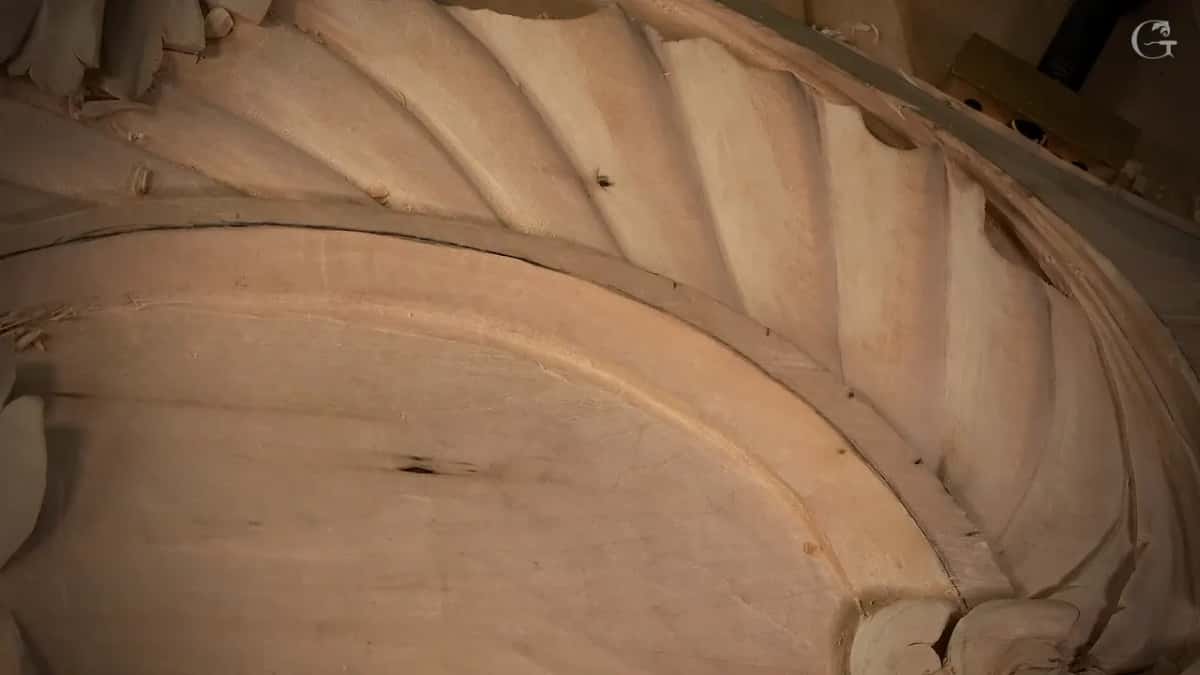
That line is really important to me, and I said so. It is where I separate my convex from my concave. The plan was a 2 mm (a bit over 1/16 in) number 11 along it, with the concave carved first.
The shell around it was nearly finished by then. My homework was almost done off camera, and I used some small rasps on it too. I hoped the rasp would save me some time, because sometimes after a rasp you have to do something else as well. It would be fine, I said, because like I have said many times, maybe too many times, there will be paint on that room. I liked how it looked.
What happens when the French curve and your line disagree?
I went with the tool. Once the veiner reached that stretch, I could see the French curve had put the line about 1 mm away from my original one, and I just went by the French curve. That was the whole decision. Nowhere else in lesson 146 does the French curve come out.
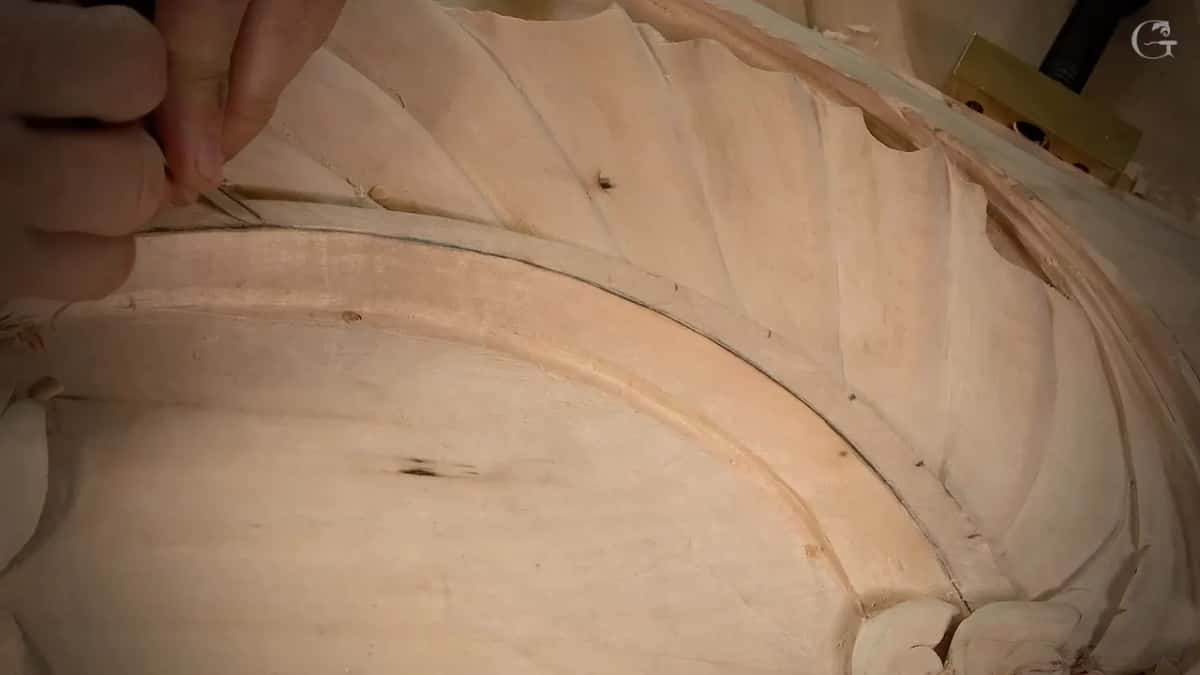
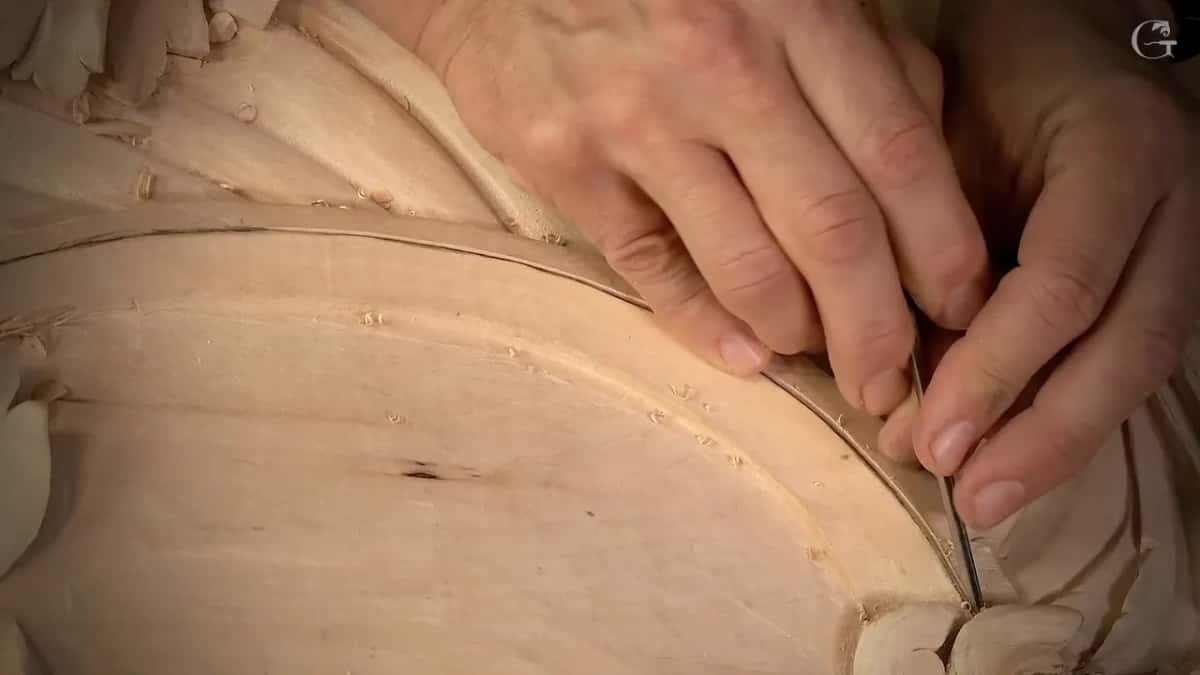
The first pass along it was a number 11 at 1 mm, just on the line. I gave two reasons for starting that small. First, I wanted to see whether 1 mm would be sufficient. Second, the narrow tool lets me get really close to the line and see the edge much better. I did not think it was enough, so the 2 mm followed.

Where I began mattered as well. I started somewhere right in the middle, because it is an arch and the grain runs one direction and then changes. I carved one side first, then returned to the middle point and went the opposite direction, and on one of the sides I meant to hit my previous line.
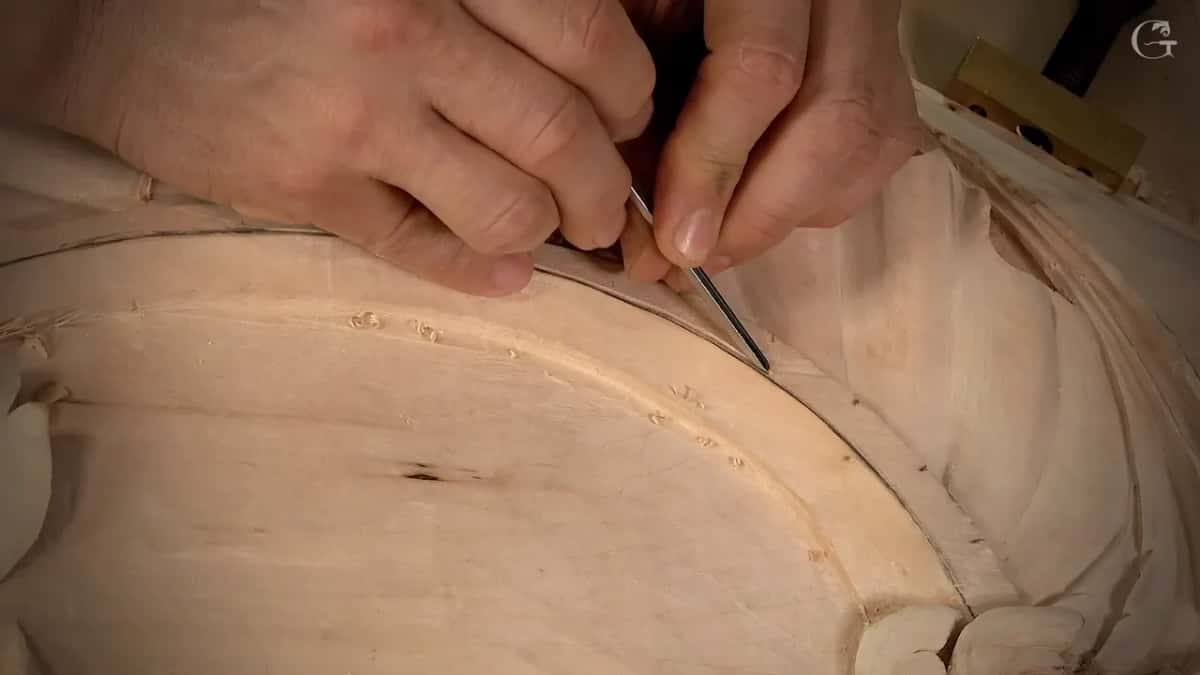
As steady as possible was my aim, and I meant the stability of my hand. As stable as possible, I said, not sure I could say it that way. A magnifier lamp would have helped me see much better, I said that twice, and lesson 139 has its own page on that question.

The arch line in lesson 146, pass by pass
Here is the order the tools went in.
Step | What happened | Tool |
|---|---|---|
Testing the width | a first look at whether 1 mm (roughly 1/32 in) would be enough, set right on the line | number 11 at 1 mm |
The main groove | started in the middle of the arch, then carved the other way | a 2 mm #11 |
Back to small | a darker shadow along one side of the groove | 1 mm again |
An extra step | half a millimetre (about 1/64 in) to exaggerate it, which I said I could do and called really unnecessary | half millimetre #11 |
Rounding the convex | wide at one end, narrow at the other, so a plain convex tool was out | a back bent |
A millimetre and a half, like a 16th of an inch, was an option I named and skipped. In this case I went right away to the 1 mm.
What comes after the first pass on the line?
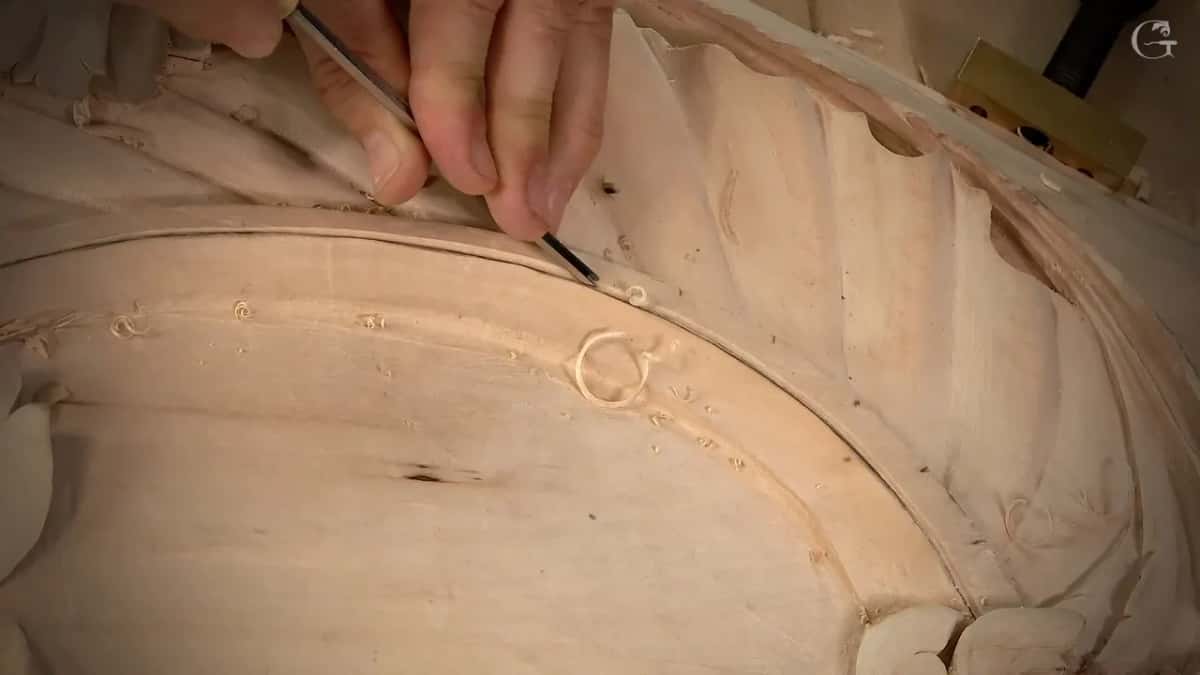
I took the 2 mm as deep as possible, and it was much better, but not the end yet. After it I switched back to the 1 mm for the shadow on the side, which makes a much darker shadow right there. With the 1 mm I got an even deeper excavation on the inside, so that detail is more architectural. Earlier in that part I still had not done my concave on one side, and I said that was okay.
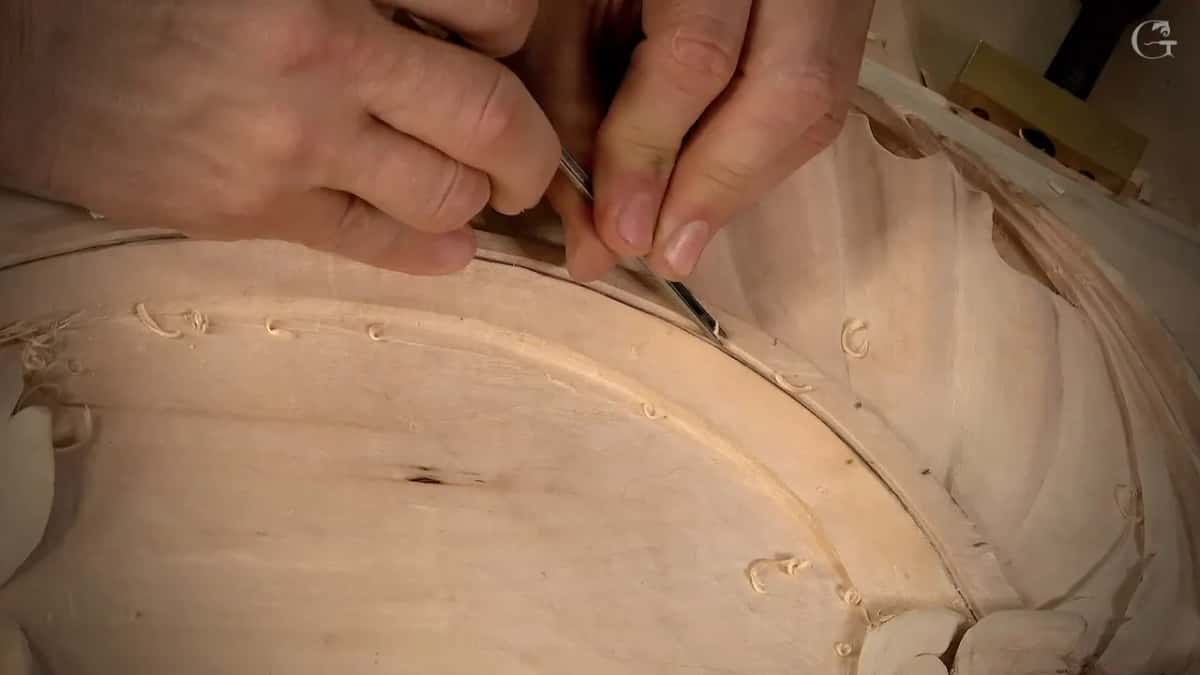
Then I corrected myself out loud. A really dark shadow? Well, not really dark, but still somewhat dark. Even 0.5 mm could exaggerate it, I said, and a few seconds later I called that really unnecessary. But that's okay.
How do you strop a veiner that small?
The little tool needed sharpening partway through, and I said so, just as I had said about a tool at the very start of the lesson. I gave it a couple of strokes on the leather, and maybe just inside. Earlier I had shaved a little bit off one part of a piece of leather so a 1 mm veiner could fit in it, and I used paste. That day it was Mirror Paste, which I find really handy, though sometimes I miss.
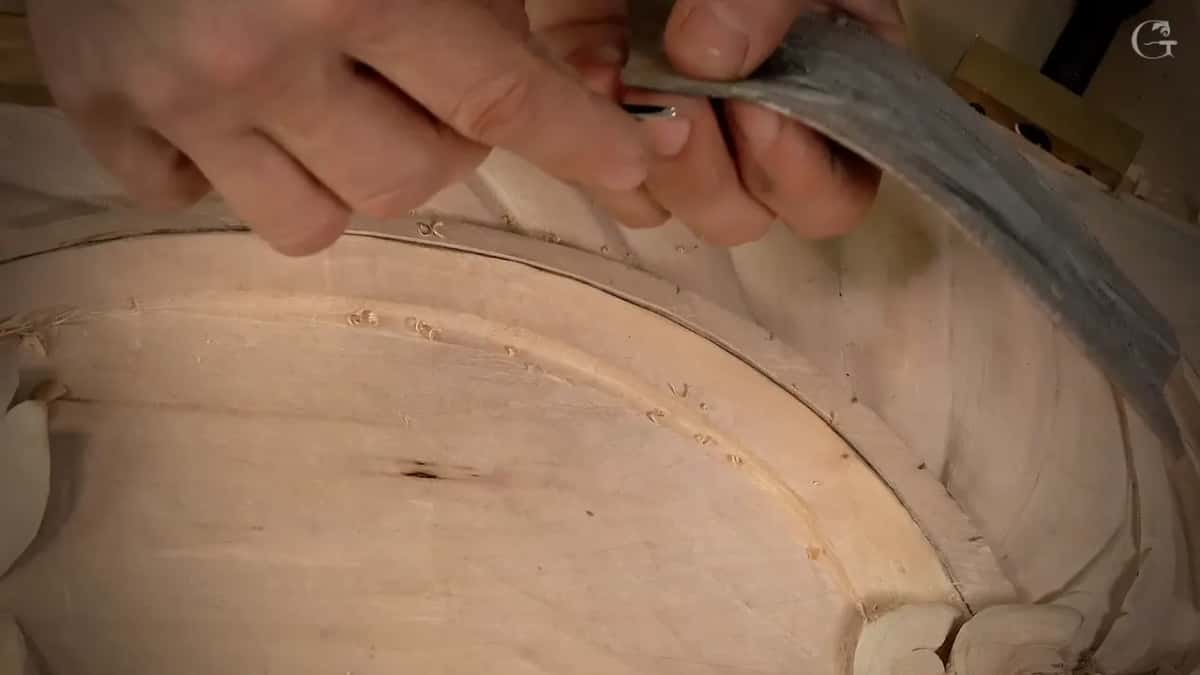
If you want to know how I would use paste on half a millimetre, I would just use a normal piece of paper. Or take a block of wood, carve an upside-down groove in it, put the paste on the inside, and stroke the tool along it. There is more than one way.

What did the shell need before the line?
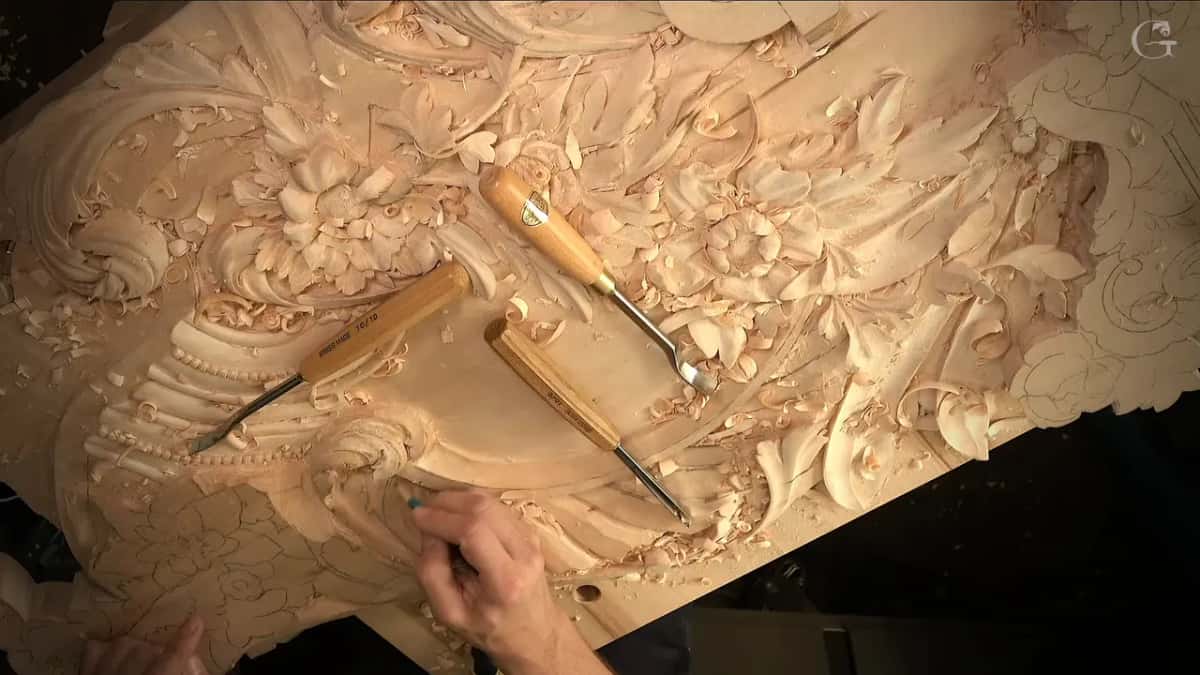
The first part of lesson 146 is the shell beside that arch, and the tools there were bigger. On the opposite side I rolled the shape into a more convincing convex with a number 7, then went back in with the number 7 to get the excavation deeper and cleaner. Not too deep, though, because I did not want to overdo it.
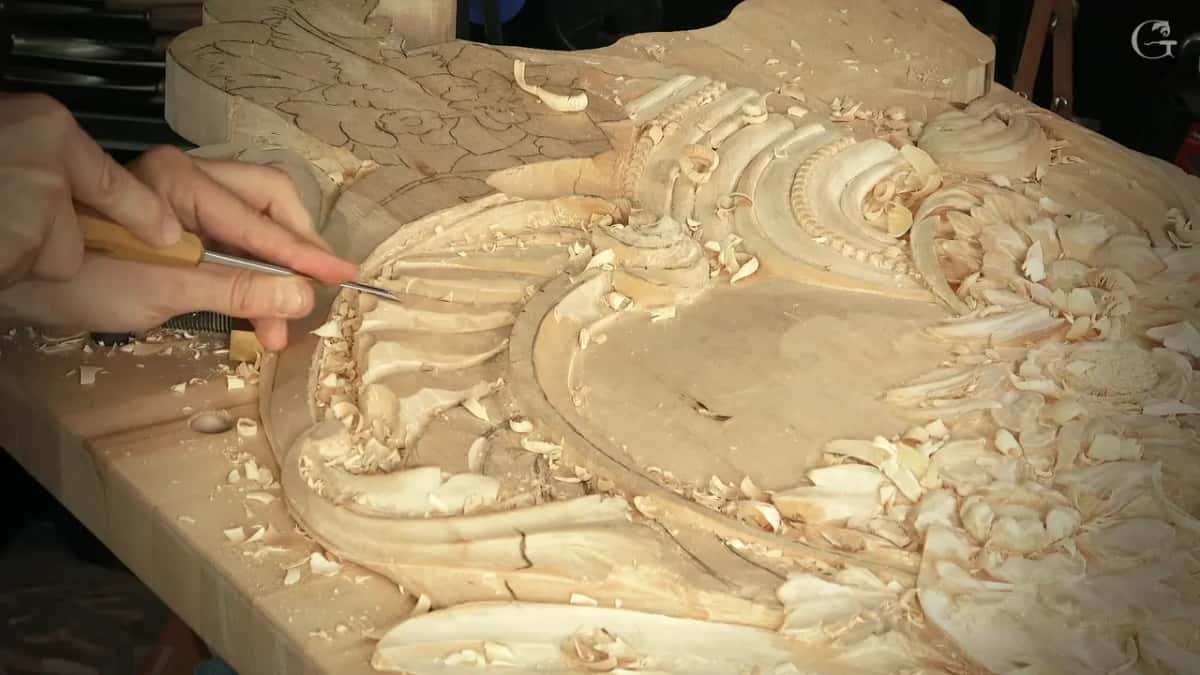
A 5 mm (about 3/16 in) came next, for a slightly deeper shadow and a more convincing folding effect, leaning toward my left, toward the upper part. See how deep that shadow is? I thought it looked awesome, and then I picked up a 4 mm (about 5/32 in) for an even deeper one. Why not? This spot needed an undercut too, I said, and then a back bent number 7 made the pass much cleaner and much more consistent.
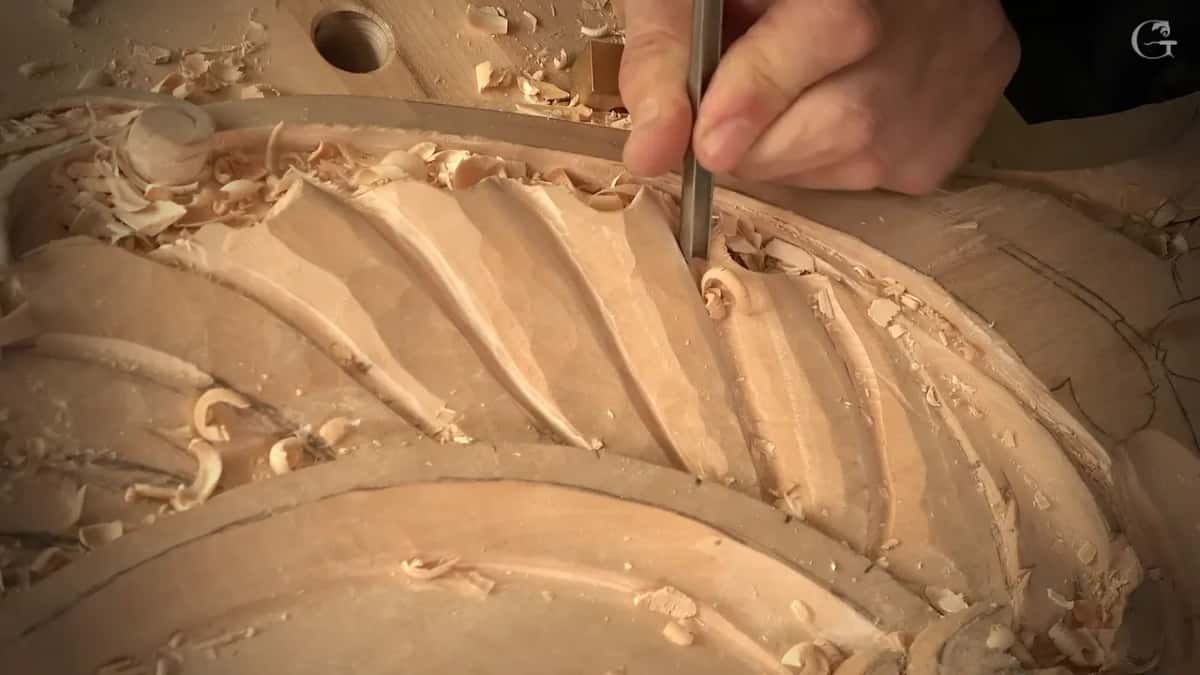

One area beside it looked a little awkward to me, so I talked through a couple of ways to attack it. Another acanthus movement could come from underneath. Or an extra concave could be made part of the main shell. Either of those would work, and I leaned toward a small acanthus leaf, visually at least. All I needed there, I said, was a visual line. When the second part starts, I say it is going to be acanthus and maybe a small separation, and if we are not going to like it, I will get rid of it.
Where else did I use a small number 11 like this?
French curve talk runs out quickly in 146, so here are my own words from other courses, where the same narrow tool did similar work.
In a question and answer livestream in April 2020 I picked up a small, tiny tool, only a sixteenth of an inch, a number 11, one and a half millimetres. Now outline it first, I said, and then I was going to excavate. The arch in 146 went in that order too, the line first and the deeper passes after it.
During lesson 2 of the grape leaf vase I told you I was using a lot of number 11s on that project, and that it is a good idea to have a good arsenal of number 11 veiners. I took the 1 mm there too, to go closer to the stem.
The third lesson of that vase has something I like to do, and I said it was not a must. Take the 1 mm number 11 and just exaggerate that groove inward. See how beautiful a shadow it creates?
And in the first vase lesson, reaching for the calipers again, I said you don't have to use a caliper, you can just eyeball it. Eyeball the golden ratio.
Can a beginner use a French curve?
Nothing stops a beginner from using one. The case I named for it on camera was a hand that is not steady, or a carver who is not comfortable just eyeballing it.
I'll try to be as perfect as I can, I said while I carved the arch, but for me it is okay if I am not that perfect. I also said I don't have to be a hero and make a really long pass in one go. Then it looked like I was able to anyway, and I gave it another pass.

What rounds a convex that narrows?
Back bents did, in lesson 146. With the line carved, the convex came next, and I could not use a simple convex tool, because the shape is wider on one end and narrow on the other. So I took back bents and attacked the outside edge first.
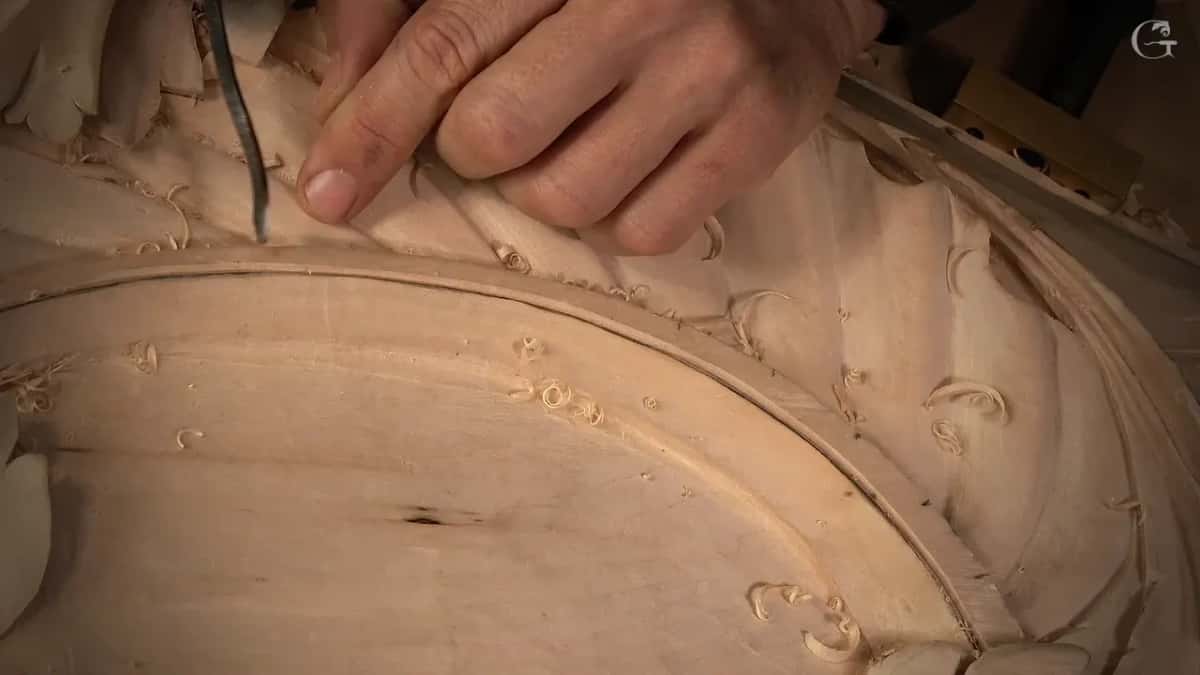
What I kept an eye on was the point and the edge. One edge of the back bent stays right in the middle, and it goes all the way along. That way I know the pass will be consistent. I was not sure you could see it on the camera, so here it is in words.
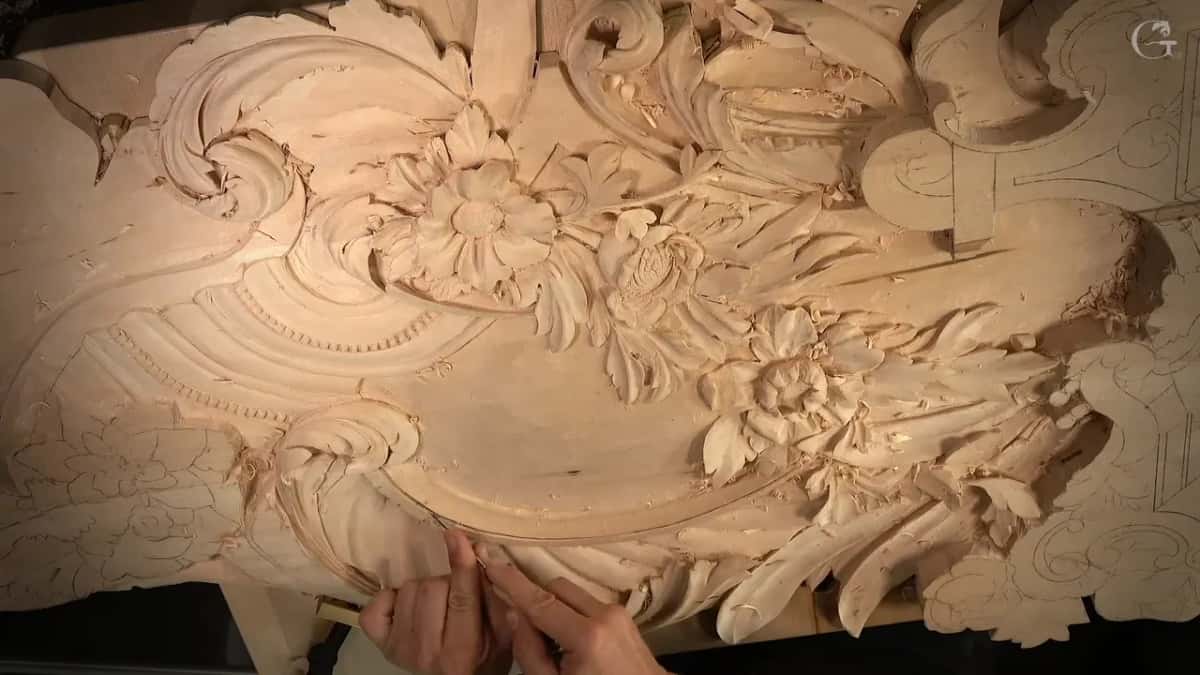
Three parts of this arch and shell make up lesson 146, with the camera close in for much of it. Right before it comes lesson 145, right after it lesson 147, and the course page tells how the molding half of this relief room was copied off an old building. It all opens with tuition to the school, monthly or yearly, and it renews automatically until you stop it.
How it's done
- Refine the line. Redraw the pencil line a little nicer where the convex and the concave will be separated, before any tool touches it.
- Hold a French curve against it. Find whatever part of it fits the profile. On my arch only a small section did, and where it sat 1 mm off my line I went by the curve.
- Start with a 1 mm number 11. Set it just on the line, to see whether that width is enough and to watch the edge up close.
- Begin in the middle of an arch. Carve one side, then come back to the middle and go the opposite direction, since the grain changes along an arch.
- Follow with a 2 mm, then the 1 mm again. Take the 2 mm as deep as it goes, then return to the 1 mm for a darker shadow at the side.
- Round the convex with a back bent. Keep one edge of the back bent in the middle of the point and run it all the way along, so the pass stays consistent.
Frequently asked questions
Why start a curved groove in the middle of an arch?
The grain on that arch in lesson 146 runs one way and then changes, so I began somewhere in the middle. One side came first. After that I started again from the middle and carved in the opposite direction, aiming for one side to meet the line I had already made.
Which comes first, the concave or the convex?
My concave went first, with a number 11 run along the line, because I want to separate my convex from my concave. The convex came afterward, with back bents, since that shape is wider on one end and narrow on the other and a simple convex tool would not suit it.
Can paper strop a half millimetre veiner?
Paper is what I said I would use, a normal piece with paste on it. A block of wood can do the job as well, with an upside-down groove carved in, paste inside, and the tool stroked along. For the 1 mm I had shaved a strip of leather thin enough to fit.
What to carve next