
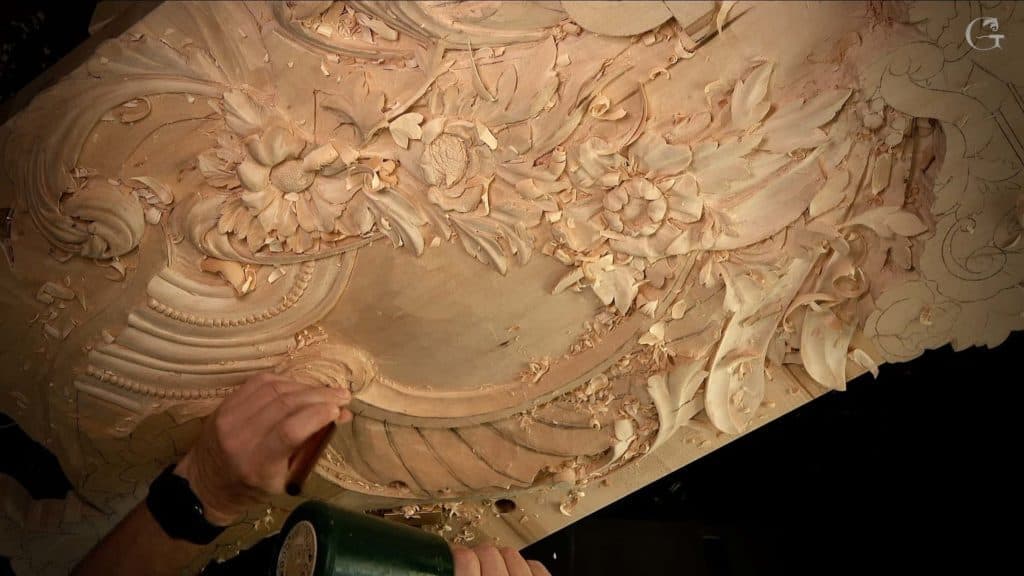
Alexander Grabovetskiy, woodcarver, School of Woodcarving · Published 2021
Can you skip steps in wood carving?
Quick answer: Leaving a step out is a choice I say out loud. My lesson 144 of the Venice Room has a half millimeter pass I called really unnecessary yet good for extra pop, and a hole that did not need the extreme, because paint was coming, which still got its deep shadow.
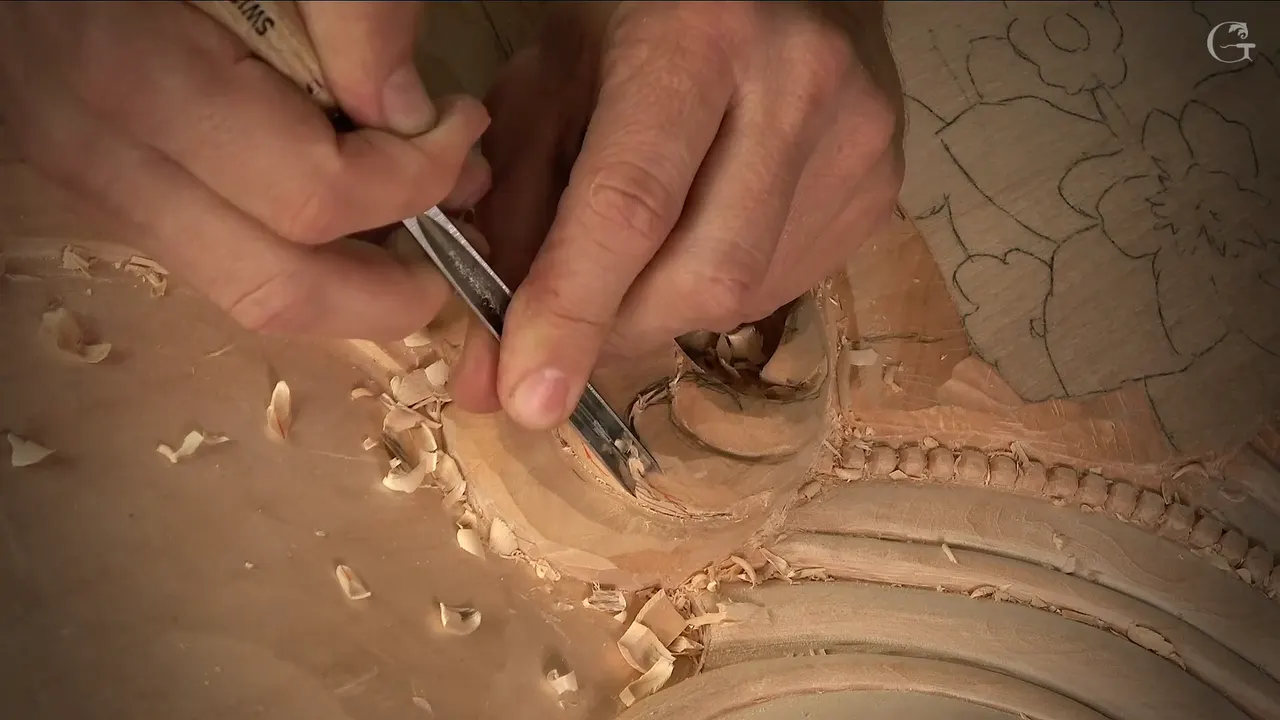
Skipping a step in wood carving is a call I make out loud, and in workshop 144 of the Venice Room I said three times that a step was not really needed, and each time I gave a reason to do it anyway. One was a half millimeter pass I said would give a separation line extra pop. Another was a deep hole on a panel headed for paint. The last was a smaller tool going back in, because I thought it would look better.
Does a narrow line look darker when it sinks a little deeper? And would a small hole read blacker than a shallow dent right beside it? Hold on to those two, because most of the reasons I gave on this page come back to them. Below are the three steps from lesson 144, what I did with each one, and the same kind of words from other lessons of mine, each one linked so you can go and watch it.
I'm going to be honest with you about how this page is put together. Lesson 144 is three short parts, a little over twenty minutes of me with small gouges on a relief panel for a room, so it goes first and it goes whole. The back half is me saying the same kind of thing in other lessons, each one named.
Three unneeded steps from one short lesson
Half a millimeter could go deeper still, I said. Really unnecessary, I called it, and I said it would give me extra pop.
One hole did not need to go to the extreme, since the panel is paint grade. I still went after a deep shadow, and it came out really dark.
After a number 5 cleaned the edges of that hole, a smaller tool went back in, a step I said was not needed.
Some work waited instead of going away: refining that separation later, and a convex that had to wait while I kept the shape.
Across the other lessons here, extra shadow is the reason I gave most often.
Which steps did I call unnecessary in workshop 144?
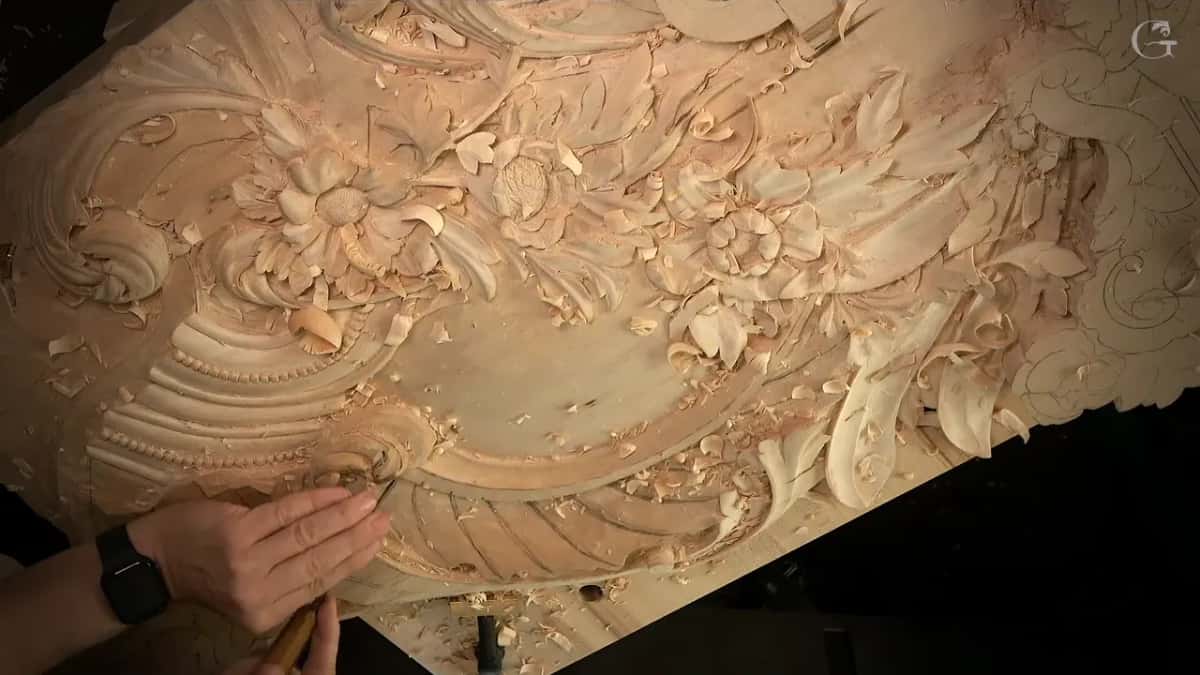
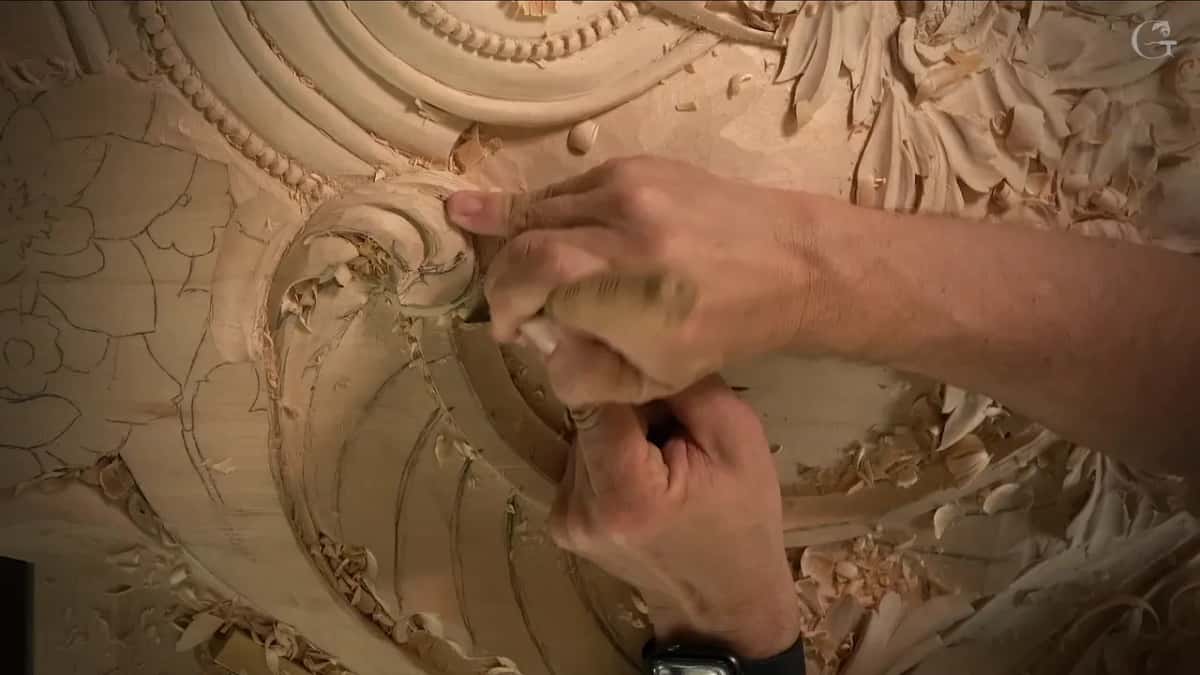
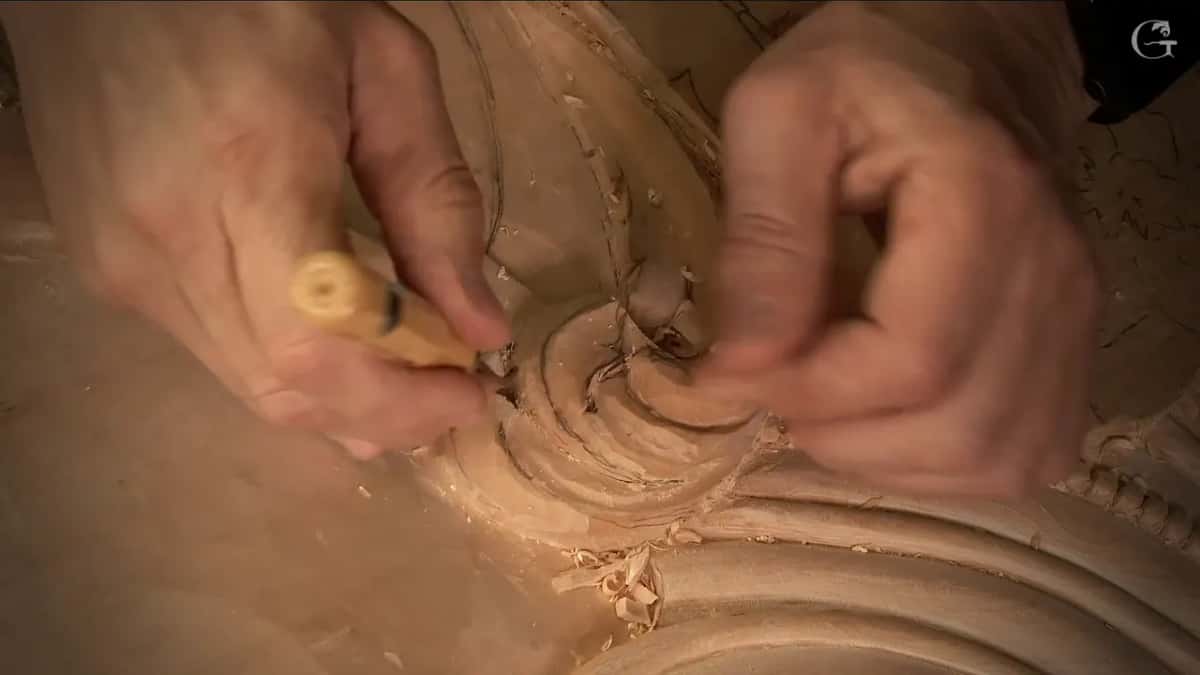
Three of them, one in part one and two in part three, all on the carved scroll and its flutes beside the molding. The first came right at the start. I was working down a separation line with number 11 veiners, 2 mm first, about 5/64 of an inch, then 1 mm, about 1/25 of an inch, to get an even deeper line. Pretty much all the time in that part it was just the number 11s.
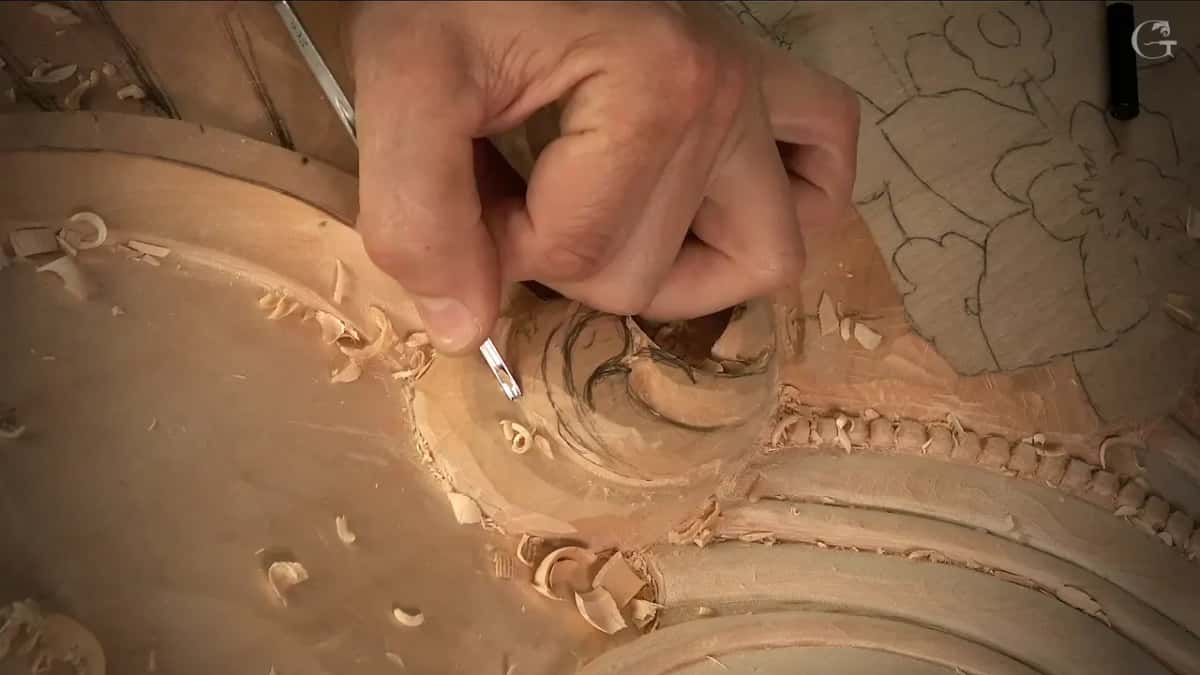
Then I said I could take even a half millimeter, about 1/50 of an inch, and excavate a deeper separation line that would still be visible. That way it gives the idea those two parts are separated. Really unnecessary, I guess. That's what I said, and in the same breath I said I think it's going to give me extra pop.
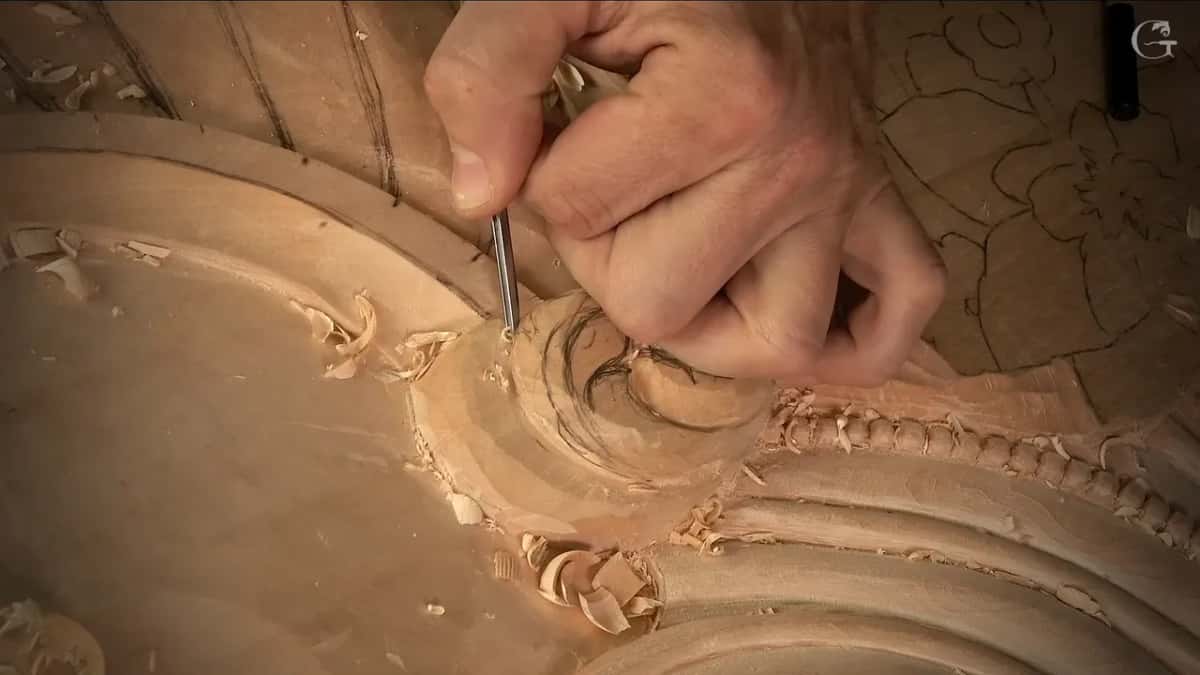
Later on I would refine that line. As of that moment I was happy with it, and I took a number 7 to roll it, to make it feel like it's going from underneath. It does feel like it's growing from underneath, I said, and that is what I'm after.
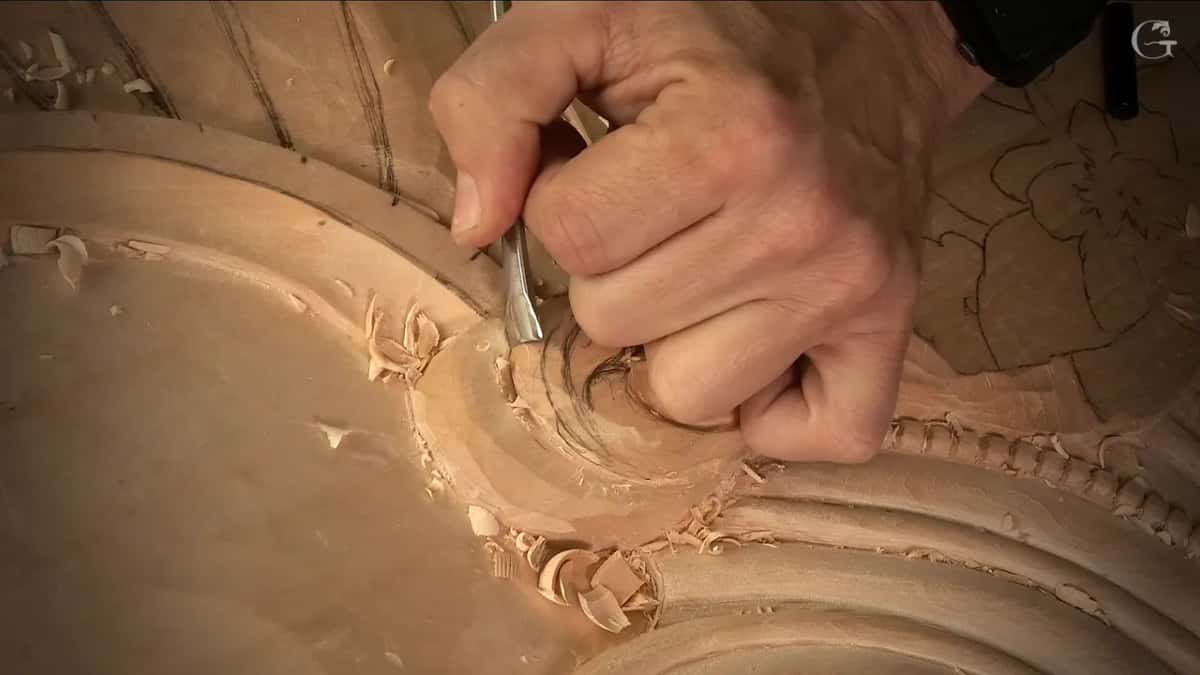
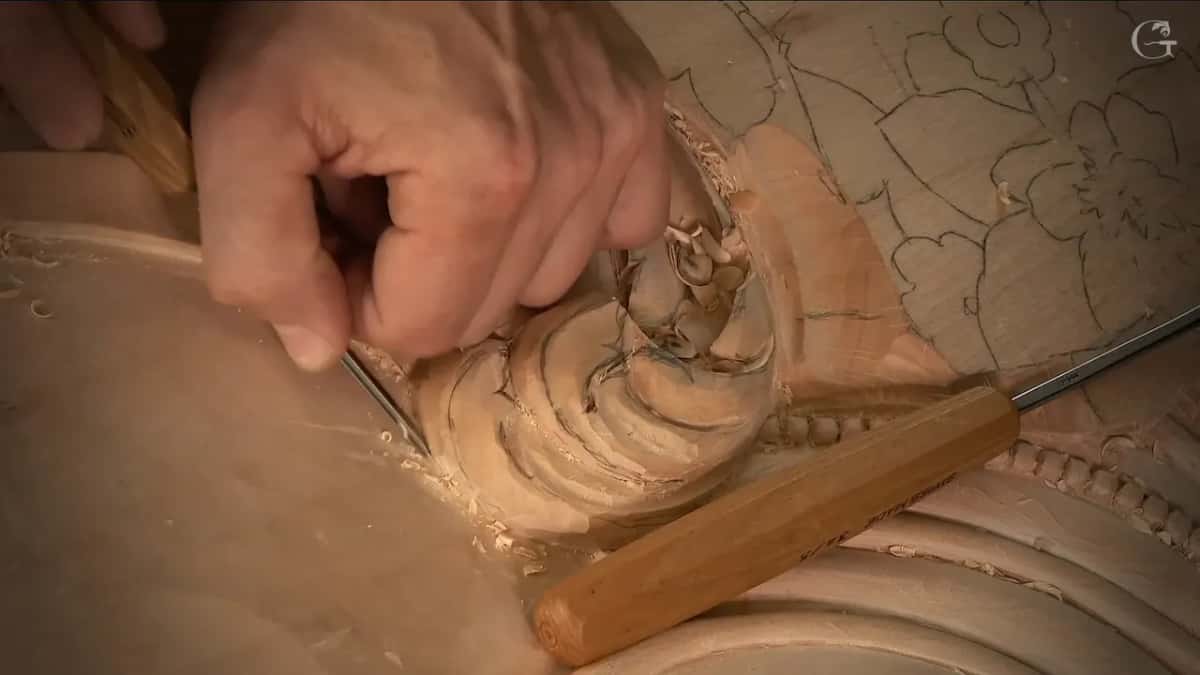
The second came in part three. A detailing tool dug a deep shadow in one area, and I was kind of undercutting a little there, but not much. Then a half millimeter number 11, a micro tool, hooked all the junk out. I could get that to the extreme, I said. But I really don't need to, because it's going to be painted.
Some of the paint gets in, some dust gets in, so it won't show too much. But at least I can get a really deep shadow. So I attacked it from both sides. I created a beautiful hole, a really dark spot, and I liked it.
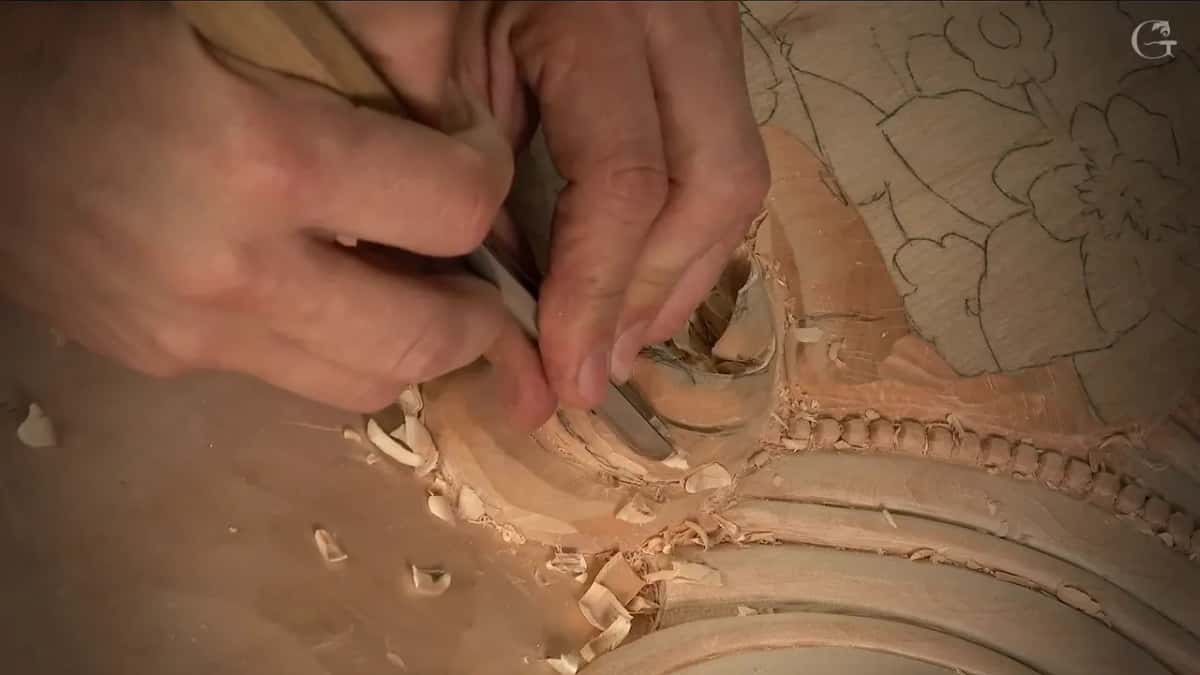
The third followed right after. A number 5 detailing tool, 6 mm or so, about a quarter of an inch, cleaned the edges to make that hole look more appealing. Then I needed a smaller one again, and I told you plainly it was not really a necessary step. Still, I think that's going to look better, I said, and the junk on the inside I can remove with the half millimeter.
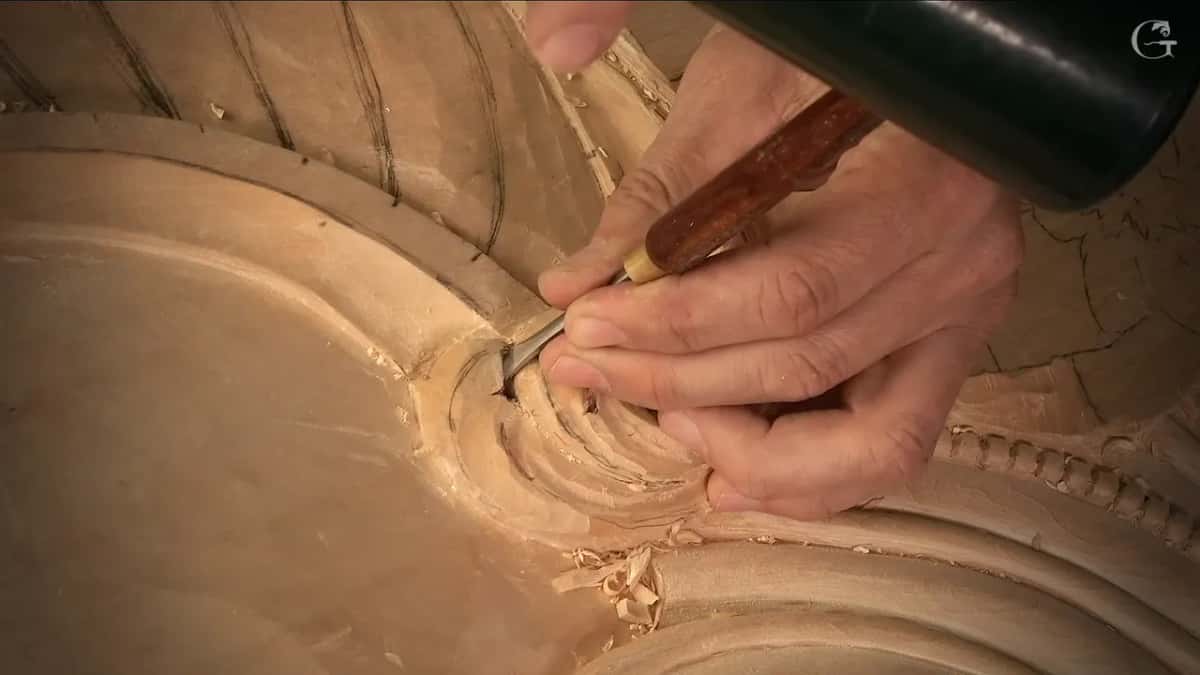
What reason did I give each time?
Every reason was a thing I could see on the wood, and I said each one while I was still carving. Extra pop for the line. A deep shadow for the hole, paint or no paint. A better look for the second cleaning pass. Earlier in part three I said one spot will be visible from that point anyway, so I think it'll be good detail, and then I caught myself: I hope, I should say.
Step | Where | Did | Reason |
|---|---|---|---|
The half millimeter | workshop 144, a separation line, part one | was happy | a line still visible, extra pop |
Going really deep | lesson 144, the end of part three | went deep | painted anyway, still wanted the shadow |
Smaller tool inside | back in part three, after cleaning edges | did it | would look better, I said then |
One pass inward | the vase with grape leaves, lesson 3 | made it | extra dimension and depth, extra shadow |
A hole through | same vase, the next part, same lesson | pierced it | looks really nice, a little detail |
Detail flipped uphill | Modern Acanthus, lesson 6, one small detail | flipped it | optional, I said, but still beautiful |
Some small passes got no such label. The pipe in part one got some movement on its other side too, and I said it's important for the eye. Otherwise, I said, it'll look like something is missing. That one stayed unlabeled.
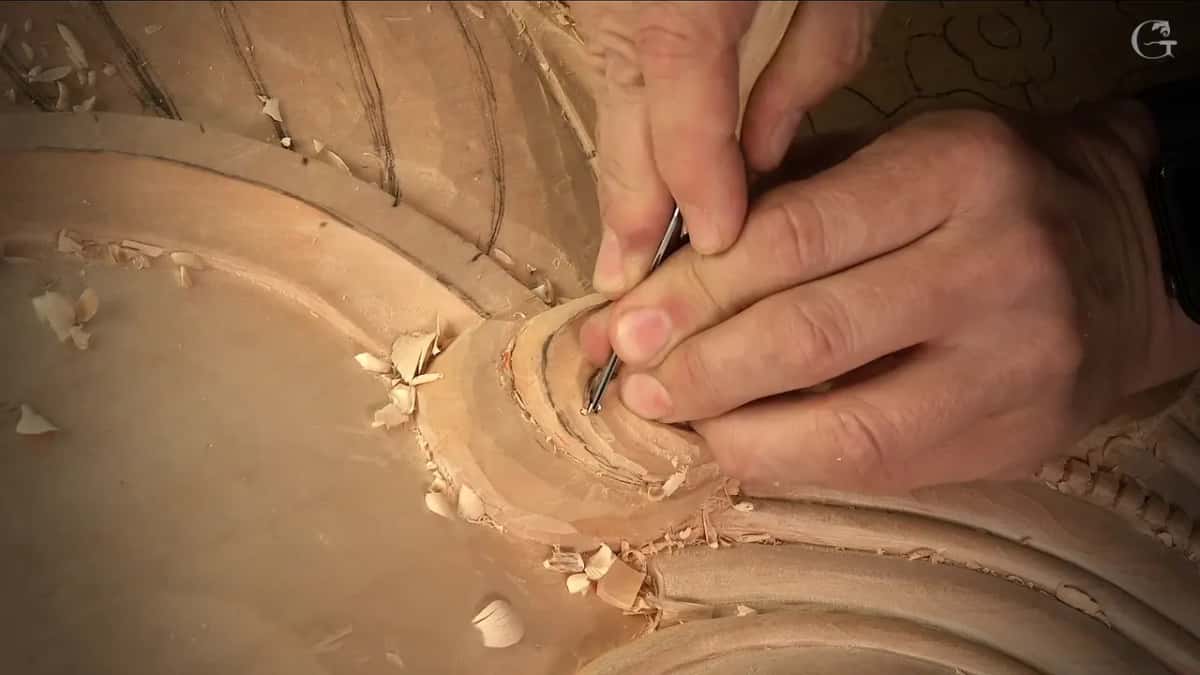
Holding back was a choice as well. Earlier in part one I chopped one side and then stopped short, because I was already feeling like I was losing too much. I want to keep it high, I said, but I still don't want to lose the sides of my canvas. That's probably enough, I said, and I went on to the next separation with the 3 mm.
What did I leave for later instead?
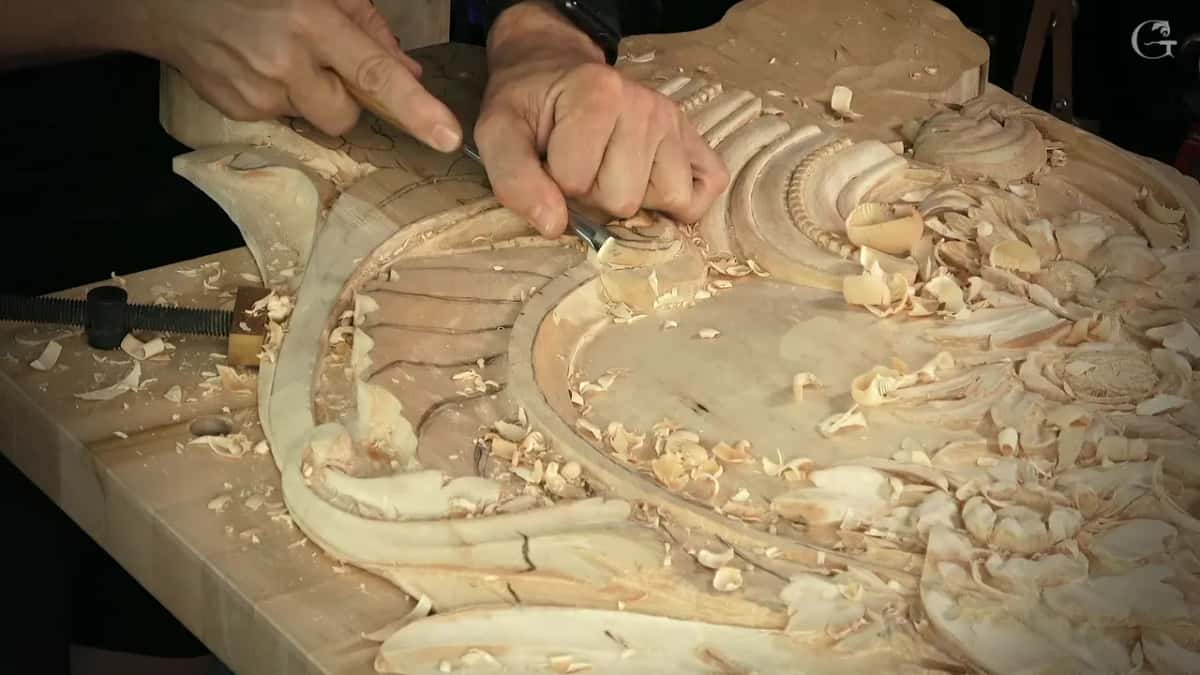
Several jobs in lesson 144 waited rather than went. That separation line was one of them: later on, I said, I'll just refine it. Further on I said I would excavate a little later, just a little bit of it. In part two a convex waited too. A little later I'm going to create the convex, of course, I said, but now I need to keep that shape.
One decision waited in the open. I could do some kind of separation here, I said, and then that I was not sure if I should or not. Maybe a big S curvature instead. Let me think about it, okay? Meantime I moved to the other side, where another eye and pipe go, a much more simple movement.
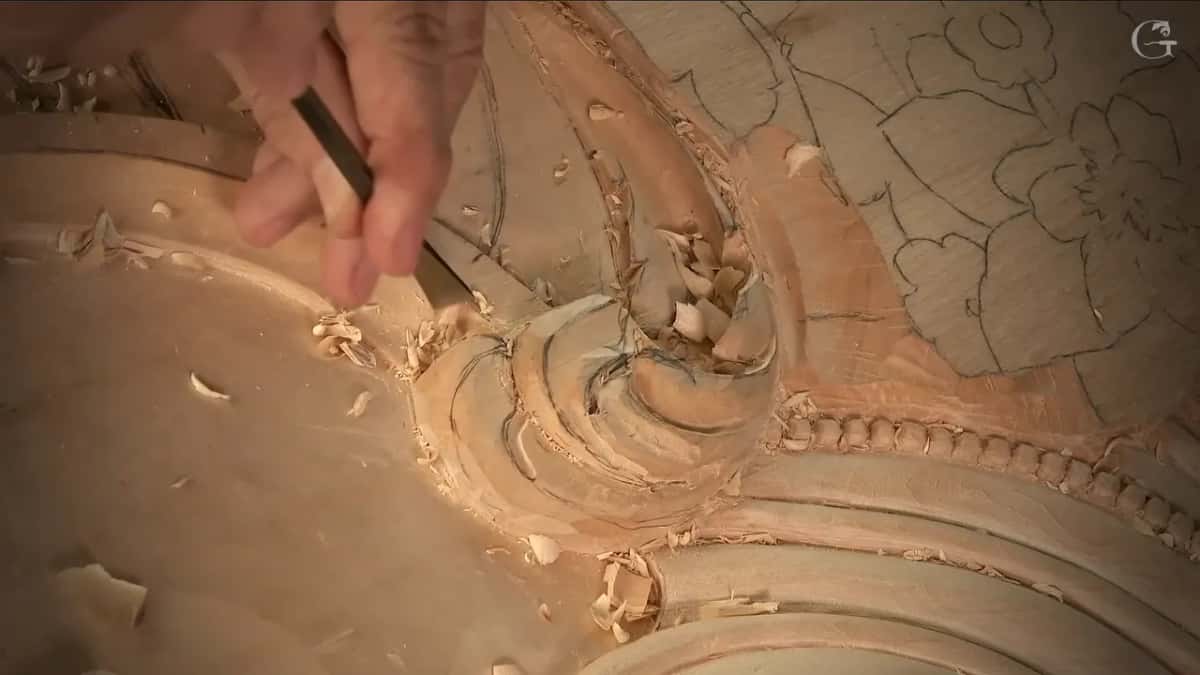
Part three has the most honest version of this. I really have to get a little closer to it before I will see it better, I told you, and worst case scenario, I can finish it off camera and make it look really nice and finished. That is a step moved, and I told you where it went.
The section already done had gone quicker with some rasps, since this panel is paint grade and those tool marks are not a worry. The deadline was coming sooner than I wanted to, but it's okay. The story of that room is on the course page.
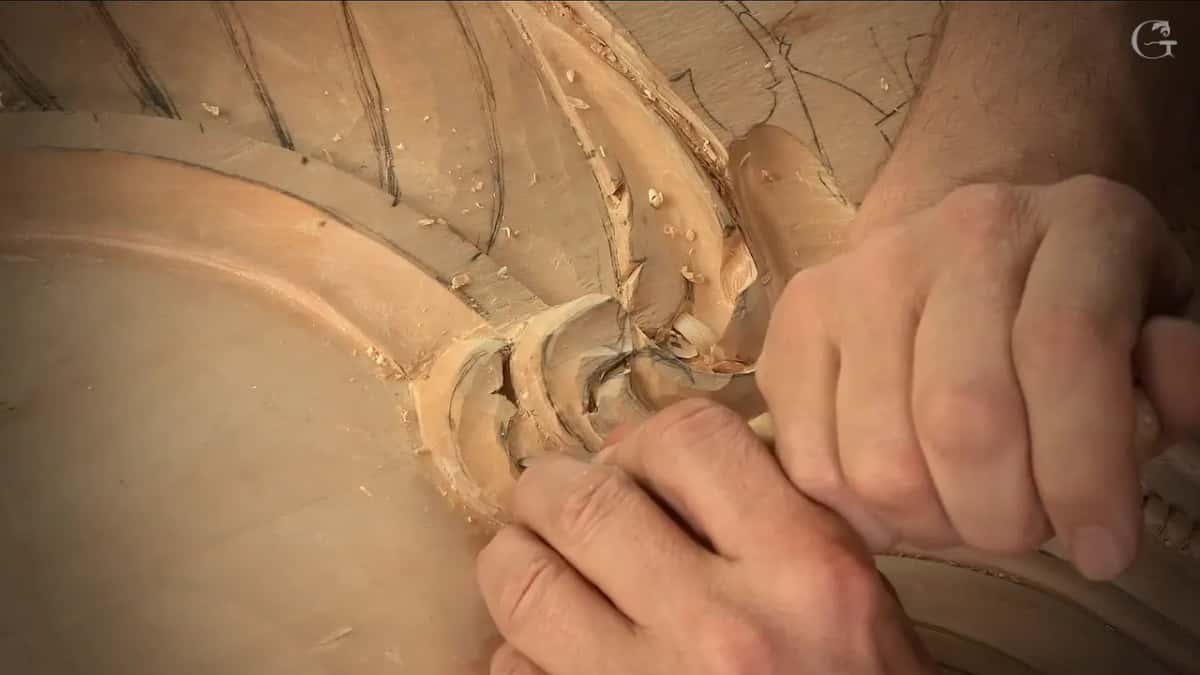
Where this molding hits that point, I said that side would be undercut too, so it looks like it's rolling from underneath. Two millimeters is what I was using there, and I said I can use one millimeter. In part two I also skipped walking around. I said I was going to carve toward myself with a 3 mm veiner, that it is not advisable, and why: I didn't want to walk around and block the camera. Carving toward yourself gets a page of its own.
Does paint change what you can leave out?
In both lessons here where I said it, paint let me stop sooner. On lesson 4 of the Chamomile and Bow Rosette, I said I could spend a lot longer if I wanted to, but this project will be painted, and I don't really need to spend too much time on that.
The hole in lesson 144 got the same reasoning from me, and I dug that shadow anyway. So the paint let me stop short of the extreme, and I still wanted my shadow. Workshop 74 is where a paint grade carving and its finish have their page, and there little slips disappear under the paint while I still cleaned the hollows with smaller gouges.
How often do I say this in other lessons?
Often, and extra shadow is the reason I attach to it most. My vase with grape leaves, lesson 3, has one pass inward that I called not really a necessary one. It just gives an extra dimension, I think, extra depth feel-ish. So, extra shadow.
In the next part of that lesson a hole went all the way through, and I wasn't sure you could even catch it on camera. That was a little detail, I said, not necessary detail there, but I think it'll look really nice.
The Chamomile and Bow Rosette got just a small notch in lesson 4. It gives an extra shadow at that point, I said. In lesson 3 of that rosette I used the same tool with just the heel of it, and I said that gives me some extra shadow too. The same rosette has a step I left short on camera: I don't need to take that refining to the final stage, I said, because in this case I can take the piece out of the board and work from the backside.
On the Modern Acanthus, lesson 6, one detail was supposed to go somewhat underneath, and I flipped it slightly uphill. Okay, you don't have to do that, I told you. I think it'll be beautiful, though. In lesson 8 I said that whatever movements you have like this, they give you extra shadow.
On the Venetian Flowers Rosette, lesson 5, I told you that if you feel more comfortable, you don't really have to start with the back bend. You can always begin with the concave. The next part got the same note as the others: it gives me extra shadow, by the way.
On lesson 6 of the Tray of Blessing, I said you don't have to do that, because you don't have that tool, so you just use your number nine and work around the vine.
The same words come back all over the Venice Room. Back in workshop 69 I said I'd still take a finish that was already really nice on to 3,600 and 6,000, called that step really unnecessary, and said I just love it. In workshop 75 I said to use a bigger number two, 50 mm, two inches, and ride on top of the ridges, a step that is not really necessary, but I like to create the design on a clean canvas. And in workshop 112 I said I'll grab a 1 mm, really unnecessary in that case, but still it takes a couple seconds. And the furniture panel, lesson 19, had a profile I could have matched using only the gouge, and I said it's not necessary for those leaves, since I don't want to make them too perfect.
The eye I set again in part two of lesson 144, with a 1 mm veiner to make it look lighter, sits on the page about a carving that looks heavy. Carving only a hint of a small detail and then stopping is a different choice again, and workshop 110 has its own page for it.

In what order did I carve that scroll?
Roughly this order, in my words at the time, for this one piece of wood carving. Number 11s along the separation: 2 mm, then 1 mm, then the half millimeter I talked about. Then a number 7 rolled it. A chop on one side, and a stop before I lost too much.
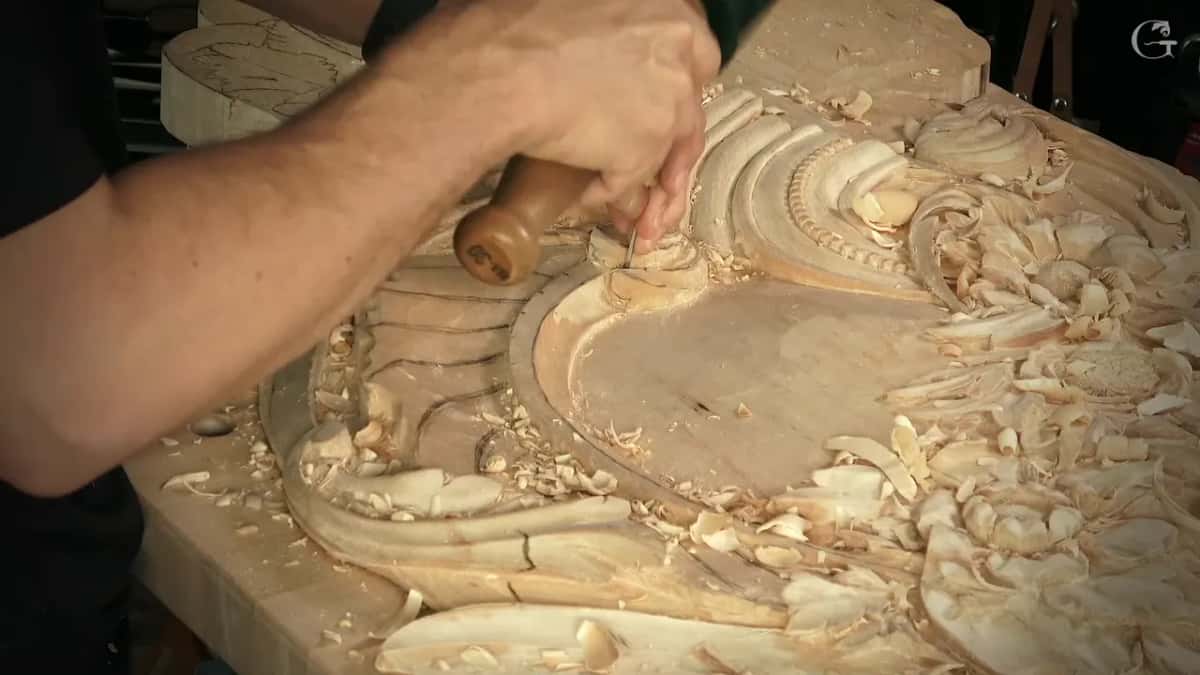
A 3 mm number 11, 1/8 of an inch, went along another separation, then a flatter tool, like a number three, took care of the ridge. Then came the eye, and a middle line going all the way down from it. Concaves followed, not super deep ones: a number 7 first, then a 7 mm number 11, about 9/32 of an inch, started from almost nothing with just the side of it, so a micro pipe runs from that eye.
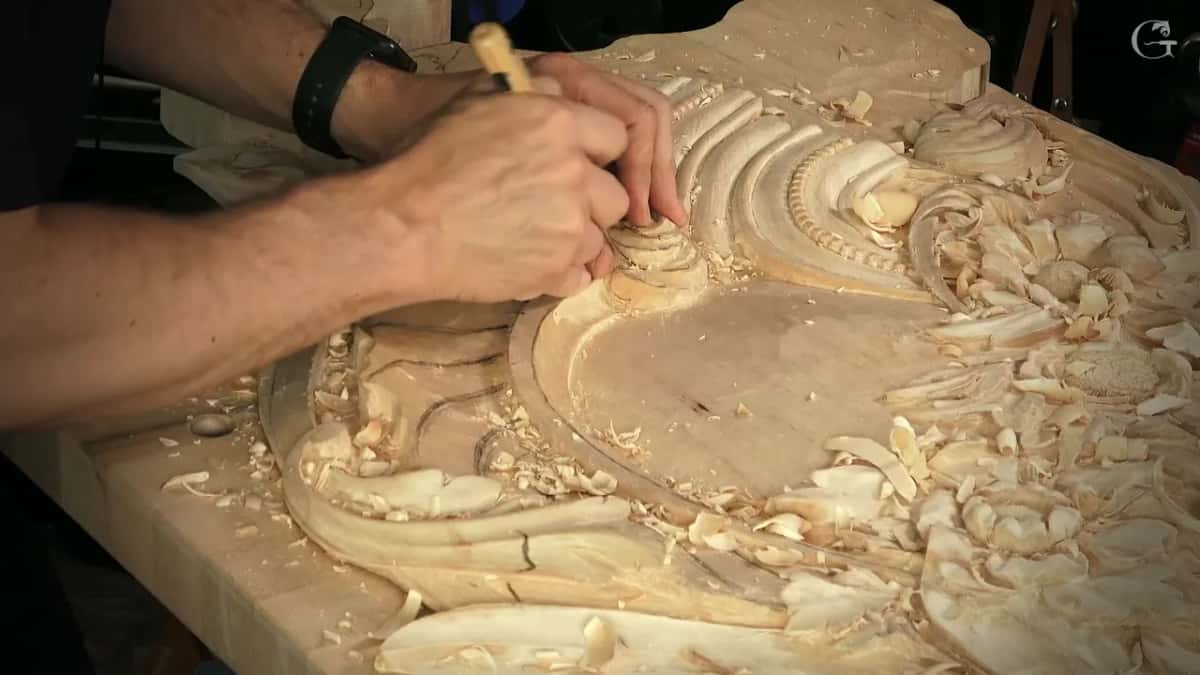
Part two repeated the idea on the other side with a number 3, a small one of 10 millimeters or so, 3/8 of an inch, to roll an edge. Part three ended with the deep hole, its clean edges and one more deeper shadow from a straight half millimeter. Halfway through, a carving like this looks messy, and workshop 53 has a page on why that middle stretch is mostly drafts.
Is it all right to skip parts of the lessons themselves?
You can, and I said as much in workshop 30: feel free to skip it if you need to, but if you skip it, you can skip probably important details, and there is no time restriction.
These three parts of lesson 144 are me at this panel in Venetian style, with the camera close enough to see the small tools at work. It opens with tuition to the school, monthly or yearly, and it renews automatically until you stop it. Next in the same course comes workshop 145.
How it's done
- Step the separation down. Take a 2 mm veiner along the separation line, then a 1 mm to get an even deeper line.
- Decide on the half millimeter. A half millimeter number 11 excavates the line deeper still and leaves it visible. I said it was really unnecessary, but that it would give extra pop.
- Roll it from underneath. Use a number 7 and roll it so it feels like it's growing from underneath.
- Take care of the ridge. Blend it with a flatter tool, like a number three.
- Sink shallow concaves beside the pipe. Start from almost nothing with the side of a 7 mm veiner and deepen little by little. Give the other side of the pipe some movement too, or it looks like something is missing.
- Clean the hole last. Take a number 5 detailing tool, about 6 mm (1/4 in), around the edges, and the half millimeter for the junk inside.
Frequently asked questions
Should a painted carving still get a deep shadow?
My lesson 144 has me saying I didn't really need to take one hole to the extreme, because the panel will be painted and some paint and dust will get in. I still wanted the shadow deep there, so I worked it from both sides until the hole was really dark.
Why keep a pass you call unnecessary?
Extra pop was my reason for a half millimeter veiner along a separation line in lesson 144. A deeper line stays visible, I said. It gives the idea that two parts are separated, and in other lessons my reason was extra shadow, or simply that it would look nice.
Can a step wait until later?
Several of mine waited in lesson 144. One separation, I said, would get refined later on, and a convex had to wait while I kept that shape. One separation I wasn't sure about, so I said let me think about it and moved on to the other side meanwhile.
What to carve next