

Alexander Grabovetskiy, woodcarver, School of Woodcarving · Published 2023
What does the final assessment of the Grinling Gibbons course ask for?
Quick answer: The final assessment of the Grinling Gibbons course is a single photograph of your finished panel, uploaded as a jpg or png on the lesson page. Shrink the file first with TinyPNG and have it ready, since you get one chance on that page. I look at the photo, certify you from what I see, and hope to see variations.
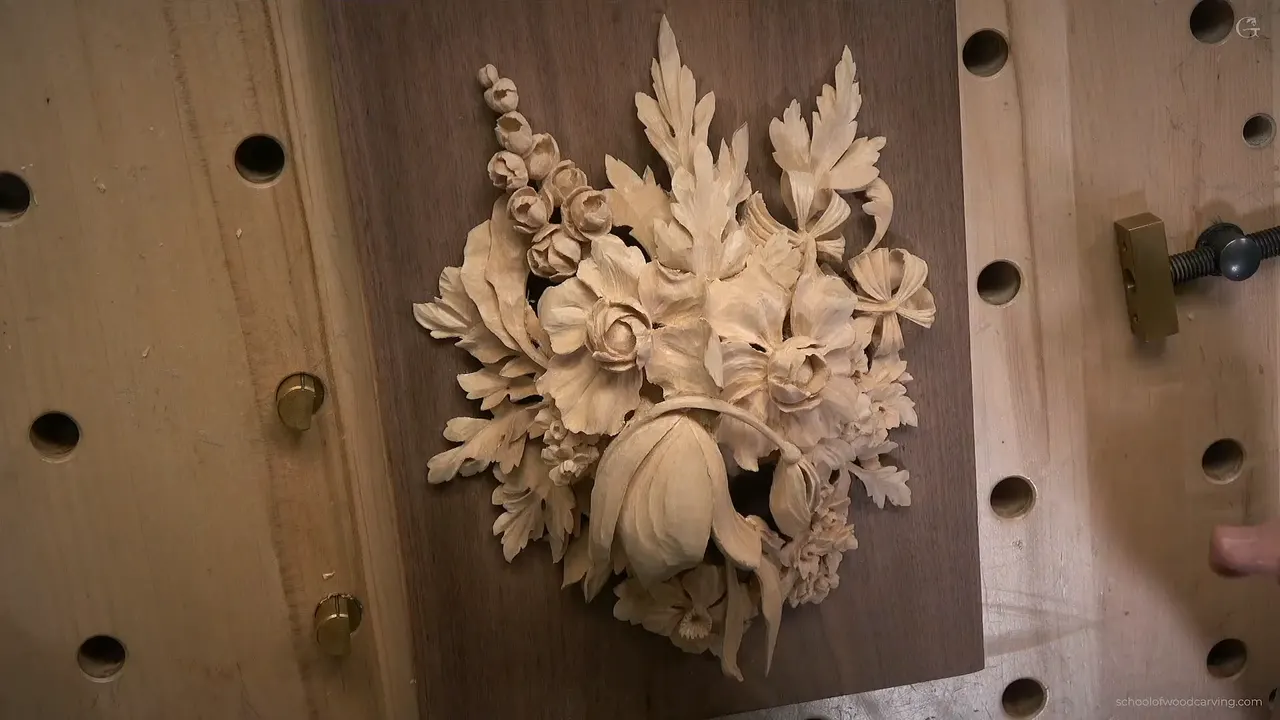
The last lesson of the Maine course is one photograph. You carve your panel, take a picture of it, and upload that picture right here. Based on what I see, I certify you, and I hope there are some variations in it, some ideas of your own.
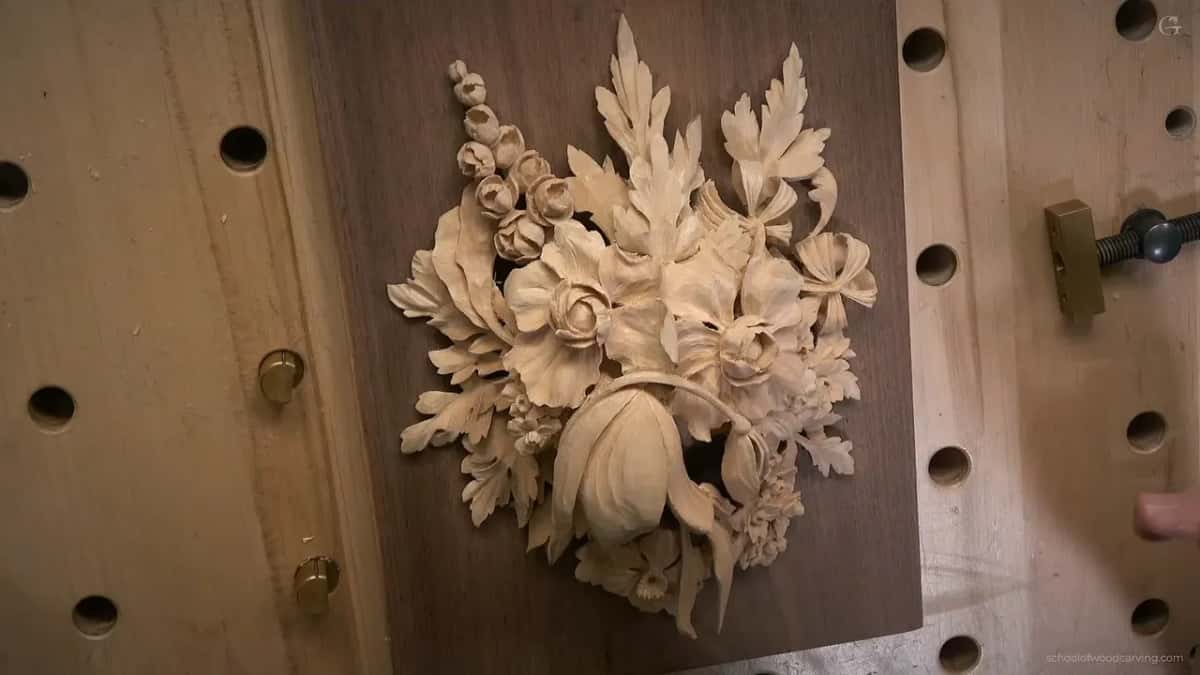
Have you carved your way through eighteen classes of petals, stems and dark spots? Do you want me to look at what you made? Then this lesson is for you, and it is the shortest one in the whole course.
What the last lesson asks from you
- One photo of the finished panel, and no zip files.
- Shrink it with TinyPNG before you upload it, because the website does not like big files.
- One chance on the page.
- Some variations, your own ideas on the same design.
- A break or two is okay.
- Lacquer, shellac or liquid wax at the end, if you want a finish at all.
What does the finished panel look like?
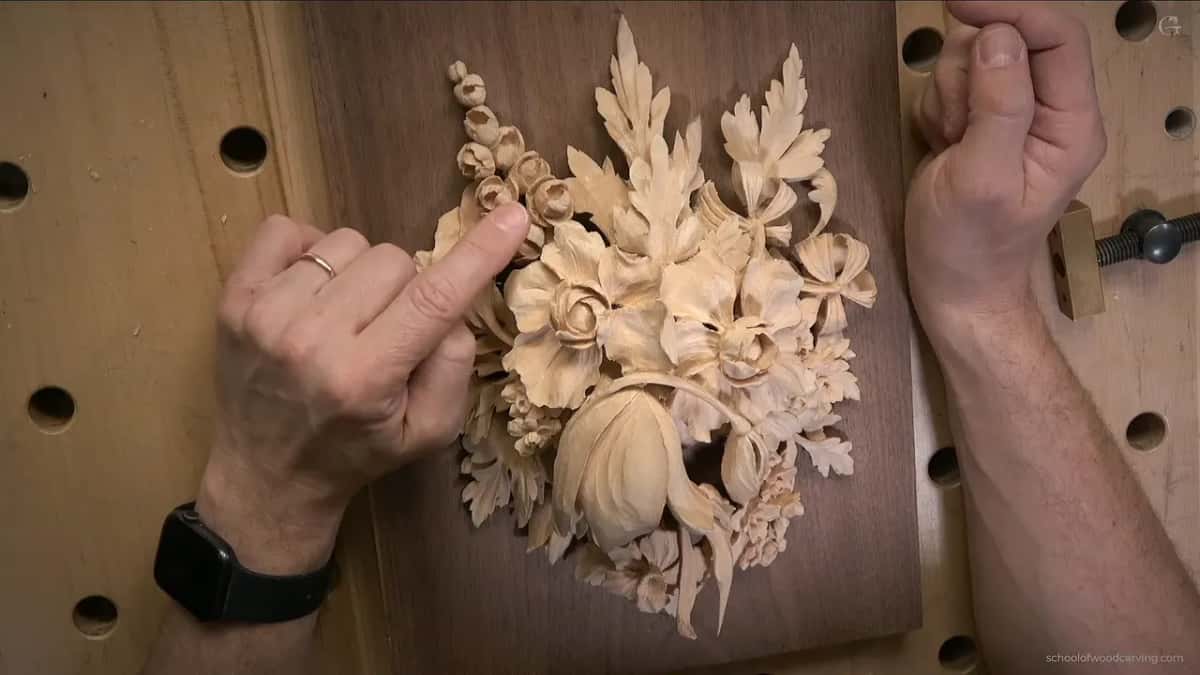
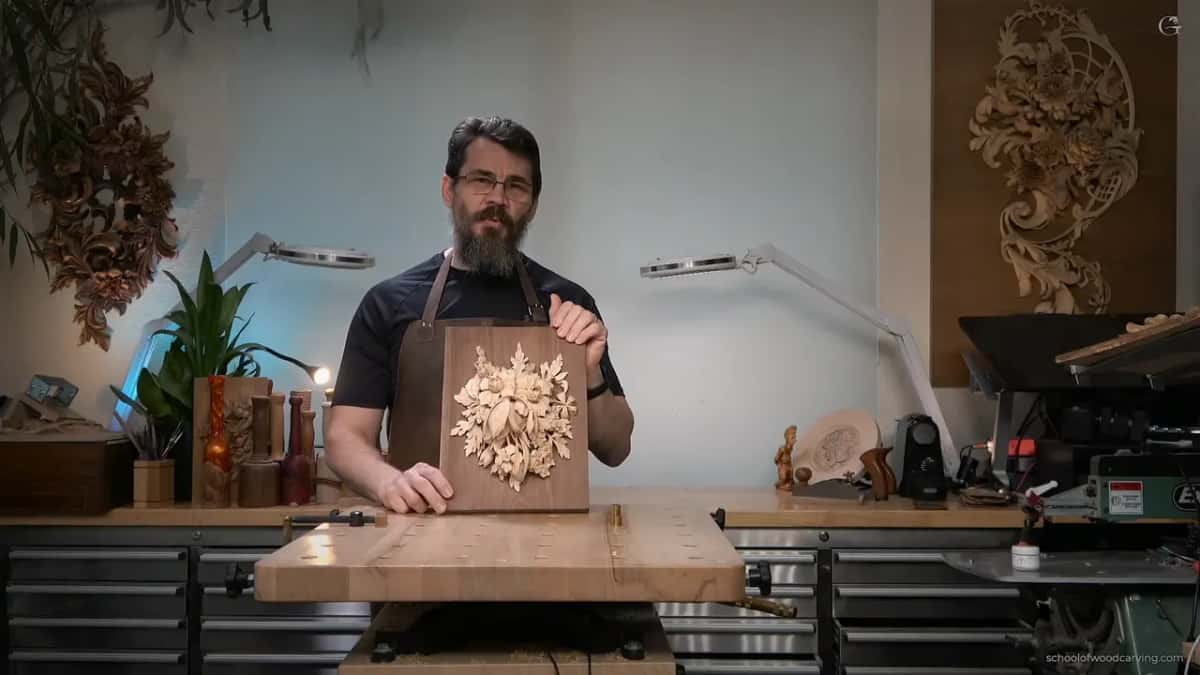
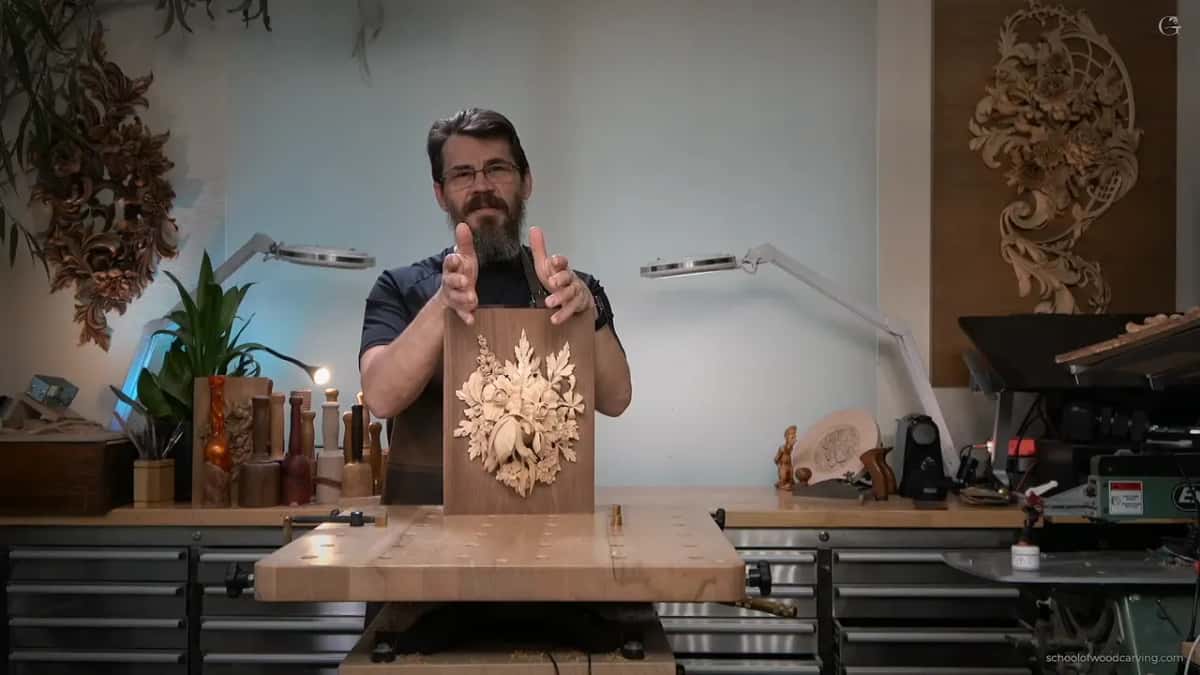
Done, as far as I am concerned. Class 18 left it almost done, and in class 17 I promised to show you the final, so here it is. You could work on it a little longer, of course, and take care of all those facets if you wanted to. I am going to leave it like it is.

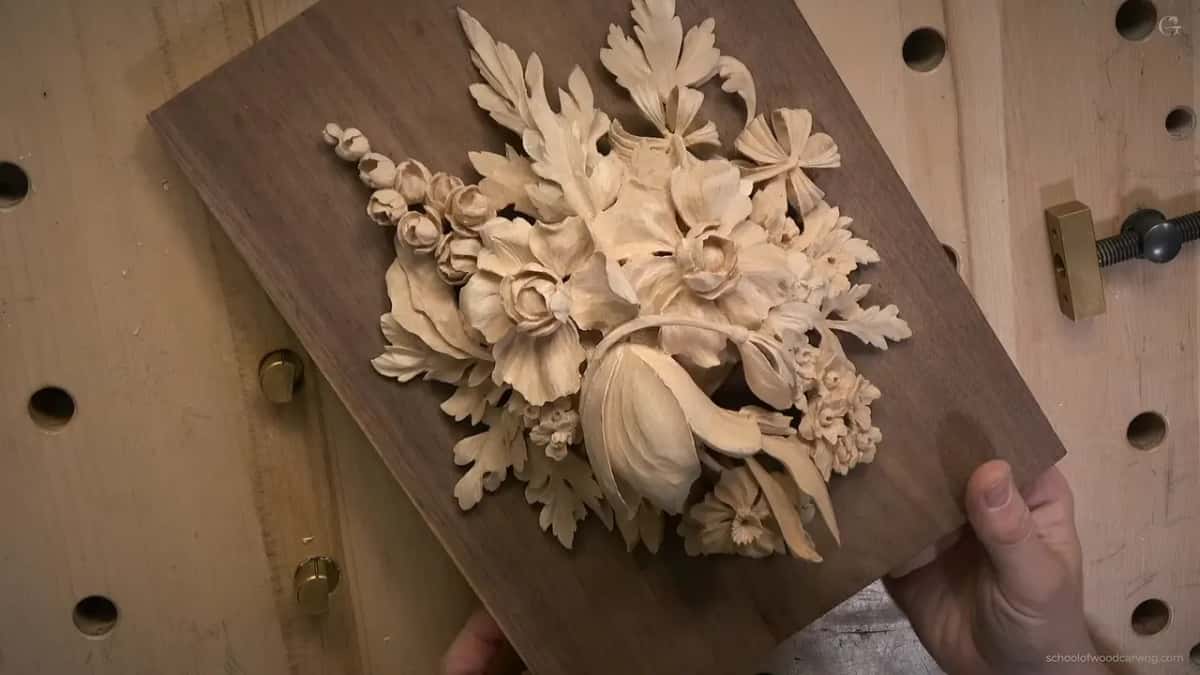
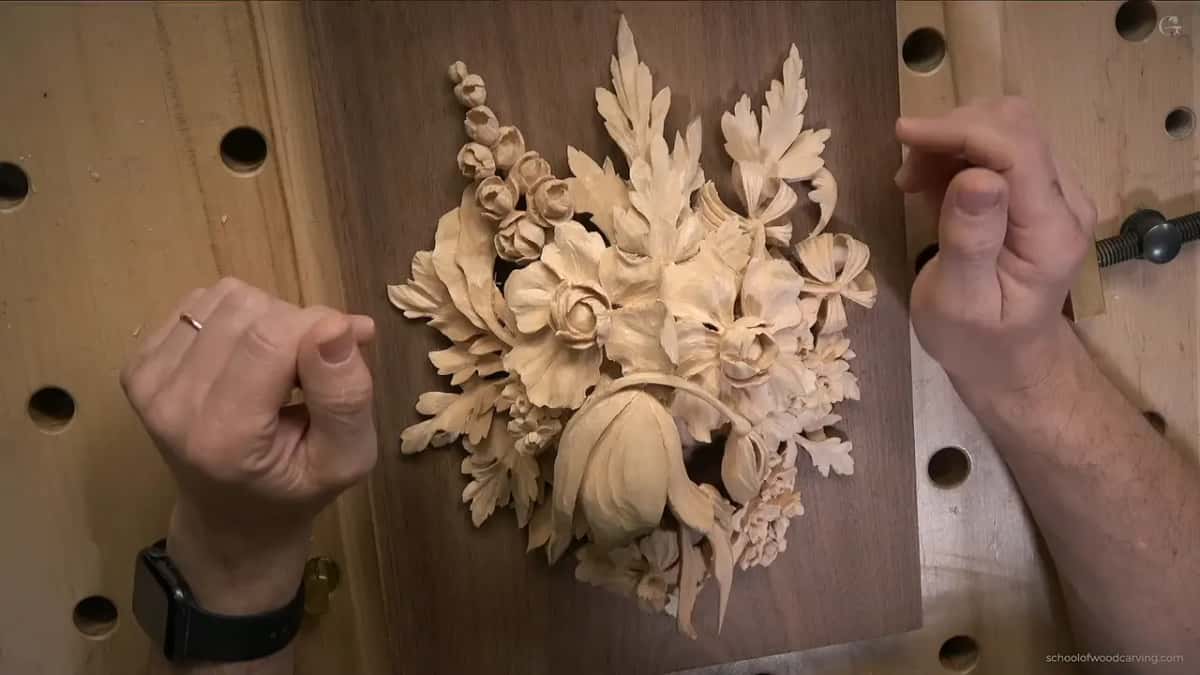
It can always go to the extreme, with more work and more improvements. Overall, I think it looks really good. Turn it and look at it from different angles, and you can see how nicely it blends now.
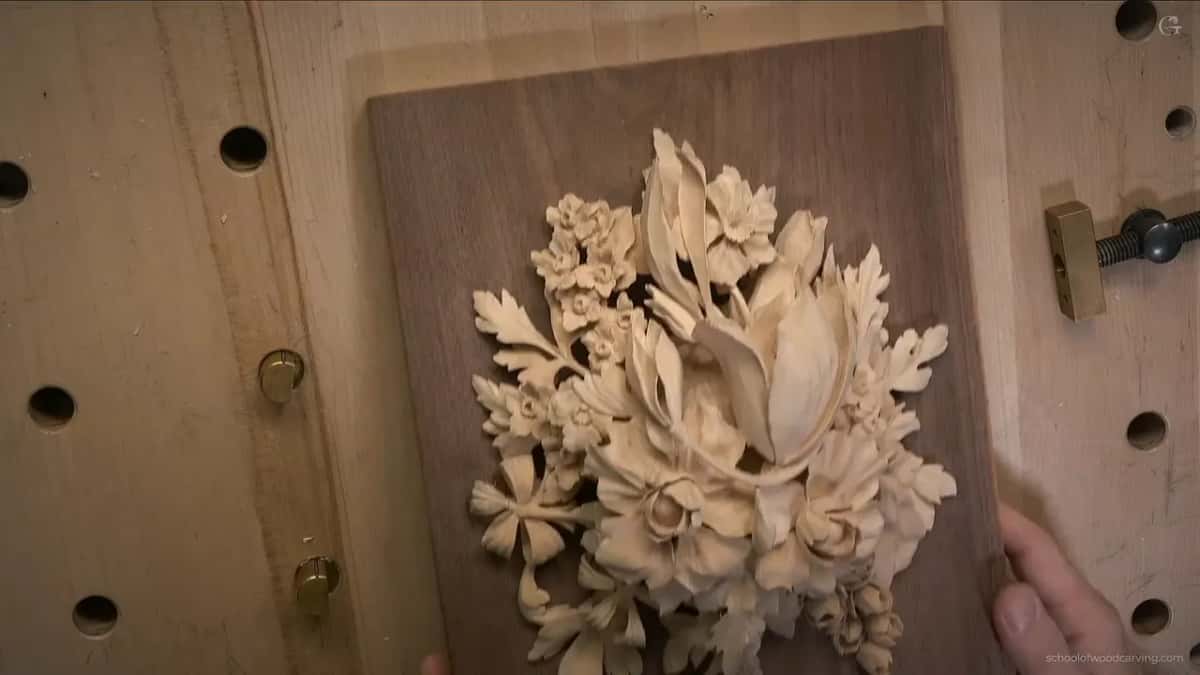
The pale lime sits on a dark walnut board, the ground I chose in class 17, and the two layers were glued long ago, back at the school in Maine. I really like how the shadows and lights fall on this piece.
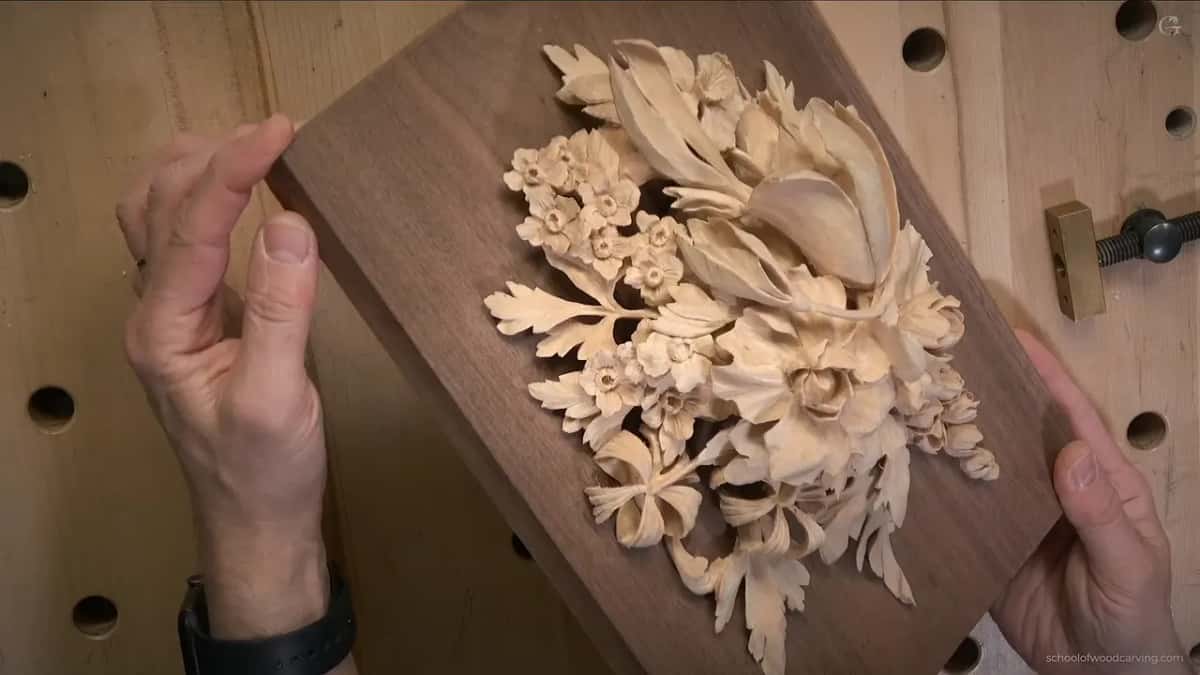
What happened to the small flowers from class 18?
All of them are carved now. Last time you saw me working on those little ones in class 18, and I showed you the approach. From that point you should be able to create your own, so I don't have to give you instructions for every little small flower. This is how they look.
What do I hope to see in your photograph?
Your finished carving, with a few ideas of your own in it. When you submit your work for the assignment, I would like to see some variations. Just try to come up with some different ideas, because that way it is going to be more interesting. People who carved flowers like Gibbons or Wallis used different flowers for the same reason, to make the work more interesting, as I said on the floral panel.
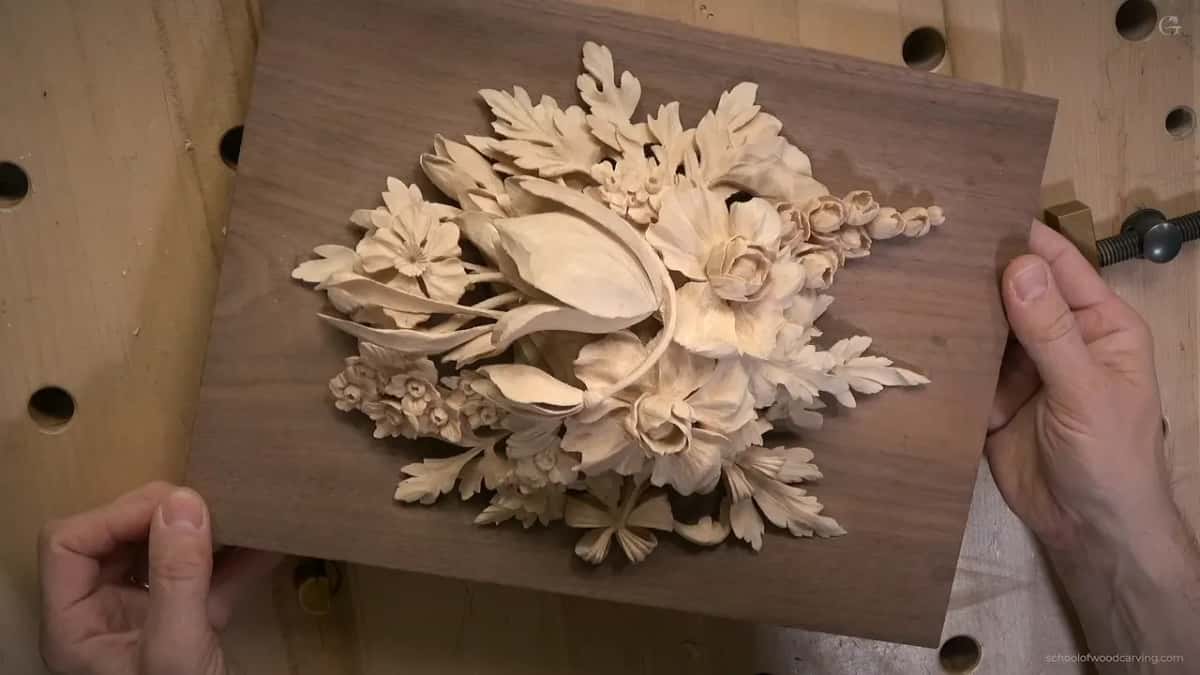
We changed a couple of things on this panel ourselves. Where the wood ran out under a flower in class 12, I carved a slightly different bloom. In class 16 I exposed a hidden petal that the photograph of the original does not have. One flower became a Venetian style flower in class 17, and the filler flowers went a step past the ones Gibbons made. Whether you may change the original at all, and how much, is the question of class 1.
How do you get the photo ready?
Shrink it first. Run it through TinyPNG or something like it to make the file smaller. I have so many people, thousands of people, sending big files, and the database keeps growing, which is not too good for the website.
Use a jpg or a png, never a zip. Make sure your photo is ready before you upload, because you get one chance while you are on the page. The upload button disappears after you leave.
Most people are going to look at a piece like this straight on, and even at a slight angle it still looks good.
Who looks at your photograph?
I do. Nothing on that page is approved automatically. Each photo gets my own look, and the certificate comes from what is in it.

Let me know in the comments if I may post your work. I'm really proud when people who take my classes pull off stuff like that.
What should you check before you press upload?
| Check | Why |
|---|---|
| File type | Jpg or png only, and never a zip file |
| File size | Shrunk first to keep big files off the site |
| Timing | Have the photo ready before you start, with one try only |
| Changes of your own | Variations make it more interesting |
| Permission | Say in the comments whether I may post it |
What if a petal breaks?
Most likely you are going to break it in a couple of spots, and it's okay. I broke some too, and I am all right with that. That is why we have glue.
Take the material out little by little. On a complicated piece like a Gibbons you can go all the way to paper thin, as long as you don't force it. I showed that technique on the chamomile and bow rosette.

Which finish can go on a carving like this?
Lacquer or shellac, or maybe even wax, but it has to be liquid wax. This is how mine looks as of now.

I'm not the biggest fan of sanding. My own work I like to leave with the facets, although a lot of furniture makers like everything really smooth, and that is absolutely fine. That is what I told you on the floral panel, too.
Gibbons did sand a little, though. His surface looks really smooth, and people thought he never used any sanding at all, until the restoration work. David Esterly was one of the people who restored his carvings, and up close you can see the sanding marks. I talk about that in the modern acanthus course.
Sandpaper did not exist yet. What they used was Dutch rush, the reeds, which is equal to about 400 grit. My guess is that if they had sandpaper, they would have sanded more. I use the reed myself on the high ridges of a furniture panel, and the whole method is in the Greek acanthus course.
Why is the Gibbons style so demanding?
Only a human hand can carve it. In this style there is no CNC machine invented yet that can do this type of carving. Just a human hand, and that is the most advanced tool you have. It came up once on the Greek acroterion.
There is also no such thing as carving with the grain here. Absolutely no. You have to attack from some angles, and the only solution is to keep your tools sharp. After all these years I feel the wood, absolutely. On a curve the fibers reverse at one place, and we call it the marriage line. That came up in a question about carving with the grain.
Making a tool list for a big project like this is almost impossible, because by the time the piece is finished, it is tremendously long. You don't have to buy all of them. You can get the same results with the tools you already have, as I explained in the flower rosette course.
Why study Gibbons at all?
Only two carvers in history made their names as wood carvers and became famous, and he is one of them. The other came before him. He was Tilman Riemenschneider, a German carver of the 15th century, before the Reformation, as I said in the design course. Those two are the carvers I really admire.
Gibbons got the royal title because of wood carving, and he was paid well, well enough to support a big shop with lots of guys working for him. That story came up while I carved the tray of blessing.
What did Gibbons carve?
Work at the artistic level, the fourth level of wood carvers. People like him would develop beautiful designs for overmantels and around picture frames. Someone else carved the frame for the art, and he created something surrounding that existing frame. I went through those levels in the Venice Room.
Ornamental carving like his is actually the most difficult kind. You work with the tiniest details, and believe me, those small details make the biggest difference, as I told the students of the Roman acanthus.
He drew right on the board, the same way we did on the Byzantine acanthus. He used screws to fix his carvings, too, and he had no problem with that. His later works are more complicated than the early ones, because he kept collecting tools, and you can see the progression in what he could execute once he got them. I mentioned the screws in the Hashemi flowers course and his tools in the Roman acanthus course.
Look at his bows, too. When he used a movement like a bow, he created perpendicular cuts on it, and I did the same on the chamomile and bow rosette.
Is there a story behind the pea pods?
Yes, and it is about money. Look at his work and you will see pea pods. The story goes that a closed pod meant he had not been paid yet. Once the money came, he went back and carved the pod open with the peas inside, and that way he could keep track, since he usually worked on multiple pieces for one room. Kind of cool, isn't it?
Which books about Gibbons are worth reading?
David Esterly's books, which I really like, and some of the old ones. Esterly wrote a couple about him, and they are really good, while some older ones were printed back in the 1950s and 1960s. Go on Amazon, enter Grinling Gibbons as a search word, and it will give you some results. That was in the antique style rosette workshop.
Is this course for everyone?
A little more advanced, and not for everyone. I do realize that. Still, a few people who carved this panel with me in Maine had hardly ever carved before, and their results were really good. The class itself lasted five days.
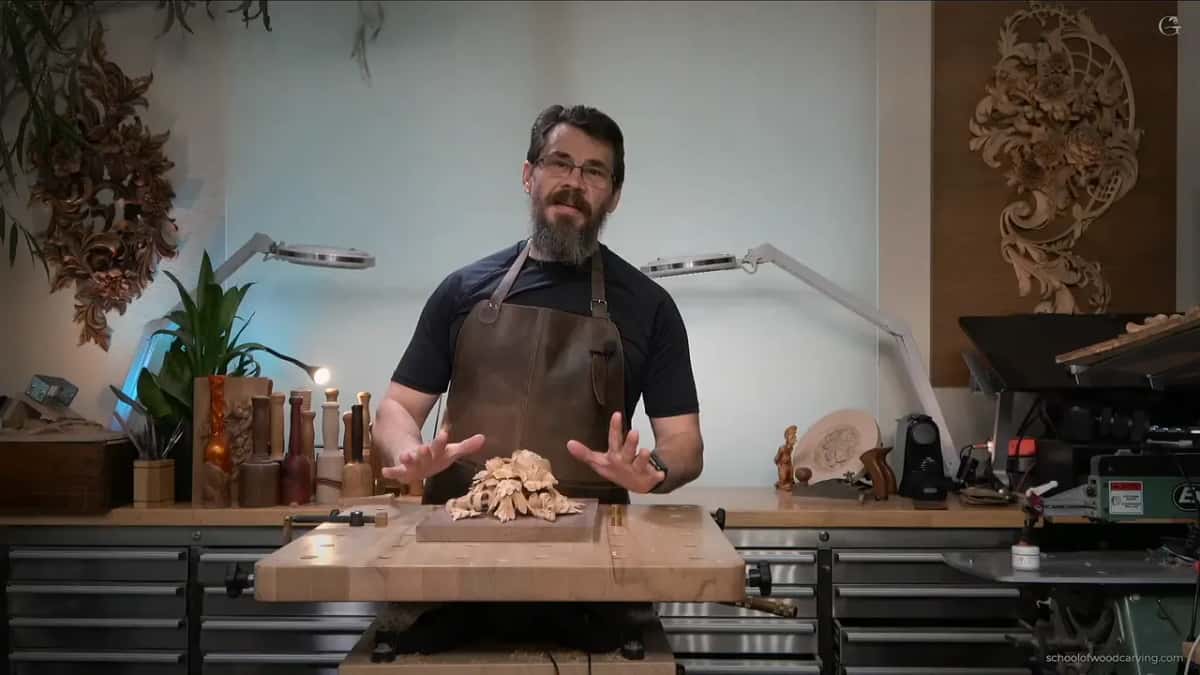
I hope you liked this course, and I hope you enjoyed working on it. I really hope you had fun. Let me know if you would like more courses like this one. Every lesson of it comes with tuition.
What did the classes add to the panel?
Class 1 is about copying his composition across two boards and redrawing whatever runs finer than your gouges. In class 2, small flowers between 16 and 25 mm, five eighths to one inch, fill the empty ground, and their count lands on a Fibonacci number. Class 3 keeps the blooms connected, with no deep valley between them. The corner of a number 7 rolls each bloom against the next. Every leaf in class 4 splits into three and then three again, and those nine parts are what make it read as a plant.
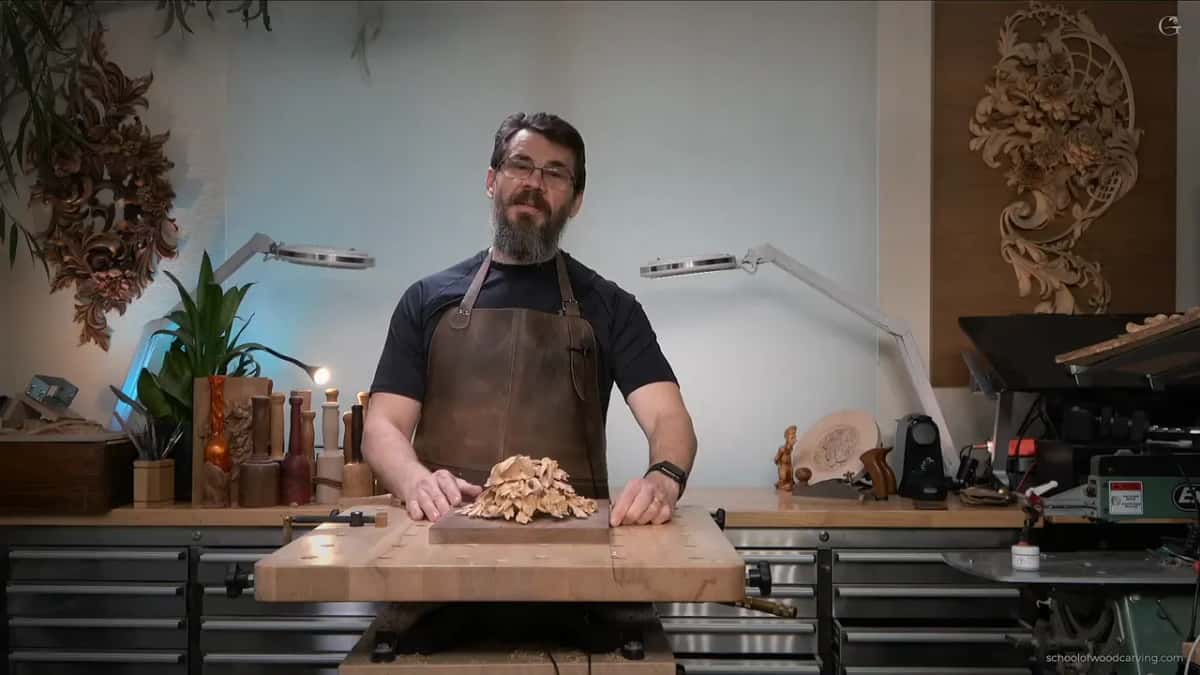
The glue patch on the back that never gets carved is class 6. Class 7 brings in the tulip, the highest point on the board, which I read as a Dutch born carver showing off his home country, where a single bulb once cost the price of a house. Every petal turns the same way round in class 8. Class 9 carves a form on the upper board down behind one on the lower, so two layers read as one, and class 10 explains lime in front and oak behind.
Class 11 opens the tulip with a back bent turned upside down, and much of that work goes the wrong way on the fibers, so the tool has to be sharp. Where the wood runs out, class 12 redesigns the bloom and undercuts only as deep as the wood allows. The tiny tools come out in class 13, after the rough shape is found, and class 14 shows why parsley is not acanthus. Class 15 opens small holes right beside a flower's center with a 1 mm number 11, and class 16 is about the dark spots that make a panel look complex.

Then class 17 carves the swirling center, and class 18 the small flowers with an eye-shaped opening. This lesson is where all of it comes together, on one board.
Where can you go after this course?
More flowers carved this way are in the Hashemi flowers course, and the Venetian flowers rosette has the style I used for one flower here. The reasons behind a design of this kind are in the design course. Sharpening keeps the tiny tools sharp, and the tools course helps you choose what to own. All of it starts from the course page.
Thank you very much.
How it's done
- Finish the carving. Take it as far as you want, facets and all, and stop once it looks right from every side.
- Change a few things. Change a few details from the Gibbons photograph so the piece becomes yours.
- Photograph it. Take one clear picture of the whole panel.
- Shrink the file. Run the picture through TinyPNG or a similar tool.
- Check the format. Save it as a jpg or a png, not inside a zip.
- Upload once. Send it from the final lesson page while you are still on it, since the button goes away after you leave.
- Say if it may be shared. Leave a comment telling me whether your carving can be posted.
Frequently asked questions
How do you get the certificate for this Gibbons course?
Upload one photograph of your finished carving on the final lesson page. Then I study it myself and certify students from what the photo shows, and nothing on that page is approved automatically.
Why shrink the photo before uploading it?
Thousands of students send pictures, and big files keep growing the database, which is bad for the website. A tool like TinyPNG makes the file much smaller before it ever reaches us.
What finish goes on a lime wood carving like this?
Lacquer or shellac works, or a wax, as long as the wax is liquid. I like leaving the facets the tools make, while a lot of furniture makers prefer everything really smooth.
What to carve next